Planet Core Walkthrough
☽ DK Island and Emerald Rush DLC out now!
☽ Learn how to solve Banandiumtone's Puzzles.
☽ All Collectibles: Banandium Gems and Fossils
☽ Learn How to Skip Layers Entirely!
☽ How to Beat the Final Boss
☽ Post-Game: Rehearsal Halls | Secret Ending
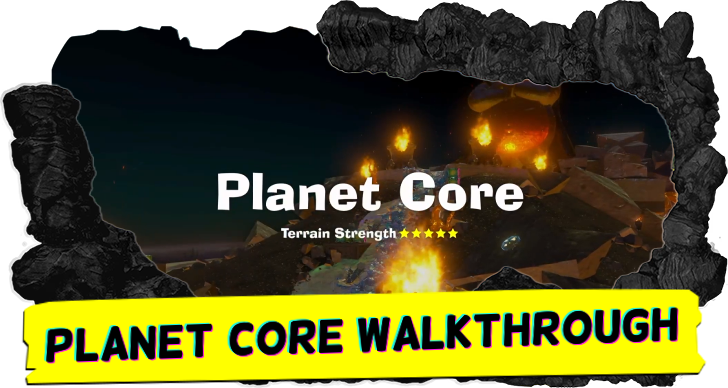
This is a walkthrough guide for Planet Core (SL 1600-1609) in Donkey Kong Bananza. Read on for a complete step-by-step on how to complete the layer and progress the story.
| Planet Core Guides | |
|---|---|
| Walkthrough | Collectibles |
| Previous and Next Layer | |
| ◀︎ Forbidden Layer | Post-Game ► |
List of Contents
Planet Core Walkthrough
Planet Core Sublayers 1600-1606
| Step-by-Step Guide | |
|---|---|
| 1 | 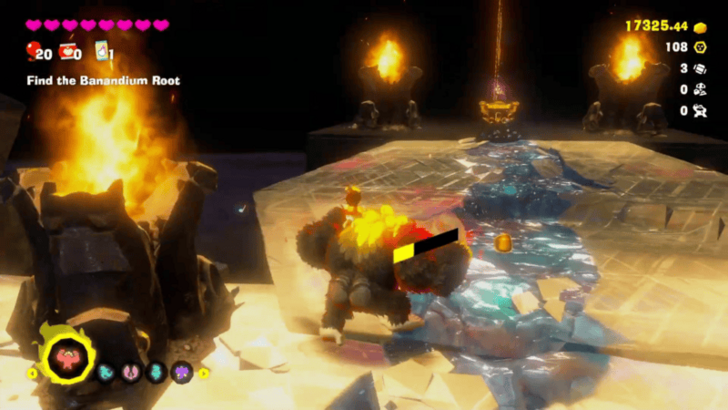 Consume the bananas upon landing in the Planet Core. Follow the path and head left to reach a minecart. Fight or avoid the enemies along the way. Ride the cart to get to Fractone Fort in Sublayer 1601. |
| 2 | 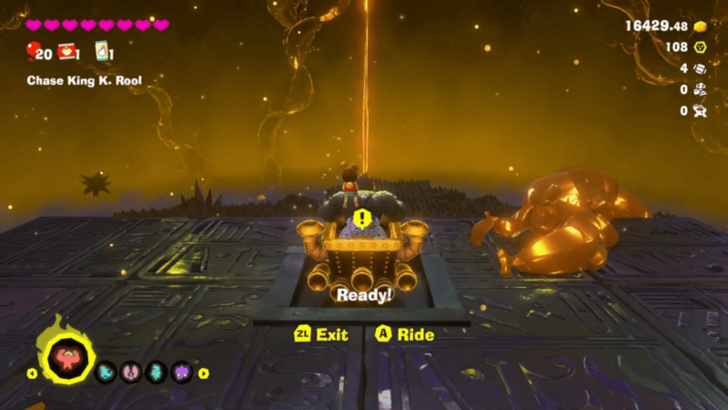 At Fractone Fort, you can buy some supplies or rest in a Getaway. Once you're ready to proceed, ride the minecart, which should take you to Necky Skyway in Sublayer 1602. There are several flying enemies in this area, which you can defeat by throwing chunks of terrain. |
| 3 | 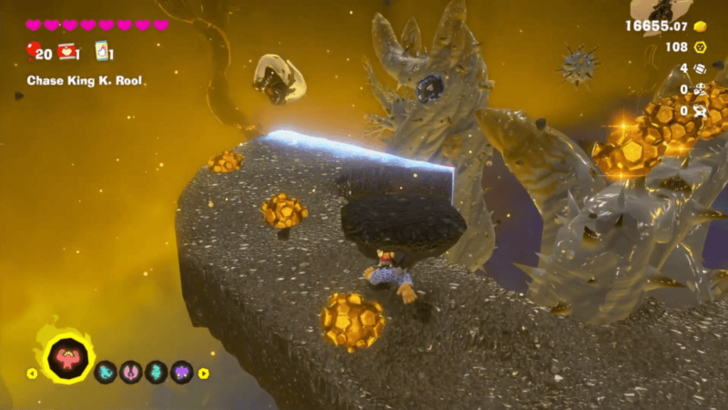 Step onto the gravel platform. This will cause it to start moving. Follow the path it creates, taking care not to fall behind (literally). Throw chunks at enemies as you go to prevent them from throwing you off. |
| 4 | At the solid platform at the end of the gravel path, jump into another minecart to reach Klaptrap Krossing in Sublayer 1603. |
| 5 | 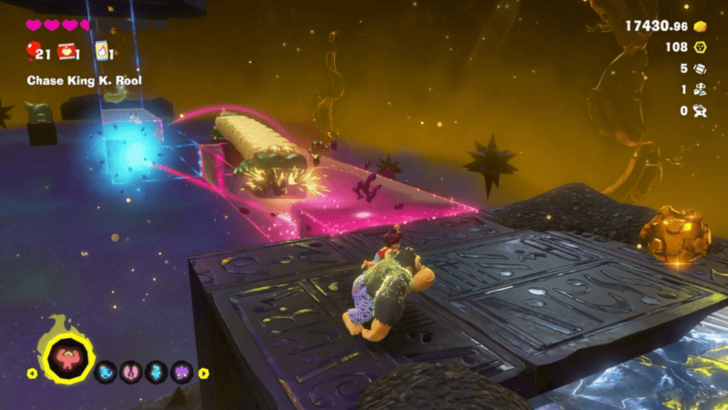 Step onto the pink platform. A Klaptrap will show up and start munching on the platform, replacing it with its own body. Wait for it to reach your side, but avoid the crocodile's jaws. Jump onto its body and head to the blue platform. |
| * | Blue platforms appear in the same pattern as the consumed pink platforms. If you want the blue platform to reach all the way to the other side, you have to make sure the Klaptrap eating the pink platform eats the full length of it. |
| 6 |  Another Klaptrap will show up once you reach the second pink platform. Have it munch on the platform while you avoid getting eaten, then climb up the blue platform being generated. |
| 7 | 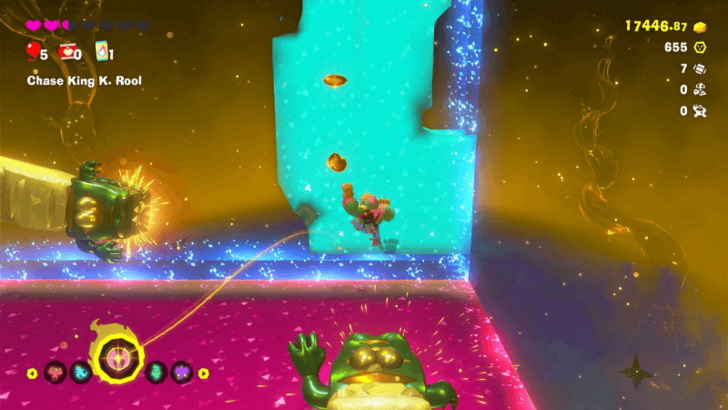 Step onto the right side of the next pink platform, near the Klaptrap source. Two Klaptraps will pop out—one eating the pink platform, and one going for the blue. Make the first Klaptrap eat through the right side of the pink platform, going straight. Quickly go up the blue platform before the second Klaptrap can eat through it. |
| 8 | Get a banana for your troubles, then climb into another minecart to take you to Kritter Krevasse in Sublayer 1604. |
| 9 | 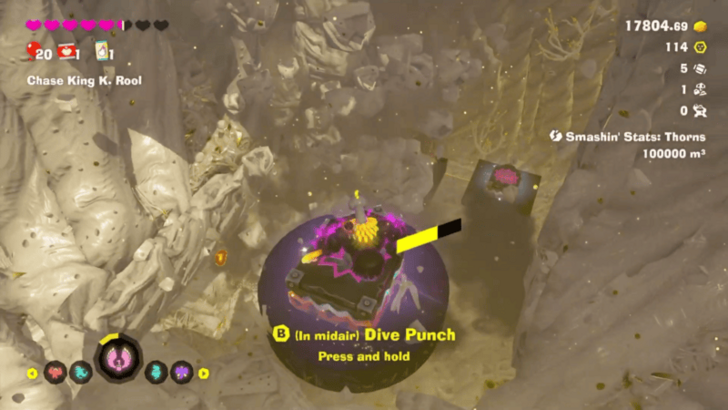 At the end of the platform, transform into the Ostrich Bananza form. Fly to the platform with the Dive Punch icon, and use Dive Punch on it. Do the same for the lower Dive Punch platforms, which get revealed with each punch. |
| * | If you run out of Bananergy and lose your transformation, you can still make it to the platforms by jumping, then rolling mid-air using ZL to essentially double jump. |
| 10 | Glide down until you reach the next minecart, which will take you to Kremling Kamp in Sublayer 1605. |
| 11 | 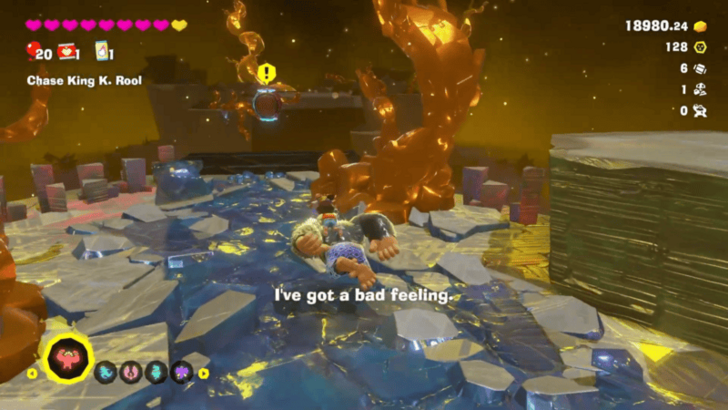 Jump down the platforms, either fighting or avoiding enemies along the way, until you reach the platform with a Barrel Cannon. Using it will launch you straight into a boss battle, so make sure you're ready before proceeding. |
| * | 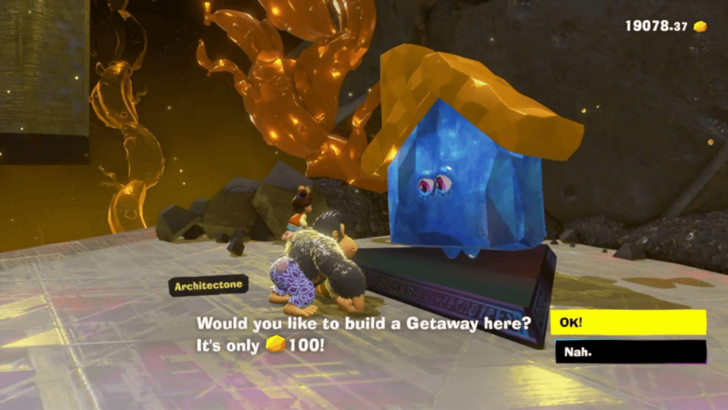 An Architectone is available on this platform. Build a Getaway if you want to rest and replenish your health. |
| 12 | Defeat K. Stompenclomper. Aim for its stone foot to stagger it, then punch its head once it's fallen over. ▶︎ How to Beat K. Stompenclomper |
| 13 | 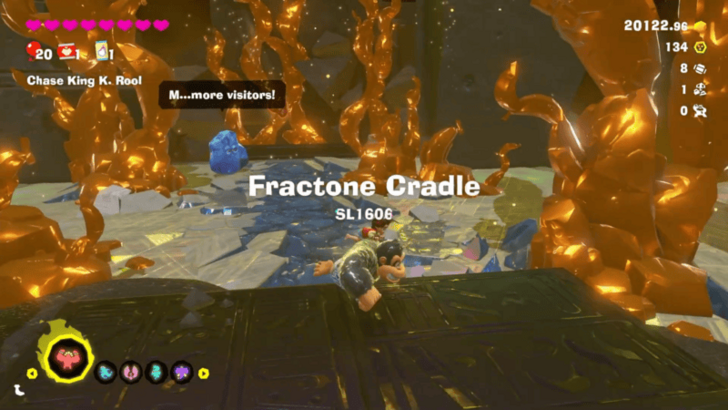 Once K. Stompenclomper is defeated, get your banana, then ride the minecart to Fractone Cradle in Sublayer 1606. Drop down to the lower platform, and you can take the time to shop, change clothes, or rest in a Getaway. Ride down the minecart once you're ready to proceed. |
Kremling Sublayers 1607-1609
| Step-by-Step Guide | |
|---|---|
| 1 | 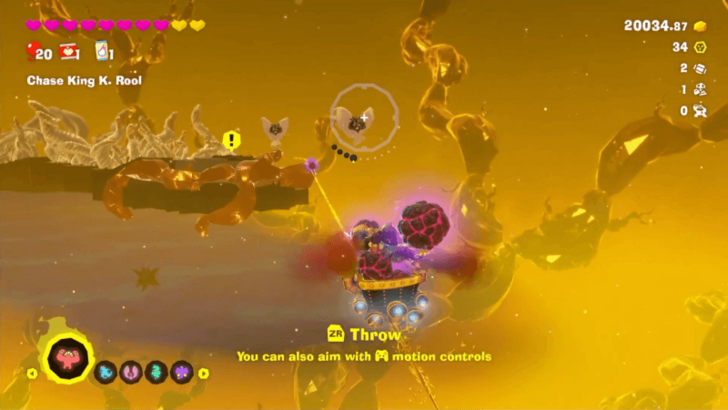 While in the minecart, you'll be able to pick up rocks to throw at the flying enemies. Defeat these enemies before they can attack you. |
| 2 | 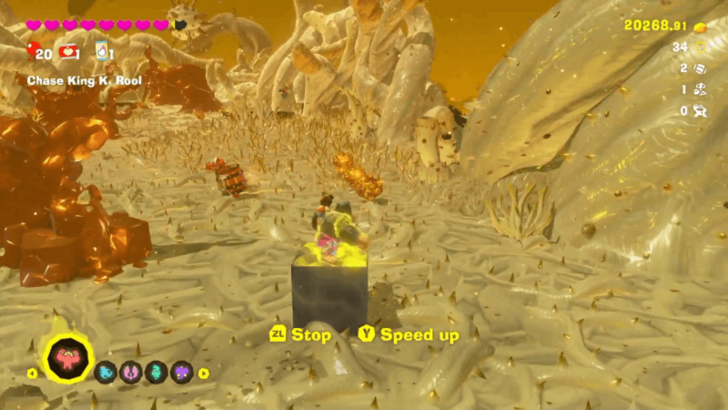 At the end of the minecart ride, you'll end up in Kremling Kuagmire in Sublayer 1607. Break open the boxes to get blocks of Slippery Iron. Use one to Turf Surf down the jagged terrain. |
| 3 | Avoid the obstacles until you reach a gold wall blocking the way at the end. You can speed up into an enemy to send it hurtling through the wall or punch the wall yourself. Turf Surf all the way down the next section until you reach another wall of gold blocking the way forward. |
| 4 | Either speed into an enemy to launch it at the gold wall or punch your way through. The terrain beyond should be safe to step on, but you can keep Turf Surfing if you want to. Claim your Banandium Gem reward at the end, and ride the minecart to Sublayer 1608. |
| 5 | 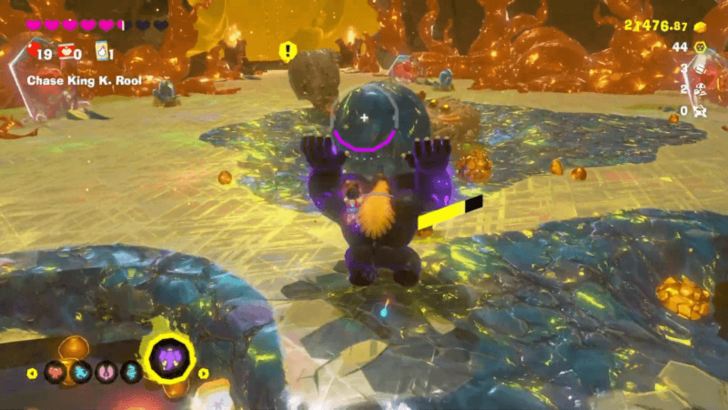 Jump down to the Kremling Koliseum arena to fight against 6 waves of crocodilian enemies. All of them can be defeated by throwing or swinging terrain chunks at them. Feel free to use Elephant Bananza or Kong Bananza if it'll make things easier for you. |
| * | 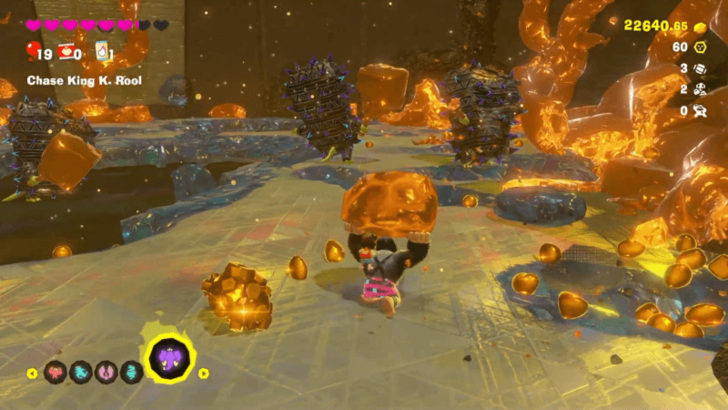 Try not to destroy all the gold in the area before defeating the enemies. Gold chunks are especially good to use against the final wave of Crockoid Kremlings, which have extra sturdy spiky concrete shells. |
| 6 | 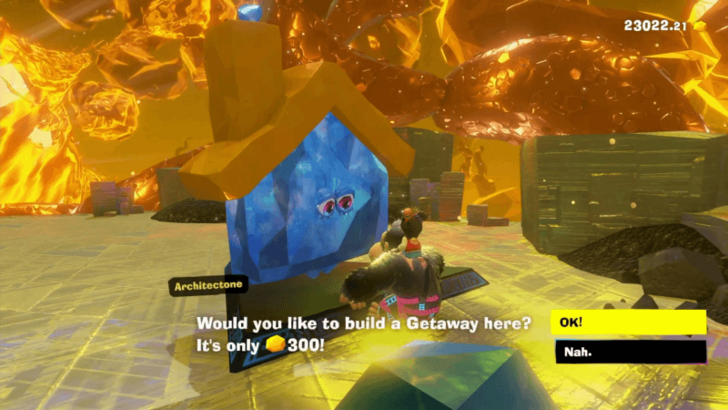 Once all enemies are defeated, a minecart will appear. Ride this to Climactic Cliff on Sublayer 1609. It is recommended to build a Getaway here and heal up before proceeding. |
| * | Your Bananergy will not deplete for the last sections of the game. This means you can freely stay in your Bananza forms. It is recommended to change clothes if you're wearing Bananergy-related ones. ▶︎ List of All Outfits |
| 7 | 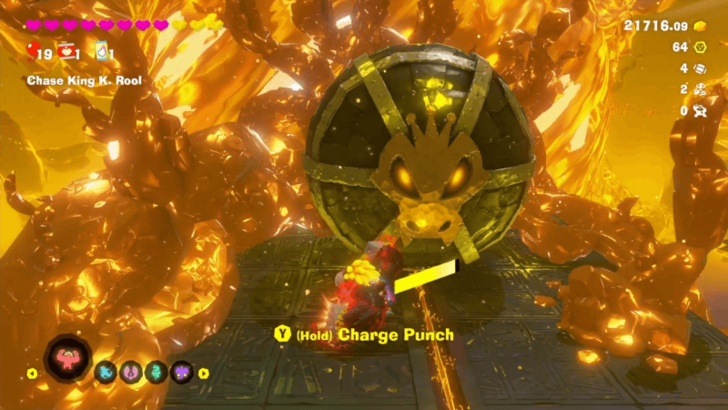 Transform into the Kong Bananza form, and use Charge Punch on the large boulder blocking the minecart rail. Ride the minecart towards the boss battle. |
| 8 | You will have to face off against King K. Rool. Use your Kong Bananza form to parry the projectiles he launches at you, and use Elephant Bananza to inhale excess gold from his attacks. ▶︎ Final Boss Guide: King K. Rool |
| 9 | 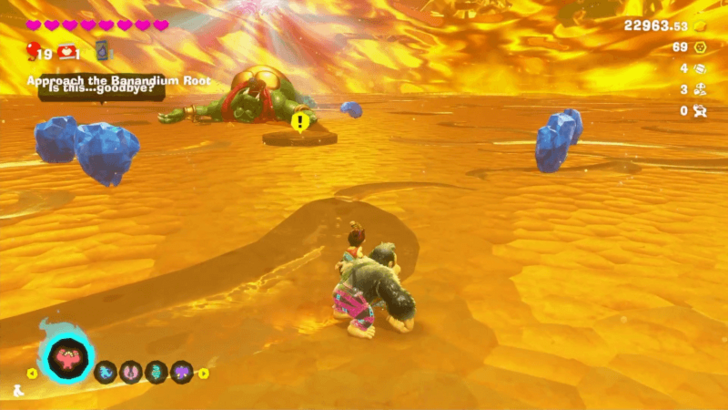 Defeat King K. Rool, and get your bananas. A Stuff Shop and an Eelevator will appear in this area. Feel free to use them before you go onto the circular platform to make your wish to the Banandium Root. |
| 10 | The Banandium Root will grant your wish of returning to the surface. But stay on your guard! The fight isn't over yet. Tear off chunks from the Banandium Root platform, and throw them at K. Rool. Avoid his attacks highlighted in red and purple until you reach the surface. |
New Donk City
| Step-by-Step Guide | |
|---|---|
| 1 | Transform into the Ostrich Bananza form. Use the updraft to glide onto the red pillars. Avoid the snakes of rot, and make your way to the area with flags. |
| 2 | Change into the Kong Bananza form before climbing up the building. Punch upward as you climb when blocked by concrete. |
| 3 | 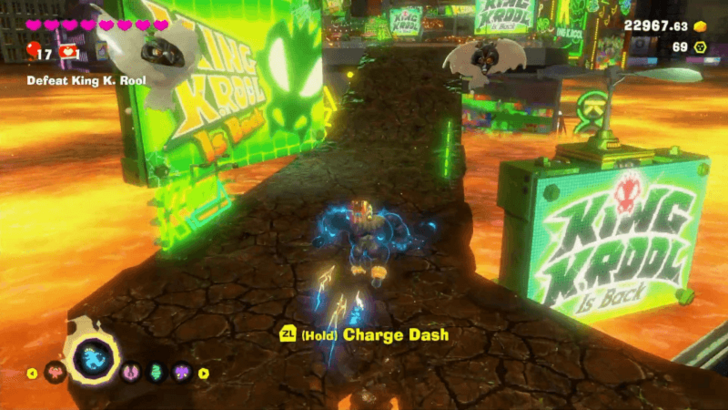 Switch to the Zebra Bananza form and dash across the crumbling pathway. |
| 4 | At the end of the crumbling path, change into the Elephant Banaza form. Inhale all the rot blocking your way, and use Trunk Chunk to throw chunks at the wall enemies along the way. |
| 5 | Use the Barrel Cannon to go up, and change back into the Kong Bananza form. Use Charge Punch on the large metal ball. |
| 6 | 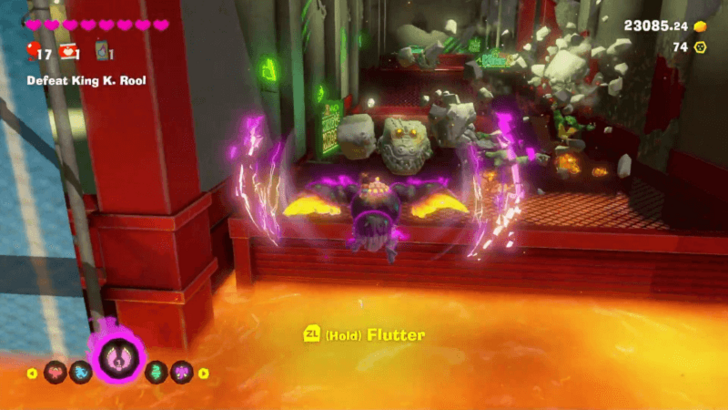 Cross the gap using the Ostrich Bananza form, and defeat or avoid the enemies on this side. Take note that the molten liquid will continue to rise as you go through this section. |
| 7 | Jump into the Barrel Cannon at the end of the path. The Kong Bananza form is recommended here, so you can punch the large rolling balls into enemies. |
| 8 | Climb up the red metal structure and punch any terrain in your way. |
| 9 | Change into the Zebra Bananza form, and run across the crumbling pathway, jumping to avoid the rot monsters as you go. Get into the Barrel Cannon at the end of this road. |
| 10 | 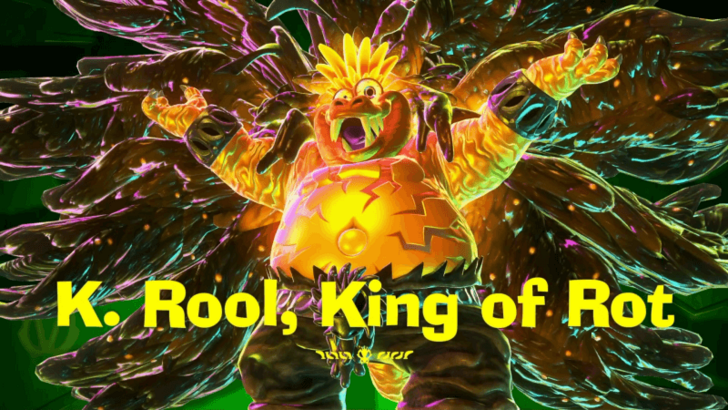 Keep dashing along the crumbling pathways and launching up Barrel Cannons until you reach King K. Rool. ▶︎ How to Beat K. Rool, King of Rot |
| 11 | Defeat K. Rool one more time using all of your Bananza powers, similar to how you used them to go through New Donk City. Completing this ends the main story of Donkey Kong Bananza. ▶︎ Post-Game Guide |
Planet Core Boss
K. Stompenclomper
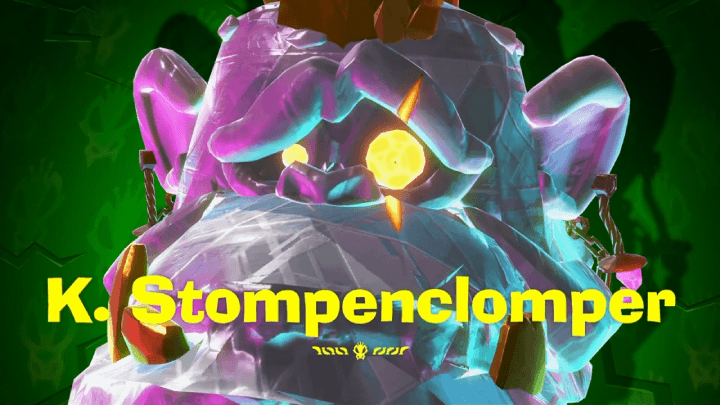
A new version of a previous boss, Stompenclomper, can be fought in Sublayer 1605. K. Stompenclomper has one foot made of lava and one made of stone, which change depending on which foot stomps on the ground.
Target the foot that's turned to stone until K. Stompenclomper collapses. Then, you can attack its head.
How to Beat Planet Core Stompenclomper
King K. Rool
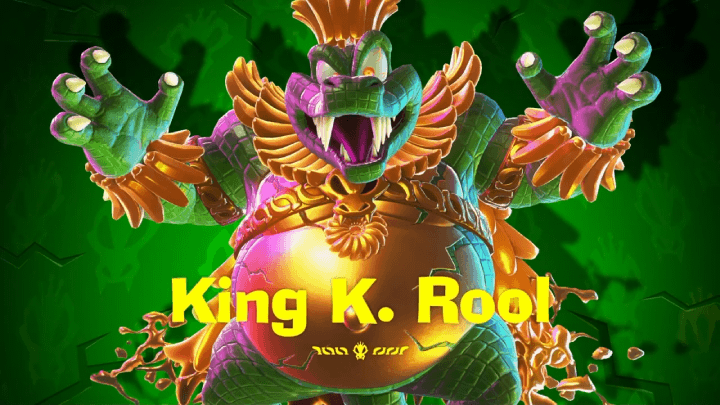
You fight King K. Rool twice in the Planet Core level. In the second fight, King K. Rool will be infused with rot, turning him into K. Rool, King of Rot.
Both fights encourage you to use all of your Bananza forms. Your Bananergy will not deplete in either of the fights.
Final Boss Guide: King K. Rool
Donkey Kong Bananza Related Guides
All Walkthrough Guides
| # | Layer |
|---|---|
| SL1 | Ingot Isle |
| SL100 | Lagoon Layer |
| SL200 | Hilltop Layer |
| SL300 | Canyon Layer |
| SL400 | The Divide |
| SL500 | Freezer Layer |
| SL600 | Forest Layer |
| SL700 | The Junction |
| SL800 | Resort Layer |
| SL900 | Tempest Layer |
| SL1000 | Landfill Layer |
| SL1100 | Racing Layer |
| SL1200 | Radiance Layer |
| SL1300 | Groove Layer |
| SL1400 | Feast Layer |
| SL1500 | Forbidden Layer |
| SL1600 | Planet Core |
Comment
Author
Planet Core Walkthrough
improvement survey
04/2026
improving Game8's site?

Your answers will help us to improve our website.
Note: Please be sure not to enter any kind of personal information into your response.

We hope you continue to make use of Game8.
Rankings
- We could not find the message board you were looking for.
Gaming News
Popular Games

Genshin Impact Walkthrough & Guides Wiki

Crimson Desert Walkthrough & Guides Wiki

Umamusume: Pretty Derby Walkthrough & Guides Wiki

Honkai: Star Rail Walkthrough & Guides Wiki

Monster Hunter Stories 3: Twisted Reflection Walkthrough & Guides Wiki

Wuthering Waves Walkthrough & Guides Wiki

The Seven Deadly Sins: Origin Walkthrough & Guides Wiki

Pokemon TCG Pocket (PTCGP) Strategies & Guides Wiki

Pokemon Pokopia Walkthrough & Guides Wiki

Zenless Zone Zero Walkthrough & Guides Wiki
Recommended Games

Monster Hunter World Walkthrough & Guides Wiki

Fire Emblem Heroes (FEH) Walkthrough & Guides Wiki

Pokemon Brilliant Diamond and Shining Pearl (BDSP) Walkthrough & Guides Wiki

Super Smash Bros. Ultimate Walkthrough & Guides Wiki

Diablo 4: Vessel of Hatred Walkthrough & Guides Wiki

Cyberpunk 2077: Ultimate Edition Walkthrough & Guides Wiki

Yu-Gi-Oh! Master Duel Walkthrough & Guides Wiki

Elden Ring Shadow of the Erdtree Walkthrough & Guides Wiki

The Legend of Zelda: Tears of the Kingdom Walkthrough & Guides Wiki

Persona 3 Reload Walkthrough & Guides Wiki
All rights reserved
© Nintendo. Games are property of their respective owners. Nintendo of America Inc.
The copyrights of videos of games used in our content and other intellectual property rights belong to the provider of the game.
The contents we provide on this site were created personally by members of the Game8 editorial department.
We refuse the right to reuse or repost content taken without our permission such as data or images to other sites.


![Forza Horizon 6 Review [Preview] | Beautiful Roads With a Whole Lot of Oversteer](https://img.game8.co/4460981/a7254c24945c43fbdf6ad9bea52b5ce9.png/show)


![Forza Horizon 6 Review [Preview] | Beautiful Roads With a Whole Lot of Oversteer](https://img.game8.co/4460981/a7254c24945c43fbdf6ad9bea52b5ce9.png/thumb)


