Forest Layer Walkthrough
☽ DK Island and Emerald Rush DLC out now!
☽ Learn how to solve Banandiumtone's Puzzles.
☽ All Collectibles: Banandium Gems and Fossils
☽ Learn How to Skip Layers Entirely!
☽ How to Beat the Final Boss
☽ Post-Game: Rehearsal Halls | Secret Ending
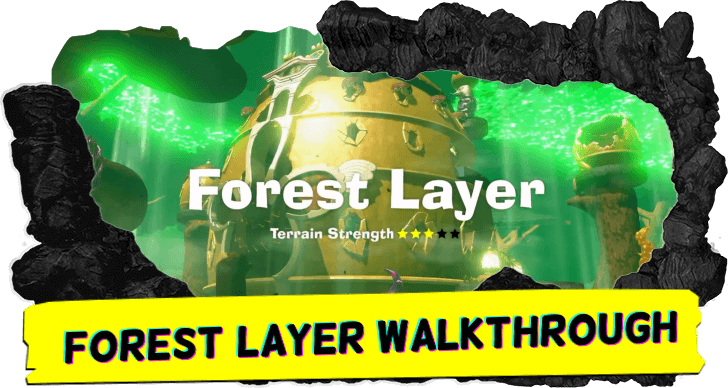
This is a walkthrough guide for Forest Layer (SL 600-602) in Donkey Kong Bananza. Read on for a complete step-by-step on how to complete the layer and progress the story.
| Forest Layer Guides | |
|---|---|
| Walkthrough | Collectibles |
| Previous and Next Layer | |
| ◀︎ The Divide | The Junction ► |
List of Contents
Forest Layer Walkthrough
Forest Sublayer 600
| Step-by-Step Guide | |
|---|---|
| 1 | 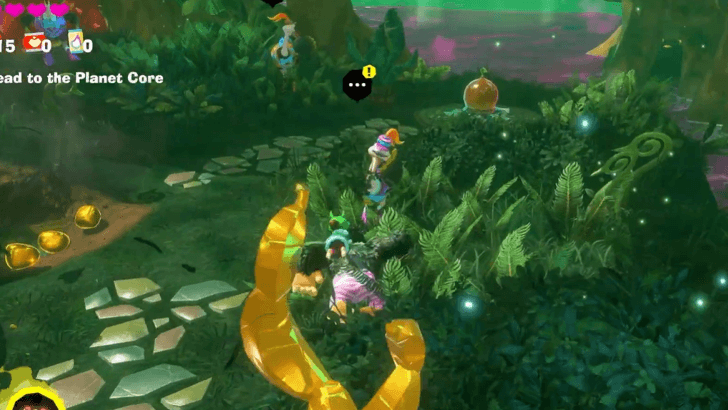 Collect the Banandium Gems in front of you, then talk to the ostrich with a yellow exclamation point. |
| 2 | 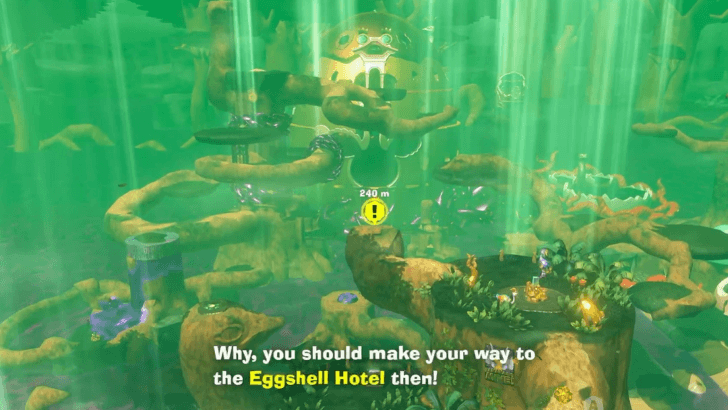 Head towards the direction of the Eggshell Hotel. |
| * | 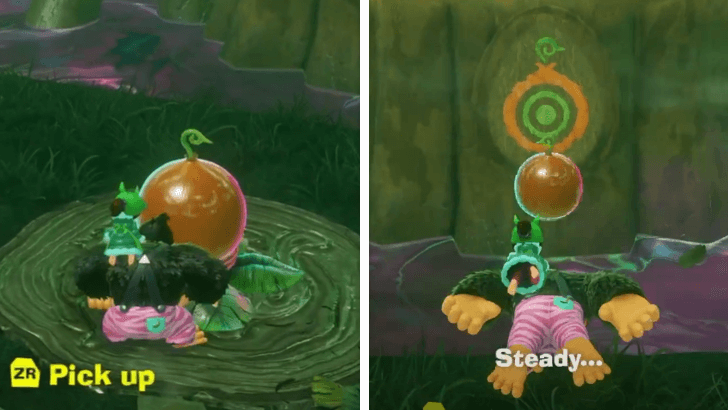 To create a bridge, pick up a seed and throw it at a wooden surface. Keep in mind that seeds can be thrown at any wood and not just those painted with a target. ▶︎ How to Throw |
| 3 | 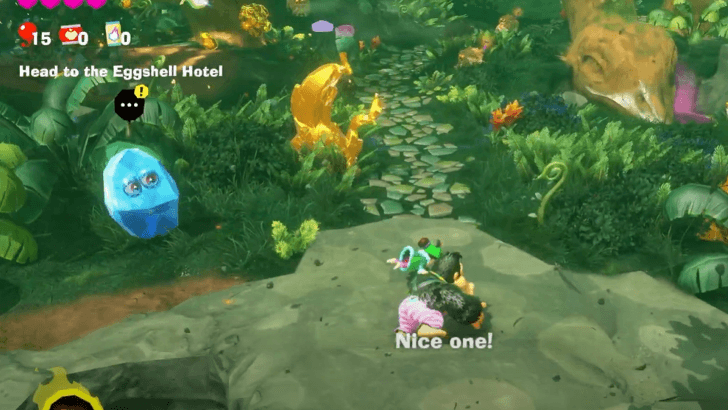 Talk to the Fractone after dropping down from the large ostrich head to help get your bearings. |
| 4 | 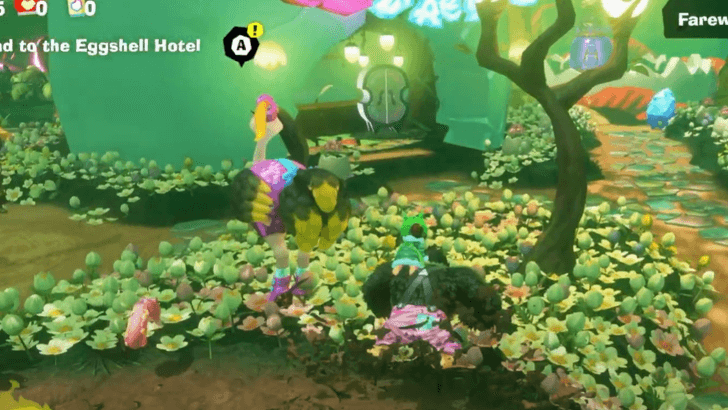 Once you're in Bellhop Burb, you can shop or build a Getaway before proceeding. Talk to the ostrich with a yellow exclamation point near the Style Shop when you're ready. |
| 5 | 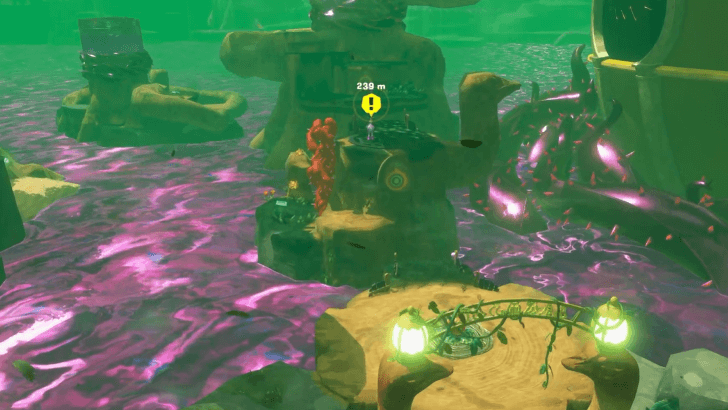 Follow the tree root. Defeat or avoid the Crockoids to reach the tree stump with a seed on it. Throw the seed onto the target, then talk to the ostrich on the wooden platform. |
| 6 | 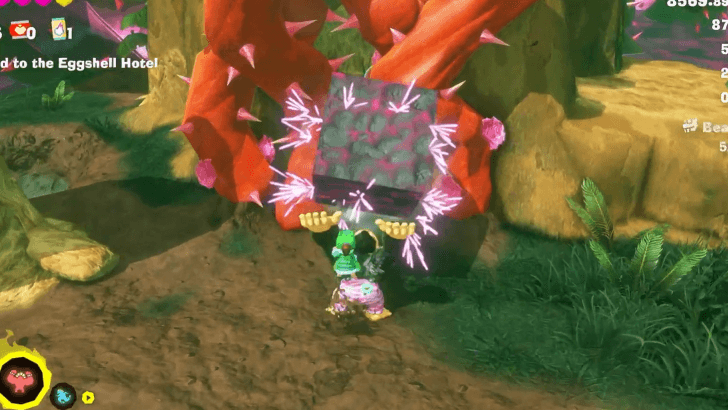 To get the next seed, destroy the red thorns on the left side of your current platform using a chunk of terrain. |
| * | You cannot use the seed from the previous platform to make a bridge on the next platform. Only one bridge per seed source can be active at a time. |
| 7 | 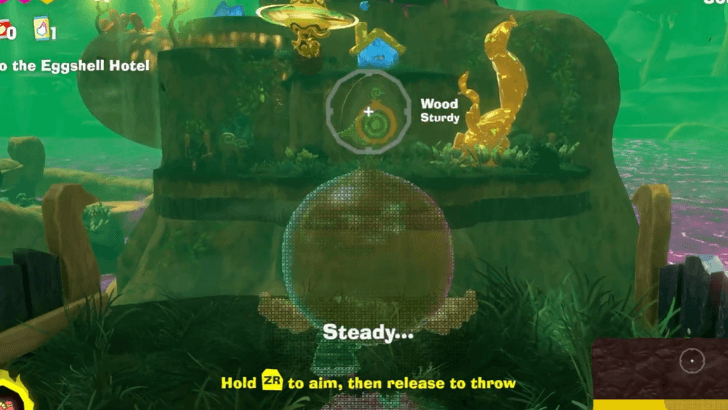 Get the seed hidden inside the tree stump and throw it at the target to form a bridge. |
| 8 | 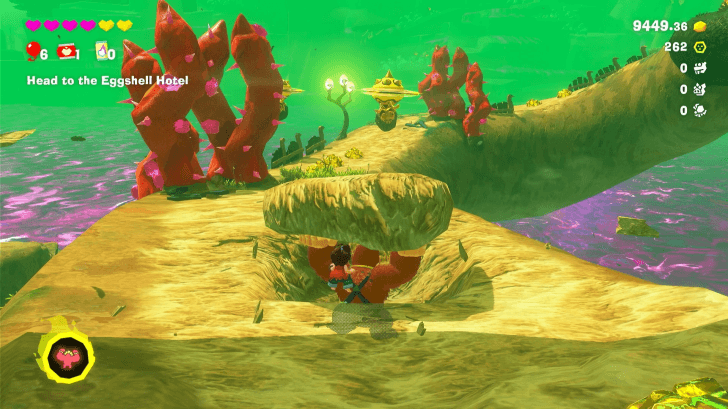 Make your way up the big tree. There will be flying enemies and thorns along the way. Get rid of them by hitting them with terrain chunks. |
| 9 | 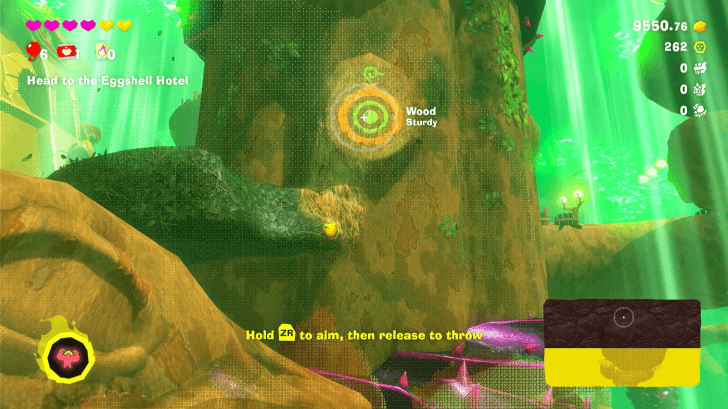 Construct a bridge to the main tree trunk by throwing a seed at the target. |
| 10 | 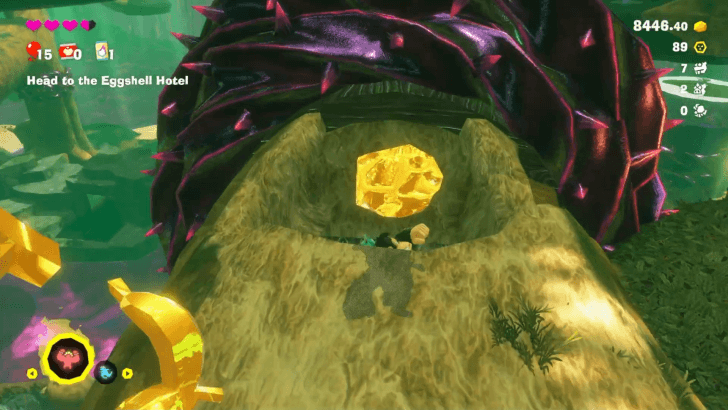 The next platform is plagued by purple thorns. Get past these by punching down on the gold piece embedded in the branch wrapped with purple thorns. You should end up in a hollowed out pathway. Punch your way forward to get past the thorns. |
| 11 | 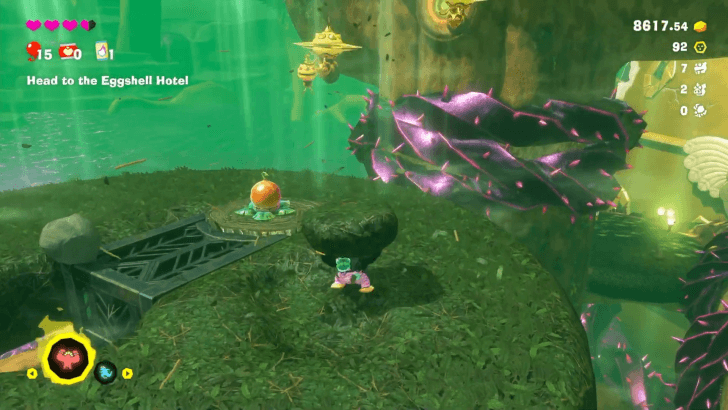 Climb up the metal support bracket. Enemies await you above. Avoid their attacks and take them down by throwing chunks at them. |
| 12 | Once they're defeated, make another bridge using the seed. |
| * |  You can ask the Constructone at the top of the big tree to remove the purple thorns for 500 Gold. This can make it easier for you to climb back up if you end up at the bottom again. |
| * | 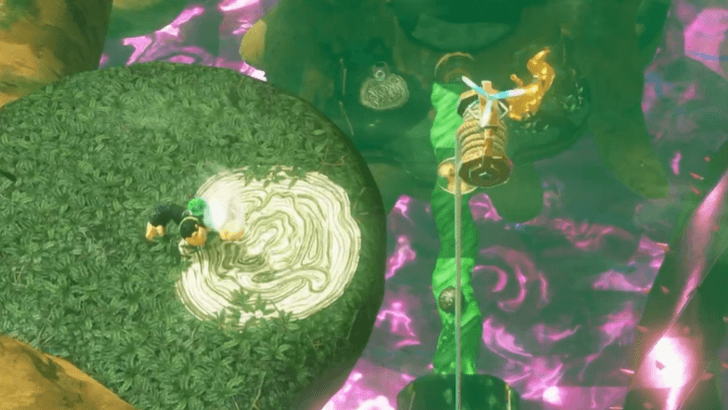 Bring down the rope near the Barrel Cannon to create a shortcut if you should fall to the bottom. |
| 13 | 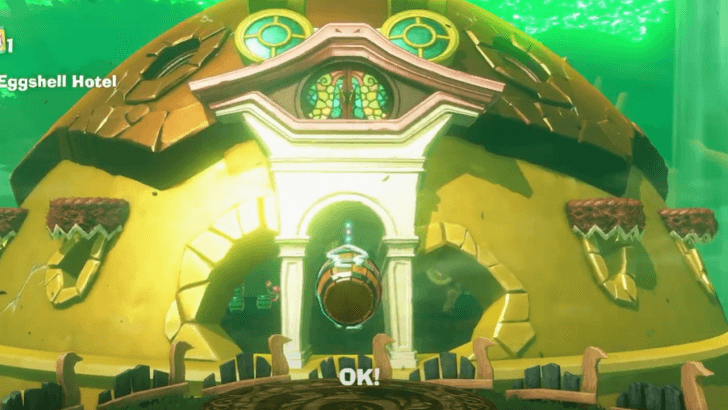 Take the Barrel Cannon to get inside Eggshell Hotel. |
Eggshell Hotel Sublayer 600
| Step-by-Step Guide | |
|---|---|
| 1 | 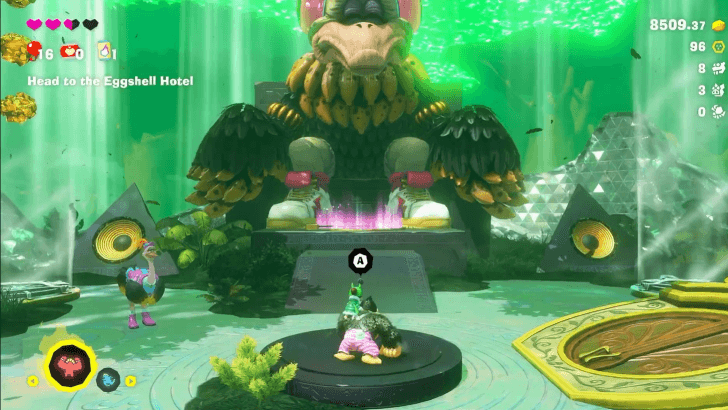 Stand on the platform and talk to the Ostrich Elder. |
| 2 | 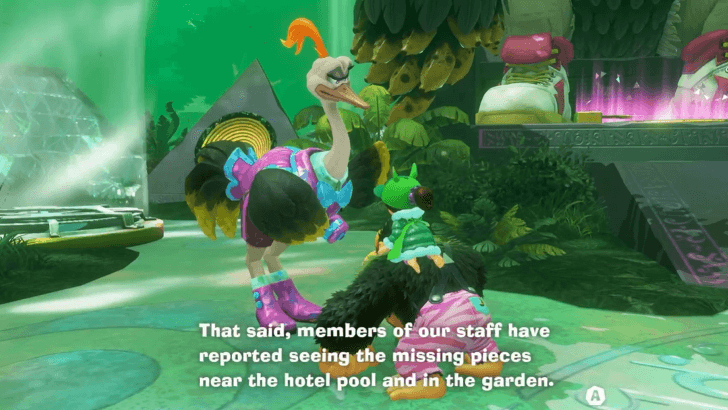 To get the locations the Ancient Record pieces, talk to the staff beside the Ostrich Elder. The two pieces are in the hotel pool and the garden. |
| 3 | 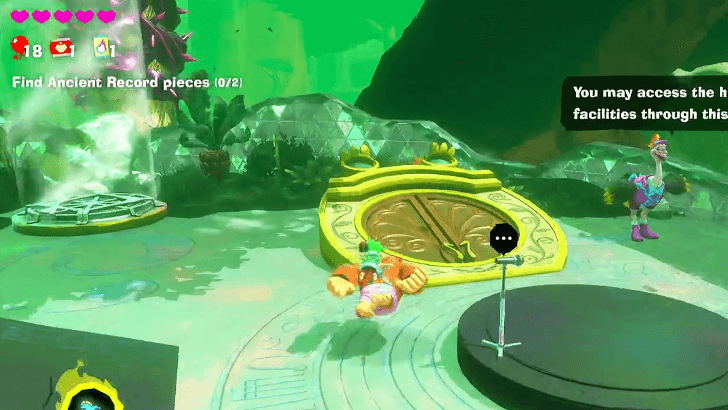 Down punch on the nearby door to get to the Eggshell Hotel Pool. |
| * | A room can be found to the right from where you fell, which is free for you to use. This room contains a treasure chest, a bed for you to rest in, and a wardrobe where you can change clothes. |
| 4 | 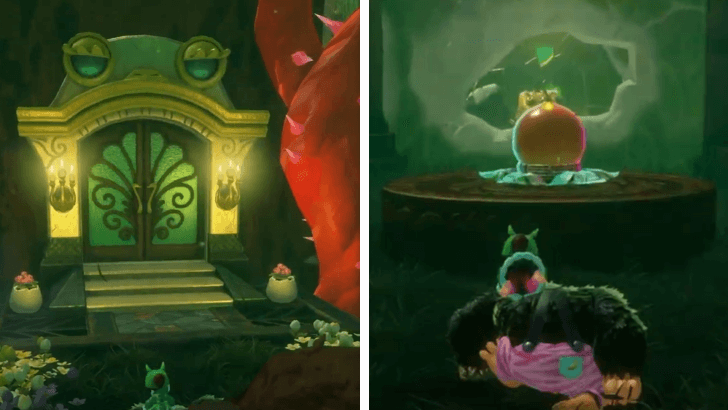 To get a seed to reach the record piece, follow the left path to a door next to some red thorns. Break the door to get the seed inside. |
| * | 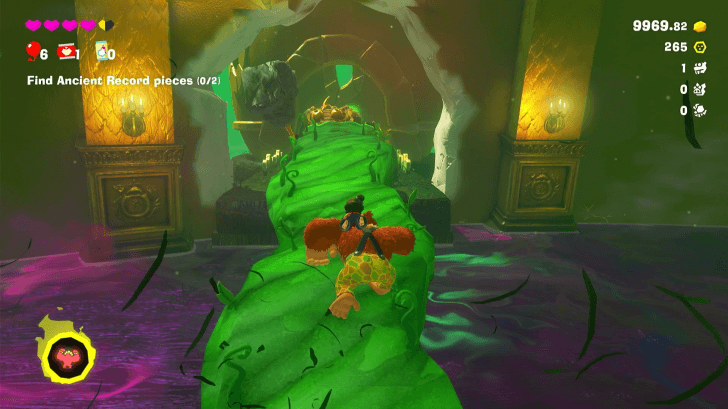 If you want to get the Banandium Gem straight ahead from the seed, pick up the seed and throw it at the wooden Crockoid to make a bridge. This also prevents the Crockoid from attacking you. |
| 5 | 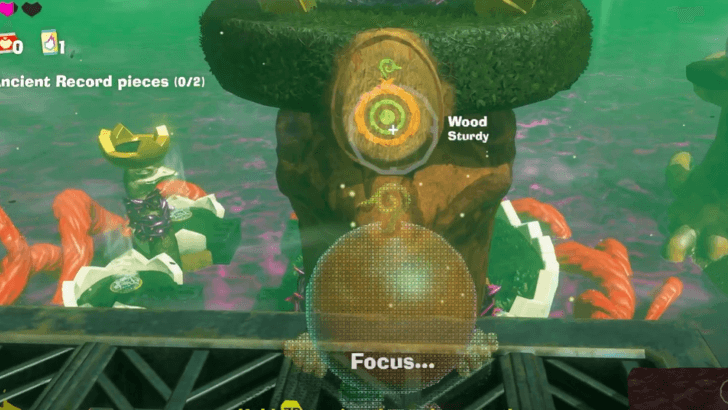 Pick up the seed, and throw it at the target near the Ancient Record piece. Return this piece to the Ostrich Elder. |
| 6 | 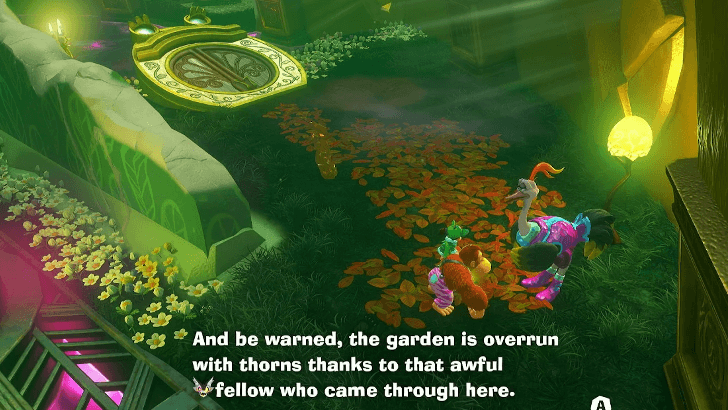 Go back down to the Eggshell Hotel Pool, then take the path behind the Barrel Cannon. Down punch the door to reach the Eggshell Hotel Garden. |
| * | Watch out for the red thorns in this area! Swing terrain chunks at them to clear the way. |
| 7 | 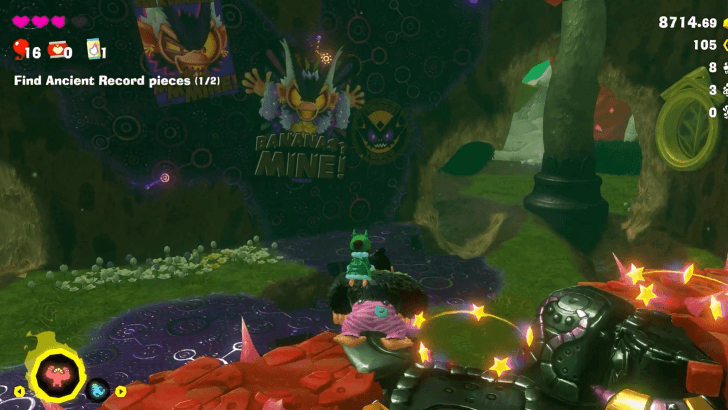 The Ancient Record piece in the garden is covered in Void. Follow the void trail until it reaches a wall. |
| 8 | 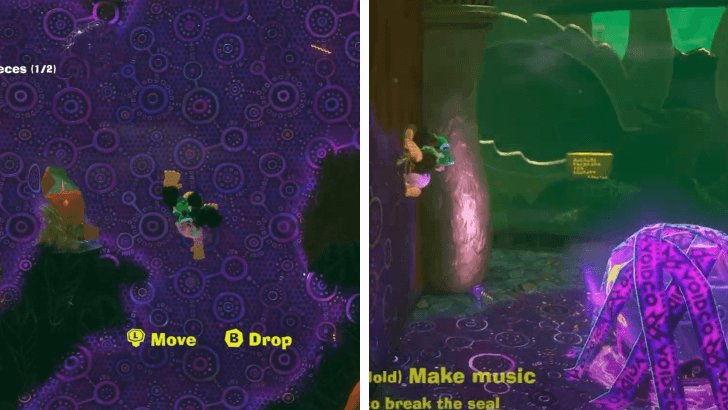 Climb the wall to get to the Terravoider device, and destroy it. There will be thorny Munchoid enemies along the way. Try to avoid them, or swing terrain chunks at their bodies to defeat them. |
| 9 | 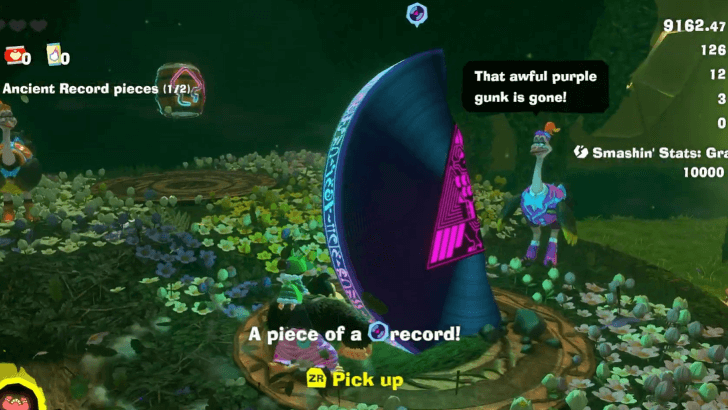 Pick up the Ancient Record piece, and use the Barrel Cannon to return to the Ostrich Elder. Place the record piece beside the first one to combine them. |
| 10 | 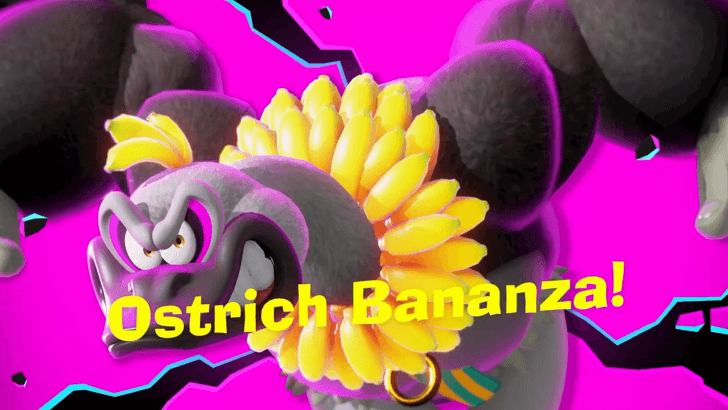 After completing the Ancient Record, you will receive the Ostrich Bananza Form. ▶︎ All Bananza Forms and Transformations |
| * | The Ostrich Bananza form gives you the ability to flutter, allowing you to stay in the air longer. To flutter, hold down ZL while in mid-air. ▶︎ How to Use Ostrich Bananza Form |
| 11 | 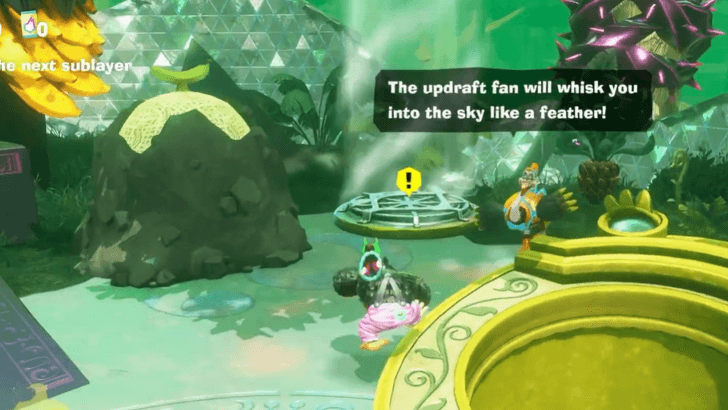 Ride the updraft fan to the left of the elder using the Ostrich Bananza form. |
| 12 | 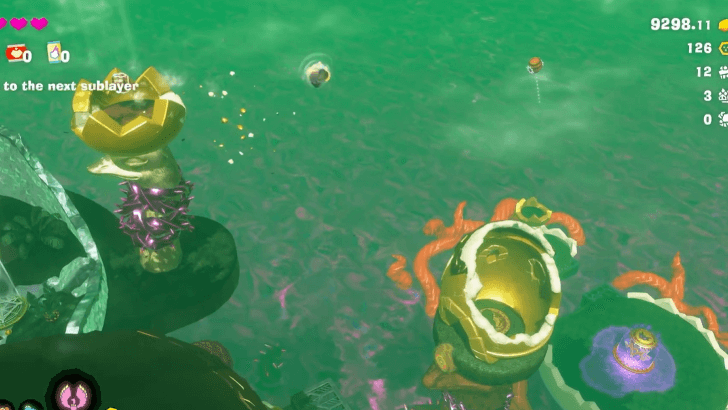 Take the Barrel Cannons to get to the Void Stake. |
| 13 | 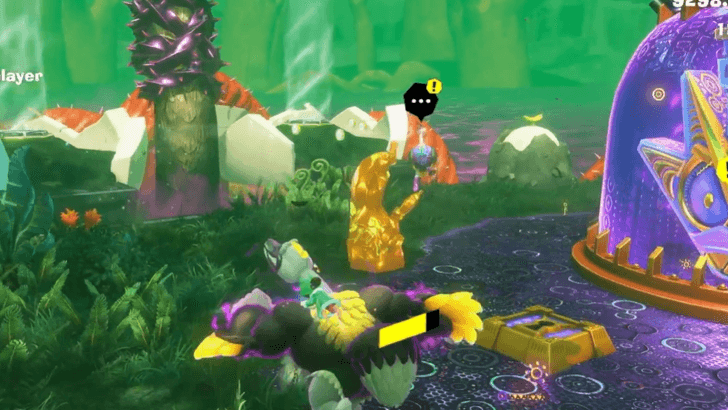 Talk to the pink ostrich beside the stake to find the key. |
| 14 | 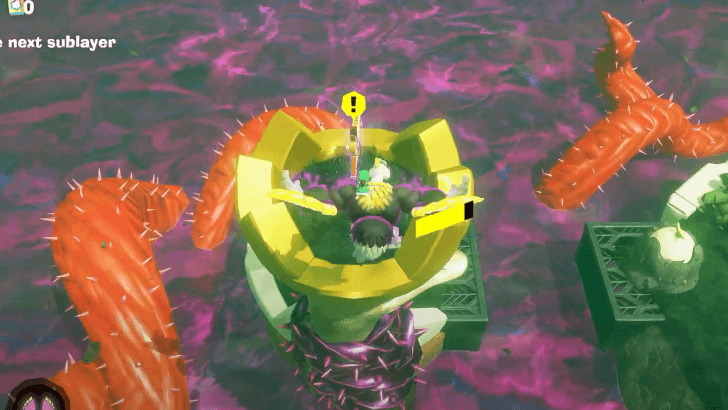 Use the Ostrich Bananza form to ride the updrafts and get the Void Key. |
| 15 | 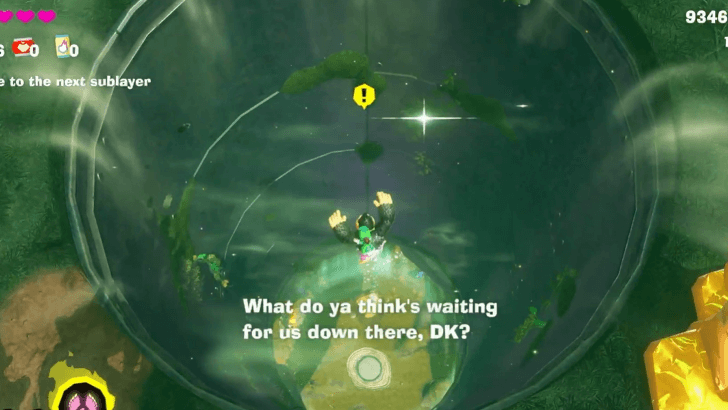 Break the seal, and destroy the Void Stake. This will open the way to the next sublayer. |
Forest Sublayer 601
| Step-by-Step Guide | |
|---|---|
| 1 | 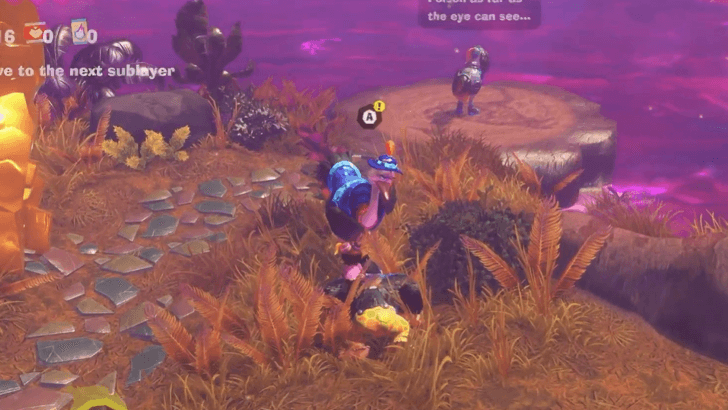 Get your Mossplume Marsh bananas, then talk to the blue ostrich right up ahead. You will be given the objective to smash the poison plants. |
| 2 | 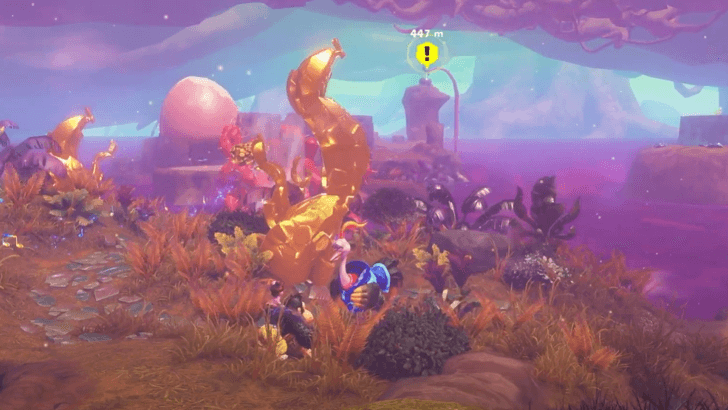 Head towards the first poison plant to the north. Use your Ostrich Bananza form to ride the updrafts and get across the red thorns. Land on the island where the poison plant is. |
| * | It is recommended to unlock the Glide skill for the Ostrich Bananza form so that you can reach further platforms. ▶︎ List of All Skills |
| * | If you run out of time for your Bananza transformation, you can refill your Bananergy Gauge by collecting gold or punching melons. ▶︎ How to Increase Bananergy |
| 3 | 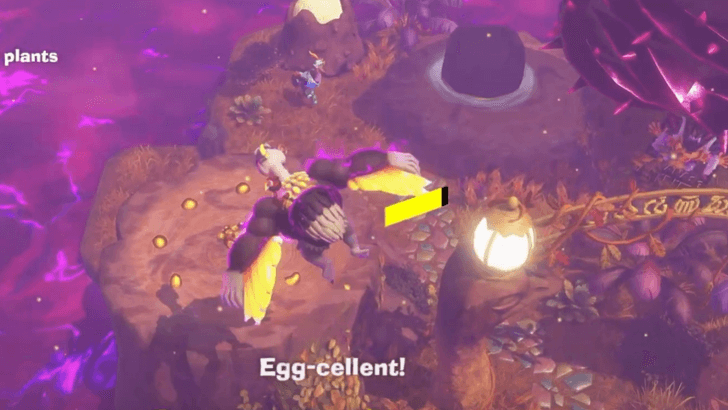 Talk to the blue ostrich on the island with the poison plant, and they'll say that the rock is blocking the updraft fan. |
| 4 | 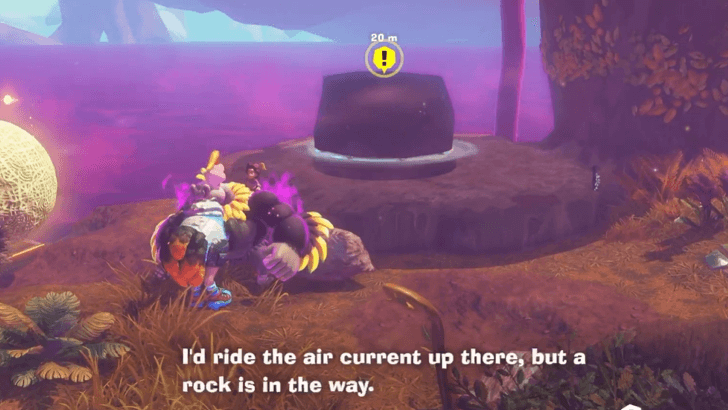 Destroy the rock blocking the updraft fan, and ride this in your Ostrich Bananza form to reach the poison plant. |
| 5 | 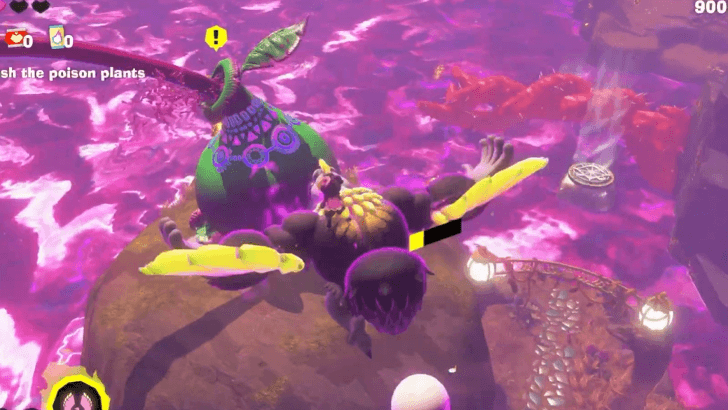 Ride the updraft to the top, and destroy the poison plant. This will reveal the path to the next plant. |
| 6 | 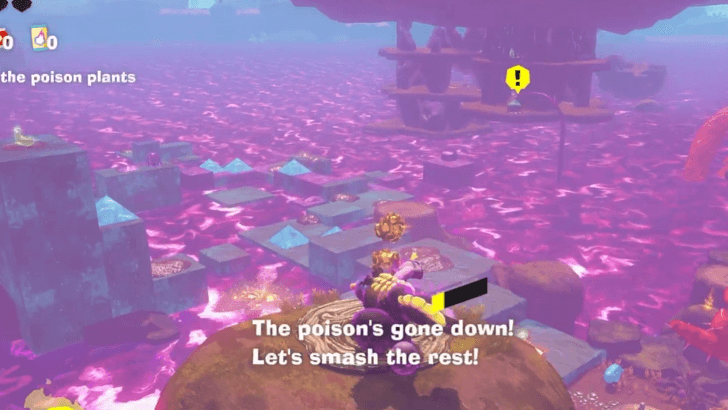 Glide towards the second poison plant, and land on the green rubber platforms. |
| 7 | 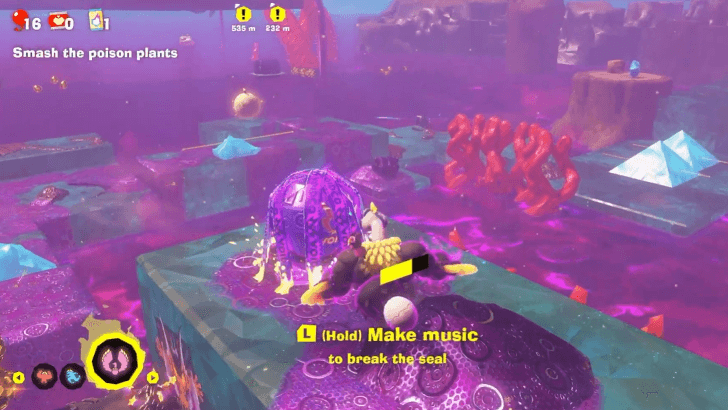 Follow the Voided Terrain at the end of the platforms to find the Terravoider. Use the Muchoid enemy as a bridge to reach the separated platform. Destroy the Terravoider to remove the Voided Terrain blocking the updraft fan. |
| 8 | Flutter to the updraft fan, then Dive Punch it to remove the rock blocking it. Try not to bounce on the rubber platform as you hit the rock, since you may be accidentally knocked down into the toxic pool below. |
| 9 | 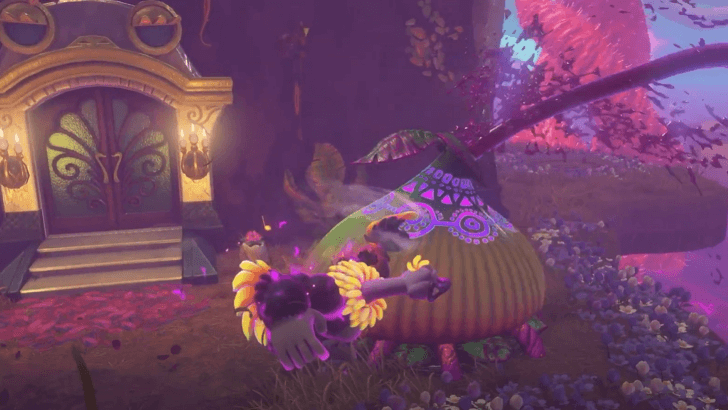 Ride the updraft to go up to the poison plant, and punch it until you destroy it. |
| 10 |  Go through the door or the opening on the side to enter the Eggshell Hotel Annex. You can shop or rest here first if you'd like. Once you're ready, go through the doorway opposite the Style Shop and follow the path to a jumping off point. |
| 11 | 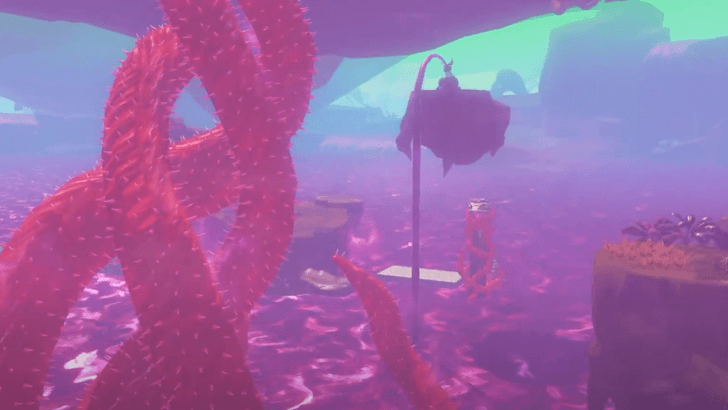 Activate your Ostrich Bananza form, then flutter off. Travel to the large landmass, then make your way to the updraft fans on the right. |
| 12 | 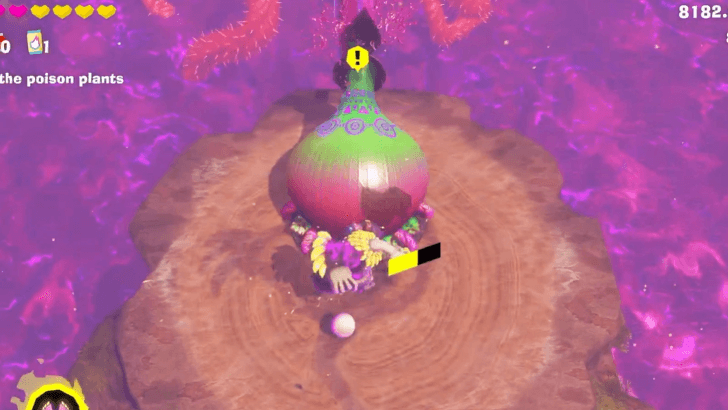 Use the updrafts to fly to the third poison plant, and destroy it. |
| 13 | 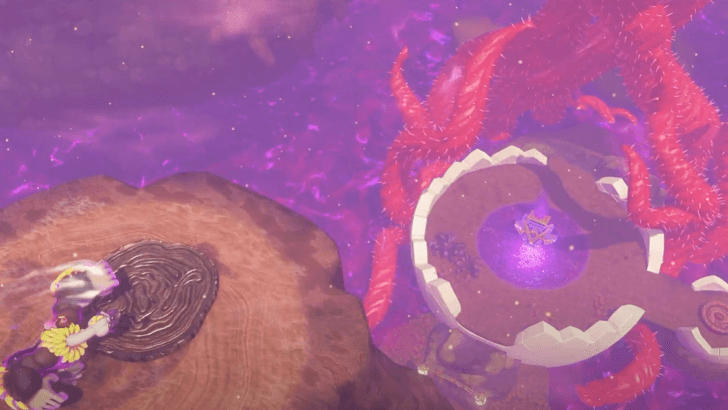 Jump down and destroy the Void Stake. |
| 14 | 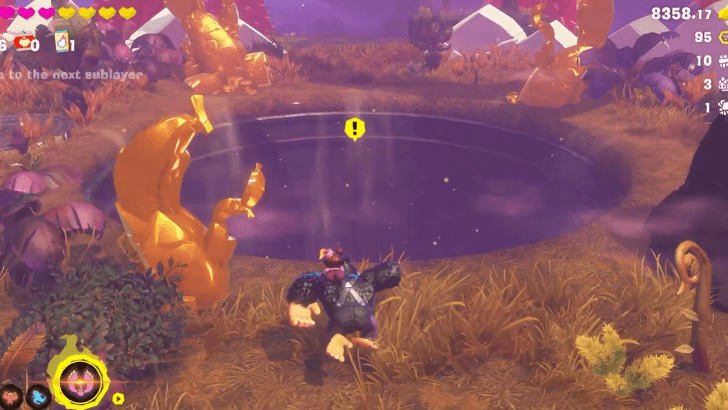 Drop down the hole to proceed to the next sublayer. |
Forest Sublayer 602
| Step-by-Step Guide | |
|---|---|
| 1 | 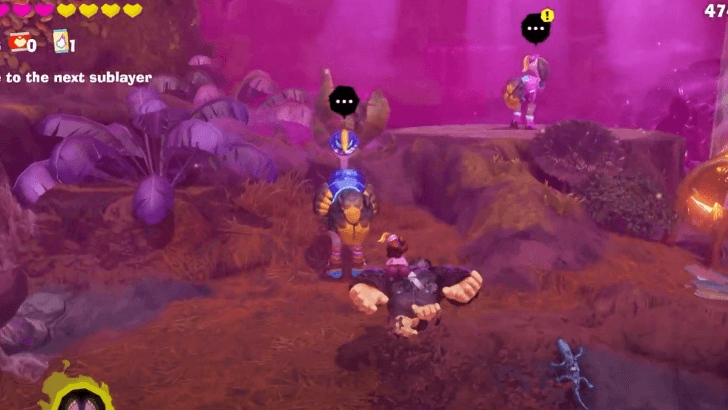 Talk to the pink ostrich right up ahead. |
| 2 | 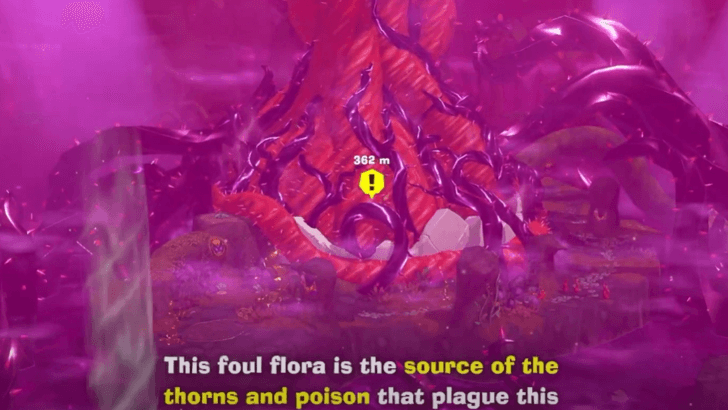 Head to the foul flora on Broodbud Isle, and land on the uncorrupted ground near it. Tear off a chunk of terrain to use against the enemies you'll encounter along the way. |
| 3 | 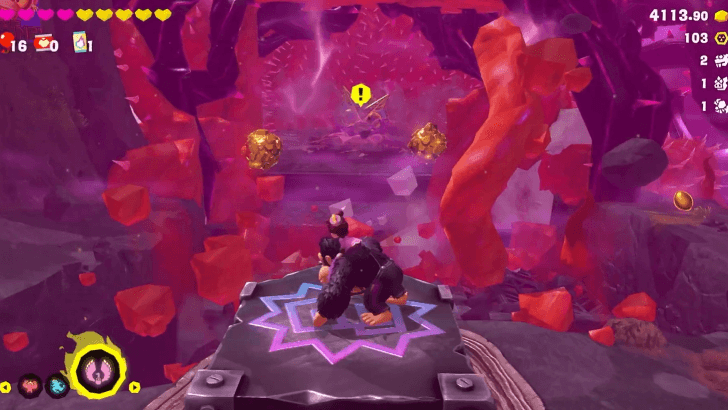 Follow the path around the island to find the pressure plate. Clear off the thorns by swinging a chunk of terrain, and then use Dive Punch on the plate to reveal the Void Stake. |
| 4 | 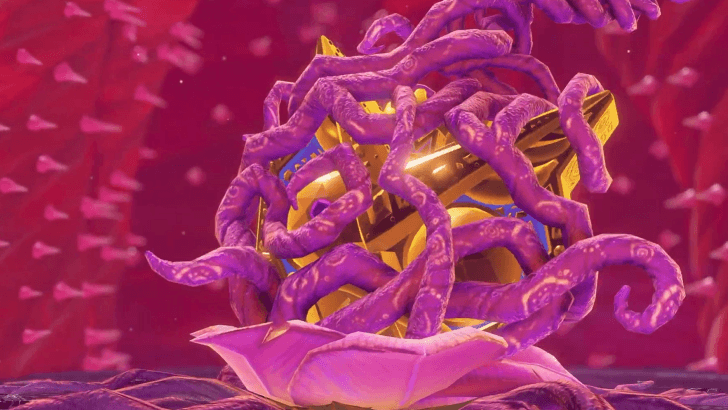 Punch the Void Stake. Be warned that this will trigger a boss fight. |
| * | 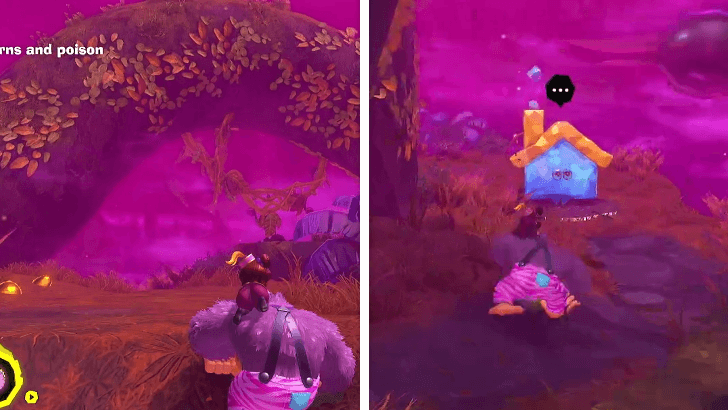 If you pass through the wooden arch behind the pressure plate, there is a Getaway that you can use to rest before the fight. |
| 5 | 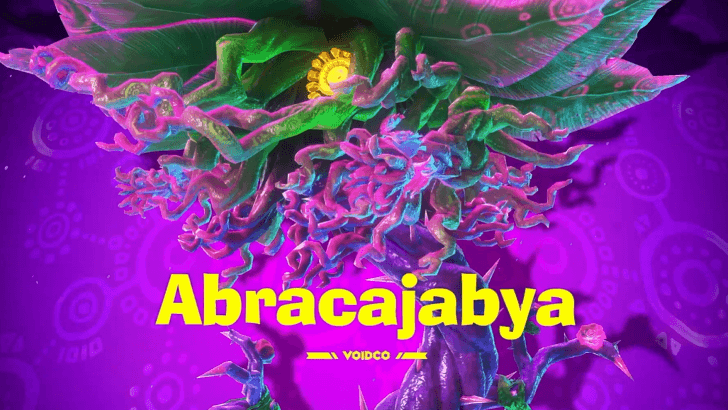 Defeat Abracajabya. You will need to bait out its vines and use them to reach its head. When you get to the top, attack the Void Stake to damage its health. ▶︎ How to Beat Abracajabya |
| 6 | 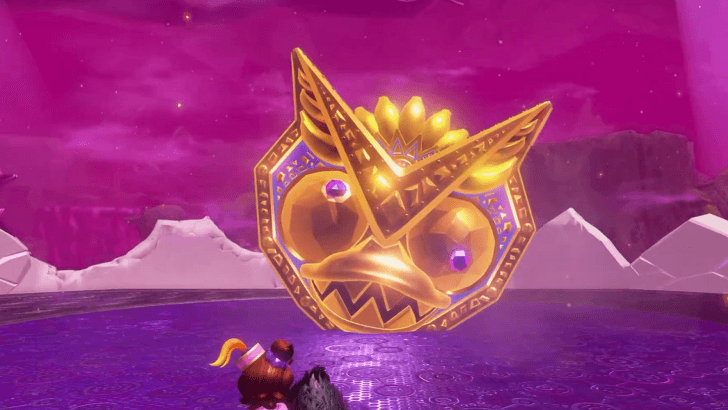 Destroy the Void Stake after defeating Abracajabya. |
| 7 | 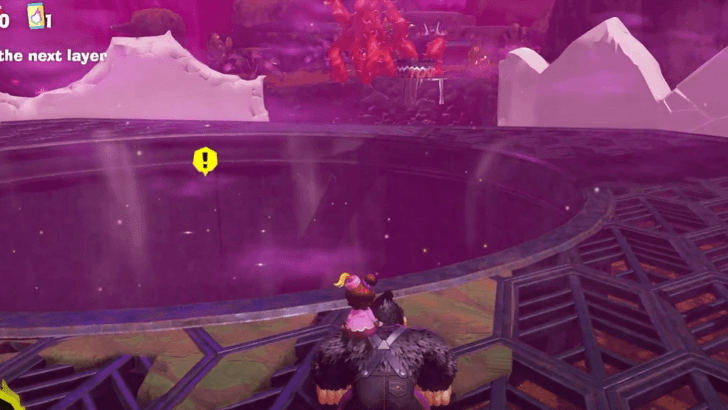 Jump down to proceed to the next layer. ▶︎ The Junction Walkthrough |
Forest Layer Boss
Abracajabya
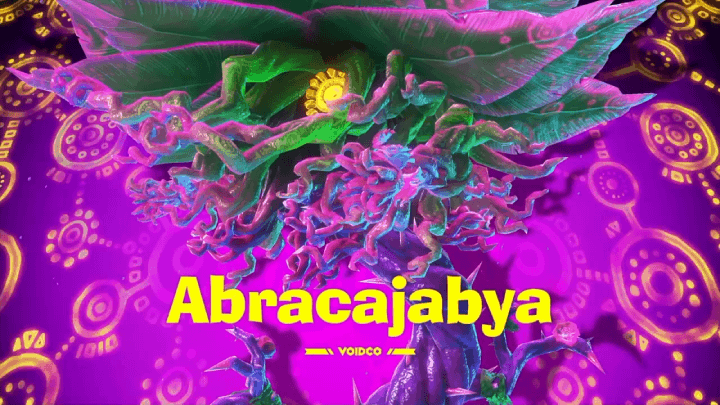
Abracajabya is the boss you'll face at the end of the Forest Layer. This boss is best fought using the Ostrich Bananza form that you obtain during this level. Make use of the wind turbines in the area to help you reach Abracajabya's main body and damage it.
Donkey Kong Bananza Related Guides
All Walkthrough Guides
| # | Layer |
|---|---|
| SL1 | Ingot Isle |
| SL100 | Lagoon Layer |
| SL200 | Hilltop Layer |
| SL300 | Canyon Layer |
| SL400 | The Divide |
| SL500 | Freezer Layer |
| SL600 | Forest Layer |
| SL700 | The Junction |
| SL800 | Resort Layer |
| SL900 | Tempest Layer |
| SL1000 | Landfill Layer |
| SL1100 | Racing Layer |
| SL1200 | Radiance Layer |
| SL1300 | Groove Layer |
| SL1400 | Feast Layer |
| SL1500 | Forbidden Layer |
| SL1600 | Planet Core |
Comment
Author
Forest Layer Walkthrough
improvement survey
04/2026
improving Game8's site?

Your answers will help us to improve our website.
Note: Please be sure not to enter any kind of personal information into your response.

We hope you continue to make use of Game8.
Rankings
- We could not find the message board you were looking for.
Gaming News
Popular Games

Genshin Impact Walkthrough & Guides Wiki

Crimson Desert Walkthrough & Guides Wiki

Umamusume: Pretty Derby Walkthrough & Guides Wiki

Honkai: Star Rail Walkthrough & Guides Wiki

Monster Hunter Stories 3: Twisted Reflection Walkthrough & Guides Wiki

Wuthering Waves Walkthrough & Guides Wiki

The Seven Deadly Sins: Origin Walkthrough & Guides Wiki

Pokemon TCG Pocket (PTCGP) Strategies & Guides Wiki

Pokemon Pokopia Walkthrough & Guides Wiki

Zenless Zone Zero Walkthrough & Guides Wiki
Recommended Games

Monster Hunter World Walkthrough & Guides Wiki

Fire Emblem Heroes (FEH) Walkthrough & Guides Wiki

Pokemon Brilliant Diamond and Shining Pearl (BDSP) Walkthrough & Guides Wiki

Super Smash Bros. Ultimate Walkthrough & Guides Wiki

Diablo 4: Vessel of Hatred Walkthrough & Guides Wiki

Cyberpunk 2077: Ultimate Edition Walkthrough & Guides Wiki

Yu-Gi-Oh! Master Duel Walkthrough & Guides Wiki

Elden Ring Shadow of the Erdtree Walkthrough & Guides Wiki

The Legend of Zelda: Tears of the Kingdom Walkthrough & Guides Wiki

Persona 3 Reload Walkthrough & Guides Wiki
All rights reserved
© Nintendo. Games are property of their respective owners. Nintendo of America Inc.
The copyrights of videos of games used in our content and other intellectual property rights belong to the provider of the game.
The contents we provide on this site were created personally by members of the Game8 editorial department.
We refuse the right to reuse or repost content taken without our permission such as data or images to other sites.


![Forza Horizon 6 Review [Preview] | Beautiful Roads With a Whole Lot of Oversteer](https://img.game8.co/4460981/a7254c24945c43fbdf6ad9bea52b5ce9.png/thumb)


