This survey will take about 1 minute.
Your answers will help us to improve our website.
Donkey Kong Bananza
Kong Elder's Rehearsal Hall Guide
☽ DK Island and Emerald Rush DLC out now!
☽ Learn how to solve Banandiumtone's Puzzles.
☽ All Collectibles: Banandium Gems and Fossils
☽ Learn How to Skip Layers Entirely!
☽ How to Beat the Final Boss
☽ Post-Game: Rehearsal Halls | Secret Ending

Complete Kong Elder's Rehearsal Hall by getting all Banandium Gems and Balloons in Donkey Kong Bananza. Learn how to get all 10 Banandium Gems, how to get all 5 balloons, and the location of Kong Elder's Rehearsal Hall here!
List of Contents
Kong Elder's Rehearsal Hall Location
Speak to the Kong Elder in Lagoon Layer
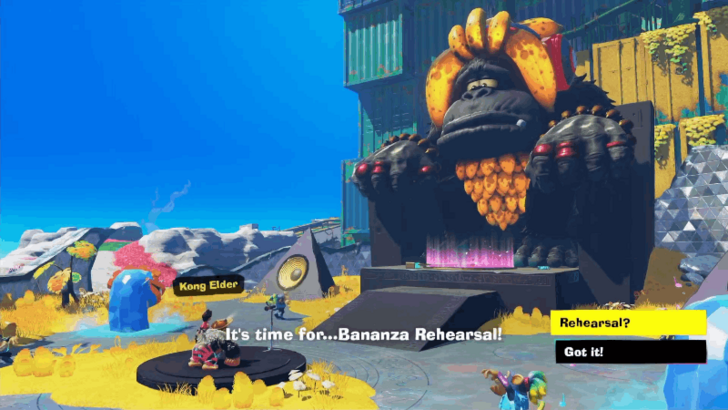
Speak to the Kong Elder in Lagoon Layer after completing the game and he will transport you to the Rehearsal Hall.
Requires 300 Banandium Gems to Unlock
| Bananza Rehearsal | Required Banandium Gems |
|---|---|
| Kong Elder | 300 Banandium Gems |
You'll need to collect a total of 300 Banandium Gems to attempt the Bananza Rehearsal from the Kong Elder.
Kong Elder's Rehearsal Hall Banana Locations
- Banandium Gem #1
- Banandium Gem #2
- Banandium Gem #3
- Banandium Gem #4
- Banandium Gem #5
- Banandium Gem #6
- Banandium Gem #7
- Banandium Gem #8
- Banandium Gem #9
- Banandium Gem #10
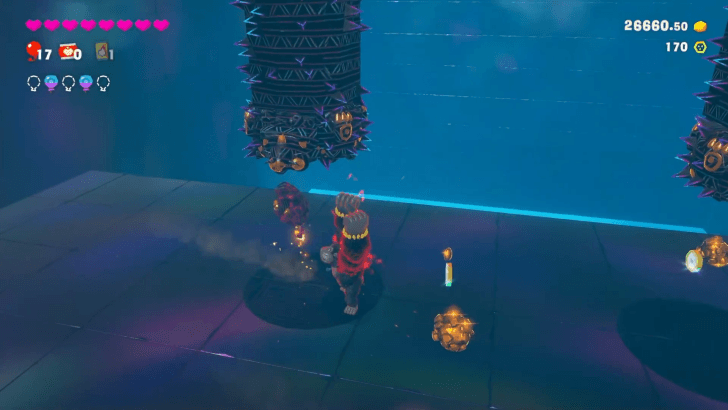
Banandium Gem #1
To get to the first Banandium Gem, you'll need to defeat the spiked-concrete Crockoid sitting on top of the concrete platform.
Defeat a Boomrock-wielding Crockoid and grab the Boomrock it drops, and use it to destroy the spiked-concrete Crockoid. Defeating it unlocks the next area where you'll obtain the first Banandium Gem (Past the First Scrappin' Ground).
Banandium Gem #2
Punch the blue button so that the moving platforms where the Crockoids are standing on are pushed all the way to the opposite side.
Next, quickly jump on the explosive pad and Dive Punch once the platforms are all aligned at the middle to destroy all of them at the same time. This unlocks the second Banandium Gem (Lure and Destroy) that you can collect.
Banandium Gem #3
To clear this area, you'll need to bait the centipede enemies so that they're hovering over the bombs. We recommend running counter-clockwise throughout the stage.
As soon as the first centipede emerges, punch one of the bombs to start a chain reaction which will cause them explode and destroy the centipedes' bodies as they emerge. Destroying all centipedes unlocks the next area where you'll obtain the third Banandium Gem (Past the Second Scrappin' Ground).
Banandium Gem #4
The fourth Banandium Gem is located in the Second-Scrappin' Detour accessed from the left wall where you obtained the third Banandium Gem. Make your way up to the last platform where you'll encounter two centipede enemies.
To defeat them, you'll need to tear off a chunk of the ground and throw it at the floating platform to bring it down on the centipede's body. You can also defeat them by using a ground slap on the platform when the centipede is on the platform, which will cause it to shoot up and break its body.
Defeating both centipedes unlocks the fourth Banandium Gem (Lift and Destroy).
Banandium Gem #5
The fifth Banandium Gem requires you to destroy two hopping concrete enemies by causing them to fall off the platform. The platforms in the area alternate between concrete and spiky vines that will damage you.
Once the platform turns into concrete, bait the enemy into hopping on you then move away so that they gradually destroy the platform they are standing on. Destroying both enemies unlocks the next area where you can get the fifth Banandium Gem (Past the Third Scrappin' Ground).
Banandium Gem #6
The sixth Banandium Gem is located in the Third-Scrappin' Detour accessed from the left wall where you obtained the fifth Banandium Gem.
This area has two hopping enemies that you'll need to bait into the middle area so that the walls will slam down on them. Destroying both enemies unlocks the sixth Banandium Gem (Wallop and Destroy) for you to collect.
Banandium Gem #7
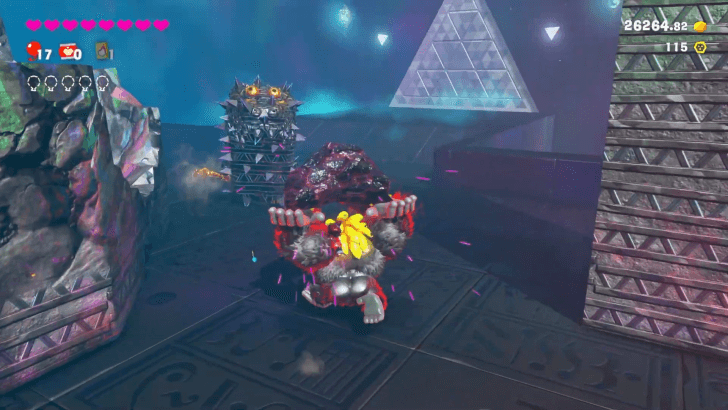
The seventh Banandium Gem requires you to defeat the two circular enemies in the right area behind the yellow wall.
You'll need to use your Charge Punch to destroy their outer shells to reveal the gold enemy inside. Defeating both enemies unlocks the next area where you can get the seventh Banandium Gem (Past the Fourth Scrappin' Ground).
How to Unlock and Use Kong Bananza Form
Banandium Gem #8
The eighth Banandium Gem is located in the Fourth-Scrappin' Detour accessed from the left wall where you obtained the seventh Banandium Gem.
To destroy the two enemies in this area, stand under the enemy and punch up using the X Button just as the rolling bomb enemies approach you. Destroying both enemies unlocks the eight Banandium Gem (Launch and Destroy).
Banandium Gem #9
The ninth Banandium Gem is located in the Fifth-Scrappin' Detour accessed from the left wall just before the final area.
This puzzle requires you to carefully line up and punch a steel ball so that shoots up and destroys the concrete platform that the enemies are standing on. Destroying all three enemies unlocks the ninth Banandium Gem (Bounce and Destroy).
Banandium Gem #10
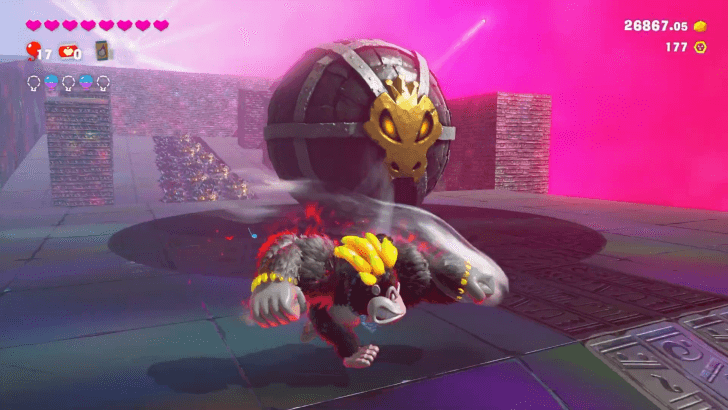
The tenth Banandium Gem requires you to charge punch a large steel ball into a group of enemies. Simply position yourself in front of the steel ball and perform a charge punch.
The steel ball isn't enough to completely destroy the enemies, and you'll need to defeat their gold skeletal forms afterwards.
Destroying all enemies in this area unlocks a barrel to the next area where you can get the tenth Banandium Gem (Past the Fifth Scrappin' Ground).
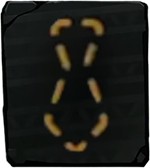
Kong Elder's Rehearsal Hall Balloon Locations
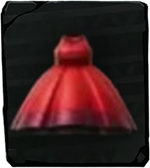
Balloon #1
This balloon can be found on top of a stone column in the First Scrappin' Gound, with the balloon being held by an enemy. Destroy the stone column, and reach for the balloon once the enemy descends from the column.
Balloon #2
You can find a balloon at the Second Scappin' Ground, just underneath the lava in the area. Once the lava has been removed, check for a concrete panel on the ground and smash it to reach the area underneath. From there, reach for the balloon.
Balloon #3
A balloon can be found inside a stone wall on the Third Scrappin' Ground. The wall changes from stone to spiked vegetation routinely, so make sure you first turn the wall into stone that you can smash it and claim the balloon.
Balloon #4
This balloon can be found on the Fourth Scrappin' Ground, just inside one of the spiked columns in the area. Use Hand Slap to know which spiked column has the balloon and smash it to access the balloon.
Balloon #5
A balloon can be found just underneath a stone wall in the Kong Elder's Throne. The balloon can be found near the third column on the right of the area, which you can access easily by hurtling the giant metal ball towards the enemies occupying the area.
Kong Elder's Rehearsal Hall Rewards
10 Banandium Gems

Completing the Kong Elder's Bananza Rehearsal will reward a total of 10 Banandium Gems, which you can use to unlock new skills.
Unlock the Golden Punch Skill
| Skill | Description | Skill Points Required |
|---|---|---|
| Fully chared punches will change the surrounding terrain into pure gold. | 5 |
Completing the Kong Elder's Bananza Rehearsal also unlocks the Golden Punch golden skill.
These skills will initially appear as "???" and you need to master all of the Bananza skills above it before you can learn it!
Donkey Kong Bananza Related Guides

All Post-Game Guides
| Fossil Museum Guide | All Post-Game Outfits |
| How to Get Replica Ancient Records | Boss Rush Mode |
| Battle Rush Mode | - |
All Bananza Rehearsal Halls
Post-Game Outfits
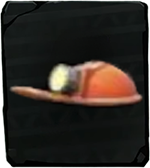 Mining Helmet Mining Helmet |
 Gold-Mining Gear Gold-Mining Gear |
 Invisibility Tie Invisibility Tie |
 Diva Dress Diva Dress |
||
Author

Kong Elder's Rehearsal Hall Guide
Please participate in our site
improvement survey
04/2026
improvement survey
04/2026
Would you assist in
improving Game8's site?
improving Game8's site?

×
We are listening to our users' valuable opinions and discussing how to act on them.
The information collected through this survey will be used for the purpose of improving our services. In addition, the information will only be disclosed a part of a statistic in a format that will not allow identification of personal information.
Begin Survey
Not Now
×
Please rate each item regarding Game8.co's Advertisements.
Amount of Ads
Very Dissatisfied
Somewhat Dissatisfied
Fine
Somewhat Satisfied
Highly Satisfied
Placement of Ads
Timing of Ad Display
Ad Loading Speed
Safeness of Ads
Content of Ads
×
Please rate each item regarding Game8.co's Quality of Articles.
Amount of information
Very Dissatisfied
Somewhat Dissatisfied
Fine
Somewhat Satisfied
Highly Satisfied
Frequency of updates
Speed of new information
Accuracy of articles
Understandibility of articles
Readability of sentences
×
Please rate each item regarding Game8.co's Usability of the Site.
Ease of finding information
Very Dissatisfied
Somewhat Dissatisfied
Fine
Somewhat Satisfied
Highly Satisfied
Loading Speed
Use of Color
Font Size
Visibility of Images
Easy to Understand Layout
×
Please rate each item regarding Game8.co's Message Boards, Comments.
Ease of Writing
Very Dissatisfied
Somewhat Dissatisfied
Fine
Somewhat Satisfied
Highly Satisfied
Readability
Ease in Finding Information
Comment Quality
Comment Quantity
Admin Response
×
Please rate each item regarding Game8.co's Site's new design.
Please rate our site's new design
Very Dissatisfied
Somewhat Dissatisfied
Fine
Somewhat Satisfied
Highly Satisfied
Do you think that the website's design change makes the site easier to use?
Has the new design made it easier for you to find information on the site?
Has the new design improved the overall visual appeal of the site?
How would you rate your overall satisfaction with the new design of the site?
×
How likely are you to recommend Game8 to someone you know?
Very Unlikely
0
1
2
3
4
5
6
7
8
9
10
Very Likely
If you have other opinions regarding potential improvement to the website, please share them with us. We would appreciate your honest opinion.
Note: This is a free response section, so you can proceed without entering anything.
Note: Please be sure not to enter any kind of personal information into your response.
Note: Please be sure not to enter any kind of personal information into your response.
×
Thank You
×
Thank you for participating in our survey! Your answers will help us to improve the quality of our website and services.
We hope you continue to make use of Game8.
We hope you continue to make use of Game8.
Close
Rankings
Gaming News


![Forza Horizon 6 Review [Preview] | Beautiful Roads With a Whole Lot of Oversteer](https://img.game8.co/4460981/a7254c24945c43fbdf6ad9bea52b5ce9.png/thumb)
Popular Games

Genshin Impact Walkthrough & Guides Wiki
Crimson Desert Walkthrough & Guides Wiki
Umamusume: Pretty Derby Walkthrough & Guides Wiki
Honkai: Star Rail Walkthrough & Guides Wiki
Monster Hunter Stories 3: Twisted Reflection Walkthrough & Guides Wiki
Wuthering Waves Walkthrough & Guides Wiki
The Seven Deadly Sins: Origin Walkthrough & Guides Wiki
Pokemon TCG Pocket (PTCGP) Strategies & Guides Wiki
Pokemon Pokopia Walkthrough & Guides Wiki
Zenless Zone Zero Walkthrough & Guides Wiki


Recommended Games
Monster Hunter World Walkthrough & Guides Wiki
Fire Emblem Heroes (FEH) Walkthrough & Guides Wiki
Pokemon Brilliant Diamond and Shining Pearl (BDSP) Walkthrough & Guides Wiki
Super Smash Bros. Ultimate Walkthrough & Guides Wiki
Diablo 4: Vessel of Hatred Walkthrough & Guides Wiki
Cyberpunk 2077: Ultimate Edition Walkthrough & Guides Wiki
Yu-Gi-Oh! Master Duel Walkthrough & Guides Wiki
Elden Ring Shadow of the Erdtree Walkthrough & Guides Wiki
The Legend of Zelda: Tears of the Kingdom Walkthrough & Guides Wiki
Persona 3 Reload Walkthrough & Guides Wiki


All rights reserved
© Nintendo. Games are property of their respective owners. Nintendo of America Inc.
The copyrights of videos of games used in our content and other intellectual property rights belong to the provider of the game.
The contents we provide on this site were created personally by members of the Game8 editorial department.
We refuse the right to reuse or repost content taken without our permission such as data or images to other sites.
Kong elder duplicate record