List of All 108 Challenge Ruins
☽ DK Island and Emerald Rush DLC out now!
☽ Learn how to solve Banandiumtone's Puzzles.
☽ All Collectibles: Banandium Gems and Fossils
☽ Learn How to Skip Layers Entirely!
☽ How to Beat the Final Boss
☽ Post-Game: Rehearsal Halls | Secret Ending
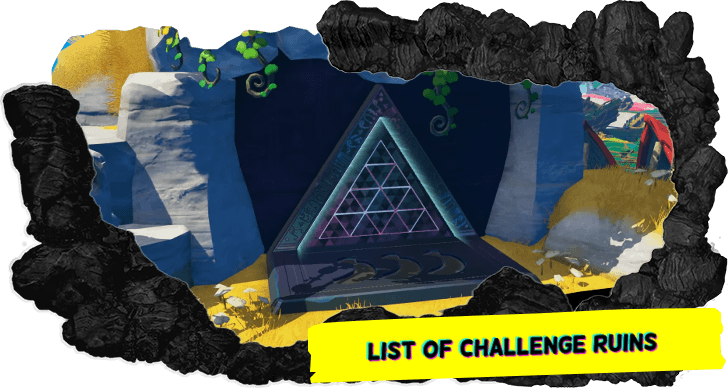
A list of all 108 Challenge Ruins in Donkey Kong Bananza. See all Challenge Ruins in each layer, all types of Challenge Ruins, and rewards for completing them!
List of Contents
 Notice Notice |
We are currently completing all the Challenge Ruins available in Donkey Kong Bananza. Swing back soon for the full list! Sign in and select  under the page's title to be notified of any updates! under the page's title to be notified of any updates! |
|---|
List of All 108 Challenge Ruins
| Challenge Ruins by Layer | |||
|---|---|---|---|
| Lagoon | Hilltop | Canyon | The Divide |
| Freezer | Forest | Junction | Resort |
| Tempest | Landfill | Racing | Radiance |
| Groove | Feast | Forbidden | |
Lagoon Layer Challenge Ruins
| Overworld View | Map Location |
|---|---|
 |
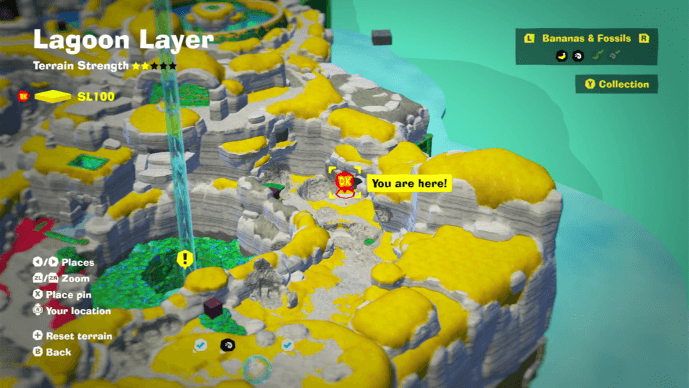 |
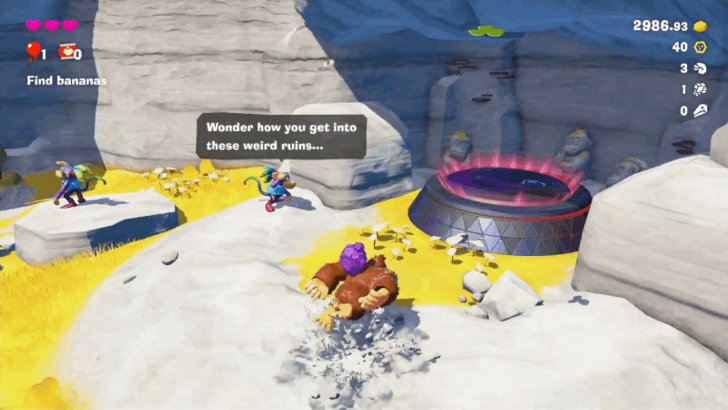
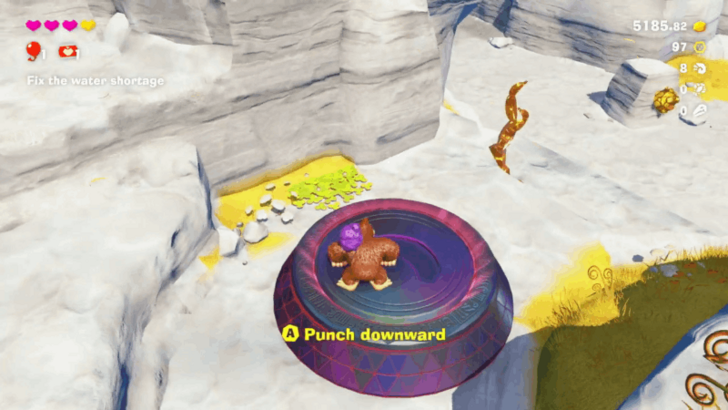
| Found near the large spinning concrete structure. Punch downward to enter the Challenge Ruin. | |
 |
 |
 |
 |
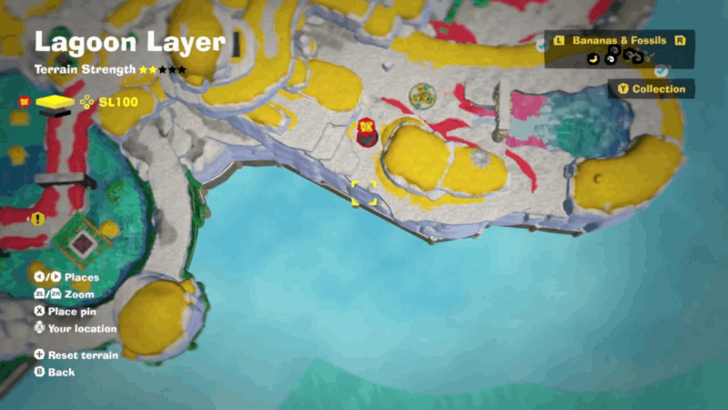
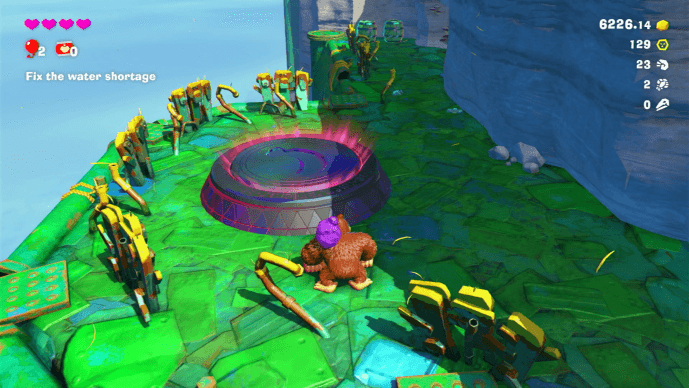
| Located on a ledge east of the large reservoir. You will have to clear the Void Seals to access this course. | |
 |
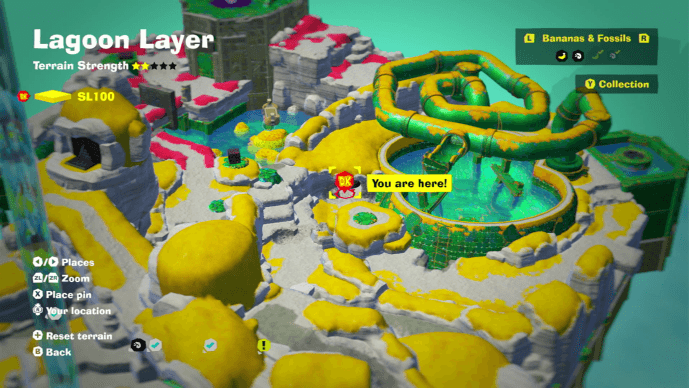 |
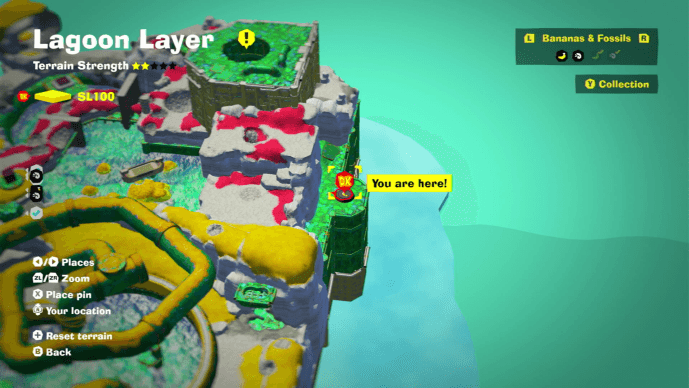
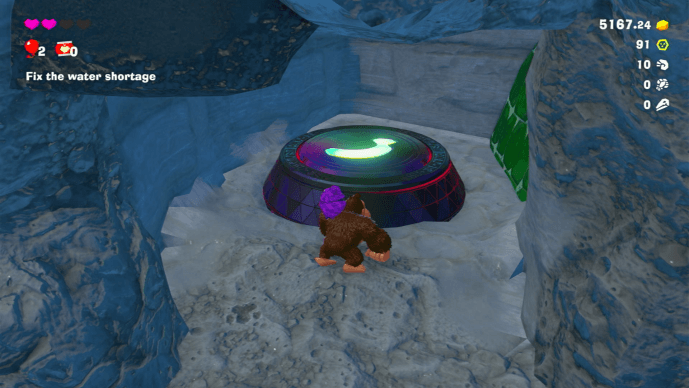
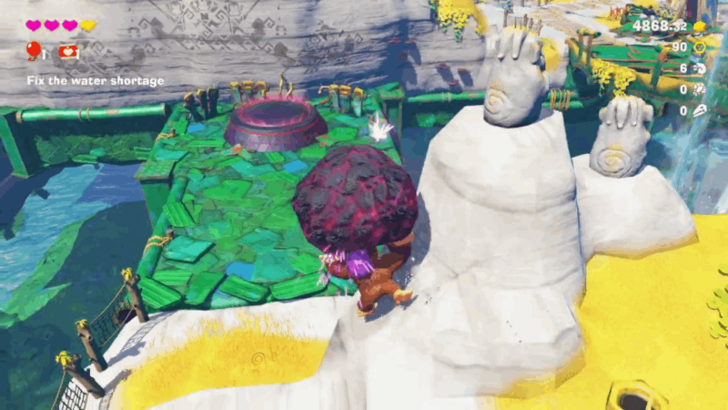
| Found behind the rock wall near the large water basin. You will have to clear the Void Seals to access this course. | |
 |
 |
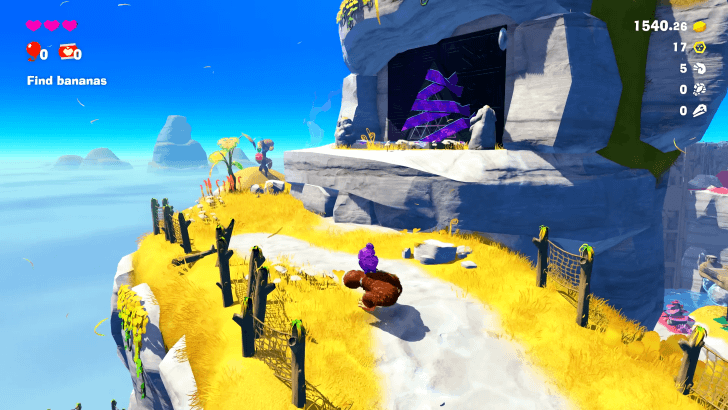
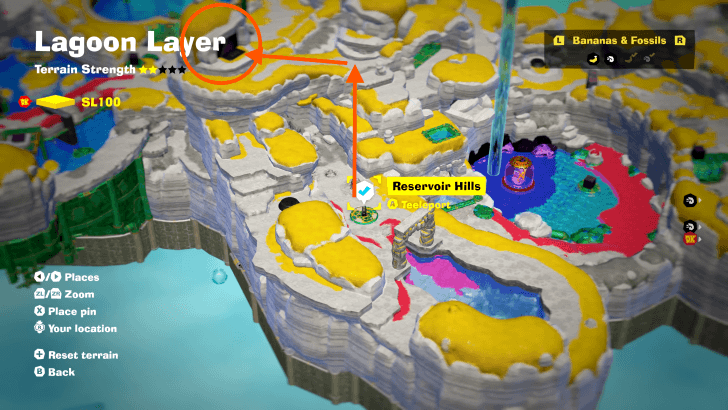
| Found in Salvager's Landing a few steps north from where you land from the top. Punch downward to access the ruins. | |
 |
 |
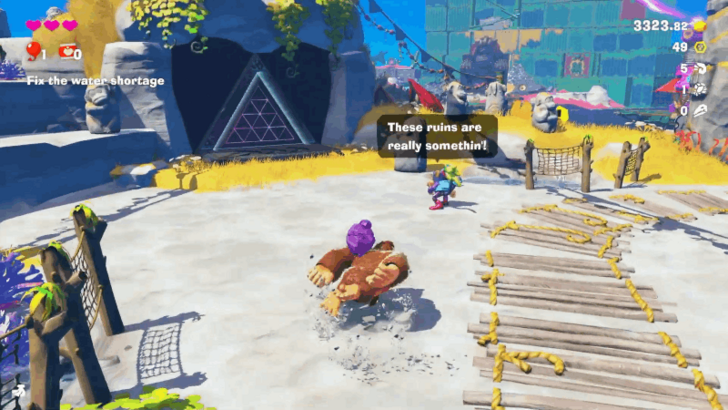
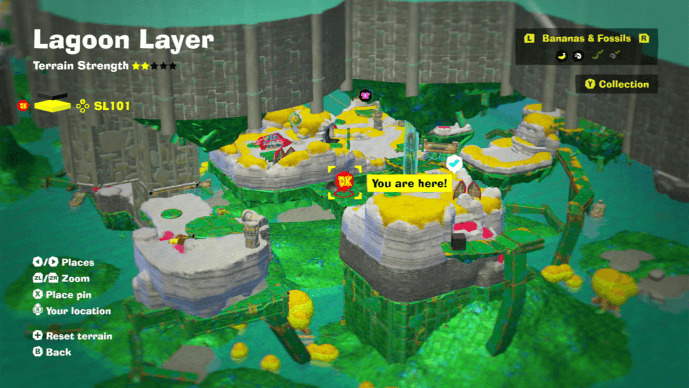
| Found by the large stone face sculpture. You will have to clear the Void Seals to access this course. | |
 |
 |
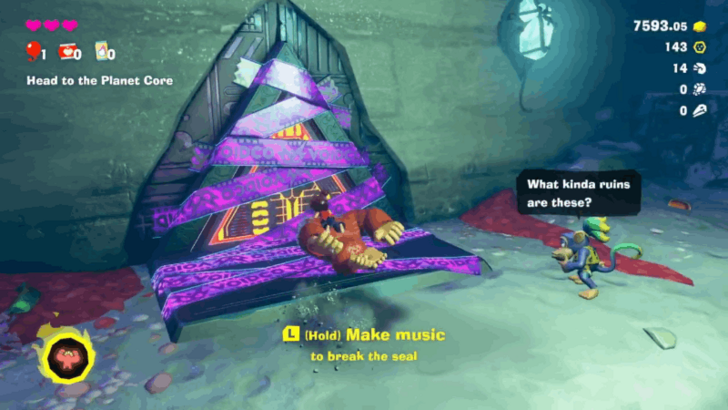
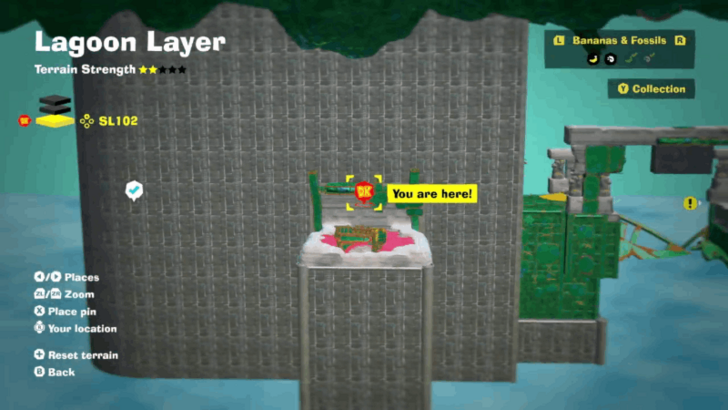
| Found in Salvager's Landing north from where you land from the top. Punch the wall to access the ruins. | |
 |
 |
Lagoon Layer Banana and Fossil Locations (SL 100-102)
Hilltop Layer Challenge Ruins
| Overworld View | Map Location |
|---|---|
 |
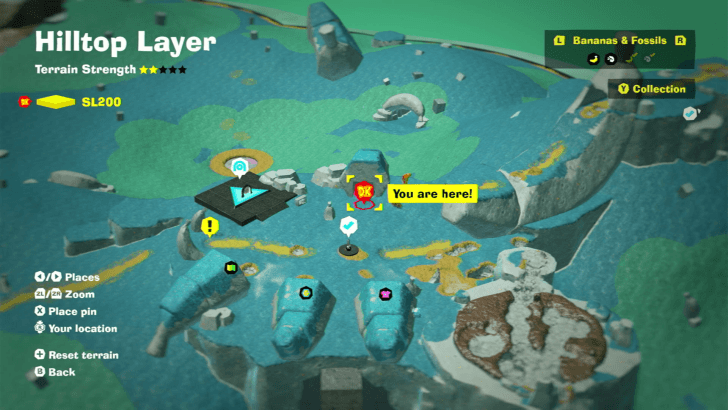 |
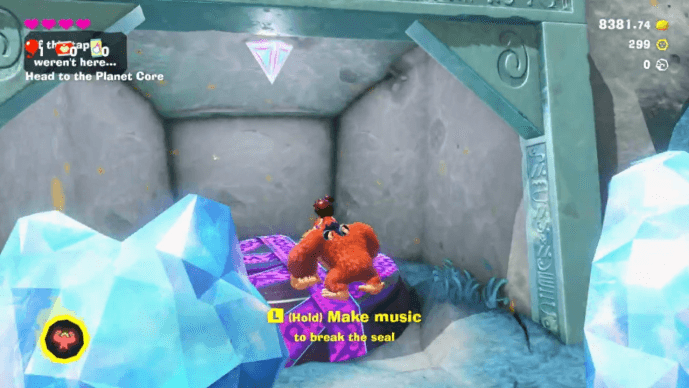
| Found in one of the houses with two Fractones looking at the entrance. You'll need to punch down to enter the challenge ruins. | |
 |
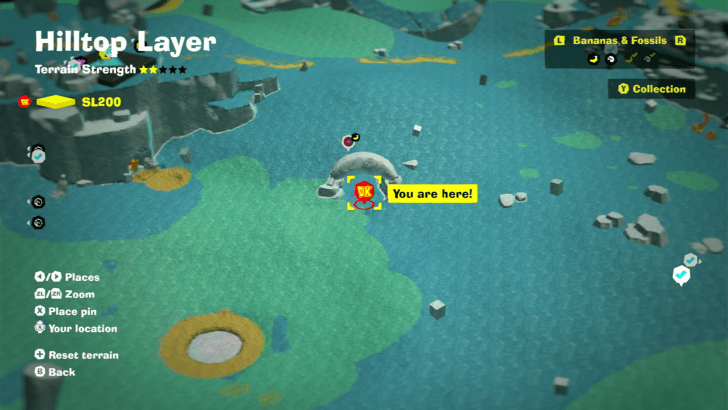 |
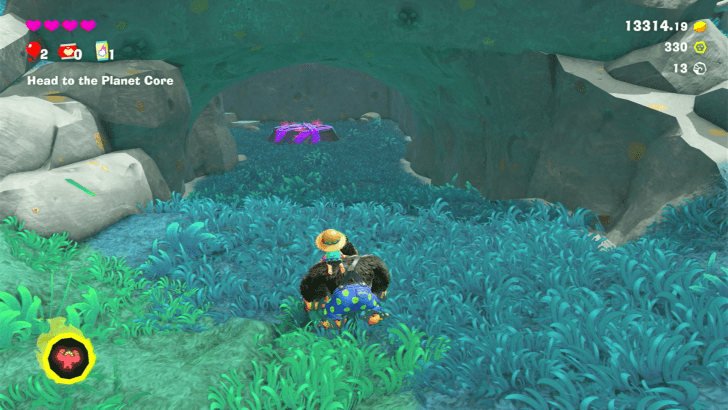
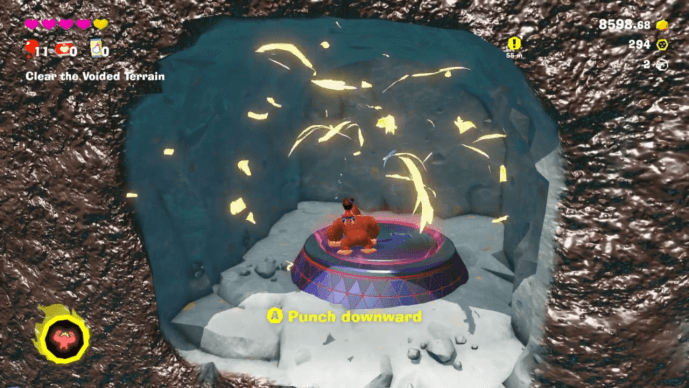
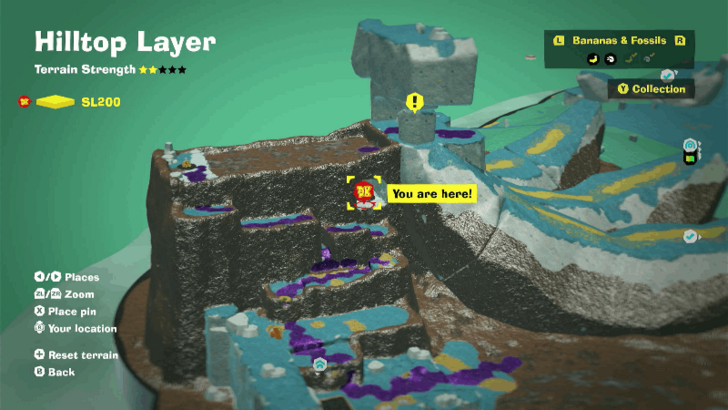
| Located slightly northeast of Fractone Village in a small cave with a banana arch. | |
 |
 |
| Found in the mudhole wall at the muddy area heading to Peel Peak with falling spiky enemies. | |
 |
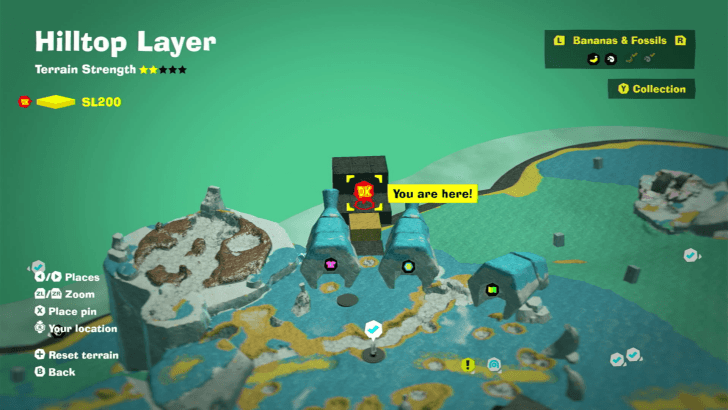 |
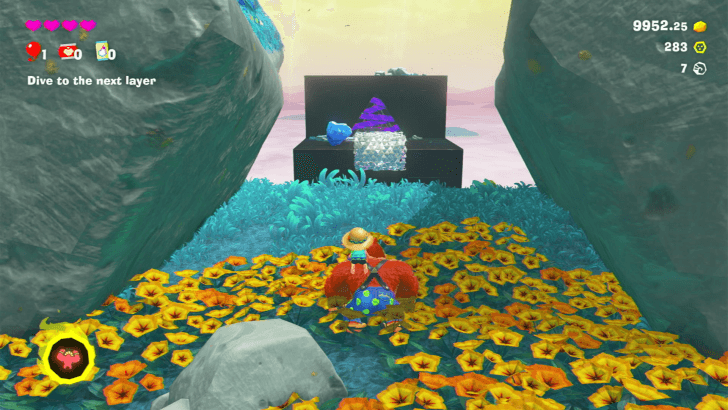
| Located on a floating platform on the western side of Fractone Village between the Style Shop and the Chip Exchange. You'll need to throw a chunk of ground to create a floating platform to access the area. | |
 |
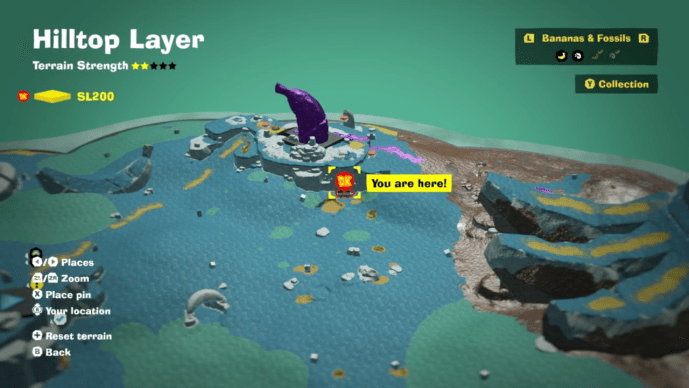 |
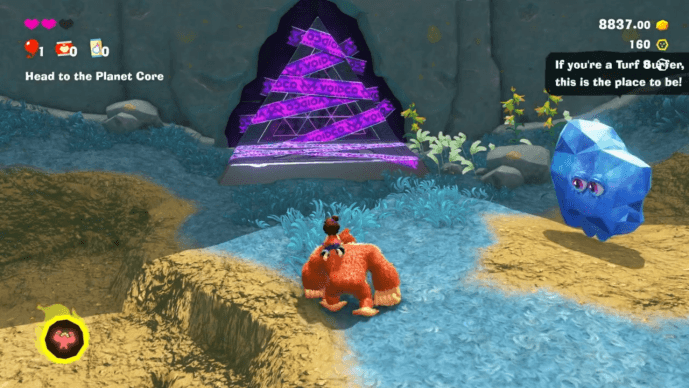
| Found near the tall gold deposits and on the base of the plateau with the large Void Banana. You will have to clear the Void Seals to access this course. | |
 |
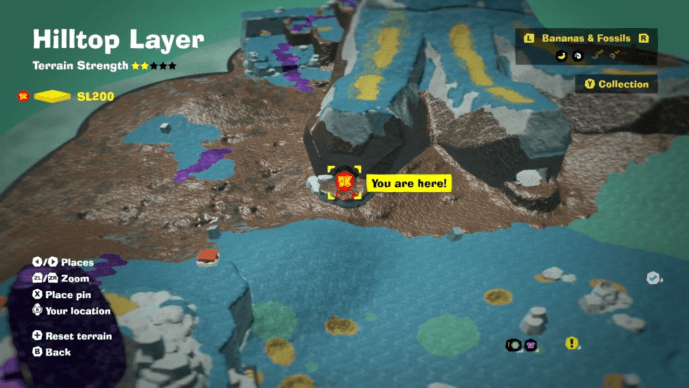 |
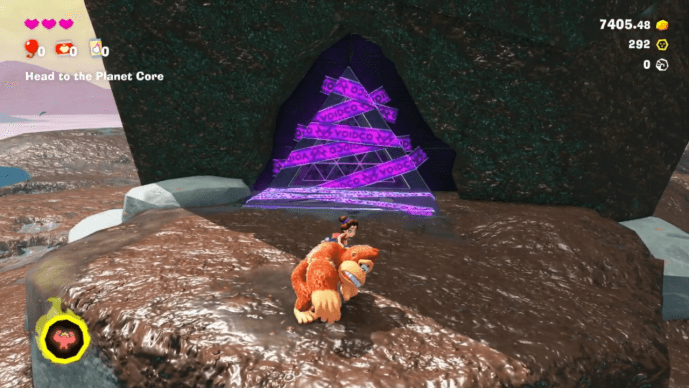
| Found on the muddy platform at the left side of the large banana-like structure. You will have to clear the Void Seals to access this course. | |
 |
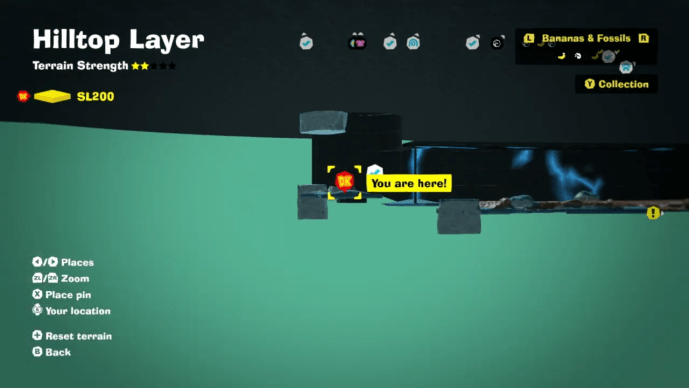 |
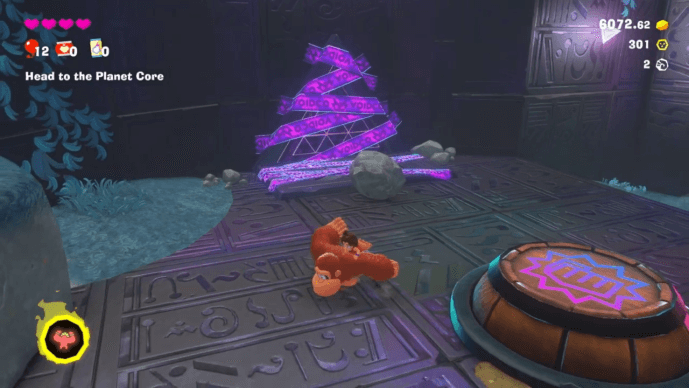
| Found near the entrance of the Undertone Canal. You will have to clear the Void Seals to access this course. | |
Hilltop Layer Banana and Fossil Locations (SL 200)
Canyon Layer Challenge Ruins
| Overworld View | Map Location |
|---|---|
 |
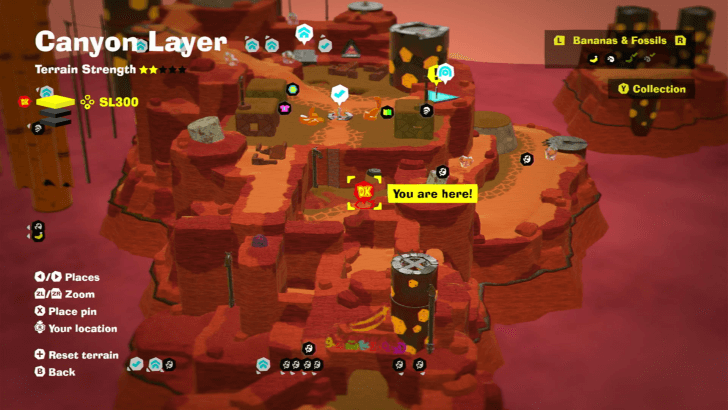 |
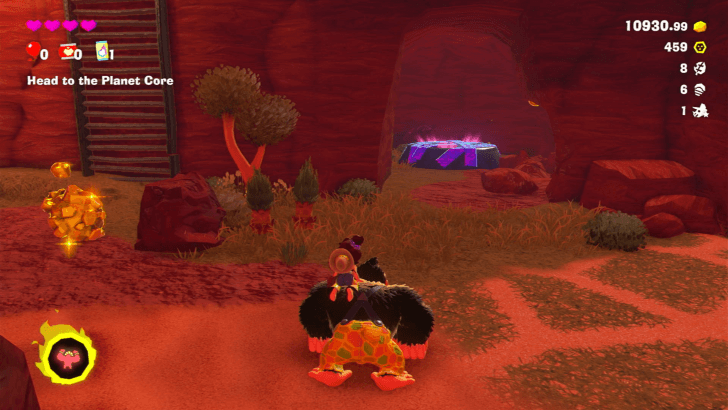
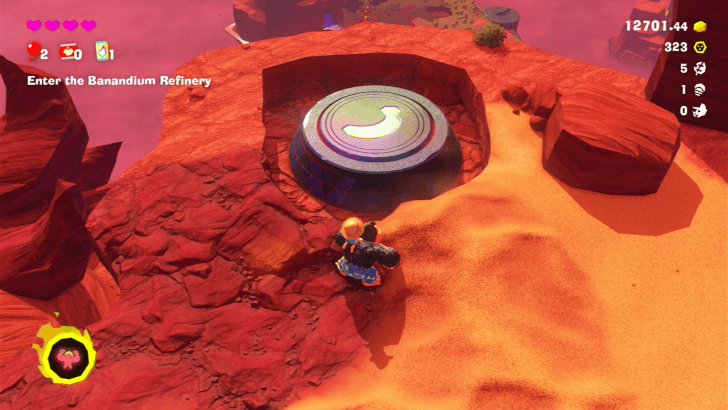
| Located behind a rock wall to the right of the ladder heading to Longneck Plateau Village. | |
 |
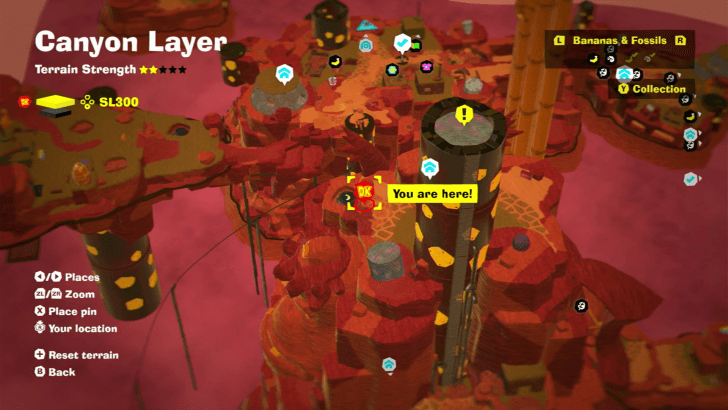 |
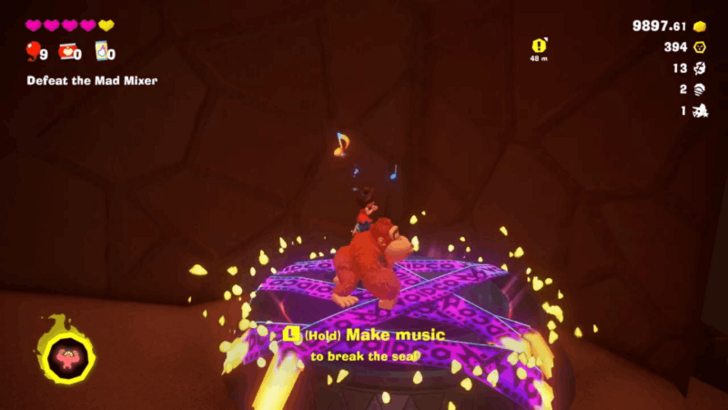
| Located next to the entrance of Big-Stretch Peak Getaway. | |
 |
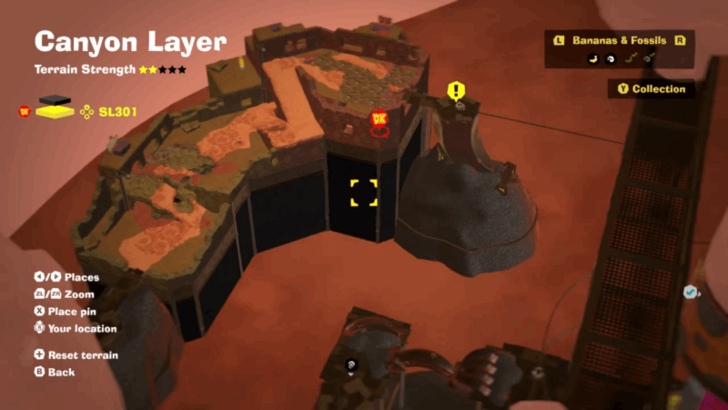 |
| Located underneath the muddy area slightly northeast of the Banandium Refinery Offices Getaway, and just before the minecart. | |
 |
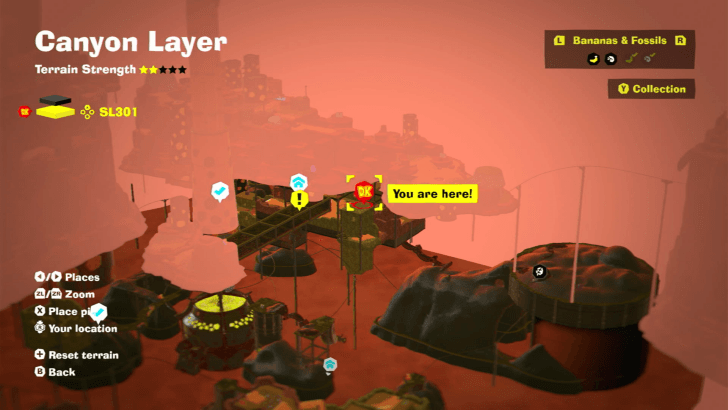 |
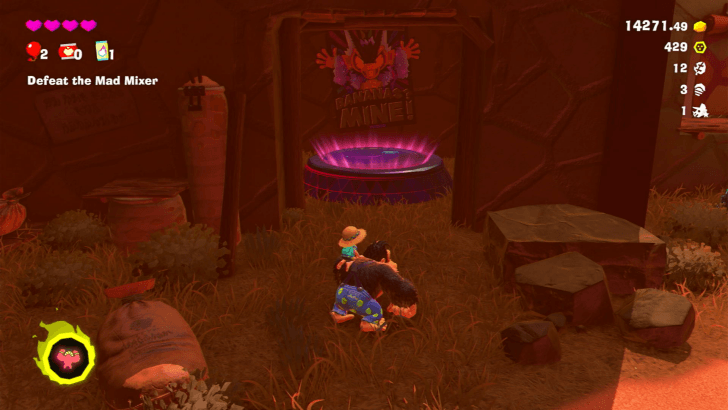
| Located in a small room in the Banandium Refinery Terrace right before the minecart heading to the Mad Mixer. | |
 |
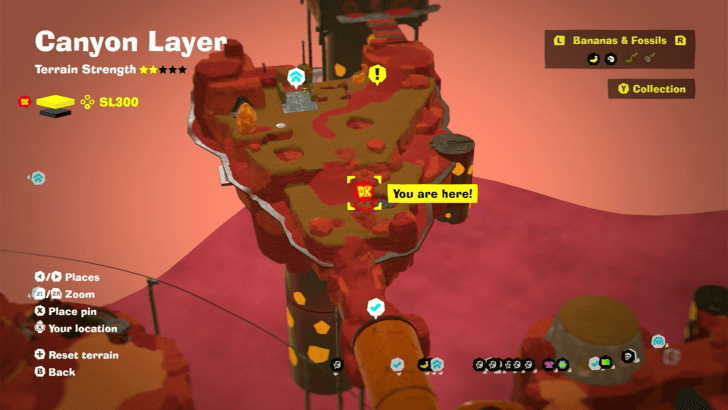 |
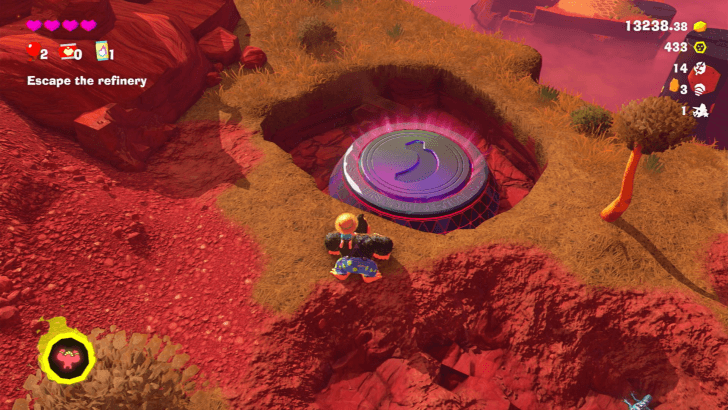
| Located in Mechaneck Isle, the area you arrive after defeating the Mad Mixer. | |
 |
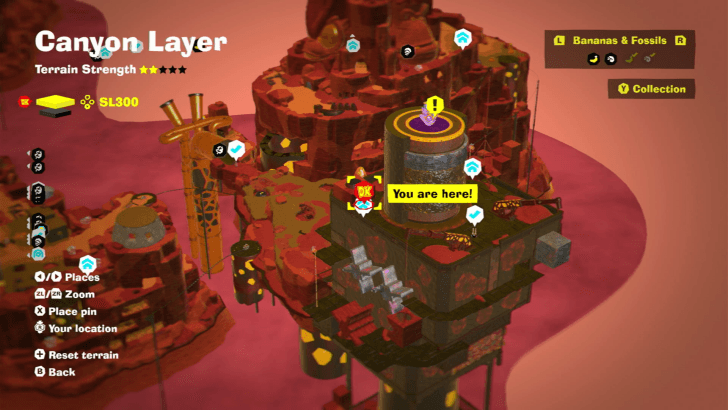 |
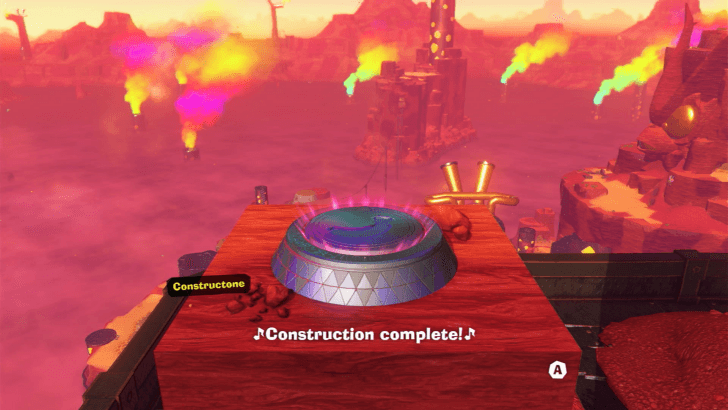
| Located on Click-Clack Smokestack Roof. Speak to the Constructone and pay 600 Gold to clear the rubble to access the Challange Ruin. | |
 |
 |
 |
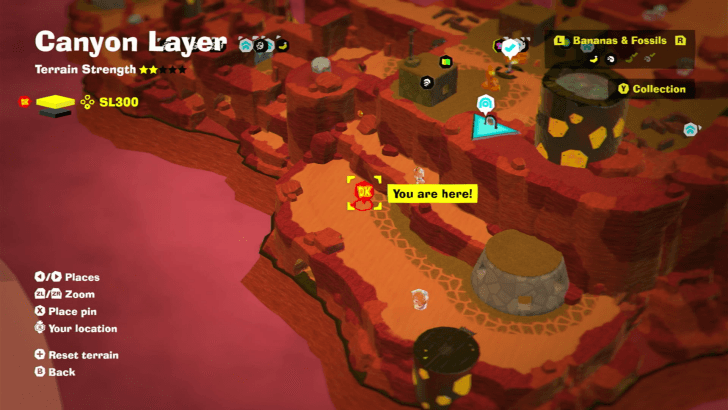 |
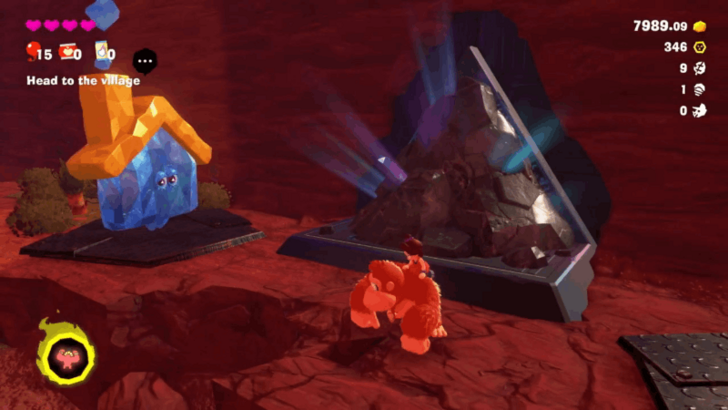
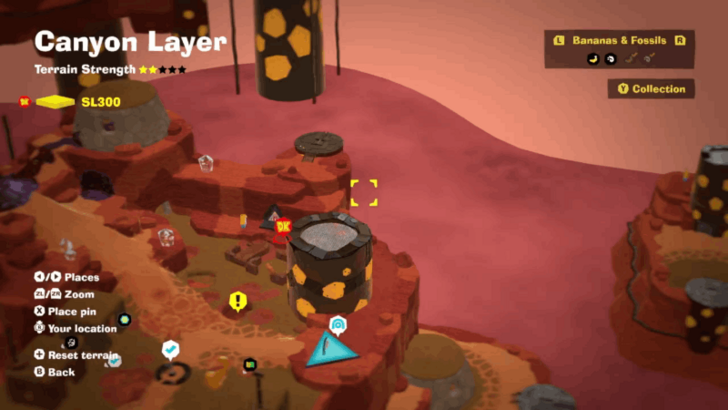
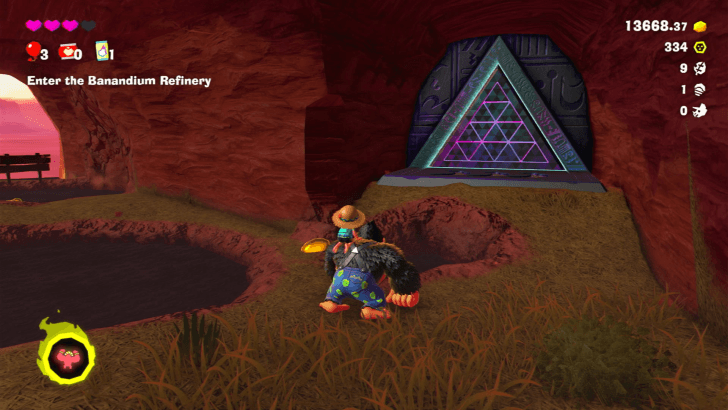
| Located in a cave system underneath Longneck Plateau Village | |
 |
 |
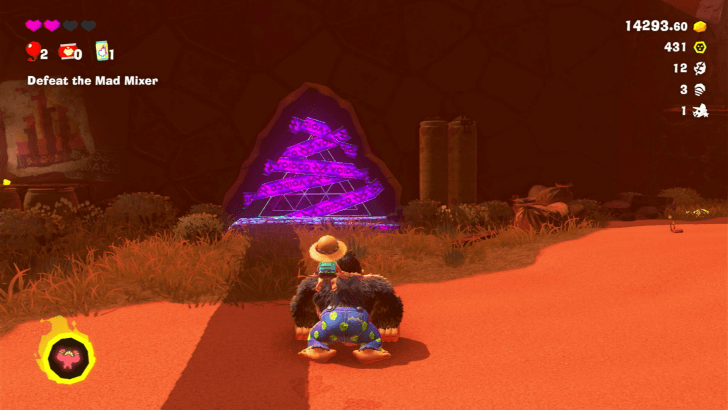 |
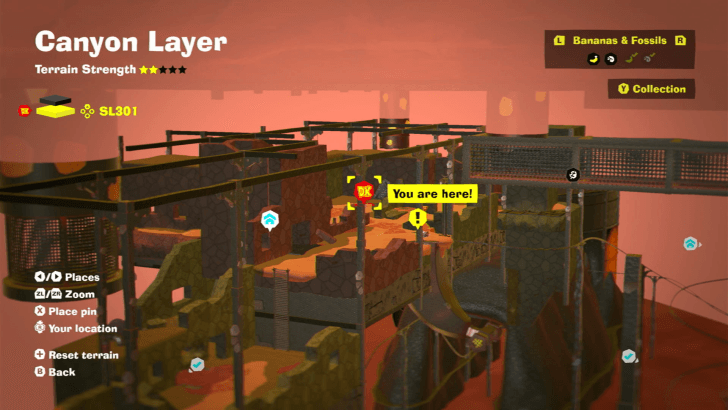 |
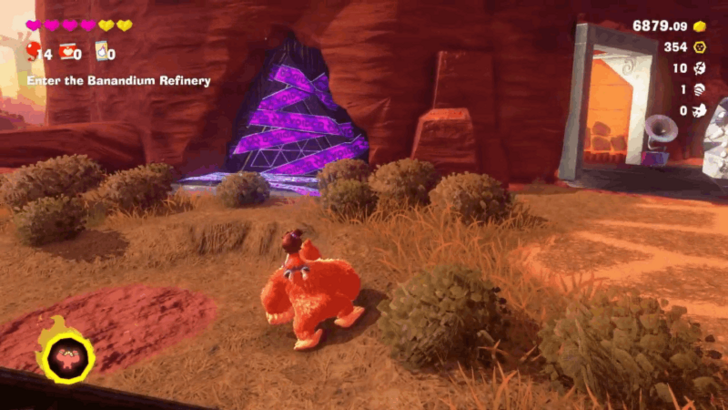
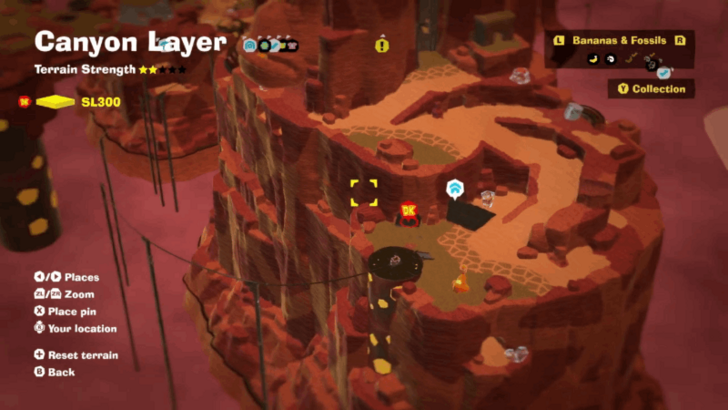
| Located on a wall in the Banandium Refinery Terrace right before the minecart heading to the Mad Mixer. | |
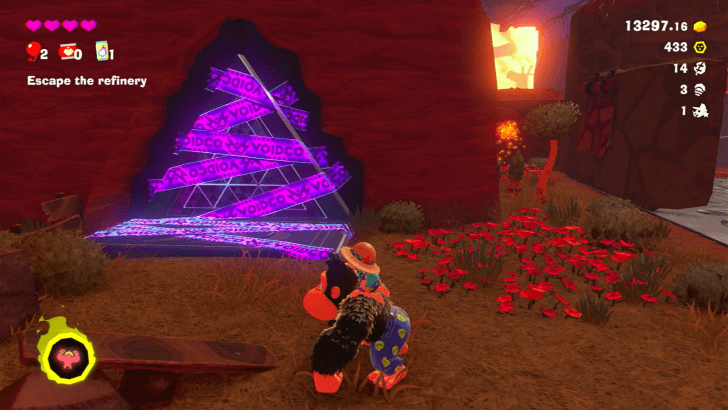 |
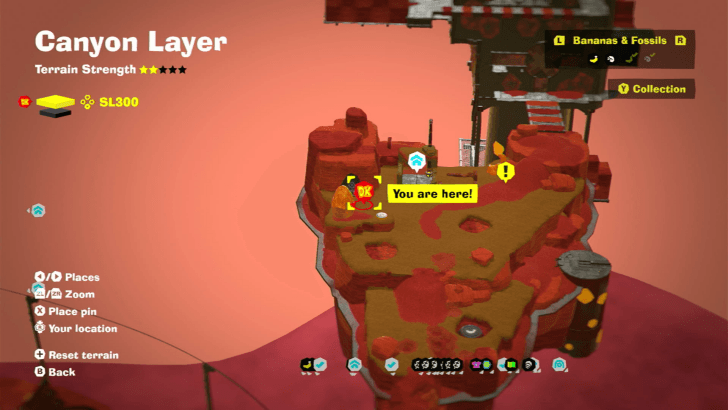 |
| Located in Mechaneck Isle right next to the Getaway, in the area you arrive after defeating the Mad Mixer. | |
Canyon Layer Banana and Fossil Locations (SL 300-302)
The Divide Challenge Ruins
| Overworld View | Map Location |
|---|---|
 |
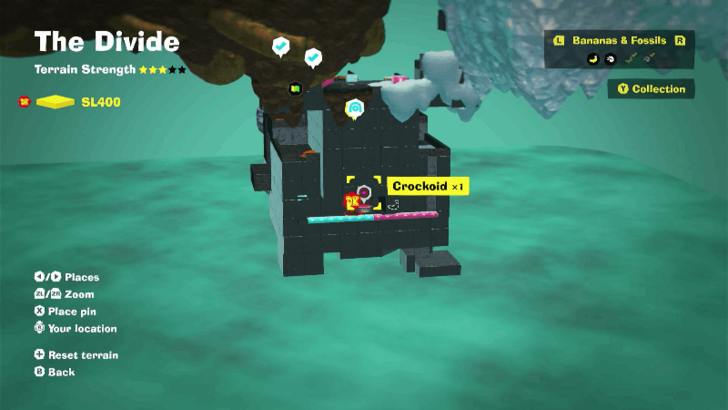 |
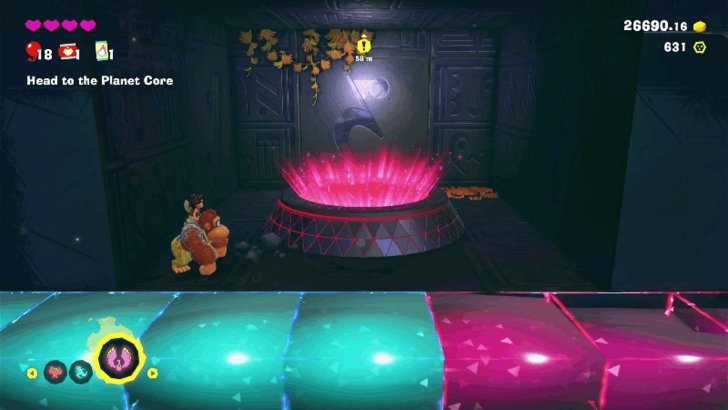
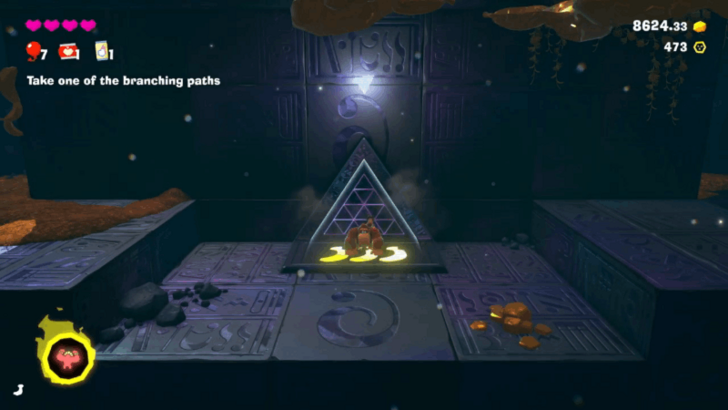
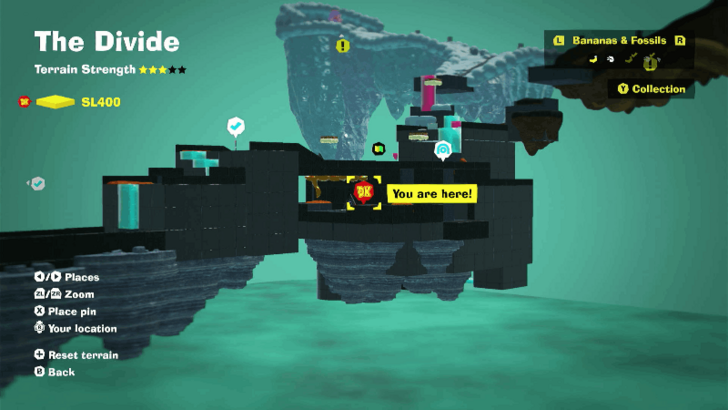
| Located on the lower floor below the Warp Gong. Start from the Warp Gong and look for the goo paths that lead to a hidden area. | |
 |
 |
The Divide Banana and Fossil Locations (SL 400)
Freezer Layer Challenge Ruins
| Overworld View | Map Location |
|---|---|
 |
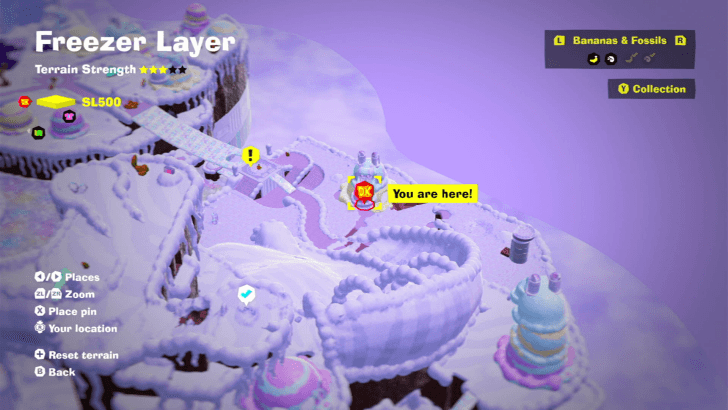 |
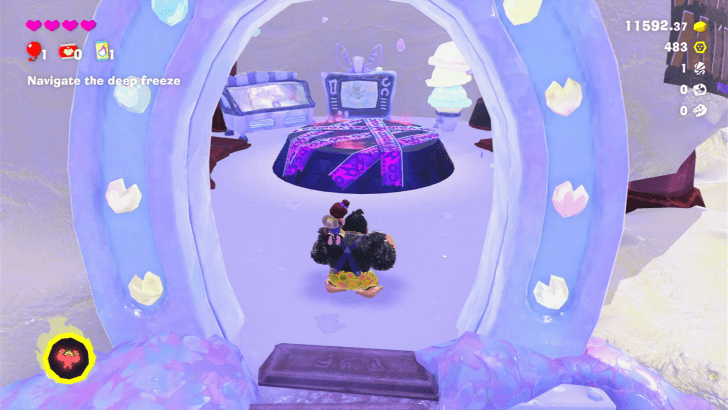
| Inside a house past the slide from Cold-Colt Crest. | |
 |
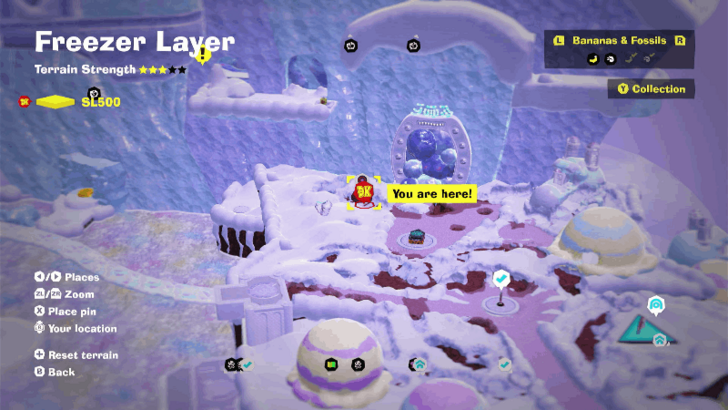 |
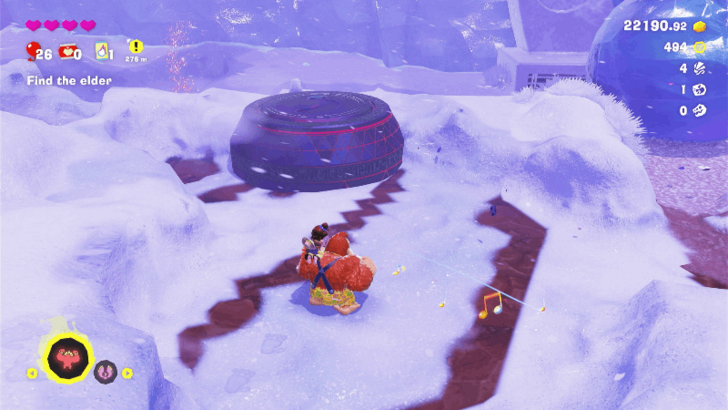
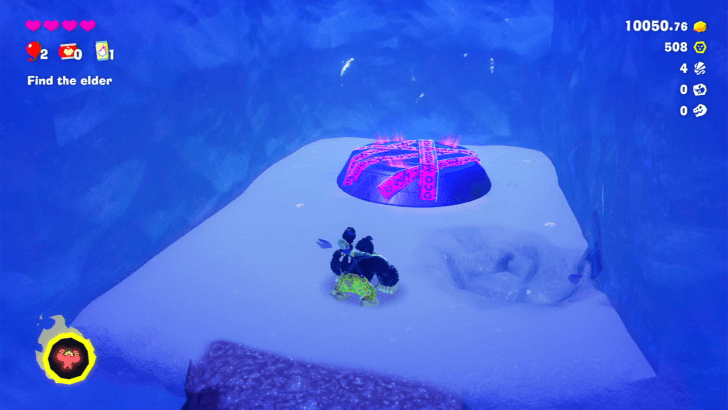
| Buried partially in snow northeast of the Snowy Crossroads teeleport point. | |
 |
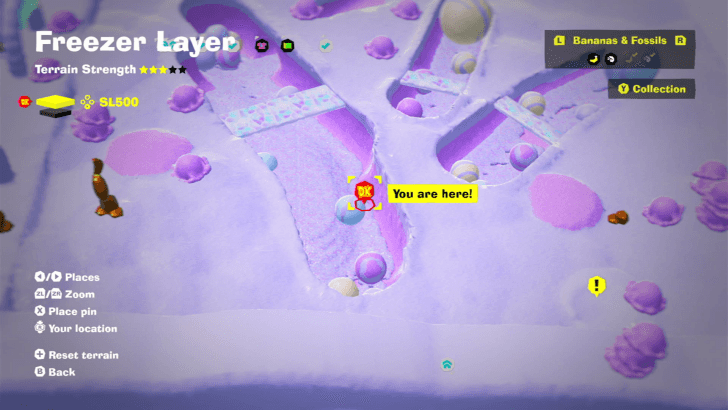 |
| Inside a small alcove just past the Coolstripe Cavern Pool Getaway. | |
 |
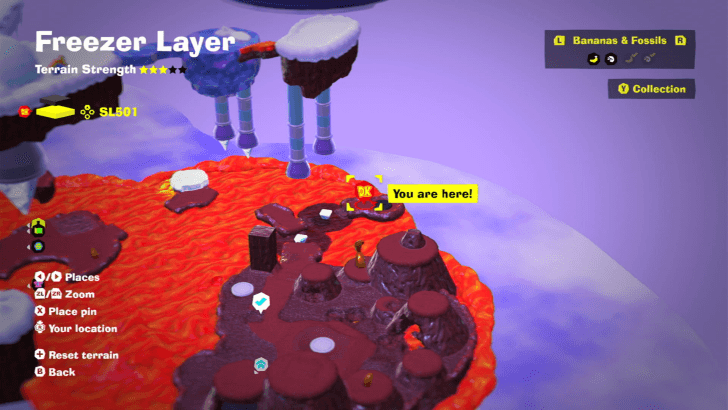 |
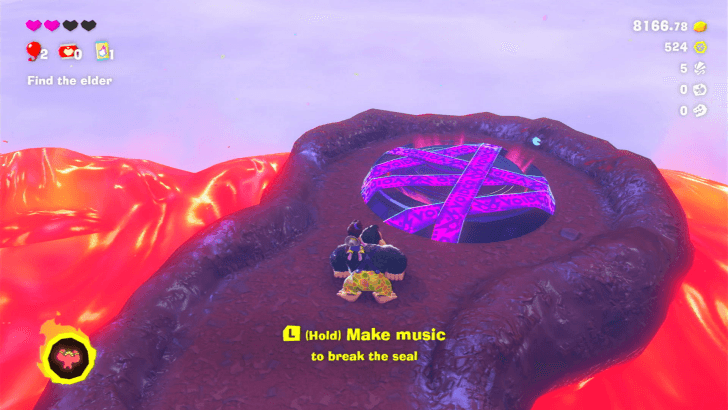
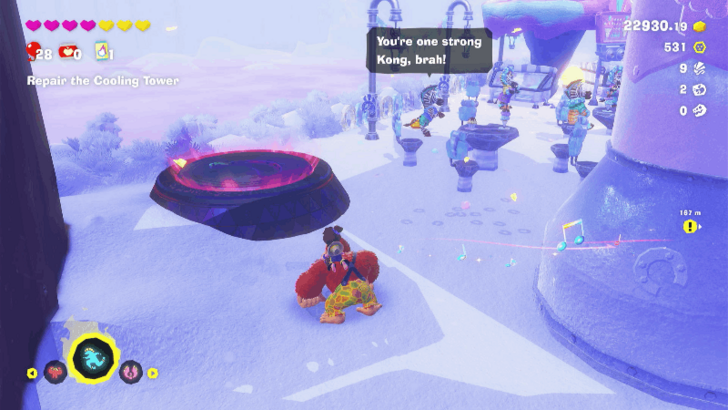
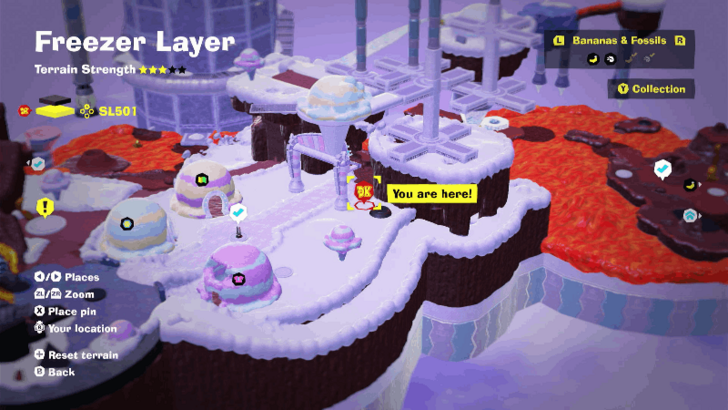
| In a small platform north of the starting area of Chocolava Lake. | |
 |
 |
| Located southwest of the Canter Creamery teeleport point. | |
 |
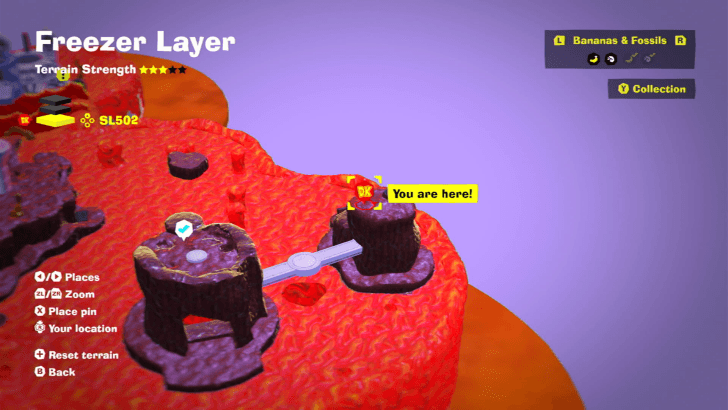 |
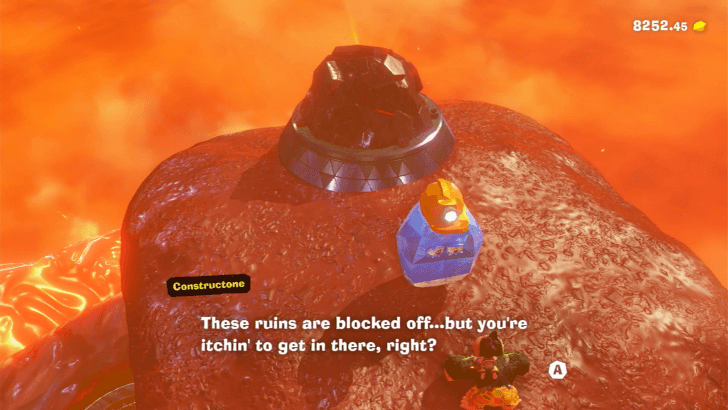
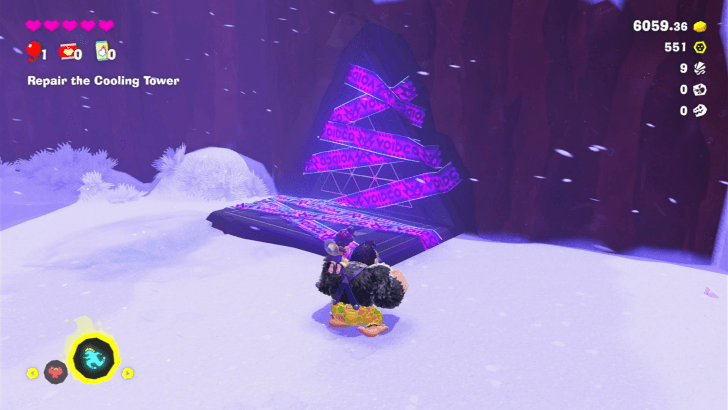
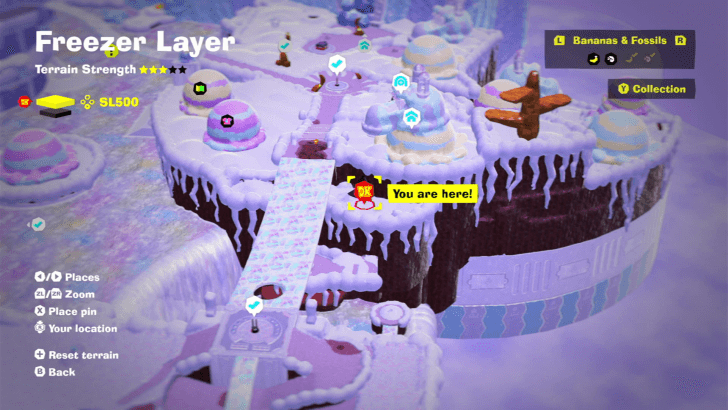
| Located on the path to the right near the starting area of Hot-Hoof Heater. You need to pay the Constructone 600 Gold to clear the debris. | |
 |
 |
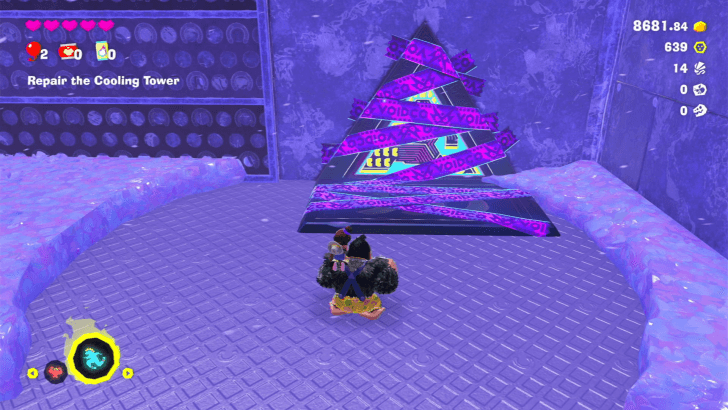
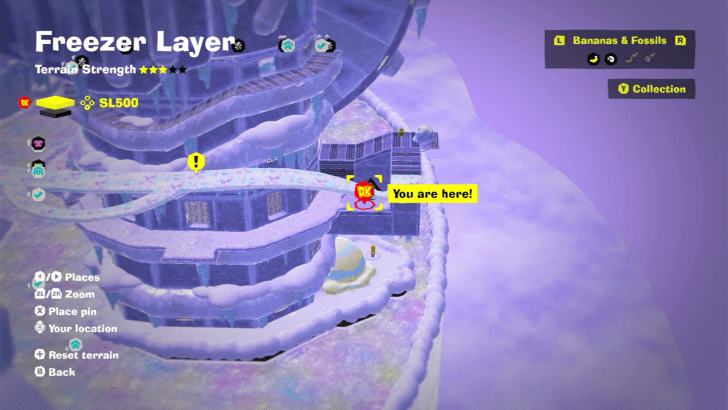
| On a ledge under the bridge leading to Cantery Creamery. | |
 |
 |
| Follow the path right from the ice bridge connecting to the Cooling Tower. You need to be in your Zebra Bananza form to open the challenge ruin. | |
 |
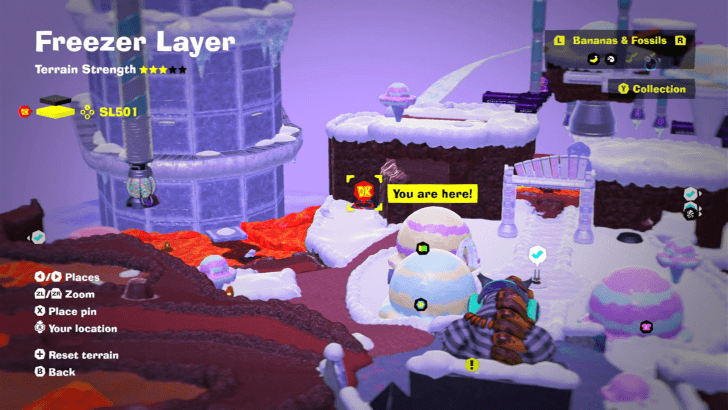 |
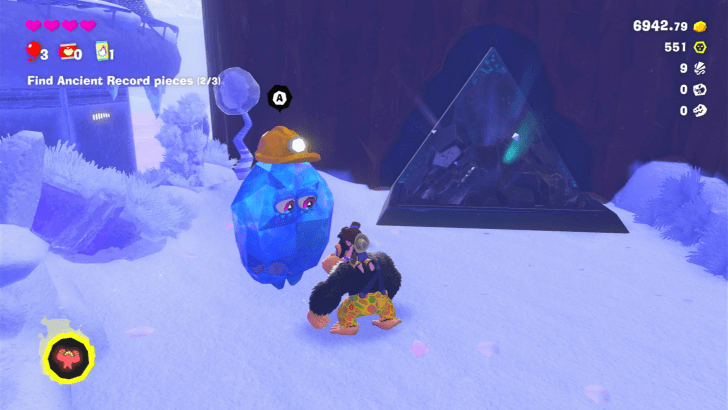
| Located slightly southeast of Canter Creamery. Speak with the nearby Constructone and pay it 1000 Gold to clear the rubble to enter the ruins. | |
 |
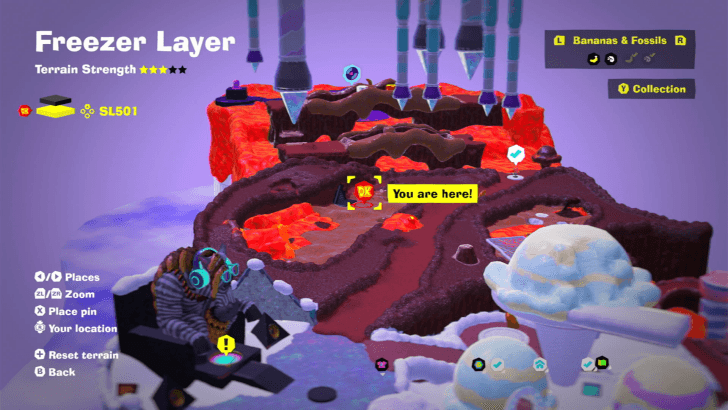 |
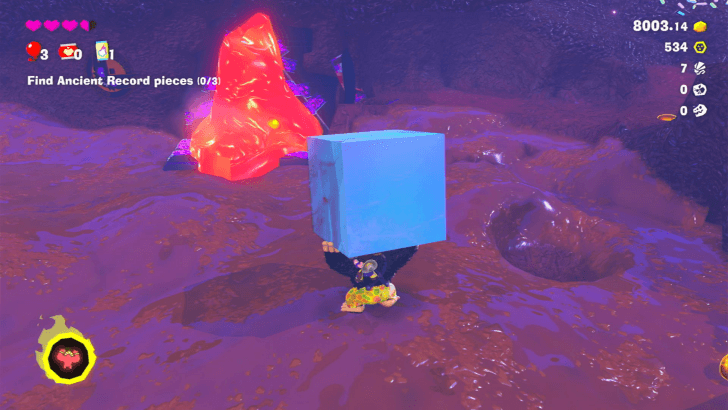
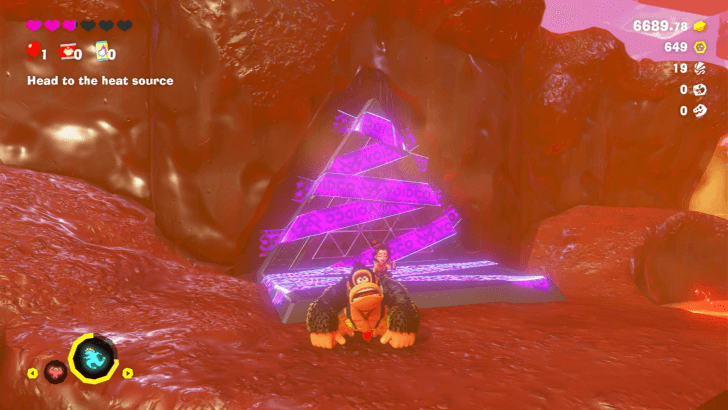
| In an alcove north of the Zebra Elder. The entrance is blocked by lava that you'll need to clear with an ice block. | |
 |
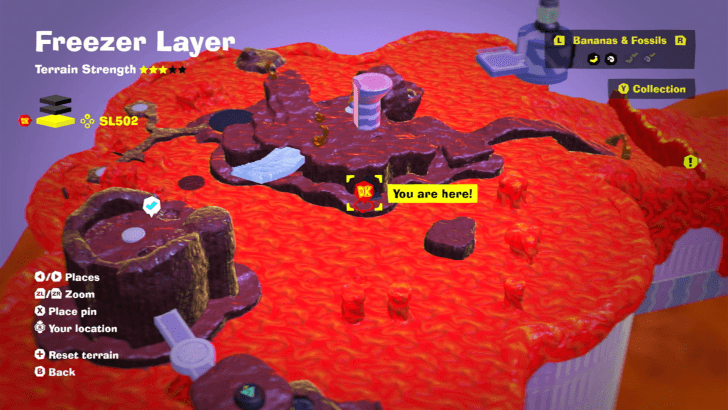 |
| Located just past the ice bridge near the starting area of Hot-Hoof Heater. The challenge ruins are on a ledge at the bottom. | |
Freezer Layer Banana and Fossil Locations (SL 500-503)
Forest Layer Challenge Ruins
| Overworld View | Map Location |
|---|---|
 |
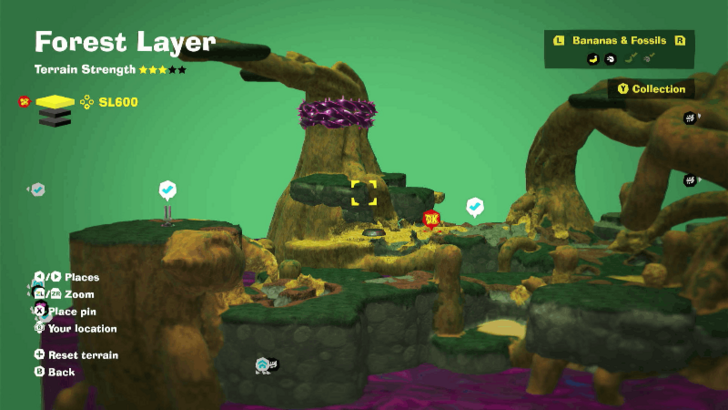 |
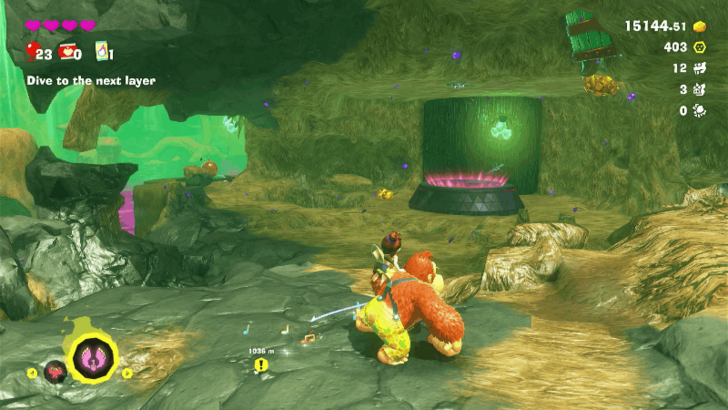
| Inside the large tree south of Beaky Thicket. You'll need to clear the void to access the challenge ruin. | |
 |
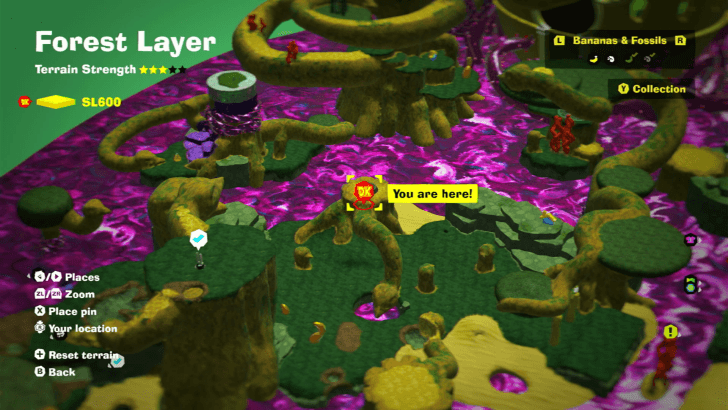 |
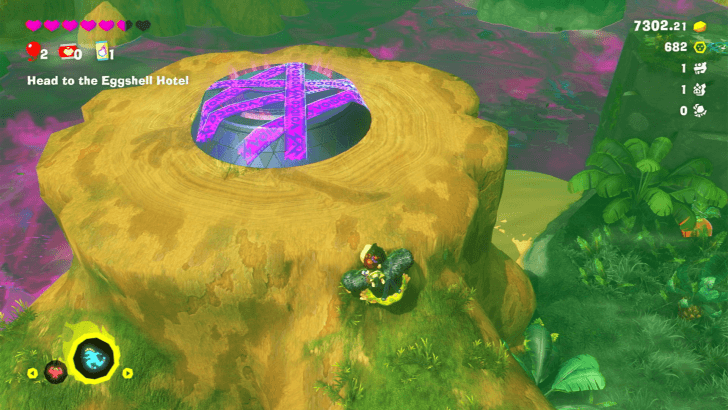
| On top of an ostrich-shaped tree stump slightly northwest of Beak-Leap Point. | |
 |
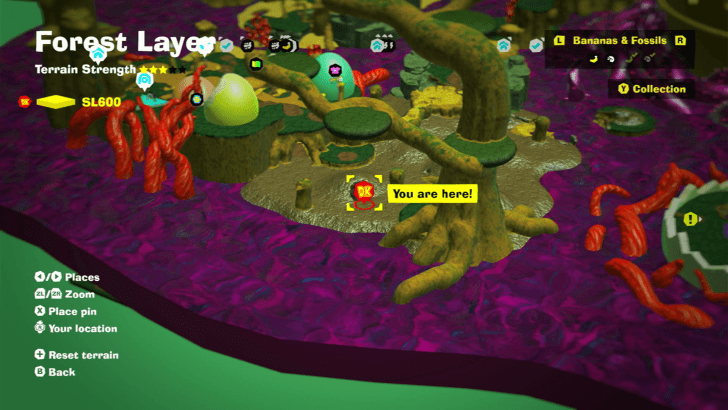 |
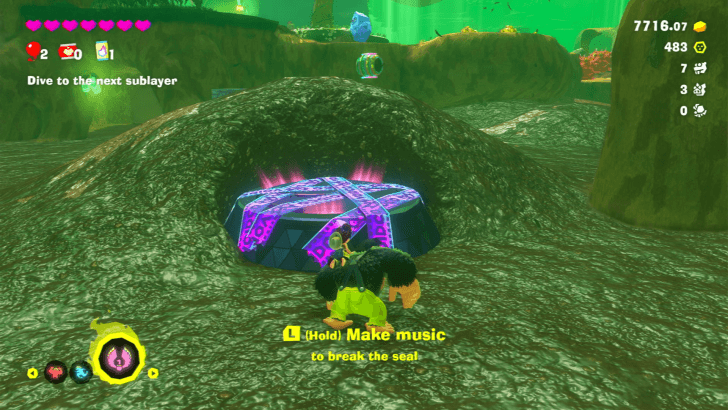
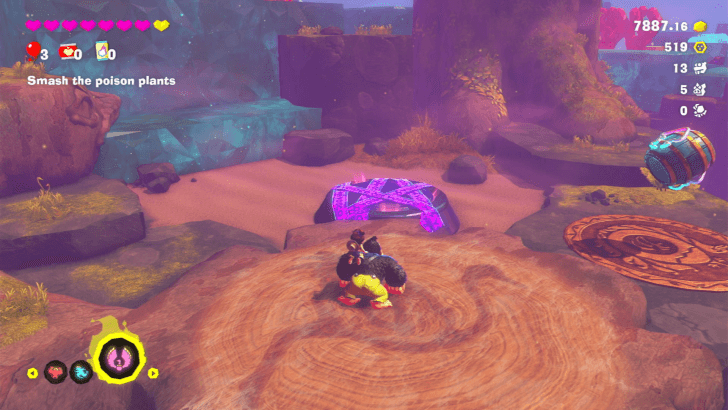
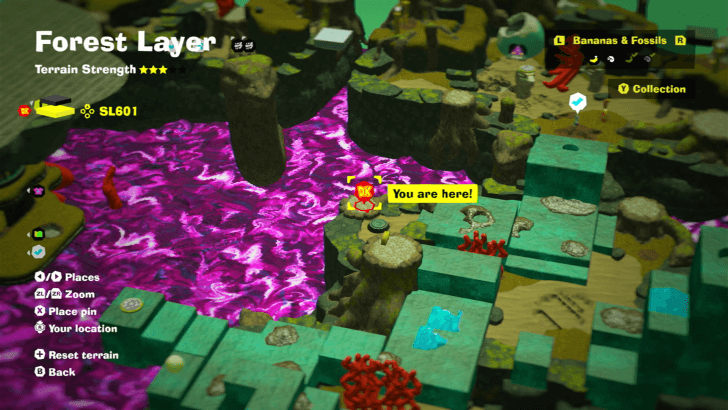
| Next to a muddy mound just past Bellhop Burb. | |
 |
 |
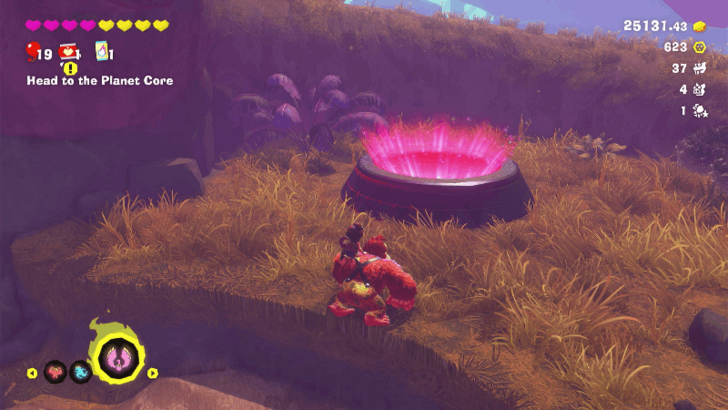
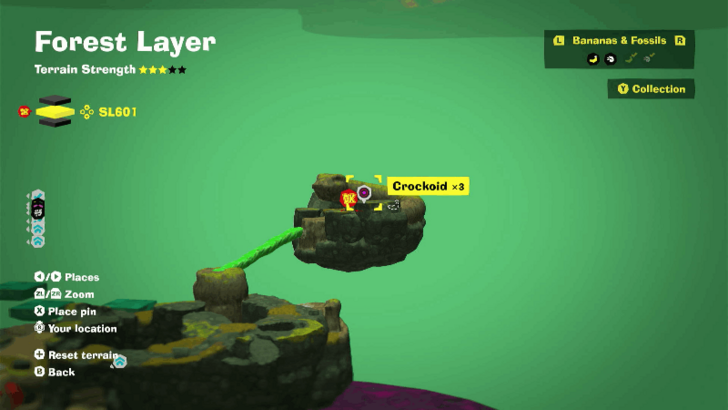
| Located slightly southwest of the Rubbery Roost checkpoint. You need to lower the poison water level twice to access the challenge ruin. | |
 |
 |
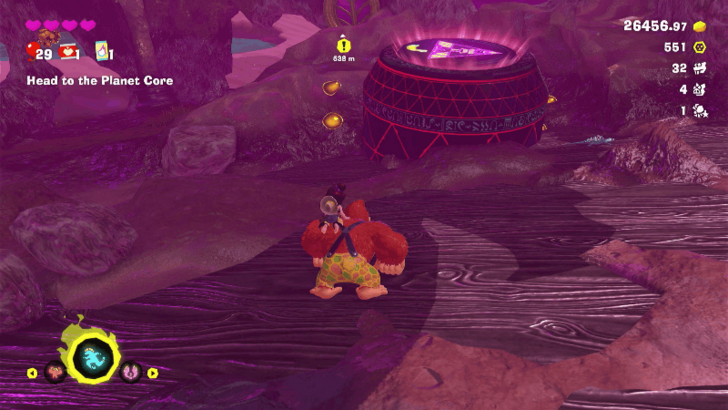
| On the topmost floating platform at the Lower Marsh area. | |
 |
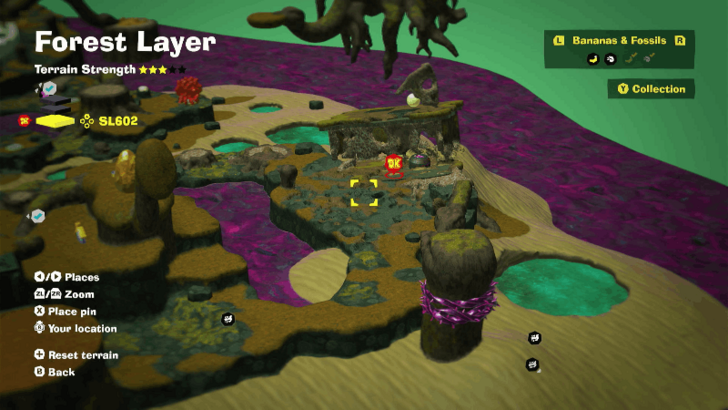 |
| Inside the fallen structure east of the Bramblenest Bog (SL602). | |
 |
 |
| Located west of the Bellhop Burb teeleport point. | |
 |
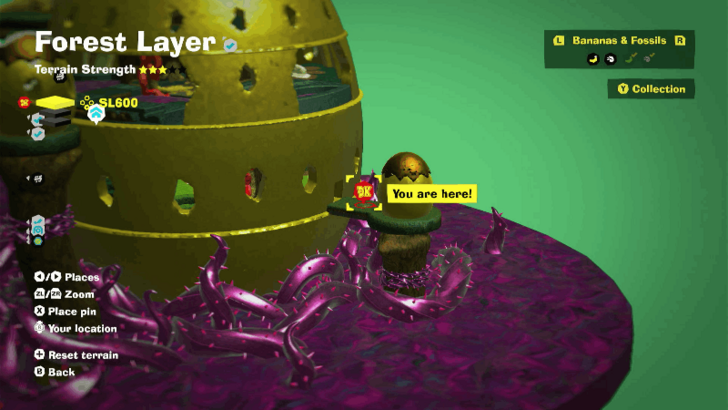 |
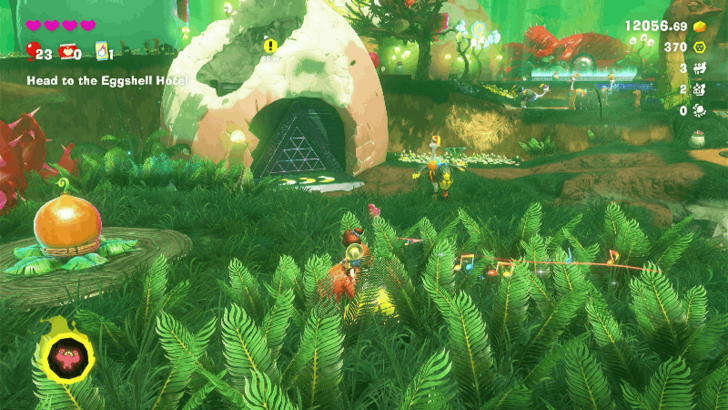
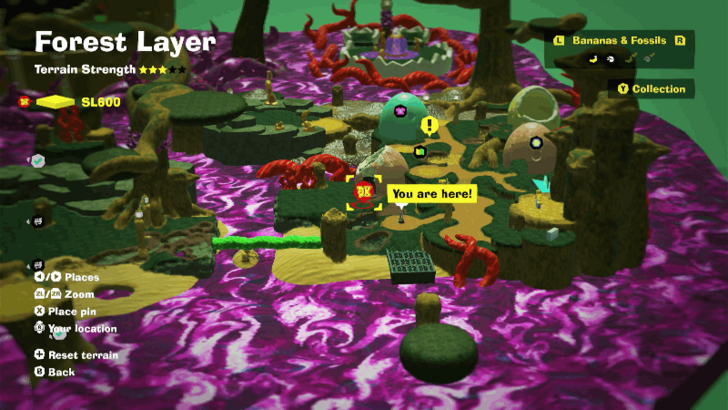
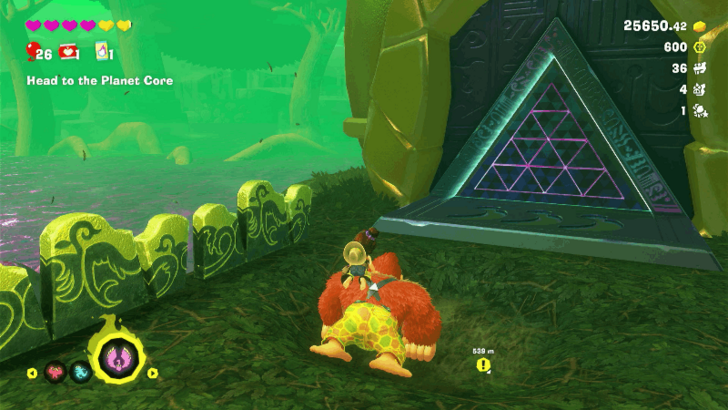
| Outside of the Egghell Hotel's garden area. | |
 |
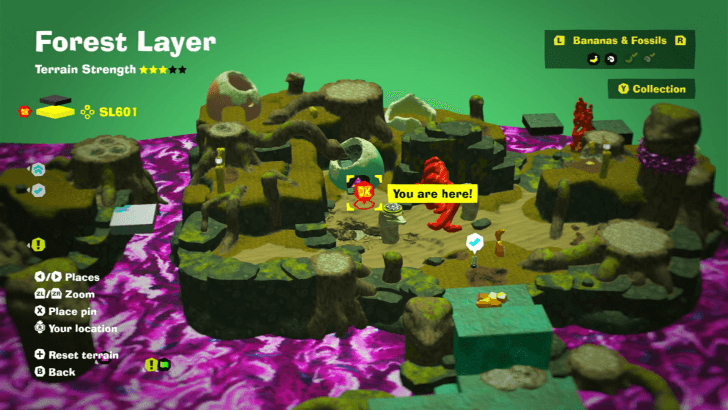 |
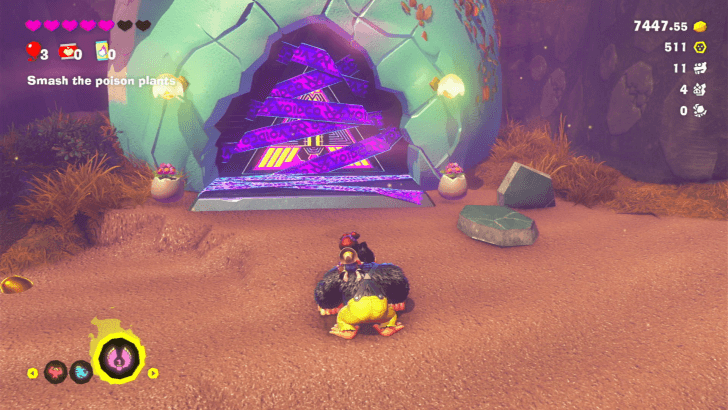
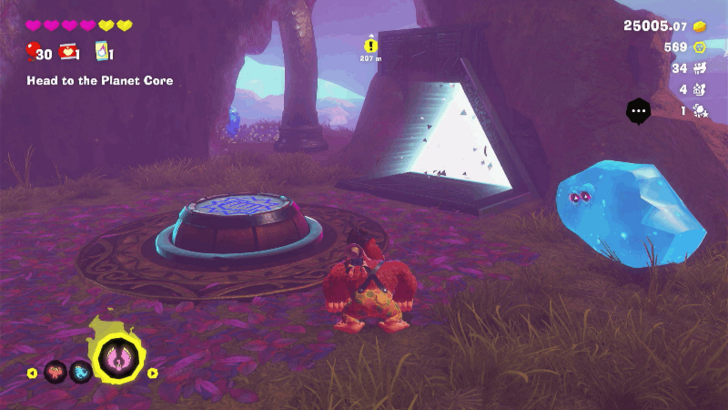
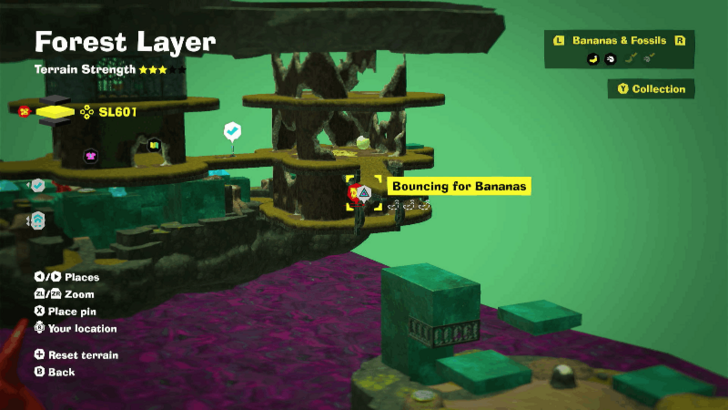
| Inside an egg house in Rubbery Roost. You'll need to lower the poison water level to access the area. | |
 |
 |
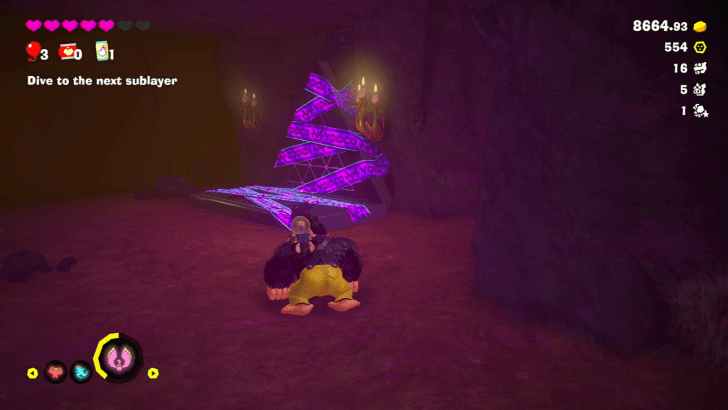
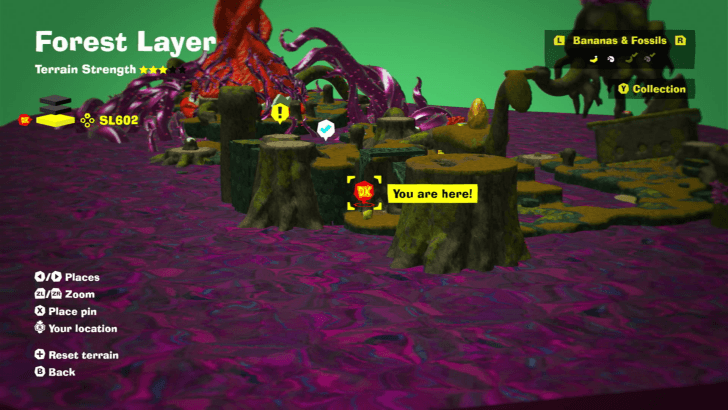
| On the lower floor of the Eggshell Hotel Annex. | |
 |
 |
| In a cave directly under the Bramblenest Bog area. | |
Forest Layer Banana and Fossil Locations (SL 600-602)
The Junction Challenge Ruins
| Overworld View | Map Location |
|---|---|
 |
 |
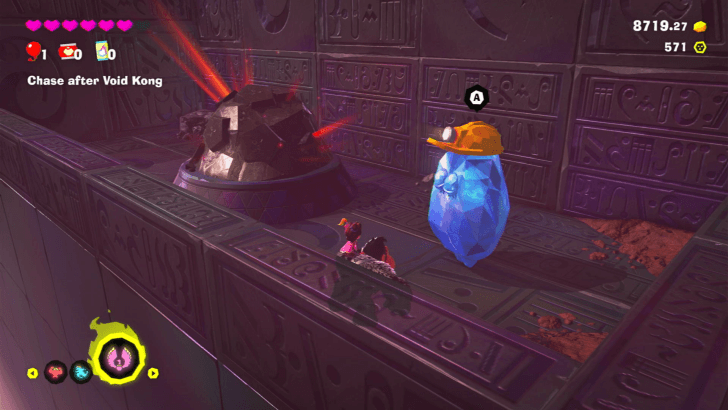
| Located to the right of the Clash Point checkpoint. You'll need to speak to the Constructone and pay it 600 gold to clear the debris to access the challenge ruin. | |
 |
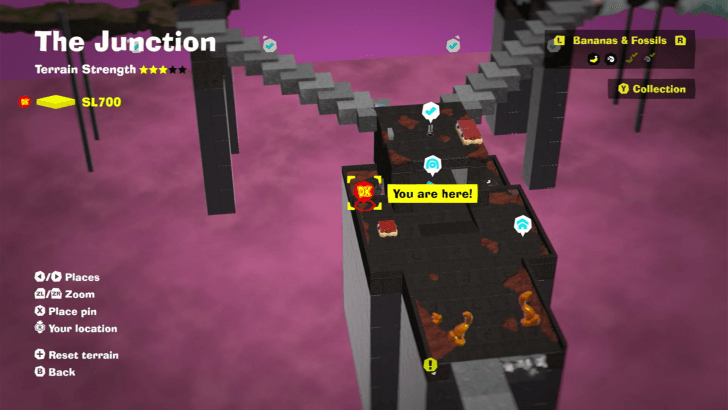 |
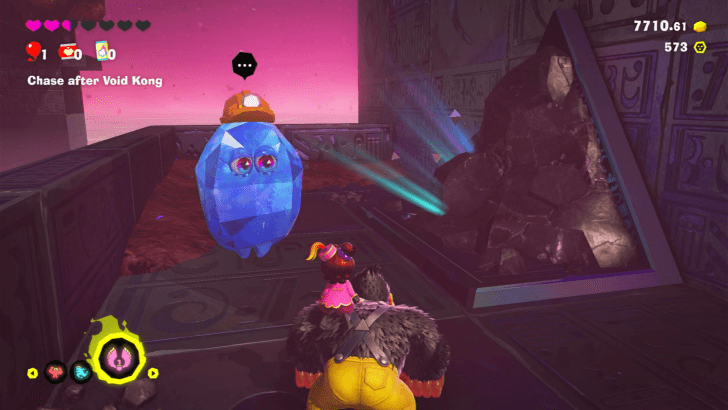
| Located to the left of the Clash Point checkpoint. You'll need to speak to the Constructone and pay it 1000 gold to clear the debris to access the challenge ruin. | |
Resort Layer Challenge Ruins
| Overworld View | Map Location |
|---|---|
 |
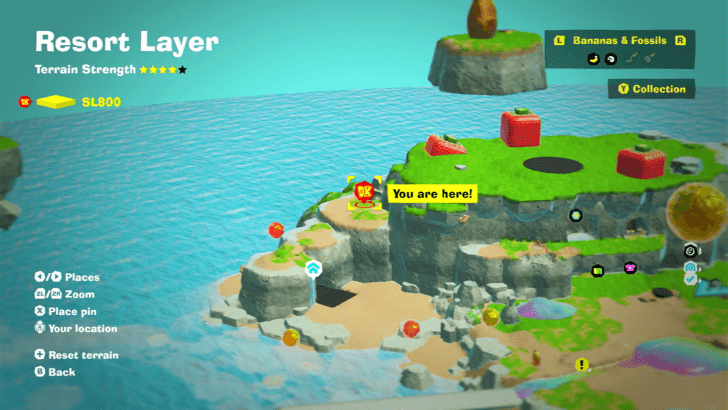 |
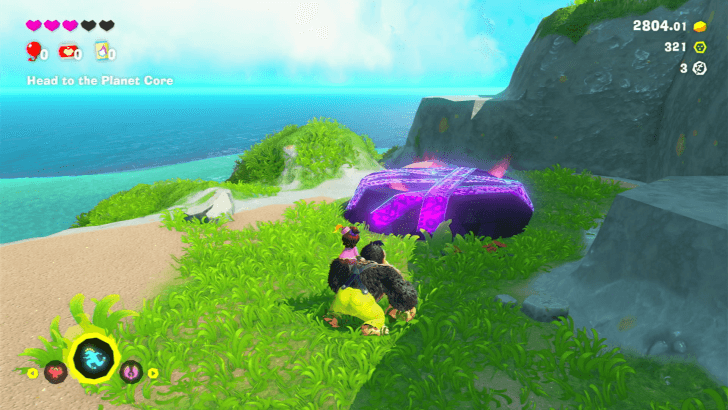
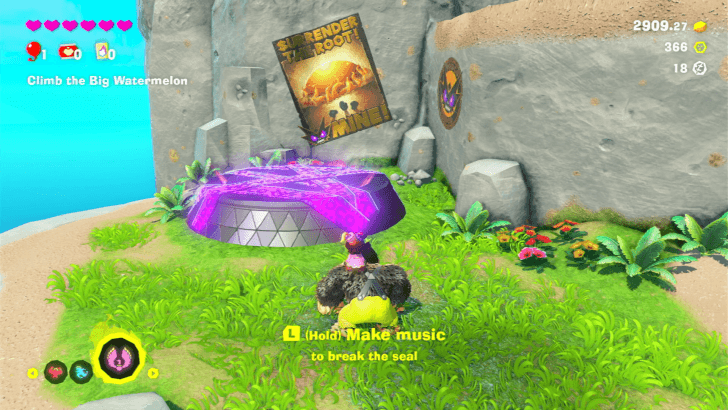
| On a level below the plateau with large Strawberry blocks just past the Tropical Retreat Getaway. | |
 |
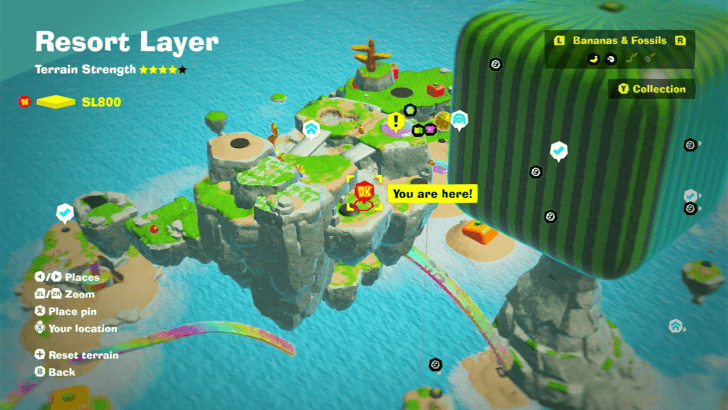 |
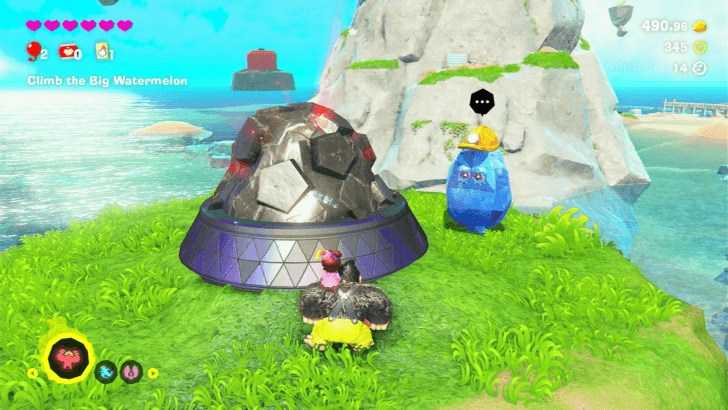
| On a floating island next to the giant Watermelon, and right next to Skydive Isle Getaway. | |
 |
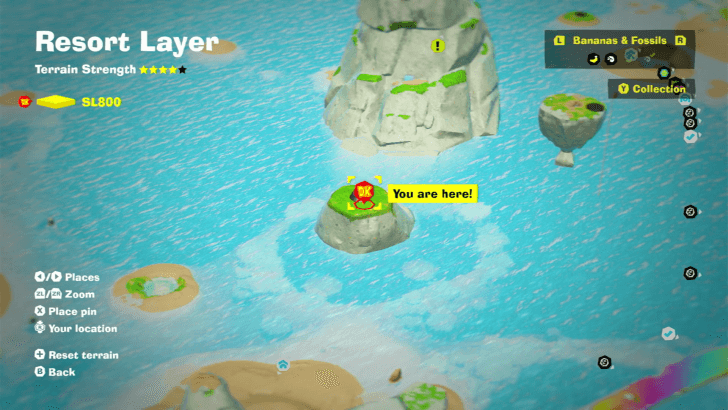 |
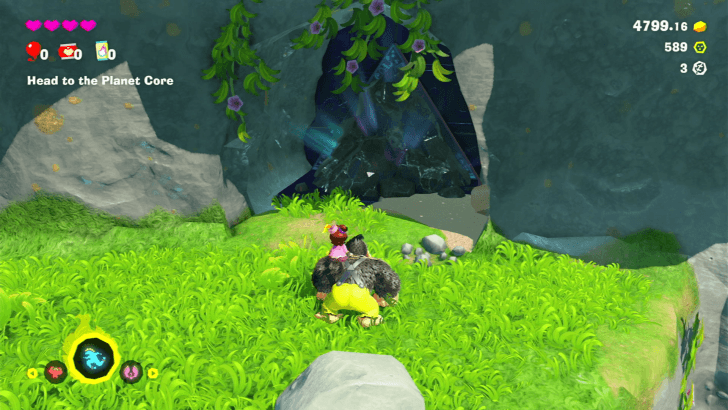
| Slightly northwest of the Fruitbowl Archipelago Getaway. Speak to the Constructone and pay 600 gold to get access to the challenge ruin. | |
 |
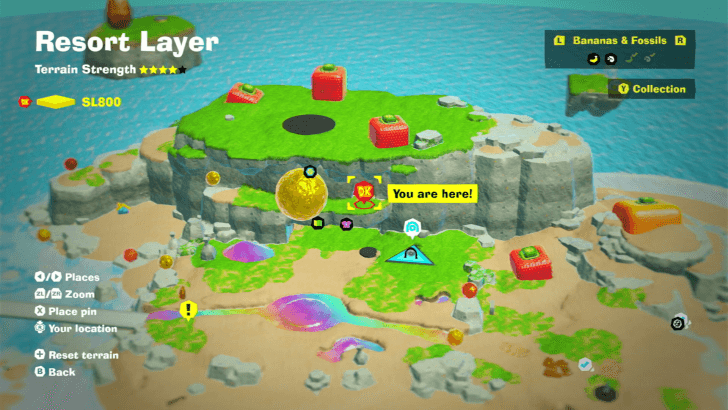 |
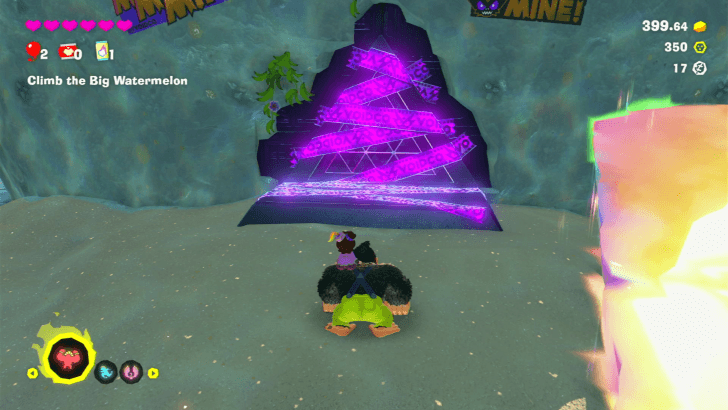
| In a small alcove above the Style Shop in Tropical Retreat. Speak to the Constructone and pay 1000 Gold to remove the debris blocking the entrance. | |
 |
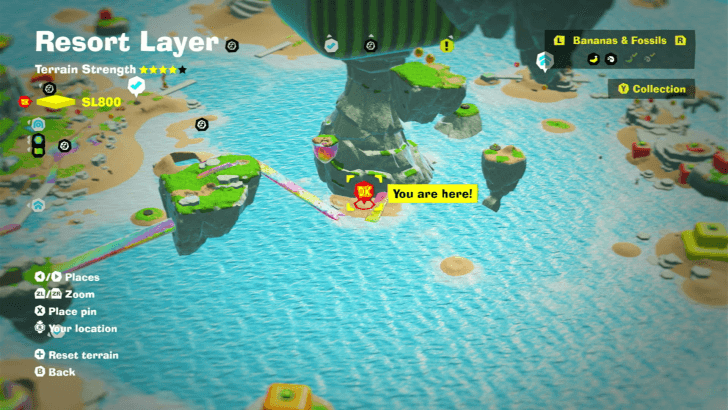 |
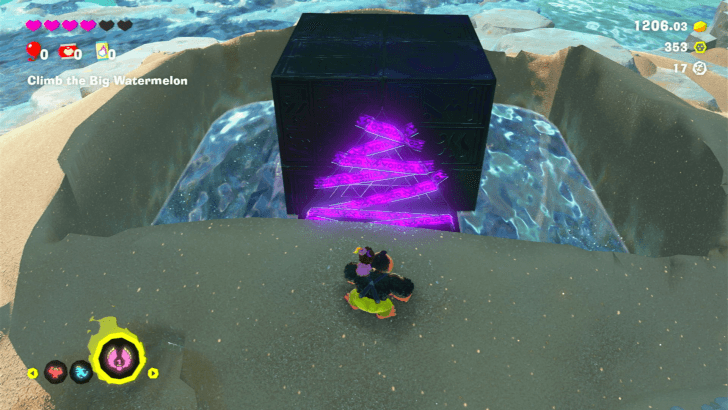
| Located at the base of the large Watermelon west of Tropical Retreat. | |
 |
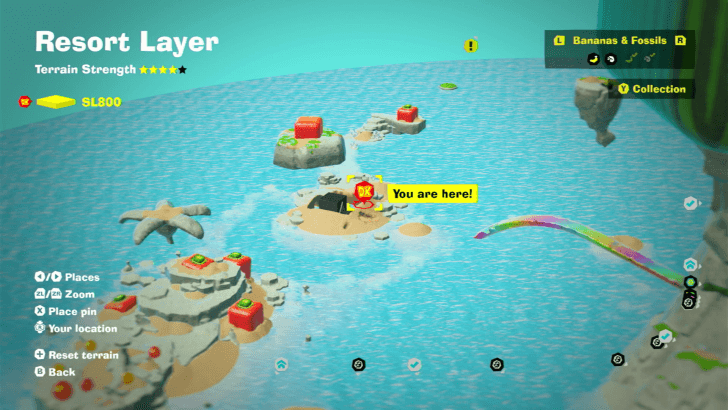 |
| Located under the large fruit that you need to destroy from the top with a dive punch just north of Fruitbowl Archipelago Getaway. | |
Tempest Layer Challenge Ruins
| Overworld View | Map Location |
|---|---|
 |
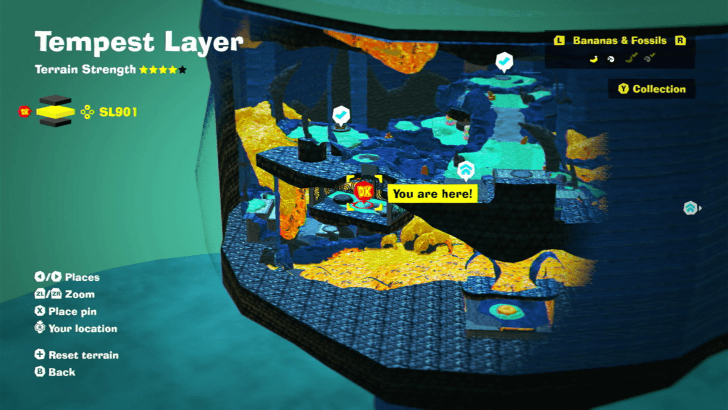 |
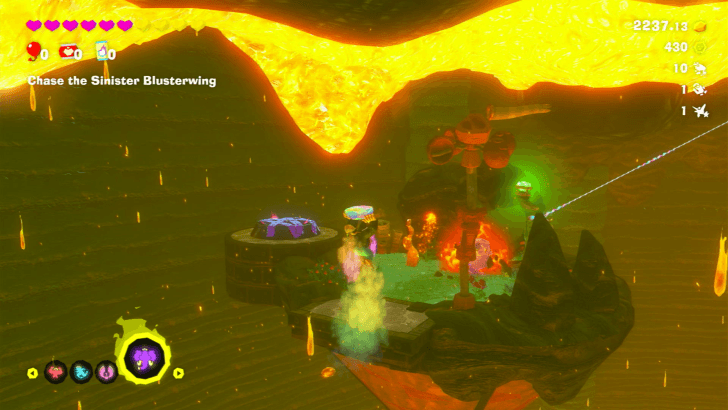
| Located underground to the left of the Lava Getaway. Look for a large mushroom with a grass patch underneath and dig underground to get to the Challenge Ruins. | |
 |
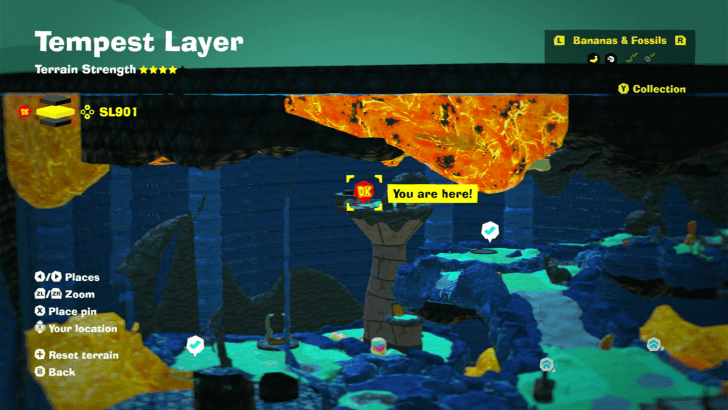 |
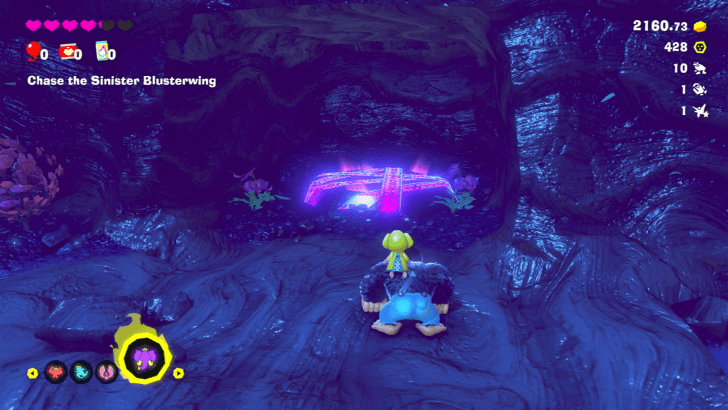
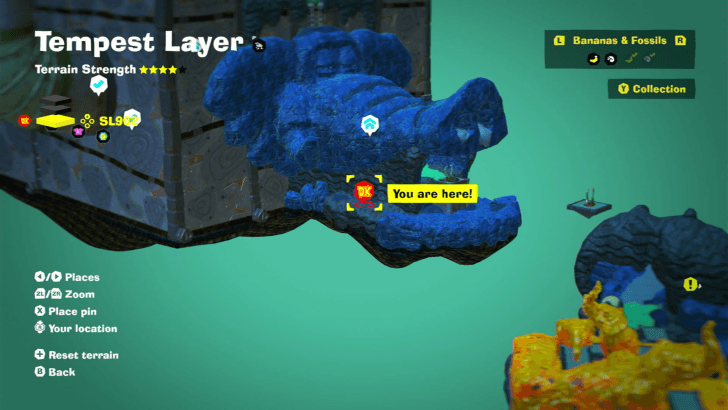
| Located on the tower behind the Hot-Shower Cave entrance. You'll need to use Liftoff Ore to get to the top area where the challenge ruins is located. | |
 |
 |
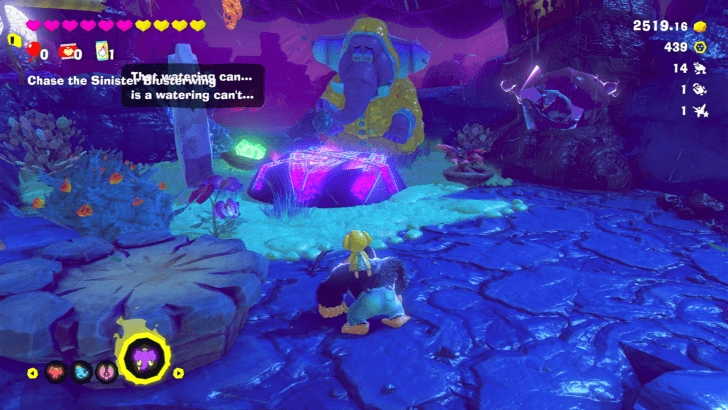
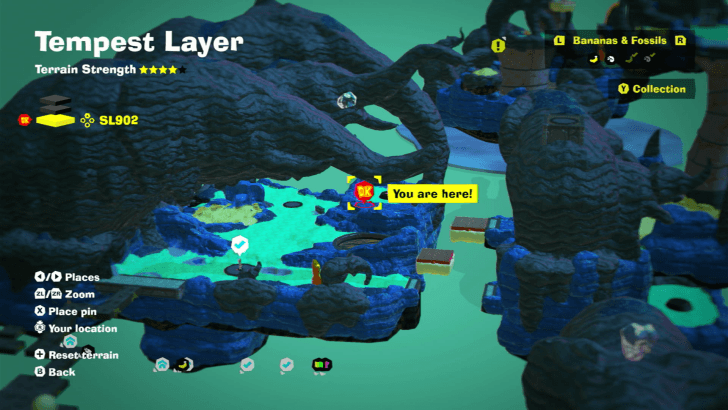
| On a small alcove just before the zipline heading to Stormy Station. | |
 |
 |
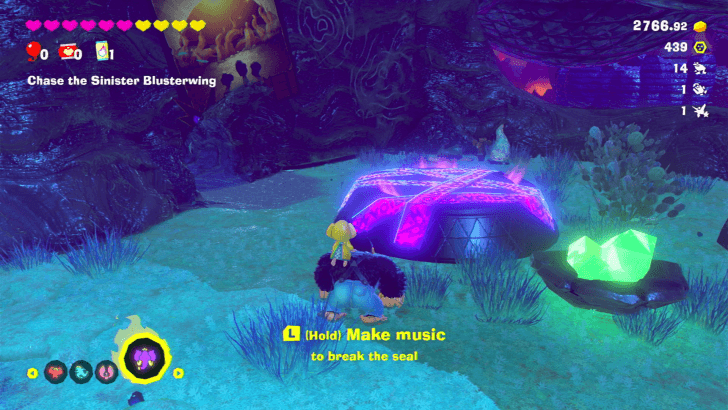
| Slightly northeast of Big-Roof Shelter. | |
 |
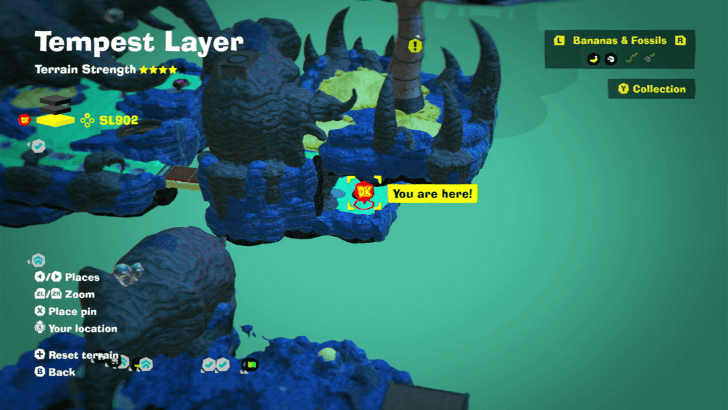 |
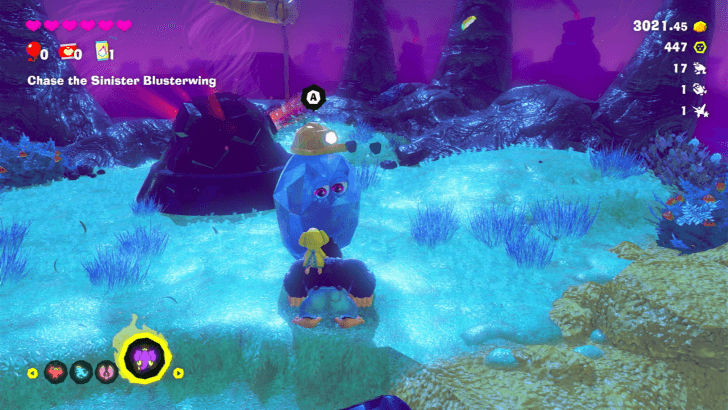
| Follow the right path from Big-Roof Shelter checkpoint. The challenge ruin is behind the rocky wall you need to dig through. | |
 |
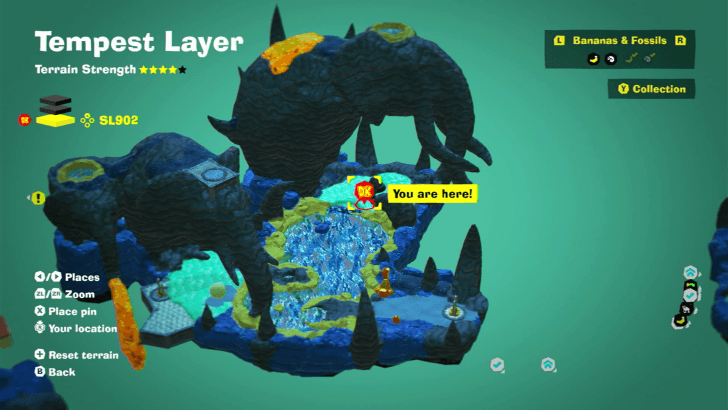 |
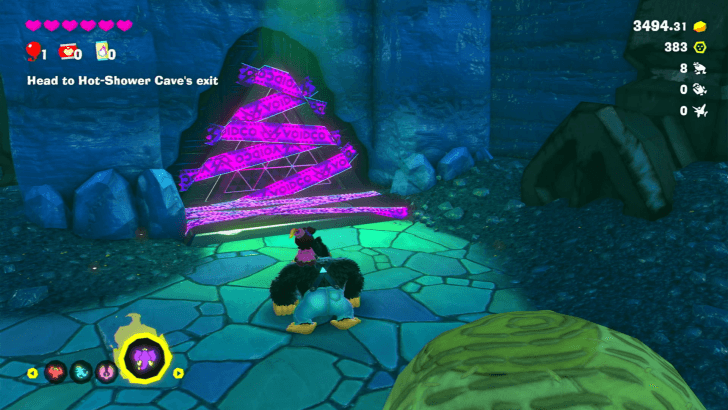
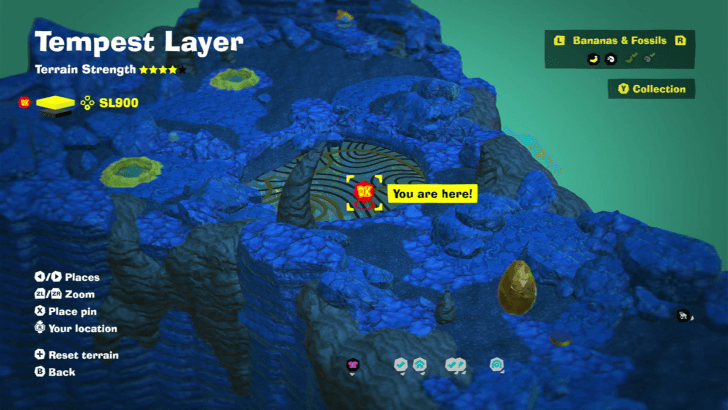
| Speak to the Constructone and pay 600 Gold to clear the debris blocking the ruins. | |
 |
 |
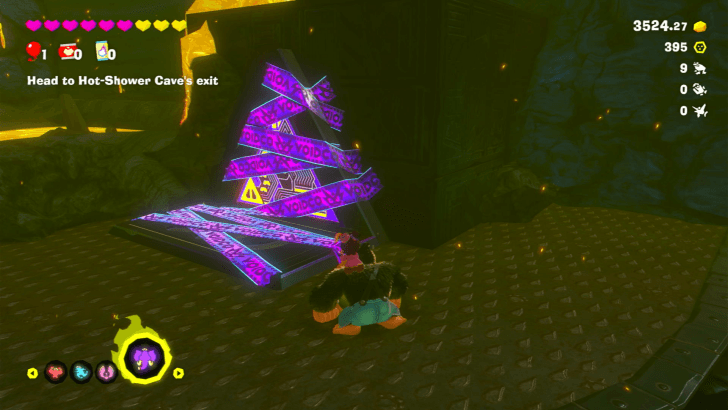
| Located to the right of the Elephant Elder in Forecaster Refuge. | |
 |
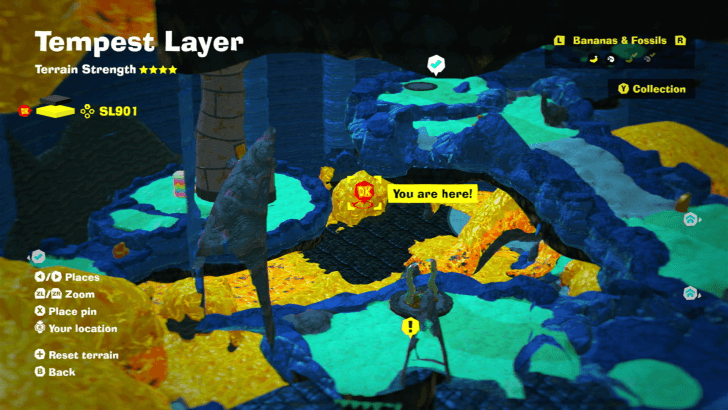 |
| East of Molten Mass Getaway. You'll need to use the Elephant Bananza form to clear the magma to access the challenge ruin. | |
 |
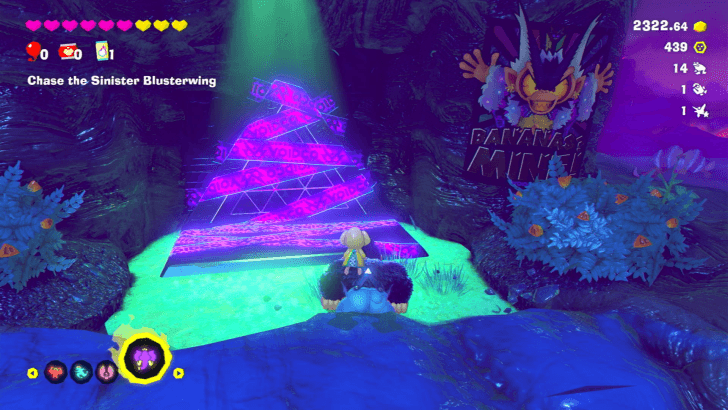
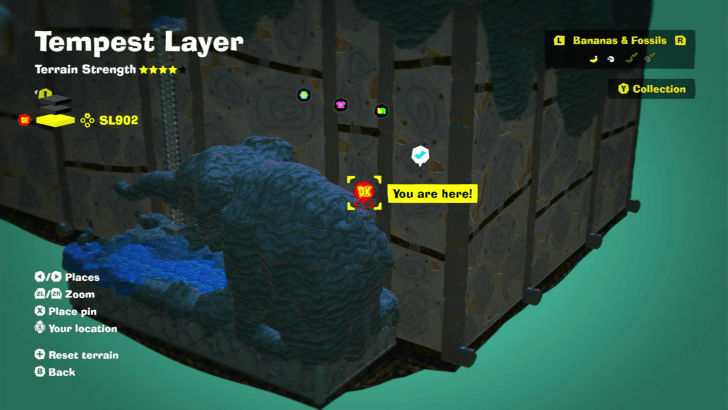 |
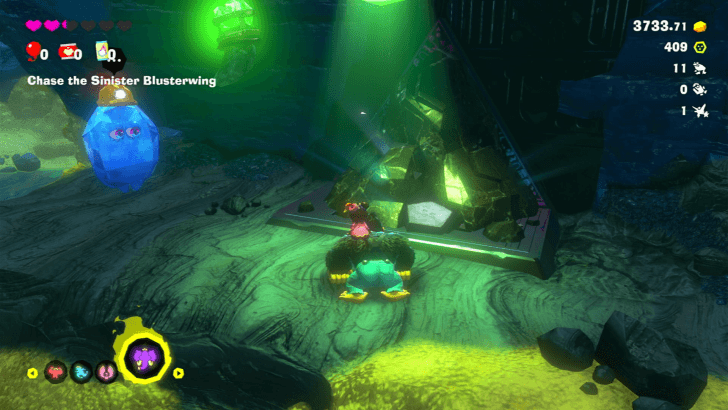
| Right below the starting area of Jumbo Spa. Speak to the Fractone and pay 1000 gold to clear the debris blocking the entrance. | |
 |
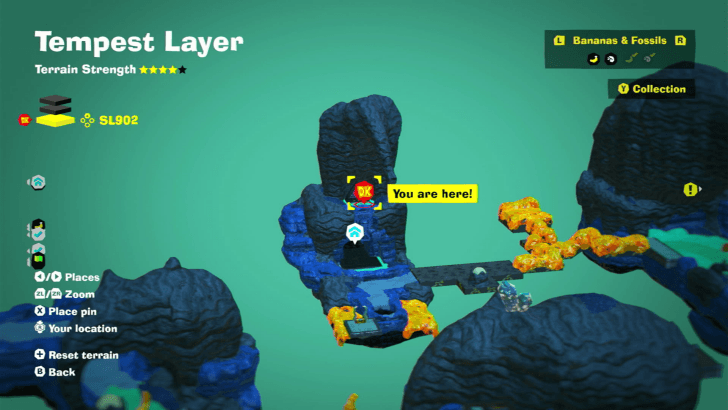 |
| Located above Cliff-Edge Getaway. | |
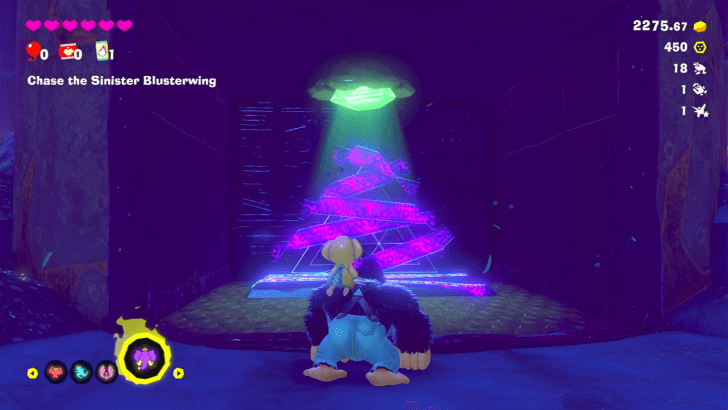 |
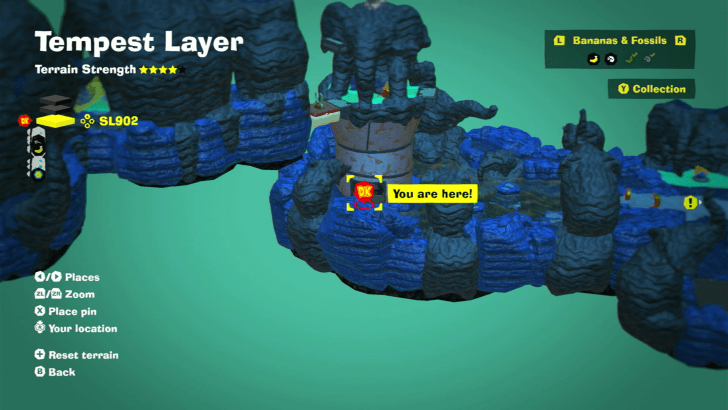 |
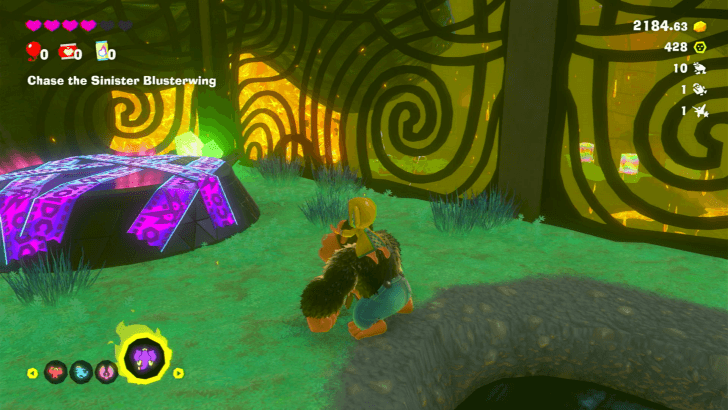
| At the base of the mettalic structure just on the island just before the final Sinister Blusterwing confrontation. | |
Landfill Layer Challenge Ruins
| Overworld View | Map Location |
|---|---|
 |
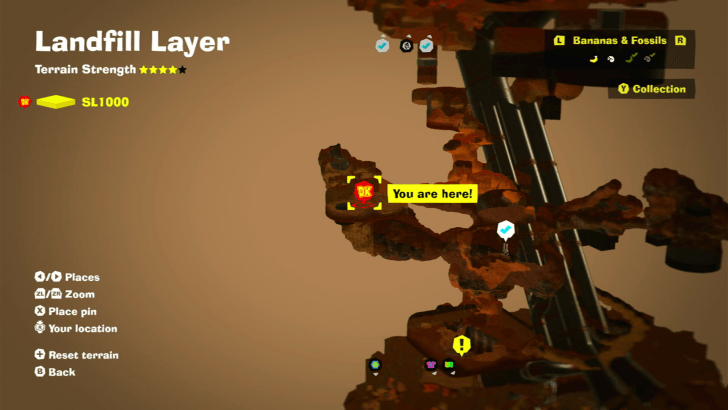 |
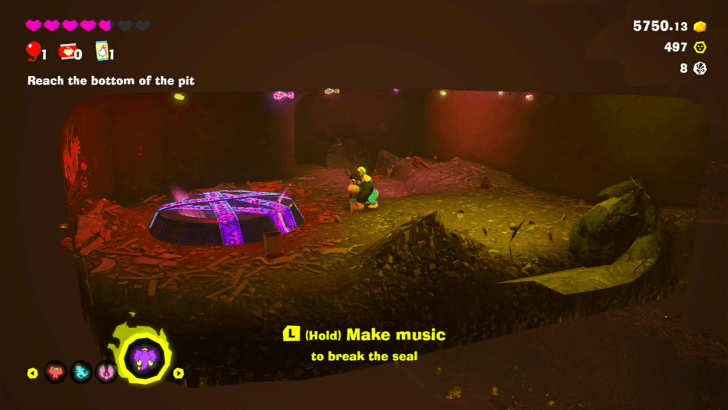
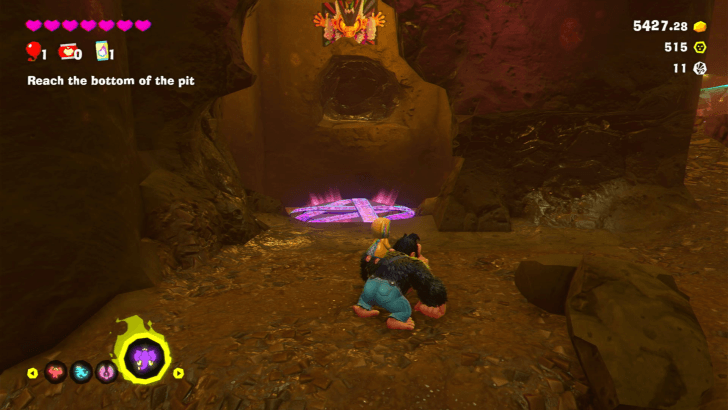
| Dig northwest from the Lower Layer checkpoint to reach a small cave where the challenge ruin is located. | |
 |
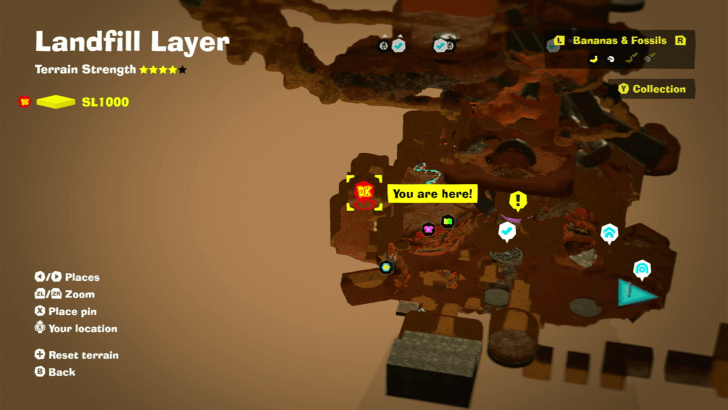 |
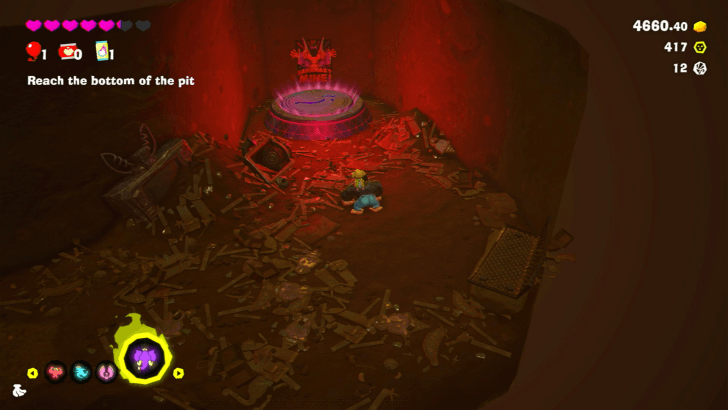
| Follow the right path from the chip exchange where the arrow Fractone is pointing to, and break the northern wall to access the challenge ruins. | |
 |
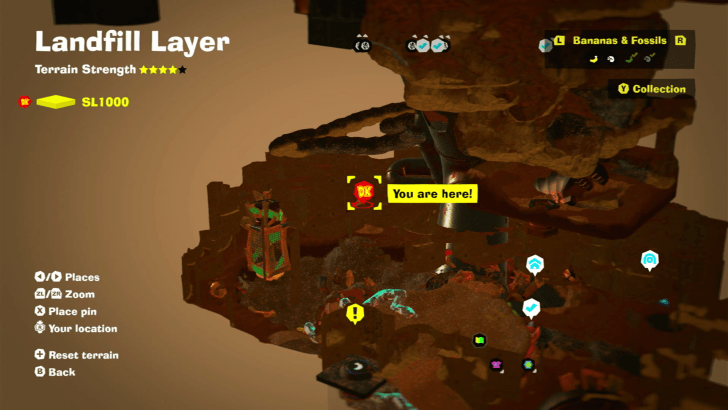 |
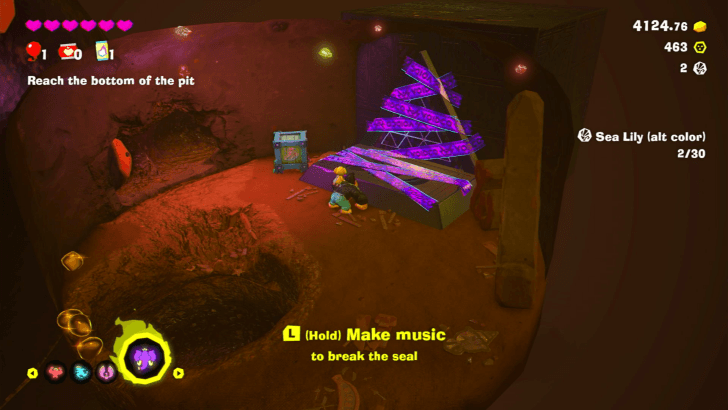
| Head to the northeastern wall from the Void Stake and dig through it, then pay the Constructone 600 gold to clear the debris blocking the ruin's entrance. | |
 |
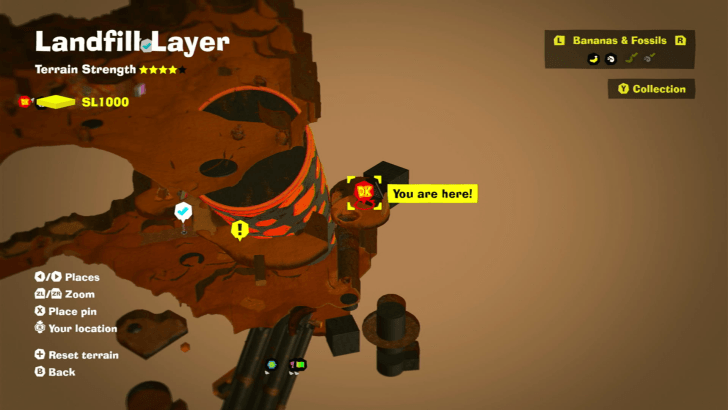 |
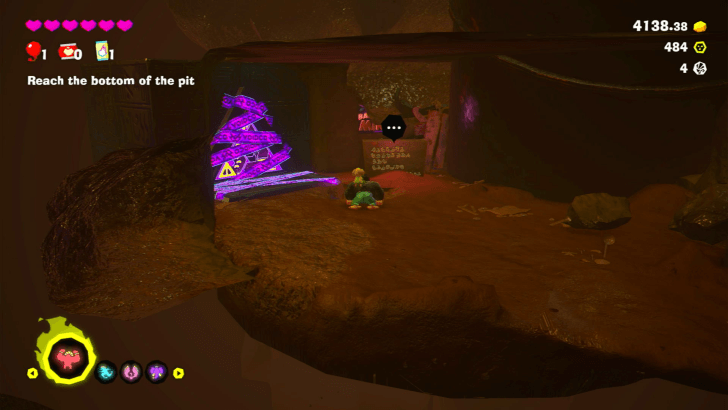
| Accessed through a barrel that leads upward to a hidden alcove. | |
 |
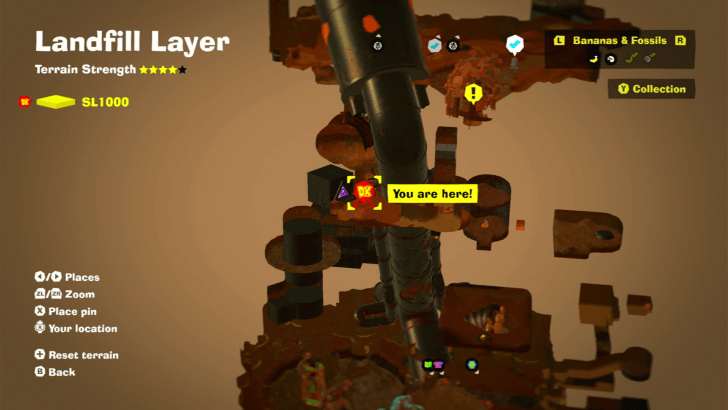 |
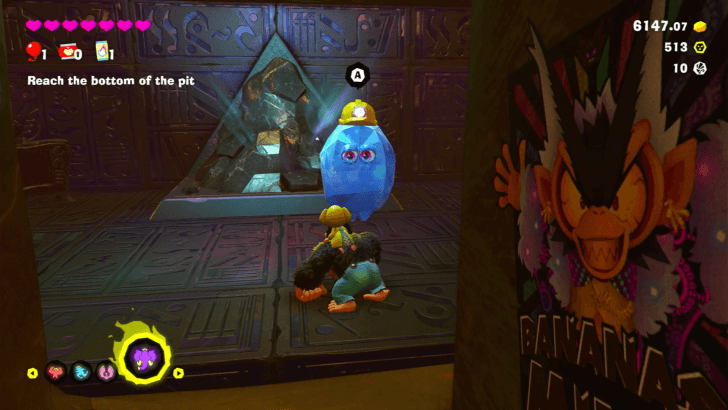
| Dig next to the large pipe in the Middle Layer until you reach some mines. The challenge ruin is below the mine area next to a readable sign. | |
 |
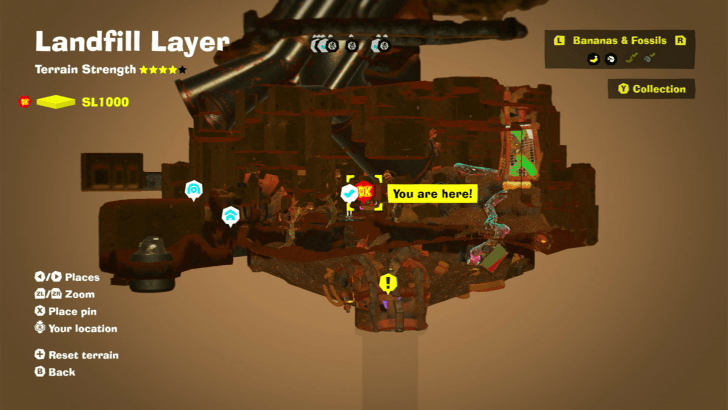 |
| North of Trashtopia checkpoint. Speak to the Fractone and pay 1000 gold to clear the debris blocking the entrance. | |
Racing Layer Challenge Ruins
| Overworld View | Map Location |
|---|---|
 |
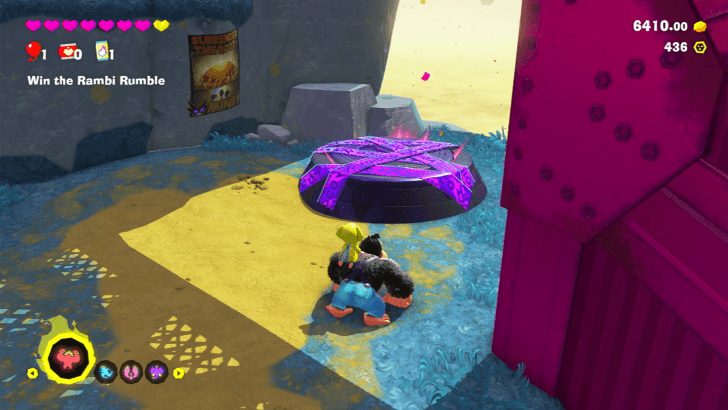 |
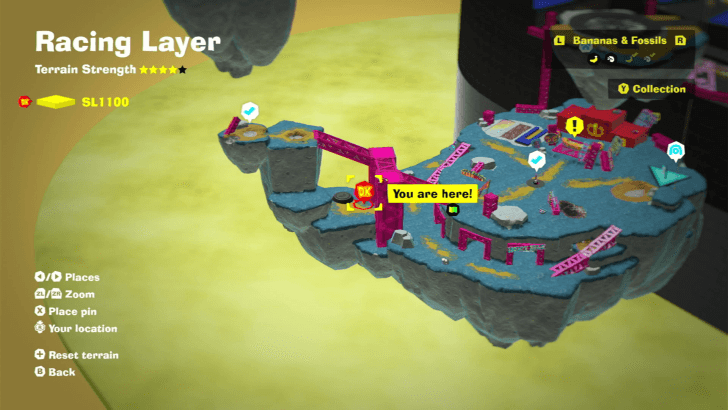
| Located slightly southwest of the Rumble Reception checkpoint. | |
 |
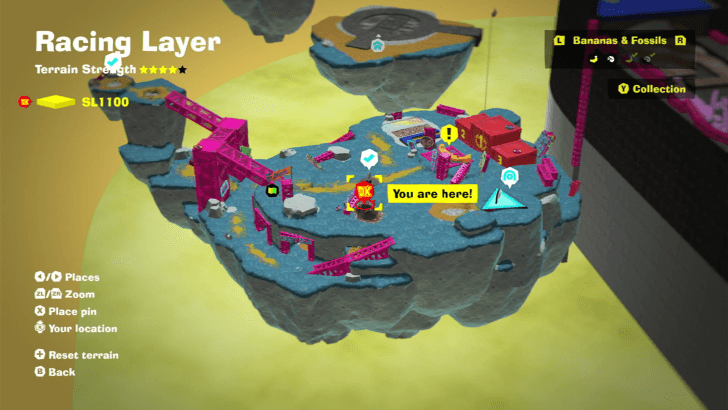 |
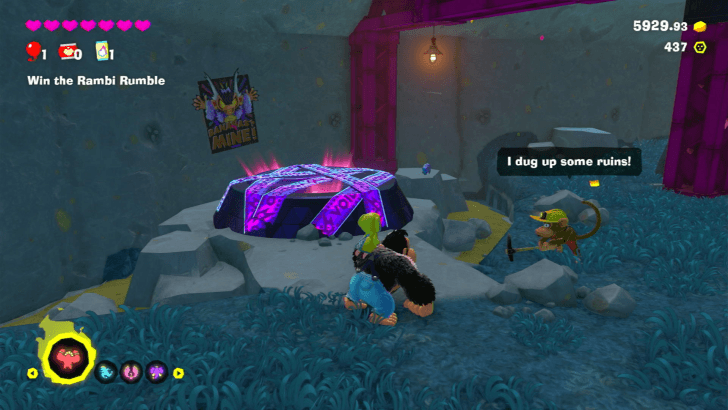
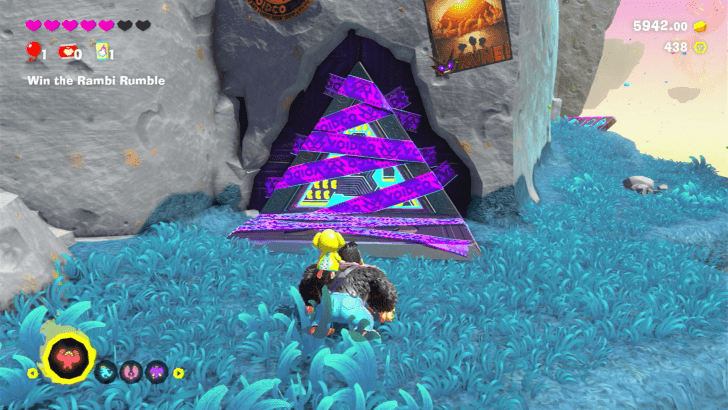
| Located right under the Rumble Reception checkpoint, and in the same area as the Quiztone. | |
 |
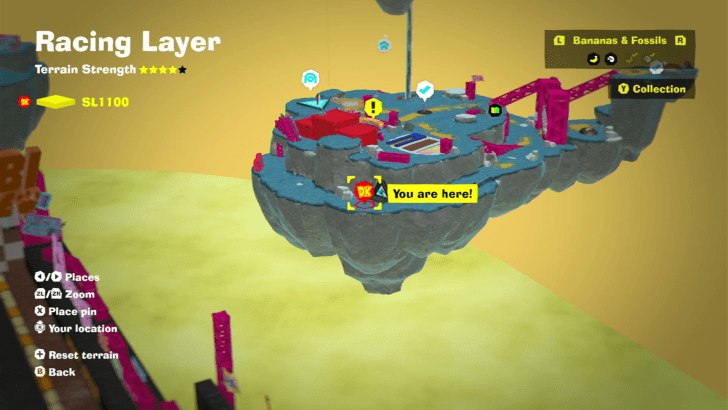 |
| Located on the outer rim of Rumble Reception and facing the racing track. | |
Radiance Layer Challenge Ruins
| Overworld View | Map Location |
|---|---|
 |
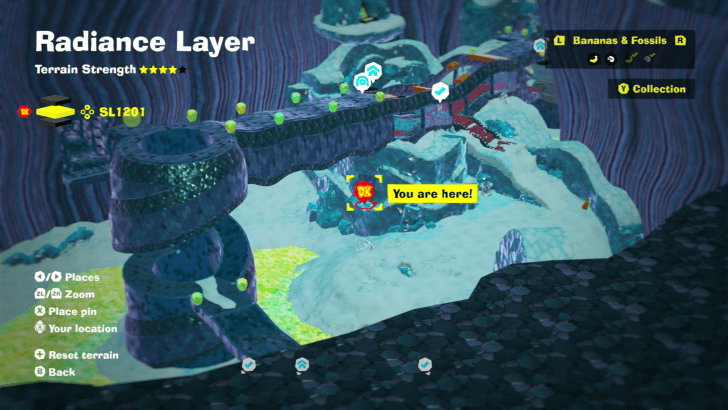 |
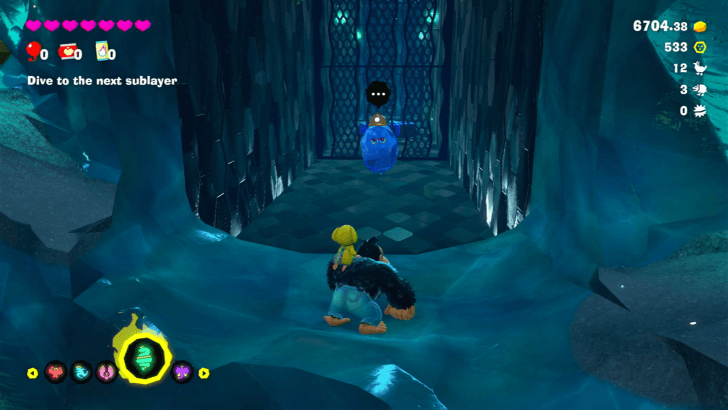
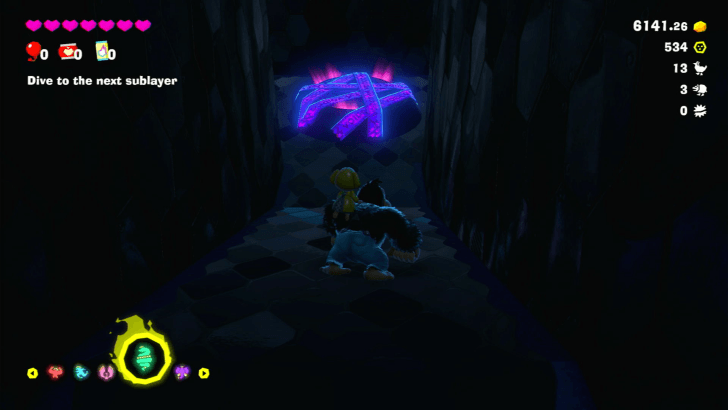
| Speak to the Constructone and pay 600 gold to open the gate to the challenge ruins. | |
 |
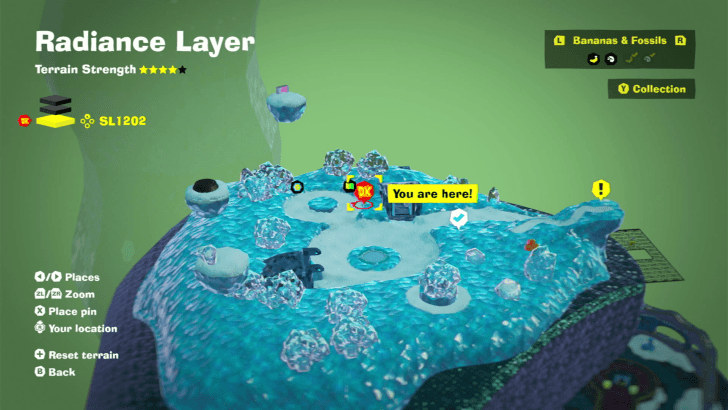 |
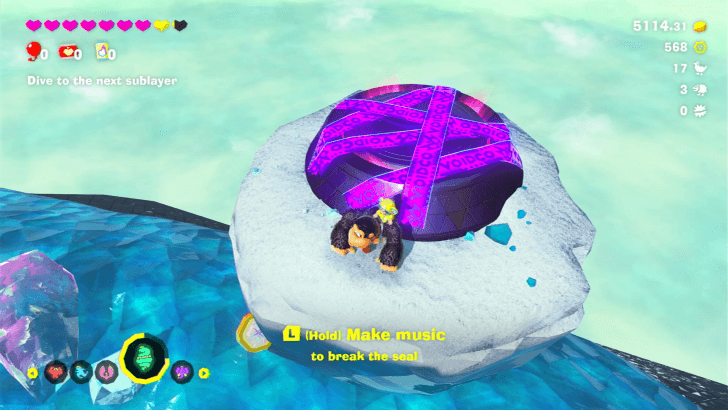
| Inside one of the doors with a Glow Stone. Punch the Glow Stone door to access the hidden area where the challenge ruin is. | |
 |
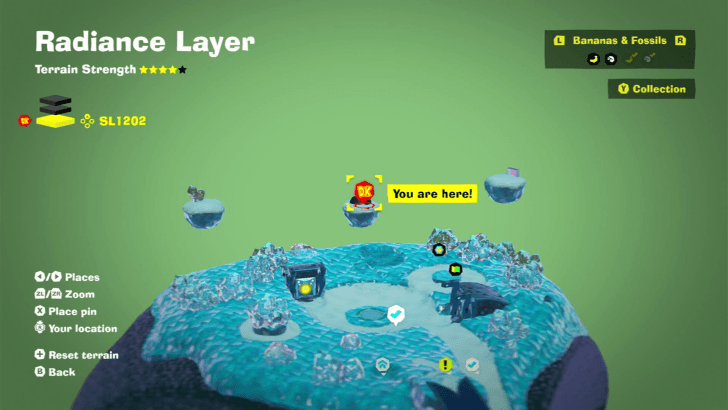 |
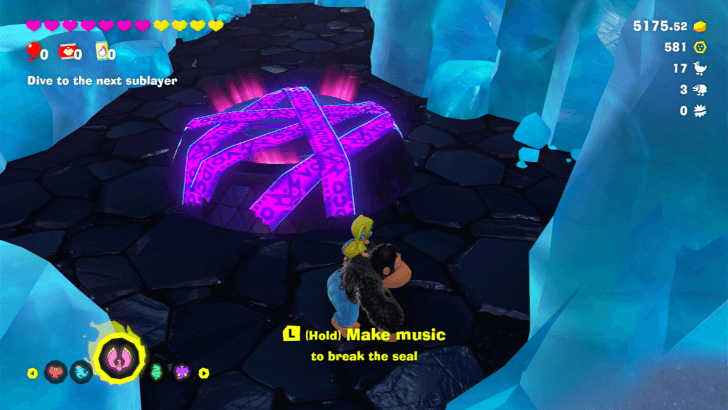
| On a floating rock above the Sculptor's Studio area. | |
 |
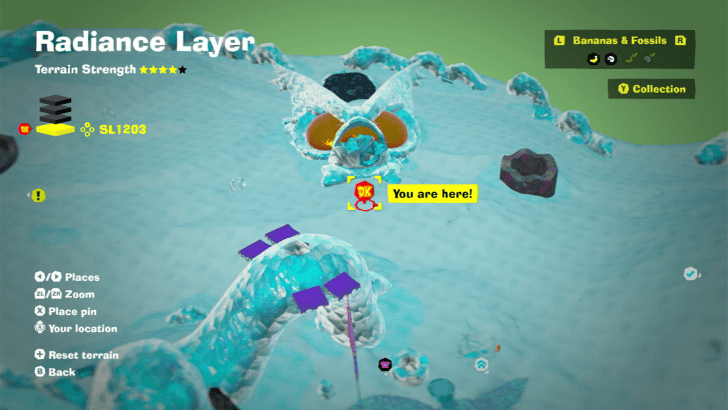 |
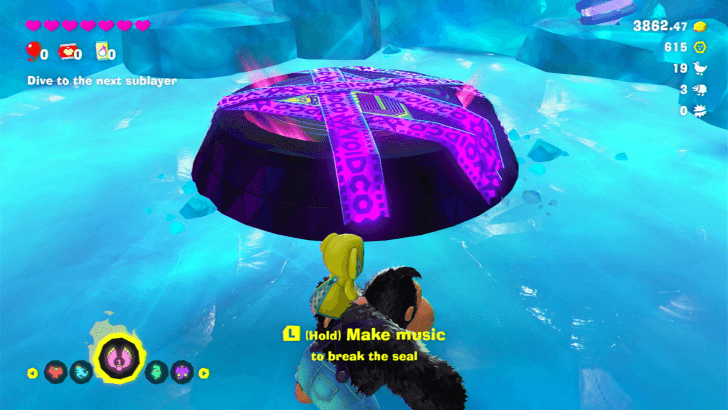
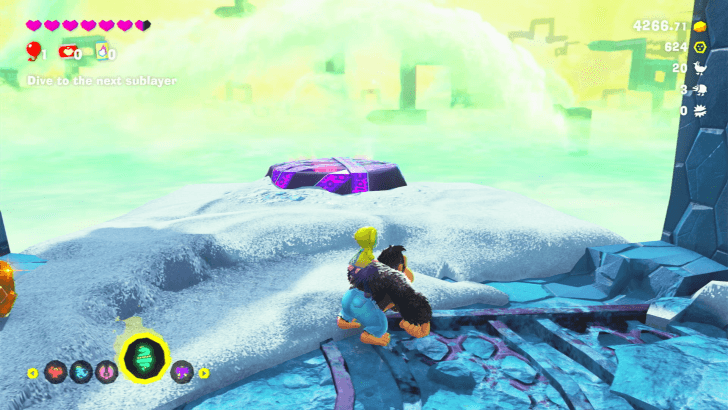
| In a cave under the Void Kong-shaped ice structure. | |
 |
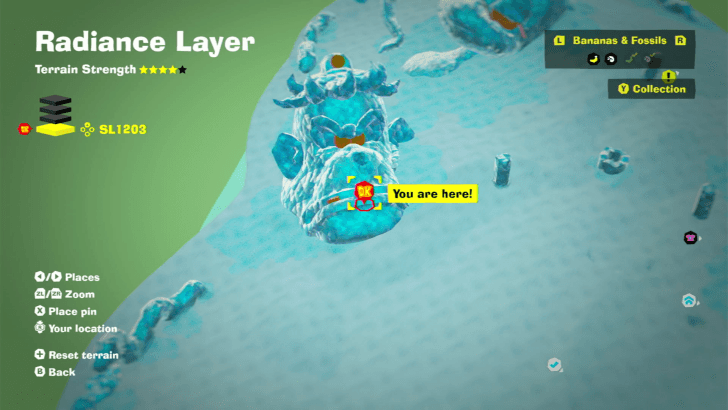 |
| Make your way to the large Grumpy Kong ice structure and dig down to reach the challenge ruins. | |
 |
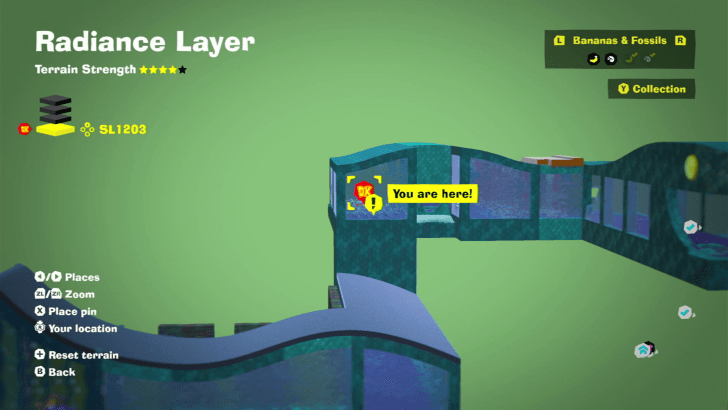 |
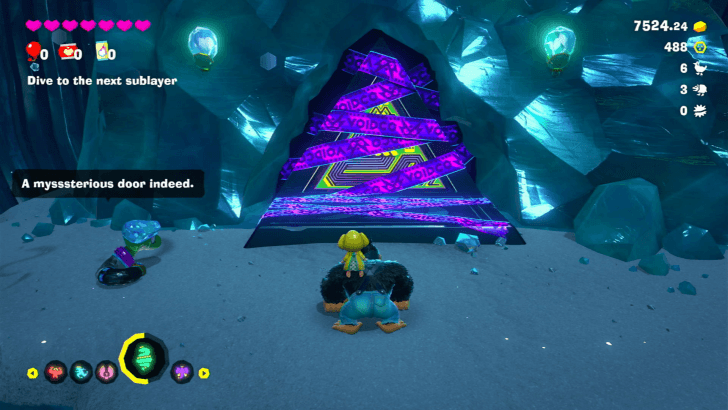
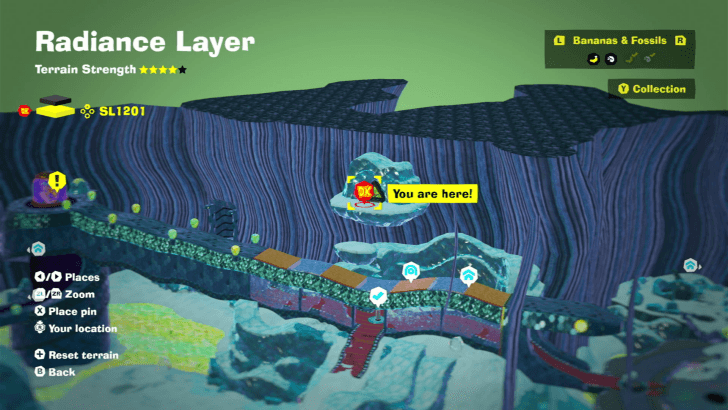
| Behind a wall in the Window Viper area. | |
 |
 |
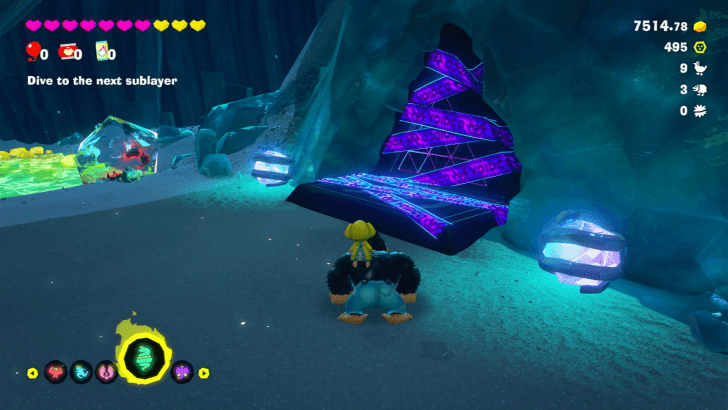
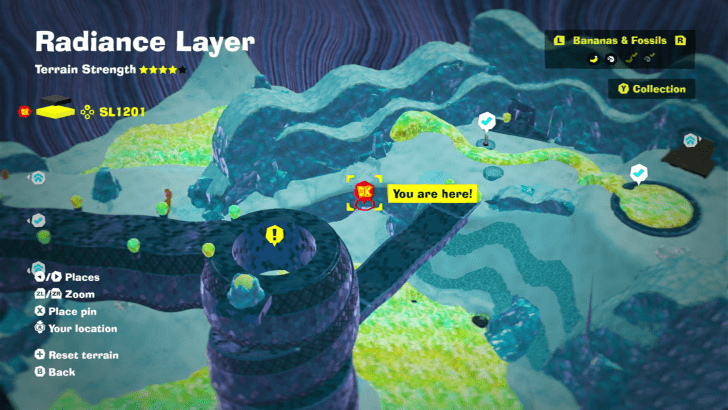
| On the floating cave right above the Constrictor Corridor checkpoint. | |
 |
 |
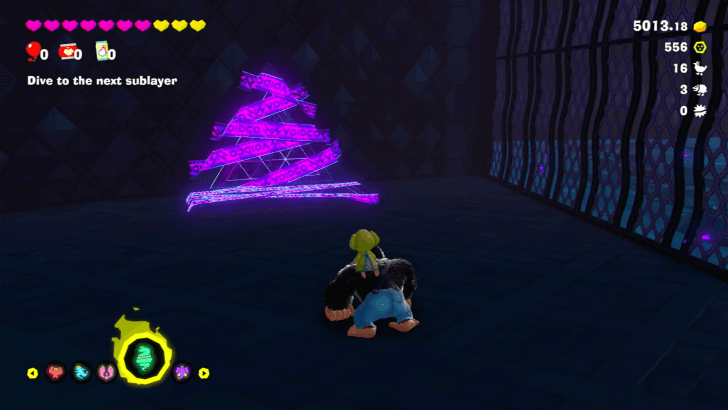
| On the lower floor in Glowboa Grotto just past the Glow Stone Vein checkpoint. | |
 |
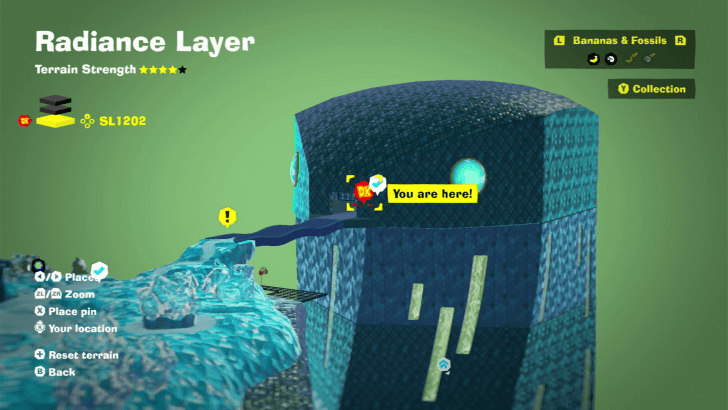 |
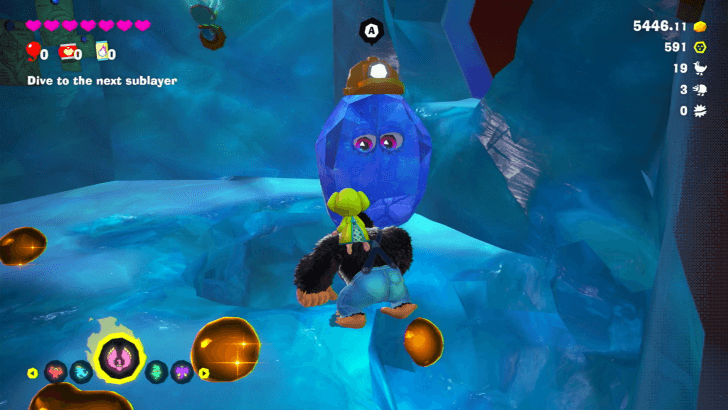
| Located right next to the Solar Control Tower checkpoint. | |
 |
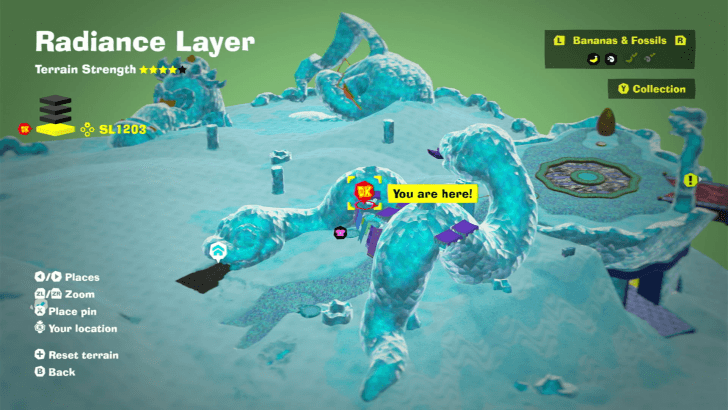 |
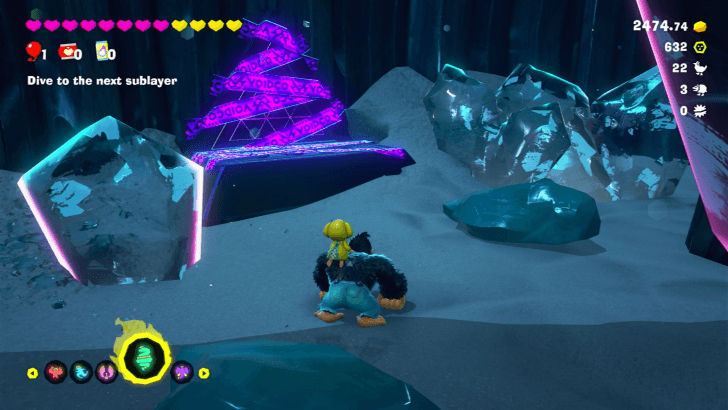
| Speak to the Constructone in the small house to the right of the Style Shop and pay it 1000 gold to clear the debris to the challenge ruins on the opposite side of the road. | |
 |
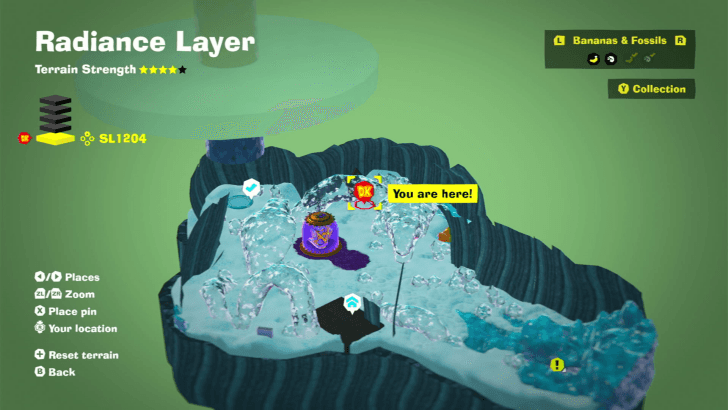 |
| Located to the right of the Void Stake. | |
Groove Layer Challenge Ruins
| Overworld View | Map Location |
|---|---|
 |
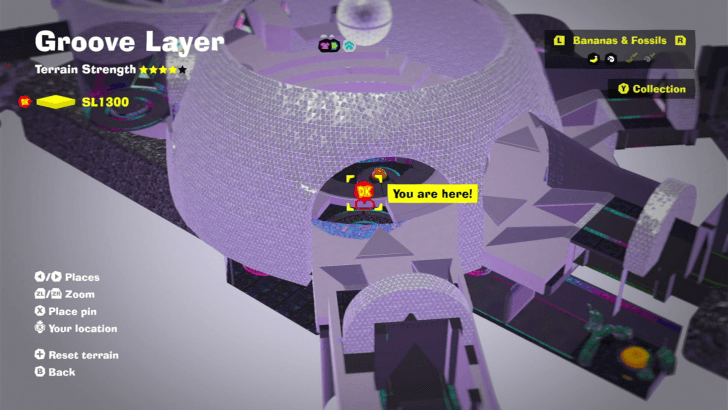 |
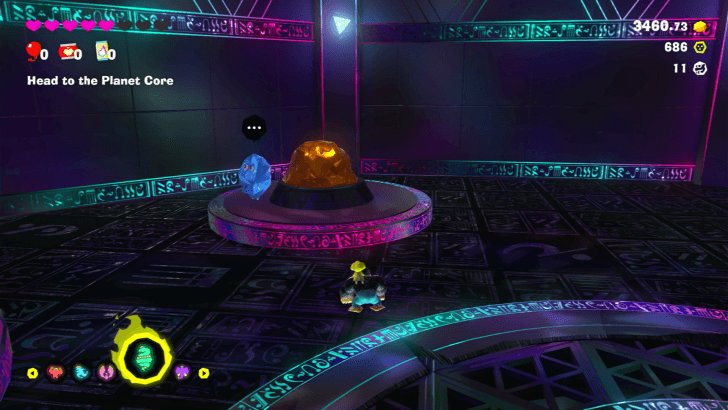
| On the lower level of the Disco Hall. The ruins are covered in debris that you need to change to gold with the harp on the top layer. | |
 |
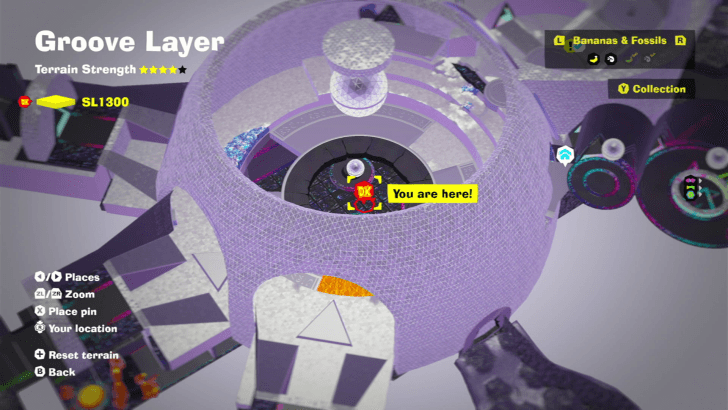 |
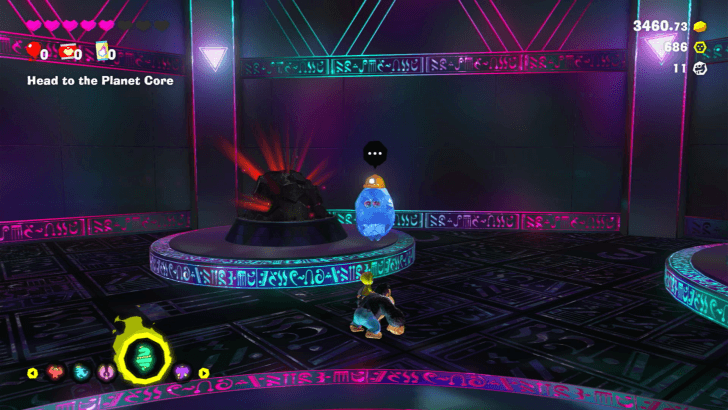
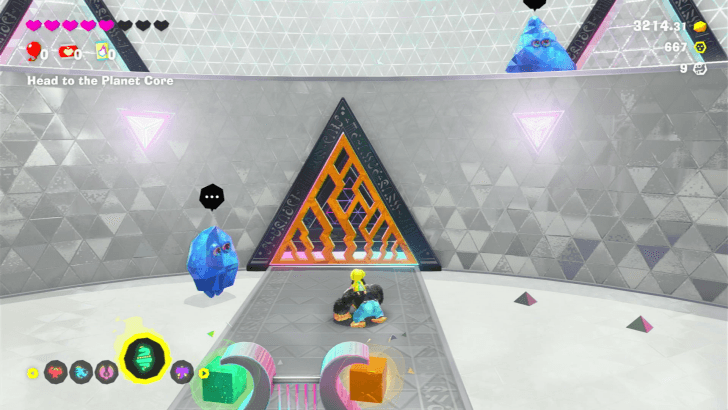
| On the lower level of the Disco Hall. The ruins are covered in debris that you need to change to gold with the harp on the top layer. Pay the Constructone 600 gold to clear the debris to the challenge ruins. | |
 |
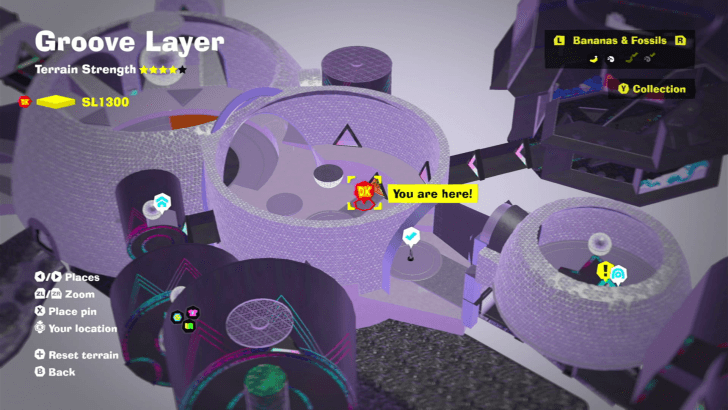 |
| Right next to the Disco Hall check point. You'll need to pay the Constructone 500 gold to construct a harp to change the terrain of the railing blocking the challenge ruin entrance. | |
Feast Layer Challenge Ruins
| Overworld View | Map Location |
|---|---|
 |
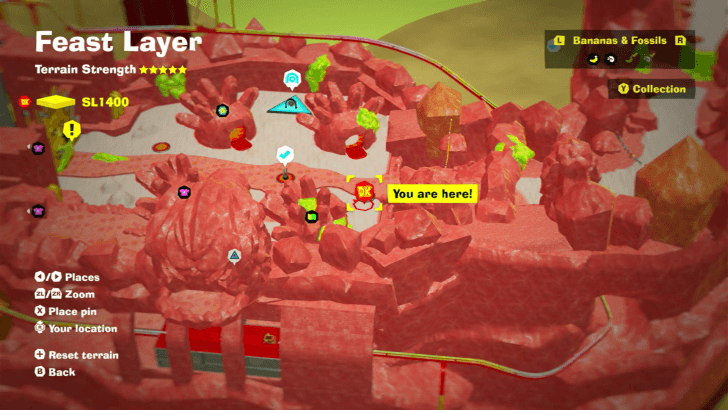 |
| On the lower level below the Mane Gate Market. | |
 |
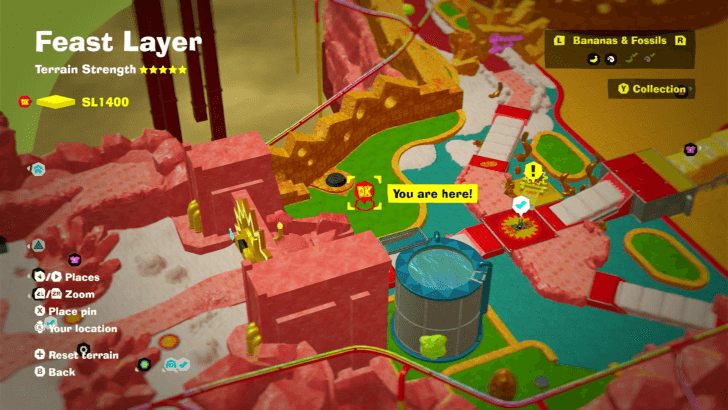 |
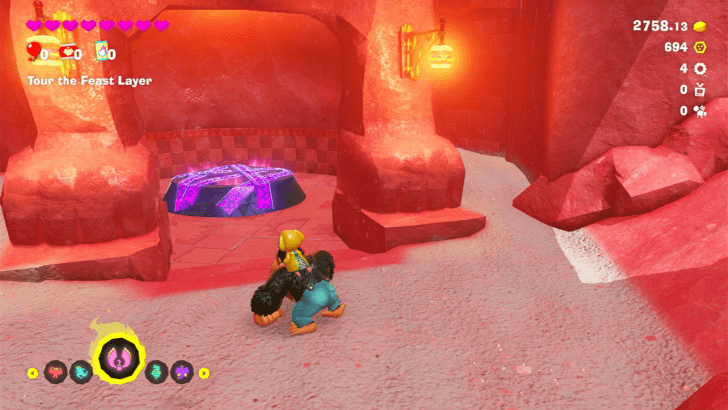
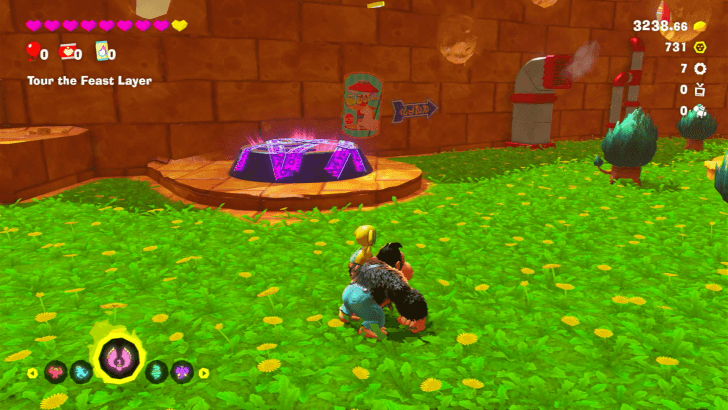
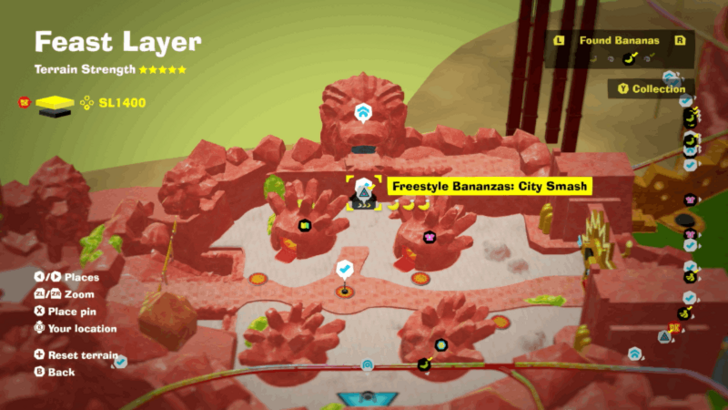
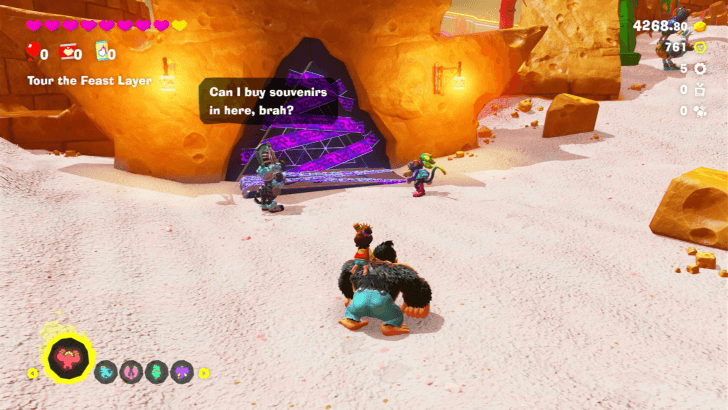
| Located east of the Tour of the Feast Layer checkpoint. | |
 |
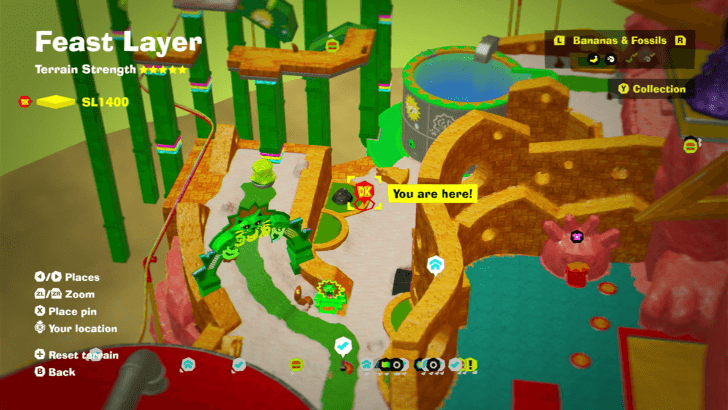 |
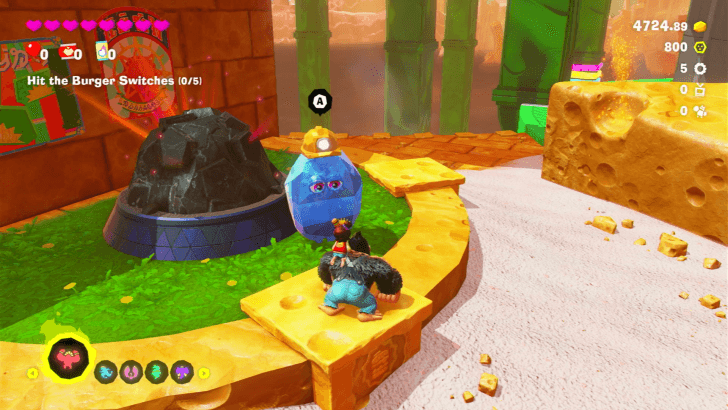
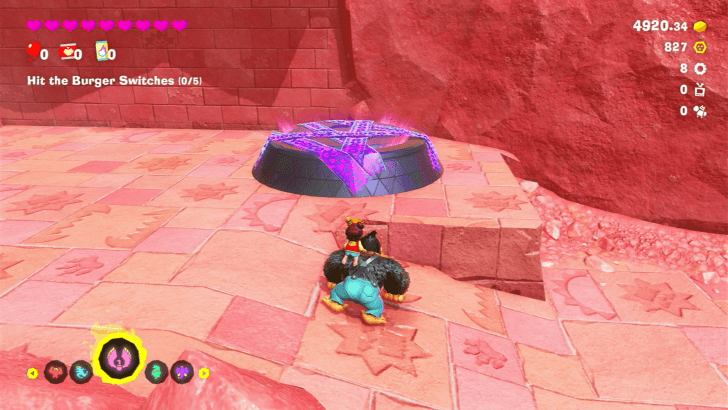
| Located opposite of the Swings Getaway. Speak to the Constructone and pay 600 gold to clear the debris blocking the challenge ruin. | |
 |
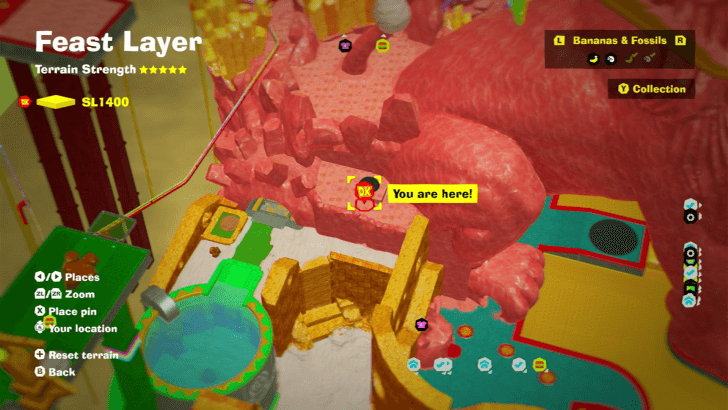 |
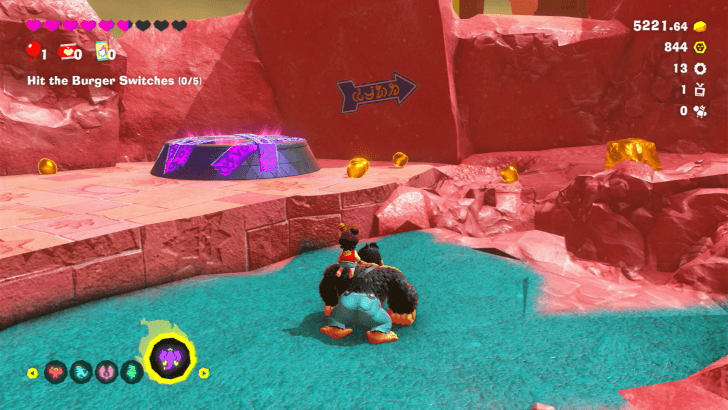
| On a ledge overlooking the pool area and right before the tunnel in Kingly Swings. | |
 |
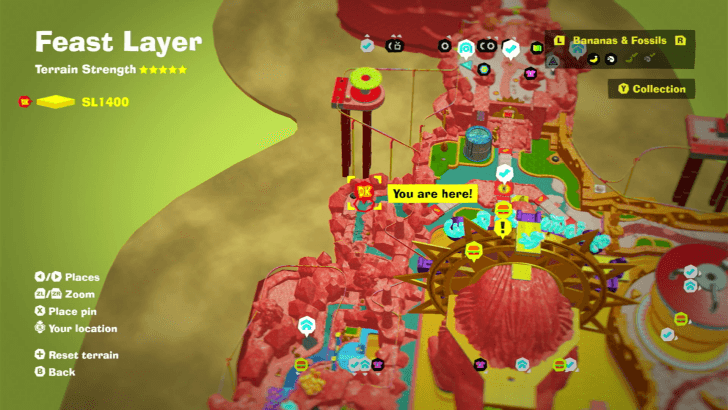 |
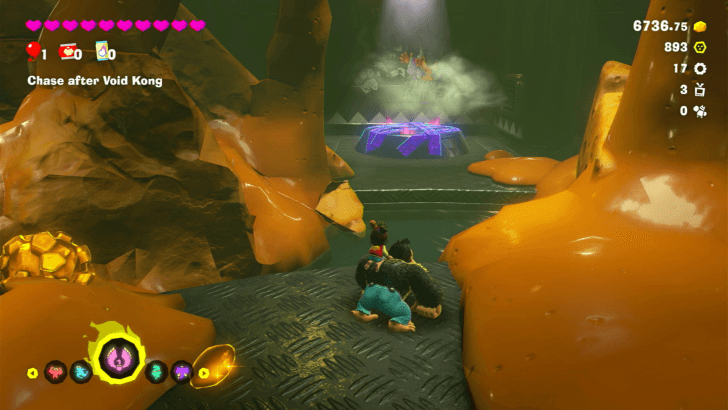
| On the side of the road north of the Refinery Getaway. | |
 |
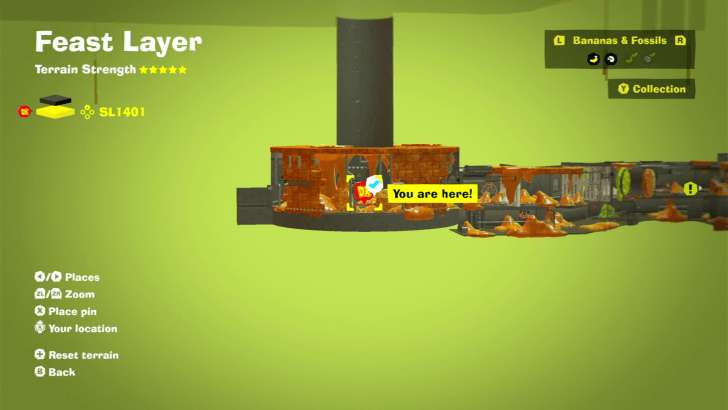 |
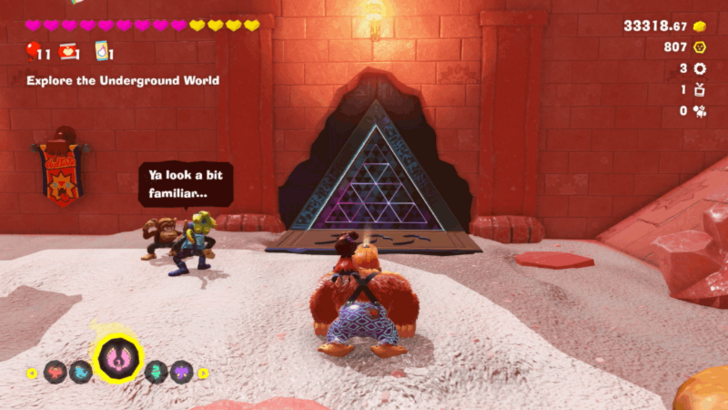
| To the left of where you dropped in Cat-Scratch Kitchen. | |
 |
 |
 |
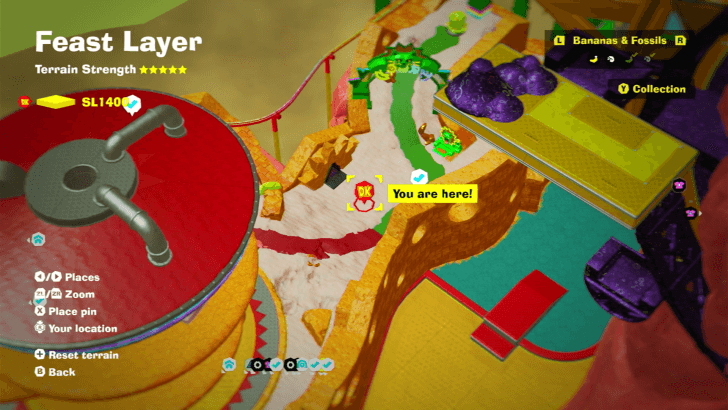 |
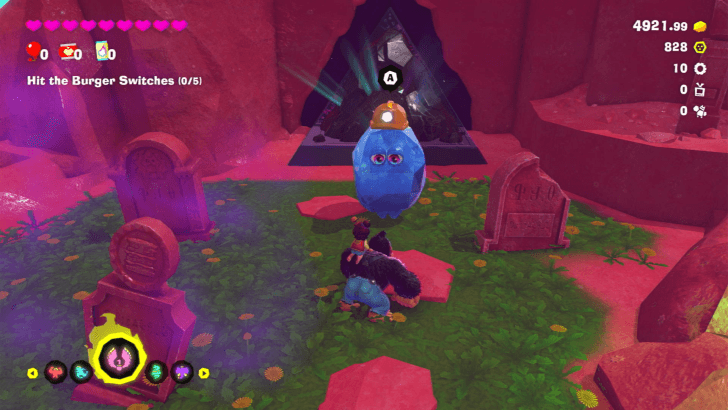
| Located to the left of the Kingly Swings checkpoint. | |
 |
 |
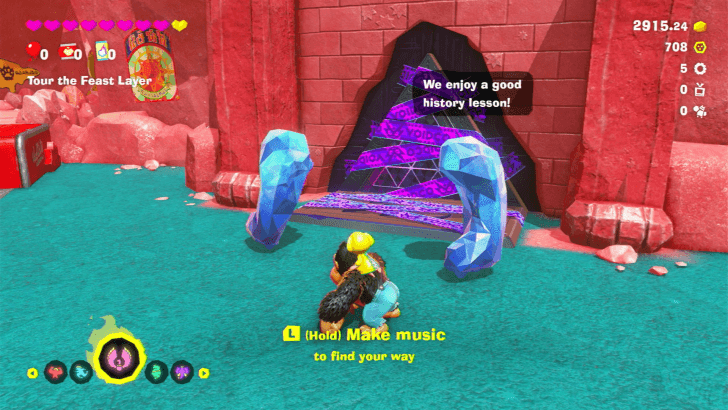
| Located to the west of the Ferocious Fryhouse checkpoint. Speak to the Constructone and pay 600 gold to clear the debris blocking the ruins. | |
 |
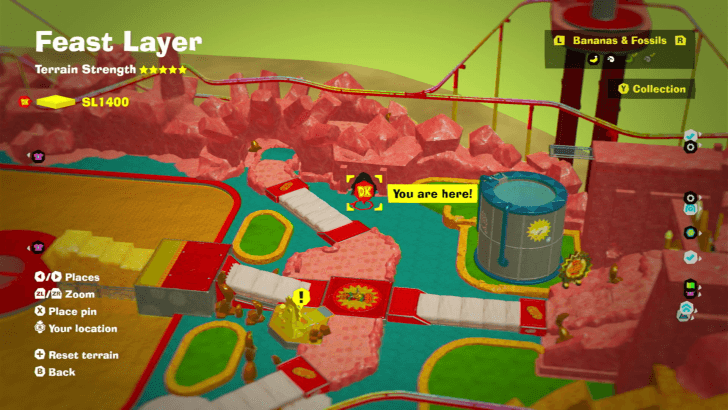 |
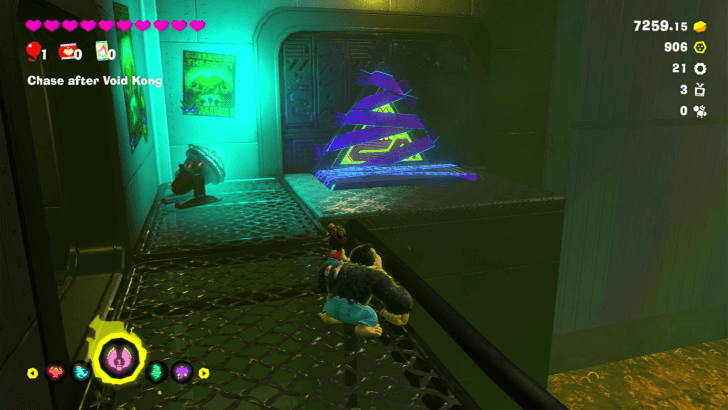
| Located west of the Tour of the Feast Layer checkpoint. | |
 |
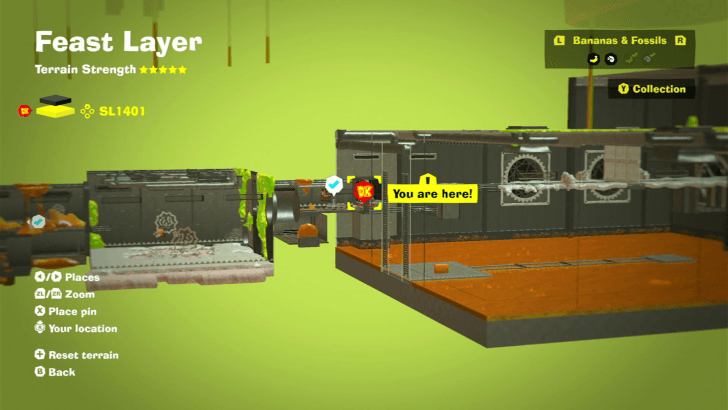 |
| On the left path just past the Waste-Oil Container checkpoint. | |
Forbidden Layer Challenge Ruins
| Overworld View | Map Location |
|---|---|
 |
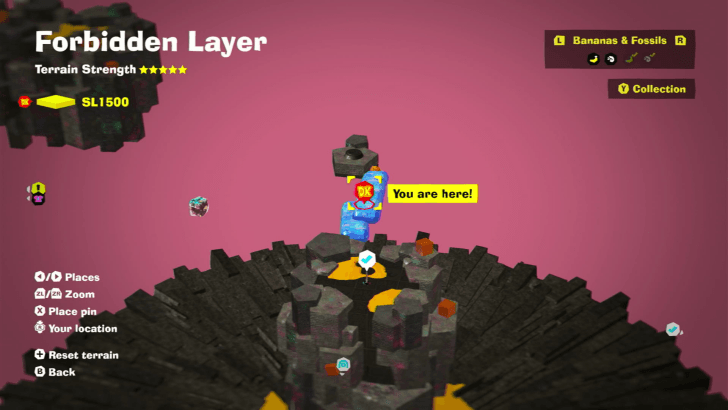 |
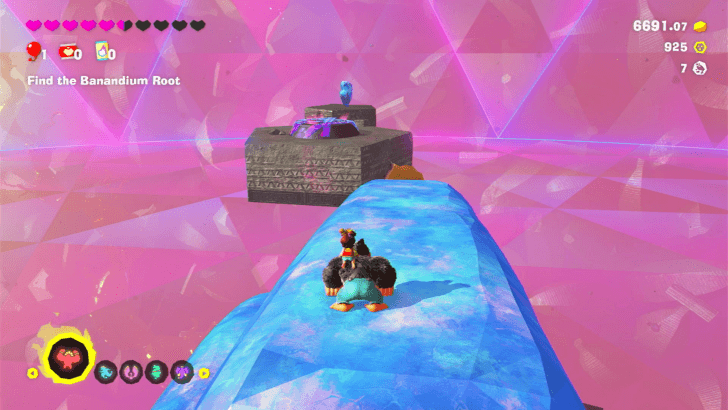
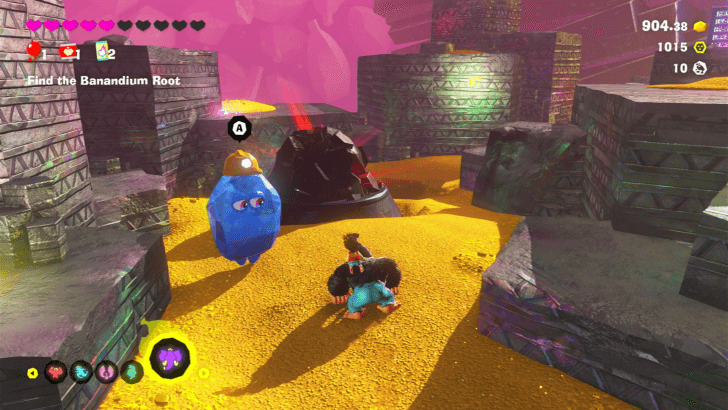
| Located east of the First Concrete Tower checkpoint. Pay the Securitone 2000 gold to activate the shifty layer, then throw terrain towards the floating island to create a path to reach the challenge ruin. | |
 |
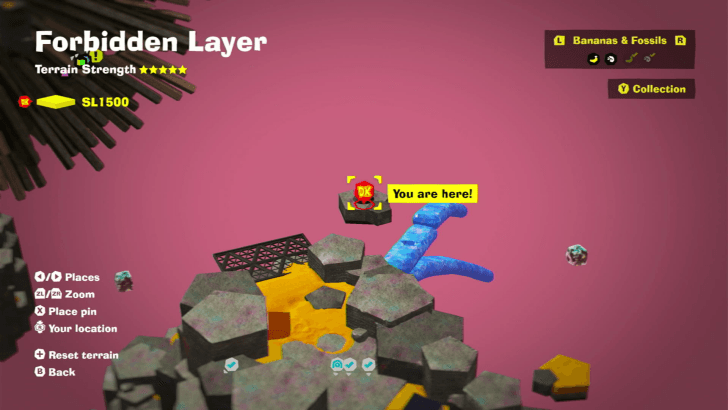 |
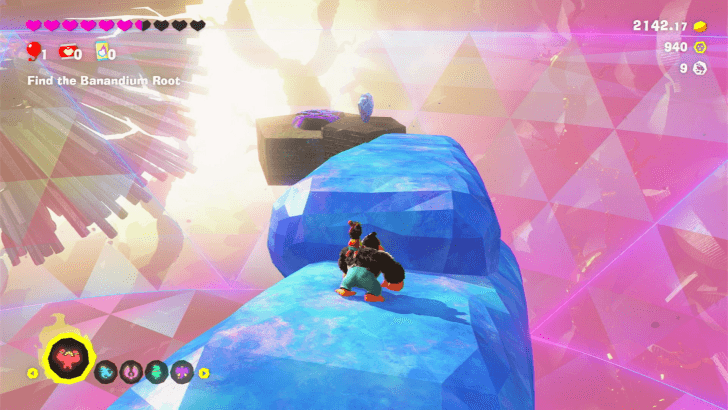
| Located east of the Second Concrete Tower checkpoint. Pay the Securitone 5000 gold to activate the shifty layer, then throw terrain towards the floating island to create a path to reach the challenge ruin. | |
 |
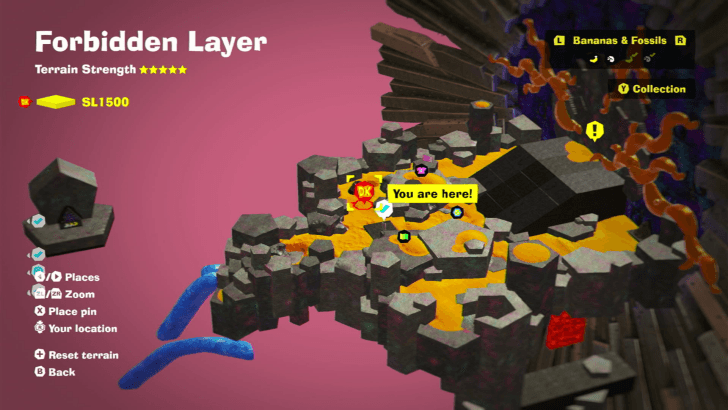 |
| Located to the left of No-Further-Gate. Speak to the Constructone and pay 600 gold to clear the debris blocking the entrance to the challenge ruins. | |
 |
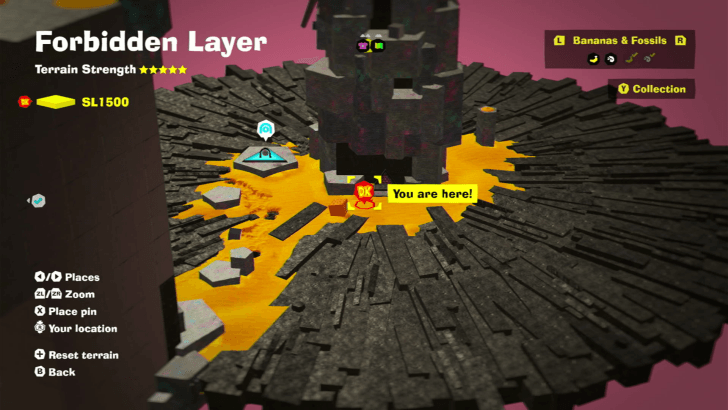 |
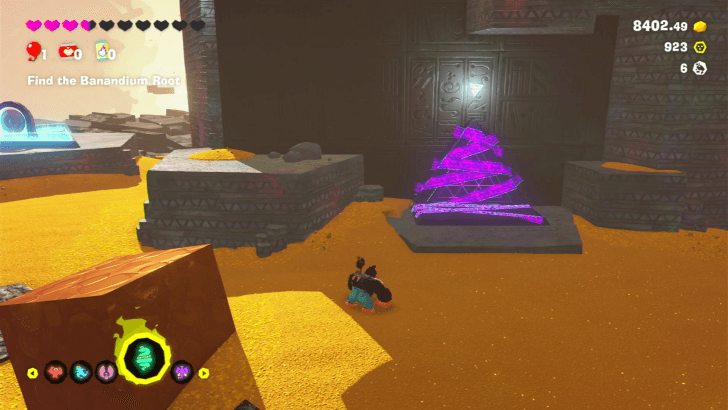
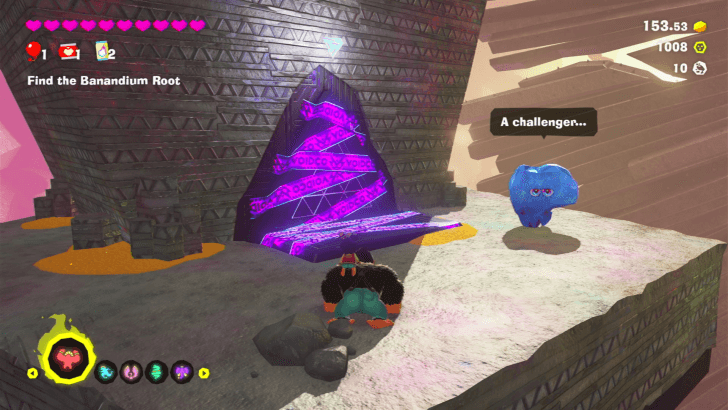
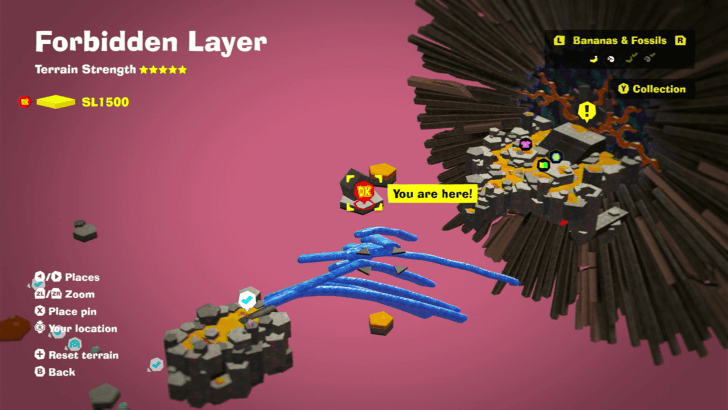
| To the right of the Warp Going in Don-Not-Enter Depths. | |
 |
 |
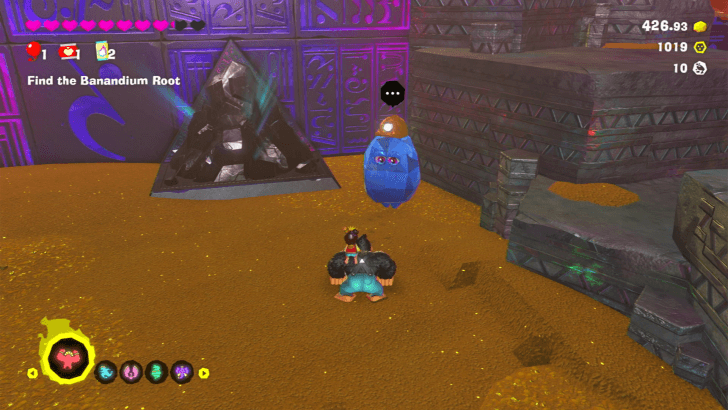
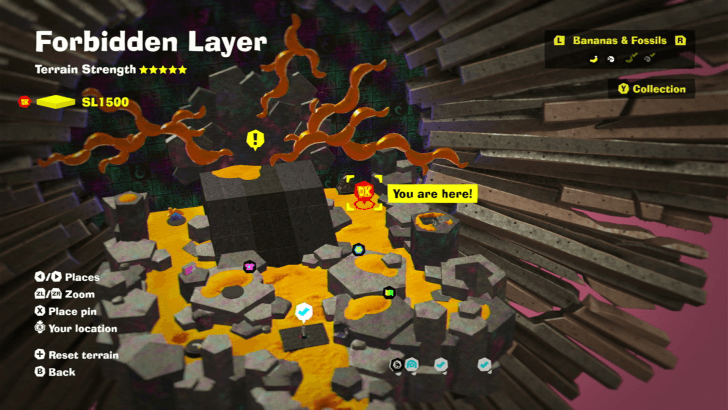
| Located northwest of the Third Concrete Tower checkpoint. Pay the Securitinone 9999 gold to create a shifty layer and create a path towards the challenge ruin. | |
 |
 |
| Located northeast of the Go-No-Further checkpoint. Speak to the Constructone and pay 1000 gold to remove the debris from the challenge ruins. | |
Types of Challenge Ruins
Time Limited Combat Challenges
One of the Challenge Ruins featued in the Nintendo Direct is a time-limited battle where you need to defeat enemies before the time runs out.
Puzzle-Based Courses
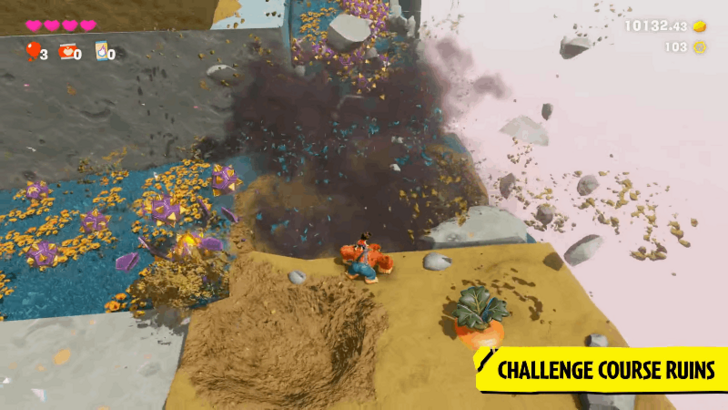
This is a challenge course that requires you to use the terrain to solve puzzles and reach the exit.
2D Side Scroller Challenges
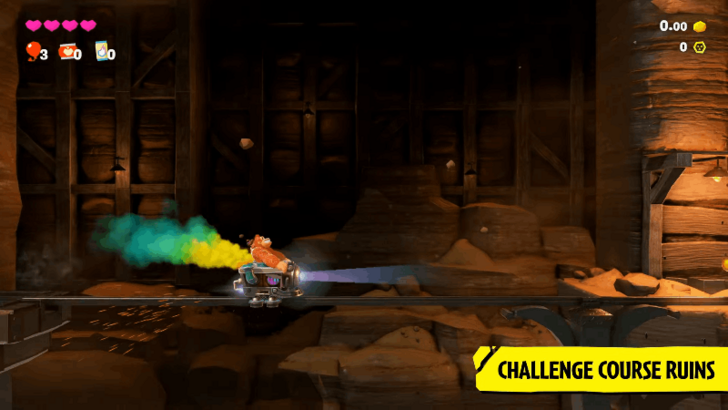
This challenge course takes inspiration from the previous Donkey Kong games by utilizing a 2D side scroller perspective.
Time Limited Destruction Courses
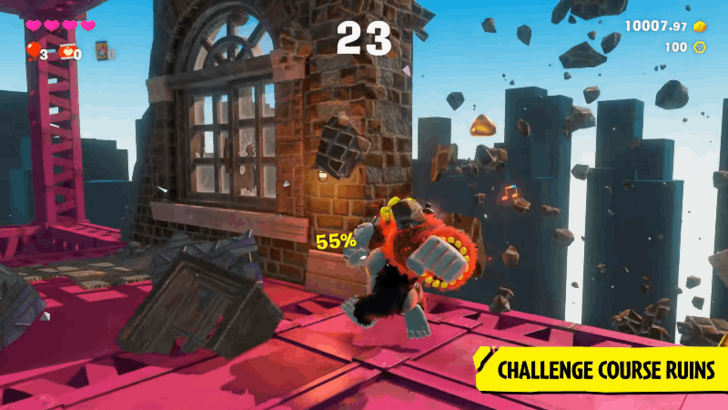
This challenge course requires you to destroy a building before the time runs out.
How Many Challenge Ruins Are There?
108 Challenge Ruins
There are a total of 108 Challenge Ruins in the game, all of which rewards players Banandium Gems upon completing each one.
Challenge Ruins Rewards
Banandium Gems
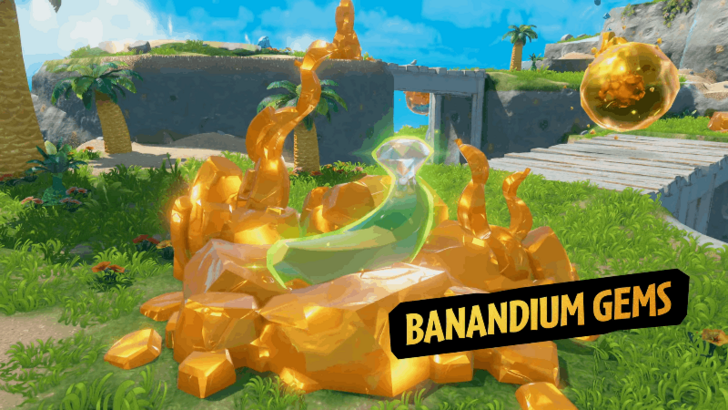
Completing Challenge Course Ruins rewards you with Banandium Gems. Collecting these earns you Skill Points, which you can use to upgrade your Skills.
Number of Banandium Gems appears at the entrance
| Ruins Entrance Comparison | |
|---|---|
 |
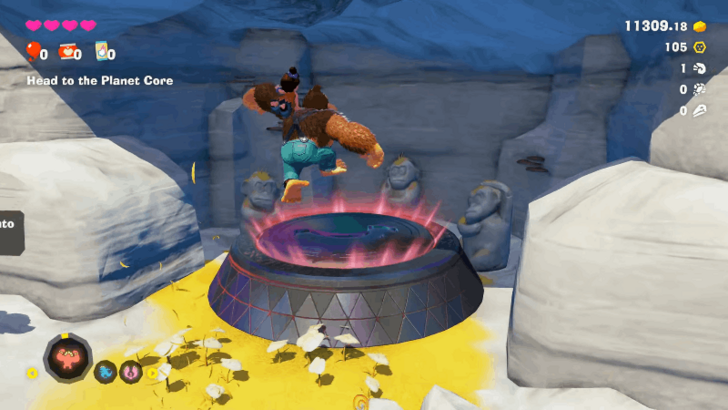 |
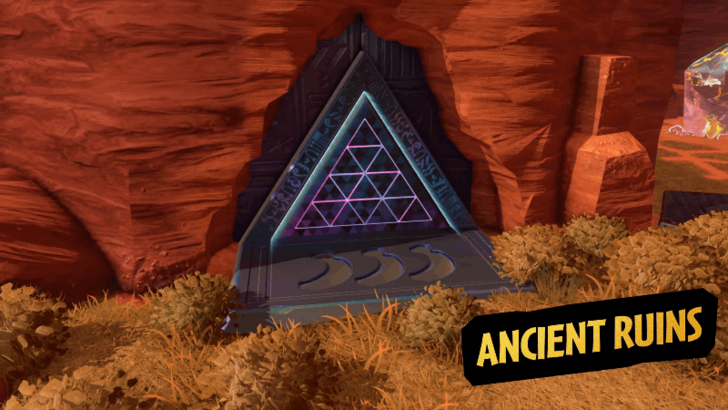
The entrance of the Challenge Ruins shows the number of Banandium Gems that you can obtain upon completing it.
For example, the triangle shaped ruins rewards you with 3 Banandium Gems while the ones with a manhole entrance only gives 1 Banandium Gem.
Banandium Gems List and Locations
Donkey Kong Bananza Related Guides
Guides by Category
| List of Categories | |
|---|---|
 Walkthrough Walkthrough |
 Layers Layers |
 Banandium Gems Banandium Gems |
 How-To Guides How-To Guides |
 Challenge Ruins Challenge Ruins |
 Bananza Forms Bananza Forms |
 Outfits Outfits |
 Bosses Bosses |
 Fossils Fossils |
 Post-Game Post-Game |
 Music Discs Music Discs |
 Items Items |
 Terrain Types Terrain Types |
 Skills Skills |
 Message Boards Message Boards |
 Latest News Latest News |
Recommended Guides
Comment
Author
List of All 108 Challenge Ruins
improvement survey
04/2026
improving Game8's site?

Your answers will help us to improve our website.
Note: Please be sure not to enter any kind of personal information into your response.

We hope you continue to make use of Game8.
Rankings
- We could not find the message board you were looking for.
Gaming News
Popular Games

Genshin Impact Walkthrough & Guides Wiki

Crimson Desert Walkthrough & Guides Wiki

Umamusume: Pretty Derby Walkthrough & Guides Wiki

Honkai: Star Rail Walkthrough & Guides Wiki

Monster Hunter Stories 3: Twisted Reflection Walkthrough & Guides Wiki

Wuthering Waves Walkthrough & Guides Wiki

The Seven Deadly Sins: Origin Walkthrough & Guides Wiki

Pokemon TCG Pocket (PTCGP) Strategies & Guides Wiki

Pokemon Pokopia Walkthrough & Guides Wiki

Zenless Zone Zero Walkthrough & Guides Wiki
Recommended Games

Monster Hunter World Walkthrough & Guides Wiki

Fire Emblem Heroes (FEH) Walkthrough & Guides Wiki

Pokemon Brilliant Diamond and Shining Pearl (BDSP) Walkthrough & Guides Wiki

Super Smash Bros. Ultimate Walkthrough & Guides Wiki

Diablo 4: Vessel of Hatred Walkthrough & Guides Wiki

Cyberpunk 2077: Ultimate Edition Walkthrough & Guides Wiki

Yu-Gi-Oh! Master Duel Walkthrough & Guides Wiki

Elden Ring Shadow of the Erdtree Walkthrough & Guides Wiki

The Legend of Zelda: Tears of the Kingdom Walkthrough & Guides Wiki

Persona 3 Reload Walkthrough & Guides Wiki
All rights reserved
© Nintendo. Games are property of their respective owners. Nintendo of America Inc.
The copyrights of videos of games used in our content and other intellectual property rights belong to the provider of the game.
The contents we provide on this site were created personally by members of the Game8 editorial department.
We refuse the right to reuse or repost content taken without our permission such as data or images to other sites.

 Best Skills to Upgrade
 How to Get the Secret Ending
 List of Characters
 Easter Eggs and References
 Missables and One-Time Events
 Best Outfits
 Completion Reward
 DLC Guide
 Banandiumtone Puzzle Guide (DLC)
 List of Emerald Perks (DLC)
 Emerald Rush Guide (DLC)
 All Style Shop Locations
 All Stuff Shop Locations
 Bonus Stage Locations
 All 17 Cranky Kong Locations
 All Quiztone Answers and Locations
 All Getaway Locations
 All Elder Locations
 Collectibles List
 Checkpoints
 Void Stakes
 Squawk Statues


![Forza Horizon 6 Review [Preview] | Beautiful Roads With a Whole Lot of Oversteer](https://img.game8.co/4460981/a7254c24945c43fbdf6ad9bea52b5ce9.png/show)


![Forza Horizon 6 Review [Preview] | Beautiful Roads With a Whole Lot of Oversteer](https://img.game8.co/4460981/a7254c24945c43fbdf6ad9bea52b5ce9.png/thumb)


