
This survey will take about 1 minute.
Your answers will help us to improve our website.
Donkey Kong Bananza
Groove Layer Walkthrough
☽ DK Island and Emerald Rush DLC out now!
☽ Learn how to solve Banandiumtone's Puzzles.
☽ All Collectibles: Banandium Gems and Fossils
☽ Learn How to Skip Layers Entirely!
☽ How to Beat the Final Boss
☽ Post-Game: Rehearsal Halls | Secret Ending
This is a walkthrough guide for Groove Layer (SL 1300) in Donkey Kong Bananza. Read on for a complete step-by-step on how to complete the layer and progress the story.
| Groove Layer Guides | |
|---|---|
| Walkthrough | Collectibles |
| Previous and Next Layer | |
| ◀︎ Radiance Layer | Feast Layer ► |
List of Contents
Groove Layer Walkthrough
Prison Break
| Step-by-Step Guide | |
|---|---|
| 1 | 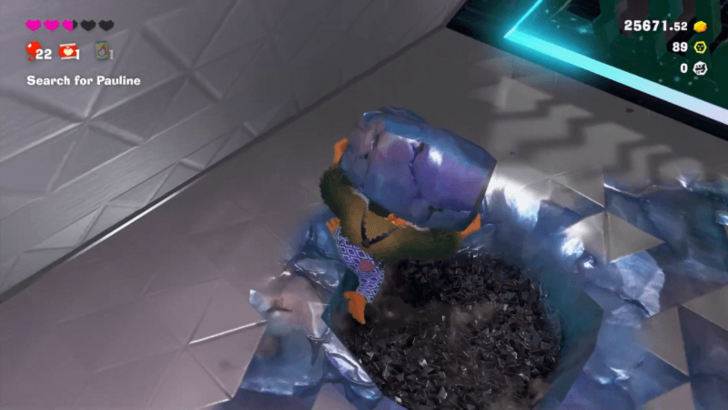 Make your way out of prison by punching downward until you end up in a crevice underground. |
| 2 | 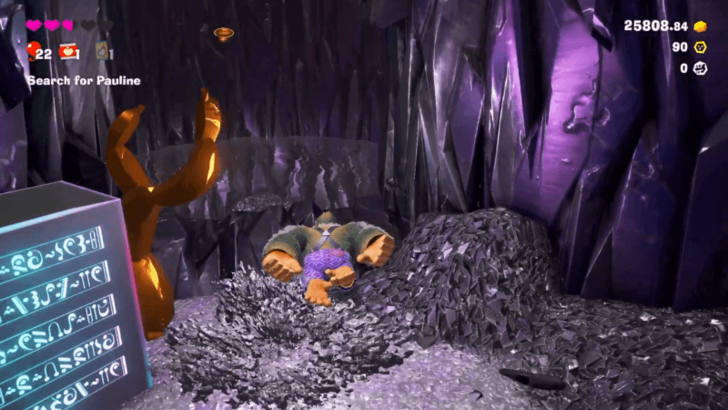 Follow the path, and punch your way through the gold. At the sign in front of a fork in the road, go right. |
| 3 | 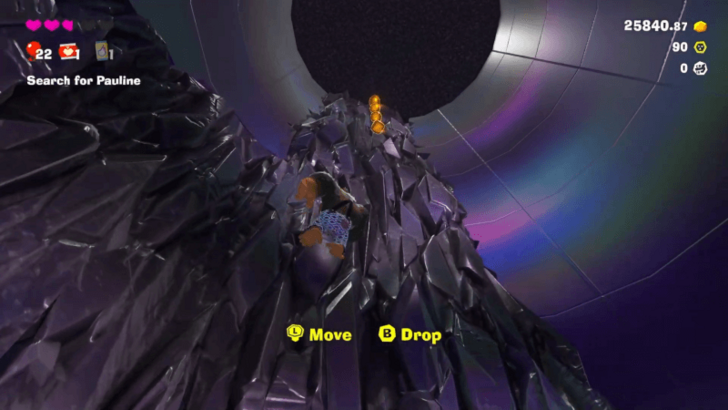 Climb up the wall, following the jagged terrain, and punch upward. You should end up in the Jail Hall right outside your cell. |
| 4 | Talk to the guard on the left. You can then use Dive Punch to use him as a trampoline to get to the upper platform. ▶︎ All Terrain Types and Interactions |
| 5 | 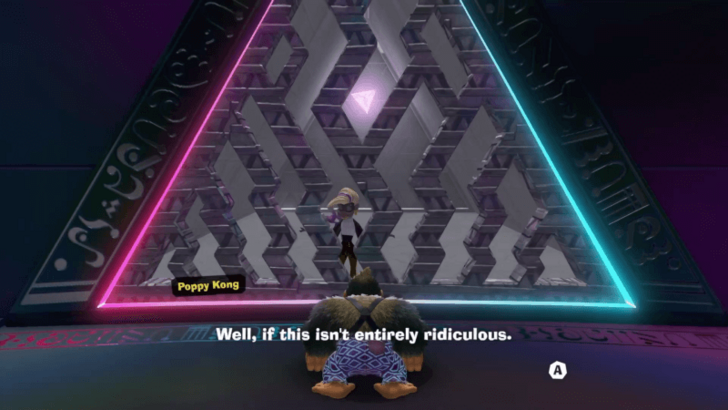 Follow the path, and jump onto the next guard. On this platform, you'll find Poppy Kong imprisoned in a cell. |
| 6 |  At the end of the walkway is an open cell where you can get gold blocks. Carry some gold, and throw it at Poppy's cell door to bust her out. |
| 7 |  Head back down to the ground floor and talk to the guard. They'll unlock the exit for you. |
Beat Source Track
| Step-by-Step Guide | |
|---|---|
| 1 | 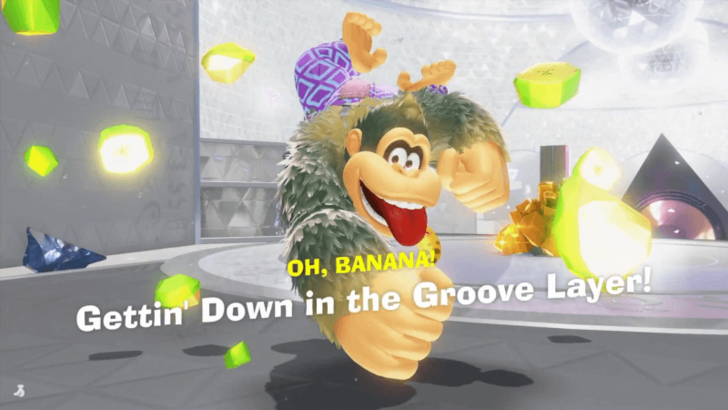 Punch your way through to the Groove Layer Disco Hall and claim your welcome banana. |
| 2 | 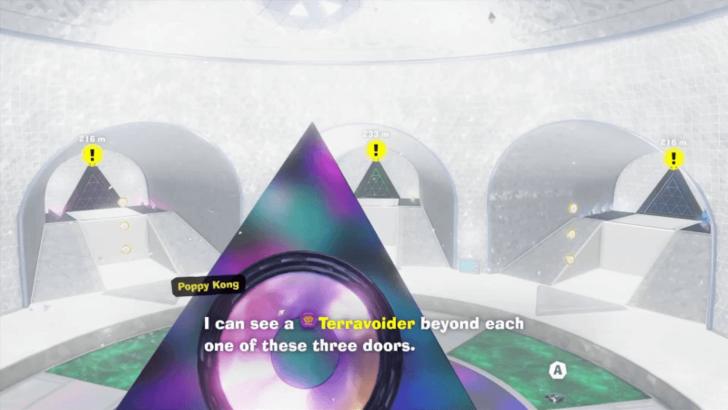 Talk to Poppy Kong to get your next objective. You will then be directed to the leftmost doorway. Talk to the Fractone here to open the way to Beat Source Track. |
| 3 | Continue onward, but watch out for the walls blocking the way! Approach the wall until a face appears, then roll back by moving down while pressing ZL before the wall falls onto you. Do the same with the next wall. |
| 4 |  The first Terravoider can be found at the end of the hall. Destroy it to clear the Voided Terrain. |
| 5 | 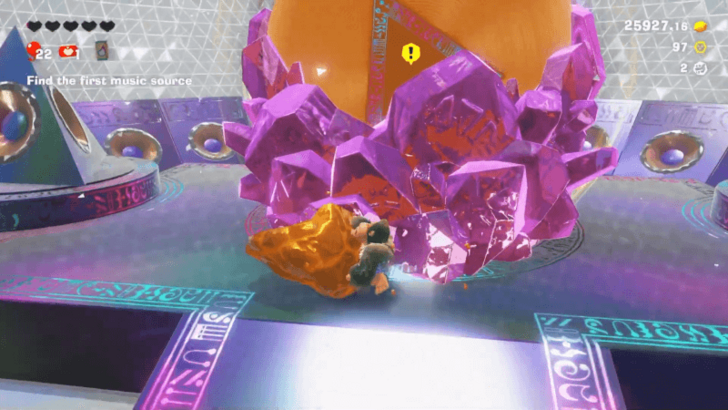 Return to the previous room, and punch the purple crystal to release the trapped record. |
| 6 | 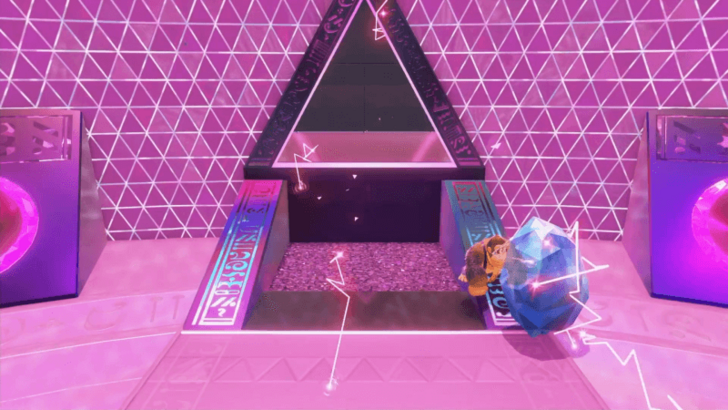 The path you used to get here will now be blocked. Talk to the Fractone near the exit, and they'll give you another way out. |
| 7 | 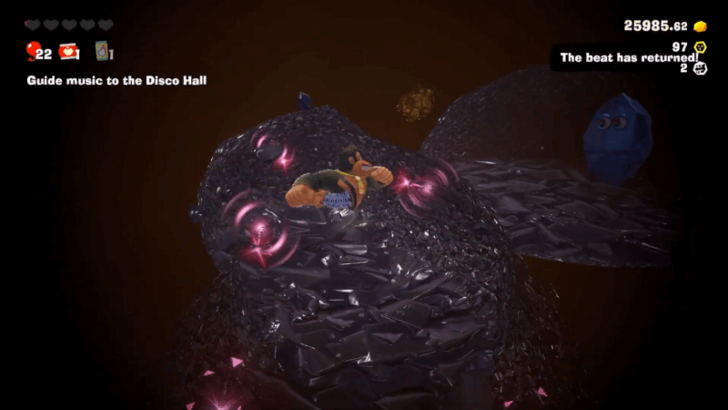 Punch down on the dirt until you reach Beat Tunnel. Get out of the water and punch straight through the dirt to make your path. A Fractone and some gold pieces can help guide your way to the exit. |
| 8 | 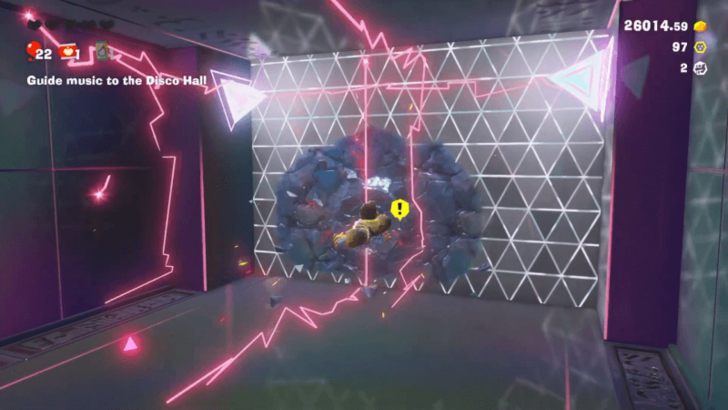 Punch your way through the wall. This should allow the music to reach Disco Hall. |
Bass Source Track
| Step-by-Step Guide | |
|---|---|
| 1 | 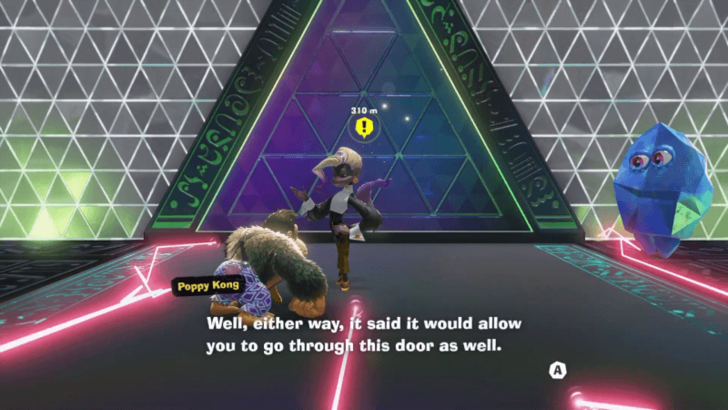 Get your banana reward, then talk to Poppy by the second doorway. |
| 2 | 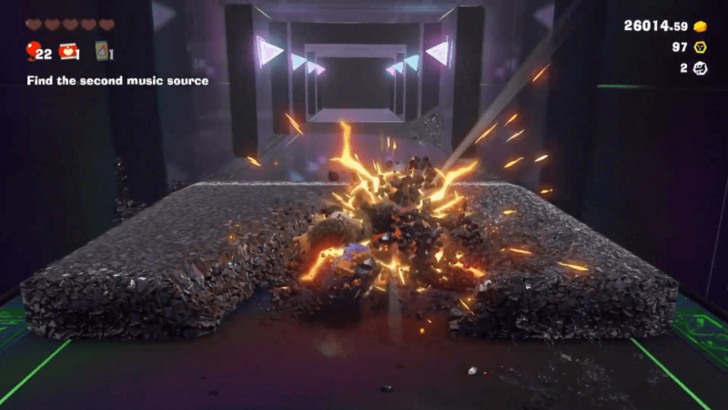 Enter the hallway, and watch out for the walls again. The first wall is made of dirt, so you can either punch it to defeat it or avoid it. |
| 3 | 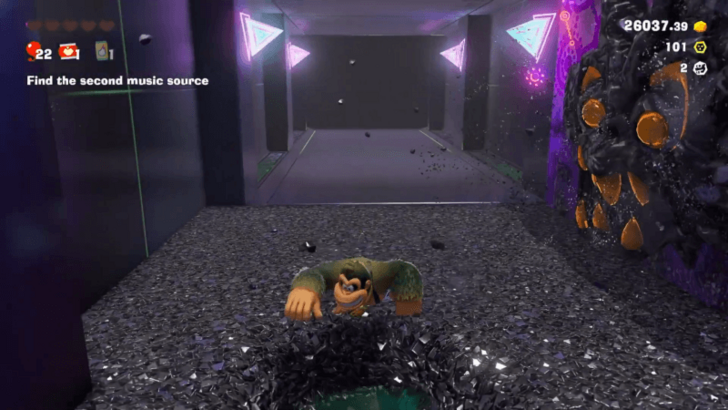 The second wall will spawn on the right side. This is also made of dirt, so you can also punch through it. |
| 4 | 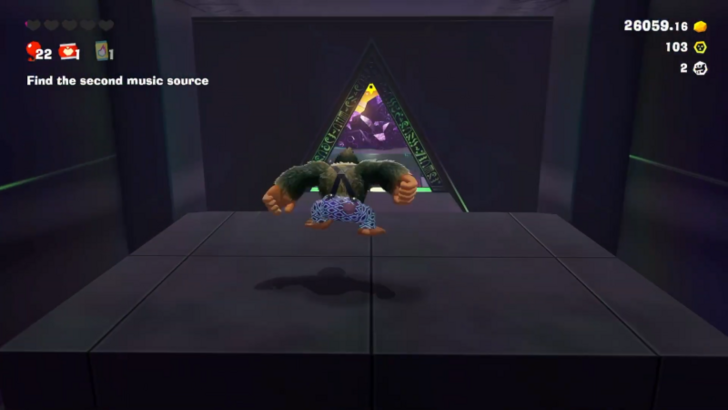 The third wall is made of extra sturdy material, so you can't punch through it. Roll back when it falls to avoid it then proceed onward to the Bass Source. |
| 5 | 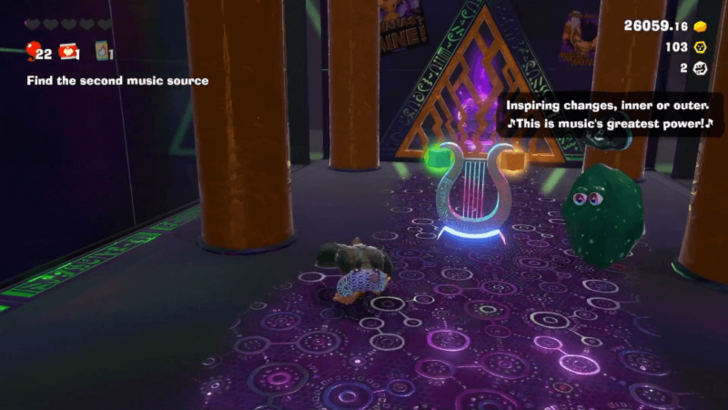 Head to the last room. Hit the Swap Harp to change the rubber pillars into gold. |
| 6 | 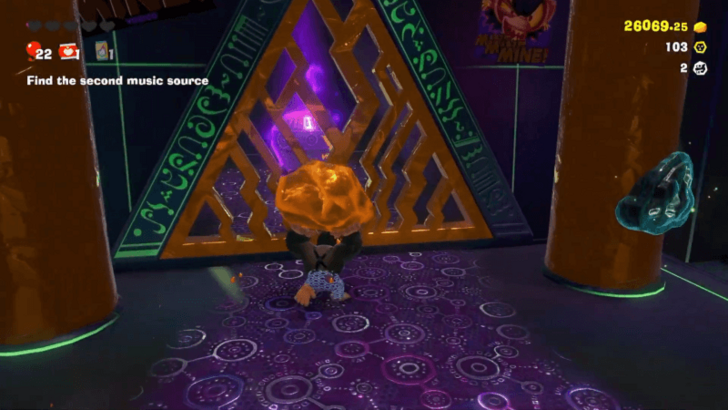 Punch the barrier to the Terravoider. Destroy this Terravoider to remove the Voided Terrain. |
| * | There are some fossils attached to the pillars. Change the pillar to gold in order to collect the fossil. |
| 7 | Return to the room with the trapped record. Punch the purple crystal to activate the music. Then, talk to the Fractone by the exit to uncover the dirt-filled exit. Punch your way downward. |
| 8 | 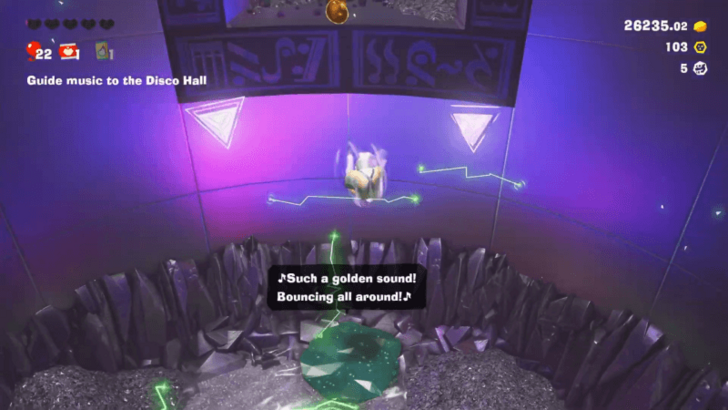 If the Fractone in this area is gold, hit the Swap Harp in this room to change the gold into rubber. Dive Punch on the rubberized Fractone to reach the upper platform. |
| 9 | 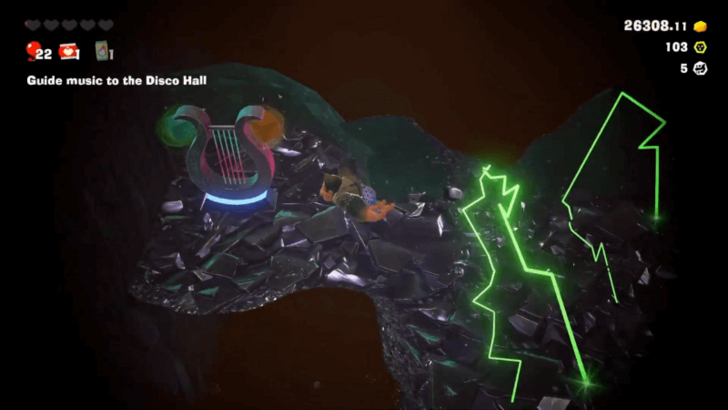 Punch your way through the blocked tunnel until you reach a wall of rubber. Hit the Swap Harp nearby to change it to punchable gold. |
| 10 | 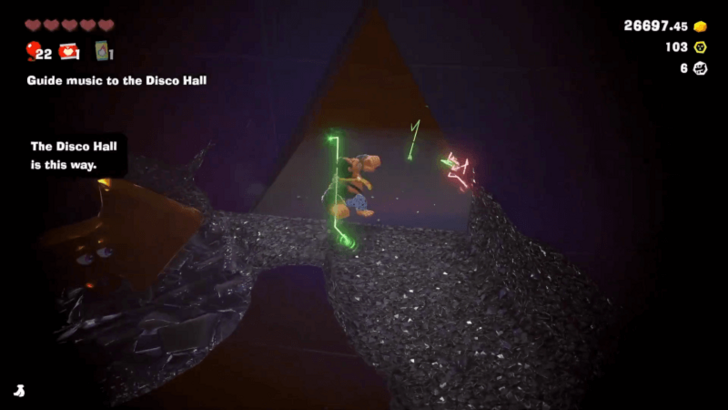 Beyond the gold layer is another wall of rubber. Hit the harp again once you've cleared the first layer of gold to change the second wall to gold. Punch your way through until you find the triangle-shaped doorway. |
| * | Concrete pillars can be found along the way containing a fossil and a banana. Use the gold to destroy these concrete pillars. |
| 11 | Go through this doorway, then punch through the sturdy wall to let the music reach Disco Hall. Collect the banana as your reward. |
Melody Source Track
| Step-by-Step Guide | |
|---|---|
| 1 | Head left, and talk to Poppy Kong again to open up the way to the third Terravoider. |
| 2 |  Hit the Swap Harp to turn the wall in front of you to gold. Hit it before it falls on you to collect the fossil trapped in it. |
| 3 | 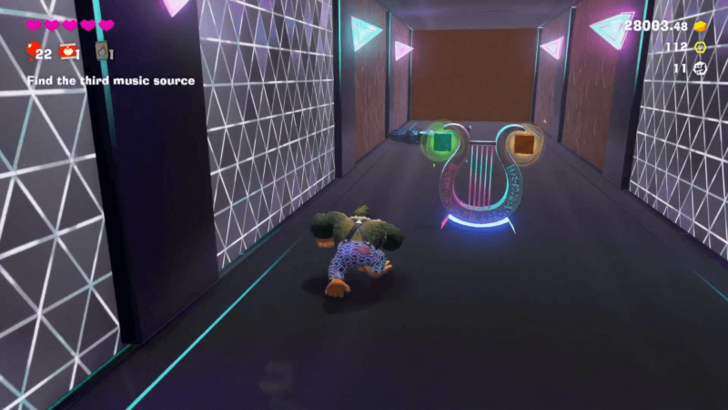 Go forward, and hit the Swap Harp to change the walls in front to gold. Watch out for the hostile walls on the side. |
| 4 | 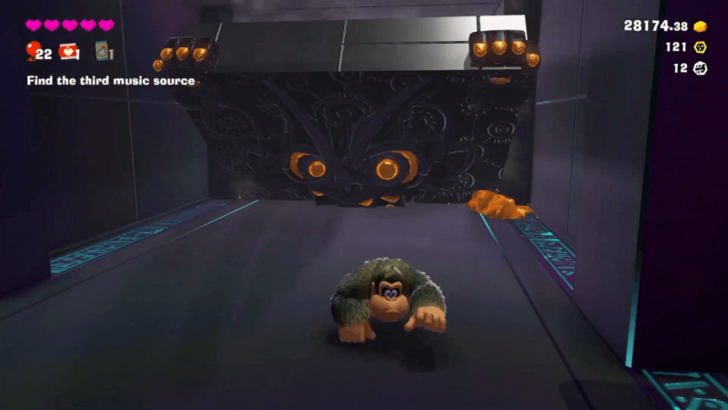 Smash through the gold wall at the end of the hall. Avoid the final falling wall, and enter the Melody Source. |
| 5 | 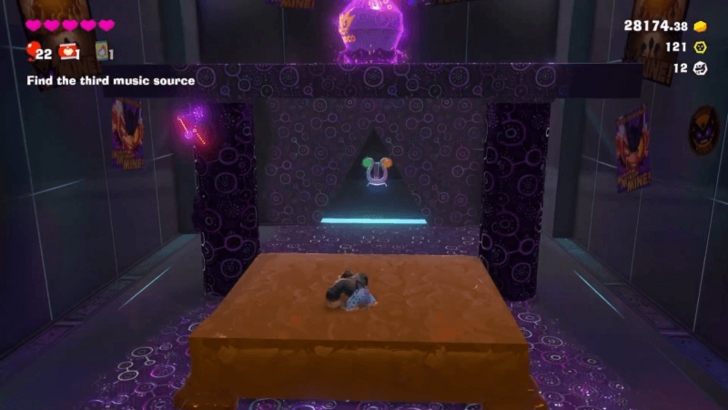 Head to the back to find the Terravoider. Climb up the Void-covered wall, then break or avoid the falling gold wall that will suddenly appear between the pillars. |
| 6 |  Hit the Swap Harp at the back, then return to the falling wall. Wait for it to fall, then jump on it to reach the upper platform. Destroy the last Terravoider to restore the terrain. |
| 7 | 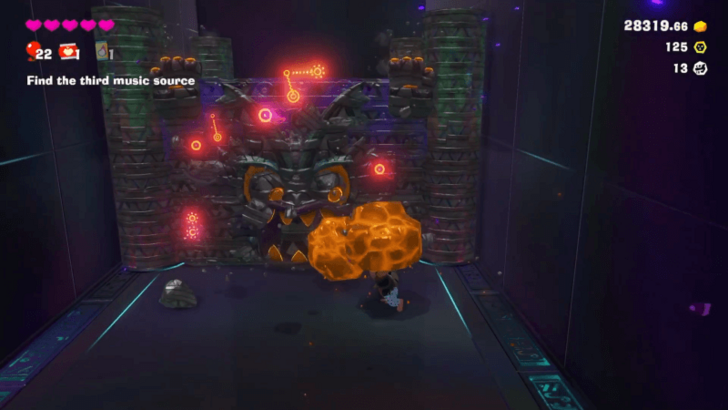 Tear off a chunk of gold from the pillar, and throw it at the extra sturdy wall blocking your way. |
| 8 | Break the purple crystal trapping the record. Then, talk to the Fractone by the exit to open the way to the tunnel. |
| 9 | 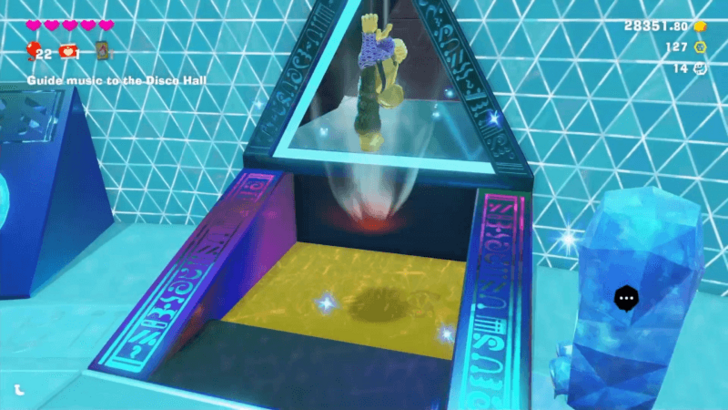 Dive Punch down on the gold towards the tunnel. Climb out of the water and onto the platform leading to the tunnel. |
| 10 | 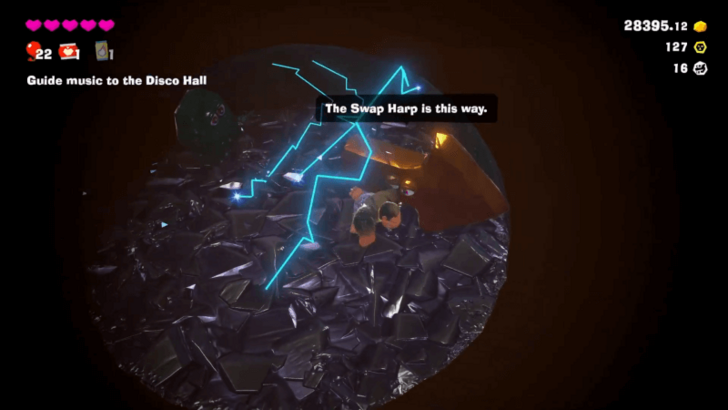 Punch your way through, following the directions of the Fractones along the way. Hit the Swap Harp at the end of the path to turn the rubber wall blocking the way into gold. |
| 11 | 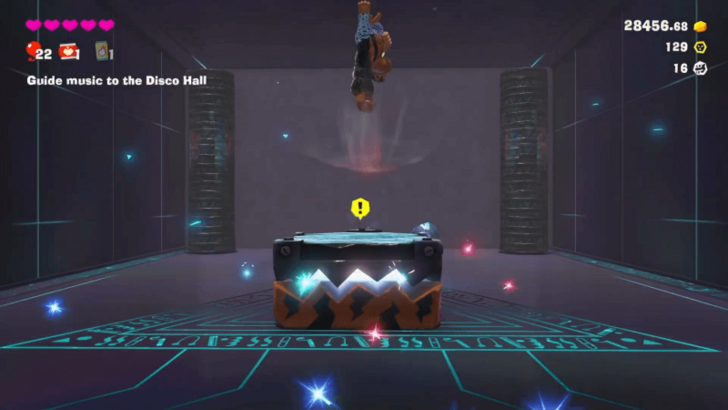 Punch through the gold wall and dirt to reach the exit. Avoid the falling wall blocking the way, then use Dive Punch on the platform marked with the fist icon. Collect the banana as you return to Disco Hall. |
The Great Harmoneel
| Step-by-Step Guide | |
|---|---|
| 1 |  Talk to the nearby Fractone, and you will be directed to the entrance. Talk to Poppy Kong here. |
| 2 | 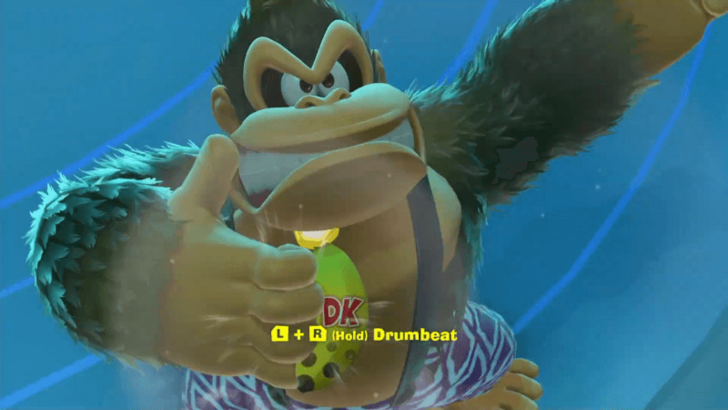 Hold the L and R shoulder buttons to make a drumbeat when prompted. This will summon the Great Harmoneel. |
| 3 | 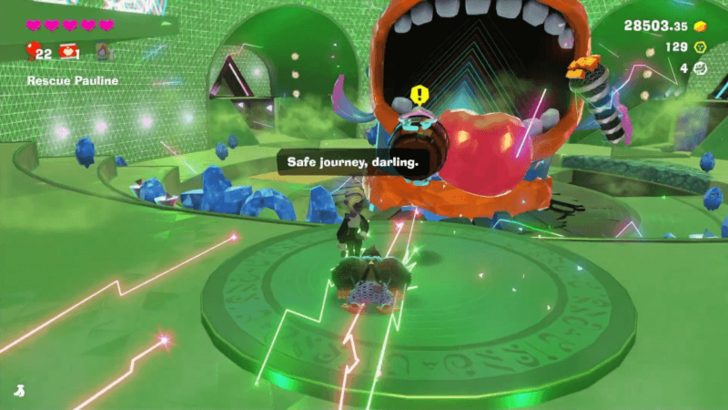 Talk to Poppy Kong. Regardless of what you tell her, she'll leave you with a Barrel Cannon. Once you're ready to proceed, use the Barrel Cannon to descend into the Great Harmoneel. |
| 4 | 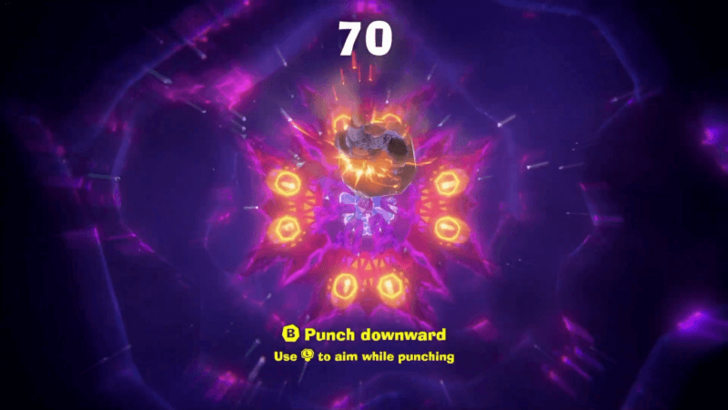 Use the B button as you fall to parry chunks of rock. It's recommended to hold the B button throughout the entirety of this section to make aiming at the Void targets easier. Try to avoid obstacles that might slow you down. Once the Void is cleared, use Dive Punch to rescue Pauline and descend to the next layer. ▶︎ Feast Layer Walkthrough |
Donkey Kong Bananza Related Guides
All Walkthrough Guides
| # | Layer |
|---|---|
| SL1 | Ingot Isle |
| SL100 | Lagoon Layer |
| SL200 | Hilltop Layer |
| SL300 | Canyon Layer |
| SL400 | The Divide |
| SL500 | Freezer Layer |
| SL600 | Forest Layer |
| SL700 | The Junction |
| SL800 | Resort Layer |
| SL900 | Tempest Layer |
| SL1000 | Landfill Layer |
| SL1100 | Racing Layer |
| SL1200 | Radiance Layer |
| SL1300 | Groove Layer |
| SL1400 | Feast Layer |
| SL1500 | Forbidden Layer |
| SL1600 | Planet Core |
Comment
Author

Groove Layer Walkthrough
Please participate in our site
improvement survey
04/2026
improvement survey
04/2026
Would you assist in
improving Game8's site?
improving Game8's site?

×
We are listening to our users' valuable opinions and discussing how to act on them.
The information collected through this survey will be used for the purpose of improving our services. In addition, the information will only be disclosed a part of a statistic in a format that will not allow identification of personal information.
Begin Survey
Not Now
×
Please rate each item regarding Game8.co's Advertisements.
Amount of Ads
Very Dissatisfied
Somewhat Dissatisfied
Fine
Somewhat Satisfied
Highly Satisfied
Placement of Ads
Timing of Ad Display
Ad Loading Speed
Safeness of Ads
Content of Ads
×
Please rate each item regarding Game8.co's Quality of Articles.
Amount of information
Very Dissatisfied
Somewhat Dissatisfied
Fine
Somewhat Satisfied
Highly Satisfied
Frequency of updates
Speed of new information
Accuracy of articles
Understandibility of articles
Readability of sentences
×
Please rate each item regarding Game8.co's Usability of the Site.
Ease of finding information
Very Dissatisfied
Somewhat Dissatisfied
Fine
Somewhat Satisfied
Highly Satisfied
Loading Speed
Use of Color
Font Size
Visibility of Images
Easy to Understand Layout
×
Please rate each item regarding Game8.co's Message Boards, Comments.
Ease of Writing
Very Dissatisfied
Somewhat Dissatisfied
Fine
Somewhat Satisfied
Highly Satisfied
Readability
Ease in Finding Information
Comment Quality
Comment Quantity
Admin Response
×
Please rate each item regarding Game8.co's Site's new design.
Please rate our site's new design
Very Dissatisfied
Somewhat Dissatisfied
Fine
Somewhat Satisfied
Highly Satisfied
Do you think that the website's design change makes the site easier to use?
Has the new design made it easier for you to find information on the site?
Has the new design improved the overall visual appeal of the site?
How would you rate your overall satisfaction with the new design of the site?
×
How likely are you to recommend Game8 to someone you know?
Very Unlikely
0
1
2
3
4
5
6
7
8
9
10
Very Likely
If you have other opinions regarding potential improvement to the website, please share them with us. We would appreciate your honest opinion.
Note: This is a free response section, so you can proceed without entering anything.
Note: Please be sure not to enter any kind of personal information into your response.
Note: Please be sure not to enter any kind of personal information into your response.
×
Thank You
×
Thank you for participating in our survey! Your answers will help us to improve the quality of our website and services.
We hope you continue to make use of Game8.
We hope you continue to make use of Game8.
Close
Rankings
Gaming News


![Forza Horizon 6 Review [Preview] | Beautiful Roads With a Whole Lot of Oversteer](https://img.game8.co/4460981/a7254c24945c43fbdf6ad9bea52b5ce9.png/thumb)
Popular Games

Genshin Impact Walkthrough & Guides Wiki
Crimson Desert Walkthrough & Guides Wiki
Umamusume: Pretty Derby Walkthrough & Guides Wiki
Honkai: Star Rail Walkthrough & Guides Wiki
Monster Hunter Stories 3: Twisted Reflection Walkthrough & Guides Wiki
Wuthering Waves Walkthrough & Guides Wiki
The Seven Deadly Sins: Origin Walkthrough & Guides Wiki
Pokemon TCG Pocket (PTCGP) Strategies & Guides Wiki
Pokemon Pokopia Walkthrough & Guides Wiki
Zenless Zone Zero Walkthrough & Guides Wiki


Recommended Games
Monster Hunter World Walkthrough & Guides Wiki
Fire Emblem Heroes (FEH) Walkthrough & Guides Wiki
Pokemon Brilliant Diamond and Shining Pearl (BDSP) Walkthrough & Guides Wiki
Super Smash Bros. Ultimate Walkthrough & Guides Wiki
Diablo 4: Vessel of Hatred Walkthrough & Guides Wiki
Cyberpunk 2077: Ultimate Edition Walkthrough & Guides Wiki
Yu-Gi-Oh! Master Duel Walkthrough & Guides Wiki
Elden Ring Shadow of the Erdtree Walkthrough & Guides Wiki
The Legend of Zelda: Tears of the Kingdom Walkthrough & Guides Wiki
Persona 3 Reload Walkthrough & Guides Wiki


All rights reserved
© Nintendo. Games are property of their respective owners. Nintendo of America Inc.
The copyrights of videos of games used in our content and other intellectual property rights belong to the provider of the game.
The contents we provide on this site were created personally by members of the Game8 editorial department.
We refuse the right to reuse or repost content taken without our permission such as data or images to other sites.