Spaceport Arc Palace Walkthrough
★Version 3.3 is now live: Firecracker Rin | Banner
┗ Skill Cards | New Year's Light Banner | LNY Event
☆ Version 3.2.2 is now live: Matoi | Banner
┗ Throne | Entropy Banner | Take Your Love
★Tier Lists: Characters | Personas | Rerolls
☆Boards: Companio | Friends | Toy Trading
This is a guide to the Spaceport Arc Palace in Persona 5: The Phantom X (P5X). Explore our comprehensive step-by-step walkthrough and rewards in this guide.
List of Contents
Spaceport Palace Walkthrough
| Spaceport | |
|---|---|
|
|
|
Stage 5-1
Enemy Party
 Black Ooze Weakness: Electric, Psychic, Bless
Black Ooze
Resistance: Physical, Gun, Ice, Curse Passive: Suffocating Plague Increase ailment resistance 10.5% and debuff resistance 25%. Increase debuff accuracy 25%. |
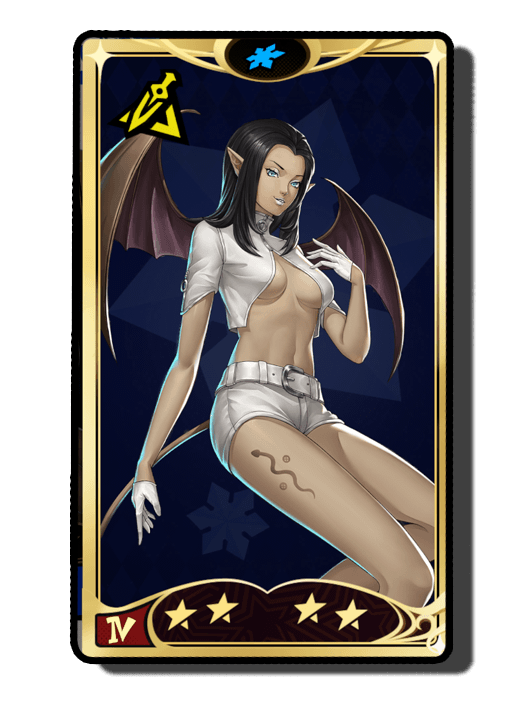 Lilim Weakness: Gun, Wind, Bless
Lilim
Resistance: Ice, Curse Passive: A Kiss like Ice Increase Atk 14.1%. After inflicting Freeze, increase Atk 24% (2 turns). |
 Arahabaki Weakness: Psychic, Nuclear
Arahabaki
Resistance: Physical, Gun, Bless, Curse Passive: Iron Body Increase Def 21.2%. Decrease party's weakness damage 18%. |
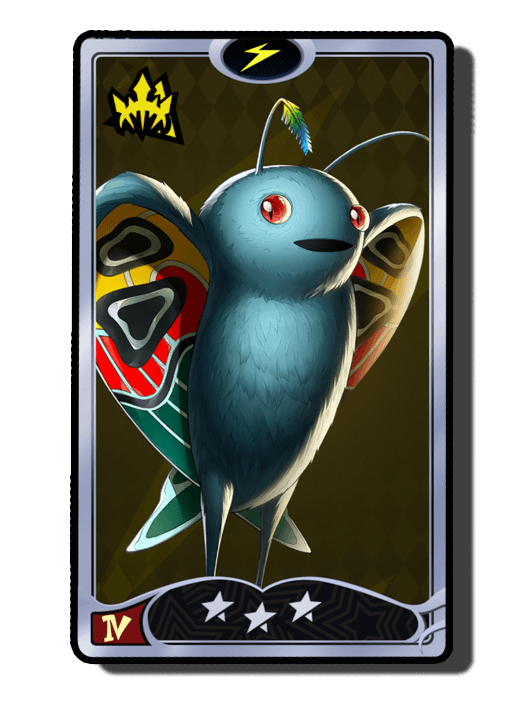 Mothman Weakness: Gun
Mothman
Resistance: Electric, Psychic Passive: Vampiric Cryptid Increase ailment accuracy 14%. After inflicting an ailment restore 20% Atk as HP to user. |
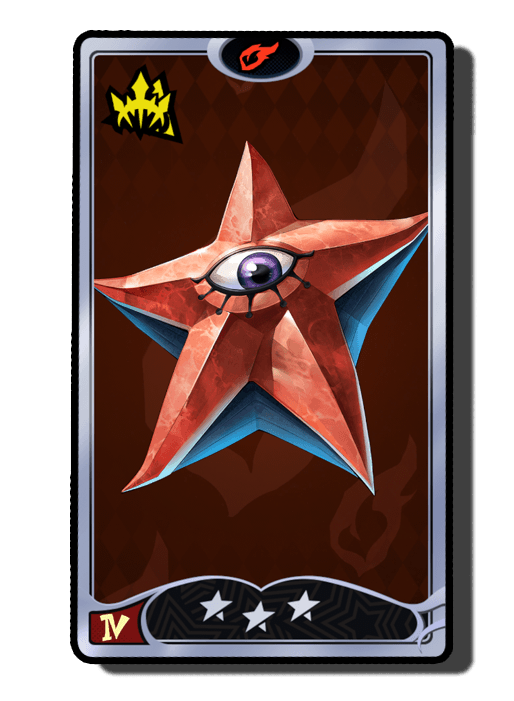 Decarabia Weakness: Physical
Decarabia
Resistance: Fire, Nuclear, Curse Passive: Burning Wheel Increase critical rate 7%. Increase Physical damage taken 10% and Fire damage 34%. |
Party Restriction
| Required in party |
|---|


|
Walkthrough
| My Name Is Beauty Thief! | |||||
|---|---|---|---|---|---|
 Facility Passageway Lower |
|||||
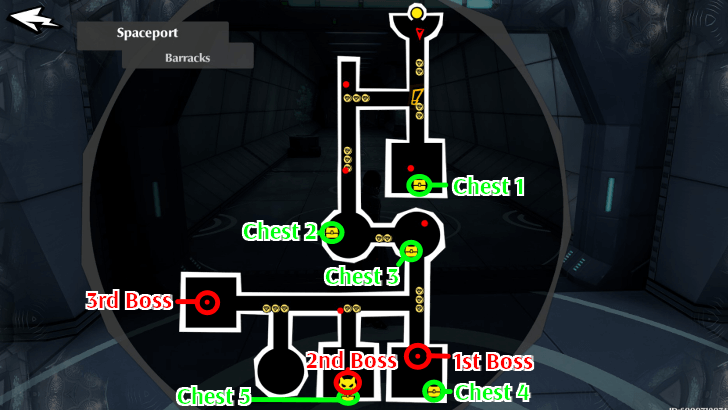
| 1 | 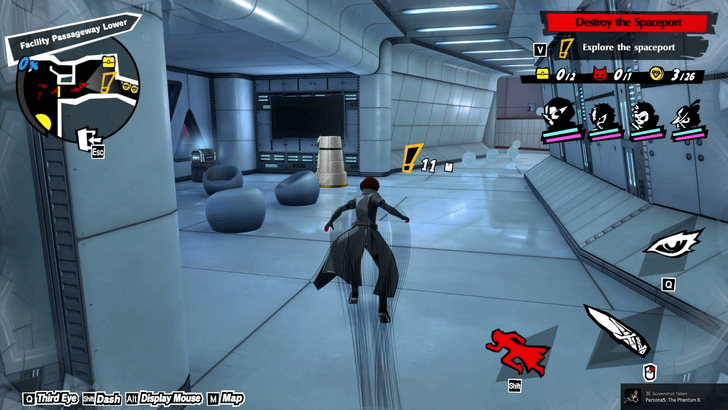 After having the Phantom Thieves of Hearts reunite and some shenanigans, you arrive in a sci-fi facility filled to the brim with robot workers. Follow the quest pointer to the right, specifically the path of coins leading to a room with a treasure chest and a Shadow. |
||||
| 2 |  Seeing as the doorway is locked, go up the platform and access the vent to access a cylindrical room and follow the coin path until you reach another vent. This should lead you to a corridor that has a console for you to open the doors. |
||||
| 3 | 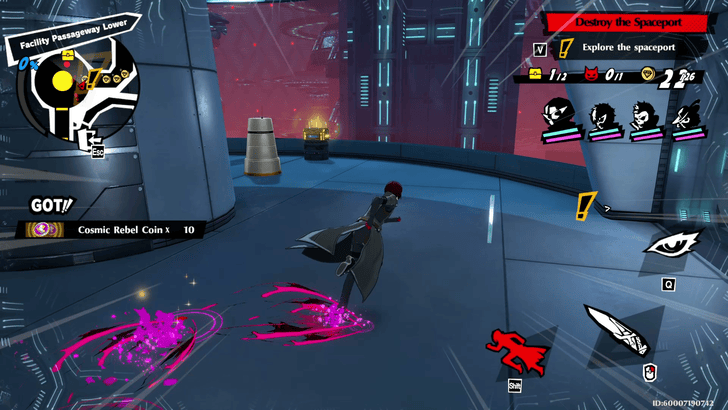 Near the door should be a Shadow, a treasure chest, and a path of coins. Defeat the enemy, obtain the final treasure of this area, and follow the path again until you reach a console. |
||||
| 4 | 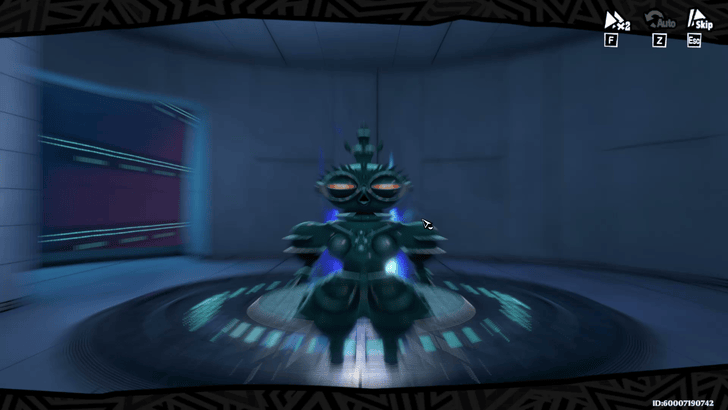 Interacting with the console should prompt a fight with an Arahabaki, which should easily be dealt with using Haru's Psychic abilities! |
||||
| ▲Return to Chapter Selection▲ |
|---|
Stage 5-2
Enemy Party
|
Black Ooze Weakness: Electric, Psychic, Bless
Black Ooze
Resistance: Physical, Gun, Ice, Curse Passive: Suffocating Plague Increase ailment resistance 10.5% and debuff resistance 25%. Increase debuff accuracy 25%. |
Arahabaki Weakness: Psychic, Nuclear
Arahabaki
Resistance: Physical, Gun, Bless, Curse Passive: Iron Body Increase Def 21.2%. Decrease party's weakness damage 18%. |
 Mithras Weakness: Psychic
Mithras
Resistance: Physical, Fire, Nuclear Passive: Sun's Protection Increase HP 11.6%. When using skill on ally, increase their Def 11.5%. If HP is over 50%, increase effect 50% (2 turns). |
Mothman Weakness: Gun
Mothman
Resistance: Electric, Psychic Passive: Vampiric Cryptid Increase ailment accuracy 14%. After inflicting an ailment restore 20% Atk as HP to user. |
Party Restriction
| Required in party |
|---|


|
Walkthrough
| Spaceport Recon | |||||
|---|---|---|---|---|---|
 Facility Surroundings |
|||||
| 1 |  After defeating the Arahabaki on the previous stage, the group should be able to hitch a ride to the next platform. Press the console to lower down a platform to progress, and make sure to get the coins and defeat the shadow. |
||||
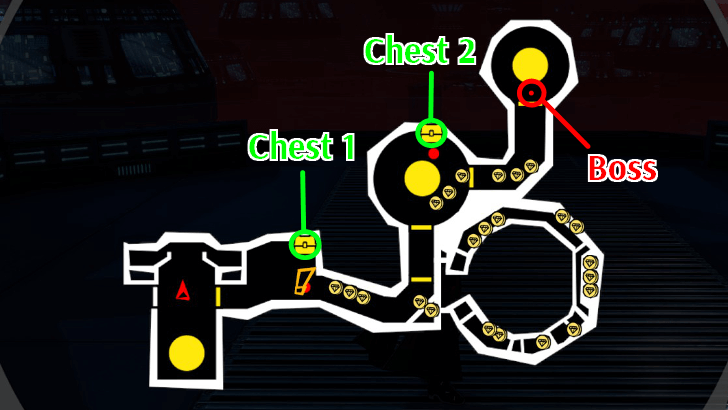
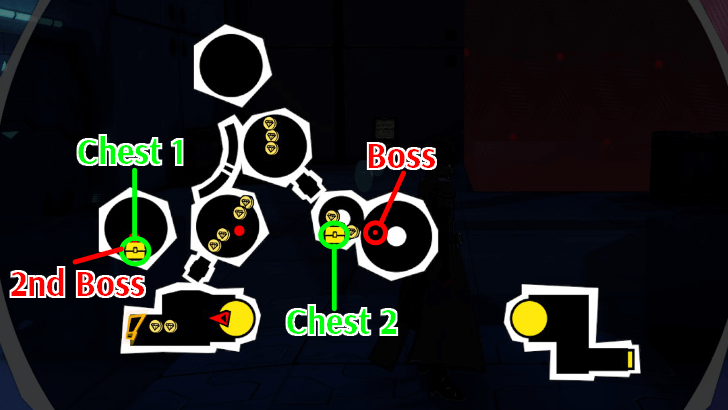
| 2 |
Before following the quest marker, follow the path shown in the video above to get a out-of-path boss and chest. The boss should be composed of an Arahabaki and Mothmen, so simply hit their Gun and Psychic weaknesses early to finish them with an all-out attack. |
||||
| 3 | 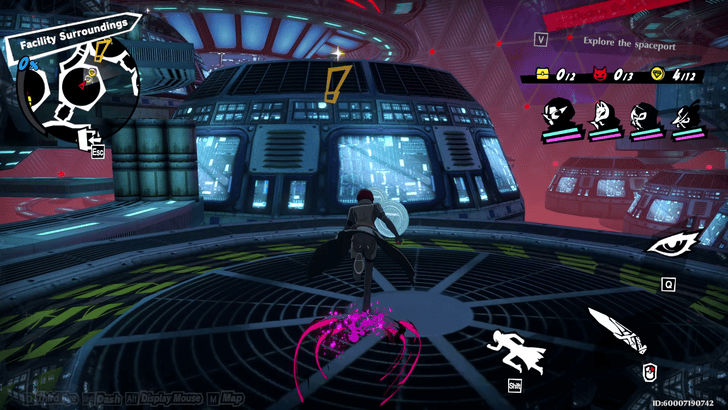 Return to the previous platform and grapple hook your way up two ledges ledge. However, the console on the second ledge, which is needed to progress, is blocked by two Mithras. Have Haru deal with this using her AoE Psychic damage! Click on the console afterwards to have another platform descend and progress through. |
||||
| 4 | 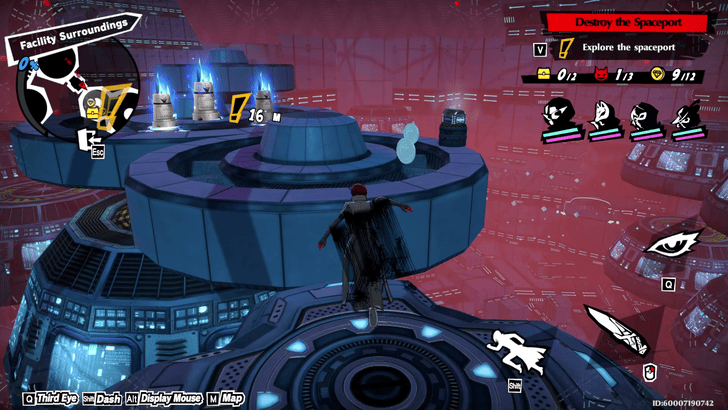 Pass through using the just-descended platform, making sure to follow the coin path and the last chest of the area. You should be met with the boss of the area, a Belphegor and a group of Black Ooze. Have Closer use her Electric skills to quickly deal with this and move on to the next area. |
||||
| ▲Return to Chapter Selection▲ |
|---|
Stage 5-3
Enemy Party
|
Black Ooze Weakness: Electric, Psychic, Bless
Black Ooze
Resistance: Physical, Gun, Ice, Curse Passive: Suffocating Plague Increase ailment resistance 10.5% and debuff resistance 25%. Increase debuff accuracy 25%. |
 Belphegor Weakness: Fire
Belphegor
Resistance: Ice, Electric, Nuclear, Passive: Ice the Slackers Increase ailment resistance 17%. After using a skill on foe, increase main target's Ice damage taken 11.3% (2 turns). If target's HP is below 50%, increase effect 40%. |
Mithras Weakness: Psychic
Mithras
Resistance: Physical, Fire, Nuclear Passive: Sun's Protection Increase HP 11.6%. When using skill on ally, increase their Def 11.5%. If HP is over 50%, increase effect 50% (2 turns). |
 Kaiwan Weakness: Nuclear
Kaiwan
Resistance: Gun, Psychic Passive: Psychic Bloodline Increase Atk 11.6% Decrease SP cose of Psychic skills 27%. |
|
Mothman Weakness: Gun
Mothman
Resistance: Electric, Psychic Passive: Vampiric Cryptid Increase ailment accuracy 14%. After inflicting an ailment restore 20% Atk as HP to user. |
Party Restriction
| Required in party |
|---|


|
Walkthrough
| Spaceport Sweep | |||||
|---|---|---|---|---|---|
 Facility Surroundings |
|||||
| 1 | 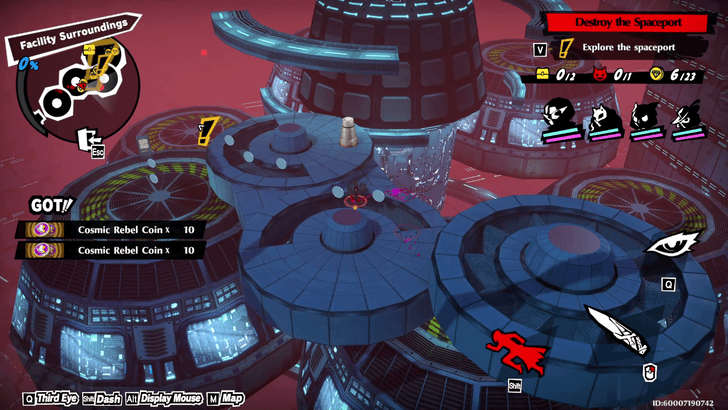 This section is full of platforms that you will need to jump across, however, it is made simple as you just need to follow the path of coins until you reach the first chest and a console. Make sure to defeat the Shadows you come across, most of which are easily dealt with by Haru's Psychic skill. |
||||
| 2 |  Pressing the console should lower a nearby platform, prompting you to progress there. Follow the coin path again and defeat the Shadows until you reach the second chest and another console. |
||||
| 3 | 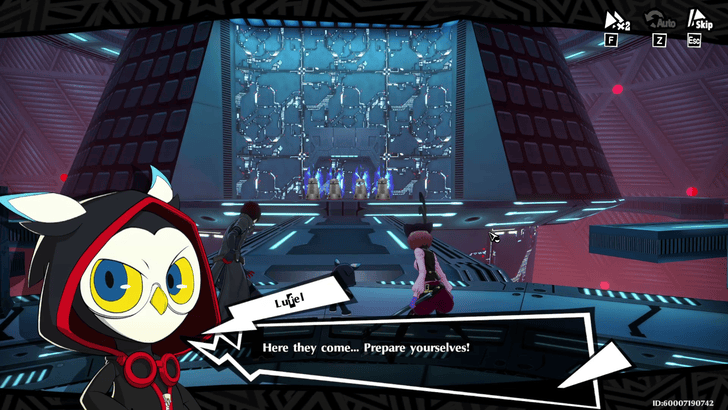 Pressing the second console should prompt the final boss fight of this area, which is a group of Kaiwan and a Girimehkala. None of the required party answers the weaknesses of these enemies, so it would be helpful to have Wonder bring a Bless and Nuclear Persona here to quicken the fight! |
||||
| ▲Return to Chapter Selection▲ |
|---|
Stage 5-4
Palace Specific Enemies
| Enemy | Weaknesses |
|---|---|
| Corporate MDL-WKR (Dark Blue) |
|
Enemy Party
|
Mithras Weakness: Psychic
Mithras
Resistance: Physical, Fire, Nuclear Passive: Sun's Protection Increase HP 11.6%. When using skill on ally, increase their Def 11.5%. If HP is over 50%, increase effect 50% (2 turns). |
Kaiwan Weakness: Nuclear
Kaiwan
Resistance: Gun, Psychic Passive: Psychic Bloodline Increase Atk 11.6% Decrease SP cose of Psychic skills 27%. |
Mothman Weakness: Gun
Mothman
Resistance: Electric, Psychic Passive: Vampiric Cryptid Increase ailment accuracy 14%. After inflicting an ailment restore 20% Atk as HP to user. |
Party Restriction
| Required in party |
|---|

|
Walkthrough
| Mechanical Slave | |||||
|---|---|---|---|---|---|
 Transfer Line Lower |
|||||
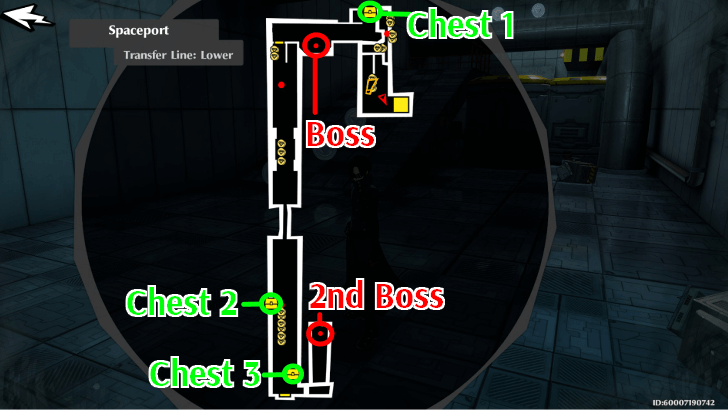
| 1 |  By this time, the group should have infiltrated the inner portions of the Palace. Again, simply follow the coin path up a ramp and ascend some pipes. You should reach an area where you can go down, but be mindful of the powerful Shadow below. Haru should easily take care of the Mithras with Psychic attacks, but use ranged attacks on the Mothman. Before proceeding to the next part, grab the chest! |
||||
| 2 |  In the next room, you will have to get a keycard to access the next area. The keycard is held by the yellow Corpobot, looking over at the factory, which you must fight to obtain. Wonder's Surt or Baphomet can easily clear this fight using Agidyne. After winning the fight, the group will hold a conversation about Haru's father before proceeding. |
||||
| 3 | 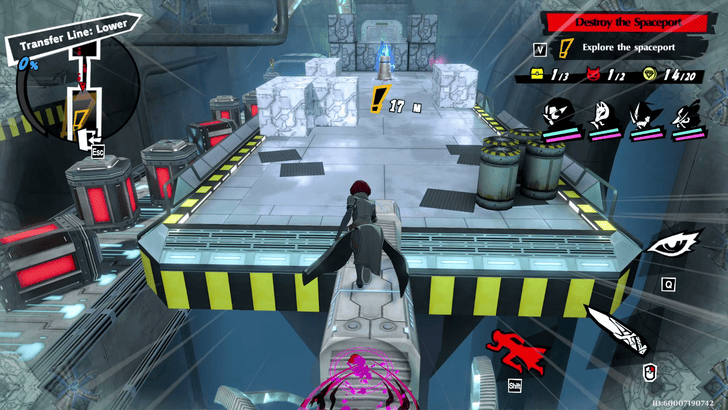 After getting the keycard, use it on the console to proceed to the next area. You will be met by a Shadow that is composed of a group of Kaiwan, so a Nuclear Persona will be the best option here. Continue to proceed up until you reach a console to manipulate the mechanical arm to cross the gap. The next area should have another chest and a Shadow that has a Scathach and a group of Mithras. Generally, the best way to deal with this is to focus your buffs on Haru and have her clear the enemies. |
||||
| 4 | 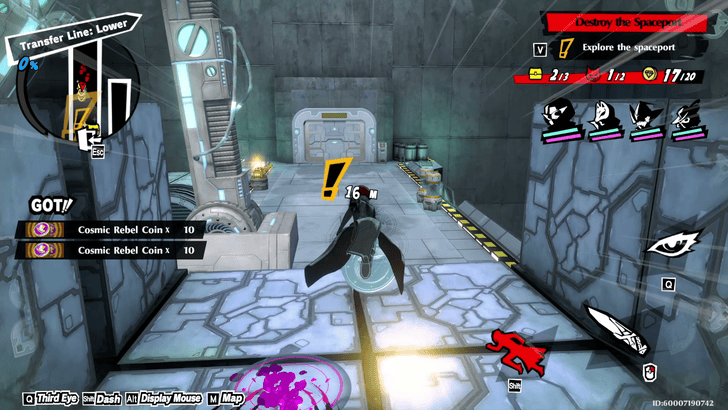 Climb up the boxes and drop down, and then get the golden chest before proceeding through the console. Despite having the previous keycard, you need one with higher authorization. |
||||
| 5 | 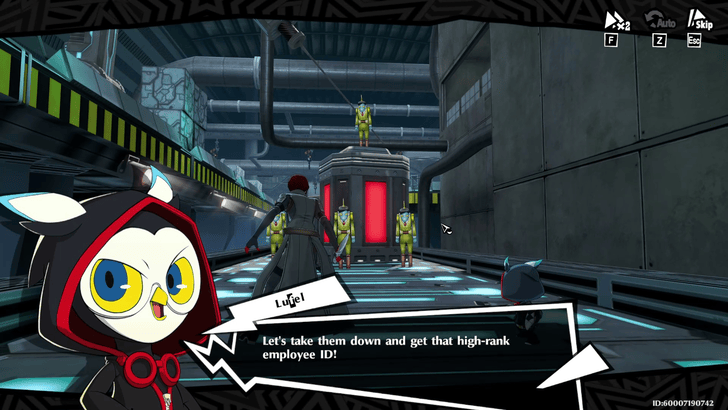 Follow the quest mark, and you should fight against the last boss of this section, which is a group of four Corporate MDL-WKR. Having either a Surt or Baphomet here will quicken the fight! |
||||
| ▲Return to Chapter Selection▲ |
|---|
Stage 5-5
Palace Specific Enemies
| Enemy | Weaknesses |
|---|---|
| Corporate MDL-AM (Red) |
|
| Corporate MDL-DM (Light Blue) |
|
| Corporate MDL-WKR (Dark Blue) |
|
Enemy Party
|
Black Ooze Weakness: Electric, Psychic, Bless
Black Ooze
Resistance: Physical, Gun, Ice, Curse Passive: Suffocating Plague Increase ailment resistance 10.5% and debuff resistance 25%. Increase debuff accuracy 25%. |
Belphegor Weakness: Fire
Belphegor
Resistance: Ice, Electric, Nuclear, Passive: Ice the Slackers Increase ailment resistance 17%. After using a skill on foe, increase main target's Ice damage taken 11.3% (2 turns). If target's HP is below 50%, increase effect 40%. |
Mothman Weakness: Gun
Mothman
Resistance: Electric, Psychic Passive: Vampiric Cryptid Increase ailment accuracy 14%. After inflicting an ailment restore 20% Atk as HP to user. |
Party Restriction
| Required in party |
|---|

|
Walkthrough
| Wanted: High-Rank ID | |||||
|---|---|---|---|---|---|
 Barracks |
|||||
| 1 | 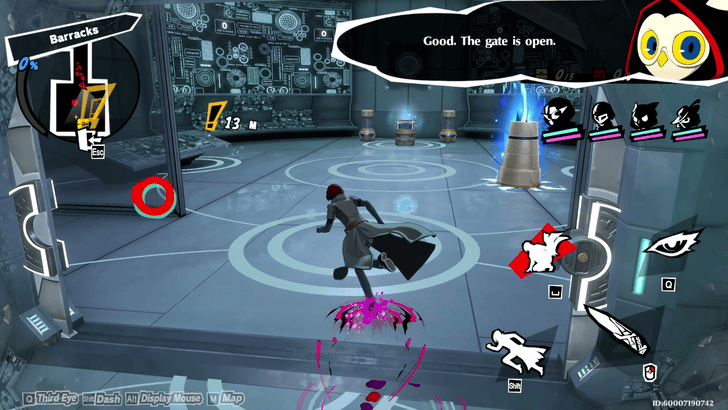 The group will now focus on finding a high-ranking keycard to progress. Follow the path of coins until the end of the corridor, then enter the doorway. Defeat the Shadow quickly by focusing your buffs on Haru, get the chest in the middle, and then retrieve the keycard on the command console on the left. This should open up the next area. |
||||
| 2 |  Retrace your steps and then proceed to the corridor on the left, and then follow the path of coins up to the circular room. You will be met with three shadows, all of which can be easily dealt with using Psychic or Ranged attacks. Get the treasure chest from the circular room, and then proceed. |
||||
| 3 |  The next area should be the same circular layout, along with a treasure chest. The enemy here is an Arahabaki, which is easily dealt with using Haru's skillset. |
||||
| 4 | 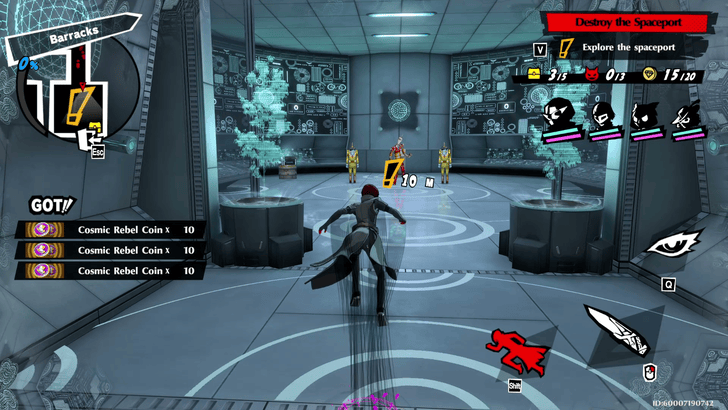 Continue through the next room, which should contain both a chest and a scripted boss fight against Corporate MDL-AM to access a console. Use Haru's Psychic and Lufel's Fire skills to make quick work of the boss, and then open the chest. |
||||
| 5 | 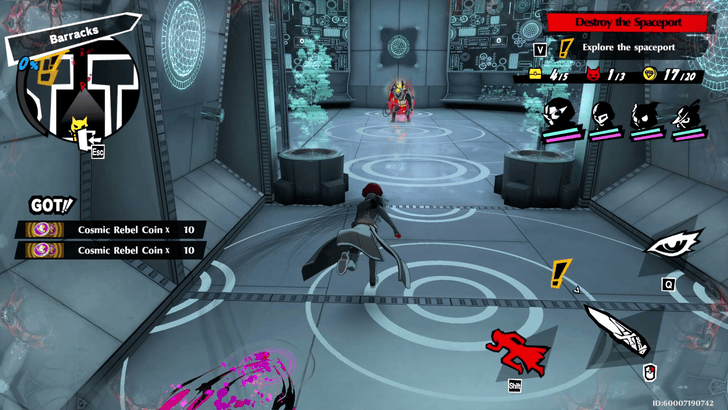 The console should open the next area. However, before proceeding, head to the corridor on the left to fight an optional boss and receive a chest for your troubles. This fight should be fairly easy, given that Belphegor is weak to Lufel's Fire and the Black Ooze is answered by Haru's skills. |
||||
| 6 | 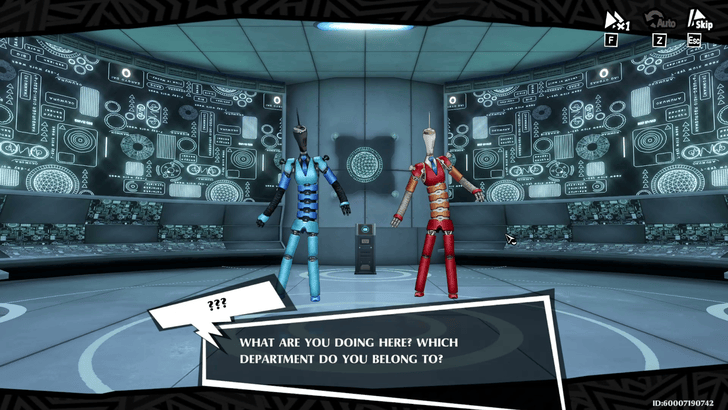 To end this section and get a new keycard, you will have to fight both MDL-DM and MDL-AM. The latter should be easy to address with Haru, but the former needs Wonder to have either a Wind or Bless Persona to clear them. After defeating them, the group will find that the keycard still lacks the proper authorization to reach the Core's area. |
||||
| ▲Return to Chapter Selection▲ |
|---|
Stage 5-6
Palace Specific Enemies
| Enemy | Weaknesses |
|---|---|
| Corporate MDL-GM (Green) |
|
| Corporate MDL-AM (Red) |
|
Enemy Party
|
Black Ooze Weakness: Electric, Psychic, Bless
Black Ooze
Resistance: Physical, Gun, Ice, Curse Passive: Suffocating Plague Increase ailment resistance 10.5% and debuff resistance 25%. Increase debuff accuracy 25%. |
Mothman Weakness: Gun
Mothman
Resistance: Electric, Psychic Passive: Vampiric Cryptid Increase ailment accuracy 14%. After inflicting an ailment restore 20% Atk as HP to user. |
Party Restriction
| Required in party |
|---|
|
|
Walkthrough
| Parallel Universe...? | |||||
|---|---|---|---|---|---|
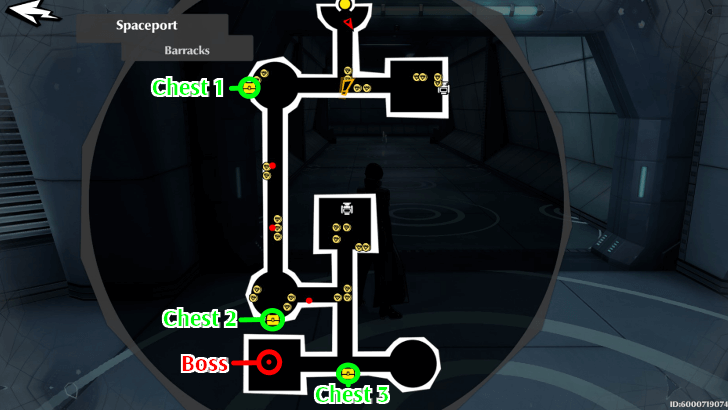 Pyramid - Chamber of Guilt Map |
|||||
| 1 |
After the group speculates on parallel universes, follow the path of coins and then turn to the left. The door itself should be barricaded by Corpobots, so you will have to use the Robot Console to open a different path. Doing so should allow you to progress to the next stage through a keycard console and obtain a chest. |
||||
| 2 | 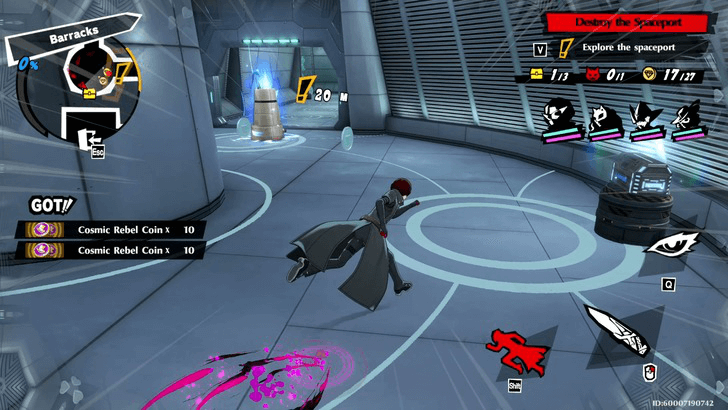 On the way to the next part, you will encounter two shadows patrolling the lengthy corridor, which you will burst down with Haru. After that, continue following the path of coins through the long corridor until you reach a circular room that contains a chest. |
||||
| 3 |
Keep following the path of coins until you reach an intersection; where the corridor to the left is blocked by an electric grid. Proceed to the left and control the robot to disable the electric grid while going through all the coins, and then continue onwards to the purple chest. |
||||
| 4 | 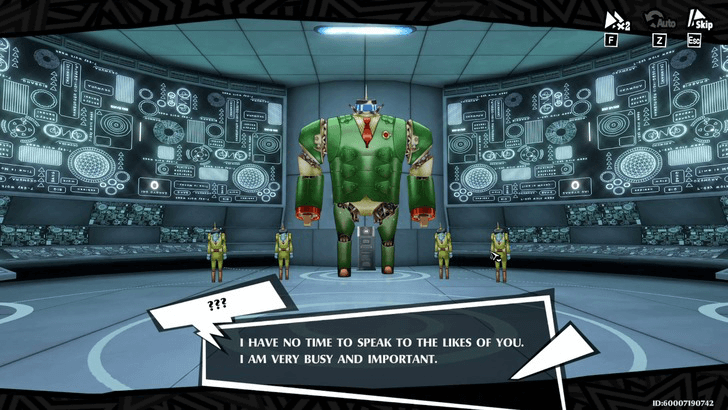 Lastly, you will have to fight a Corporate MDL-GM after gaining access through the keycard console. This boss is barely a challenge as both Haru and Ann can blow through the fight in one turn, given that their Psychic and Fire attributes directly answer the enemies. Upon finishing the fight, you will find the needed keycard with the appropriate authorization to get on by and reach the Core! |
||||
| ▲Return to Chapter Selection▲ |
|---|
Spaceport Rewards
|
|
Mission Clear Rewards
| Objective | Reward |
|---|---|
| Complete My Name Is Beauty Thief!t | ・50 Meta Jewels ・5 Thief Compendium Tome |
| Complete Spaceport Recon | ・50 Meta Jewels ・5 Gold Parts |
| Complete Spaceport Sweep | ・50 Meta Jewels ・5 Legend Cube |
| Complete Mechanical Slave | ・50 Meta Jewels ・5 Thief Compendium Tome |
| Complete Wanted: High-Rank ID | ・50 Meta Jewels ・5 Gold Parts |
| Complete Parallel Universe...? | ・50 Meta Jewels ・5 Legend Cube |
Exploration Log Rewards
| Objective | Rewards |
|---|---|
| Open 5 treasure chests in the Spaceport Arc | ・400 Cosmic Rebel Coin ・80 Meta Jewels |
| Open 15 treasure chests in the Spaceport Arc | ・400 Cosmic Rebel Coin ・80 Meta Jewels ・2 Gold Ticket |
| Collect 50 Commemorative Coins in the Spaceport Arc | ・400 Cosmic Rebel Coin ・80 Meta Jewels |
| Collect 100 Commemorative Coins in the Spaceport Arc | ・400 Cosmic Rebel Coin ・80 Meta Jewels |
| Collect 100% progress in all Spaceport Arc stages | ・400 Cosmic Rebel Coin ・80 Meta Jewels ・Seeker: Space Badge |
Challenge Log Rewards
| Mission | Rewards |
|---|---|
| Clear Avidya on Difficulty 10 | ・Cosmic Rebel Coin x600 ・Joy Medal x300 ・Apt Commander of Greed Badge |
| Clear Avidya on Difficulty 15 | ・Cosmic Rebel Coin x600 ・Joy Medal x300 |
| Clear Avidya on Difficulty 20 | ・Cosmic Rebel Coin x600 ・Joy Medal x300 ・Firm Commander of Greed Badge |
| Clear Avidya on Difficulty 25 | ・Cosmic Rebel Coin x600 ・Joy Medal x300 ・Prolific Commander of Greed Badge |
| Clear Avidya on Difficulty 30 | ・Total Commander of Greed Badge |
Persona 5: The Phantom X (P5X) Related Guides

All Story Palaces
| List of Story Palaces | |
|---|---|
| 1 | Kiuchi's Palace |
| 2 | Miyazawa's Palace |
| 3 | Katayama's Palace Akashi's Palace |
All Event Palaces
| List of Event Palaces | ||
|---|---|---|
| Palace | Event | |
| 1 | Castle in the Void | Take Your Heart |
| 2 | Museum Arc | Crossroads of Fate |
| 3 | Bank Arc | Crossroads of Fate |
| 4 | Pyramid Arc | Crossroads of Fate |
| 5 | Spaceport Arc | Crossroads of Fate |
Comment
Author

Spaceport Arc Palace Walkthrough
Rankings
- We could not find the message board you were looking for.
Gaming News


Popular Games

Genshin Impact Walkthrough & Guides Wiki
Umamusume: Pretty Derby Walkthrough & Guides Wiki
Crimson Desert Walkthrough & Guides Wiki
Monster Hunter Stories 3: Twisted Reflection Walkthrough & Guides Wiki
Honkai: Star Rail Walkthrough & Guides Wiki
Pokemon Pokopia Walkthrough & Guides Wiki
The Seven Deadly Sins: Origin Walkthrough & Guides Wiki
Wuthering Waves Walkthrough & Guides Wiki
Zenless Zone Zero Walkthrough & Guides Wiki
Arknights: Endfield Walkthrough & Guides Wiki


Recommended Games
Fire Emblem Heroes (FEH) Walkthrough & Guides Wiki
Diablo 4: Vessel of Hatred Walkthrough & Guides Wiki
Cyberpunk 2077: Ultimate Edition Walkthrough & Guides Wiki
Yu-Gi-Oh! Master Duel Walkthrough & Guides Wiki
Super Smash Bros. Ultimate Walkthrough & Guides Wiki
Pokemon Brilliant Diamond and Shining Pearl (BDSP) Walkthrough & Guides Wiki
Elden Ring Shadow of the Erdtree Walkthrough & Guides Wiki
Monster Hunter World Walkthrough & Guides Wiki
The Legend of Zelda: Tears of the Kingdom Walkthrough & Guides Wiki
Persona 3 Reload Walkthrough & Guides Wiki


All rights reserved
©Perfect World Adapted from Persona5 ©ATLUS. ©SEGA.
The copyrights of videos of games used in our content and other intellectual property rights belong to the provider of the game.
The contents we provide on this site were created personally by members of the Game8 editorial department.
We refuse the right to reuse or repost content taken without our permission such as data or images to other sites.