Miyazawa Palace Guide: All Puzzles Walkthrough
★Version 3.3 is now live: Firecracker Rin | Banner
┗ Skill Cards | New Year's Light Banner | LNY Event
☆ Version 3.2.2 is now live: Matoi | Banner
┗ Throne | Entropy Banner | Take Your Love
★Tier Lists: Characters | Personas | Rerolls
☆Boards: Companio | Friends | Toy Trading
This is a guide on how to complete the puzzles and 100% Miyazawa's Palace in Persona 5: The Phantom X (P5X). Check out our complete step-by-step walkthrough, puzzle guides, and the bosses in this guide.
List of Contents
Miyazawa's Palace Walkthrough
Your progress through Miyazawa's Palace depends on your Protagonist Thief Level (PLVL). At certain points in the story, you will need to increase your PLVL in order to advance through the palace. You can increase your PLVL by completing in-game activities.
Leveling Guide: How to Level Up Fast
Initial Infiltration
| No. | Objective |
|---|---|
| 1 | 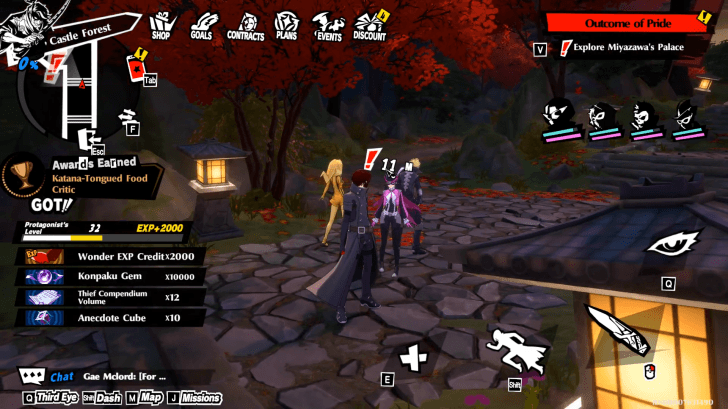 After entering the palace, go to the path on your left and watch the cutscene. |
| 2 |  Go to the next area and climb above the wall. |
| 3 | 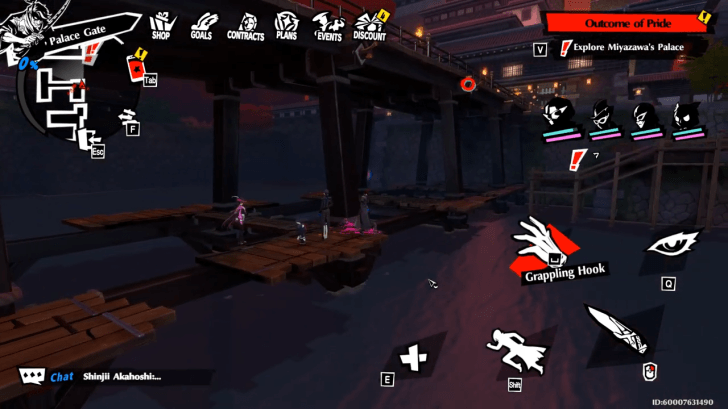 Go down and use your Grappling Hook to maneuver across the boards. Make sure to open the two chests along the way. |
| 4 | 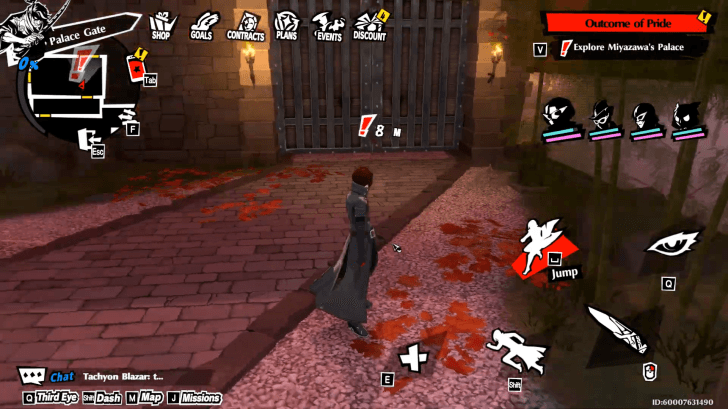 Climb up the house, go inside through the window, and go down. Try to open the door on your right, then open the door on your left. |
| 5 | 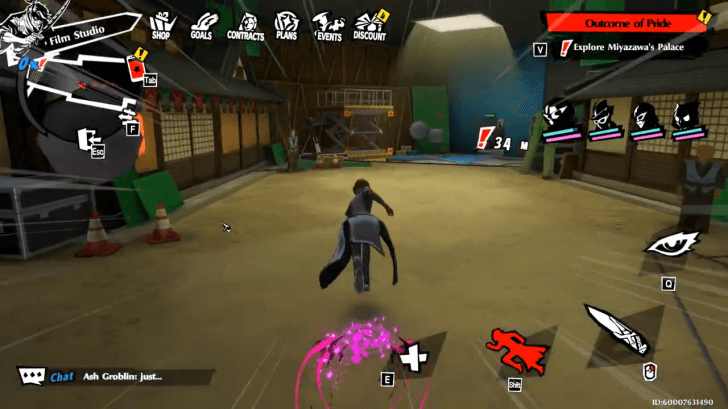 Advance through the studio and attempt to open the locked door. You will need to return to Shibuya and head back to your house afterwards. |
| 6 | 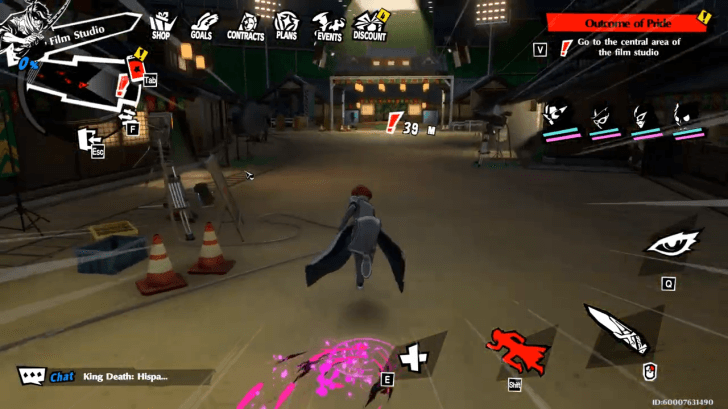 Once you return to the palace, head back to the studio. You will have to go through a required fight, but Shun, codename Soy, will join your party. |
Second Infiltration - Third Bailey
| No. | Objective |
|---|---|
| 1 | 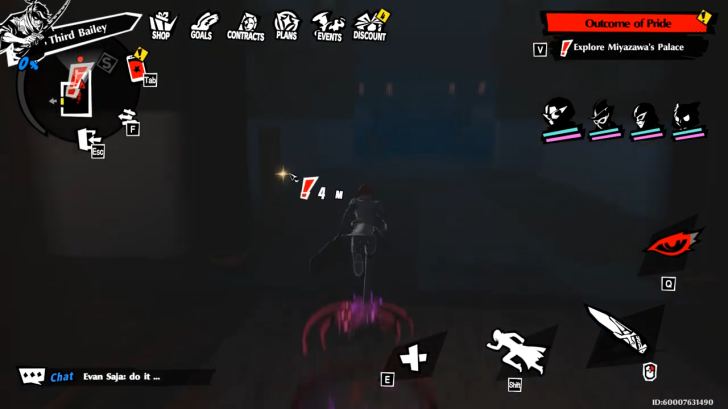 When you return to the studio, go back to the door you could not open. Interact with the stand in front of you to recieve a map of the palace. The first safe room is to the left of the nearest enemy you see. |
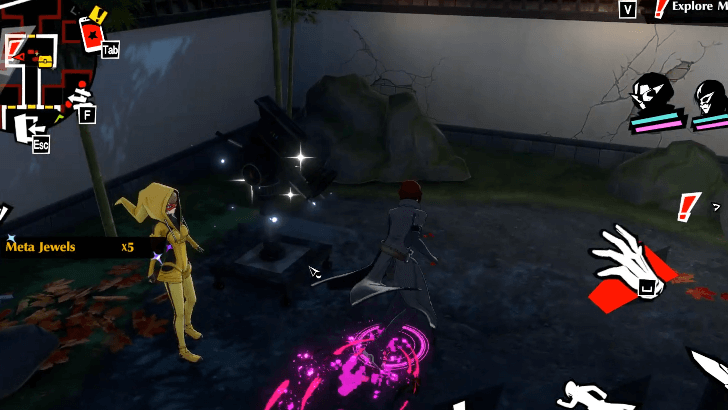
| 2 | 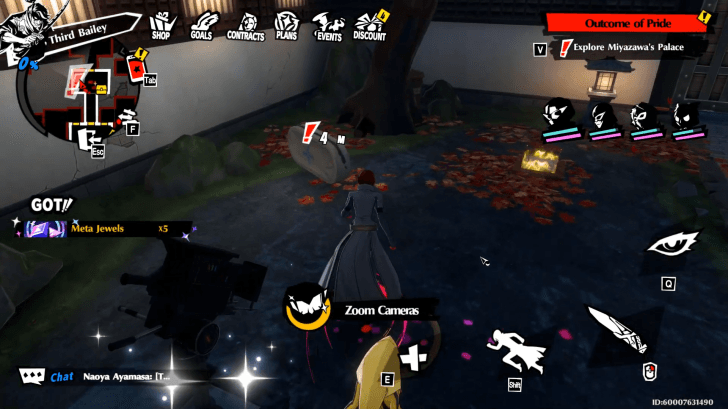 Advanced toward the big box and fight the next enemy up ahead. Use the camera module you recieved from defeating the enemies to unlock the camera to your left. Then, aim the camera on the box and tap the minus button to shrink it. Move the tiny box to the small yellow area. Then, walk on top of the other yellow area. This will unlock the door. ► Camera Courtyard Camera Puzzle |
| 3 | 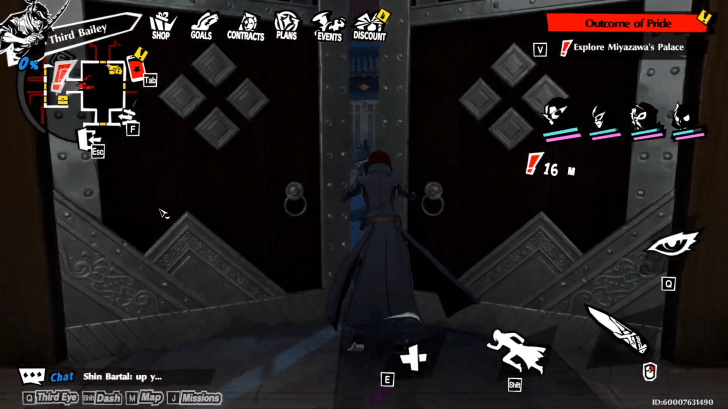 Advance to the next courtyard. Try to open the door in front of you, then go to the door on your left. |
| 4 | 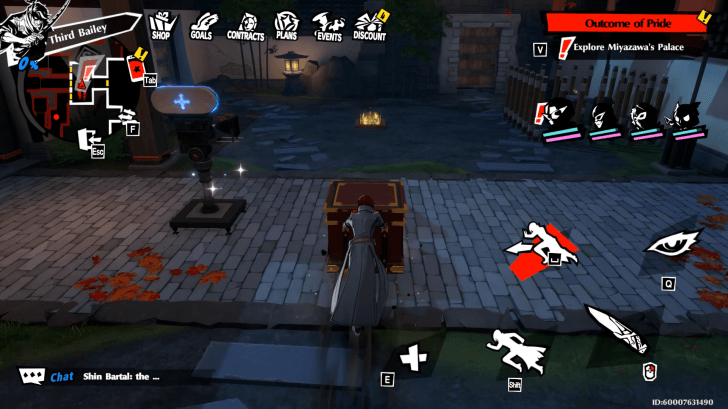 Beat the enemy in the next area to get a camera module. Use the camera to shrink the box, just like earlier. Before pushing the box to the yellow area, open the chest. When you step on the yellow tile, the Castle Gate Lock (Left) will appear in front of the Outer Castle: West Wing safe room. |
| 5 | 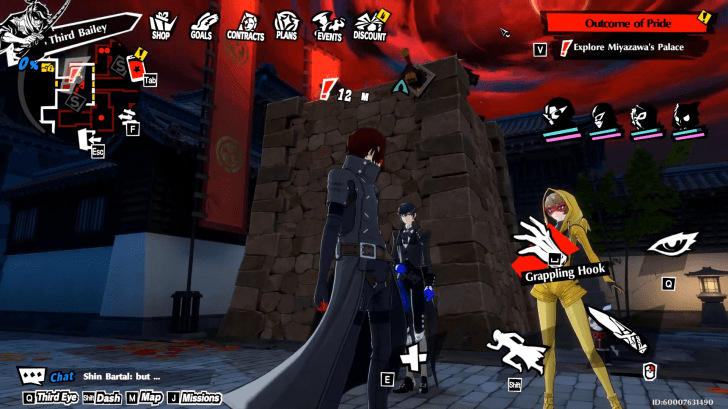 Go back to the courtyard and go the room straight ahead. Defeat the enemy, then use the grappling hook to reach the Castle Gate Lock (Right) and a chest. The Outer Castle: East Wing Camera Puzzle is located here. |
| 6 |  Go back to the courtyard and open the door in the center with the two Castle Gate Locks. Then, go to the path on your right to find an enemy, a chest, and a Chroma Key Module. Defeat the enemy to get the objects. |
| 7 |  Return to the courtyard you came from. Unlock the nearby camera with the Chroma Key Module. Then, use it to turn the door transparent, allowing you to walk through it. |
| 8 | 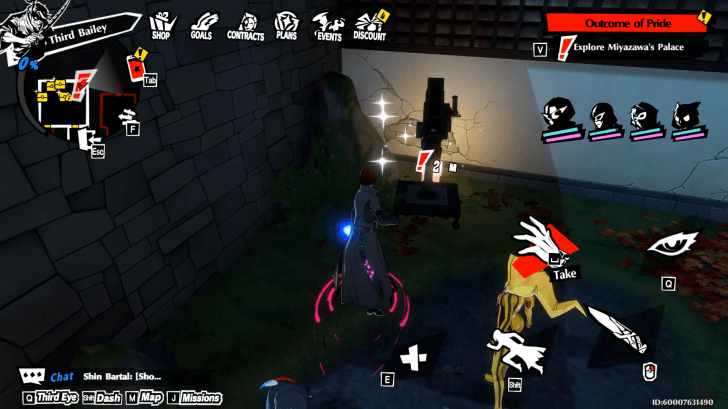 The next area will have 3 enemies. After unlocking the Outer Castle: Villa safe room, head to the next area and go to the upper right or north east corner to find a camera. Point the camera at the sigil to turn it into a Grappling Hook point. ► Grappling Sigil Puzzle |
| 9 |  Use your Grappling Hook to go up the bridge. Cross it, then go down to your right to stand on top of the tile highlighted yellow. |
| 10 | 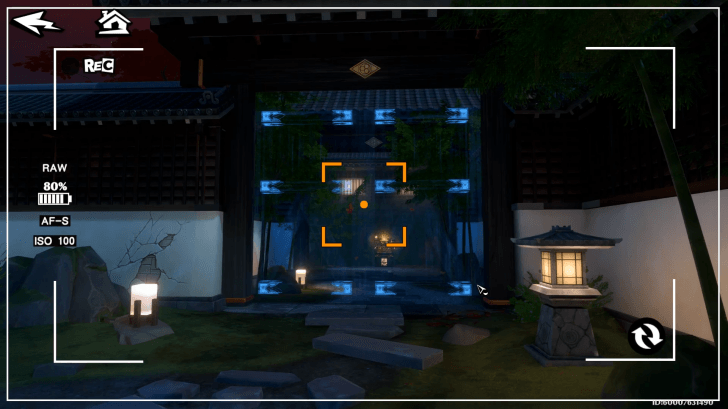 Head back to the other side of the area by teleporting to a safe room or going up. Use the camera to unlock a chest. |
| 11 | 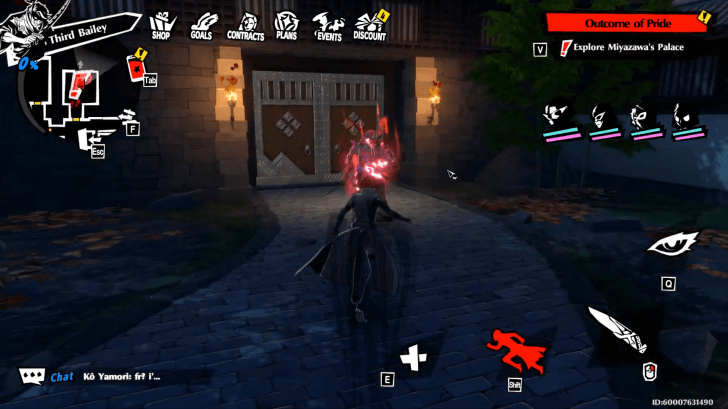 Return to the previous area. Open the remaining door. To advance, you have to fight a powerful enemy. |
Second Infiltration - Second Bailey
| No. | Objective |
|---|---|
| 1 | 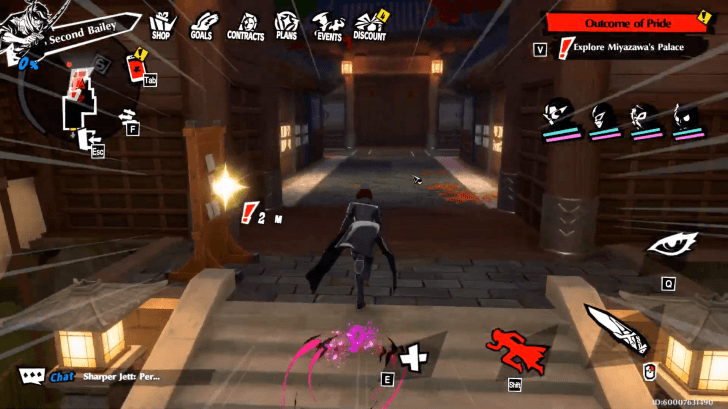 Head to the building and claim the map on the left of the entrance. |
| 2 | 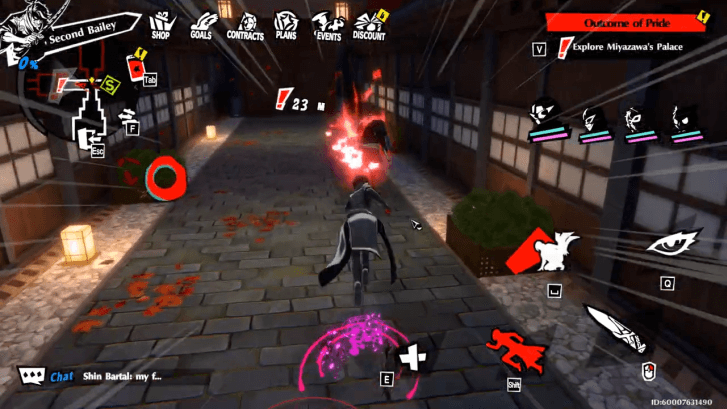 On your right is the Outer Citadel: South Entrance safe room. To your left is a tough enemy. Since the door in the middle is locked, you have to fight the enemy to advance. |
| 3 | 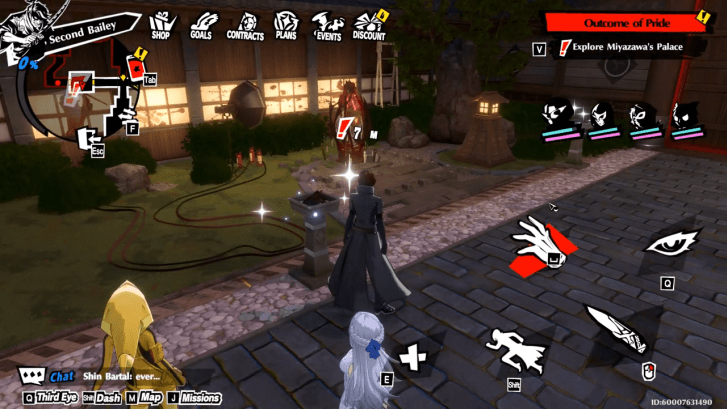 In the next area, use the torch to unlock the first Spider Switch. Use it to open the next door. |
| 4 | 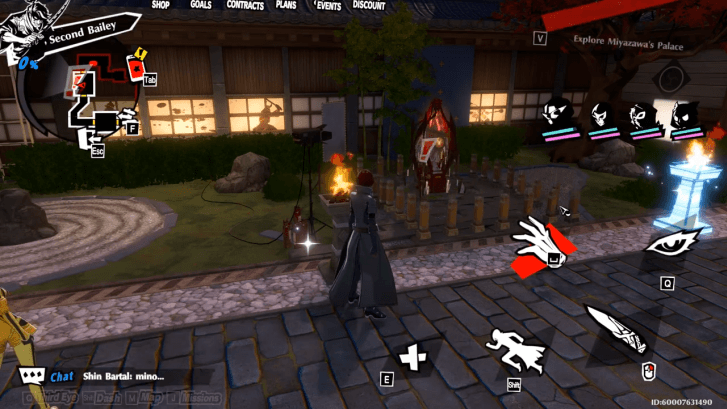 As you advance, there will be a tough enemy and a chest. In the next area, use the Chroma Key Camera on a lit torch so that it says lit. When you activate the next torch, you will unlock the Spider Switch and proceed to the next area. |
| 5 | 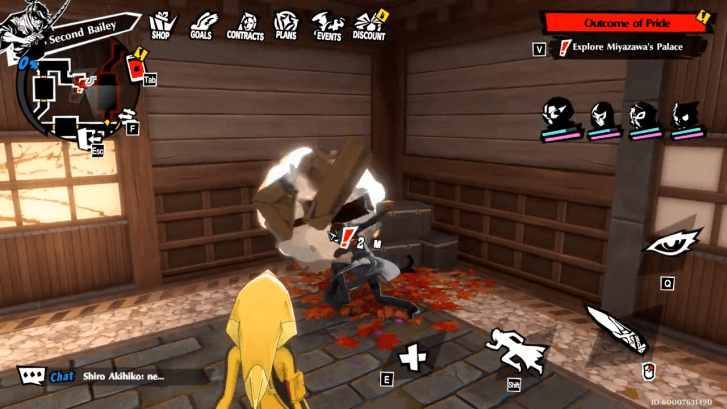 After fighting the three Shadows on your path, destroy the boxes on the right corner of the room by attacking them with your knife. Crawl through the hole to move to the next section. |
| 6 | 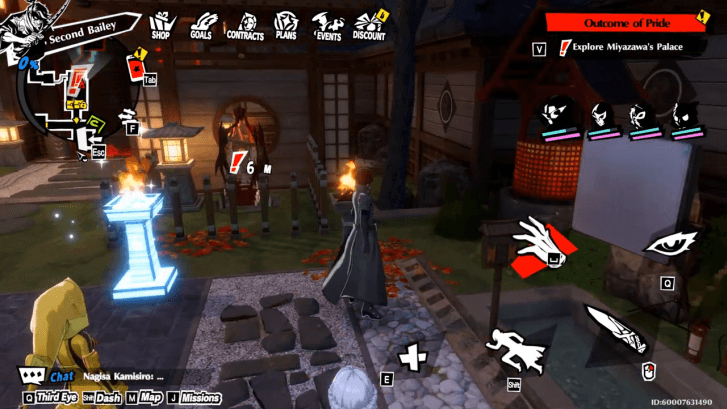 To open the door on your left, you have to complete the two torch puzzles in the area on your right. They are the same puzzles was done in Step 4 and 6 of this walkthrough. Facing the door, the torches on your left will be lit once you use them. On your right, you need to use the Chroma Key Camera on a lit torch so that it stays alight when you activate the non-lit one. You will open a new path after you use the two Spider Switches. |
| 7 |  On the next path, you can heal at the Outer Citadel: Rest Area safe room. Then, go straight, then go right to enter the room and fight the enemy there to get the Timeline Module. |
| 8 | 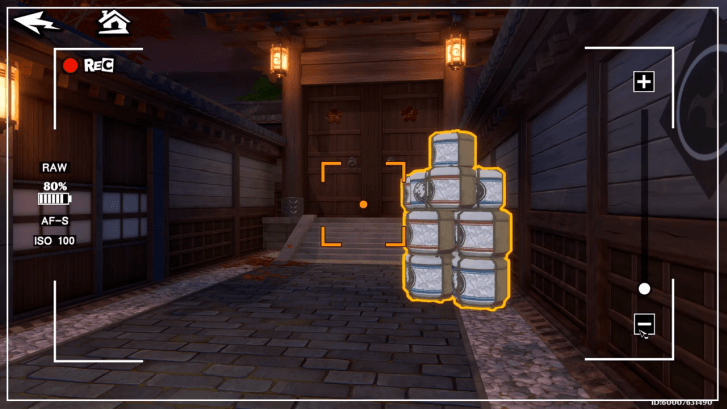 Continue on to the path until you find a camera. Use the Timeline Module to activate the camera and reverse time to stack the bales on rice on each other. |
| 9 | 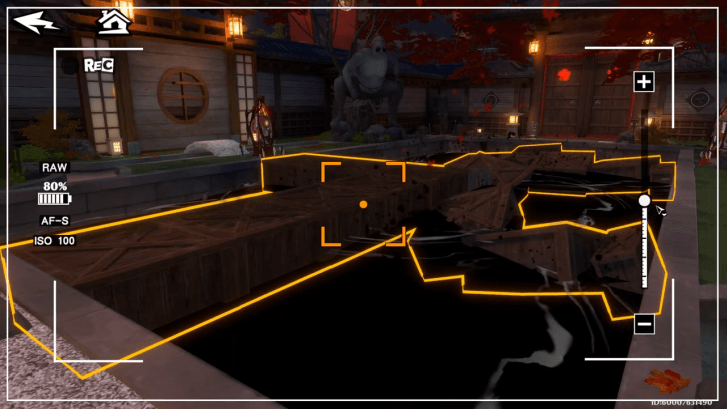 In the next area, use the camera and the Timeline Module to create paths to the Spider Switches. Select the camera on the fifth notch, counting from the bottom, for the first Spider Switch. Then, set the meter to the third notch for the farthest Spider Switch so that you can move to the next area. If you put it on the first notch, you can access the chest in front of you. |
| 10 | 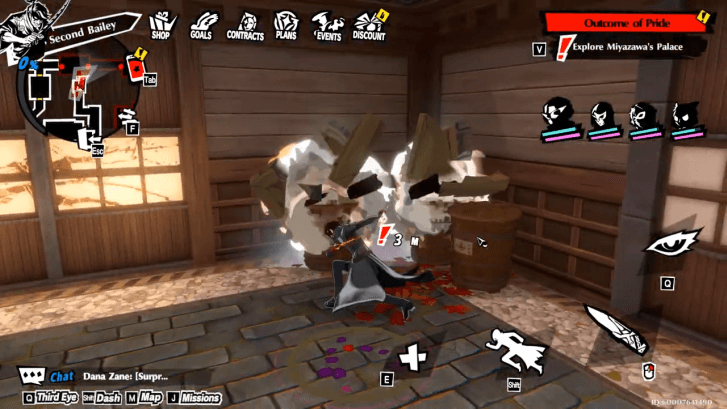 The following path will have two strong enemies so prepare accordingly. After defeating them, destroy the boxes to reveal a new path you need to crawl to. |
| 11 |  |
| 12 | 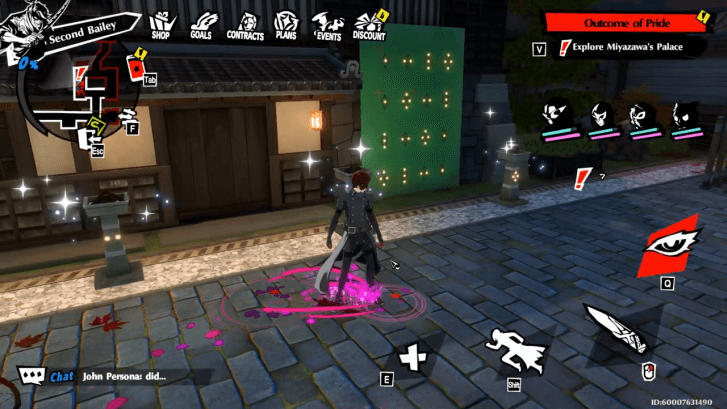 From the Outer Citadel: Granary safe room, go straight then head left. Take note of the torches and light them in order. This will unlock the cameras, which will let you progress to the next area. ► Second Bailey Torch Puzzle Solution |
| 13 | 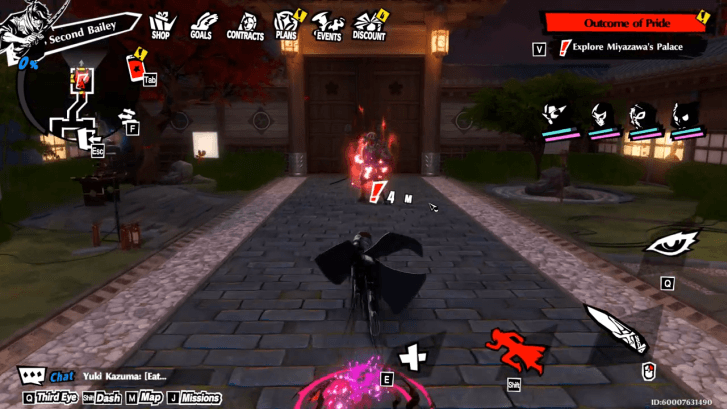 The next part of the palace is blocked by a powerful enemy. Train your team before taking them on! |
Main Bailey -> Castle Keep Depths
| No. | Objective |
|---|---|
| 1 | 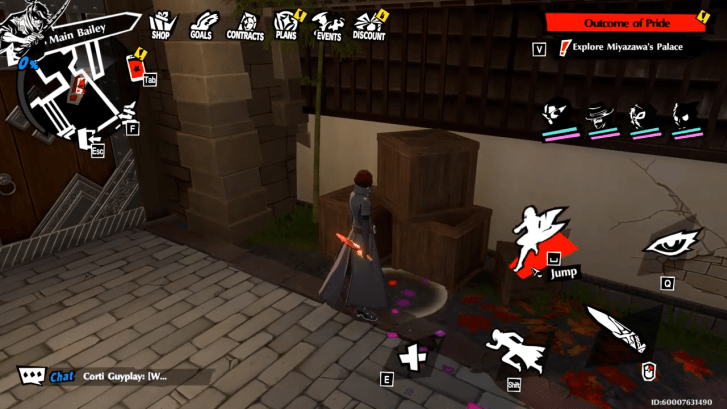 Follow the path and try to open the door at the end of it. Then, jump on top of the boxes and through the houses to make it to the castle. |
| 2 | 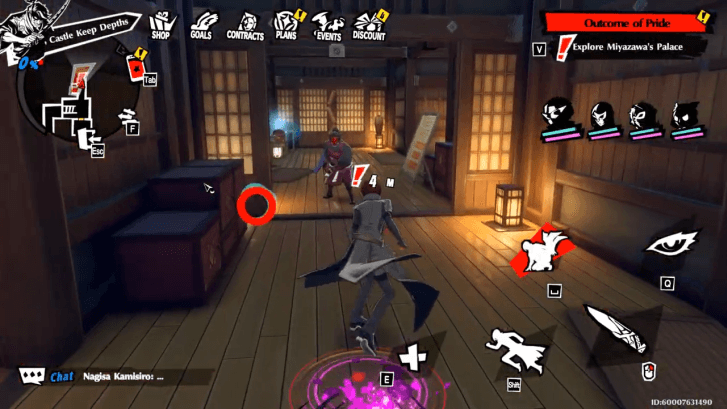 Open the door to enter the Castle Keep Depths. Avoid or fight the enemy, then head upstairs. Go left and encounter another enemy, then go right to enter the Reservoir Room. |
| 3 | 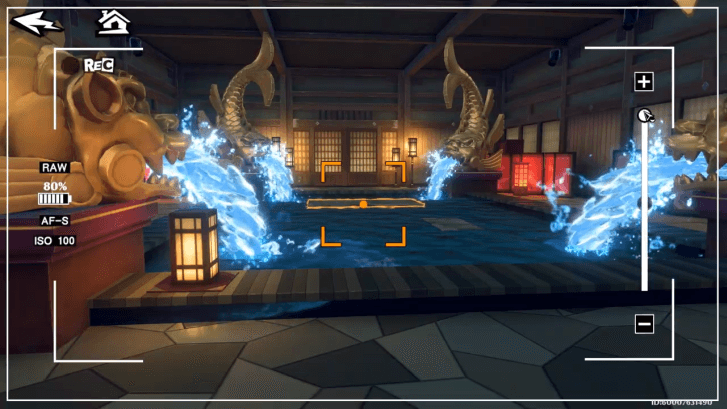 Use the nearby camera to grow the boards in the pool, so that you can jump on them. |
| 4 | 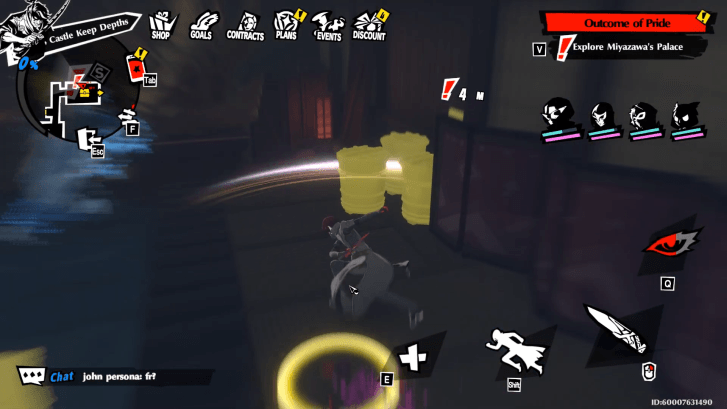 Jump on the first board, then go to the board on the left. Finally, jump to the left side of the room. Destroy the boxes and activate the switch to remove the water from the reservoir. Jump down to the pool floor and move the boxes to the tiles that are highlighted. This will unlock the door to the next room. |
| 5 | 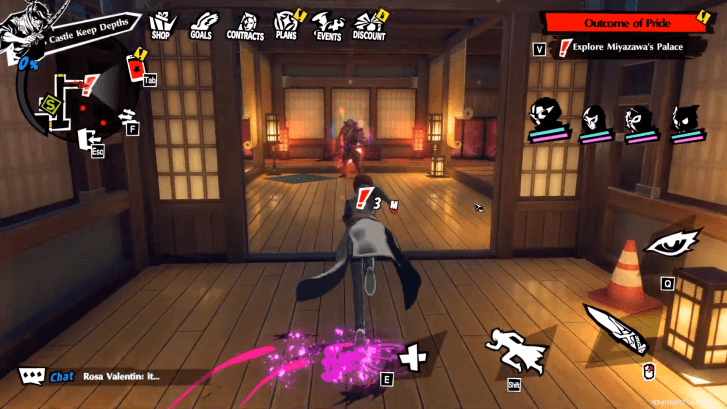 Walk straight then turn right. You need to defeat the enemy to release the seal on the next door . After going through the door, get the map to your right. ► Water Cursed Door Solutions |
| 6 | 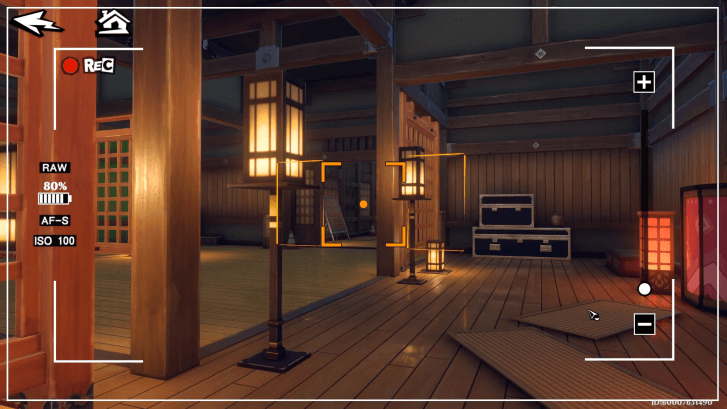 Keeping following the path until you encounter the enemy. Use the camera on the right corner of the room to open the door. |
| 7 | 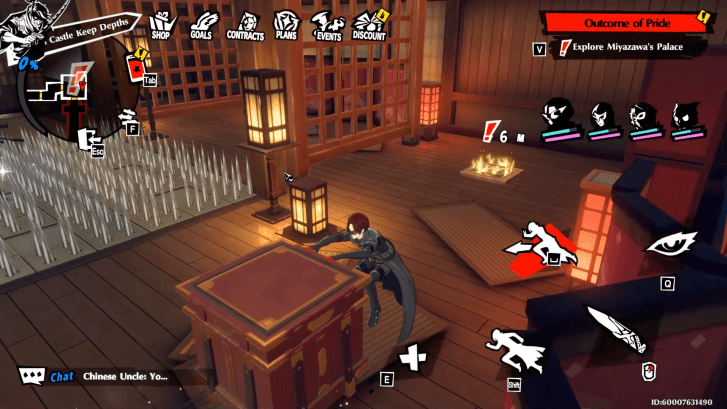 Keep following the path. There will be two enemies in your way. When you enter the spike room, go the right and push/pull the big box to the tile. Then, use the camera to open the door in front of you. |
| 8 | 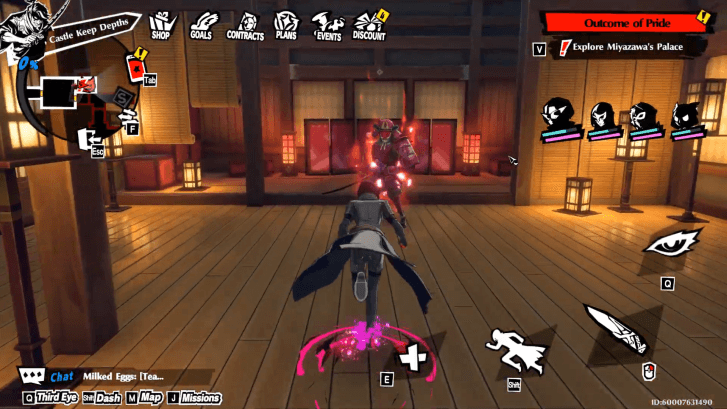 Head to the next room. You will need to deal with the two enemies here and a strong one to go to the next area. After beating the strong enemy, you will unlock the Castle Keep: Behind the Main Hall safe room. There is a Water Cursed Door next to the exit of this room. ► Water Cursed Door Solutions |
| 9 | 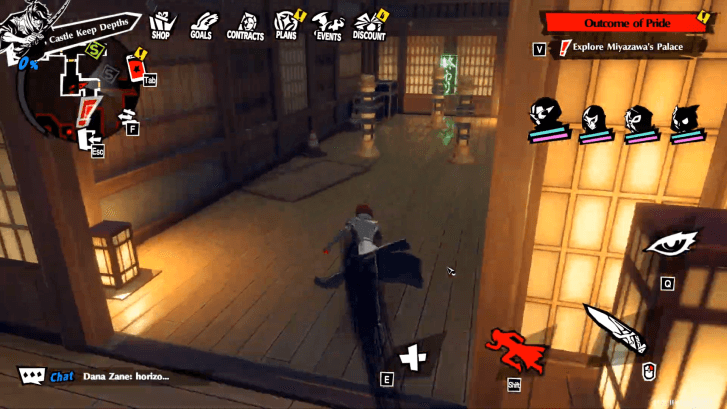 Continue to the new path unti you reach the moving training dummies. Easily dodge them by Dashing to the area across you, then to the exit. |
| 10 | 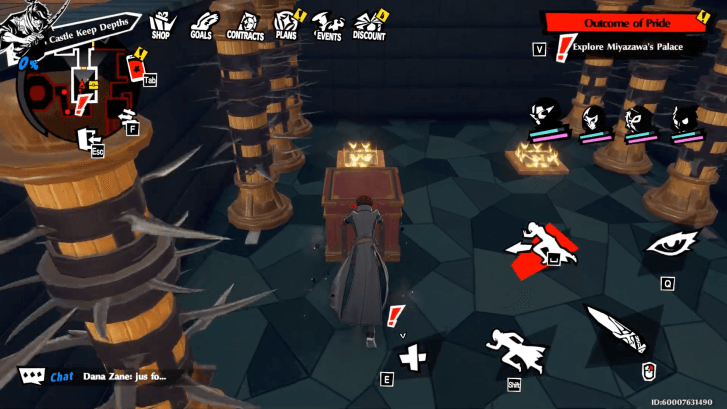 Manuever through the two hallways with your Dash until you reach the next room. Jump down and move the two boxes to the yellow-highlighted tiles. After this, jump up and advance. To go to the next section of the palace, you have to defeat another strong shadow. Defeating the shadow will let you get the Wind Talisman from the chest behind it. |
Castle Keep Mid-Level
| No. | Objective |
|---|---|
| 1 | 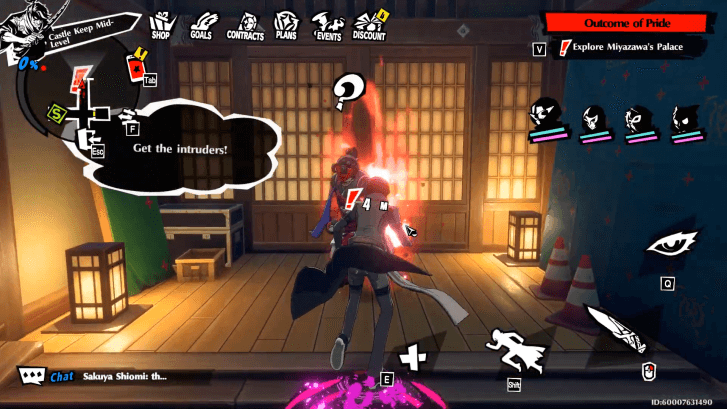 Follow the path and unlock the Inner Castle Keep: Entrance safe room to your left. Return to the intersection and there should be a breakable wall to the right with a chest behind it. You will need to fight the patrolling enemy to proceed further. |
| 2 | 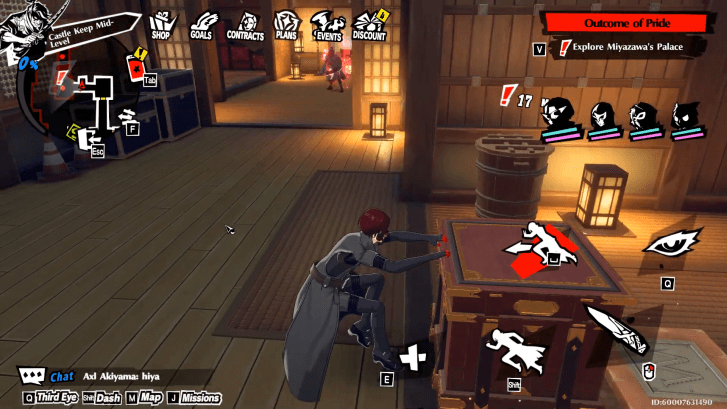 Enter the room and get the map to your right. Proceed to the next room and jump over the spiked logs on the floor. Here, you will encounter your first Arrow Trap. Simply pull the box away from the pressure plate to deactivate the trap and proceed to the next room, which has an enemy and a chest. |
| 3 | 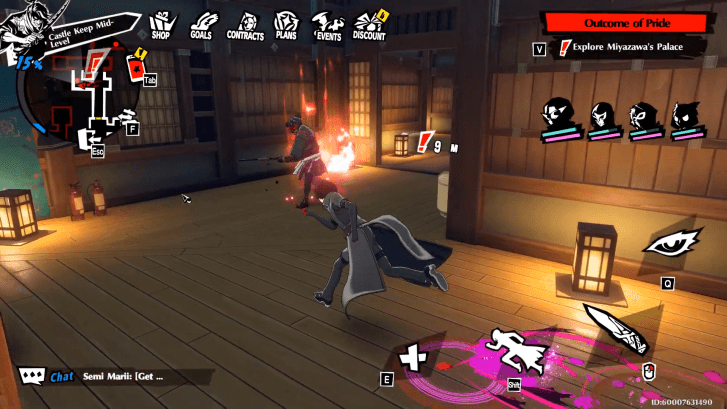 Proceed further to encounter another Arrow Trap. Go through the left path to get a chest as well as to avoid the Arrow Trap. You will be forced to fight the shadow to deactivate the trap and get the chest in between the traps. |
| 4 | 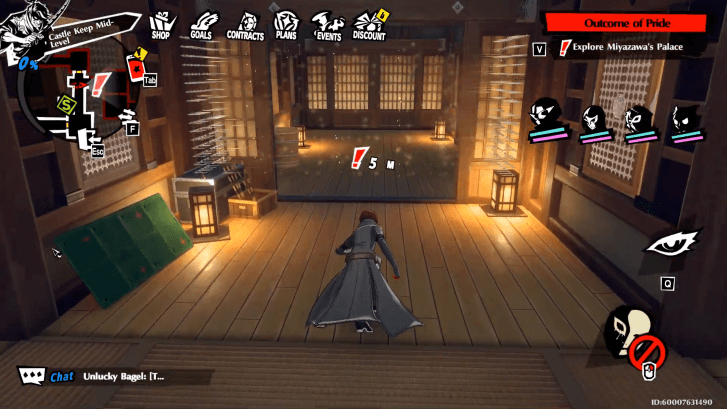 Keep following the path until you reach the next room. Get the chest in the corner. Proceed to the next area and unlock the Inner Castle Keep: Center safe room. There will be a Cursed Door ahead and a chest to its left. Then, sneak past the Arrow Trap to proceed to the next area. |
| 5 | 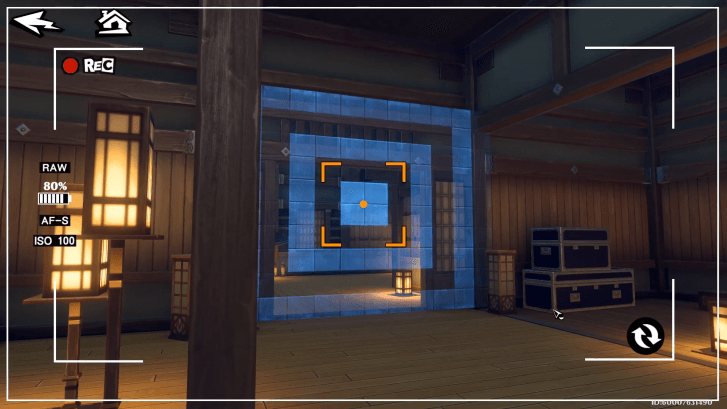 You will encounter your first Chroma Key Wall in this area. Simply use the Track Switch to move the camera into the same room as the Chroma Key Wall. Then, use the camera on the wall to remove it. |
| 6 | 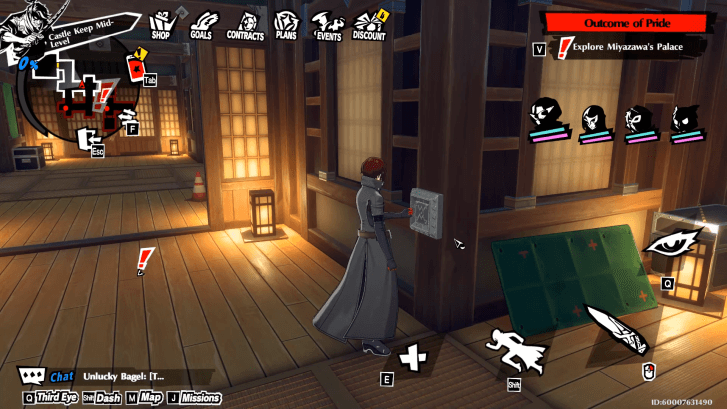 The next room will have Wooden Barriers. Use the switch to your left and proceed to the area to your right. There will be two chests in the area, one requires a lockpick and the other will be behind the enemy. |
| 7 | 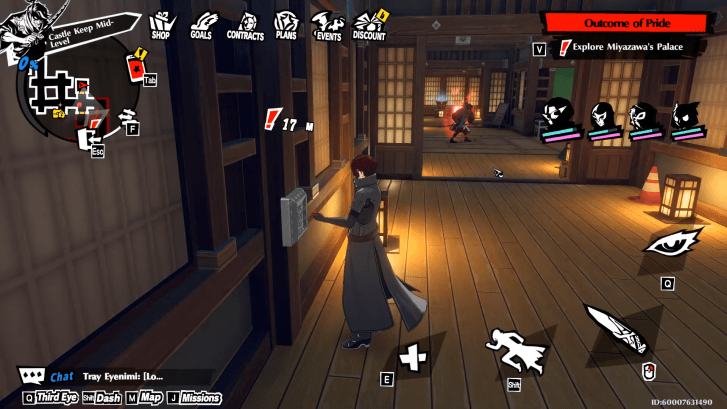 Move further to the right area. Destroy the door on your left, then use the switch on your left to lower the barriers behind the Shadow. There is also a chest across you. After exiting the room, you will encounter another chest. |
| 8 | 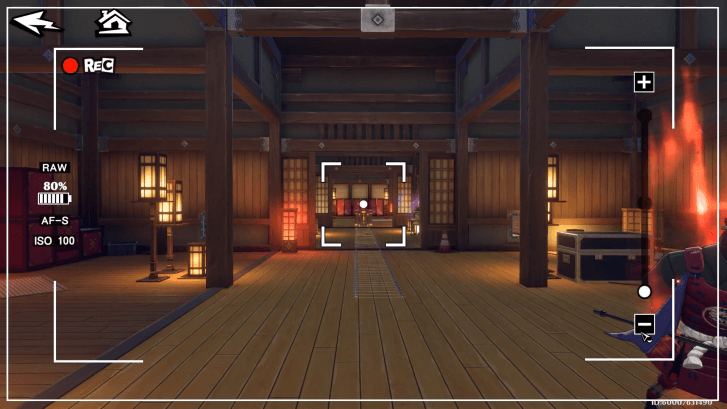 Use the vent on the upper right corner of the room go to the next room, moving past the big box. Then, use the camera to shrink the box that is blocking the tracks. There is a chest in between the two rooms. Move the shrunken box away from the rails and use the Track Switch to transfer the camera. Just like in Step 5, use the camera on the tracks to remove the Chroma Key Wall. |
| 9 |  Unlock the Inner Castle Keep: East Side safe room to your left. You will encounter a patrolling shadow on the way to the next area. Go to the left area where you will encounter a powerful shadow at the top. Defeat it to advance to the next area of the palacce. The chest next to the strong Shadow contains the Lightning Talisman. |
Castle Keep Summit
| No. | Objective |
|---|---|
| 1 | 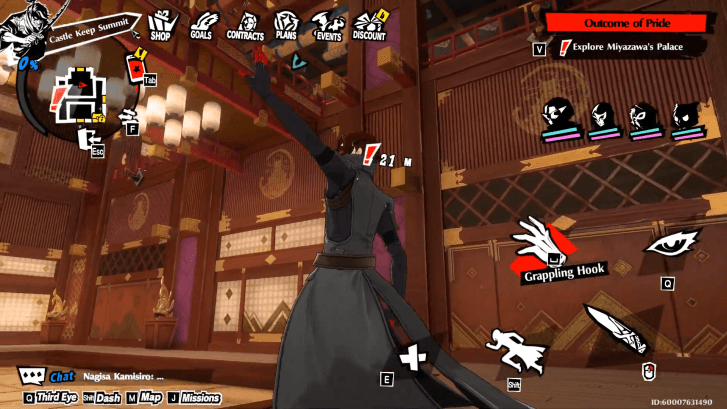 Walk into the room and use the Grappling Hook to get onto the upper floor. There will be a locked chest on the floor. Proceed further into to the west side of the floor since the east side has a locked Water Cursed Door. You will encounter a patrolling shadow along the way. |
| 2 | 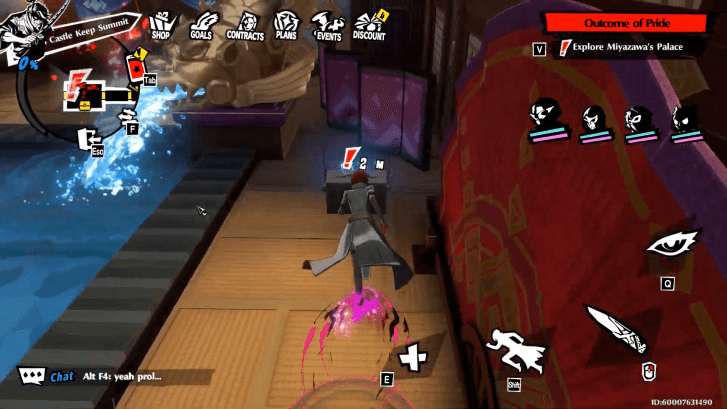 Unlock the Upper Castle Keep: Northwest safe room to your right. Go into the next room, where you can find the fountains and a jammed Chroma Key Camera. Jump across the tiles to go the right side of the room, where the Jamming Device is. Destroy it so you can use the nearby cameras. Don't forget to pick up the chest on the left side of the room by using the camera on the nearby board. |
| 3 | 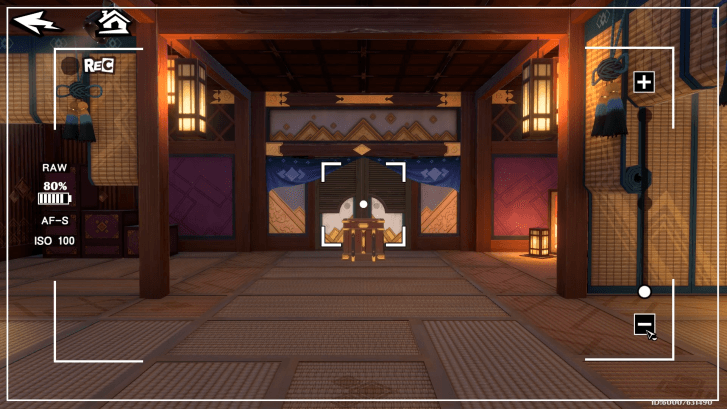 The room ahead will have the last map, just take care of the roaming Shadow. Enter the room to the right. There will be a jammed camera. Interact with the camera first before destroying the jamming device on the bottom right corner of the room. Use the camera to shrink the box ahead. Move the shrunken box away and proceed to the next room. |
| 4 | 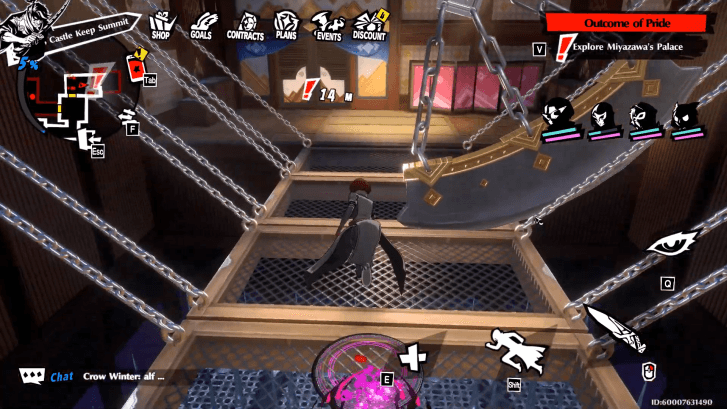 You will immediately find a chest after entering the room. Cross to the other side while dodging the swinging axe. There will be an unavoidable shadow fight at the next room. Do not forget to get the chest after the fight. |
| 5 | Head back to the previous room and the Water Cursed Door should now be open. Enter that hallway and open the chest along the way. As you advance to the room at the end of the path, make sure to open the next chest. |
| 6 | 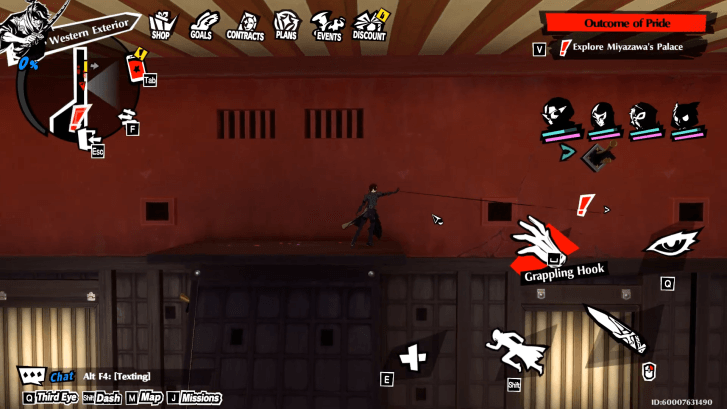 You should now be in the Western Exterior. Use the Grappling Hook to proceed further to the right side. There should be a chest below right before you turn the corner. Continue onwards the right side until you're back inside. |
| 7 | 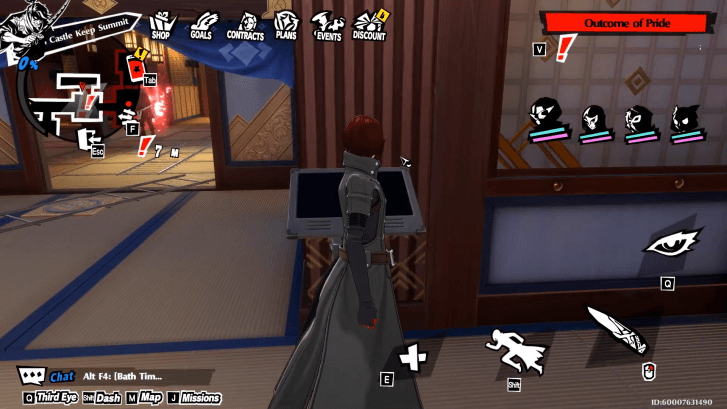 There should be a chest in the room. Unlock the Upper Castle Keep: Southwest safe room to your left. Proceed to the next room, which has a Chroma Key Wall. Use the Control Panel in the room to rotate the tracks. Then use the Track Switch to move the camera. Use the camera on the Chroma Key Wall to proceed to the next area. |
| 8 | 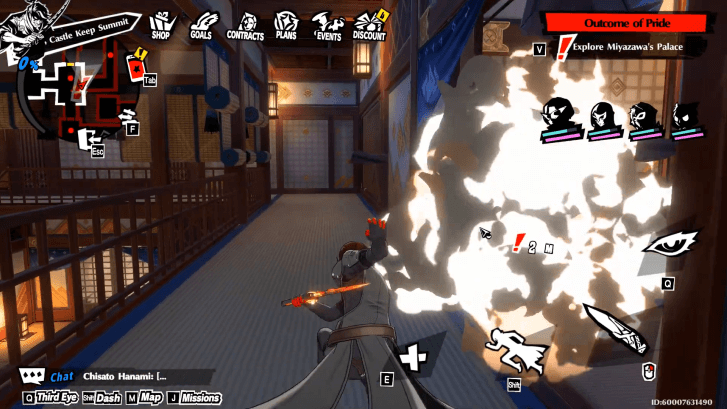 There will immediately be a chest after passing through the Chroma Key Wall. Head to the other side of the floor and destroy the door to open the next path. Watch out for the strong Shadow patrolling it. The next room will have two chests and two enemies. It is recommended to defeat the enemies first so you can do the room's puzzle without getting interrupted. |
| 9 | 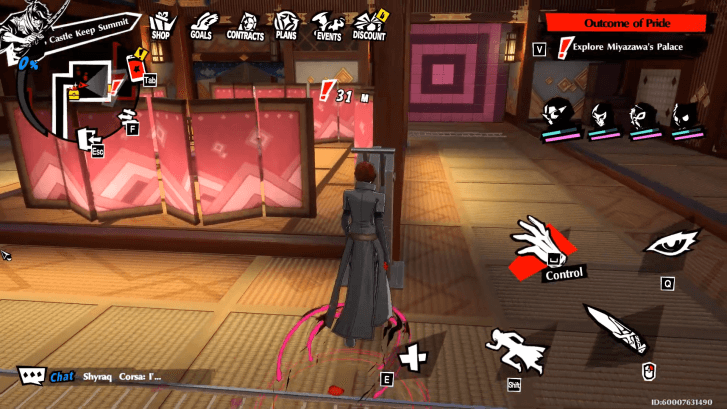 To solve the puzzle, use both control panels once to rotate the tracks. Use the Track Switch on the left side of the room to move the camera and then use that camera to clear the Chroma Key Wall. Then, use the other Track Switch to move the camera which can open the doors. You'll be able to use the grappling hook near the second camera's original position to get to the upper floor, where there is a chest. |
| 10 | 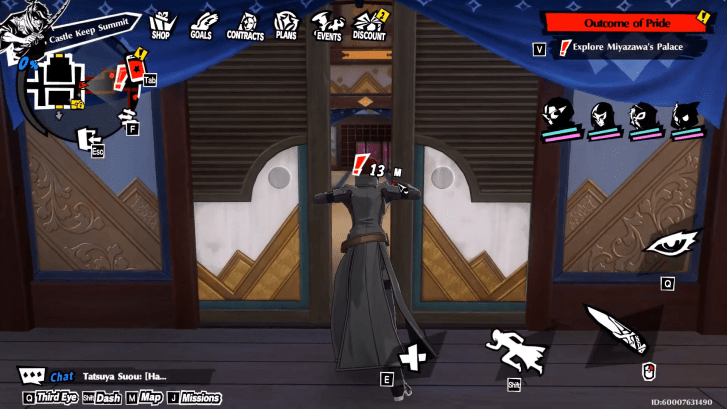 There is an unavoidable strong shadow in the next room. Defeat it so you can open the chest and proceed to the next area. The next hallway will also have a chest. Return to the starting area of the floor, where you first arrived using your Grappling Hook. The door on the right side should be unlocked. |
| 11 | 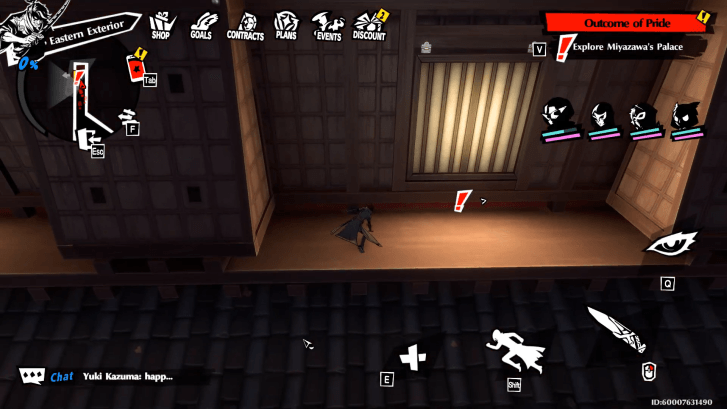 Go forward until you reach a room. There should be a chest in the room. Proceed into the next hallway and there should be another chest in the next room. Use the door in the room to move to the Eastern Exterior. Use the grappling hook to move across the platforms until you reach the inside again. |
| 12 | 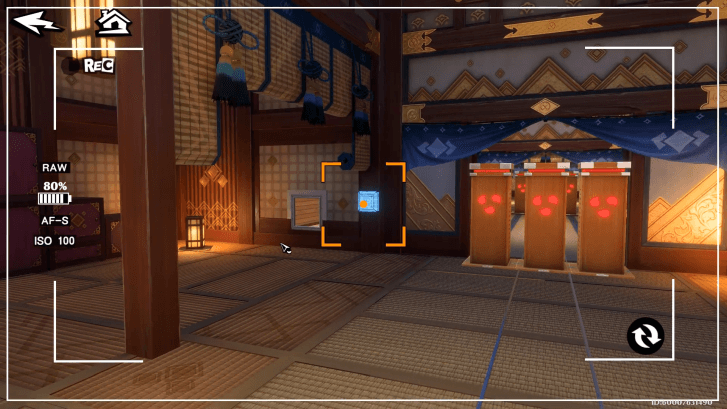 There will be a chest within the room as well as the Upper Castle Keep: Southeast safe room to your right. Head to the next room and use the vent on the right side to bypass the Wooden Barriers. Interact with the camera before destroying the jamming device in the upper left corner of the room. Then use the Chroma Key Camera to spawn the switch which will lower the barricades. Grab the chest directly outside the room. |
| 13 | 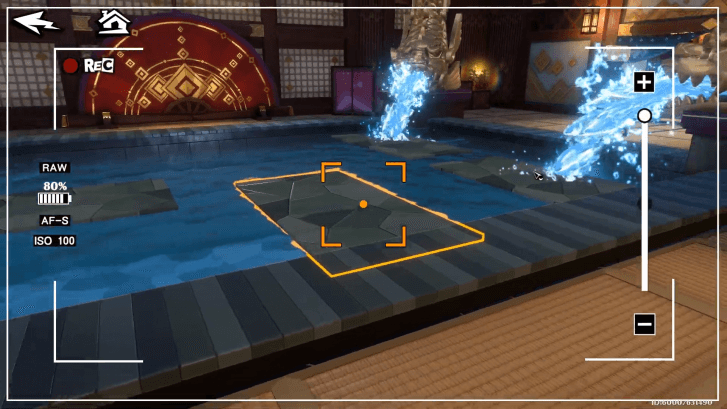 Use the Track Switch before proceeding to the next room. Defeat the Shadow on the right side of the room to unjam the camera. Use the camera on the tracks to spawn the other camera on the left side of the room. Then, use the left camera to enlargen the boards on the pool so you can proceed to the other side of the room. Open the chest in the next room to receive the Fire Talisman. |
| 14 |  Return to the starting area of the Castle Keep Summit and a powerful enemy will spawn there. Defeating it marks the end of the infiltration. You will need to send the calling card to finally fight Kiuchi. |
Miyazawa's Palace Puzzles
| Miyazawa's Palace Puzzle Checklist |
|---|
|
|
Camera Puzzles
To start the camera puzzles in an area, you first have to collect the necessary camera modules.
You can collect these modules by defeating enemies close to the area. You can only solve the puzzles when the necessary camera module has been collected.
Here's a list of all the camera puzzles and their locations in Miyazawa's Palace:
Castle Courtyard Camera Puzzle
| No. | Objective |
|---|---|
| 1 |  Take out the two shadows behind the gate. This will allow you to access the camera modules in the room before it. |
| 2 | 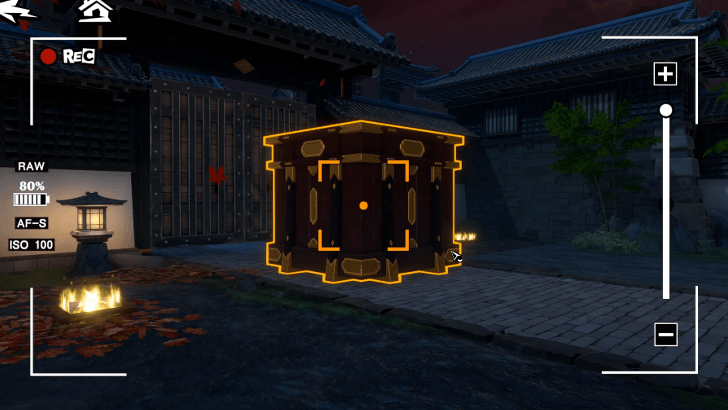 Get the camera module next to the cameras after you defeat the two shadows. Use it to get to the camera and make the box near the gate smaller. |
| 3 | 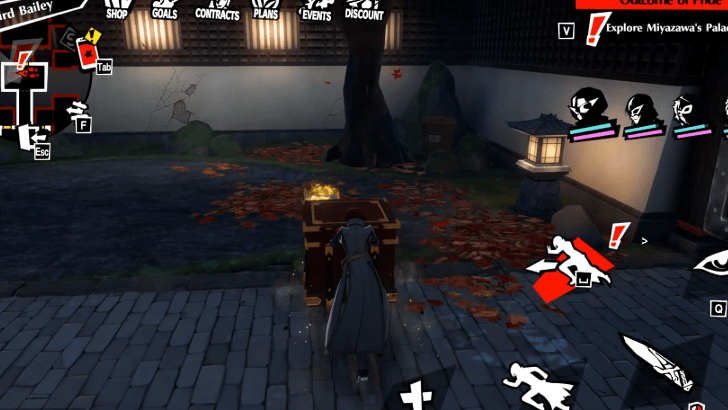 Push the altered box into the yellow tile to the left of the gate. |
| 4 | 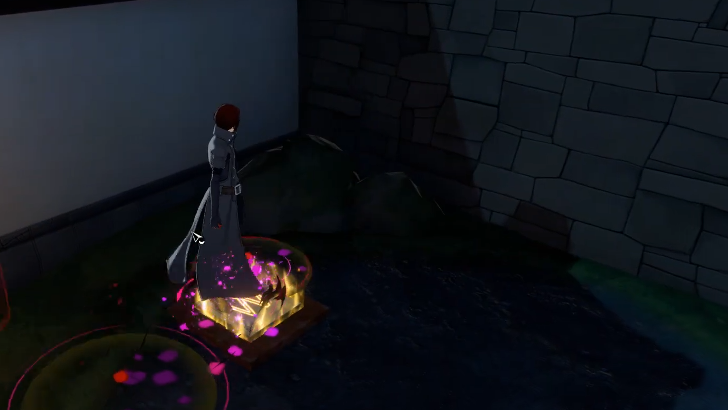 Step on the tile to the right of the gate. This will unlock the gate and grant you access to the area beyond it. |
Outer Castle: West Wing Camera Puzzle
| No. | Objective |
|---|---|
| 1 | 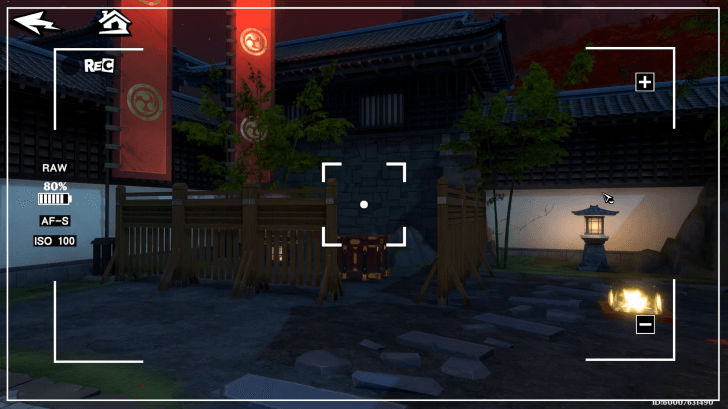 Activate the camera and use it on the big box. Before moving the big box, open the chest in the corner of the room. |
| 2 | 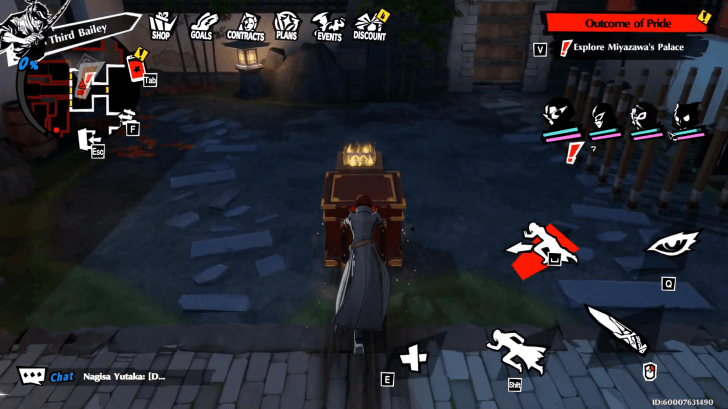 Use the camera to shrink the second box on the lower floor. Then, push it until it is on the yellow tile to complete the puzzle. |
Outer Castle: East Wing Camera Puzzle
| No. | Objective |
|---|---|
| 1 | 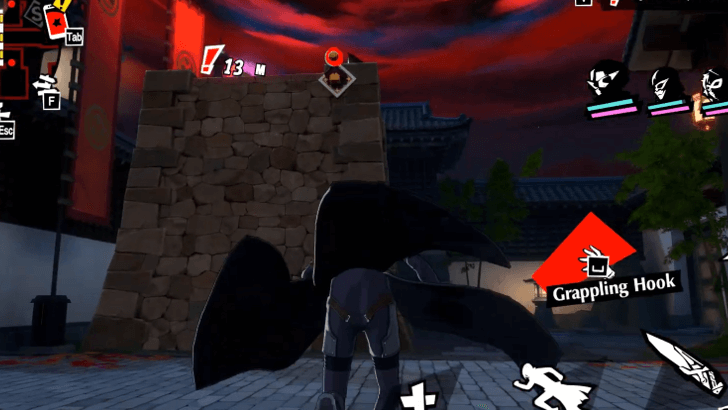 After you defeat the roaming shadow in this area, use the grappling hook to get on top of the structure. |
| 2 | 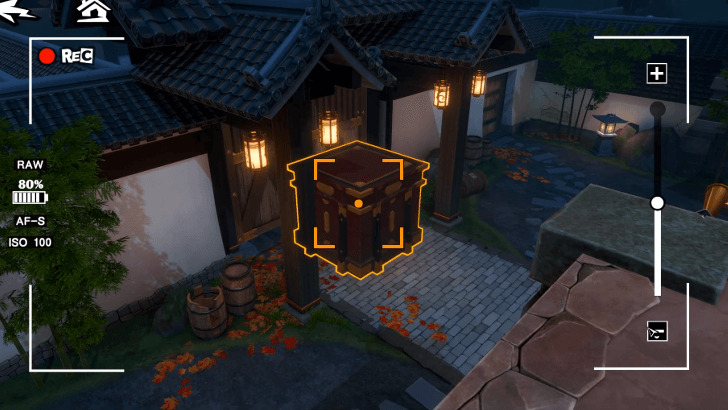 Use the camera to shrink the second box on the lower floor. Then, push it until it is on the yellow tile to complete the puzzle. |
Grappling Sigil Puzzle
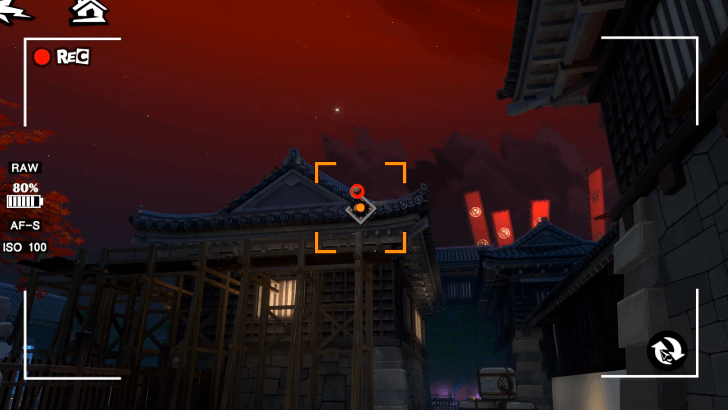
To access the sigil, use the camera. To proceed to the next area, use your grappling hook to ascend the wooden path.
Third Bailey Puzzles
| Third Bailey Puzzle Locations | |
|---|---|
 |
|
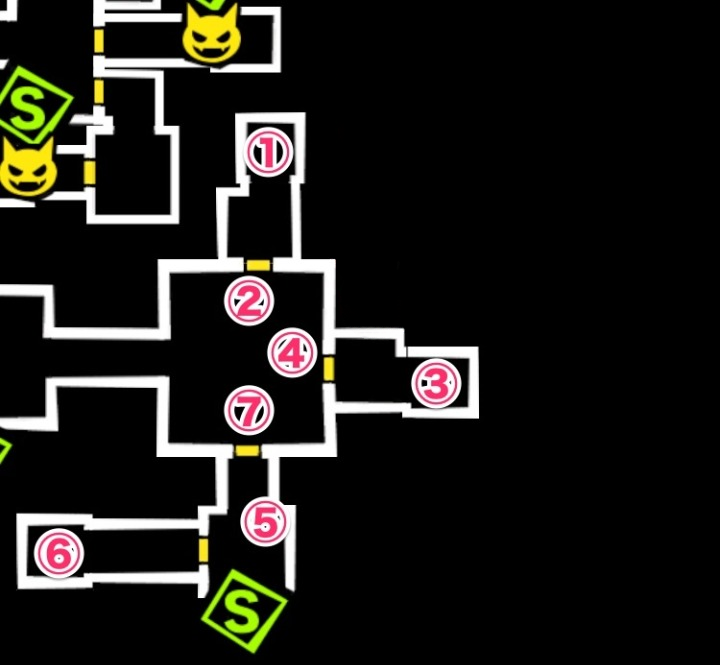
| 1 | It is in the transparent treasure chest in the square in the southeast area. |
| 2 | In the northeast area, you can activate the switch by placing a box in the middle of the two yellow tiles and expanding it. |
| Note | Some treasure chests are located in areas that can only be accessed by using the grappling hook. |
Transparent Treasure Chest
To open the invisible treasure chest in the southeast area, use the three switches and the camera in the northeast and south. Enter the small rooms in a clockwise order, starting from the north room. Press the switches and use the camera to open the treasure chest in the center of the square.
The Camera Module can be obtained after following the story guide to reach the northern area.
Northeast Area Double Switch
Since both switches need to be activated simultaneously, position the box in the center and expand it. This will allow you to press both switches at the same time.
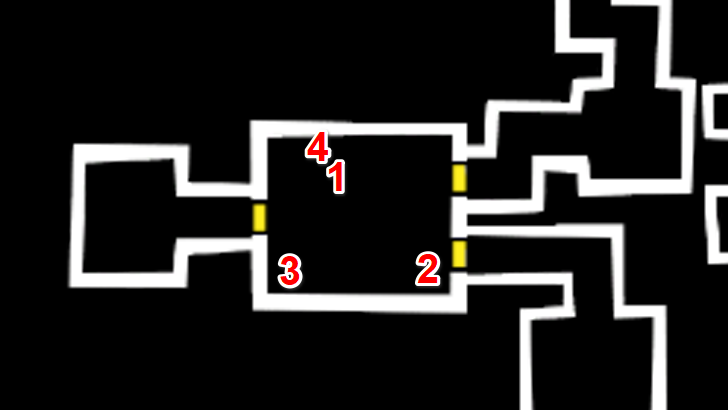
Second Bailey Puzzles
| Second Bailey Puzzle Locations | |
|---|---|
 |
|
| 1 | Use the Camera to Build a Platform |
| 2 | Light the Lanterns in the Correct Order |
| 3 | Light a Single Lantern and View It Through the Camera |
| 4 | Use Your Camera to Keep Track of the Lit Lantern |
The Ninomaru Puzzles requires you to light all of the lanterns to complete them. For now, we will focus on the most difficult puzzles.
Use the Camera to Build a Platform
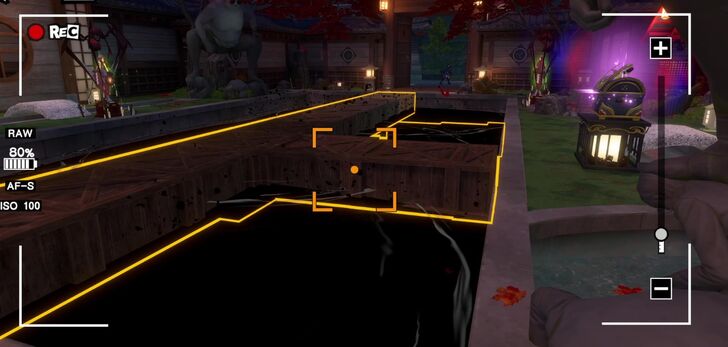
Use the camera to move the scaffolding so that you can use it as a foothold to traverse the ponds, open the door, and retrieve the treasure chest. Then, return to the camera and adjust the scaffolding again to activate the two switches.
Light the Lanterns in the Correct Order
| Eastern Puzzle Sequence | |
|---|---|
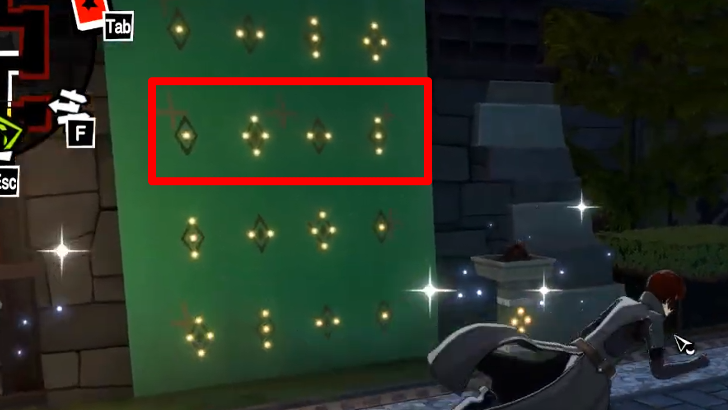 |
 |
| Western Puzzle Sequence | |
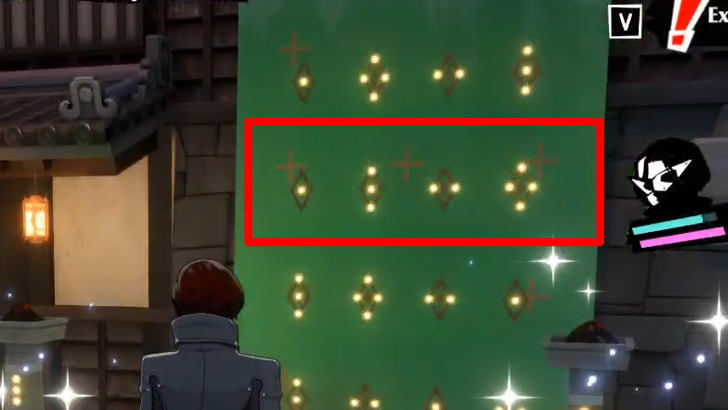 |
 |
The lanterns must be lit in the correct sequence, as shown on the green board. You can inspect the board and use the Third Eye feature to view the sequence. This method works for both the eastern and western lantern puzzles.
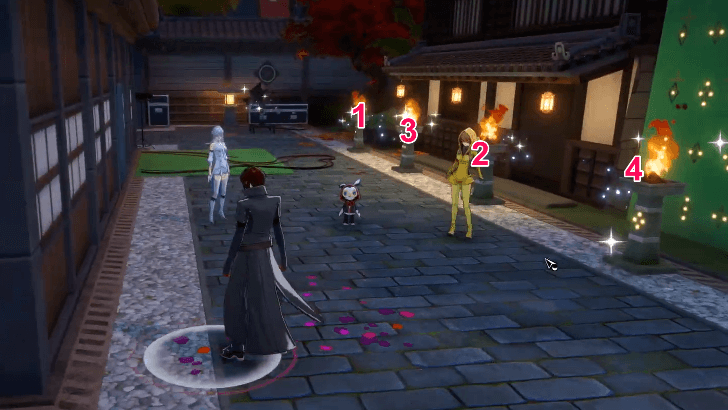
Light a Lantern and View It Through the Camera
The lanterns in the northwest corner of the map are part of a puzzle. To complete it, light one lantern and keep it in the camera's view until its color changes. Do this with all four lanterns to complete the puzzle.
The fire will only stay lit for a short time, so act quickly and don't let the fire go out.
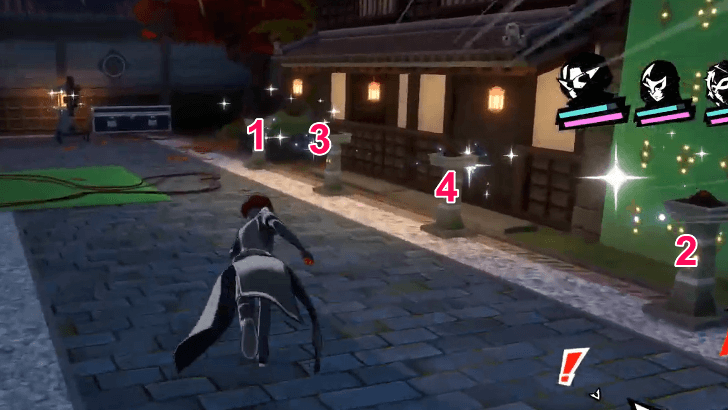
Use Your Camera to Keep Track of the Lit Lantern
Begin by using the camera to view the lanterns at an angle so that they are both visible. After a short pause, one of the lanterns will light up.
Hold the camera on that lantern until its color changes. Then, focus the camera on the unlit lantern until it changes color. Once both lanterns are lit, the gate will open.
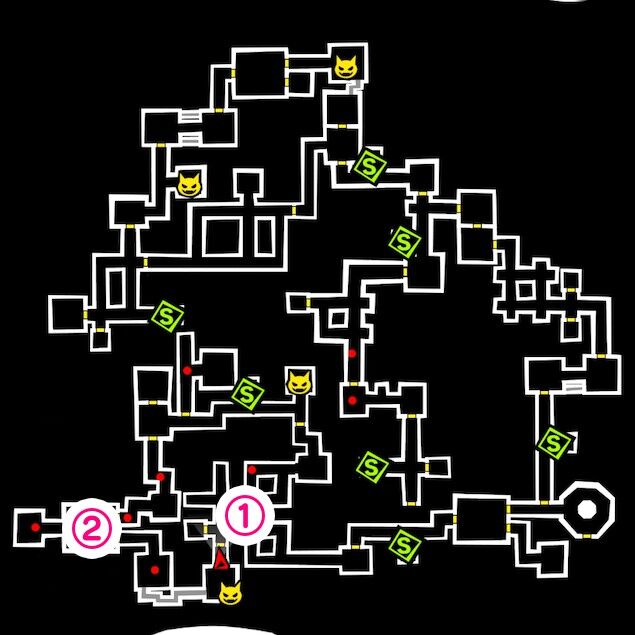
Castle Keep Depths Puzzles
| Castle Keep Depths Puzzle Locations | |
|---|---|
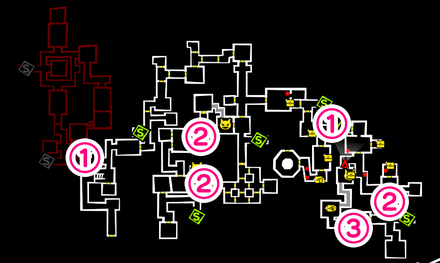 |
|
| 1 | Wind and Fire Cursed Doors |
| 2 | Water Cursed Door |
| 3 | How to Fix the Broken Camera |
| 4 | The Larger, Yellow Switches Require a Larger Box. |
Wind and Fire Cursed Doors
| How to Obtain the Wind and Fire Talismans | |
|---|---|
| Wind Talisman | 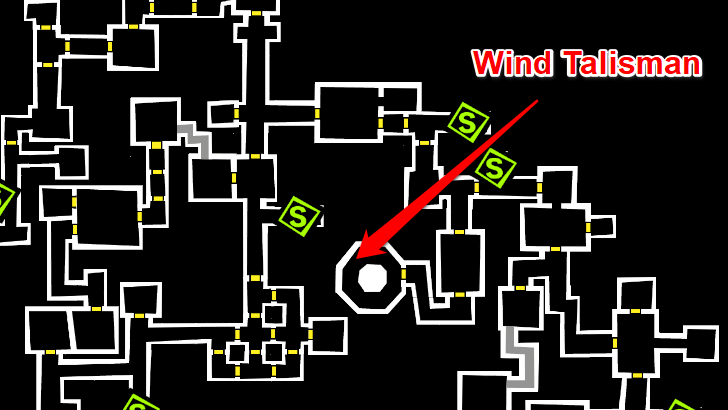 Obtained by defeating the boss on the spiral staircase at the bottom of the Castle Keep Depths. |
| Fire Talisman | 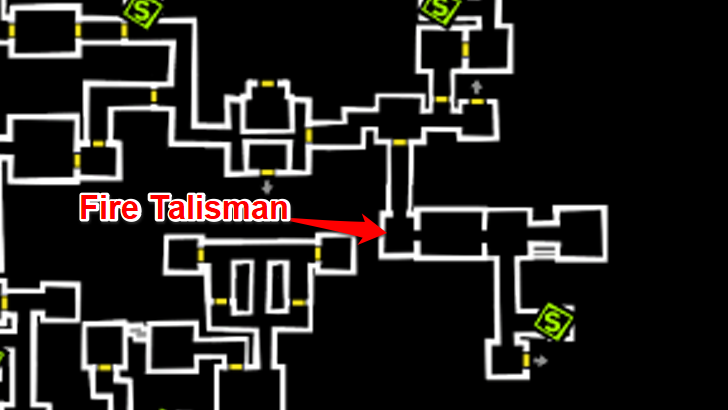 You can find it right before the boss in the hallway in Castle Keep Summit. |
The Wind and Fire cursed doors require the corresponding talismans to open them.
In order to access the area in the upper right corner of the map, you will need the Fire Talisman, which can be obtained on the top floor. Therefore, it is recommended that you explore this area after completing the Castle Keep Summit.
Water-Cursed Door
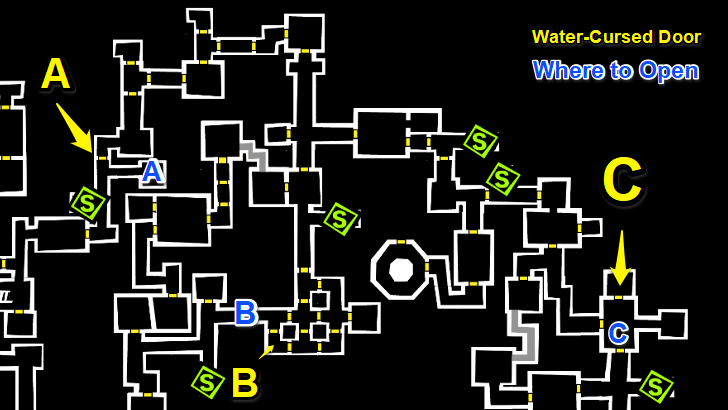 |
|
| Water A | Defeat the strong Shadow in the room to the right of the Water-Cursed Door |
|---|---|
| Water B | Use Third Eye to locate the wall switch in the hallway. |
| Water C | Defeat the Shadow in the room. |
Water Doors A and C can be unlocked by defeating the nearby Shadows. Water Door B can be unlocked by flipping a switch in the hallway next to the door.
Use Third Eye to locate the switch for Door B and to identify the Shadows for Doors A and C.
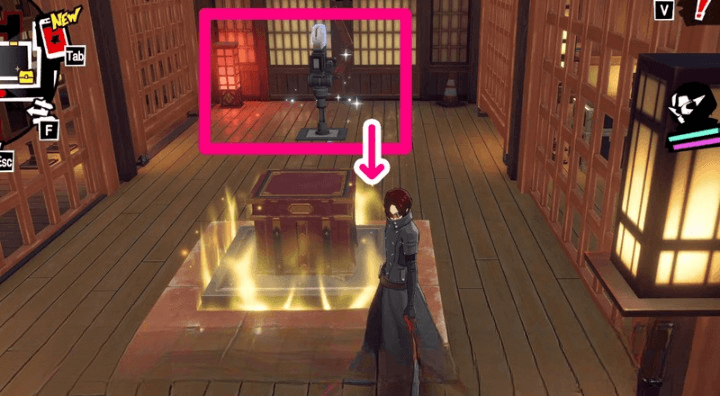
How to Fix the Broken Camera
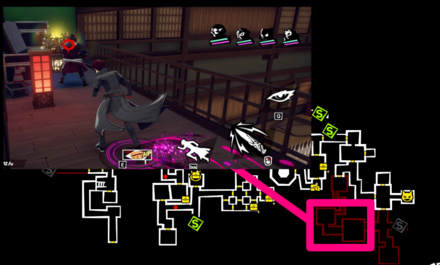
The camera at the bottom right of the map is blocked, but you can access it by defeating the shadow guarding it. Climb onto the platform and defeat the enemy in front of the treasure chest to access the camera.
The Larger, Yellow Switches Require a Larger Box
To activate the larger yellow switches, you will need to enlarge the boxes with the camera. This is apparent on the lower floors, so be on the lookout for a box and a camera whenever you see a large yellow switch.
Castle Keep Mid Level Puzzles
| Castle Keep Mid Level Puzzle Locations | |
|---|---|
 |
|
| 1 | Wooden Barriers Puzzle |
| 2 | Wooden Pillar Rail Puzzle |
Wooden Barriers Puzzle

When you open a new area with the Fire Talisman, you will encounter an area with Wooden Barriers. Use the switches in order to go through the next area.
Wooden Pillar Rail Puzzle
| Wooden Pillar Rail Puzzle Solution | |
|---|---|
 |
|
| 1 | On the north side of the room, use the grappling hook to ascend to the second floor. |
| 2 | Go to the side of the corridor where the camera is. Use the camera to make the switch appear. |
| 3 | Head to the other side of the room to use the switch. |
| 4 | Jump back to the puzzle. Activate the electrical switch, use the camera to open the door, and proceed to the next area. If you cannot find the electrical switch, use Third Eye to highlight it in yellow. It is behind a wooden pillar. |
This Puzzle is found on the southwest area in the second floor of the castle tower.
Miyazawa Palace Bosses
Palace Ruler - Shadow Miyazawa
Shadow Miyazawa is the final boss of the entire palace, and can only be fought after giving the Calling Card to Hiromu Miyazawa during the game's story.
His boss fight serves as the ending for Chapter 2, and the ending for the story in this palace. Be prepared to fight against this boss once you reach him!
Shadow Miyazawa Boss Fight Guide
Sub-Bosses
Within the depths of Miyazawa's Palace are sub-bosses which are more difficult that most of the Shadows you encounter.
Each one of them not only have higher levels in average compared to others, but they often have special conditions that players must consider during their respecitve fights.
| Sub-Bosses in Miyazawa's Palace | ||
|---|---|---|
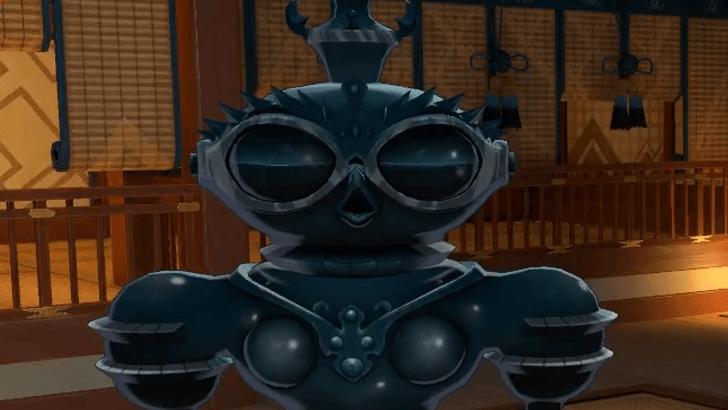
 Shiki-Ouji Shiki-Ouji |
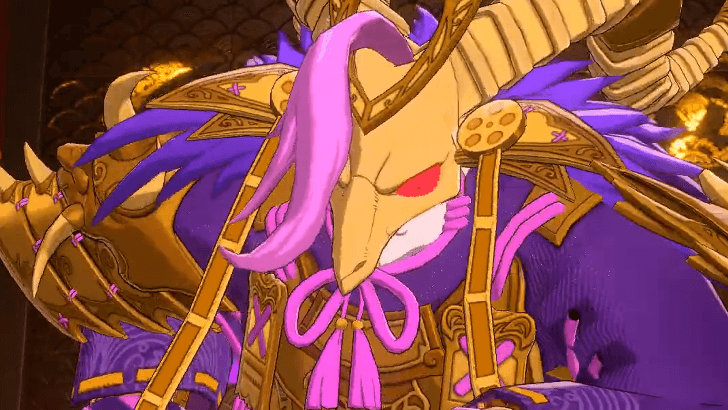
 Kikuri-Hime Kikuri-Hime |
 Arahabaki Arahabaki |
Persona 5: The Phantom X (P5X) Related Guides

All Story Palaces
| List of Story Palaces | |
|---|---|
| 1 | Kiuchi's Palace |
| 2 | Miyazawa's Palace |
| 3 | Katayama's Palace Akashi's Palace |
All Event Palaces
| List of Event Palaces | ||
|---|---|---|
| Palace | Event | |
| 1 | Castle in the Void | Take Your Heart |
| 2 | Museum Arc | Crossroads of Fate |
| 3 | Bank Arc | Crossroads of Fate |
| 4 | Pyramid Arc | Crossroads of Fate |
| 5 | Spaceport Arc | Crossroads of Fate |
Comment
Author

Miyazawa Palace Guide: All Puzzles Walkthrough
Rankings
- We could not find the message board you were looking for.
Gaming News


Popular Games

Genshin Impact Walkthrough & Guides Wiki
Umamusume: Pretty Derby Walkthrough & Guides Wiki
Crimson Desert Walkthrough & Guides Wiki
Monster Hunter Stories 3: Twisted Reflection Walkthrough & Guides Wiki
Honkai: Star Rail Walkthrough & Guides Wiki
Pokemon Pokopia Walkthrough & Guides Wiki
The Seven Deadly Sins: Origin Walkthrough & Guides Wiki
Wuthering Waves Walkthrough & Guides Wiki
Zenless Zone Zero Walkthrough & Guides Wiki
Arknights: Endfield Walkthrough & Guides Wiki


Recommended Games
Fire Emblem Heroes (FEH) Walkthrough & Guides Wiki
Diablo 4: Vessel of Hatred Walkthrough & Guides Wiki
Cyberpunk 2077: Ultimate Edition Walkthrough & Guides Wiki
Yu-Gi-Oh! Master Duel Walkthrough & Guides Wiki
Super Smash Bros. Ultimate Walkthrough & Guides Wiki
Pokemon Brilliant Diamond and Shining Pearl (BDSP) Walkthrough & Guides Wiki
Elden Ring Shadow of the Erdtree Walkthrough & Guides Wiki
Monster Hunter World Walkthrough & Guides Wiki
The Legend of Zelda: Tears of the Kingdom Walkthrough & Guides Wiki
Persona 3 Reload Walkthrough & Guides Wiki


All rights reserved
©Perfect World Adapted from Persona5 ©ATLUS. ©SEGA.
The copyrights of videos of games used in our content and other intellectual property rights belong to the provider of the game.
The contents we provide on this site were created personally by members of the Game8 editorial department.
We refuse the right to reuse or repost content taken without our permission such as data or images to other sites.