This survey will take about 1 minute.
Your answers will help us to improve our website.
Persona 5: The Phantom X (P5X)
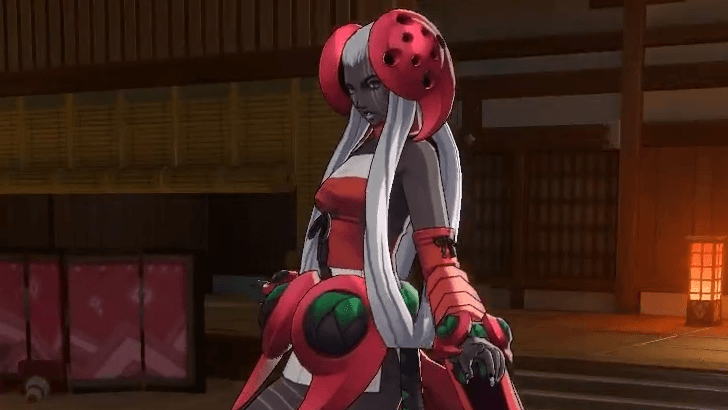
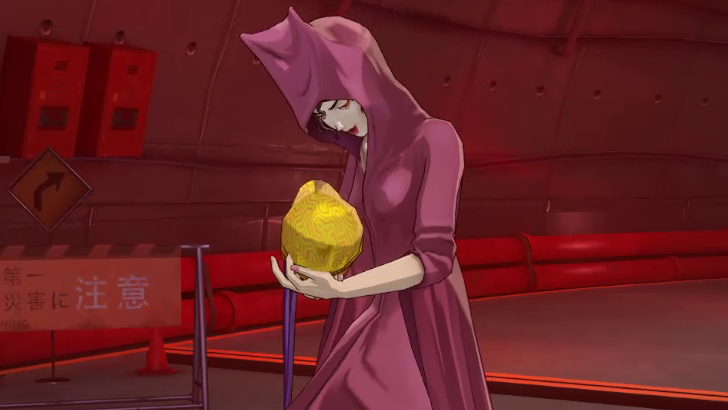
Shadow Katayama (Kiskil-lilla) Boss Fight Guide
★Version 3.3 is now live: Firecracker Rin | Banner
┗ Skill Cards | New Year's Light Banner | LNY Event
☆ Version 3.2.2 is now live: Matoi | Banner
┗ Throne | Entropy Banner | Take Your Love
★Tier Lists: Characters | Personas | Rerolls
☆Boards: Companio | Friends | Toy Trading
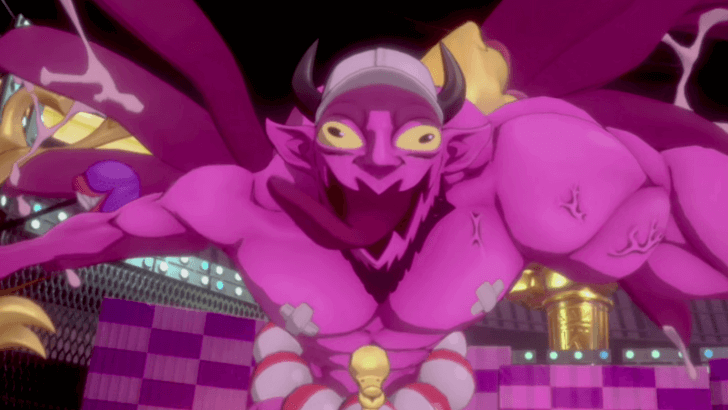
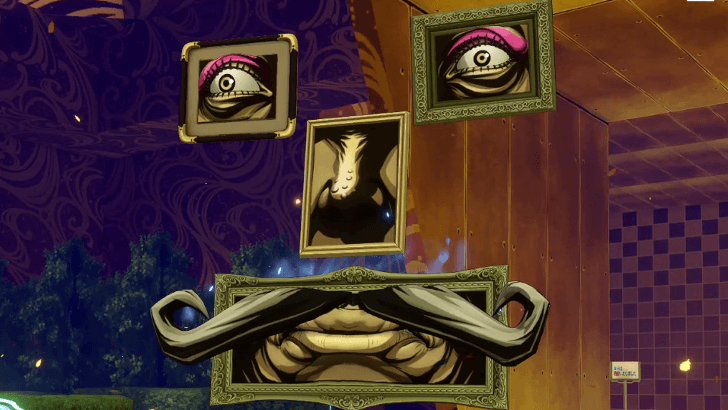
This is a guide to the boss fight in the Third Palace in Version 2.3 against Shadow Katayama, also known as Kiskil-lilla Katayama. Check out how to beat this boss and complete the Palace, including their resistances and phases of the fight, tips against this specific boss and the best team comp for this fight here!
List of Contents
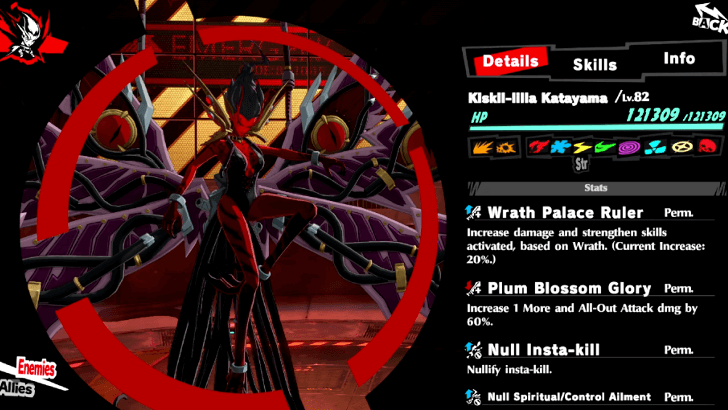
Shadow Katayama Boss Overview
Shadow Katayama Recommended Level
| Enemy Level | Lv. 82 |
|---|---|
| Recommended Level | Lv. 80 |
There is no Safer Recommended Levels for this boss fight, as at this point the player must have reached the Level cap for Wonder and his allies for a full team.
Leveling Guide: How to Level Up Fast
Shadow Katayama Weaknesses and Resistances
| - | Null | - | - |
| Resist | - | - | - |
| - | - | ||
How to Beat Shadow Katayama
| Shadow Katayama Phases |
|---|
|
|
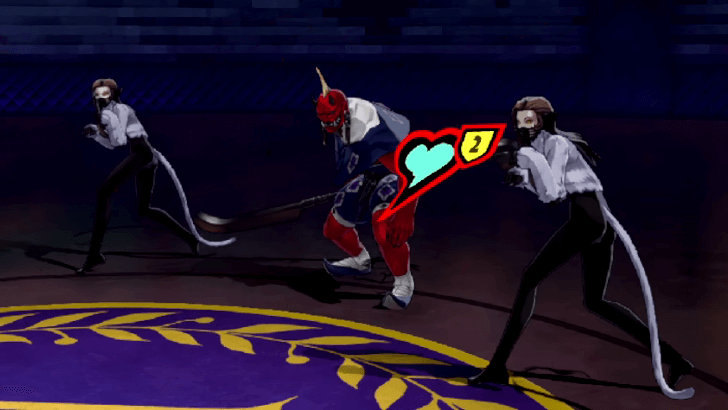
Phase 1
The first phase of the fight is simple enough; lower Kiskil-lilla Katayama's ATK to 0 for this phase. Dish out damage as much as you can!
Keep an Eye Out on Rage Bar
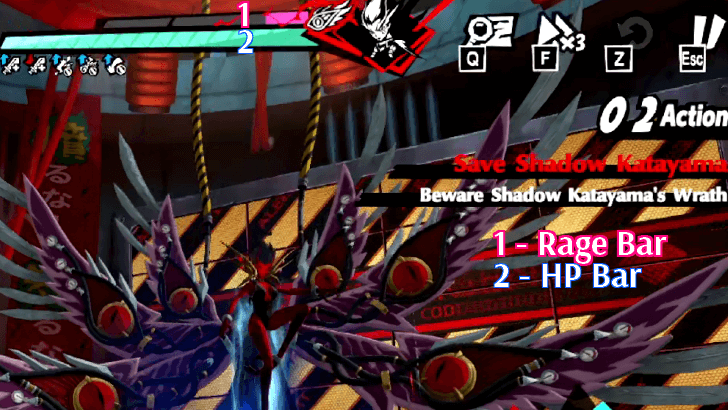
Hitting Katayama builds her rage, which determines which attack she will use and the power scale it uses. Players can check how much Rage has been built up by a special meter above her HP bar.
Try to avoid hitting her multiple times and go for one massive attack to lower Katayama's HP as fast as you can before she can deal damage to you!
Wings of Fury on Turn 0
At the very start of the boss fight, Shadow Katayama will fire Wings of Fury to one of your allies at Turn 00. Make sure to heal up the ally that got hit with this attack!
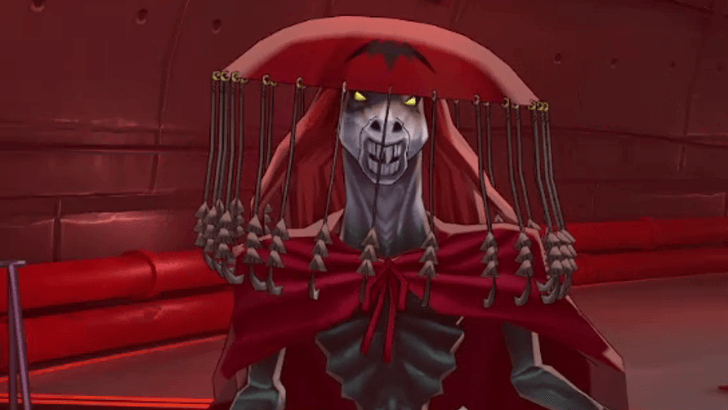
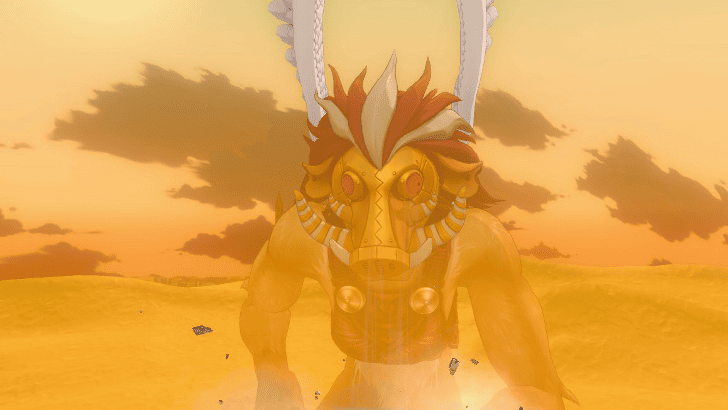
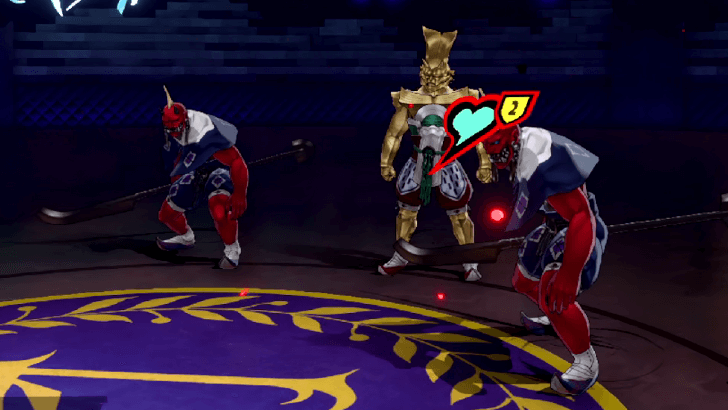
Phase 2 - Defense Position
Phase 2 begins when Kiskil-lilla Katayama curls her wings and mask towards herself. This drains her Rage bar for the next action cycle.
It is highly recommended you take the time to heal up the party, provide buffs to the team for both damage and defense, or just have the team Defend.
All Attacks are Nullified While in Defense Position
| Null | Null | Null | Null |
| Null | Null | Null | Null |
| Null | Null | ||
Even if you want to deal damage to Shadow Katayama while in Defense Position, you will not be able to damage her anyway. During this phase, she nullifies all types of damage to her.
Increased Rage After Leaving Defense Position
Take the wings stage as more of a DPS check for the boss fight. Right after Katayama leaves Defense Position in Phase 2, she gets a noticeable increase in her Rage Bar. This will make her attacks hit harder, so be careful.
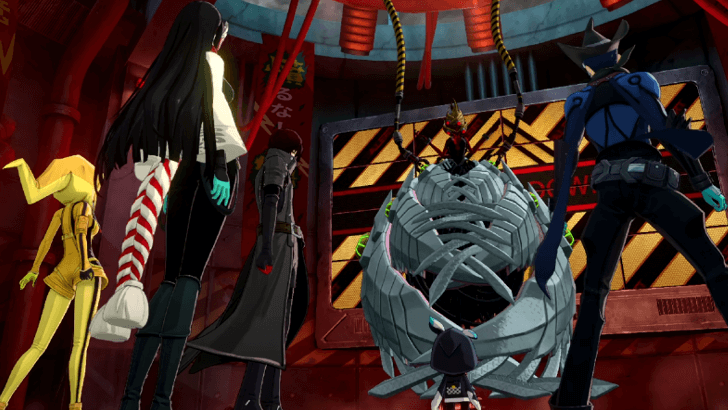
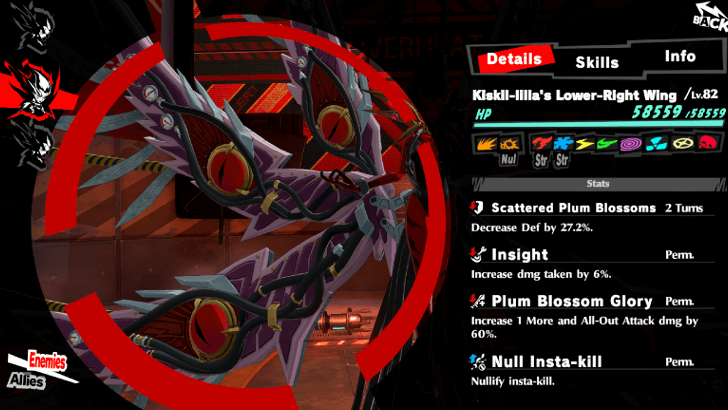
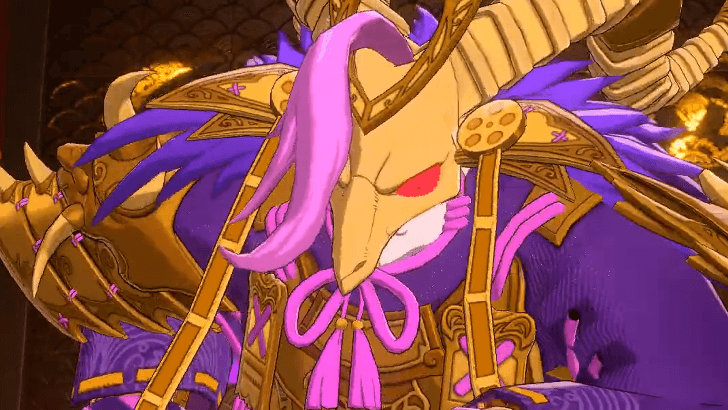
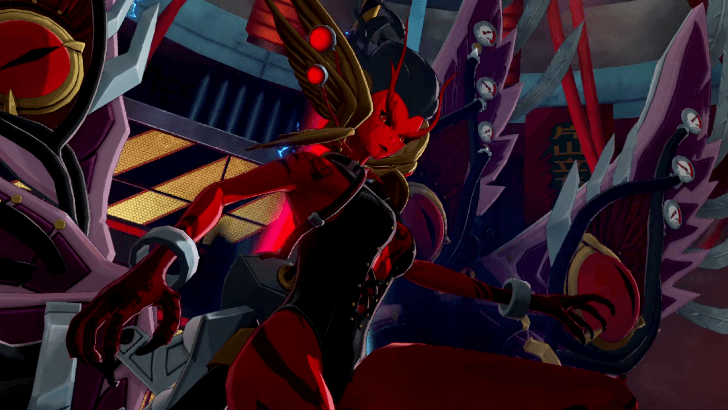
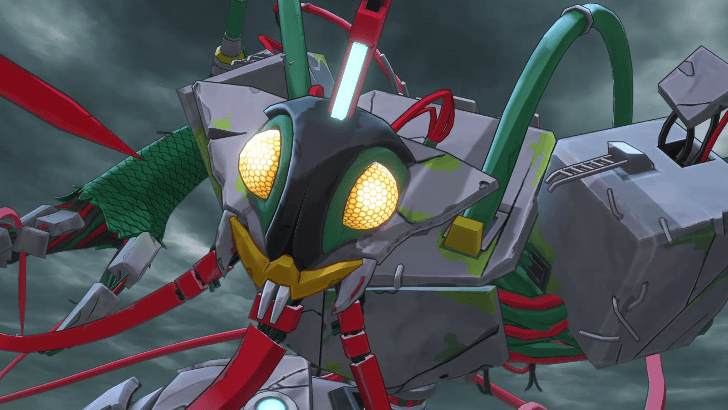
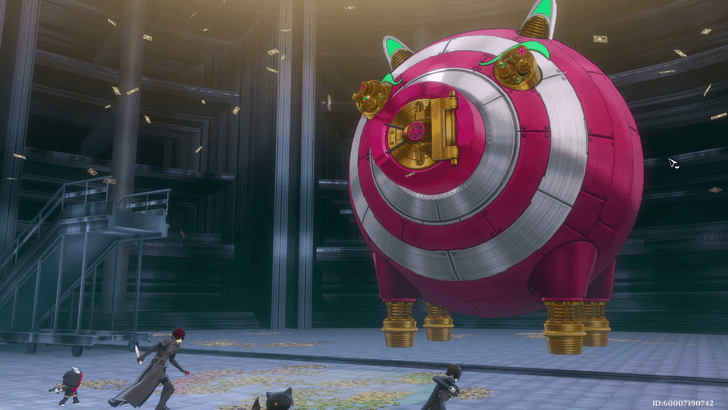
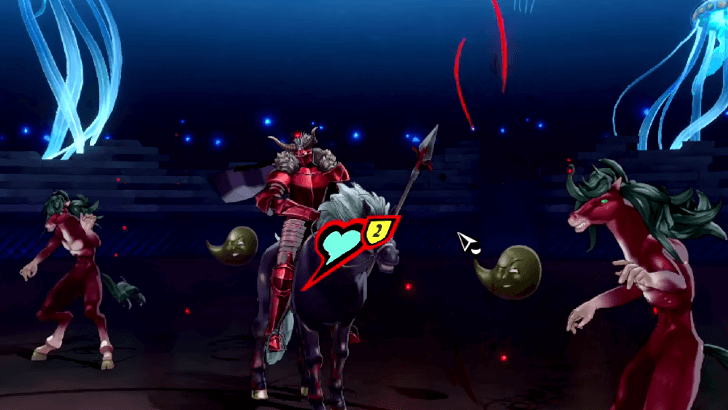
Phase 3 - Take Out Lower Wings
Phase 3 begins after she unfurls from Defense Position a second time. Players would notice that she now has Guard Dogs flanking her on each side, though they are not targetable enemies.
Lower-Left Wing
Lower-Right Wing
| | | | |
|---|---|---|---|
| - | Null | - | - |
| | | | |
| Resist | Resist | - | - |
| | | ||
| - | - | ||
| | | | |
|---|---|---|---|
| - | Null | Resist | Resist |
| | | | |
| - | - | - | - |
| | | ||
| - | - | ||
Instead, the targets are the two wings on each side. Each of the wings have their own pair of resistances on top of being immune to Gun damage, so keep that in mind when attacking.
Phase 4 - Take Out Upper Wings
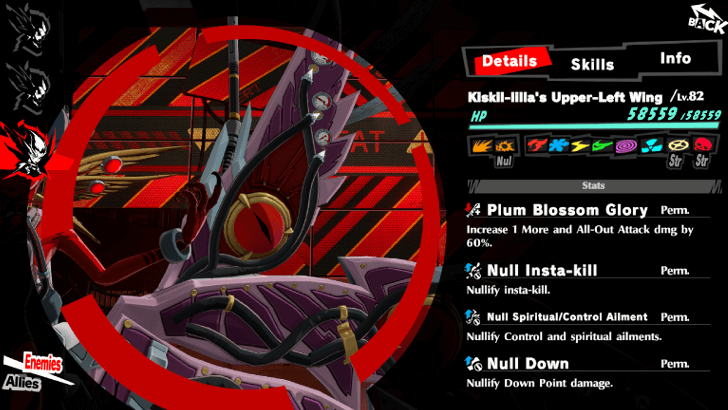
Phase 4 is basically the same as Phase 3, albeit focusing on the Upper Wings instead. Same principles apply; this is still a DPS check while keeping an eye out for Katayama's Rage Meter.
Upper-Left Wing
Upper-Right Wing
| | | | |
|---|---|---|---|
| - | Null | - | - |
| | | | |
| - | - | - | - |
| | | ||
| Resist | Resist | ||
| | | | |
|---|---|---|---|
| - | Null | - | - |
| | | | |
| - | - | Resist | Resist |
| | | ||
| - | - | ||
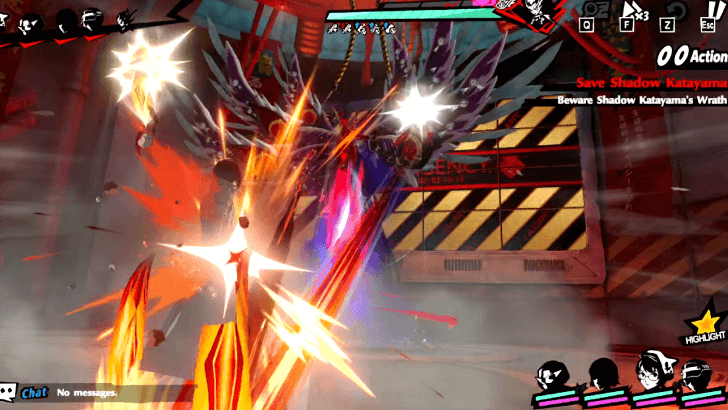
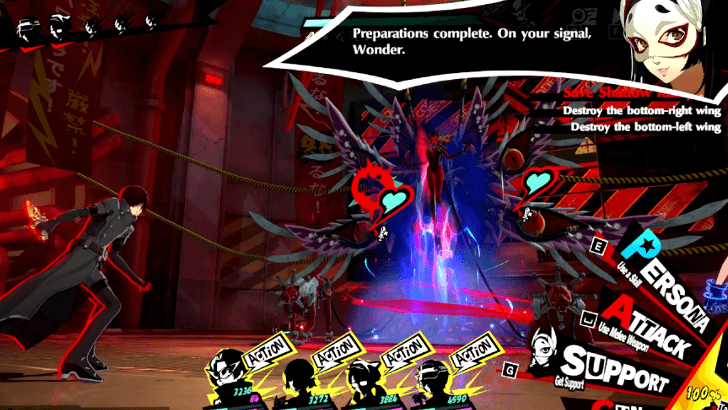
End The Fight with Wind's All-Out Attack
Once you take out Shadow Katayama's wings, an All-Out Attack prompt will appear after some short dialogue featuring Wind to finish the boss fight!
Shadow Katayama's Attacks
| Notable Attacks from Kiskil-lilla Katayama |
|---|
|
Wings of Fury
Deal severe Physical damage to 1 foe. Available starting on Phase 1. |
|
Guidance of the Frenzied
Deal severe Electric damage to all enemies. Available starting on Phase 1. |
|
Thunderous Rage
Deals heavy Electric damage to all fows. Available starting on Phase 3. |
|
Gigantomachia
Deal severe Physical damage to all enemies. Available starting on Phase 3 with Full Rage Bar. |
|
Wild Roar
Deal severe Electric damage to all enemies. Available starting on Phase 3. |
Best Team Composition and Personas vs. Shadow Katayama
| Best Team Comps |
|---|
|
|
Bless Team w/ Makoto
| Recommended Personas for Wonder | |||
|---|---|---|---|
★★★★★ Yoshitsune Yoshitsune
|
★★★★★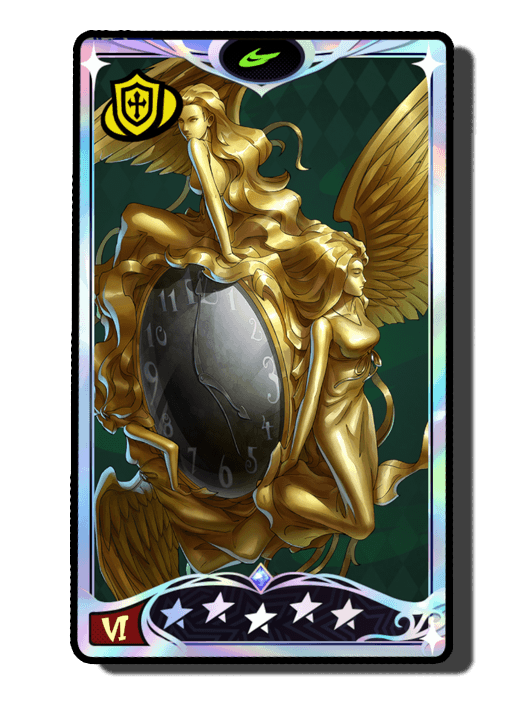 Norn Norn
|
★★★★★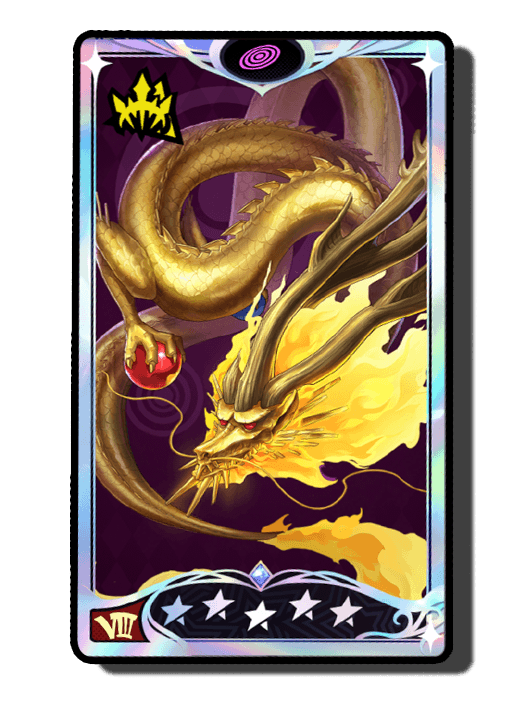 Kohryu Kohryu
|
★★★★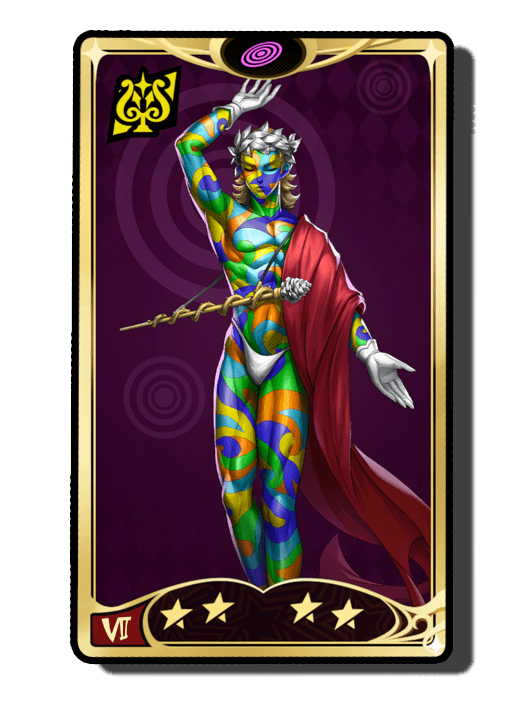 Dionysus Dionysus
|
| Party Composition | |||
 S. Closer S. Closer
|
 Marian Marian
|
 Queen Queen
|
 Wind Wind
|
Due to how hard Shadow Katayama hits in some of her attacks, especially when she uses a Buff skill before attacking like Tarukaja or Heat Riser, you will often find your team on low HP even after one attack if her Rage Bar is high. Even her Turn 0 Wings of Fury will drop Wonder down to a fraction of his HP upon getting hit.
Fortunately, two of the best characters in the game right now were available in previous patches. If you managed to have Summer Closer and Marian in your account, it should not be that hard to keep everyone alive.
As for damage dealers, Queen still stands tall as the single best DPS in the entire game as of writing; she will only hit harder once Wind uses her skills to make Shadow Katayama take more damage.
Summer Team w/ Chord
| Recommended Personas for Wonder | |||
|---|---|---|---|
|
★★★★★Yoshitsune
|
★★★★★Norn
|
★★★★★Kohryu
|
★★★★Dionysus
|
| Party Composition | |||
|
S. Closer
|
 S. Moko S. Moko
|
 Chord Chord
|
Wind
|
Managing to pull both Summer variants of Moko and Closer should help you survive the onslaught of Shadow Katayama's attacks. Just make sure to keep an eye out for Moko's HP, as she's the frailest among the entire team; a particularly strong attack from the boss will bring her HP from 100 to 0 before you even realize it.
With Seaside Tomoko taking the reins as Medic, this gives Wonder the chance to be a DPS alongside Summer Closer. Wind remains essential for this fight against the DPS checks, and Chord enables the use of Highlights much faster than other teams.
F2P Team
| Recommended Personas for Wonder | |||
|---|---|---|---|
|
★★★★★Yoshitsune
|
★★★★★Norn
|
★★★★★Kohryu
|
★★★★Dionysus
|
| Party Composition | |||
 Skull Skull
|
 Mont Mont
|
Marian
|
 Puppet Puppet
|
If you have the unfortunate luck of not getting any of the premiere Phantom Thieves in your roster, you can make do with what you have. Skull and Mont are your best options as a DPS unit here. At the very least, try to get Marian while she is still on rate-up.
Puppet will be the best among the 4-star Elucidators due to her shield-stacking playstyle. It should be enough to mitigate the damage taken from Shadow Katayama, especially when she unleashes Gigantomachina.
General Tips for Shadow Katayama Boss Fight
| General Tips Against Shadow Miyazawa |
|---|
|
|
Level Up to Level 80
Due to this being the Third Palace already, players must already have a full team of Phantom Thieves at Level 80, with leveled up weapons and Revelation Cards equipped to each one with optimal sets.
Make sure that your team is as prepared and equipped for the occasion as they can be. Shadow Katayama hits much harder than any enemy before Version 2.3.
Leveling Guide: How to Level Up Fast
Adjust Your Team Before Fighting Shadow Katayama
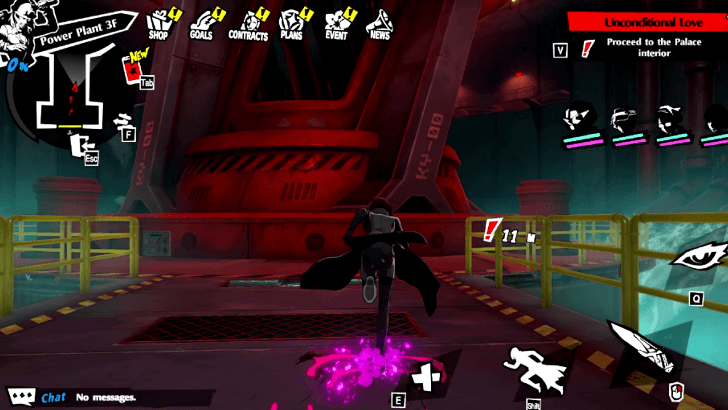
Compared to Shadow Kiuchi and Shadow Miyazawa before their boss fights, there is no party adjustment section before heading into battle. Once you grapple hook from the final room in Power Plant 3F, it will immediately go into the boss fight after cutscenes.
Stock Up on SP Recovery Items
Due to how hard the boss hits with her attacks throughout the 4 phases, it is highly recommended to bring some HP recovery items on top of your Medic teammates to use. Consider it a contingency plan going into the boss fight.
Equip and Level Revelation Cards
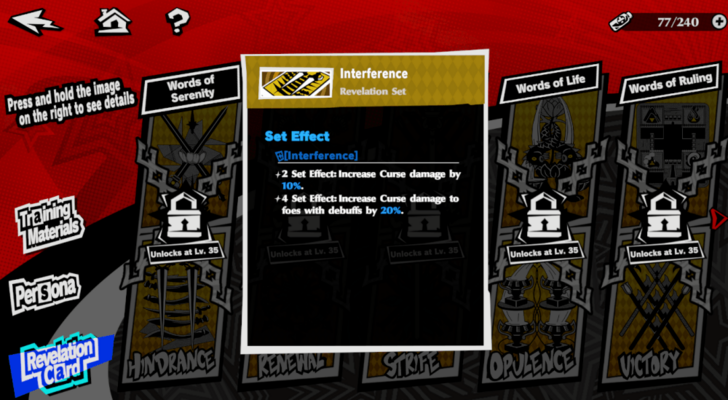
At this point in the game, players must have a couple of Revelation Cards equipped to each of the Phantom Thieves, all leveled up to their maximum. The added stats from the main stat and substats will be of great help for damage checks and tanking damage.
Check Your Team Formation
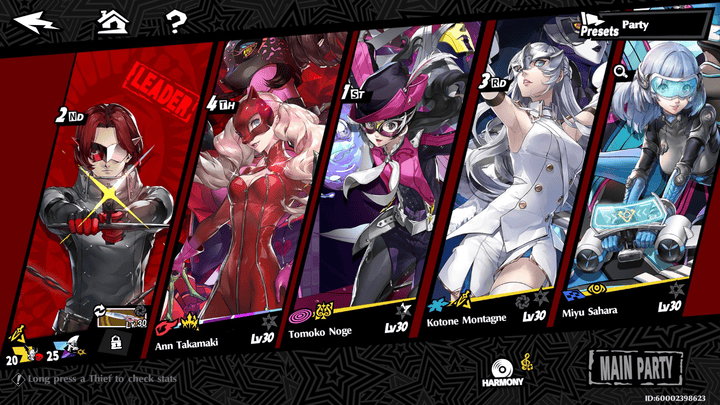
Before you head into the fight, remember to adjust your team comp properly as well as their turn order! The game will even bring you to the Team screen just before the boss fight properly begins.
Make sure to bring the right people for the job. Otherwise, the fight will be a lot harder before you realize you are using the wrong team.
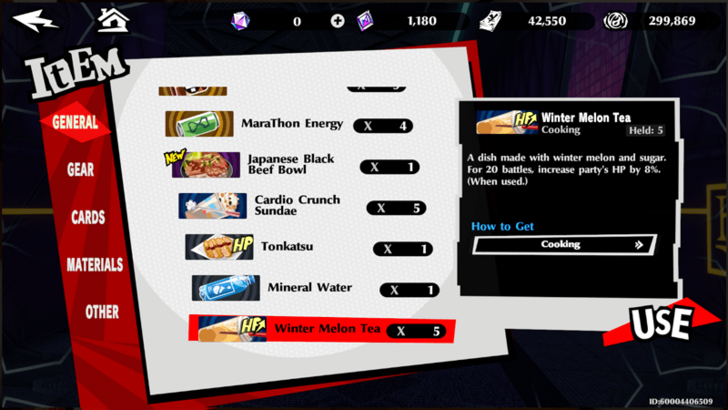
Activate Food Buffs
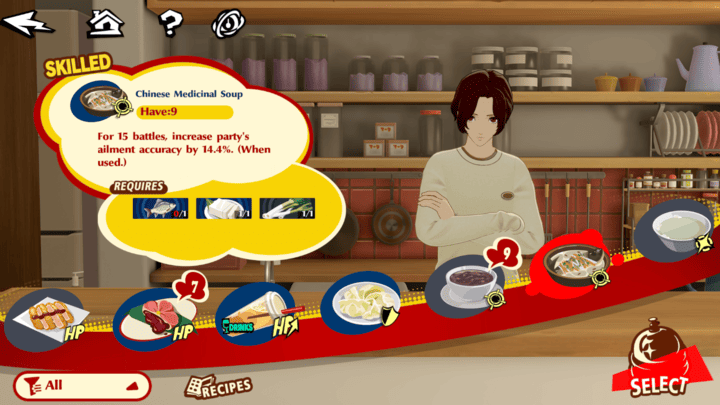
Before you go into the fight, you could consume some of the home cooking Wonder makes in the kitchen. The food he makes will grant the team some buffs that will last for a certain number of battles. These include boss fights like in the Palace or in Mementos!
Cooking Guide: Best Food Recipes
Persona 5: The Phantom X Related Guides
All Palace Bosses
| All Bosses in Kiuchi's Palace | |
|---|---|
 Shadow Kiuchi Shadow Kiuchi |
|
| All Bosses in Miyazaki's Palace | |
 Shadow Miyazawa Shadow Miyazawa |
 Shiki-Ouji Shiki-Ouji |
 Kikuri-Hime Kikuri-Hime |
 Arahabaki Arahabaki |
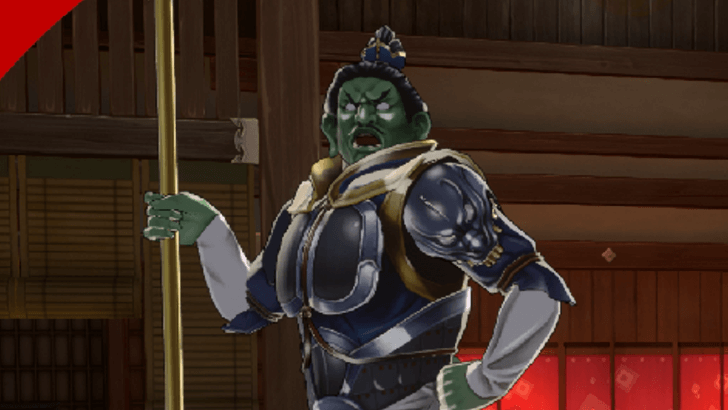 Zouchouten Zouchouten |
- |
| Bosses in Shadow Katayama's Palace | |
 Shadow Katayama Shadow Katayama |
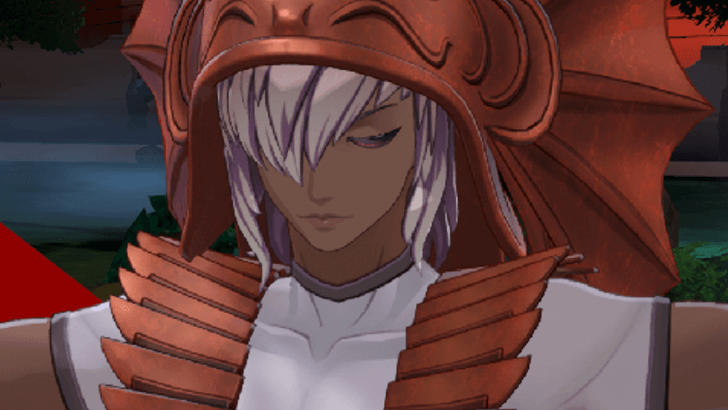
 Hariti Hariti |
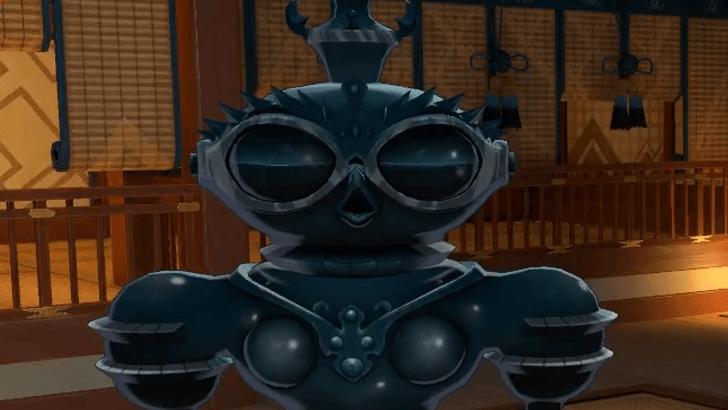
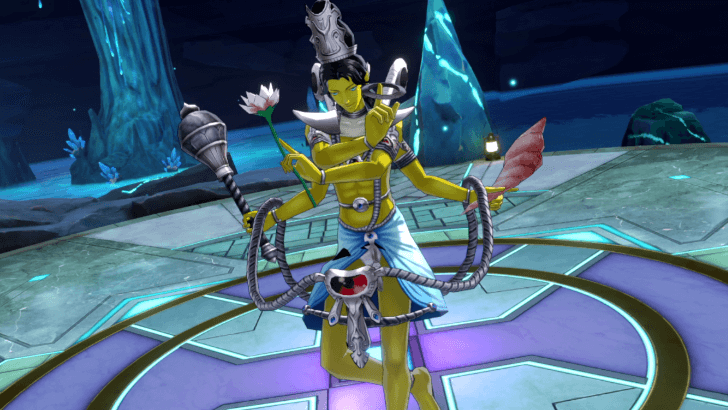
 Kumbhanda Kumbhanda |
- |
| All Bosses in Akashi's Palace | |
 Shadow Akashi Shadow Akashi |
|
| All Palace Event Bosses | |
 Raga (Shadow Kamoshida) Raga (Shadow Kamoshida) |
 Dvesha (Shadow Madarame) Dvesha (Shadow Madarame) |
 Irshya (Shadow Kaneshiro) Irshya (Shadow Kaneshiro) |
 Moha (Shadow Wakaba) Moha (Shadow Wakaba) |
 Avidya (Shadow Okumura) Avidya (Shadow Okumura) |
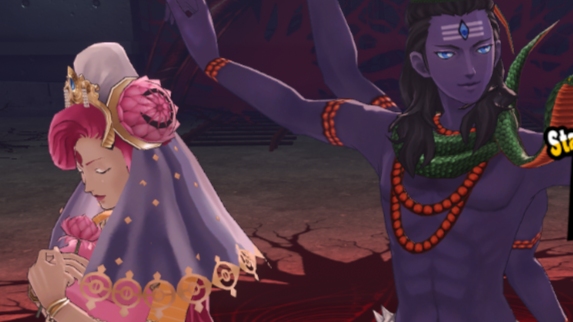 Shiva and Parvati Boss Shiva and Parvati Boss |
All Mementos Bosses
| Location | Boss |
|---|---|
| Path of Qimranut Area 3 | 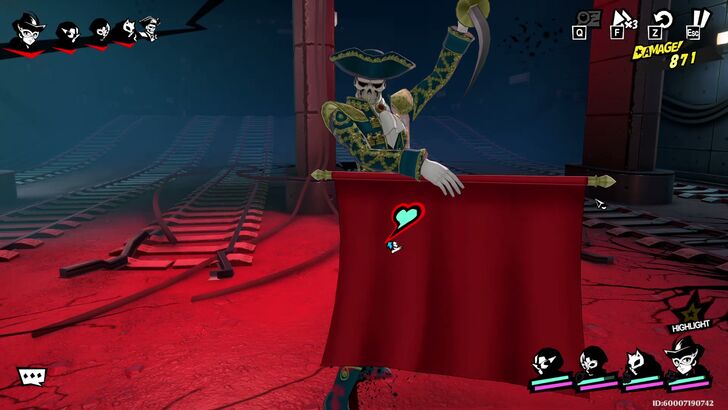 Matador Matador |
| Path of Qimranut Area 3 |  Ongyo-Ki Ongyo-Ki |
| Path of Aiyatsbus Area 4 | 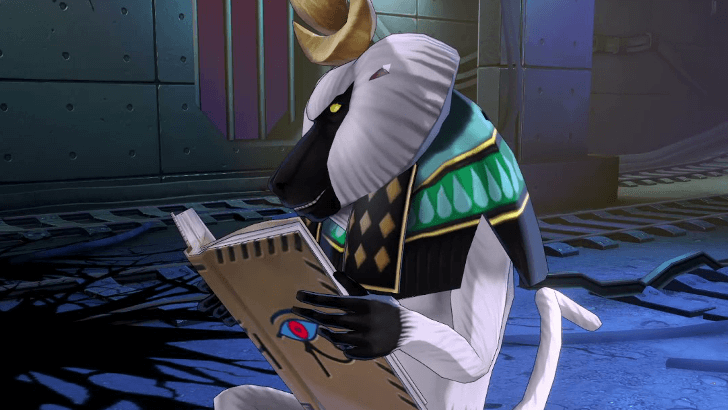 Thoth Thoth |
| Path of Chemdah Area 3 | 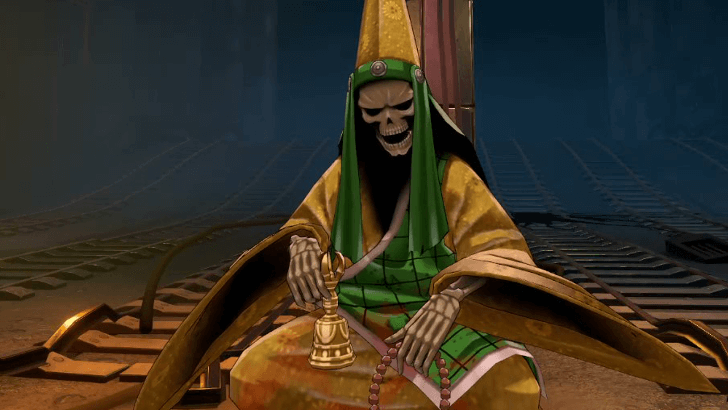 Daisoujou Daisoujou |
| Path of Chemdah Area 3 |  Trumpeter Trumpeter |
Active Nightmare's Gateways
| All Gates of the Nightmare Catcher Bosses | |
|---|---|
 Baal Baal |
 Vishnu Vishnu |
Active Trials from the Sea of Souls
| All Trials from the Sea of Souls | |
|---|---|
 Northern Dig Site Northern Dig Site |
 Eastern Construction Site Eastern Construction Site |
 Western Work Site Western Work Site |
 Control Center Control Center |
Comment
Author

Shadow Katayama (Kiskil-lilla) Boss Fight Guide
Please participate in our site
improvement survey
04/2026
improvement survey
04/2026
Would you assist in
improving Game8's site?
improving Game8's site?

×
We are listening to our users' valuable opinions and discussing how to act on them.
The information collected through this survey will be used for the purpose of improving our services. In addition, the information will only be disclosed a part of a statistic in a format that will not allow identification of personal information.
Begin Survey
Not Now
×
Please rate each item regarding Game8.co's Advertisements.
Amount of Ads
Very Dissatisfied
Somewhat Dissatisfied
Fine
Somewhat Satisfied
Highly Satisfied
Placement of Ads
Timing of Ad Display
Ad Loading Speed
Safeness of Ads
Content of Ads
×
Please rate each item regarding Game8.co's Quality of Articles.
Amount of information
Very Dissatisfied
Somewhat Dissatisfied
Fine
Somewhat Satisfied
Highly Satisfied
Frequency of updates
Speed of new information
Accuracy of articles
Understandibility of articles
Readability of sentences
×
Please rate each item regarding Game8.co's Usability of the Site.
Ease of finding information
Very Dissatisfied
Somewhat Dissatisfied
Fine
Somewhat Satisfied
Highly Satisfied
Loading Speed
Use of Color
Font Size
Visibility of Images
Easy to Understand Layout
×
Please rate each item regarding Game8.co's Message Boards, Comments.
Ease of Writing
Very Dissatisfied
Somewhat Dissatisfied
Fine
Somewhat Satisfied
Highly Satisfied
Readability
Ease in Finding Information
Comment Quality
Comment Quantity
Admin Response
×
Please rate each item regarding Game8.co's Site's new design.
Please rate our site's new design
Very Dissatisfied
Somewhat Dissatisfied
Fine
Somewhat Satisfied
Highly Satisfied
Do you think that the website's design change makes the site easier to use?
Has the new design made it easier for you to find information on the site?
Has the new design improved the overall visual appeal of the site?
How would you rate your overall satisfaction with the new design of the site?
×
How likely are you to recommend Game8 to someone you know?
Very Unlikely
0
1
2
3
4
5
6
7
8
9
10
Very Likely
If you have other opinions regarding potential improvement to the website, please share them with us. We would appreciate your honest opinion.
Note: This is a free response section, so you can proceed without entering anything.
Note: Please be sure not to enter any kind of personal information into your response.
Note: Please be sure not to enter any kind of personal information into your response.
×
Thank You
×
Thank you for participating in our survey! Your answers will help us to improve the quality of our website and services.
We hope you continue to make use of Game8.
We hope you continue to make use of Game8.
Close
Rankings
- We could not find the message board you were looking for.
Gaming News


![Forza Horizon 6 Review [Preview] | Beautiful Roads With a Whole Lot of Oversteer](https://img.game8.co/4460981/a7254c24945c43fbdf6ad9bea52b5ce9.png/thumb)
![Borderlands Mobile Review [Playtest] | The Same Borderlands Made Easy](https://img.game8.co/4465500/aac0c880a39ec5cd46073e49d18f3ed5.png/thumb)
Popular Games

Genshin Impact Walkthrough & Guides Wiki
Crimson Desert Walkthrough & Guides Wiki
Umamusume: Pretty Derby Walkthrough & Guides Wiki
Honkai: Star Rail Walkthrough & Guides Wiki
Monster Hunter Stories 3: Twisted Reflection Walkthrough & Guides Wiki
Wuthering Waves Walkthrough & Guides Wiki
The Seven Deadly Sins: Origin Walkthrough & Guides Wiki
Pokemon TCG Pocket (PTCGP) Strategies & Guides Wiki
Pokemon Pokopia Walkthrough & Guides Wiki
Zenless Zone Zero Walkthrough & Guides Wiki


Recommended Games
Fire Emblem Heroes (FEH) Walkthrough & Guides Wiki
Pokemon Brilliant Diamond and Shining Pearl (BDSP) Walkthrough & Guides Wiki
Super Smash Bros. Ultimate Walkthrough & Guides Wiki
Diablo 4: Vessel of Hatred Walkthrough & Guides Wiki
Cyberpunk 2077: Ultimate Edition Walkthrough & Guides Wiki
Yu-Gi-Oh! Master Duel Walkthrough & Guides Wiki
Elden Ring Shadow of the Erdtree Walkthrough & Guides Wiki
Monster Hunter World Walkthrough & Guides Wiki
The Legend of Zelda: Tears of the Kingdom Walkthrough & Guides Wiki
Persona 3 Reload Walkthrough & Guides Wiki


All rights reserved
©Perfect World Adapted from Persona5 ©ATLUS. ©SEGA.
The copyrights of videos of games used in our content and other intellectual property rights belong to the provider of the game.
The contents we provide on this site were created personally by members of the Game8 editorial department.
We refuse the right to reuse or repost content taken without our permission such as data or images to other sites.