The Mountain Region Summary and List of Collectibles
▶︎ Check out the Best Builds and Recommended Skills for Kratos!
✫ Farming Guides: How to Level Up and Farm EXP, Money, and Mist Echoes
▶︎ Master the Trials of Muspelheim!
★ Done with God of War? Game8's God of War Ragnarok wiki is now live!
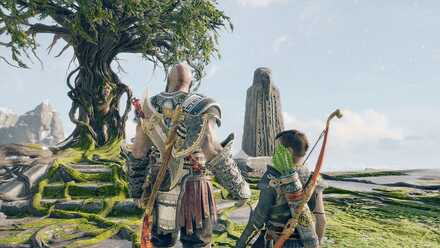
Track your completion rate and all collectibles in The Mountain with The Mountain Region Summary for God of War (2018). Find out what items are still undiscovered and their location in The Mountain region!
List of Contents
The Mountain Region Summary

The Mountain is one of the major regions in the game and a key area of your journey. Its entrance is initially obstructed by the Black Breath, which you can only dispel once you have obtained the Bifrost and infuse it with the Light of Alfheim.
| The Mountain Summary | |
|---|---|
| Artifacts | 6 |
| Mystic Gateways | 2 |
| Shops | 3 |
| Lore Markers | 7 |
| Odin's Ravens | 4 |
| Valkyries | 1 |
| Nornir Chests | 2 |
| Legendary Chests | 3 |
| Realm Tear Encounters | 1 |
Realm and Region Summaries and List of Collectibles
The Mountain Artifact Locations
Artifact #1
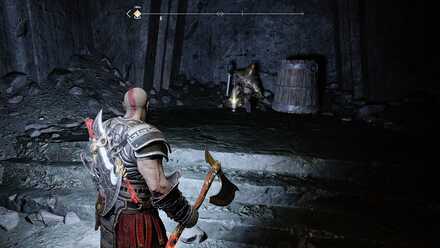
Found in a hidden room in the area after the deer puzzle. This artifact is part of the Bottoms Up set.
| 1 | 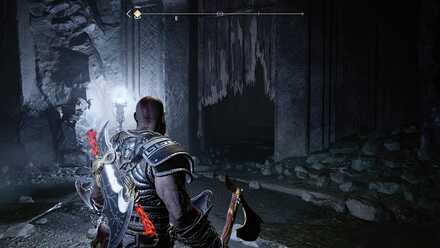 The room is covered by a wooden barricade next to one of the small light crystals. |
|---|
Artifact #2
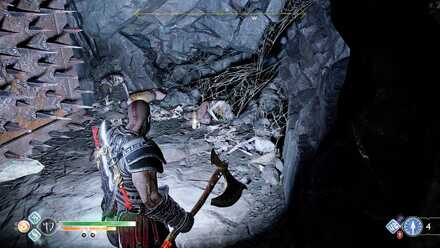
The artifact is found in a small room behind a spiked wall near the cave shaft. This is the second artifact for the Bottoms Up set.
| 1 | 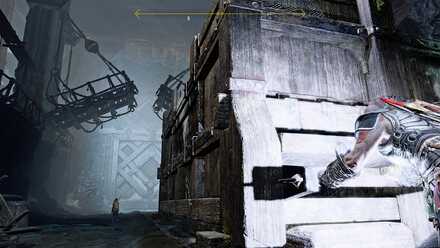 Try to move the mine cart and you will find out that it's still attached to the dead creature. Break the lock to move the cart further. |
|---|---|
| 2 | 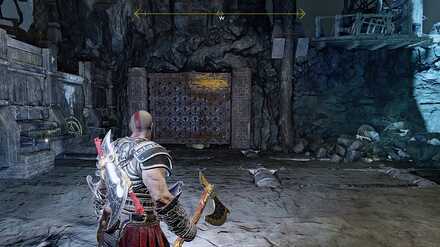 Push the cart toward the gate and you will spot a spiked wall on your right. Throw your axe at the wooden part of the wall to reveal a small room with the artifact inside. |
Artifact #3
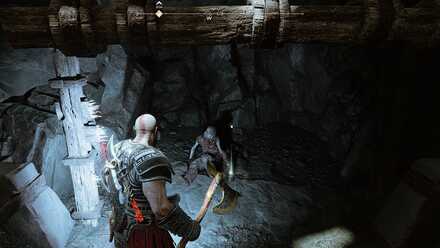
After defeating Hraezlyr, follow the path on your left and climb the wooden ledges. Once at the top, you'll spot a large shatter crystal on the far end of the platform which you can pop using a Shock Arrow. Clearing the tree sap will also reveal a small hole behind with the third artifact inside.
| 1 | 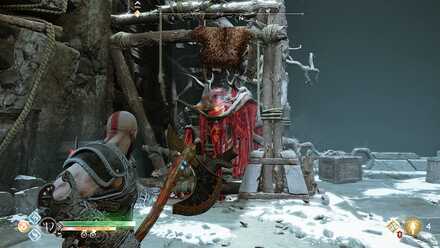 Clearing the tree sap in this room is required to progress through the story. After the first explosion, the wooden barricade covering the hole will be destroyed as well. You can also spot the artifact while raising the metal bucket so it's not that easy to miss. |
|---|
Artifact #4
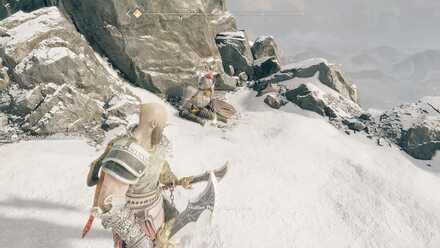
At the summit, go left past the wall with the hel bramble and look on your left to see a warrior's corpse holding this artifact.
Artifact #5
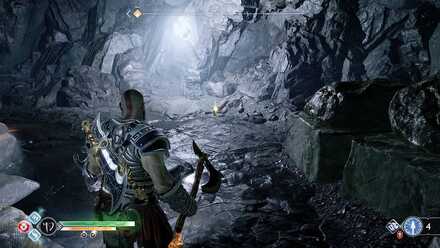
Once you reach the main cave shaft during Return to the Summit, turn left to find a wall of sap. Behind the wall is a room containing a red coffin and one of the artifacts from the Bottoms Up set.
| 1 | 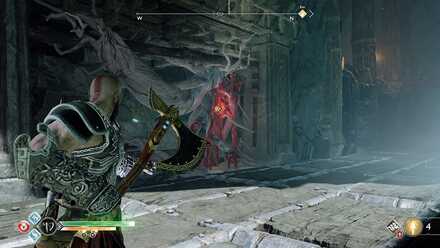 Right passing through the gate, look on your left and shoot the shatter crystal with a Shock Arrow to clear the sap. |
|---|
Artifact #6
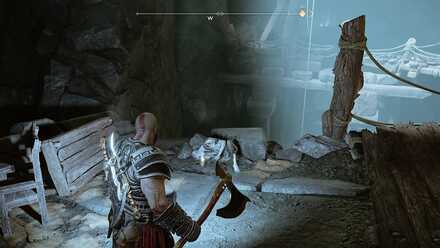
Also during your second trip through the Mountain, keep following the objective markers until you reach a room with the Frost Ancient. As you head to the next area, you'll find a scroll and a corpse on the ground. Grab the artifact from the corpse to complete the Bottoms Up set.
List of Artifacts and Locations
The Mountain Mystic Gateway Locations
Mystic Gateway #1
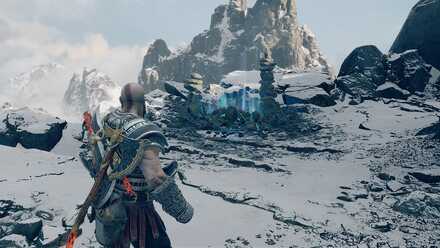
The first mystic gateway that you'll unlock in this region is at the summit. On your first meeting with Mimir, go down the path on your right and you'll see this gateway at the end. This saves you the time and effort to go down the Mountain to your next destination.
Mystic Gateway #2
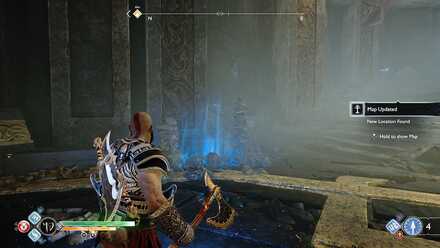
You can only find the next mystic gateway once you have a piece of the Magic Chisel since it is found on the lower floor of the region's Hidden Chamber of Odin, located on the east side of the main cave shaft. The gateway is inside the room just before the arena.
The Mountain Shop Locations
Shop #1
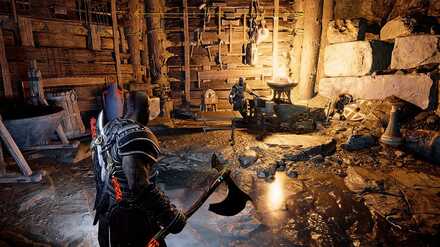
The first time you interact with the mechanism that moves the giant claw, a tunnel will be revealed where a few Draugr will crawl out of. Go to the other side of the tunnel and you will find Brok's shop on your left.
Shop #2
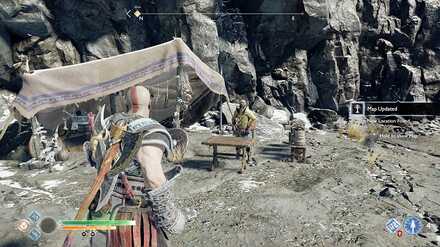
Sindri's shop in the Mountain is unlocked right after slaying Hraezlyr and obtaining the Shock Arrows for Atreus.
Shop #3
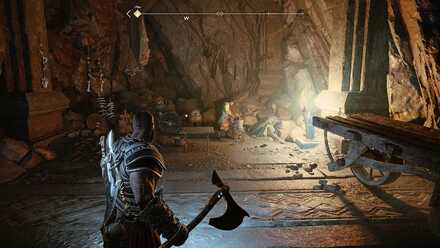
Sindri's other shop can be found during your return to the summit. The shop is in the area past where you fought the Frost Ancient.
The Mountain Lore Marker Locations
Lore Marker #1
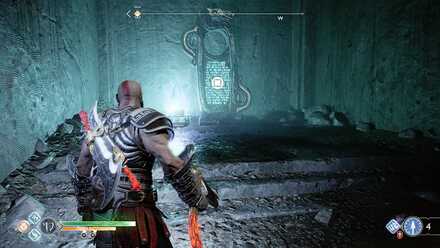
Before you cross the light bridge leading to the first Nornir chest, you'll find a detached light crystal on your right. Carry it to the room left of the Nornir chest and place it on the holder. Light the crystal so you can read the lore marker.
Lore Marker #2
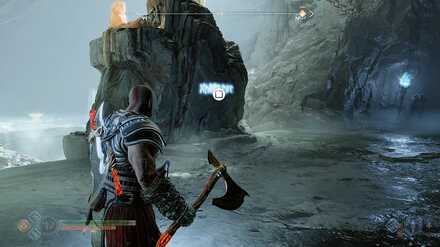
The second lore marker is written behind the giant deer statue, which you can reach by crawling through a small tunnel past the area where you fought a Summoner Revenant.
Lore Marker #3
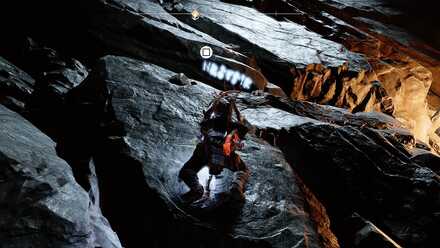
After you pass by the deer statue, enter the next room, climb the stone wall, and you will find this lore marker written on a rock as you go.
Lore Marker #4
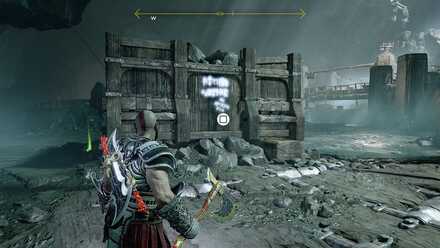
Go to the east side of the cave shaft where you find a giant claw and look for a mine cart with this lore marker written on one of its sides.
Lore Marker #5
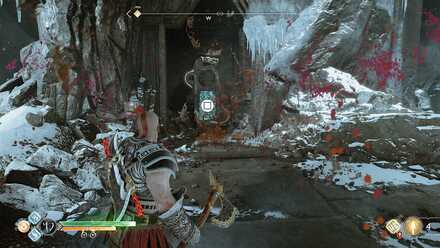
After defeating Hraezlyr, enter the tunnel on your left and follow the path until you reach a Nornir chest. Lower the bridge using the nearby shatter crystal. Before you go up, take another crystal and use it to clear the sap covering the lore marker at the top.
Lore Marker #6
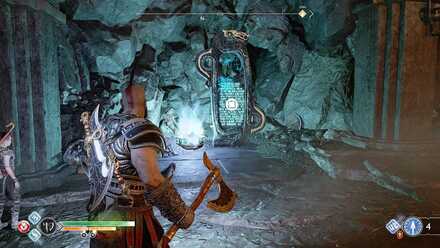
During your second trip to the Mountain, go to the room where you solved the deer puzzle then take the left path. Pop the shatter crystal to clear the sap and find a lore marker inside the tunnel.
| 1 | 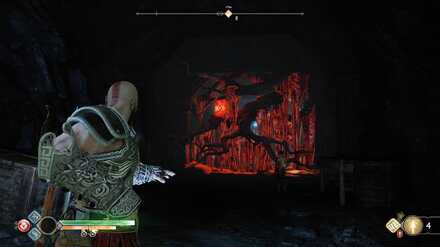 Shoot the shatter crystal with a Shock Arrow to destroy the sap covering the tunnel. |
|---|---|
| 2 | 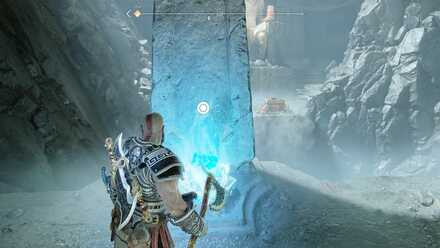 Go back to the previous room and take one of the light crystals. Carry and place it on the holder beside the lore marker and shoot it with a Light Arrow. |
Lore Marker #7
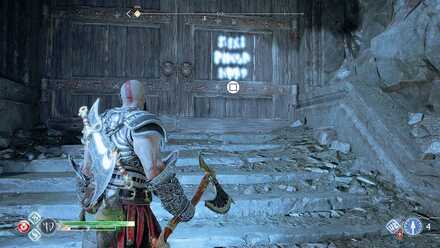
Burn the Hel's bramble on the east side of the main cave shaft and take the elevator up. Upon reaching the next area, check one of the corners to find a hole where Atreus can fit so he can drop the nearby chain below. Climb the chain and examine the last lore marker on the door ahead, which will also release an Ogre.
The Mountain Odin's Raven Locations
Odin's Raven #1
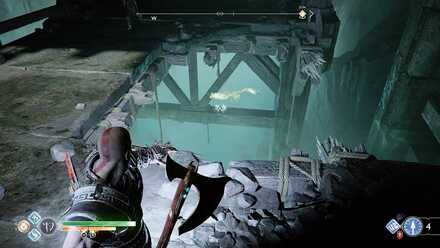
In the area after the deer puzzle where you get attacked by a Summoner Revenant, look under the bridge from the gap and you'll find a raven.
Odin's Raven #2
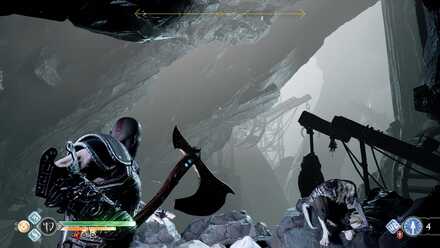
Enter the tunnel north of the cave shaft area (the one revealed after interacting with the giant claw for the first time) to find Brok's shop. Look in front of his shop and you can find a raven circling above the chasm.
Odin's Raven #3
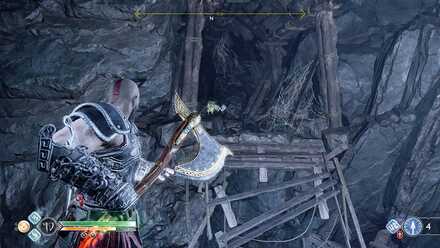
In the room past Brok's shop, you'll find the mine cart that you need to push over to the next. You'll also find a bridge above the cart that you can lower to reach half of the upper area. The raven is found sitting on the rocks just before you cross the second bridge.
| 1 | 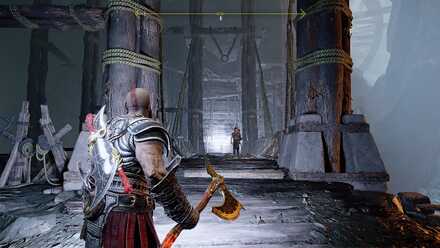 Before you open the large gate ahead, break the locks holding the bridges and go to the other side. Follow the path until you find the raven. |
|---|
Odin's Raven #4
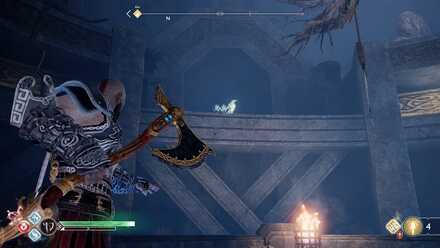
The last raven in the region is inside the Hidden Chamber of Odin. Take the lift down and once you reach the arena, look on your left to find the raven hopping on a stone beam.
The Mountain Valkyrie Locations
Eir

Valkyrie Eir is found inside the Hidden Chamber of Odin in the Mountain. The chamber itself is located on the east side of the large cave shaft room, where you found the giant claw that you used to take up the mountain during your first visit.
The Mountain Nornir Chest Locations
Nornir Chest #1
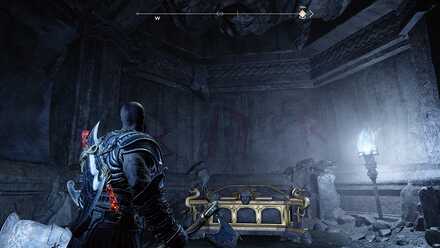
This Nornir chest is found in the area past the deer puzzle. There are no visible runes in the chest but are found instead painted on the wall behind it which you can only see by lighting the nearby light crystal. Once all seals are removed, open the chest and grab the Horn of Blood Mead inside.
The first mechanism with the runes should already show the N rune by default so you only need to find the other two seals to unlock the chest.
| 1 | 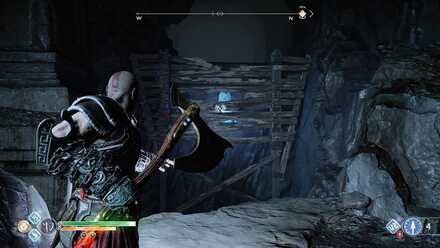 Break the wooden planks and shoot the crystal with a Light Arrow to create a bridge. |
|---|---|
| 2 | 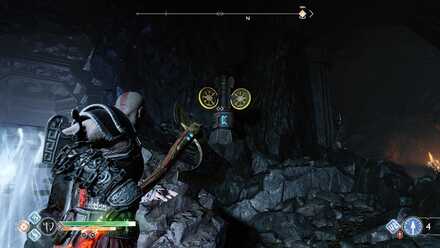 Before you cross the bridge, look to your right and hit the paddles on the mechanism until it shows the R rune. |
| 3 | 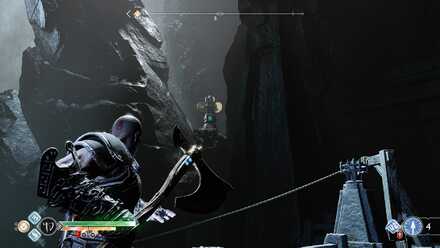 Now cross the bridge and head left from the Nornir chest. From there, look up on the left side and hit the far mechanism until it shows the B rune. |
Nornir Chest #2
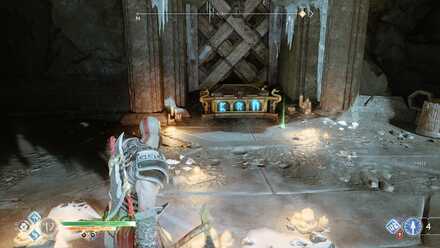
The next Nornir chest is found after defeating Hraezlyr. As you re-enter the Mountain and make your wat to the summit, you'll pass by a room with this chest, a pair of praying Reavers, and a Viken. This Nornir chest contains an Idunn Apple.
| 1 | 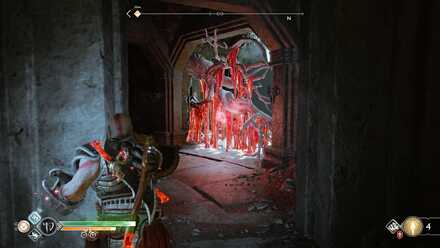 Pick up a shatter crystal nearby and use it to clear the sap from the room you pass by earlier. |
|---|---|
| 2 | 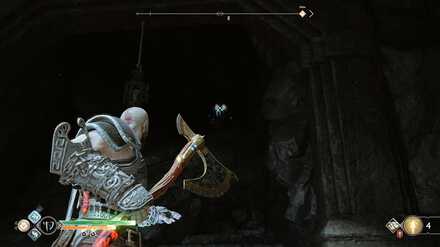 Enter the room and look up on your right to find the N rune. |
| 3 | 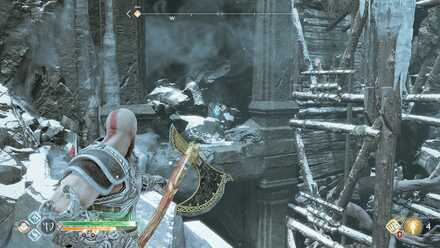 Lower the bridge using a shatter crystal and go up. Look on the west side of the room to find the C rune on the rocks. |
| 4 | 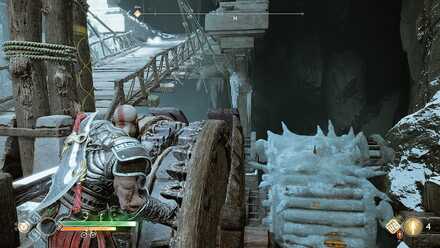 Now, raise the bridge using the wheel mechanism and freeze it in place with your axe. |
| 5 | 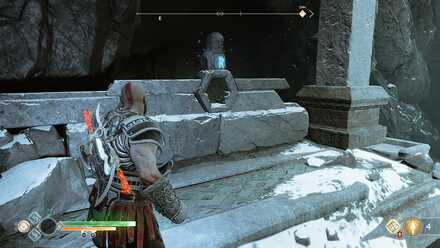 Go up to the upper floor and look on your right to find the R rune. |
The Mountain Legendary Chest Locations
Legendary Chest #1
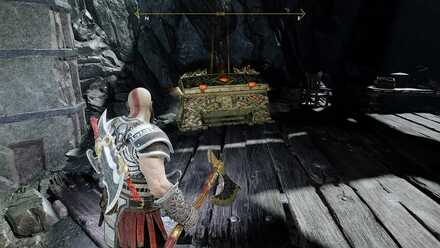
You'll spot this legendary chest on your left before you free the giant claw from the rocks after moving the mine cart on the main shaft area.
Legendary Chest #2
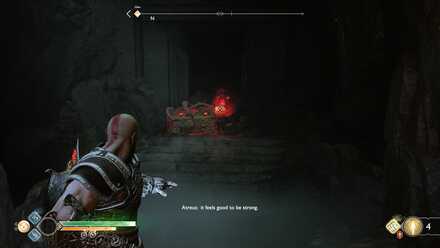
After slaying Hraezlyr, enter the tunnel on your left and follow the tunnel to the end. Before you climb the wooden ledges, look on your right to find this legendary chest which can only be opened after popping the shatter crystal with a Shock Arrow.
Legendary Chest #3
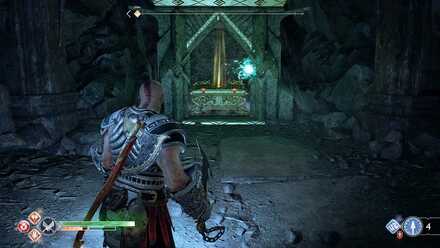
During your return to the Mountain's summit, burn the Hel's bramble holding the lift on the east side of the main cave shaft then ride it to the next area. You'll find a small hole on one of the corners where you can throw Atreus in and have him drop the chain.
Climb up, examine the lore marker on the door, and defeat the enemies that will appear. Inside the room where the Ogre came from is a door locked by a wind trap. Use the Winds of Hel from a room near the lift to open it and find the legendary chest.
| 1 | 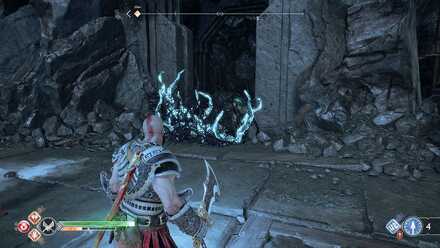 Near the lift is a small room obstructed by Hel's bramble. Burn it down, carry the wind trap inside, and place it next to the platform where the chain is. |
|---|---|
| 2 | 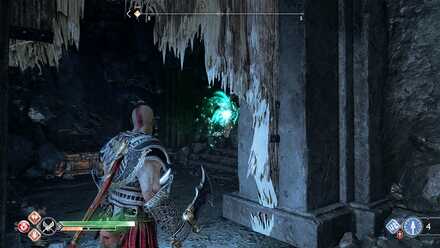 Next to the room where you got the wind trap is another small room covered by a wooden door. Destroy the door, grab the Winds of Hel inside, and transfer them to the wind trap that you placed earlier. |
| 3 | 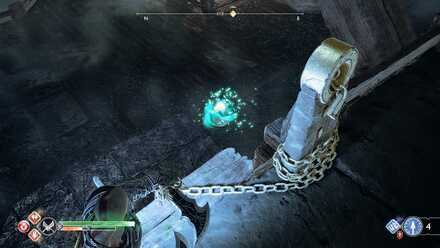 Climb the chain then from where you stand, grab the winds from the wind trap and quickly run to the locked door. Throw the winds on the lock to reveal the legendary chest. |
The Mountain Realm Tear Encounter Locations
Realm Tear Encounter #1
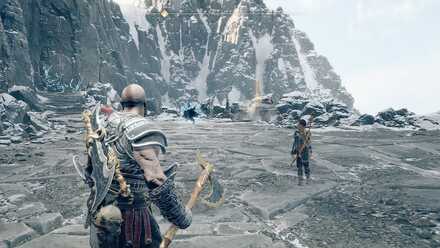
The only realm tear encounter in the region is found during Return to the Summit. Before you reach the long narrow path to the summit, you'll run into Sindri's second shop in the region. The realm tear is found on the other side of the door where the shop is.
God of War Related Guides
Author
The Mountain Region Summary and List of Collectibles
improvement survey
03/2026
improving Game8's site?

Your answers will help us to improve our website.
Note: Please be sure not to enter any kind of personal information into your response.

We hope you continue to make use of Game8.
Rankings
- We could not find the message board you were looking for.
Gaming News
Popular Games

Genshin Impact Walkthrough & Guides Wiki

Honkai: Star Rail Walkthrough & Guides Wiki

Umamusume: Pretty Derby Walkthrough & Guides Wiki

Pokemon Pokopia Walkthrough & Guides Wiki

Resident Evil Requiem (RE9) Walkthrough & Guides Wiki

Monster Hunter Wilds Walkthrough & Guides Wiki

Wuthering Waves Walkthrough & Guides Wiki

Arknights: Endfield Walkthrough & Guides Wiki

Pokemon FireRed and LeafGreen (FRLG) Walkthrough & Guides Wiki

Pokemon TCG Pocket (PTCGP) Strategies & Guides Wiki
Recommended Games

Diablo 4: Vessel of Hatred Walkthrough & Guides Wiki

Fire Emblem Heroes (FEH) Walkthrough & Guides Wiki

Yu-Gi-Oh! Master Duel Walkthrough & Guides Wiki

Super Smash Bros. Ultimate Walkthrough & Guides Wiki

Pokemon Brilliant Diamond and Shining Pearl (BDSP) Walkthrough & Guides Wiki

Elden Ring Shadow of the Erdtree Walkthrough & Guides Wiki

Monster Hunter World Walkthrough & Guides Wiki

The Legend of Zelda: Tears of the Kingdom Walkthrough & Guides Wiki

Persona 3 Reload Walkthrough & Guides Wiki

Cyberpunk 2077: Ultimate Edition Walkthrough & Guides Wiki
All rights reserved
"PlayStation" and the "PS" Family logo are registered trademarks of Sony Computer Entertainment Inc. PS3 is a trademark of Sony Interactive Entertainment Inc. © 2017 Sony Interactive Entertainment LLC. God of War is a trademark of Sony Interactive Entertainment LLC.
The copyrights of videos of games used in our content and other intellectual property rights belong to the provider of the game.
The contents we provide on this site were created personally by members of the Game8 editorial department.
We refuse the right to reuse or repost content taken without our permission such as data or images to other sites.


