Path to the Mountain Quest Walkthrough
▶︎ Check out the Best Builds and Recommended Skills for Kratos!
✫ Farming Guides: How to Level Up and Farm EXP, Money, and Mist Echoes
▶︎ Master the Trials of Muspelheim!
★ Done with God of War? Game8's God of War Ragnarok wiki is now live!

This is a walkthrough for Path to the Mountain in God of War (2018) for the PS4. Learn more about the objectives of this quest, quest rewards, tips for completion, as well as boss fight strategies!
| Previous Quest | Current Quest | Next Quest |
|---|---|---|
| The Marked Trees | Path to the Mountain | A Realm Beyond |
List of Contents
Path to the Mountain Basic Information
How to Unlock Path to the Mountain
Soon after returning home after defeating The Stranger, a short cutscene will play. Afterwards, you and Atreus will decide to travel up the highest mountain in the lands and thus beginning Path to the Mountain.
Path to the Mountain Quest Rewards
| Rewards | ||
|---|---|---|
| 2000 XP | - | - |
Path to the Mountain Quest Walkthrough
Journey to the Mountain
| Objectives | |
|---|---|
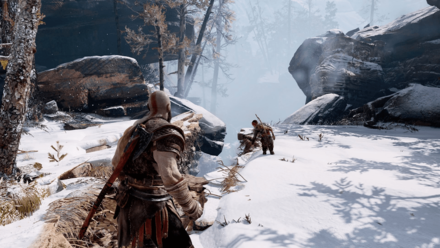
| 1 | Follow Atreus outside the house towards the fissure in the ground. |
| 2 | Enter the fissure and follow it until you have to climb up the side of a cliff. |
| 3 | 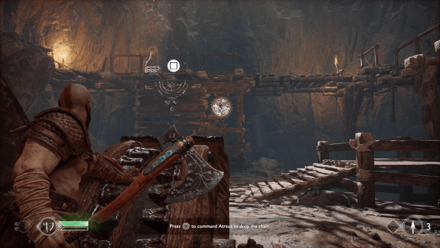 In the cave, assist Atreus in getting up a platform. Use the large wheel to lower the bridge – lock the bridge in place by throwing the Leviathan Axe towards the wheel. |
| 4 | 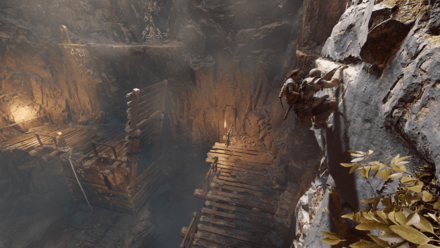 Have Atreus drop the chain. Climb up the platform and then ascend the side of the cave wall. |
| 5 | Continue up the path until you get to a clearing where you fight Draugrs. |
Continue Towards the Mountain
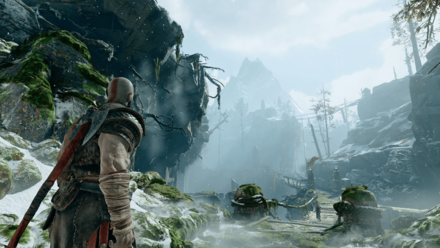
| 6 | After defeating the Draugrs in the clearing, ascend the cliffside. NOTE: You'll encounter a chest containing Hel's Touch, a Light Runic Attack, along the path. |
|---|---|
| 7 | Continue along the path until you come across a pair of wooden bridges – help Atreus up. |
| 8 | Clear the area of Draugr. |
Escape the Ruins
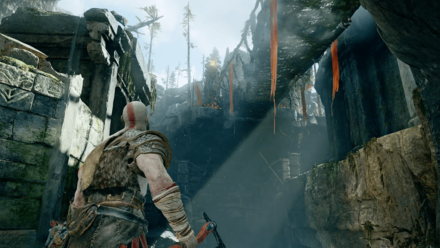
| 9 | After defeating the Draugr, have Atreus read the large stone slab. Heavy Draugrs will come to the cavern soon after. Defeat them. |
|---|---|
| 10 | Climb up the stone wall. Make your way along the path until you encounter a Revenant you must defeat. |
| 11 | 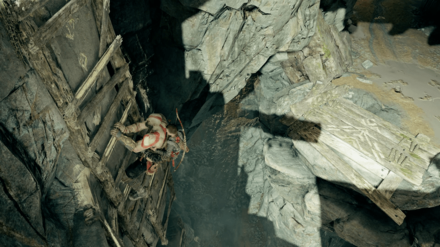 Head forwards along the path until you come across a rock face you will have to ascend. NOTE: There is a chest guarded by a Heavy Draugr if you head down the wall. There is also a chest at the top of the rock face. |
| 12 | Jump across the broken bridge at the top. Bring down the two suspended bridges by destroying the wheels keeping them in place. NOTE: There is another chest you can break open for an Idunn Apple. The runes to break open the chest are behind the chest, on a rock face facing the bridges, and across the bridge. |
| 13 | 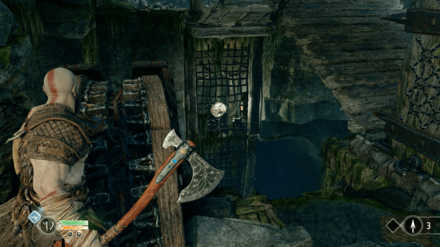 Defeat the Draugrs across the bridge. Lower the bridge – lock it in place by throwing the Leviathan Axe into the wheel below the bridge. |
| 14 | Follow the path until you get to a gate you have to open by hand. |
Fight off the Reavers
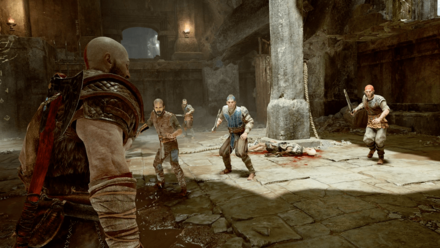
| 15 | Defeat the Reavers that attempt to ambush you after opening the gate. NOTE: Atreus will not be able to aid you in the fight. |
|---|---|
| 16 | Get the dead body off of Atreus. |
| 17 | Defeat the dead Reavers that have turned into Draugrs. |
| 18 | Push Atreus to the second floor. Keep pressing the button prompts until Atreus lowers a chain for you to climb up with. |
| 19 | Climb up the chain, and continue on the path. |
Continue Towards the Mountain
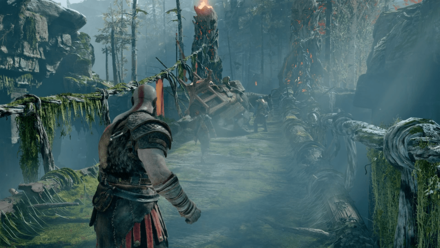
| 20 | After ascending to the second floor, move towards the clearing until you can hear someone arguing with an animal. |
|---|---|
| 21 | Throw the Leviathan Axe into the white trees on the other side of the bridge. |
| 22 | Enlist Brok's help in upgrading your equipment. |
| 23 | Once you're done exploring the area, use the chain to lift the gate up from the ground. Lock the gate in place by throwing the Leviathan Axe to the wheel on top of the gate. |
| 24 | Use the Leviathan Axe to hit the scratched boards and move the gates/floors. You will have to move quickly to move the wall on the other side. NOTE: There is a chest at the top of the spiked ceiling. The runes to open the chest are nearby. |
| 25 | Exit the ruins by heading to a clearing up top. |
| 26 | Follow the path until you encounter a circular doorway. Head to a path on the left of the door until you reach a control panel that controls the circular door. |
| 27 | 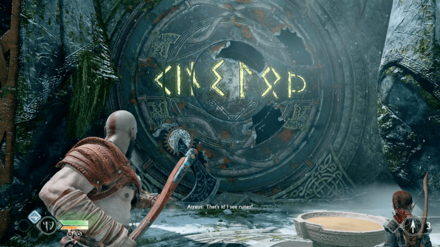 Engage the control panel and head back to Atreus. Use your Leviathan's Axe to align the runes of the door together until it stops. |
| 28 | Follow the opened path forwards until you exit the cave. |
Hunt with Atreus, Follow the Witch
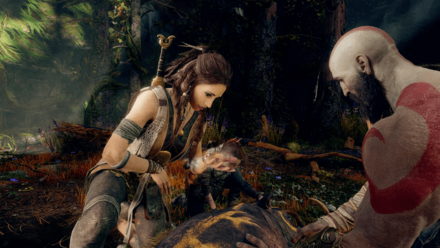
| 29 | Defeat Brenna Daudi. Do not forget to pick up Ivaldi's Anvil once you're finished with the battle. |
|---|---|
| 30 | 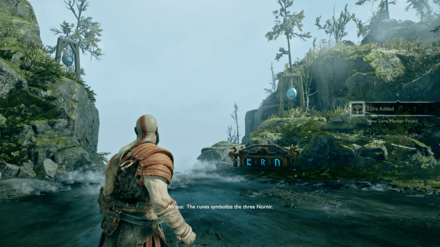 Proceed along the path. NOTE: There is a chest here that you can open by destroying the required runes. You can find the runes around the area. |
| 31 | Continue along the path until you have to guide Atreus with hitting the boar. Chase down the boar and shoot it a second time – find Atreus. |
| 32 | Follow Atreus and the Witch deeper into the woods until you reach her home. |
| 33 | 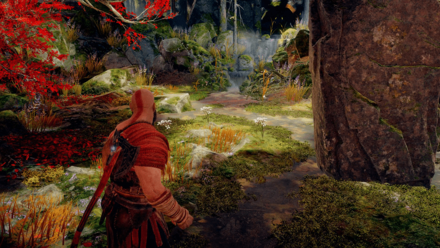 Fetch some White-Petaled Flowers from outside. Talk to Atreus on the other side of the house before coming back inside to talk to the Wtich. |
| 34 | Head beneath the house and follow the path to a boat. NOTE: You'll encounter a chest filled with a Talisman of Concentrated Vitality along the way. |
Investigate the Temple and the Bridge

| 35 | Take the boat and follow the water all the way to the Lake of Nine. Head to the quest marker and meet the World Serpent. |
|---|---|
| 36 | 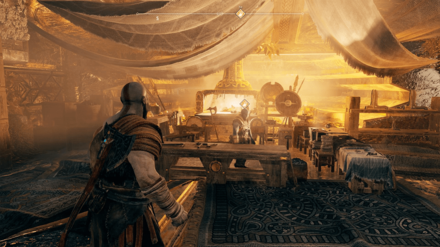 Dock with the bridge. Talk to Brok inside his shop. |
| 37 | Head back outside and move to the other end of the bridge to get into the tower. You'll encounter some enemies you'll need to dispatch to proceed. |
| 38 | 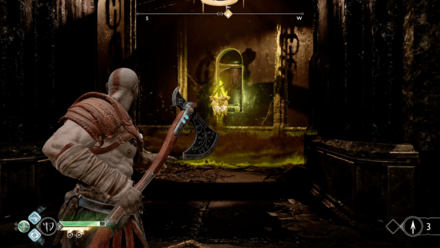 Enter the tower where you'll fight more enemies. After dispatching them, turn to your right and throw your Leviathan Axe to the burning pyre to get rid of the barriers. |
| 39 | 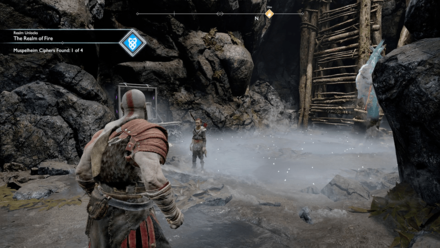 Continue along the path until you arrive at a point where you must climb the side of the cave walls. NOTE: There is a chest in the area you fall into behind a barrier containing one of the stones that unlocks Muspelheim. |
| 40 | Break the barrier and ascend the side of the cave wall. Head through the doors to get to the Foothills and meet Sindri. |
Continue Towards the Mountain
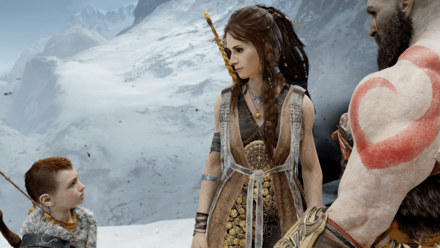
| 41 | 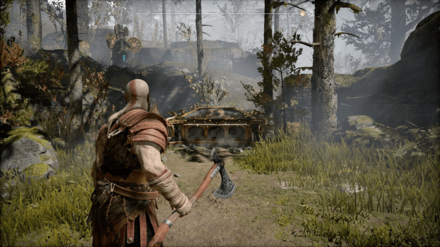 Proceed up the path. NOTE: You can find a chest locked by runes atop a hill off to the right side of where you exit from. The runes you need surround the hill of the chest. |
|---|---|
| 42 | 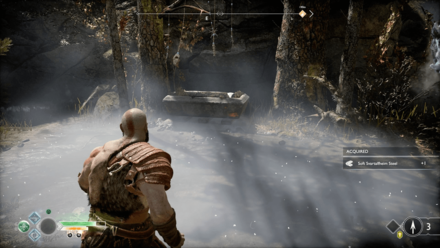 Climb atop the cliff face at the end of the path. Break the barrier at the top. NOTE: There is a chest towards the left of the split path once you pass the barrier containing Arcane Bracers. |
| 43 | Continue along the path until you fight a Revenant. Once defeated, continue on the left path and climb the wall at the end. |
| 44 | 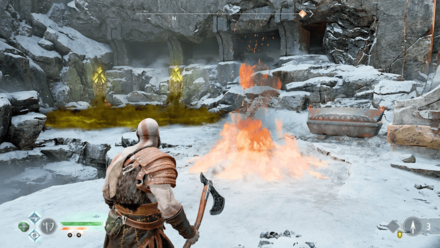 Clear the area of enemies. NOTE: There is a chest containing Arcane Shoulder Wraps hidden behind some rocks to the left of the door you need to get through. A second chest is hidden behind the two barriers on the left containing Charge of the White Bear. |
| 45 | Move the fallen pillar blocking the doorway. Clear the area of enemies. NOTE: Pick up the Frozen Flame and the Symbol of Truth that drops after the fight. |
| 46 | Step through the red doors and head up the mountain pass to finish the quest. |
Tips and Strategies
The Path to the Mountain questline, and the sections of the game it pushes you through in particular, is where you'll find the world of God of War really open up into an open world. Thus, there are plenty of places and collectibles to look around for. Make sure to explore everywhere you can to collect everything!
Boss Strategy: Brenna Daudi
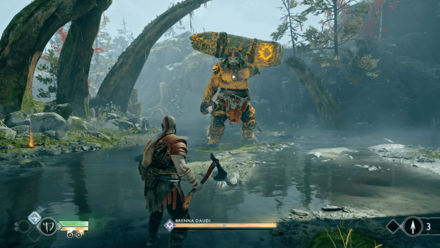
Like Daudi Kaupmadr, Brenna use its basic attacks against you. Unlike Daudi however, Brenna has a flame attack that arches into a wide, ranged arc. In addition to this, Draugrs will come up to aid Brenna in its fight against you – be wary that they don't swarm you while you fight off Brenna.
How to Beat Brenna Daudi | Boss Fight Guide
Nornir Chest Locations
Escape the Ruins
 |
||
| Map Location | ||
|---|---|---|
 |
||
| Seal Locations | ||
 |
 |
 |
| Reward | ||
 Idunn Apple Idunn Apple |
||
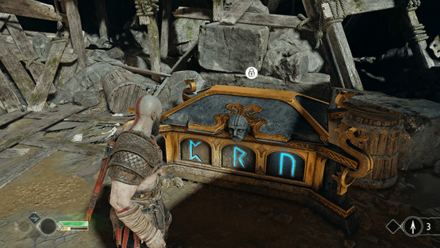
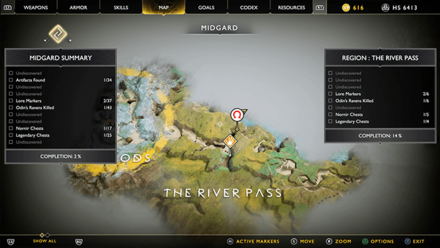
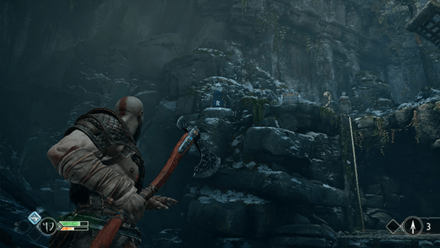
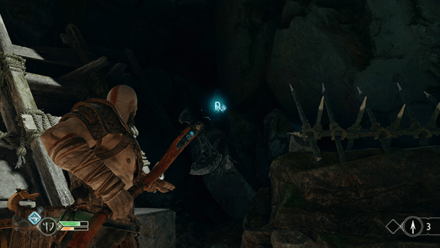
After killing the Revenant, head towards the ruins' exit to find the Nornir Chest.
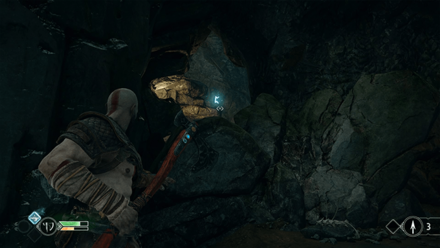
You can find the N rune above the chest. Head to the cliffs and find the R rune on the cliffside. Unlock the bridge and head further to find the C rune behind a gate.
Continue to the Mountain
 |
||
| Map Location | ||
|---|---|---|
 |
||
| Seal Locations | ||
 |
 |
 |
| Reward | ||
 Horn of Blood Mead Horn of Blood Mead |
||
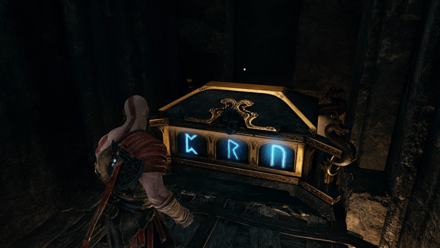
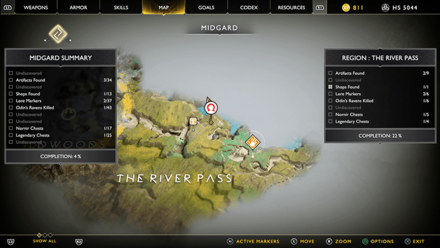
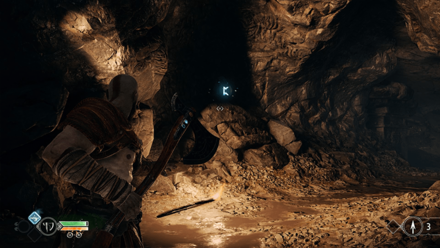
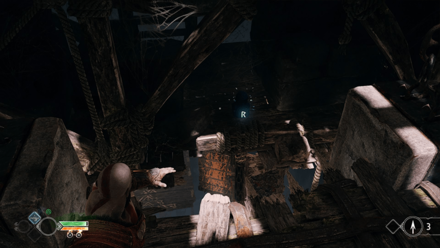
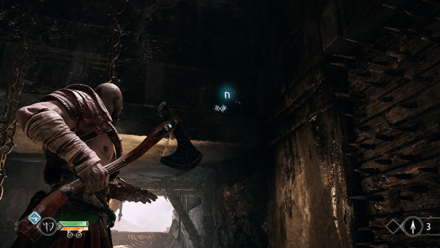
After passing through the spiked platform, turn around to find a small ledge. Jump towards it and find the Nornir Chest on the east corner.
Turn around and find the N rune above you near the exit. Find a small cave opposite of the chest to find the C rune inside. Turn left from the chest to find the R rune hidden behind the wooden beams. Hit the scratched board with an axe to raise the platform to reveal it.
Hunt with Atreus
 |
||
| Map Location | ||
|---|---|---|
 |
||
| Seal Locations | ||
 |
 |
 |
| Reward | ||
 Idunn Apple Idunn Apple |
||
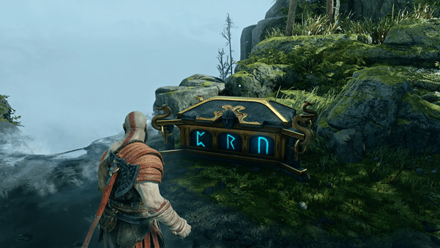
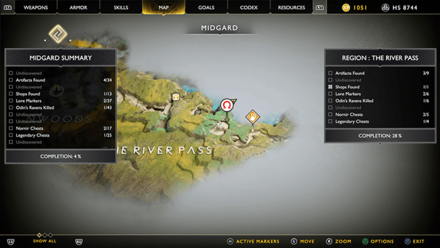
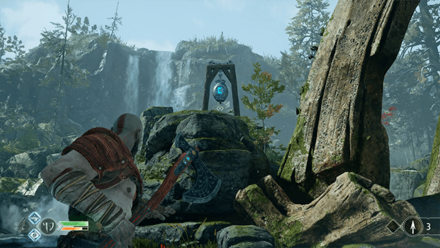
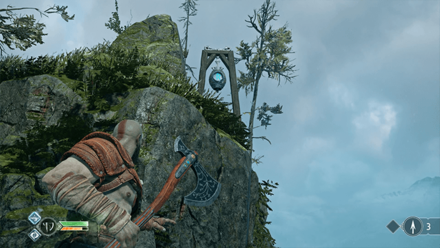
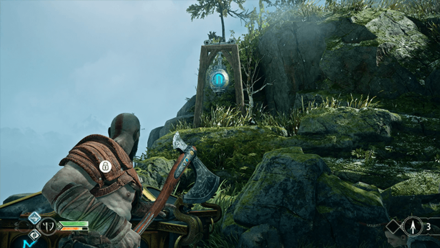
You can find this chest near a waterfall on the west side of the area after defeating Brenna Daudi.
The N rune is right behind the chest and the R rune is on the left above the waterfall. The C rune is located behind one of the giant ribs. Hit all the bells quickly to unlock the chest.
Continue Towards the Mountain
 |
||
| Map Location | ||
|---|---|---|
 |
||
| Seal Locations | ||
 |
 |
 |
| Reward | ||
 Horn of Blood Mead Horn of Blood Mead |
||
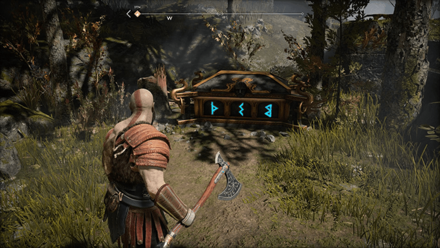
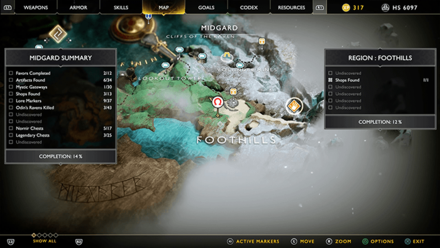
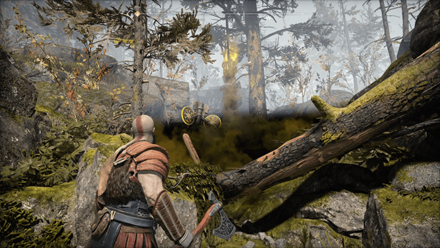
After meeting Sindri at the Foothills, head up the hill where the rune mechanism is and turn right to find a Nornir Chest.
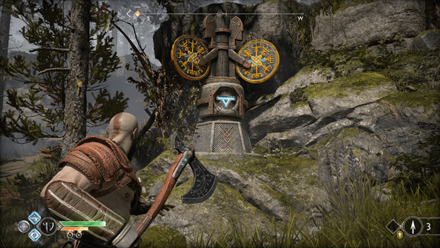
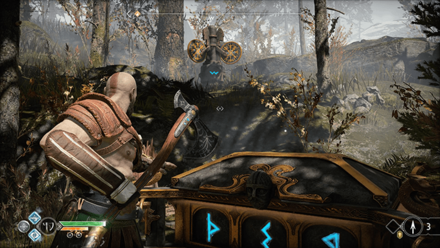
Hit the rune mechanisms to match the runes found on the chest. The ᛊ rune is found above the chest. Head back down the hill and hit the ᚦ rune.
Head right to find a Scorn Pole and the inverted ᛒ rune. Hit the pole first to get rid of the poison gas and then hit the mechanism.
God of War Related Links
Quest Walkthroughs
| Quest Types | |
|---|---|
| Story | Favors |
Author
Path to the Mountain Quest Walkthrough
improvement survey
03/2026
improving Game8's site?

Your answers will help us to improve our website.
Note: Please be sure not to enter any kind of personal information into your response.

We hope you continue to make use of Game8.
Rankings
- We could not find the message board you were looking for.
Gaming News
Popular Games

Genshin Impact Walkthrough & Guides Wiki

Honkai: Star Rail Walkthrough & Guides Wiki

Umamusume: Pretty Derby Walkthrough & Guides Wiki

Pokemon Pokopia Walkthrough & Guides Wiki

Resident Evil Requiem (RE9) Walkthrough & Guides Wiki

Monster Hunter Wilds Walkthrough & Guides Wiki

Wuthering Waves Walkthrough & Guides Wiki

Arknights: Endfield Walkthrough & Guides Wiki

Pokemon FireRed and LeafGreen (FRLG) Walkthrough & Guides Wiki

Pokemon TCG Pocket (PTCGP) Strategies & Guides Wiki
Recommended Games

Fire Emblem Heroes (FEH) Walkthrough & Guides Wiki

Diablo 4: Vessel of Hatred Walkthrough & Guides Wiki

Yu-Gi-Oh! Master Duel Walkthrough & Guides Wiki

Super Smash Bros. Ultimate Walkthrough & Guides Wiki

Pokemon Brilliant Diamond and Shining Pearl (BDSP) Walkthrough & Guides Wiki

Elden Ring Shadow of the Erdtree Walkthrough & Guides Wiki

Monster Hunter World Walkthrough & Guides Wiki

The Legend of Zelda: Tears of the Kingdom Walkthrough & Guides Wiki

Persona 3 Reload Walkthrough & Guides Wiki

Cyberpunk 2077: Ultimate Edition Walkthrough & Guides Wiki
All rights reserved
"PlayStation" and the "PS" Family logo are registered trademarks of Sony Computer Entertainment Inc. PS3 is a trademark of Sony Interactive Entertainment Inc. © 2017 Sony Interactive Entertainment LLC. God of War is a trademark of Sony Interactive Entertainment LLC.
The copyrights of videos of games used in our content and other intellectual property rights belong to the provider of the game.
The contents we provide on this site were created personally by members of the Game8 editorial department.
We refuse the right to reuse or repost content taken without our permission such as data or images to other sites.
 The Marked Trees
 A Realm Beyond
 The Light of Alfheim
 Inside the Mountain
 A New Destination
 The Magic Chisel
 Behind the Lock
 The Sickness
 The Black Rune
 Return to the Summit
 Escape from Helheim
 A Path to Jotunheim
 Between The Realms
 Jotunheim in Reach
 Mother's Ashes
 The Journey Home





![Slay the Spire 2 Review [Early Access] | Still the Deckbuilder to Beat](https://img.game8.co/4433115/44e19e1fb0b4755466b9e516ec7ffb1e.png/thumb)

![Resident Evil Village Review [Switch 2] | Almost Flawless Port](https://img.game8.co/4432790/e1859f64830960ce4248d898f8cd38d9.jpeg/thumb)


