Inside the Mountain Quest Walkthrough
▶︎ Check out the Best Builds and Recommended Skills for Kratos!
✫ Farming Guides: How to Level Up and Farm EXP, Money, and Mist Echoes
▶︎ Master the Trials of Muspelheim!
★ Done with God of War? Game8's God of War Ragnarok wiki is now live!
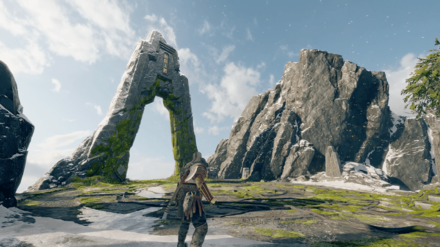
This is a walkthrough for Inside the Mountain in God of War (2018) for the PS4. Learn more about the objectives of this quest, quest rewards, tips for completion, as well as boss fight strategies!
| Previous Quest | Current Quest | Next Quest |
|---|---|---|
| The Light of Alfheim | Inside the Mountain | A New Destination |
List of Contents
Inside the Mountain Basic Information
How to Unlock Inside the Mountain
Complete The Light of Alfheim questline to unlock Inside the Mountain after you use the Light to cross the mountain pass blocked by The Black Breath.
Inside the Mountain Quest Rewards
| Rewards | ||
|---|---|---|
| 4500 XP | - | - |
Inside the Mountain Quest Walkthrough
Ascend the Mountain
| Objectives | |
|---|---|
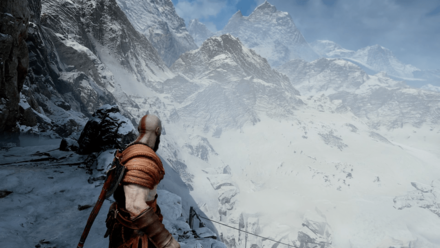
| 1 | Climb up the mountain side. |
| 2 | 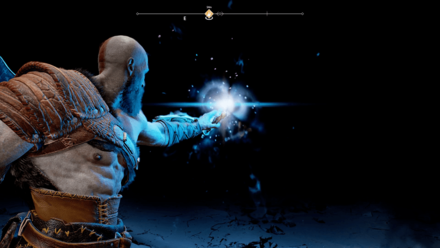 Use the Light of Alfheim. Navigate your way through the Black Breath in the cave. |
| 3 | Enter the door at the end of the cave. |
| 4 | 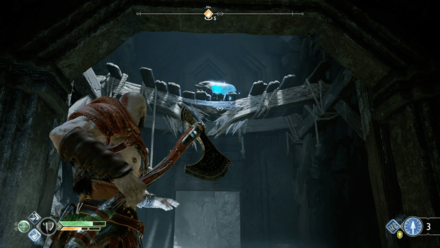 Search for the second crystal. You'll find the crystal nestled on a platform in the hallway to the left. Break the platform to get the crystal. |
| 5 | Activate both crystals. Interact with the lever and pull after. Have Atreus read the runes. |
Traverse the Dark Caves
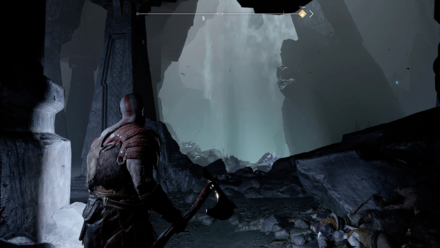
| 6 | Open the wall. Navigate the dark caves. You can activate torches in the cave using Atreus' light arrows to light your way. |
|---|---|
| 7 | 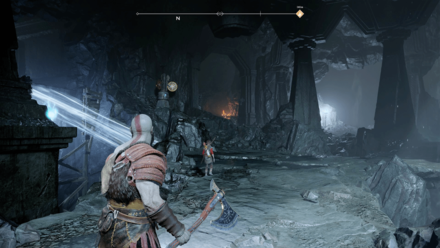 Head through to a dark cavern. NOTE: There is a chest filled with a Horn of Blood Mead you can get to by activating a crystal blocked by debris. |
| 8 | Head through a tunnel at the end of the cavern. |
| 9 | Go through the door at the end. |
| 10 | 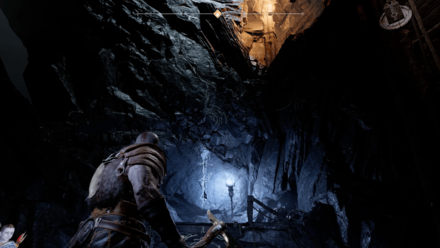 Climb up the wall at the end of the cave. |
| 11 | Open the gate at the far end. |
Ascend the Cave Shaft
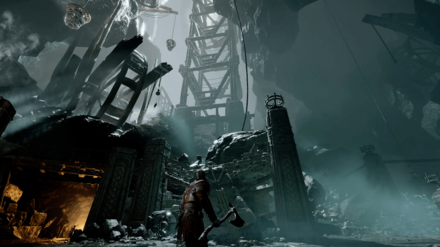
| 12 | Head to the platform on the right. Use the wheel at the top to move the claw. |
|---|---|
| 13 | 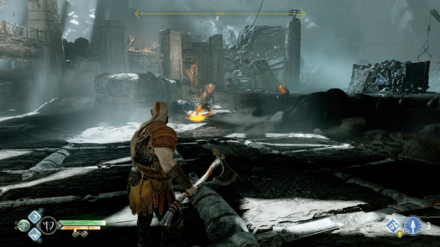 Clear the area of Draugr. |
| 14 | Enter the cave the Draugr exited from. You'll find Brok with his shop in the cave if you need to buy something. |
| 15 | 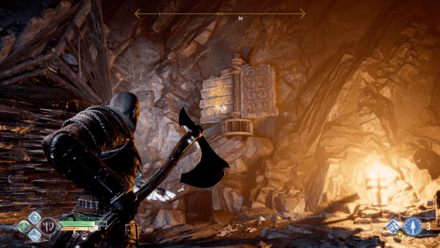 Jump across the broken bridge. Use the Leviathan Axe to move the spikes blocking the hall. |
| 16 | Move through the hallway. Try not to touch the spikes. Recall your axe when you're halfway through. |
| 17 | 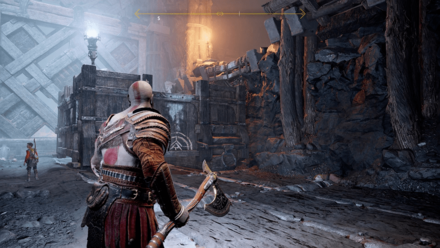 Move the spiked doorway, and move the cart in the center of the hall towards the gate. |
| 18 | Climb the cart and move to the end of the hallway. |
| 19 | 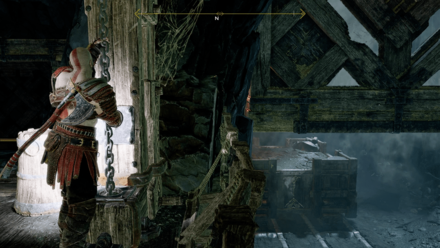 Pull the chain to lift the gate. |
| 20 | Push the cart to just outside the gate you opened. NOTE: There is a chest with Falcon's Dive inside you will pass. |
| 21 | Move towards the end of the path and push the rock. |
| 22 | Defeat Jarn Fotr. |
| 23 | Push the cart in front of the platform with the wheel. |
| 24 | Use the wheel to bring down the claw. |
| 25 | 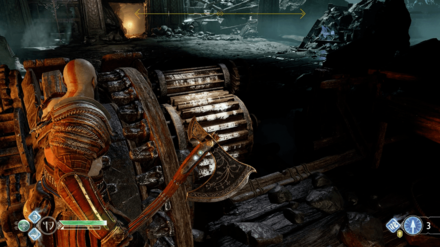 Climb the cart. Use the Leviathan Axe to lock the claw in place by hitting the gear beside the wheel. |
| 26 | Recall your axe and ascend the shaft. |
Reach the Summit
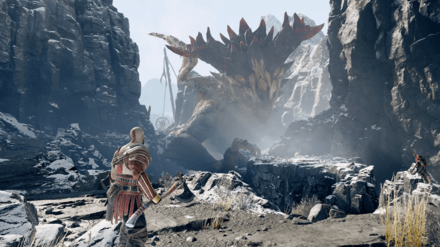
| 27 | Follow the path. Avoid the flames coming from the mouths of the statues. |
|---|---|
| 28 | 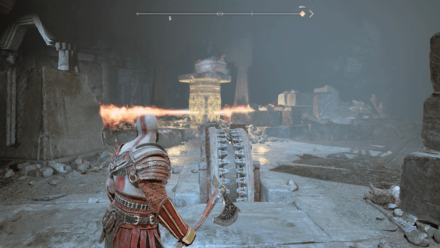 Use the wheel to bring down the pillar. NOTE: There is a chest on top of the pillar with a Plated Pauldrons of Focus. |
| 29 | 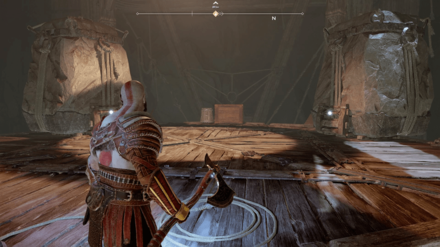 Push the two rocks off of the platform. Defeat the Dragurs that come at you. You will also have to push the platform free of the cave wall every now and again. |
| 30 | Defeat Hraezlyr. You will not have to completely deplete his health bar. He will eventually let go of the platform and escape. |
| 31 | 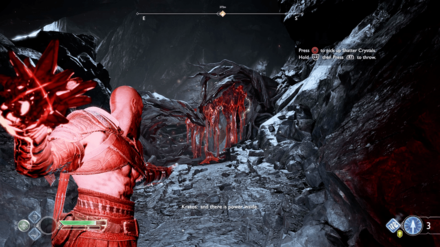 Follow the path – pick up the Shatter Crystal and throw it at the root to destroy it. |
| 32 | Continue along the path. When you reach outside of the mountain, head left. |
| 33 | Climb onto Hraezlyr's back at the end of the path. Do as much damage as you can while you're inside its mouth. |
| 34 | Defeat Hraezlyr. |
| 35 | Take a tooth from Hraezlyr's open maw. Bring it to Sindri afterwards. |
| 36 | Use Atreus' new arrows to clear the roots. |
| 37 | Follow the path into the mountain. Shatter the roots blocking the pulley. |
| 38 | 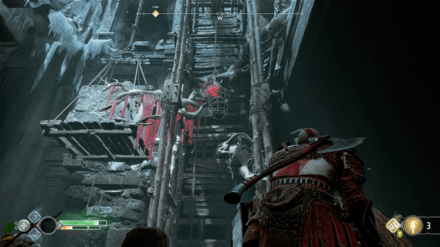 Shoot the Shatter Crystal to free the stone slab. |
| 39 | Climb up the stone slab and follow the tunnel. |
| 40 | Reach the end of the tunnel. NOTE: There is a chest here you can unlock. |
| 41 | 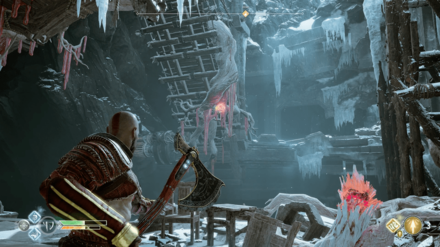 Use the nearby Shatter Crystals to free the bridge. |
| 42 | Continue along the path until you reach the summit. |
Boss Strategy: Jarn Fotr
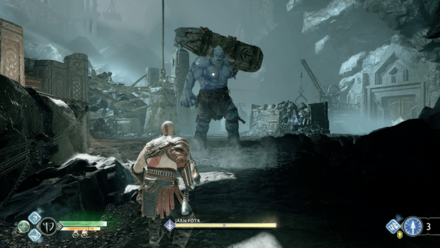
Jarn Fotr isn't a very difficult boss battle. Unlike most of the Trolls you've encountered thus far, Jarn makes use of ice as one of his weapons. He will stomp his feet to send ice your way with a ranged attack, so be prepared to dodge.
How to Beat Jarn Fotr | Boss Fight Guide
Boss Strategy: Hraezlyr
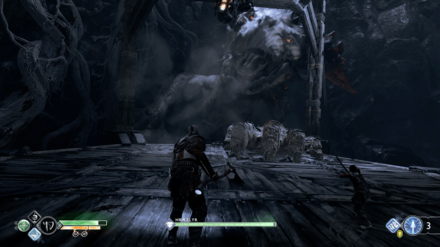
Hraezlyr is a huge dragon that you'll encounter twice as you ascend the mountain on the elevator. The fight will be very short the first time you meet him, ultimately leading to its death during your second row.
How to Beat Hraezlyr | Boss Fight Guide
Nornir Chest Locations
Traverse the Dark Caves
 |
||
| Map Location | ||
|---|---|---|
 |
||
| Seal Locations | ||
 |
 |
 |
| Reward | ||
 Horn of Blood Mead Horn of Blood Mead |
||
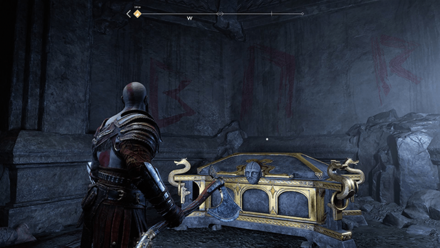
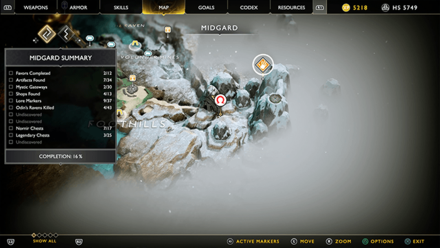
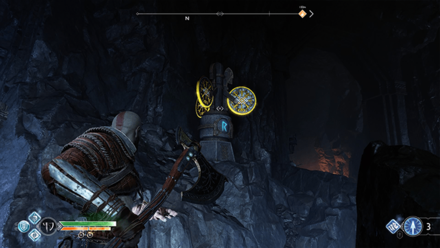
After defeating the Draugrs, head left to find a crystal behind a wooden wall. Destroy the wall and light up the crystal to reveal a path leading to the Nornir Chest.
There are no runes shown on the chest but are found instead painted on the walls above it. The following runes are ᛒ rune, ᚢ rune, and ᚱ rune.
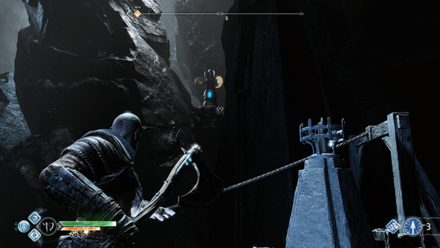
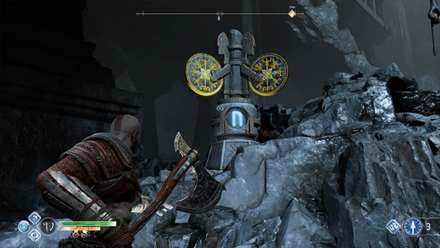
Head left from the Nornir Chest and cross the bridge to find the brazier with a rune symbol. Switch this brazier to the ᛒ rune.
Look for the brazier near the light bridge and change it to the ᚱ rune. Head down from where you climbed the ledge and change the brazier to the ᚢ rune.
Reach the Summit
 |
||
| Map Location | ||
|---|---|---|
 |
||
| Seal Locations | ||
 |
 |
 |
| Reward | ||
 Idunn Apple Idunn Apple |
||
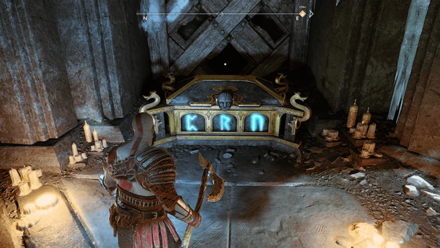
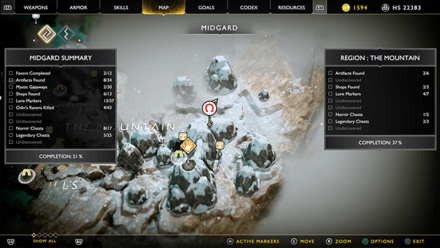
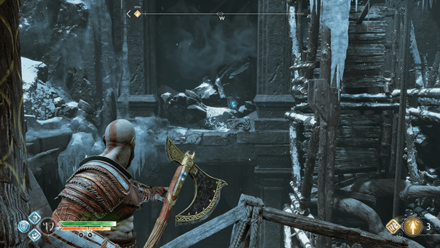
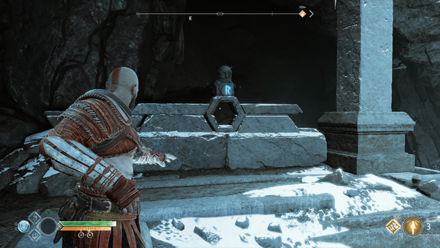
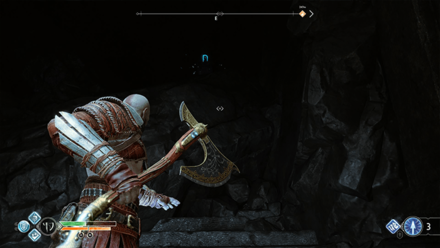
Defeat the praying Reavers and find the Nornir Chest on the left side of the area.
Take some of the Shattering Crystal near the cliffside and go back to the hall with the blocked World Tree Sap. Throw the crystal and have Atreus fire a shock arrow to destroy the wall. Head inside and find the N rune on the right side of the wall.
Head back to the chest and destroy the World Tree Sap on the bridge to lower it. Cross the bridge and look to your right to find the C rune among the rubble.
Use the wheel mechanism to raise the bridge and use your axe to freeze the gear in place. Head up to the bridge and turn right to find the R rune.
God of War Related Links
Quest Walkthroughs
| Quest Types | |
|---|---|
| Story | Favors |
Author
Inside the Mountain Quest Walkthrough
improvement survey
03/2026
improving Game8's site?

Your answers will help us to improve our website.
Note: Please be sure not to enter any kind of personal information into your response.

We hope you continue to make use of Game8.
Rankings
- We could not find the message board you were looking for.
Gaming News
Popular Games

Genshin Impact Walkthrough & Guides Wiki

Honkai: Star Rail Walkthrough & Guides Wiki

Umamusume: Pretty Derby Walkthrough & Guides Wiki

Pokemon Pokopia Walkthrough & Guides Wiki

Resident Evil Requiem (RE9) Walkthrough & Guides Wiki

Monster Hunter Wilds Walkthrough & Guides Wiki

Wuthering Waves Walkthrough & Guides Wiki

Arknights: Endfield Walkthrough & Guides Wiki

Pokemon FireRed and LeafGreen (FRLG) Walkthrough & Guides Wiki

Pokemon TCG Pocket (PTCGP) Strategies & Guides Wiki
Recommended Games

Diablo 4: Vessel of Hatred Walkthrough & Guides Wiki

Fire Emblem Heroes (FEH) Walkthrough & Guides Wiki

Yu-Gi-Oh! Master Duel Walkthrough & Guides Wiki

Super Smash Bros. Ultimate Walkthrough & Guides Wiki

Pokemon Brilliant Diamond and Shining Pearl (BDSP) Walkthrough & Guides Wiki

Elden Ring Shadow of the Erdtree Walkthrough & Guides Wiki

Monster Hunter World Walkthrough & Guides Wiki

The Legend of Zelda: Tears of the Kingdom Walkthrough & Guides Wiki

Persona 3 Reload Walkthrough & Guides Wiki

Cyberpunk 2077: Ultimate Edition Walkthrough & Guides Wiki
All rights reserved
"PlayStation" and the "PS" Family logo are registered trademarks of Sony Computer Entertainment Inc. PS3 is a trademark of Sony Interactive Entertainment Inc. © 2017 Sony Interactive Entertainment LLC. God of War is a trademark of Sony Interactive Entertainment LLC.
The copyrights of videos of games used in our content and other intellectual property rights belong to the provider of the game.
The contents we provide on this site were created personally by members of the Game8 editorial department.
We refuse the right to reuse or repost content taken without our permission such as data or images to other sites.
 The Marked Trees
 Path to the Mountain
 A Realm Beyond
 The Light of Alfheim
 A New Destination
 The Magic Chisel
 Behind the Lock
 The Sickness
 The Black Rune
 Return to the Summit
 Escape from Helheim
 A Path to Jotunheim
 Between The Realms
 Jotunheim in Reach
 Mother's Ashes
 The Journey Home


![Everwind Review [Early Access] | The Shaky First Step to A Very Long Journey](https://img.game8.co/4440226/ab079b1153298a042633dd1ef51e878e.png/thumb)

![Monster Hunter Stories 3 Review [First Impressions] | Simply Rejuvenating](https://img.game8.co/4438641/2a31b7702bd70e78ec8efd24661dacda.jpeg/thumb)


