Faron Temple Walkthrough
▲ 100% the game with our Interactive Map!
▲ Zelda amiibo give Ingredients & Outfits.
▲ Best Dungeon Order and Best Echoes.
▲ Heart Pieces | Might Crystals | Tri Power
▲ Best Smoothies | All 69 Recipes
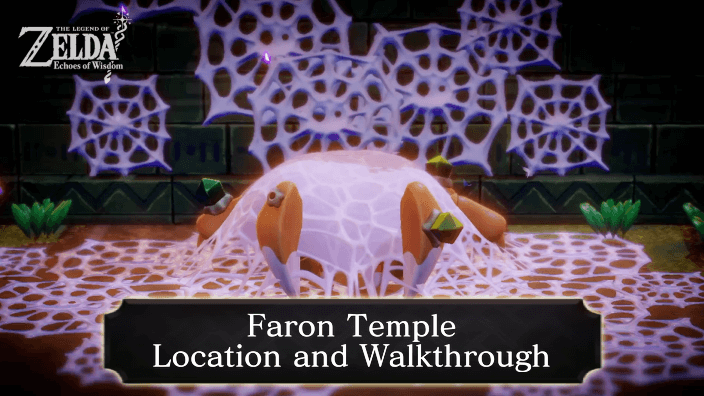
Faron Temple Dungeon is a dungeon in The Legend of Zelda: Echoes of Wisdom (EoW) and is located in Faron region. Read on for a complete walkthrough guide on this dungeon, how to get to Faron Temple Dungeon, puzzle solutions, and more!
| ◀︎ Previous Quest | Next Quest ▶︎︎ |
|---|---|
| Still Missing | The Prime Energy and Null |
| Lands of the Goddesses Questline | |
| Lands of the Goddesses ┣ The Rift on Eldin Volcano ┣ Rift on Holy Mount Lanayru ┗ A Rift in the Faron Wetlands ┗ ▶︎︎★ Faron Temple |
|
Faron Temple Dungeon Preparation
Best Echoes for Faron Temple Dungeon
| Echo | Usage |
|---|---|
 Drippitune Drippitune
|
・Can activate the dungeon's entrance puzzle |
 Electric Wizzrobe Electric Wizzrobe
|
・Can help with defeating enemies, minibosses, and the Gohma boss ・Can activate the green crystal puzzles |
 Spark Spark
|
・Can activate the green crystal puzzles |
 Fire Wizzrobe Fire Wizzrobe
|
・Can help with defeating plant-type enemies ・Can light torches in rooms with low light source |
 Torch Slug Torch Slug
|
・Can light torches in rooms with low light source |
 Armos Armos
|
・Can help solve the switch puzzles |
 Boulder Boulder
|
・Can help solve the moving platform puzzles |
 Boomerang Boarblin Boomerang Boarblin
|
・Can help with defeating enemies, minibosses, and the Gohma boss |
 Old Bed Old Bed
|
・Can use as a staircase to reach high platforms ・Can be used to restore hearts |
 Lizalfos Lv. 3 Lizalfos Lv. 3
|
・Can be used for combat against enemies, minibosses, and bosses |
 Platboom Platboom
|
・Can be used to ascend and reach high areas ・Can be used to crush enemies |
Best Smoothies for Faron Temple Dungeon
| Smoothies | Benefit |
|---|---|
| Radiant Potion | You can use a Radiant Potion to activate a Glow effect to illuminate dark areas for a short period of time. There are at least two rooms in the dungeon with low light source, so having this potion in your inventory makes navigating those rooms a lot easier. |
| Smoothies that Restore Hearts | You may also need to have some Smoothies that restore hearts for this dungeon. Most of the rooms require using fire to burn webs and light torches and you may get hit by its environmental damage when used at tall grass. |
Faron Temple Dungeon Location
Faron Region
The Faron Temple Dungeon is located in the Stilled Faron Wetlands as part of the A Rift in the Faron Wetlands Main Quest.
A Rift in the Faron Wetlands Walkthrough
How to Get to Faron Temple Dungeon
| # | Step by Step Objectives |
|---|---|
| 1 |
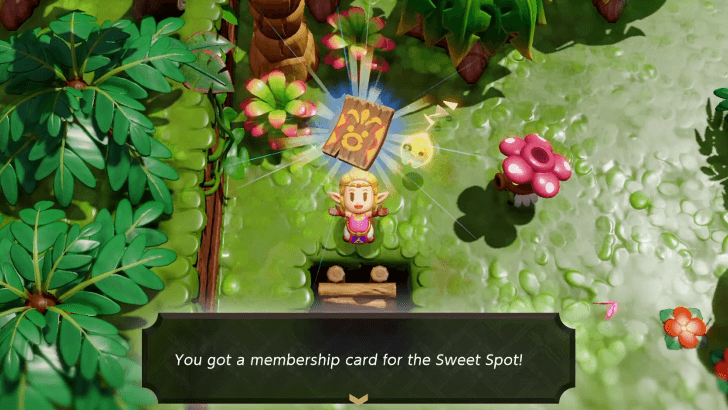 After obtaining the membership card from Blossu, head to the temple that is partially swallowed by the rift and talk to one of the Deku Scrubs to enter The Sweet Spot. |
| 2 |
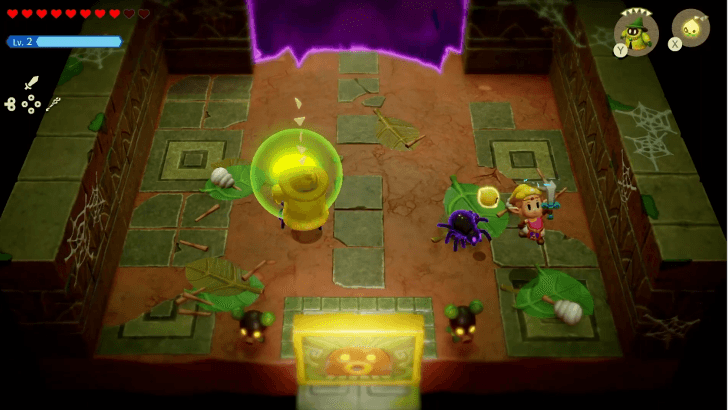 After the cutscene ends, defeat the enemies that spawn from the rift. Enter the rift's entrance to access the Stilled Faron Wetlands. |
| 3 |
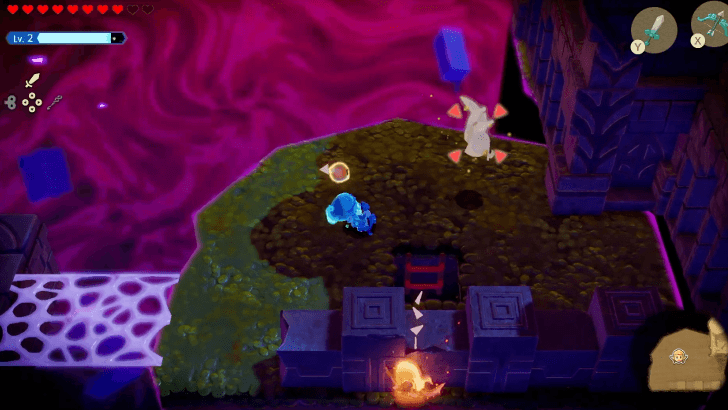 Traverse through the rift defeating enemies as you go. Aid from Echoes that deal Fire and Electric damage will be of great help. Just make sure there are no nearby Drippitunes if you plan on setting enemies ablaze. ▶︎︎ Stilled Faron Wetlands Rift Walkthrough |
Faron Temple Dungeon Walkthrough
|
|
Obtain the Dungeon Map
| # | Step by Step Objectives |
|---|---|
| 1 |
 Activate the Waypoint inside the dungeon. Exit afterwards as there are no puzzle solutions to lower the gate from here. |
| 2 |
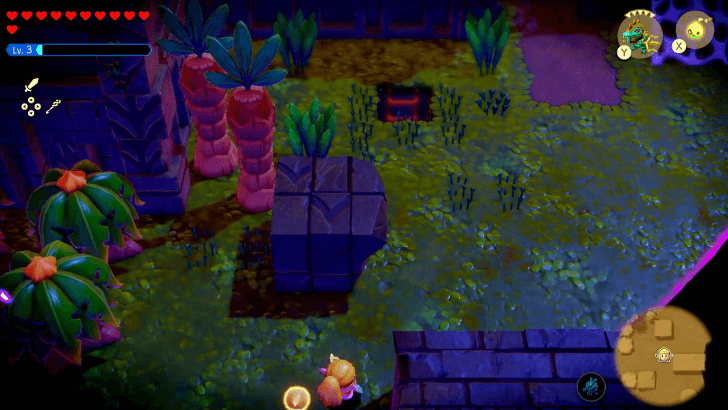 Head to the right side outside of the dungeon and defeat the enemies. Cut the tall grass to reveal a ladder leading down to a new area. |
| 3 |
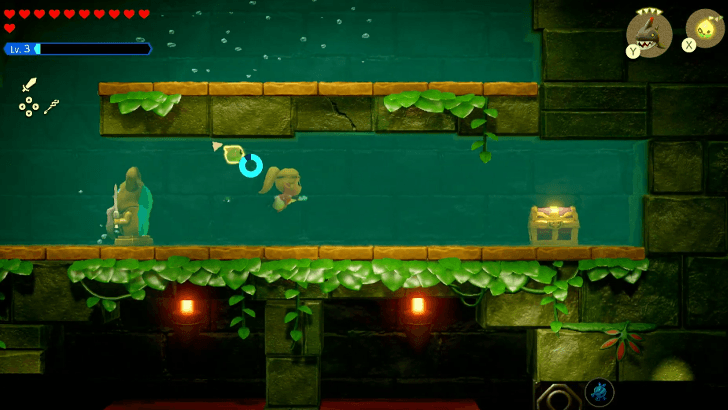 Enter the ladder to reach the 3F of Faron Temple. Dive down to the water and defeat the Armos by hitting it from the back. You can then open the treasure chest to get a Purple Rupee. Reach the red ladder on the left side. |
| 4 |
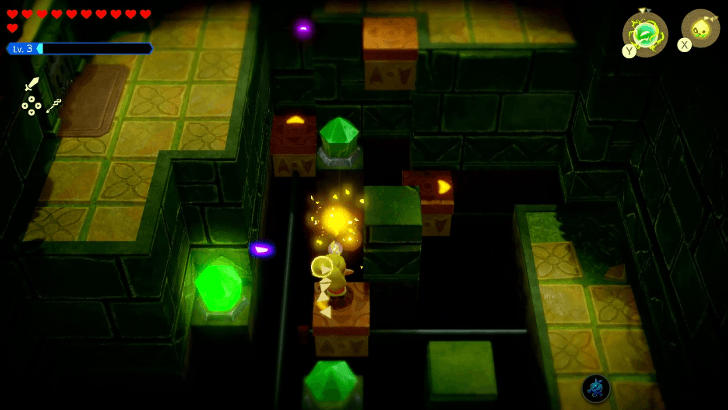 Use the Spark echo or the Electric Keese to activate the 3 green crystals located near a set of moving platforms. This unlocks the door on the left side that you can get to using the moving platform. |
| 5 |
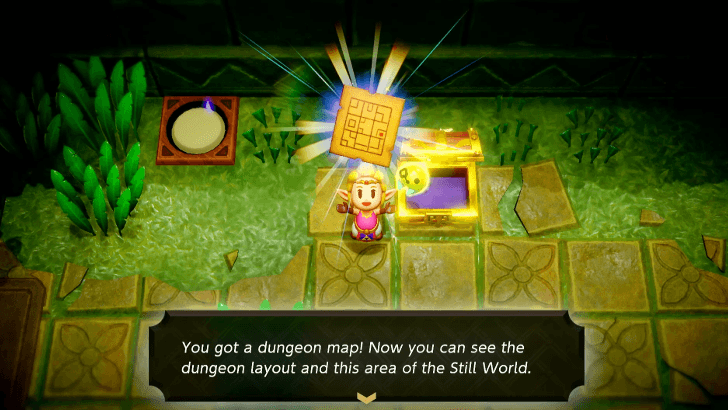 In the next room, open the treasure chest to get the Dungeon Map. Step on the switch to open the next door. |
Get the First Small Key
| # | Step by Step Objectives |
|---|---|
| 1 |
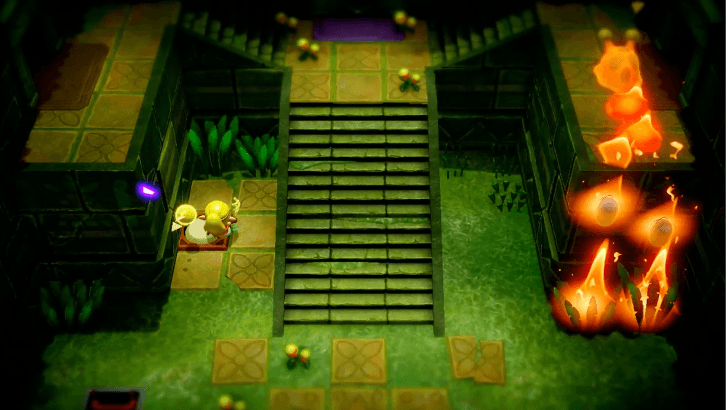 The next room contains a locked door in the middle and an open door on the right. Head south first to activate the switch near the stairs and lower the steel bars. |
| 2 |
 Before you continue, go down the ladder near the switch. This leads you to a sidescroller area filled with enemies. Defeat all of them and reach the treasure chest to get 10 Warm Peppers. Head to the next room on the right. |
| 3 |
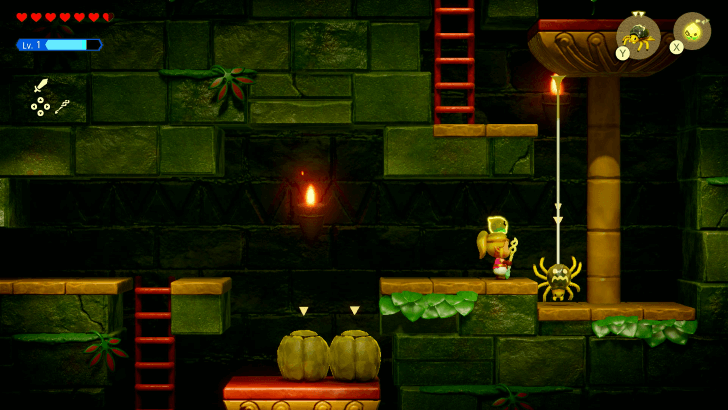 Solve the puzzle in the room by placing Boulders on the scales to lower one platform and using a Strandtula to get up through the gap to the ladder. Climb the ladder and circle back to the Faron Temple Dungeon entrance. |
| 4 |
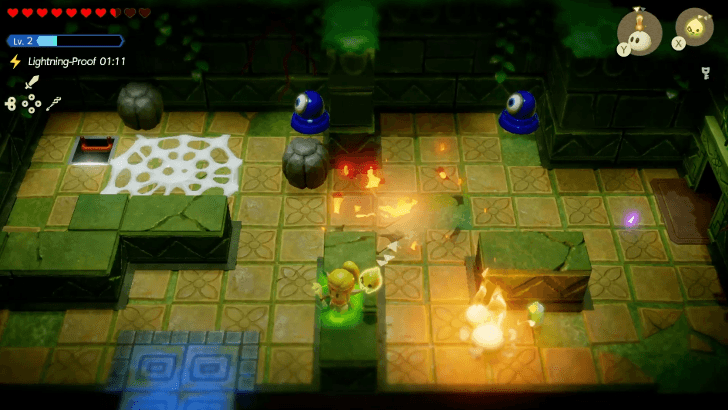 Enter through the door on the northwest corner of the room. This next room contains Beamos that shoot lasers and a Baby Gohma. You can move the boulders to block the Beamos and head towards the door on the south side to go back outside the dungeon. You can also defeat the Baby Gohma by just destroying the egg before they can hatch. |
| 5 |
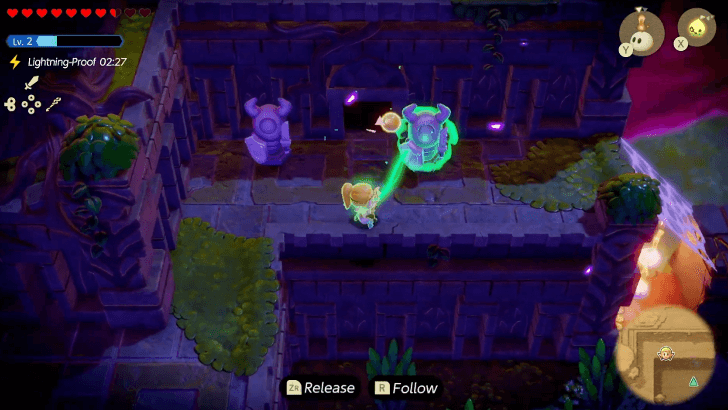 Head to the right side and move the statue with Bind to reveal an open door. Watch out as one of these statues is an Armos that will move as you get close. |
| 6 |
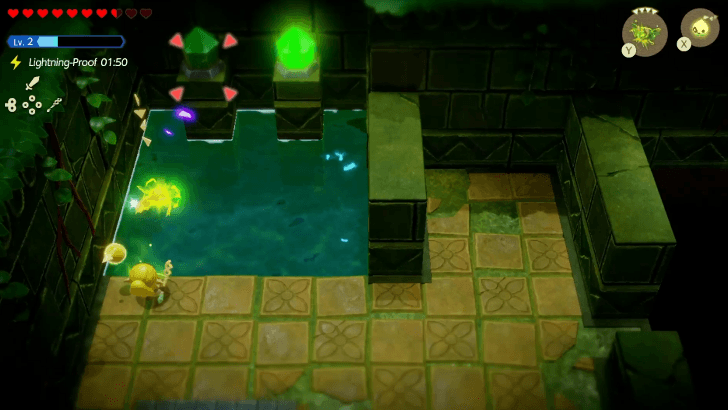 The room contains another 3 green crystal puzzle. Use Electric Keese and lock on to each crystal to activate them. Open the treasure chest to get the Small Key. |
Get the Second Small Key
| # | Step by Step Objectives |
|---|---|
| 1 |
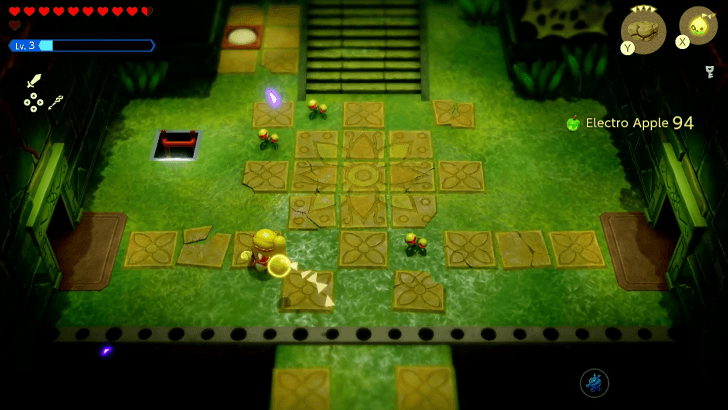 After picking up the first Small Key, fast travel back to the waypoint inside the dungeon. Enter the door on the west side of the room, the one nearest to the ladder that leads to the floor below. |
| 2 |
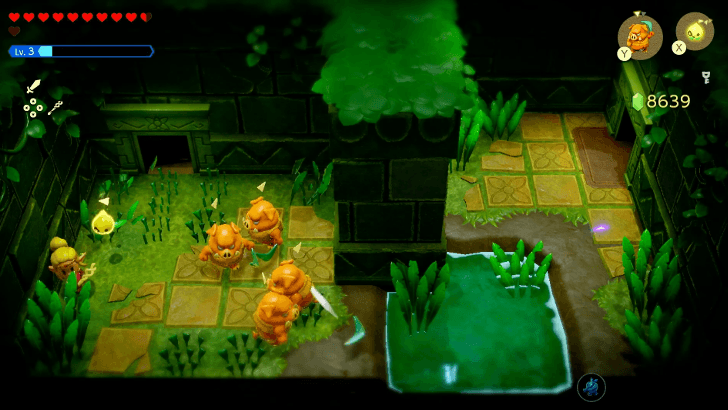 In the next room, defeat the Electric Keese and cut the tall grass to reveal the next door. |
| 3 |
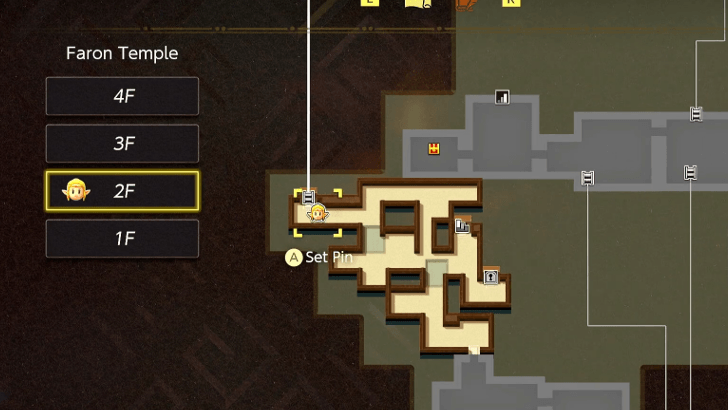 The next room has a low light source so you can use a Torch Slug or any fire echo to light up the unlit torches. This will help you make your way to the left side and reach a ladder. You can also use the Map to check your exact location in this room. |
| 4 |
 On the sidescroller room, bring out two Boulder echoes through the gate by holding the Y button to summon them on the east platform. This will raise the west platform, allowing you to reach and activate the blue eye button and open the locked gates. Climb up and open the treasure chest to get the second Small Key. |
Open the Locked Door and Defeat the Two-Headed Plant Miniboss
| # | Step by Step Objectives |
|---|---|
| 1 |
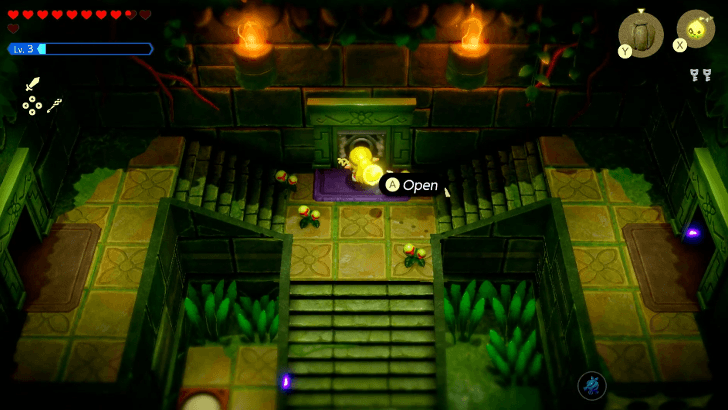 After picking up the second Small Key, fast travel back to the waypoint inside the dungeon. Head north, up the staircase, and open the locked door in the middle. |
| 2 |
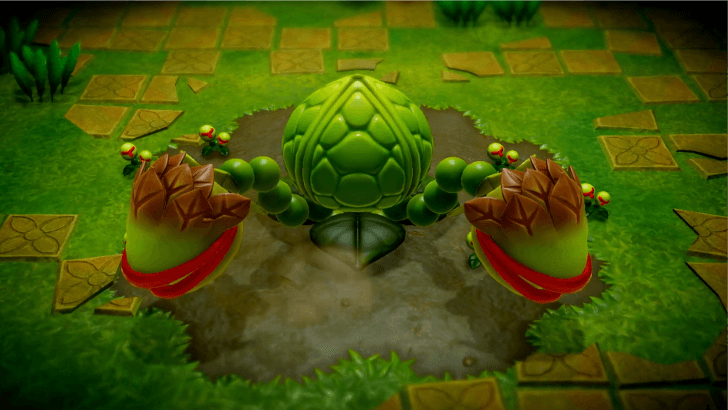 As you enter the room, you'll face the two-headed plant, Manhandla. Feed it bombs by using echoes and use Swordfighter Mode to do spin-attacks at its base to defeat it. After defeating it, Manhandla will retreat, only to return for another encounter later in the quest. ▶︎ How to Beat Manhandla |
Get the Third Small Key
| # | Step by Step Objectives |
|---|---|
| 1 |
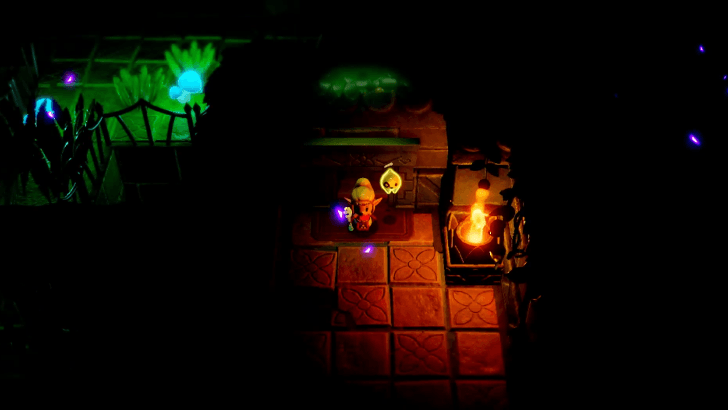 Warp back to the waypoint at the dungeon entrance and go through the lower-left door. Continue heading left through the door behind the grass to get back to the dark room. Head towards the middle part of the room to find and activate a waypoint. You can use a Radiant Potion to illuminate the area better for a short period of time. |
| 2 |
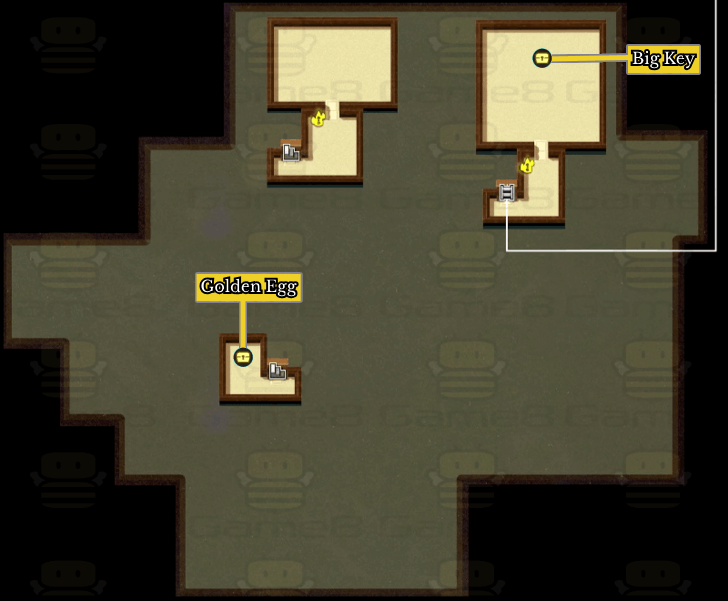
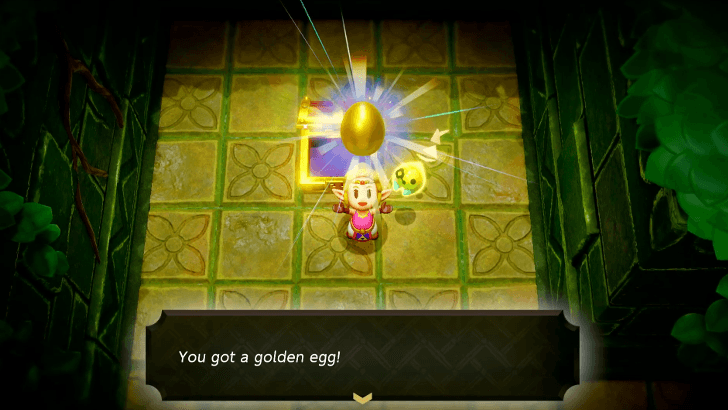 Check your map and head to the locked door southeast of the waypoint past the stairs. This door leads to a room with a treasure chest containing a Golden Egg. |
| 3 |
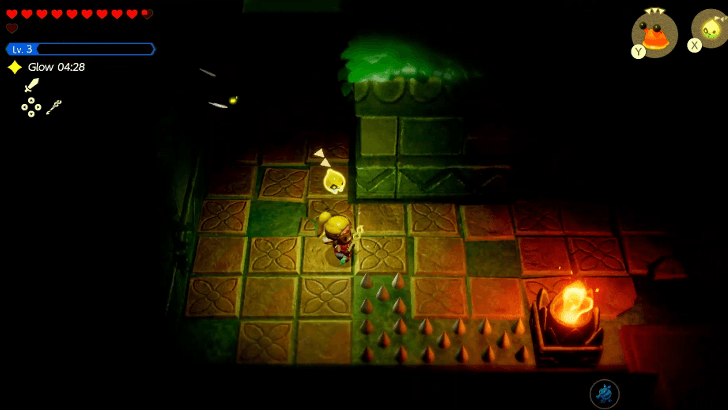 Open the Map to find a door on the bottom-right corner of this room that leads to a new area. Watch out for the spikes on the floor as you make your way towards it. |
| 4 |
 The door behind you will be locked once you enter this area with two switches and an Armos. Place the Armos right in front of one of the switches using Bind. As soon as the Armos steps on one switch, step on the other switch with Zelda to open the locked doors. Head to the door on the right side. |
| 5 |
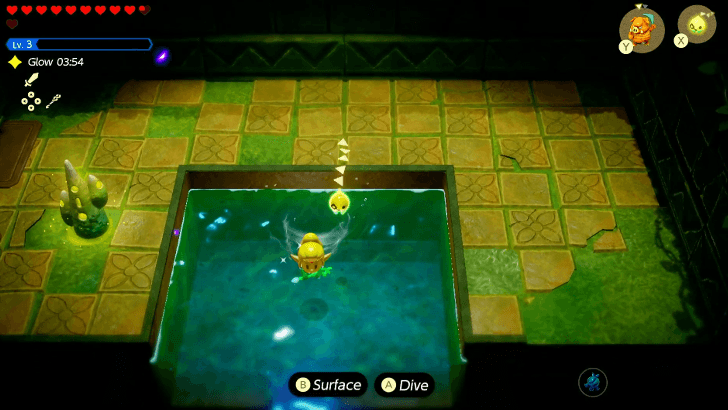 Activate the waypoint in this room. Afterwhich, jump in the water and head south. |
| 6 |
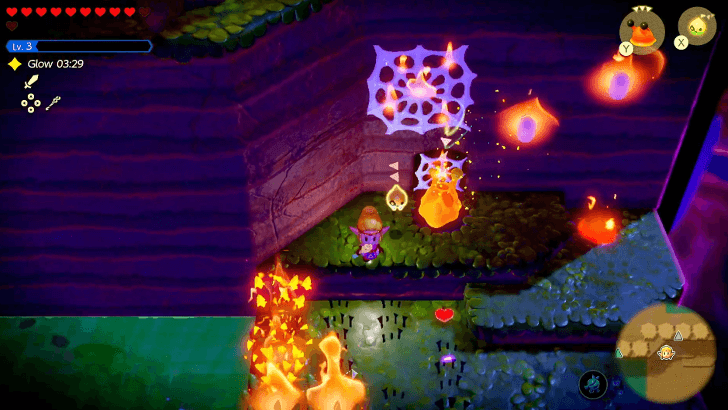 You will emerge outside of the dungeon and at the Stilled Faron Wetlands. Use an Ignizol or any fire echo to burn the webs on the top-right area to reveal an opening to a cave. |
| 7 |
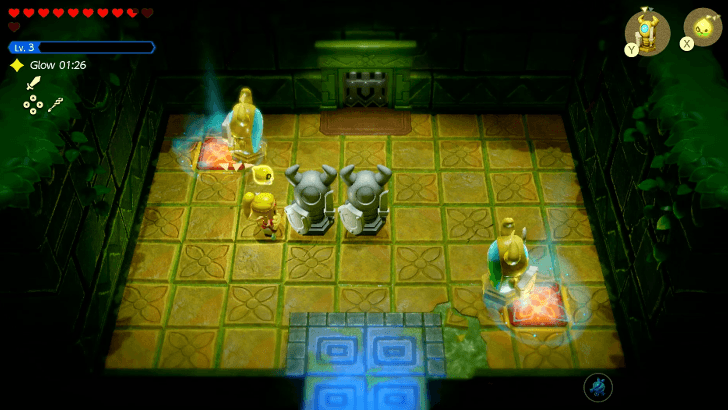 Move the two statues first to reveal two switches. Spawn an Armos echo and have it step on one of the switches while Zelda steps on the other. The Armos has to be an echo as the statues here won't work without doing something extra. |
|
After moving the statues, place Table echoes on top of each switch. Bind the statues and place them on top of each table. Hold ZL to recall both the table echoes which will drop the statues and activate the switches. |
|
| 8 |
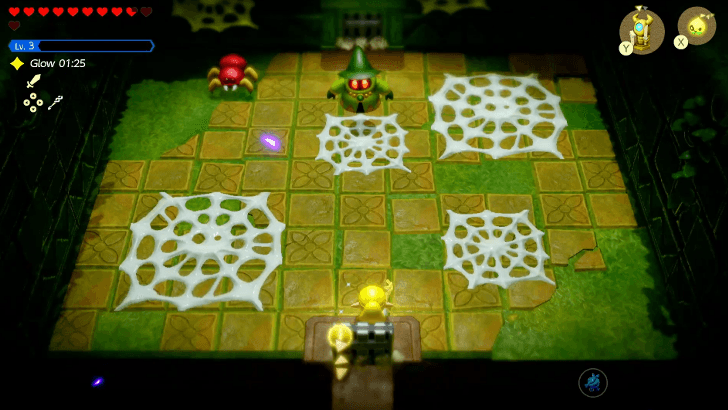 Use a Mob Echo to defeat the Electric Wizzrobe and the Baby Gohma to open the locked gate. Enter the newly unlocked door after. |
| 9 |
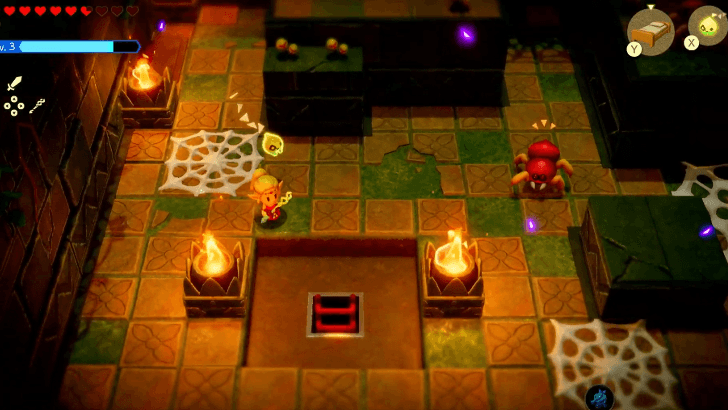 Head north and activate the Waypoint. Use a Torch Slug to light the unlit torches in the area and reach the ladder on the bottom-left corner of the room. The ladder on the upper left leads to an area with a locked door. You will need to get the Third Small Key to open it. |
| 10 |
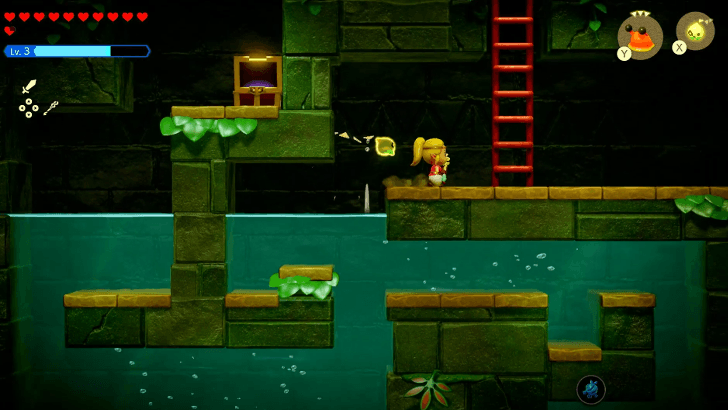 Dive down the water and swim to the bottom that contains two Tangler Lv. 2. You can move towards the air bubbles that appear from a floor to fill in the air meter. Swim through the current that pushes towards the left side that contains two Biri. Swim up and use a Strandtula Echo to reach the treasure chest that contains a Purple Rupee. Use Bind to move the statue away from the narrow opening so you can swim up towards the ladder that leads to the next area. |
| 11 |
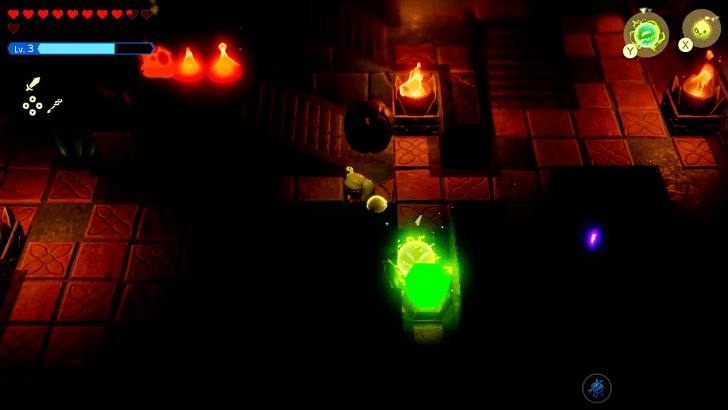 Use a Torch Slug or an Echo that produces fire to light the unlit torches in the room. On the south part of the room, use Bind to move a boulder to reveal a hidden green crystal. Use a Spark Echo to activate it along with the green crystal near the locked door and another on the opposite side to solve the puzzle. After solving the puzzle, head to the left door. |
| 12 |
 Defeat all the enemies first before attempting to solve the switch puzzle. After defeating them, remove all the rocks on the platforms with the red floor except one. Spawn an Armos echo on the platform with no rocks and get Zelda ready to step on the switch at the platform with a rock. Step on the switch as soon as the Armos steps on the other one to unlock the locked doors on the left and north side of the room. |
| 13 |
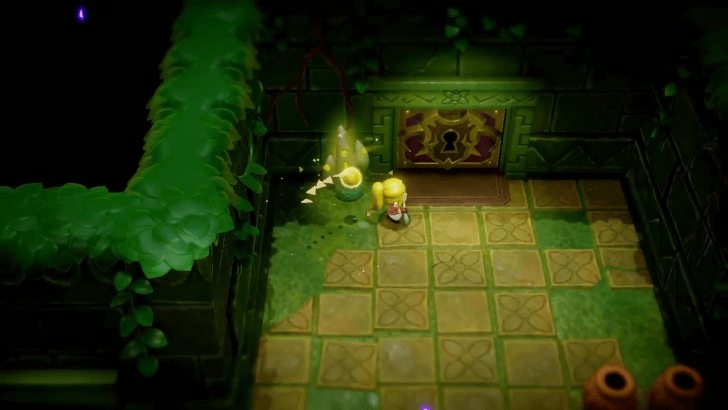 After solving the puzzle with the Armos and the switches, head to the room north and activate the waypoint just before the boss room. |
| 14 |
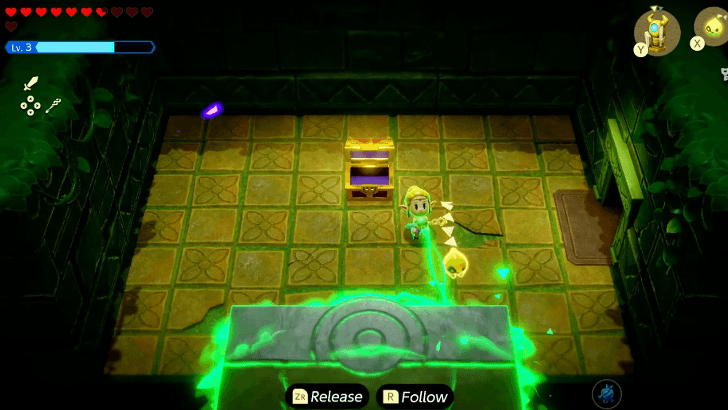 Head back down to the Armos puzzle room and enter the opened door on the left. Open the treasure chest in the middle to get the Third Key. Use Bind to move the large wall on the south side to activate a shortcut to the first room with the low light source. |
Use the Third Small Key
| # | Step by Step Objectives | |
|---|---|---|
| 1 | 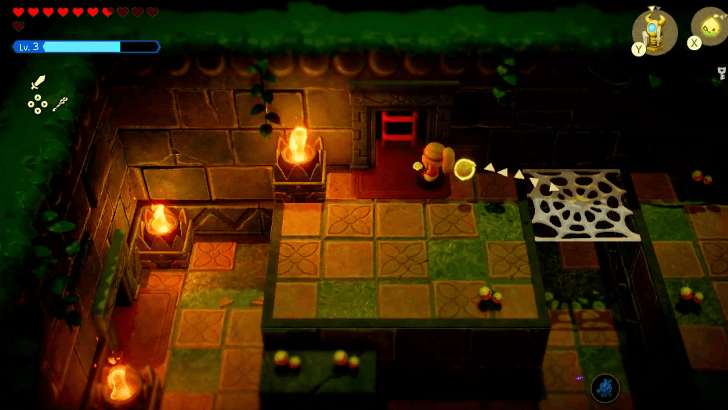 |
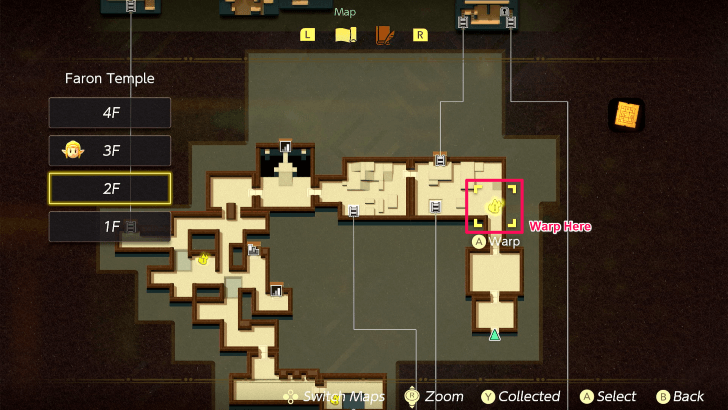 |
| Fast travel to the second dark room on the east side of the map and head to the ladder in the upper-left corner. | ||
| 2 |
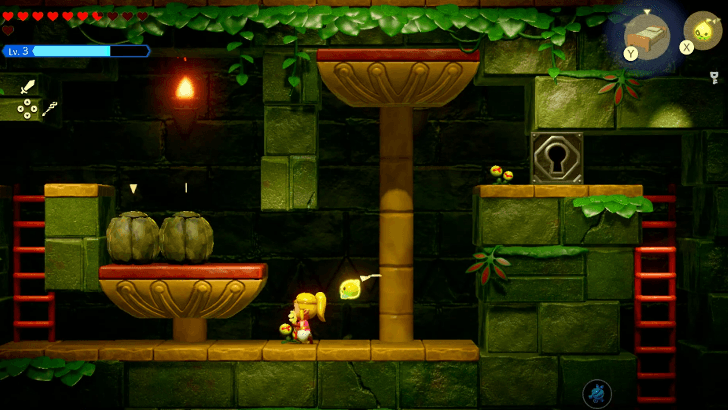 Spawn two Boulder echoes on the first yellow platform to lower it down. Use a Strandtula to reach the locked door and unlock it with the Small Key. Head down the red ladder. |
|
| 3 |
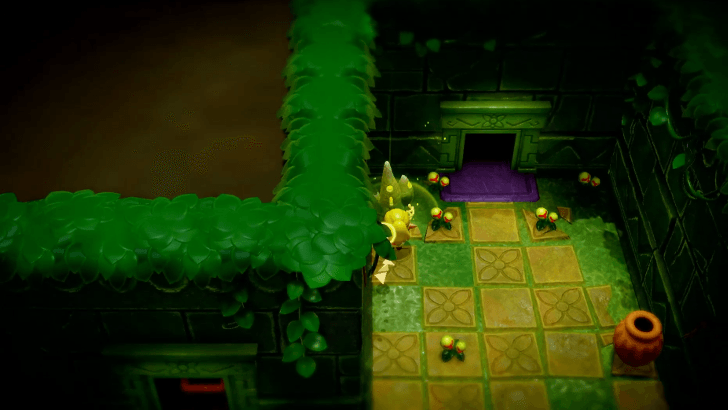 Activate the waypoint in the next room and enter through the door next to it. |
|
Defeat the Four-Headed Plant and Obtain the Big Key
| # | Step by Step Objectives |
|---|---|
| 1 |
 You will fight Manhandla again in this room but this time it has an extra pair of heads. ▶︎ How to Beat Manhandla |
| 2 |
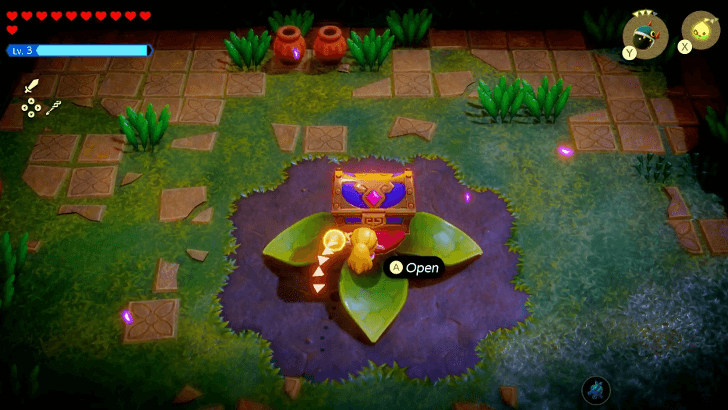 After defeating Manhandla, open the large treasure chest to obtain the Big Key. |
Reach the Boss Area
| # | Step by Step Objectives |
|---|---|
| 1 |
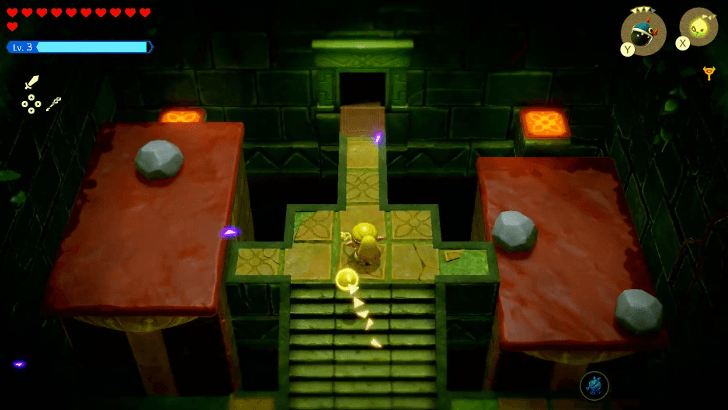 Warp to the waypoint just before the boss room in 2F and prepare for the boss fight before using the Big Key on the locked door. Head inside to start the boss fight. |
Defeat Gohma
| # | Step by Step Objectives |
|---|---|
| 1 |
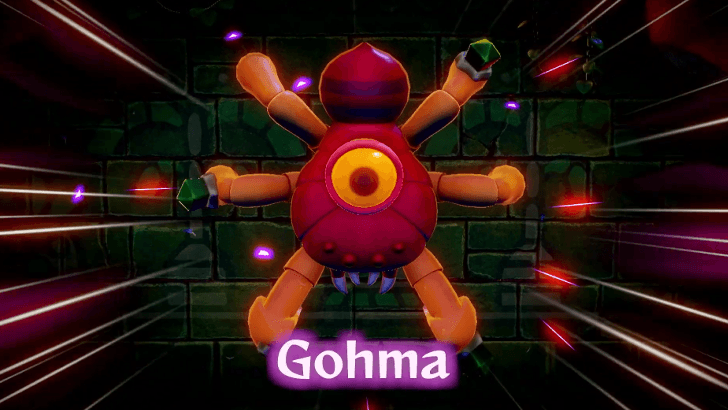 Faron Temple's boss is on the other side of the door. Gohma has these green crystals similar to those you've activated with electricity before that can temporarily immobilize it. ▶︎ How to Beat Gohma |
| 2 |
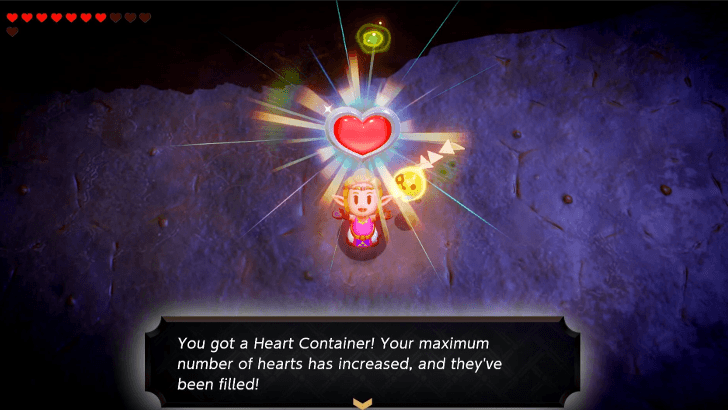 After beating the boss, you will obtain Farore's Sanction in a cutscene. Pick up the Heart Container after the cutscene ends and talk to Tri to exit the dungeon. |
| ◀︎ Previous Quest | Next Quest ▶︎ |
|---|---|
| Still Missing | The Prime Energy and Null |
| Lands of the Goddesses Questline | |
| Lands of the Goddesses ┣ The Rift on Eldin Volcano ┣ Rift on Holy Mount Lanayru ┗ A Rift in the Faron Wetlands ┗ ▶︎★ Faron Temple |
|
Faron Temple Bosses
Manhandla

|
|
Gohma

|
|
Faron Temple Map
Faron Temple 1F Map
| Faron Temple 1F Map |
|---|
 |
Faron Temple 2F Map
| Faron Temple 2F Map |
|---|
 |
Faron Temple 3F Map
| Faron Temple 3F Map |
|---|
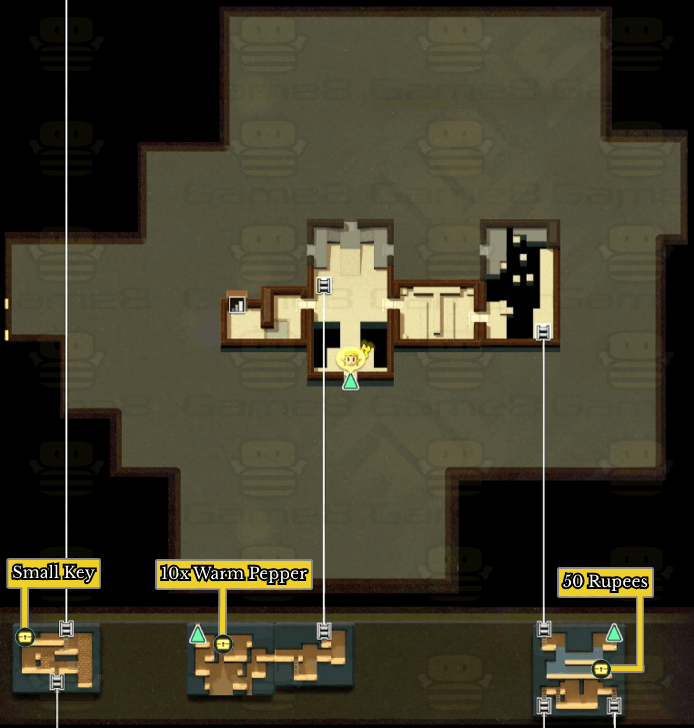 |
Faron Temple 4F Map
| Faron Temple 4F Map |
|---|

Treasures List
• Dungeon Map • Small Key |
New Echoes Learned in Faron Temple
List of Faron Temple Echoes
The list above shows the following echoes you can acquire when progressing the Faron Temple Main Quest.
Echoes List: All 127 Echo Locations
The Legend of Zelda: Echoes of Wisdom (EoW) Related Guides

| Complete Walkthrough | All Dungeons |
| Best Dungeon Order | |
Story Walkthrough Chart
Guides marked with a ★ are Dungeon Guides
Author
The Legend of Zelda: Echoes of Wisdom Walkthrough & Guides Wiki
Faron Temple Walkthrough
improvement survey
03/2026
improving Game8's site?

Your answers will help us to improve our website.
Note: Please be sure not to enter any kind of personal information into your response.

We hope you continue to make use of Game8.
Rankings
- We could not find the message board you were looking for.
Gaming News
Popular Games

Genshin Impact Walkthrough & Guides Wiki

Honkai: Star Rail Walkthrough & Guides Wiki

Umamusume: Pretty Derby Walkthrough & Guides Wiki

Pokemon Pokopia Walkthrough & Guides Wiki

Resident Evil Requiem (RE9) Walkthrough & Guides Wiki

Monster Hunter Wilds Walkthrough & Guides Wiki

Wuthering Waves Walkthrough & Guides Wiki

Arknights: Endfield Walkthrough & Guides Wiki

Pokemon FireRed and LeafGreen (FRLG) Walkthrough & Guides Wiki

Pokemon TCG Pocket (PTCGP) Strategies & Guides Wiki
Recommended Games

Diablo 4: Vessel of Hatred Walkthrough & Guides Wiki

Fire Emblem Heroes (FEH) Walkthrough & Guides Wiki

Yu-Gi-Oh! Master Duel Walkthrough & Guides Wiki

Super Smash Bros. Ultimate Walkthrough & Guides Wiki

Pokemon Brilliant Diamond and Shining Pearl (BDSP) Walkthrough & Guides Wiki

Elden Ring Shadow of the Erdtree Walkthrough & Guides Wiki

Monster Hunter World Walkthrough & Guides Wiki

The Legend of Zelda: Tears of the Kingdom Walkthrough & Guides Wiki

Persona 3 Reload Walkthrough & Guides Wiki

Cyberpunk 2077: Ultimate Edition Walkthrough & Guides Wiki
All rights reserved
© Nintendo. The Legend of Zelda and Nintendo Switch are trademarks of Nintendo.
The copyrights of videos of games used in our content and other intellectual property rights belong to the provider of the game.
The contents we provide on this site were created personally by members of the Game8 editorial department.
We refuse the right to reuse or repost content taken without our permission such as data or images to other sites.


I swear that plant monster is manhandla or some version of it