This survey will take about 1 minute.
Your answers will help us to improve our website.
Zelda: Echoes of Wisdom (EoW)
Null's Body Walkthrough
▲ 100% the game with our Interactive Map!
▲ Zelda amiibo give Ingredients & Outfits.
▲ Best Dungeon Order and Best Echoes.
▲ Heart Pieces | Might Crystals | Tri Power
▲ Best Smoothies | All 69 Recipes
Null's Body is a dungeon in The Legend of Zelda: Echoes of Wisdom (EoW) located in Eternal Forest. Read on for a complete walkthrough guide on this dungeon, how to get to Null's Body, puzzle solutions, and more!
| ◀︎ Previous Quest | Next Quest ▶︎ |
|---|---|
| Lands of the Goddesses | - |
| The Prime Energy and Null Questline | |
|
The Prime Energy and Null ┣ Rescuing the Hero Link ┗ ▶︎★ Null's Body |
|
List of Contents
Null's Body Dungeon Preparation
Best Echoes for Null's Body
| Echo | Usage |
|---|---|
 Fire Wizzrobe Fire Wizzrobe
|
・Projectiles are useful for hitting flying enemies |
 Electric Wizzrobe Electric Wizzrobe
|
・Projectiles are useful for hitting flying enemies |
 Boomerang Boarblin Boomerang Boarblin
|
・Alternative to Wizzrobes if there are too many targets |
 Crawltula Crawltula
|
・Can help you scale walls with Reverse Bond |
 Flying Tile Flying Tile
|
・Lets you cross gaps with ease |
 Brazier Brazier
|
・Melts ice spikes and blocks |
 Ignizol Ignizol
|
・Melts ice spikes and blocks ・Burns webs |
 Keese Keese
|
・Can carry you to higher areas with the help of air vents |
 Chompfin Chompfin
|
・For underwater combat |
 Trampoline Trampoline
|
・Can be used to reach elevated platforms |
 Zelda's Bed Zelda's Bed
|
・Can be used as a staircase to reach high platforms ・Can be used to restore hearts |
 Lizalfos Lv. 3 Lizalfos Lv. 3
|
・Can be used for combat against enemies, minibosses, and bosses |
 Platboom Platboom
|
・Can be used to ascend and reach high areas ・Can be used to crush enemies |
Best Smoothies for Null's Body
| Smoothies | Benefit |
|---|---|
| Golden Tough Smoothie | The Golden Tough Smoothie both increases damage reduction and restores most of your hearts! A couple bottles of it will come in handy when things get dicey. |
| Other Smoothies that Restore Hearts | A lot of rooms in this dungeon forces you to fight waves of enemies, so be sure to have restorative Smoothies ready especially before the final battle! |
Null's Body Location
Accessed Through the Stilled Ancient Ruins
Null's Body is the hidden final dungeon that can only be accessed after rescuing Link in the Stilled Ancient Ruins. You will reach this area as part of The Prime Energy and Null and Rescuing the Hero Link Main Quests.
The Prime Energy and Null Walkthrough
How to Get to Null's Body
| # | Step by Step Objectives |
|---|---|
| 1 | 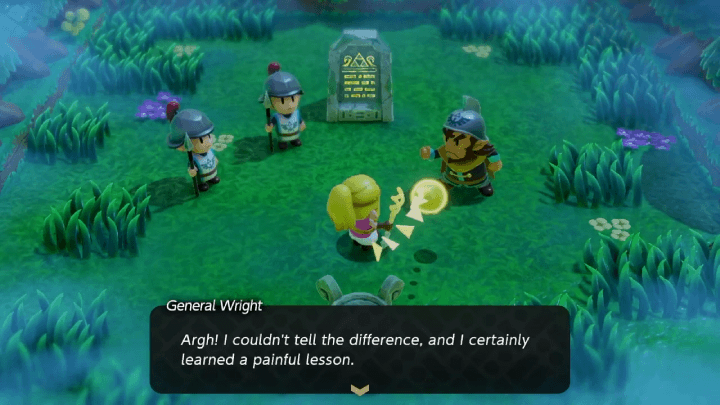 From Hyrule Castle Town, travel northwest to the Eternal Forest and find Wright's squad. ▶︎ The Prime Energy and Null Walkthrough |
| 2 | 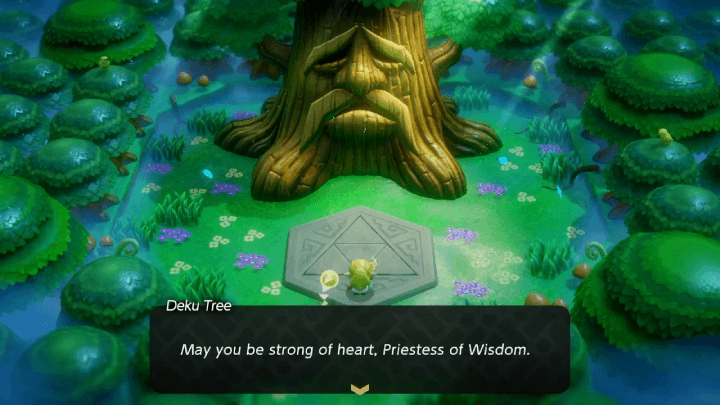 Complete the stone monument puzzle by "crowning" the six pedestals in the forest. To accomplish this, you'll need to learn the Ancient Orb echo and place one on each pedestal. Placing all six orbs reveals a path to the Deku Tree, who will reveal another path that ultimately leads to the Stilled Ancient Ruins. You will reach Null's Body at the end of this area. ▶︎ Rescuing the Hero Link Walkthrough |
Null's Body Walkthrough
| The Prime Energy and Null Guide |
|---|
|
|
Navigate Inside Null's Body
| How to Complete | |
|---|---|
| 1 | 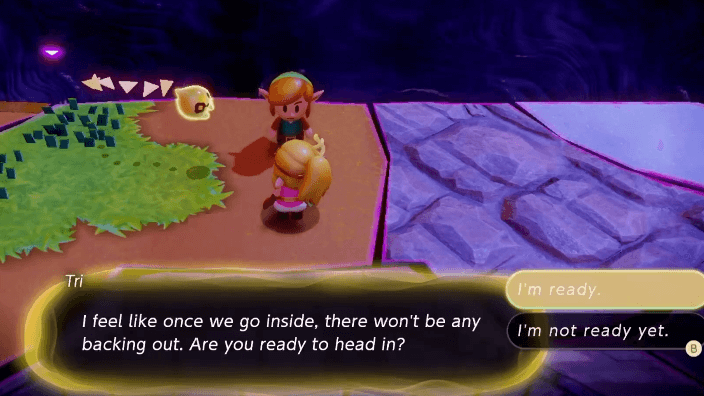 After rescuing Link, talk to him to give his weapons back. Tri asks another confirmation if you want to enter the rift inside as this is a point of no return. Select "I'm ready". |
| 2 |  Follow Link and enter the door on the north until you reach a room that will spawn enemies. Defeat all the enemies to open the locked doors. |
| 3 | 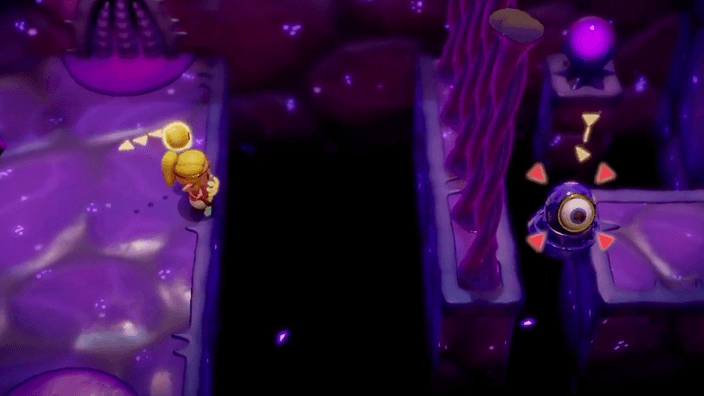 You'll get split up by a wall of thorns in the next room, so take the path to the right while still following Link from the other side. Use a Beamos Echo to hit the purple orb on the right side to unlock both doors for you and Link to enter. |
| 4 | 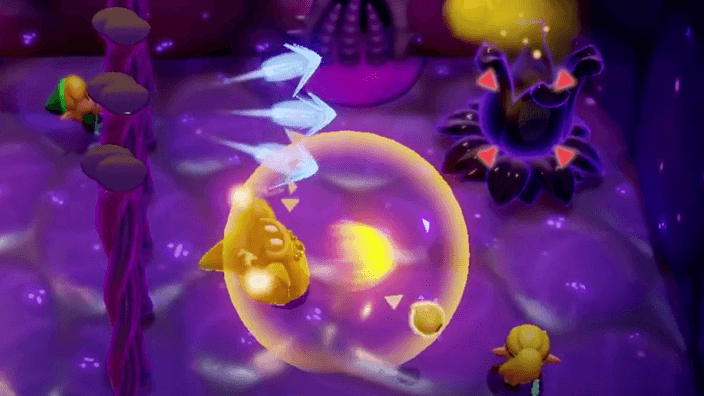 Defeat all the enemies in the next room. Spawn Fire Wizzrobe Echo or Lizalfos Echo to distract the group of enemies in your area and wait until Link assists you with ranged attacks. |
| 5 | 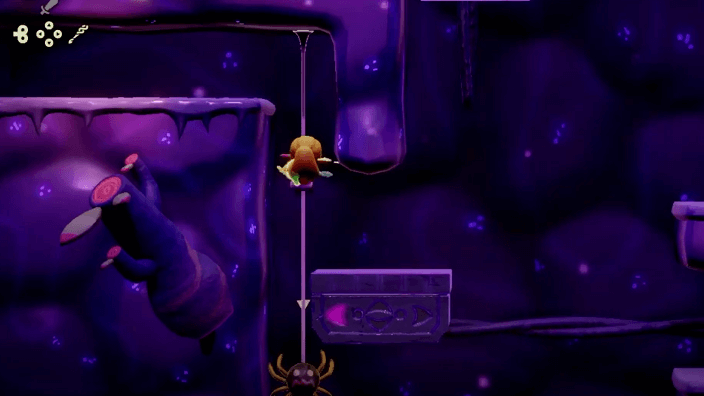 Use Reverse Bond on the moving platforms to reach the next area. Use the Crawltula Echo to spawn a climable stringand go to the next room. |
| 5 |  Use the Flying Tile Echo to cross geysers and use the Platboom Echo to gain height. Time your jumps to when the geyser goes out to float towards platforms and use the Platboom Echo again to make your way to the exit. |
| 6 | 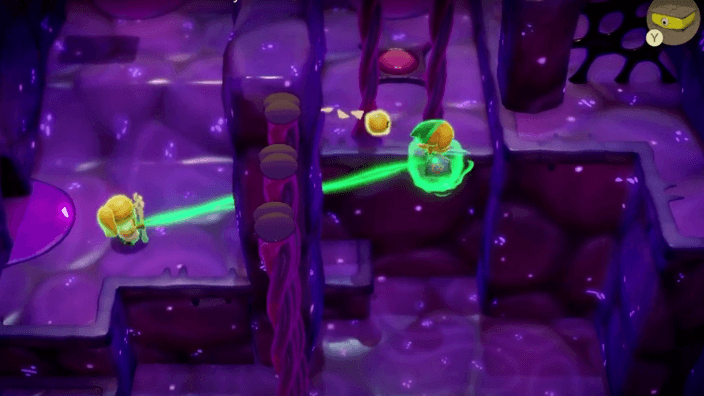 Enter the room on the right and help Link reach the pressure plate on the opposite side. Bind Link and get close enough for him to be placed on the edge of the platform before unbinding, and letting him get through the web and stand on the pressure plate. |
| 7 | 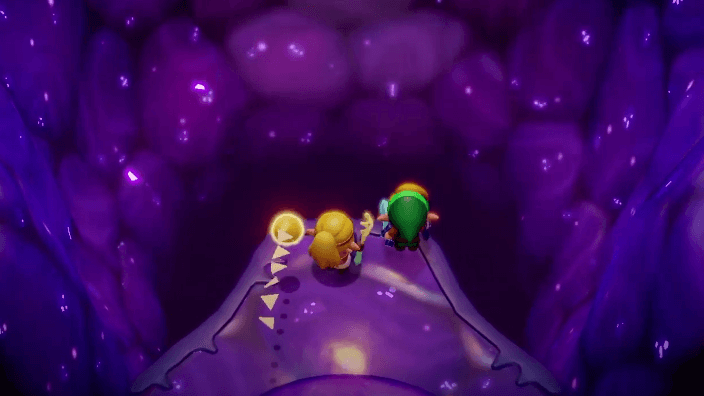 Follow Link as you head north of the area. Jump down to the pit and watch the cutscene that follows. |
Defeat Null
| How to Complete | |
|---|---|
| 1 | 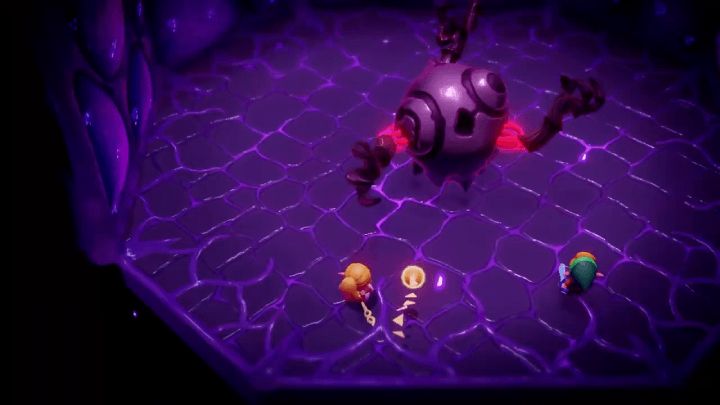 Time to face the final boss—Null. This boss has three phases, so prepare for a grueling fight! ▶︎ How to Beat Null |
| 2 | 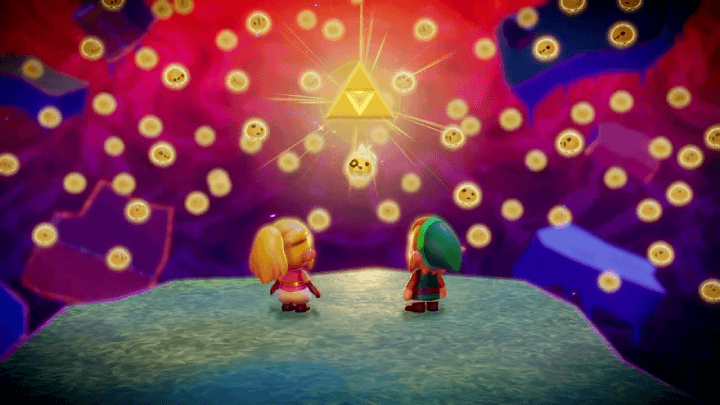 Congratulations on finishing the story! The ending scenes will play after defeating Null and you will automatically be taken back to the main menu where you can continue your journey and aim for a 100% completion! ▶︎ Post Game Content and 100% Checklist |
| ◀︎ Previous Quest | Next Quest ▶︎ |
|---|---|
| Lands of the Goddesses | - |
| The Prime Energy and Null Questline | |
|
The Prime Energy and Null ┣ Rescuing the Hero Link ┗ ▶︎★ Null's Body |
|
Null's Body Boss
Null
Pull Null's Limbs with Bind
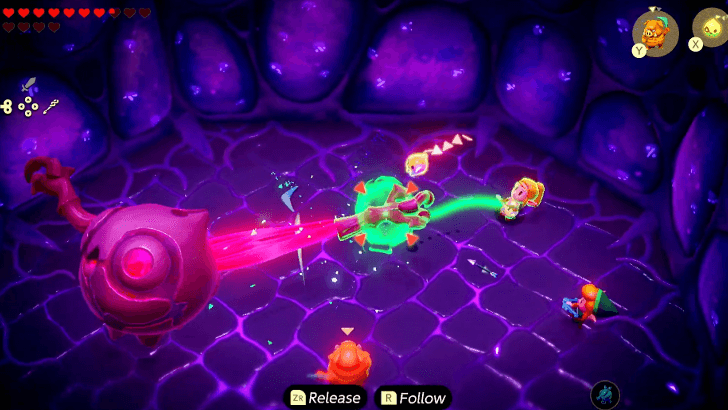
To defeat Null, Zelda needs to literally tear them limb from limb by using Bind and pulling each of their arms.
Losing arms will reduce the frequency of its attacks and, upon losing all their arms, completely cripple Null, making it easier for Link and your summoned Echoes to deal damage.
Summon Chompfins to Attack in Phase Two
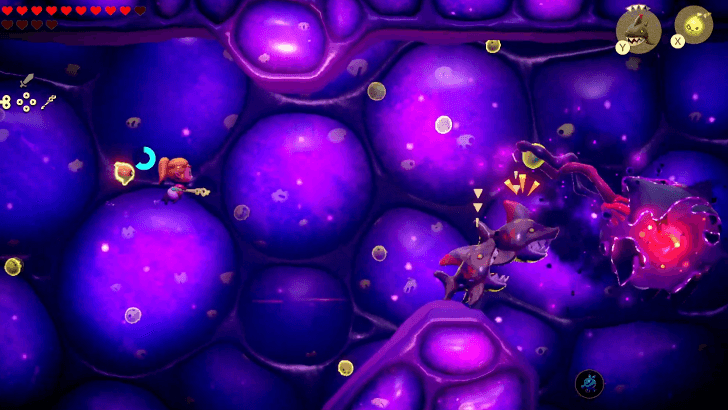
Since Link won't be able to join you in this phase, you'll have to rely on your Echoes to attack Null while pulling their arms. Summon a couple of Chompfins to rip Null apart while you aim for their weakpoints.
Remember that your Chompfins will also take damage from the giant whirlpools and other attacks Null throws at you, so resummon them if needed.
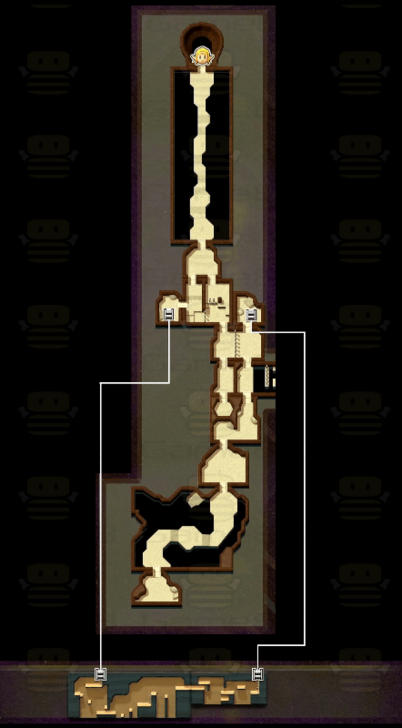
Null's Body Map
Full Map of Null's Body
| Null's Body Map |
|---|
 |
The Legend of Zelda: Echoes of Wisdom (EoW) Related Guides
| Complete Walkthrough | All Dungeons |
| Best Dungeon Order | |
Story Walkthrough Chart
Guides marked with a ★ are Dungeon Guides
Comment
Author
The Legend of Zelda: Echoes of Wisdom Walkthrough & Guides Wiki
Null's Body Walkthrough
Please participate in our site
improvement survey
03/2026
improvement survey
03/2026
Would you assist in
improving Game8's site?
improving Game8's site?

×
We are listening to our users' valuable opinions and discussing how to act on them.
The information collected through this survey will be used for the purpose of improving our services. In addition, the information will only be disclosed a part of a statistic in a format that will not allow identification of personal information.
Begin Survey
Not Now
×
Please rate each item regarding Game8.co's Advertisements.
Amount of Ads
Very Dissatisfied
Somewhat Dissatisfied
Fine
Somewhat Satisfied
Highly Satisfied
Placement of Ads
Timing of Ad Display
Ad Loading Speed
Safeness of Ads
Content of Ads
×
Please rate each item regarding Game8.co's Quality of Articles.
Amount of information
Very Dissatisfied
Somewhat Dissatisfied
Fine
Somewhat Satisfied
Highly Satisfied
Frequency of updates
Speed of new information
Accuracy of articles
Understandibility of articles
Readability of sentences
×
Please rate each item regarding Game8.co's Usability of the Site.
Ease of finding information
Very Dissatisfied
Somewhat Dissatisfied
Fine
Somewhat Satisfied
Highly Satisfied
Loading Speed
Use of Color
Font Size
Visibility of Images
Easy to Understand Layout
×
Please rate each item regarding Game8.co's Message Boards, Comments.
Ease of Writing
Very Dissatisfied
Somewhat Dissatisfied
Fine
Somewhat Satisfied
Highly Satisfied
Readability
Ease in Finding Information
Comment Quality
Comment Quantity
Admin Response
×
Please rate each item regarding Game8.co's Site's new design.
Please rate our site's new design
Very Dissatisfied
Somewhat Dissatisfied
Fine
Somewhat Satisfied
Highly Satisfied
Do you think that the website's design change makes the site easier to use?
Has the new design made it easier for you to find information on the site?
Has the new design improved the overall visual appeal of the site?
How would you rate your overall satisfaction with the new design of the site?
×
How likely are you to recommend Game8 to someone you know?
Very Unlikely
0
1
2
3
4
5
6
7
8
9
10
Very Likely
If you have other opinions regarding potential improvement to the website, please share them with us. We would appreciate your honest opinion.
Note: This is a free response section, so you can proceed without entering anything.
Note: Please be sure not to enter any kind of personal information into your response.
Note: Please be sure not to enter any kind of personal information into your response.
×
Thank You
×
Thank you for participating in our survey! Your answers will help us to improve the quality of our website and services.
We hope you continue to make use of Game8.
We hope you continue to make use of Game8.
Close
Rankings
- We could not find the message board you were looking for.
Gaming News


Popular Games

Genshin Impact Walkthrough & Guides Wiki
Honkai: Star Rail Walkthrough & Guides Wiki
Umamusume: Pretty Derby Walkthrough & Guides Wiki
Pokemon Pokopia Walkthrough & Guides Wiki
Resident Evil Requiem (RE9) Walkthrough & Guides Wiki
Monster Hunter Wilds Walkthrough & Guides Wiki
Wuthering Waves Walkthrough & Guides Wiki
Arknights: Endfield Walkthrough & Guides Wiki
Pokemon FireRed and LeafGreen (FRLG) Walkthrough & Guides Wiki
Pokemon TCG Pocket (PTCGP) Strategies & Guides Wiki


Recommended Games
Diablo 4: Vessel of Hatred Walkthrough & Guides Wiki
Fire Emblem Heroes (FEH) Walkthrough & Guides Wiki
Yu-Gi-Oh! Master Duel Walkthrough & Guides Wiki
Super Smash Bros. Ultimate Walkthrough & Guides Wiki
Pokemon Brilliant Diamond and Shining Pearl (BDSP) Walkthrough & Guides Wiki
Elden Ring Shadow of the Erdtree Walkthrough & Guides Wiki
Monster Hunter World Walkthrough & Guides Wiki
The Legend of Zelda: Tears of the Kingdom Walkthrough & Guides Wiki
Persona 3 Reload Walkthrough & Guides Wiki
Cyberpunk 2077: Ultimate Edition Walkthrough & Guides Wiki


All rights reserved
© Nintendo. The Legend of Zelda and Nintendo Switch are trademarks of Nintendo.
The copyrights of videos of games used in our content and other intellectual property rights belong to the provider of the game.
The contents we provide on this site were created personally by members of the Game8 editorial department.
We refuse the right to reuse or repost content taken without our permission such as data or images to other sites.