How to Beat the Large Jellyfish Barinade
▲ 100% the game with our Interactive Map!
▲ Zelda amiibo give Ingredients & Outfits.
▲ Best Dungeon Order and Best Echoes.
▲ Heart Pieces | Might Crystals | Tri Power
▲ Best Smoothies | All 69 Recipes
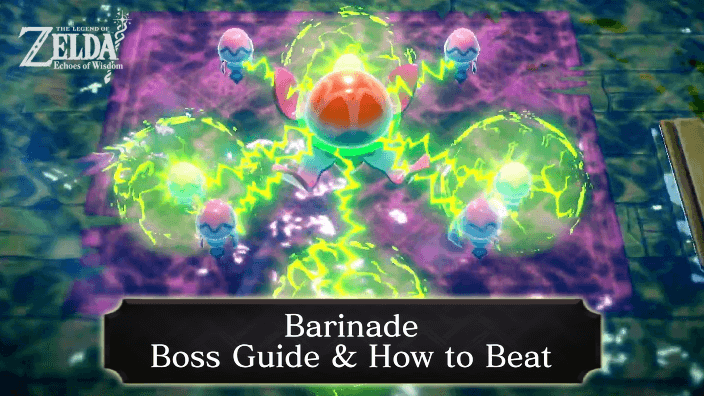
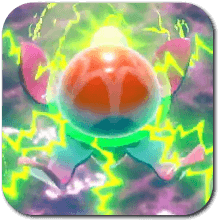
Barinade is a miniboss that can be fought at Zora Cove in The Legend of Zelda: Echoes of Wisdom (EoW). Read on to learn more on how to beat Barinade, as well as its weaknesses, location, and rewards from beating Barinade in the game.
List of Contents
How to Beat Barinade
| How to Beat Barinade |
|---|
|
|
Shoot the Boss's Minions with the Bow
Before you can damage Barinade, you’ll need to defeat the smaller minions surrounding it first. Use your Bow of Might in Swordfighter Form to quickly take down the little Barinades.
With the right angle, you can even eliminate multiple minions in a single shot.
Swordfighter Form Upgrade Order
Summon Boomerang Boarblins
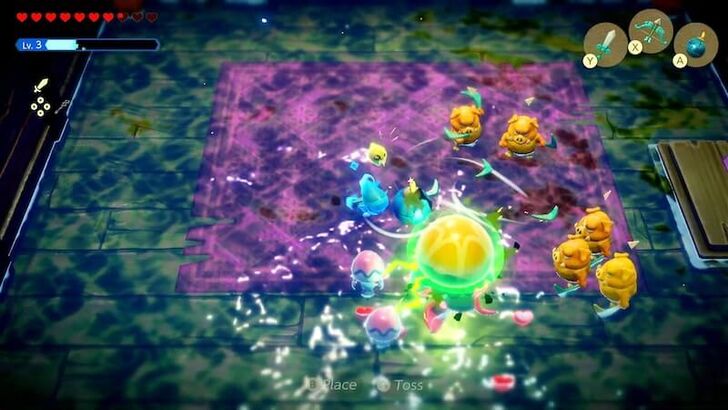
If you haven’t unlocked the Bow ability yet, you can instead summon Boomerang Boarblin Echoes to attack the small Barinades.
Boomerang Boarblins can hit several targets at once and cover more ground, making it easier to clear to tear down the boss's defenses.
Spin Around to Avoid Attacks
Barinade takes up a large part of the area, making the fight seem claustrophobic.Spin around the boss as much as you can to dodge the Spark projectiles and the smaller Barinades.
Finish Boss in Swordfighter Form
Once Barinade's defenses are down, switch to Swordfighter Form and unleash a flurry of attacks with the Mysterious Sword.
After dealing enough damage, the fight will move into Phase 2. The only main difference is that Barinade moves slightly faster. Stick to the same strategies as before, then finish the boss with the Sword to take it down once and for all.
Barinade Location
Fought as a Mini-Boss in The Zappy Shipwreck Side Quest
 |
||
| Location | Boss Type | Rewards |
|---|---|---|
| Zora Cove | Miniboss | ・Heart Piece |
| Weaknesses | ||
| ・Summon Boomerang Boarblins to tear down its defenses ・Finish the boss in Swordfighter Form |
||
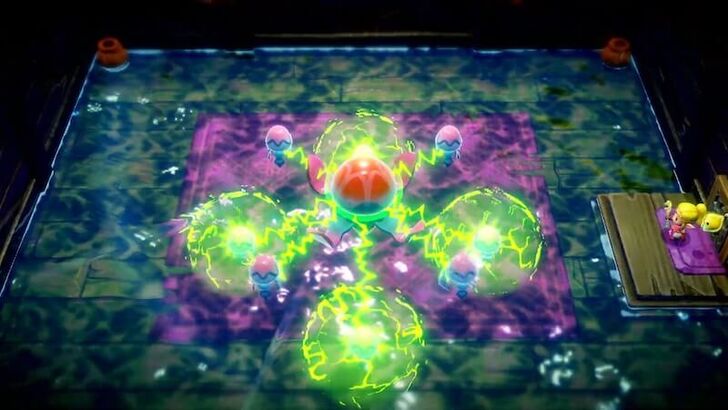
Barinade is the mini-boss of the Shipwreck, located southwest of Zora Cove. Defeating this boss is required to complete The Zappy Shipwreck side quest. Check out our guide below for a step-by-step walkthrough:
The Zappy Shipwreck Quest Walkthrough
The Legend of Zelda: Echoes of Wisdom (EoW) Related Guides

Dungeon Bosses
 Seismic Talus Seismic Talus |
 Mogryph Mogryph |
 Vocavor Vocavor |
 Ganon Ganon |
 Volvagia Volvagia |
 Gohma Gohma |
 Skorchill Skorchill |
 Null Null |
Mini-Bosses
 Dark Link Dark Link |
 Smog Smog |
 Jabu-Jabu Jabu-Jabu |
 Lanmola Lanmola |
 Barinade Barinade |
 Igneo Talus Igneo Talus |
 Manhandla Manhandla |
 Slime Eye Slime Eye |
 Shadow Zelda Shadow Zelda |
Author
The Legend of Zelda: Echoes of Wisdom Walkthrough & Guides Wiki
How to Beat the Large Jellyfish Barinade
improvement survey
03/2026
improving Game8's site?

Your answers will help us to improve our website.
Note: Please be sure not to enter any kind of personal information into your response.

We hope you continue to make use of Game8.
Rankings
- We could not find the message board you were looking for.
Gaming News
Popular Games

Genshin Impact Walkthrough & Guides Wiki

Honkai: Star Rail Walkthrough & Guides Wiki

Umamusume: Pretty Derby Walkthrough & Guides Wiki

Pokemon Pokopia Walkthrough & Guides Wiki

Resident Evil Requiem (RE9) Walkthrough & Guides Wiki

Monster Hunter Wilds Walkthrough & Guides Wiki

Wuthering Waves Walkthrough & Guides Wiki

Arknights: Endfield Walkthrough & Guides Wiki

Pokemon FireRed and LeafGreen (FRLG) Walkthrough & Guides Wiki

Pokemon TCG Pocket (PTCGP) Strategies & Guides Wiki
Recommended Games

Diablo 4: Vessel of Hatred Walkthrough & Guides Wiki

Fire Emblem Heroes (FEH) Walkthrough & Guides Wiki

Yu-Gi-Oh! Master Duel Walkthrough & Guides Wiki

Super Smash Bros. Ultimate Walkthrough & Guides Wiki

Pokemon Brilliant Diamond and Shining Pearl (BDSP) Walkthrough & Guides Wiki

Elden Ring Shadow of the Erdtree Walkthrough & Guides Wiki

Monster Hunter World Walkthrough & Guides Wiki

The Legend of Zelda: Tears of the Kingdom Walkthrough & Guides Wiki

Persona 3 Reload Walkthrough & Guides Wiki

Cyberpunk 2077: Ultimate Edition Walkthrough & Guides Wiki
All rights reserved
© Nintendo. The Legend of Zelda and Nintendo Switch are trademarks of Nintendo.
The copyrights of videos of games used in our content and other intellectual property rights belong to the provider of the game.
The contents we provide on this site were created personally by members of the Game8 editorial department.
We refuse the right to reuse or repost content taken without our permission such as data or images to other sites.


Its so hard to fight without boomerang boarblin, glad i could use my ball and chain trroper and spear moblin instead