This survey will take about 1 minute.
Your answers will help us to improve our website.
Zelda: Echoes of Wisdom (EoW)
Suthorn Ruins Walkthrough
▲ 100% the game with our Interactive Map!
▲ Zelda amiibo give Ingredients & Outfits.
▲ Best Dungeon Order and Best Echoes.
▲ Heart Pieces | Might Crystals | Tri Power
▲ Best Smoothies | All 69 Recipes

Suthorn Ruins is a dungeon in The Legend of Zelda: Echoes of Wisdom (EoW) located in Suthorn Forest. Read on for a complete walkthrough guide on this dungeon, how to get to Suthorn Ruins, puzzle solutions, and more!
| ◀︎ Previous Quest | Next Quest ▶︎︎ |
|---|---|
| Prologue | Searching for Everyone |
| The Mysterious Rifts Questline | |
|
The Mysterious Rifts ┗ ▶︎︎★ Suthorn Ruins |
|
Suthorn Ruins Preparation
Best Echoes for Suthorn Ruins
| Echo | Usage |
|---|---|
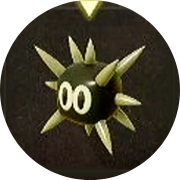 Sea Urchin Sea Urchin
|
・For quick close range attacks |
 Peahat Peahat
|
・Best Echo for rushing enemies and bosses |
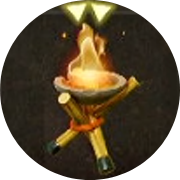 Brazier Brazier
|
・Can be used to complete the Brazier puzzle room |
 Ignizol Ignizol
|
・Can be used to complete the Brazier puzzle room |
 Trampoline Trampoline
|
・Can be used to reach elevated platforms |
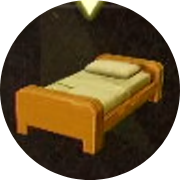 Old Bed Old Bed
|
・Can be used as a staircase to reach high platforms ・Can be used to restore hearts |
Suthorn Ruins Location
Northwest Corner of Stilled Suthorn Forest
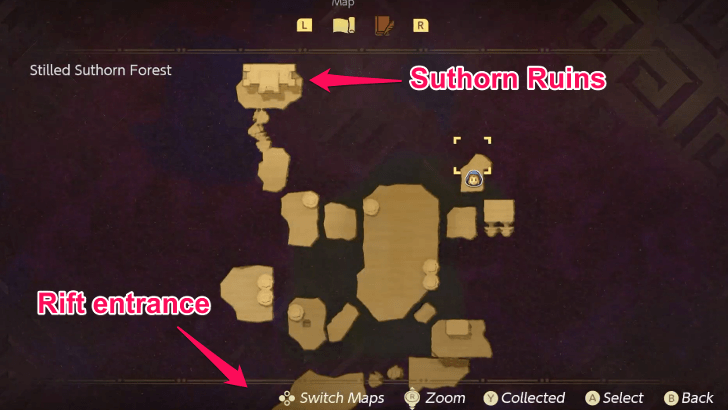
Suthorn Ruins is found at the end of the Stilled Suthorn Forest as part of The Mysterious Rifts main quest. You will have to go through some basic platforming and combat until you reach the chunk of land where the dungeon is.
The Mysterious Rifts Walkthrough
How to Get to Suthorn Ruins
| # | Step by Step Objectives |
|---|---|
| 1 |
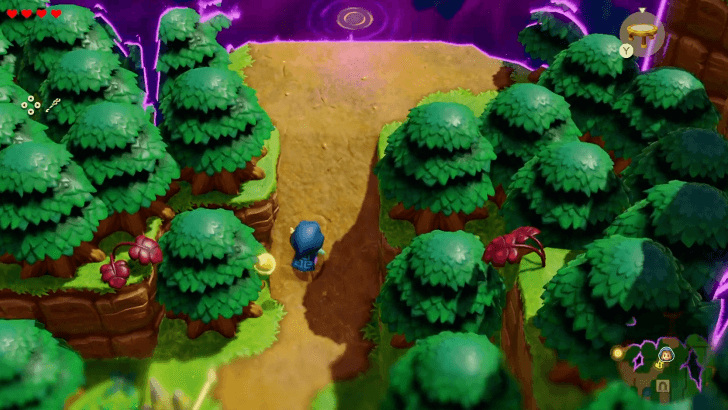 After reaching the house that Impa marked on your map and finding out part of it was swallowed by the rift, make a detour to the east until you find the rift entrance to the Stilled Suthorn Forest. |
| 2 |
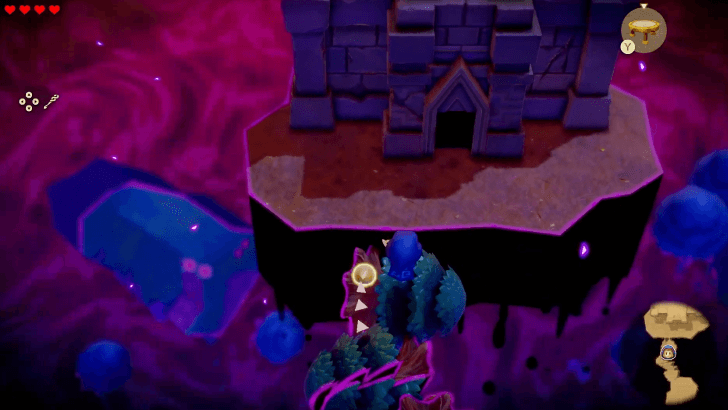
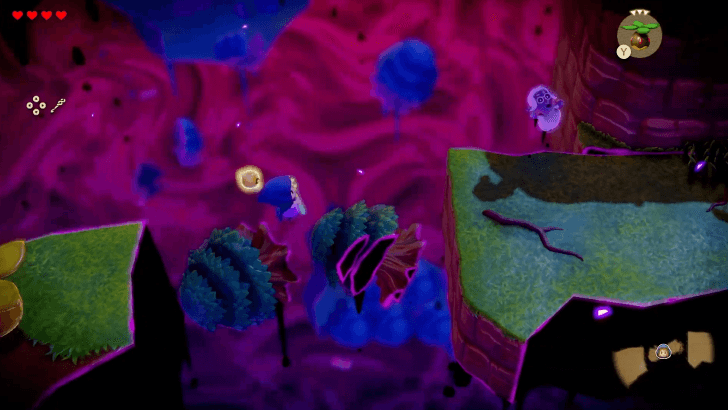 Once inside the rift, jump across the floating platforms as you head northeast toward the cave. If you want to be more cautious when crossing gaps, you can summon Old Bed Echoes for extra stability. ▶︎︎ Stilled Suthorn Forest Rift Walkthrough |
| 3 |
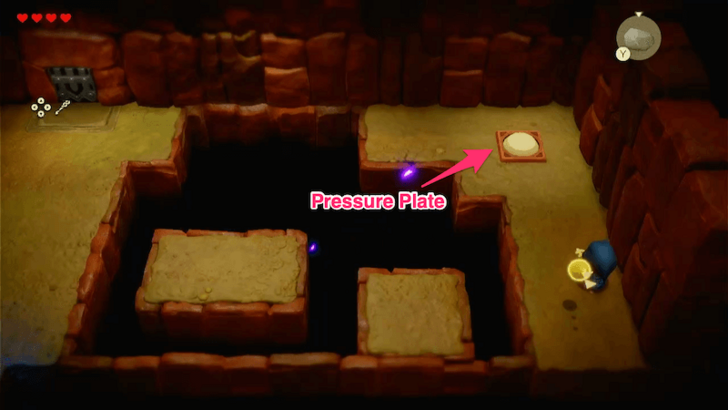 Enter the cave, then jump to the east side of the room. Step on the pressure plate to unlock the next area. It’s best to deal with the Rift Keeses first to avoid being knocked down while jumping across gaps. |
| 4 |
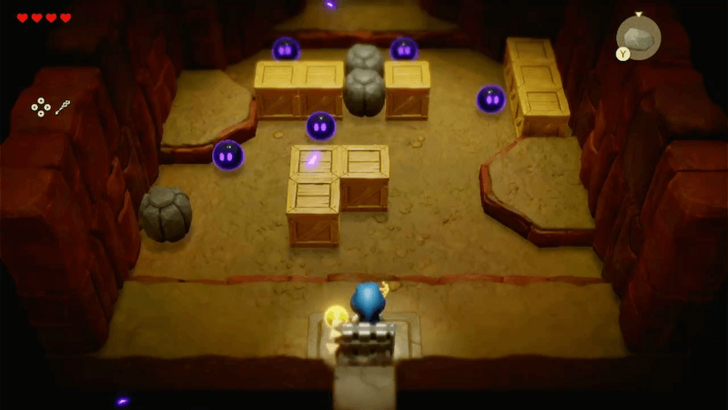 Proceed to the next room, where the exit door will be locked. To unlock it, you’ll need to defeat the Rift Zols. Summoning a Peahat Echo can help you wipe out the enemies efficiently. |
| 5 |
 After exiting the cave, head northwest until you reach the entrance to Suthorn Ruins. |
Suthorn Ruins Walkthrough
|
|
Obtain the Dungeon Map
| # | Step by Step Objectives |
|---|---|
| 1 |
 Upon entering Suthorn Ruins, activate the Waypoint and proceed to the room to the north. |
| 2 |
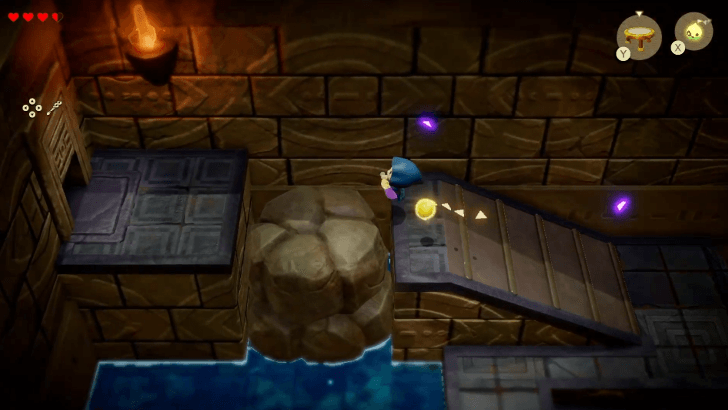
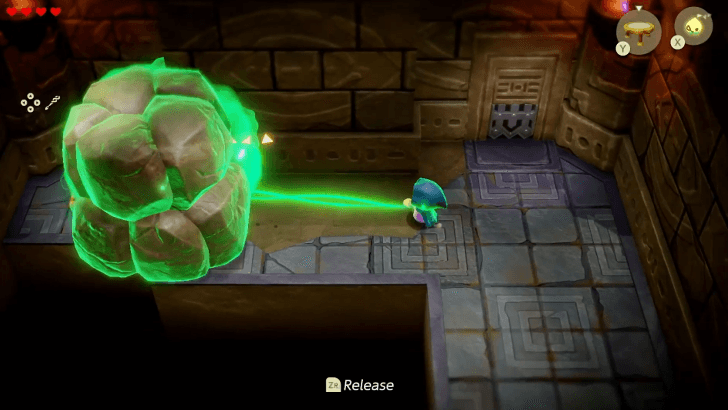 Interact with the Boulder to learn how to use Bind. Press Y to Bind with the Boulder, then place it on the pressure plate to the left to unlock the door. Continue into the next room. |
| 3 |
 Move the Boulder to the left with Bind to reveal a ladder, but before you go down, let's take a quick detour first! |
| 4 |
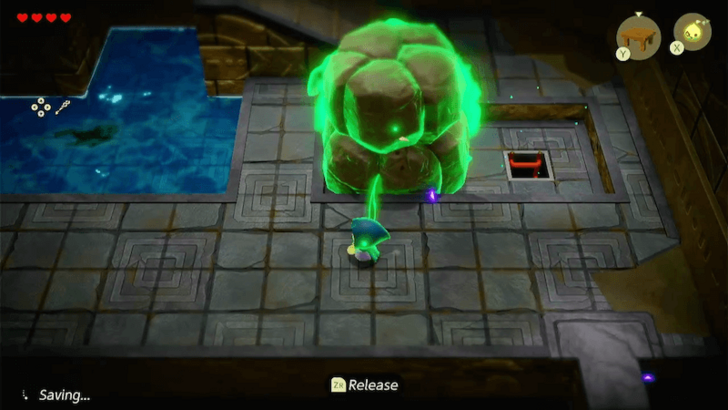
 While bound to the Boulder, jump so you can place it on the gap and enter the room to the west. Pull the Chest with Bind and get the Radiant Butter inside. Try mixing it into a Smoothie later! |
| 5 |
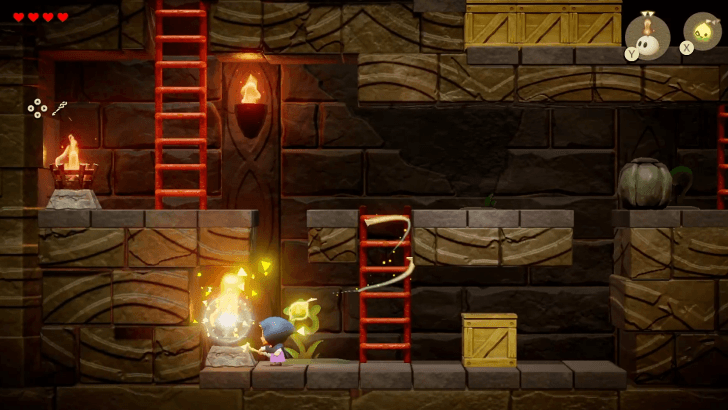
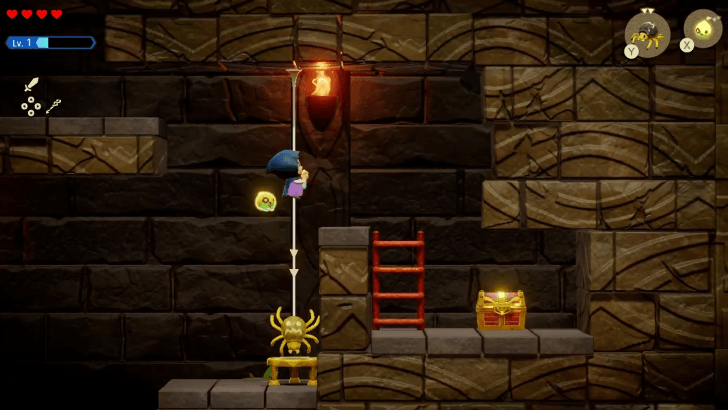
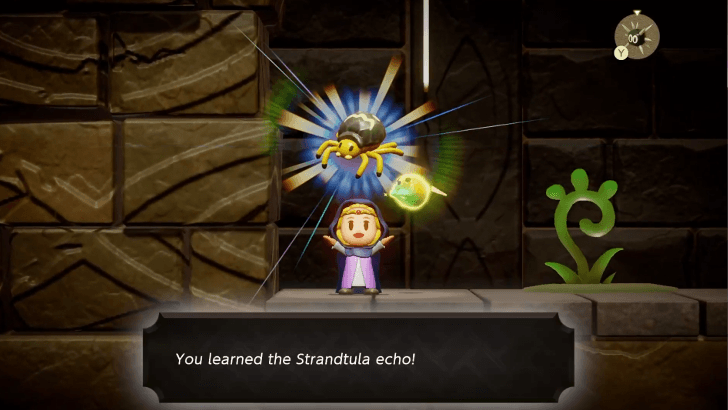 Go back to the previous room and go down the ladder that was hidden under the Boulder. Defeat the first Strandtula that you run into to obtain its Echo, which you can use to attach a web strand to the ceiling. |
| 6 |
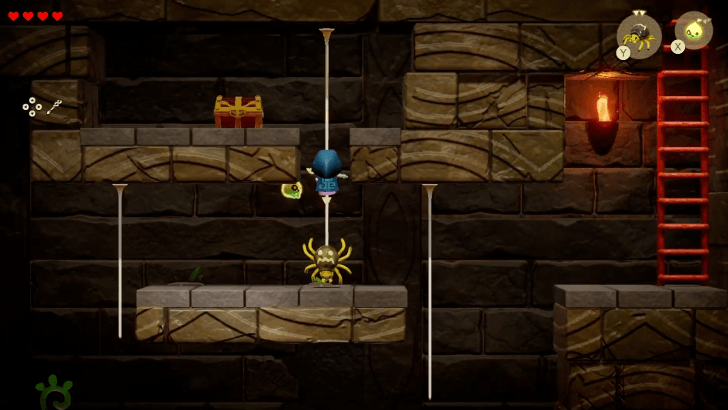 Move a little more to the right and you will spot another Chest. Summon Strandtulas to attach webs that you can use to reach the Chest containing the Dungeon Map! Exit through the nearby ladder to continue. |
Get the Mysterious Sword
| # | Step by Step Objectives |
|---|---|
| 1 |
 Summon another Strandtula on the gap to quickly reach the door to the left. You can also use a combination of Bed and Trampoline Echoes. |
| 2 |
 Head north and take the lift up. At the top of the ladder is a Darknut whose Echo you can use as a new powerful attack unit! To defeat the Darknut, summon a Peahat Echo to defeat it easily. Create a Trampoline so you can hop over the fallen pillar on your left then enter the next room. Go down the ladder inside. |
| 3 |
 The room below contains a Brazier puzzle where the door unlocks only after lighting all the Braziers. For the first unlit Brazier, you can simply summon a Brazier or an Ignizol Echo beside it, or if you don't have the Echoes, you can burn the nearby crate with the lit Brazier and place it next to the unlit one. |
| 4 |
 Go up the ladder and move the rock out of the way. Burn all the crates at the top to unlock the east exit. |
| 5 |
 You'll notice that only one knight statue is holding a shield. Pull that shield with Bind to open the next room. Remember this trick as it might come in handy later! *wink* |
| 6 |
 Turn left and use a Strandtula to reach the Chest on the other side containing 50 Rupees. |
| 7 |
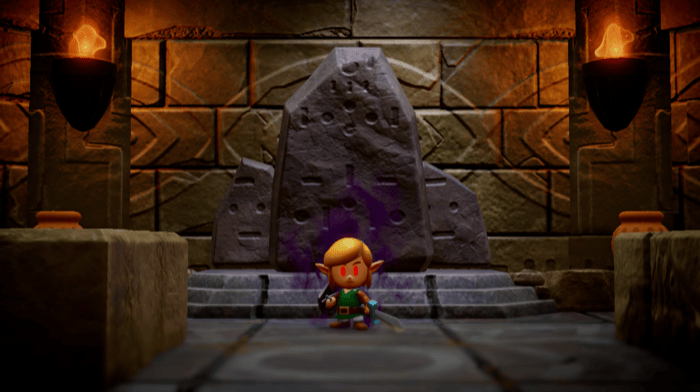
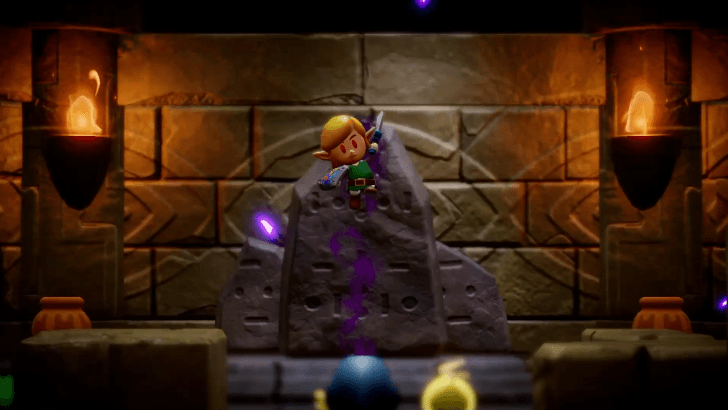 Go back to the main path, continue heading north, and up the long staircase until you find a familiar figure at the top. Defeat the clone of Link to continue. ▶︎︎ How to Beat Dark Link (Sword) |
| 8 |
 Pick up the Mysterious Sword from the ground and raise it to change into the Swordfighter Form! This Key item is neat as you can now fight head on together with your Echoes. The sword can also cut the ooze blocking your way to the ladder. |
Get the Big Key
| # | Step by Step Objectives |
|---|---|
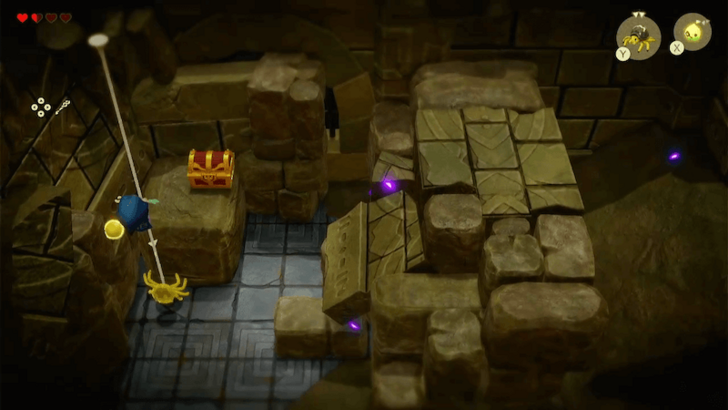
| 1 |
 Climb the ladder all the way down and pull the Boulder to the gap on your left. Hop on top of it and spawn a Strandtula so you can reach the Chest containing a Heart Pin, one of the many Accessories that can buff Zelda! Continue by taking the southeast ladder. |
| 2 |
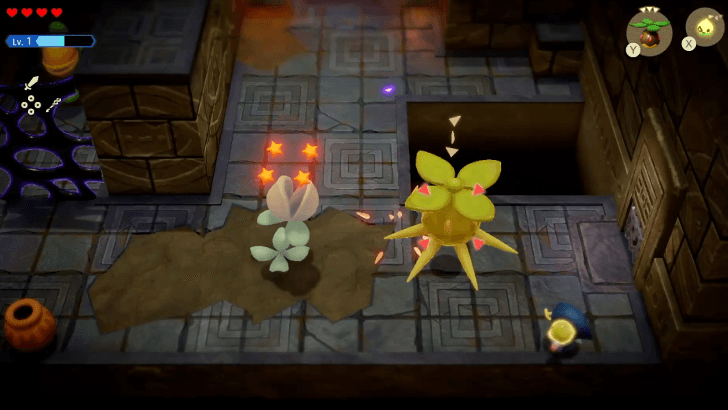 At the end of the next room is a huge locked door which leads to the boss room. This requires a special Key that you will get deeper into Suthorn Ruins. For now, go to the only open door on the west side. Defeat all the Deku Baba enemies here to unlock two new paths. |
| 3 |
 In the north room you'll find another Deku Baba behind a fence. Pull its head with Bind to reveal a Chest containing Small Key! It can only open small doors, though. |
| 4 |
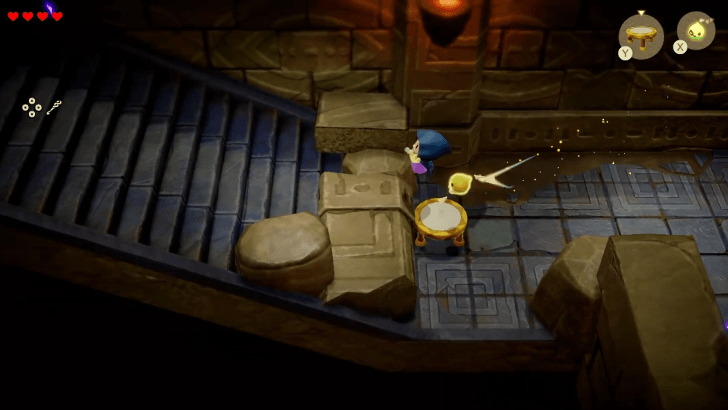
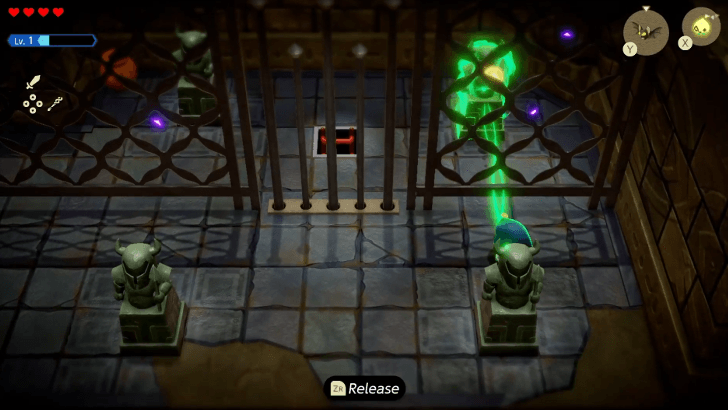
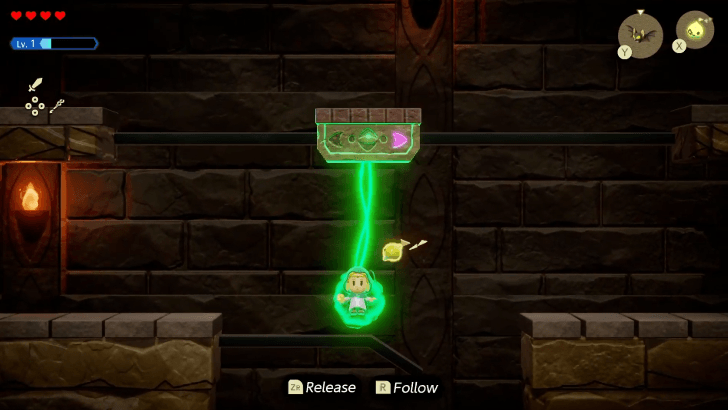
Return to the previous room and enter the left room this time. Bind the knight statue to you and go up the slope so you can put it at the upper platform. Move to the right side of the room as the statue slides toward the pressure plate, lowering the bars for you to claim the 50 Rupees from the Chest. Another way to solve this is to use the Chest itself as weight then just drag it down. |
| 5 |
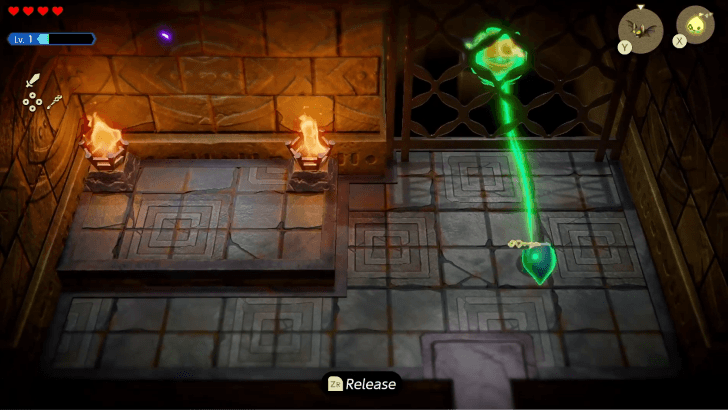
 Return to the room with the huge locked door and open the small door to the right using the Small Key you found earlier. On the east end of the room, you will find another movable knight statue on the other side of a fence. Use Bind on it and place it on the pressure plate so you can use the ladder. |
| 6 |
 Use the moving platform to continue and in the next room, use Reverse Bind on the platform above so you can get to the other side. Repeat this until you reach the topmost ladder. Don't forget to open the Chest containing 20 Rupees along the way! |
| 7 |
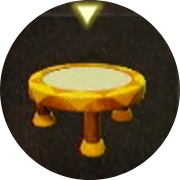
Summon a Wooden Box and align it with the pillar that has the pressure plate. Then, summon a Table next to the Wooden Box. Bind the statue and jump to the top of the Wooden Box to give the statue enough elevation. Once the bars lower, open the big Chest to obtain the Big Key! Once the bars are lowered, open the big Chest to get the Big Key! |
Defeat the Seismic Talus
| # | Step by Step Objectives |
|---|---|
| 1 |
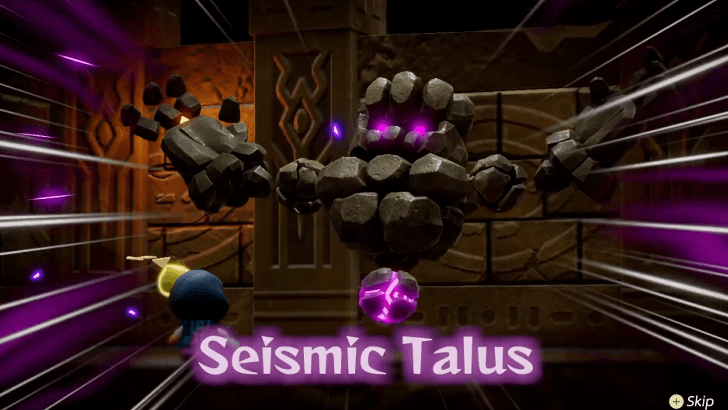 Use the opened shortcut to the south to quickly return to the room with the big door. Unlock the door with the Big Key to face Seismic Talus. ▶︎ How to Beat Seismic Talus |
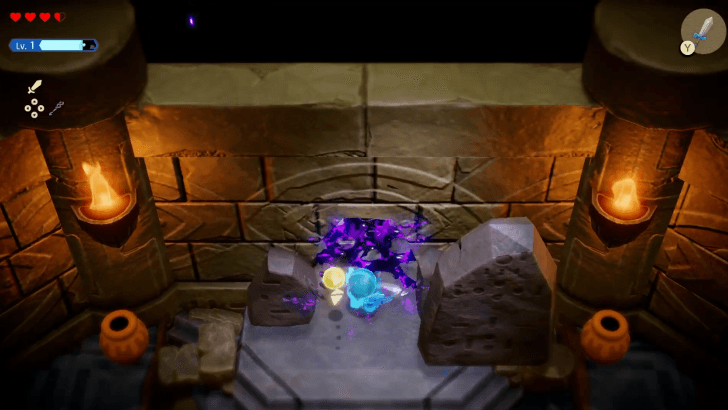
| 2 |
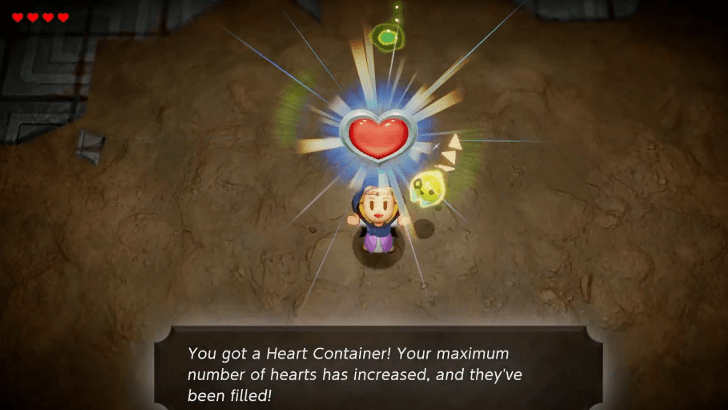 After beating the dungeon boss, you will obtain a full Heart Container and 5 unusual crystals! Leave through the portal to complete the dungeon. |
| ◀︎ Previous Quest | Next Quest ▶︎ |
|---|---|
| Prologue | Searching for Everyone |
| The Mysterious Rifts Questline | |
|
The Mysterious Rifts ┗ ▶︎★ Suthorn Ruins |
|
Suthorn Ruins Bosses
Dark Link
|
|
Seismic Talus
|
|
Suthorn Ruins Map
1F Map and Treasures List
| Suthorn Ruins 1F Map |
|---|
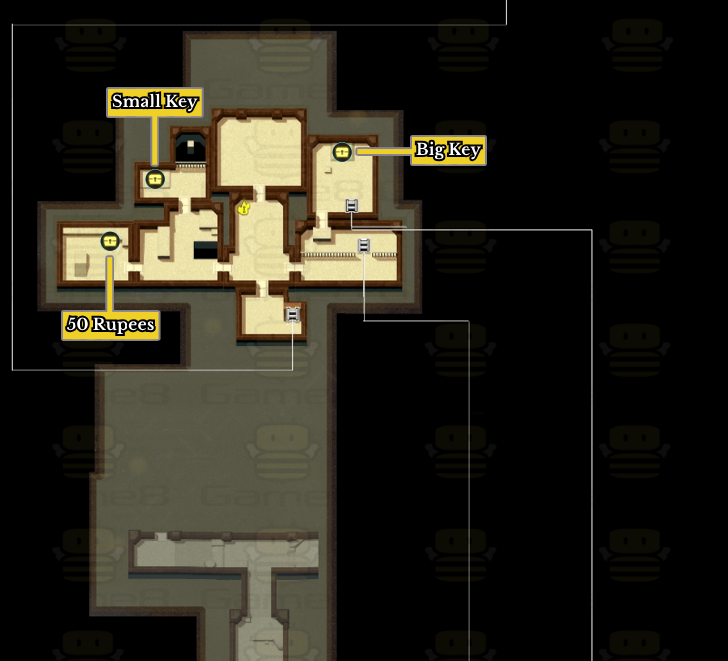  |
2F Map and Treasures List
| Suthorn Ruins 2F Map |
|---|
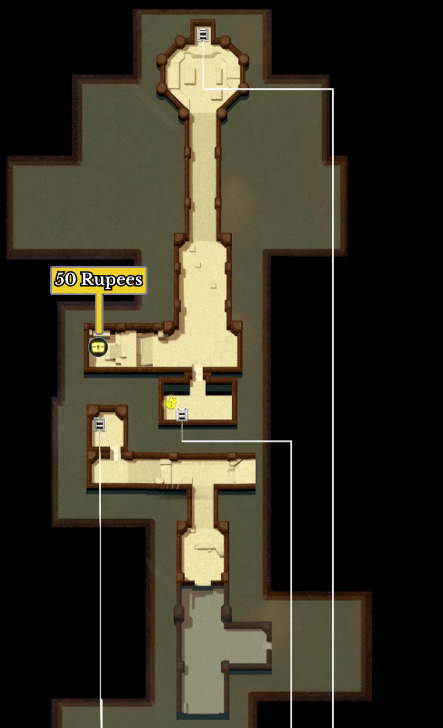 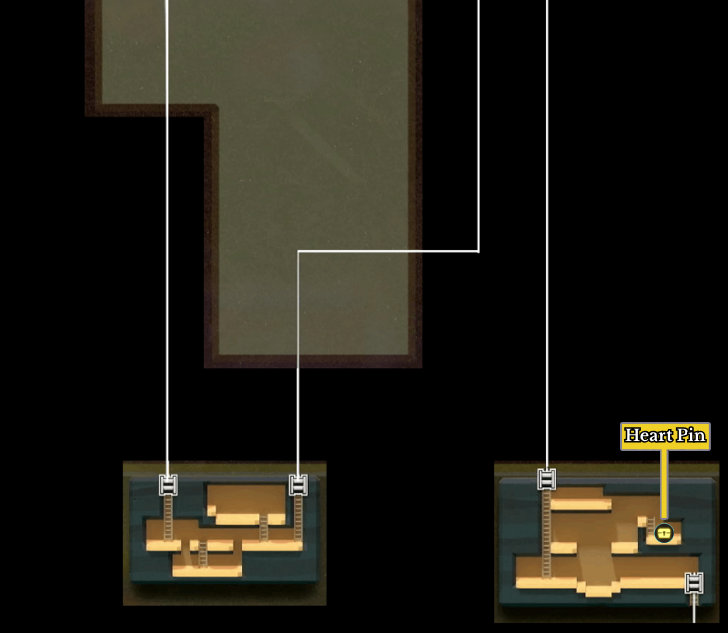 |
New Echoes Learned in Suthorn Ruins
List of Suthorn Ruins Echoes
The list above shows the following echoes you can acquire when progressing the Suthorn Ruins Main Quest.
Echoes List: All 127 Echo Locations
The Legend of Zelda: Echoes of Wisdom (EoW) Related Guides
| Complete Walkthrough | All Dungeons |
| Best Dungeon Order | |
Story Walkthrough Chart
Guides marked with a ★ are Dungeon Guides
Comment
Author
The Legend of Zelda: Echoes of Wisdom Walkthrough & Guides Wiki
Suthorn Ruins Walkthrough
Please participate in our site
improvement survey
03/2026
improvement survey
03/2026
Would you assist in
improving Game8's site?
improving Game8's site?

×
We are listening to our users' valuable opinions and discussing how to act on them.
The information collected through this survey will be used for the purpose of improving our services. In addition, the information will only be disclosed a part of a statistic in a format that will not allow identification of personal information.
Begin Survey
Not Now
×
Please rate each item regarding Game8.co's Advertisements.
Amount of Ads
Very Dissatisfied
Somewhat Dissatisfied
Fine
Somewhat Satisfied
Highly Satisfied
Placement of Ads
Timing of Ad Display
Ad Loading Speed
Safeness of Ads
Content of Ads
×
Please rate each item regarding Game8.co's Quality of Articles.
Amount of information
Very Dissatisfied
Somewhat Dissatisfied
Fine
Somewhat Satisfied
Highly Satisfied
Frequency of updates
Speed of new information
Accuracy of articles
Understandibility of articles
Readability of sentences
×
Please rate each item regarding Game8.co's Usability of the Site.
Ease of finding information
Very Dissatisfied
Somewhat Dissatisfied
Fine
Somewhat Satisfied
Highly Satisfied
Loading Speed
Use of Color
Font Size
Visibility of Images
Easy to Understand Layout
×
Please rate each item regarding Game8.co's Message Boards, Comments.
Ease of Writing
Very Dissatisfied
Somewhat Dissatisfied
Fine
Somewhat Satisfied
Highly Satisfied
Readability
Ease in Finding Information
Comment Quality
Comment Quantity
Admin Response
×
Please rate each item regarding Game8.co's Site's new design.
Please rate our site's new design
Very Dissatisfied
Somewhat Dissatisfied
Fine
Somewhat Satisfied
Highly Satisfied
Do you think that the website's design change makes the site easier to use?
Has the new design made it easier for you to find information on the site?
Has the new design improved the overall visual appeal of the site?
How would you rate your overall satisfaction with the new design of the site?
×
How likely are you to recommend Game8 to someone you know?
Very Unlikely
0
1
2
3
4
5
6
7
8
9
10
Very Likely
If you have other opinions regarding potential improvement to the website, please share them with us. We would appreciate your honest opinion.
Note: This is a free response section, so you can proceed without entering anything.
Note: Please be sure not to enter any kind of personal information into your response.
Note: Please be sure not to enter any kind of personal information into your response.
×
Thank You
×
Thank you for participating in our survey! Your answers will help us to improve the quality of our website and services.
We hope you continue to make use of Game8.
We hope you continue to make use of Game8.
Close
Rankings
- We could not find the message board you were looking for.
Gaming News


![Resident Evil Village Review [Switch 2] | Almost Flawless Port](https://img.game8.co/4432790/e1859f64830960ce4248d898f8cd38d9.jpeg/thumb)


Popular Games

Genshin Impact Walkthrough & Guides Wiki
Resident Evil Requiem (RE9) Walkthrough & Guides Wiki
Honkai: Star Rail Walkthrough & Guides Wiki
Monster Hunter Wilds Walkthrough & Guides Wiki
Umamusume: Pretty Derby Walkthrough & Guides Wiki
Pokemon TCG Pocket (PTCGP) Strategies & Guides Wiki
Arknights: Endfield Walkthrough & Guides Wiki
Wuthering Waves Walkthrough & Guides Wiki
Zenless Zone Zero Walkthrough & Guides Wiki
Digimon Story: Time Stranger Walkthrough & Guides Wiki


Recommended Games
Fire Emblem Heroes (FEH) Walkthrough & Guides Wiki
Yu-Gi-Oh! Master Duel Walkthrough & Guides Wiki
Super Smash Bros. Ultimate Walkthrough & Guides Wiki
Diablo 4: Vessel of Hatred Walkthrough & Guides Wiki
Pokemon Brilliant Diamond and Shining Pearl (BDSP) Walkthrough & Guides Wiki
Elden Ring Shadow of the Erdtree Walkthrough & Guides Wiki
Monster Hunter World Walkthrough & Guides Wiki
The Legend of Zelda: Tears of the Kingdom Walkthrough & Guides Wiki
Persona 3 Reload Walkthrough & Guides Wiki
Cyberpunk 2077: Ultimate Edition Walkthrough & Guides Wiki


All rights reserved
© Nintendo. The Legend of Zelda and Nintendo Switch are trademarks of Nintendo.
The copyrights of videos of games used in our content and other intellectual property rights belong to the provider of the game.
The contents we provide on this site were created personally by members of the Game8 editorial department.
We refuse the right to reuse or repost content taken without our permission such as data or images to other sites.