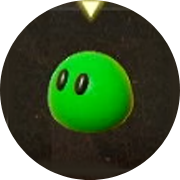
 Zol
Zol Ignizol
 Hydrozol
 Buzz Blob
 Spear Moblin
 Spear Moblin Lv. 2
 Sword Moblin
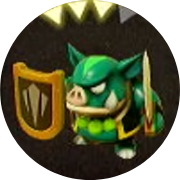 Sword Moblin Lv. 2
 Sword Moblin Lv. 3
 Club Boarblin
 Club Boarblin Lv. 2
 Boomerang Boarblin
 Boomerang Boarblin Lv. 2
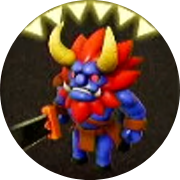 Lynel
Lynel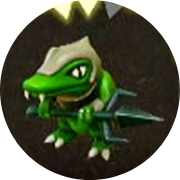 Lizalfos
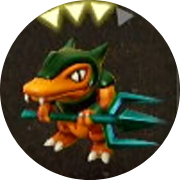 Lizalfos Lv. 2
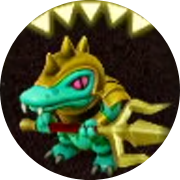 Lizalfos Lv. 3
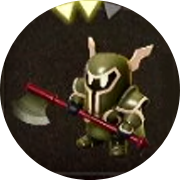 Darknut
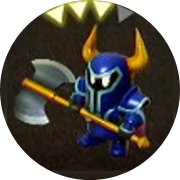 Darknut Lv. 2
 Darknut Lv. 3
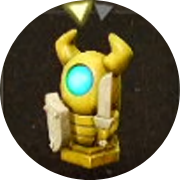 Armos
Armos Ball-and-Chain Trooper
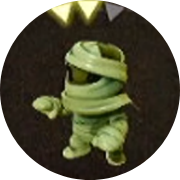 Gibdo
Gibdo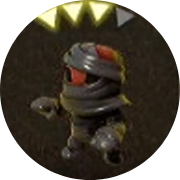 Gibdo Lv.2
 ReDead
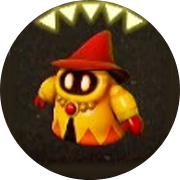 Fire Wizzrobe
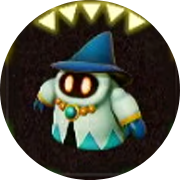 Ice Wizzrobe
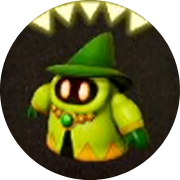 Electric Wizzrobe
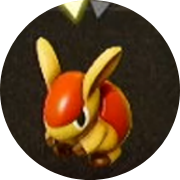 Caromadillo
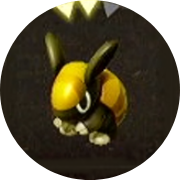 Caromadillo Lv. 2
 Rope
Rope Tornando
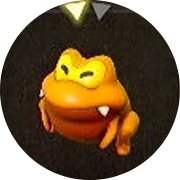 Ribbitune
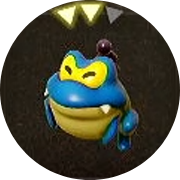 Drippitune
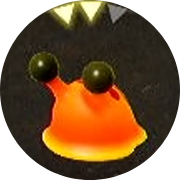 Torch Slug
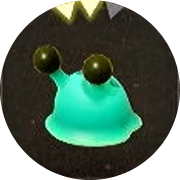 Freeze Slug
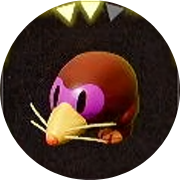 Holmill
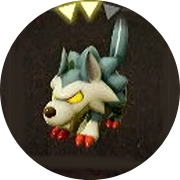 Wolfos
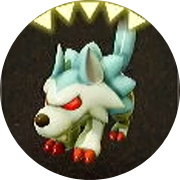 White Wolfos
 Keese
Keese Fire Keese
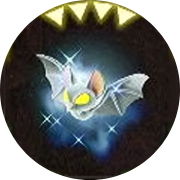 Ice Keese
 Electric Keese
 Mothula
 Mothula Lv. 2
 Needlefly
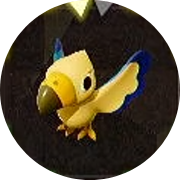 Albatrawl
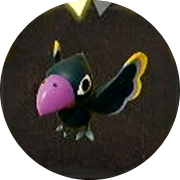 Crow
Crow Beakon
 Guay
Guay Octorok
 Fire Octo
 Ice Octo
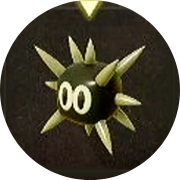 Sea Urchin
 Sand Crab
 Biri
Biri Tangler
 Tangler Lv. 2
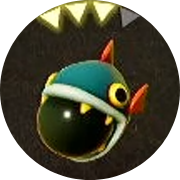 Bombfish
 Chompfin
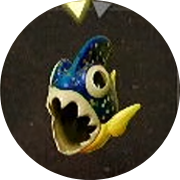 Piranha
 Sand Piranha
 Deku Baba
 Bio Deku Baba
 Deku Baba Lv. 2
 Peahat
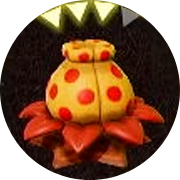 Giant Goponga Flower
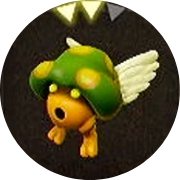 Zirro
Zirro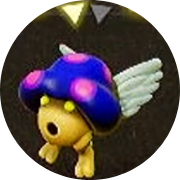 Ghirro
 Mini-Moldorm
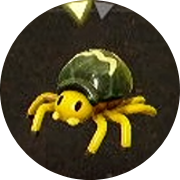 Strandtula
 Crawltula
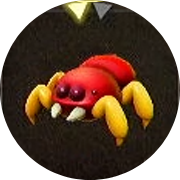 Baby Gohma
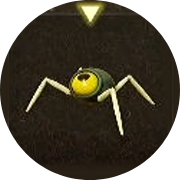 Beetle
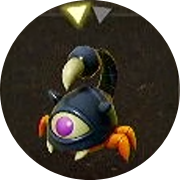 Aruroda
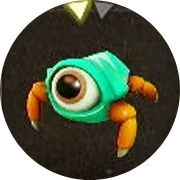 Tektite
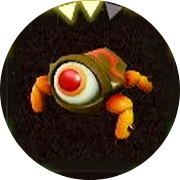 Tektite Lv. 2
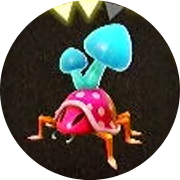 Hoarder
 Poe
Poe Moa
Moa Goo Specter
 Leever
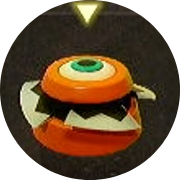 Pathblade
 Gustmaster
 Tweelus
 Temper Tweelus
 Freezard
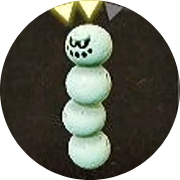 Snomaul
 Spark
Spark Platboom
 Beamos
This survey will take about 1 minute.
Your answers will help us to improve our website.
Zelda: Echoes of Wisdom (EoW)
Ghini Lv. 2 Echo Location and How to Get
▲ 100% the game with our Interactive Map!
▲ Zelda amiibo give Ingredients & Outfits.
▲ Best Dungeon Order and Best Echoes.
▲ Heart Pieces | Might Crystals | Tri Power
▲ Best Smoothies | All 69 Recipes
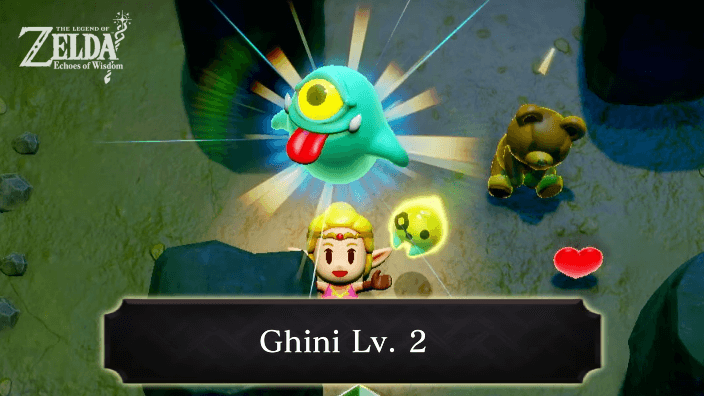
The Ghini Lv. 2 Echo is one of the many Echoes that can be learned and summoned in The Legend of Zelda: Echoes of Wisdom (EoW). Learn how to use the Ghini Lv. 2 Echo, where to get it, as well as its triangle cost information!
| All Ghini Echoes | |
|---|---|
 Ghini Ghini
|
 Ghini Lv. 2 Ghini Lv. 2
|
List of Contents
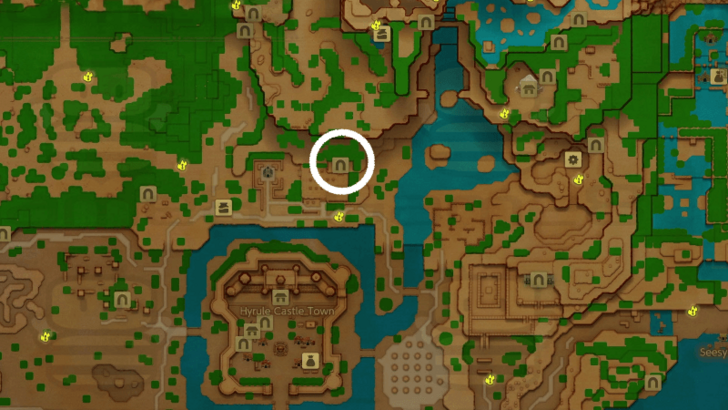
Ghini Lv. 2 Echo Location
Obtained in Hyrule Cemetery Underground
| Ghini Lv. 2 Echo Location | |
|---|---|
 |
 |
From the area where you found the Stuffed Toy Echo, head deeper inside and you will encounter this enemy.
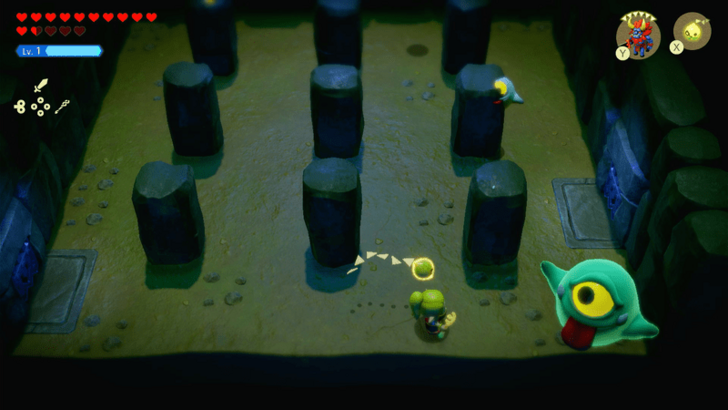
How to Beat Ghini Lv. 2
Use Stuffed Toy Echo to Lure Other Enemies
After getting the Stuffed Toy Echo in the previous area, it is time to use it on the room where the Ghini Lv. 2 is. Battling Ghini Lv. 2 can be tricky as other Ghinis will also spawn helping it.
However, this can be countered by using the Stuffed Toy Echo as it lures the Ghinis to it. This will give you the opportunity to bind the Ghini Lv. 2 and then summon a Fire Wizzrobe to damage it.
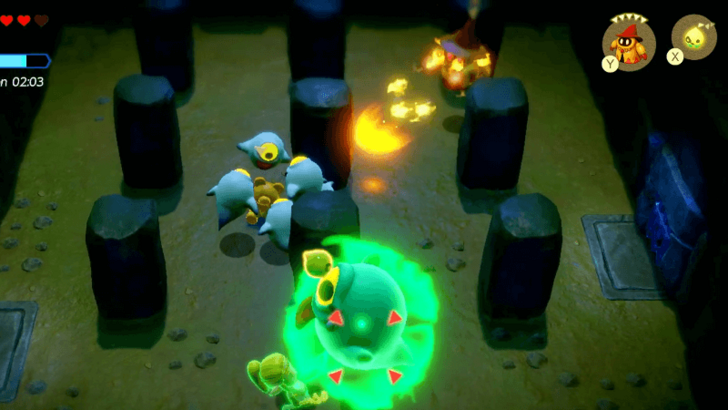
How to Use the Ghini Lv. 2 Echo
Ghini Lv. 2 Basic Information
Ghini Lv. 2 |
TP Cost | 3 ▼ |
|---|---|---|
| Type | Mob | |
| In-Game Description | The largest type of Ghini, this monster has a huge eyeball and tongue to match its stature. | |
The Ghini Lv. 2 Echo can be used in the following ways:
-
● Can be summoned to attack enemies by licking them.
Ghini Lv. 2 Echo Cost
Triangle Cost
| Initial Cost | 3▼ |
|---|---|
| Reduced Cost | Becomes 2▼ upon reaching Lv. 5 |
This Echo costs 3 ▼ to summon.
After Tri reaches Level 5, this echo, along with a few others, will have its cost reduced to 2, allowing you to summon it with one less Triangle.
How to Get More Triangles and Increase Tri's Power
The Legend of Zelda: Echoes of Wisdom (EoW) Related Guides
List of Mob Echoes
Comment
Author
The Legend of Zelda: Echoes of Wisdom Walkthrough & Guides Wiki
Ghini Lv. 2 Echo Location and How to Get
Please participate in our site
improvement survey
03/2026
improvement survey
03/2026
Would you assist in
improving Game8's site?
improving Game8's site?

×
We are listening to our users' valuable opinions and discussing how to act on them.
The information collected through this survey will be used for the purpose of improving our services. In addition, the information will only be disclosed a part of a statistic in a format that will not allow identification of personal information.
Begin Survey
Not Now
×
Please rate each item regarding Game8.co's Advertisements.
Amount of Ads
Very Dissatisfied
Somewhat Dissatisfied
Fine
Somewhat Satisfied
Highly Satisfied
Placement of Ads
Timing of Ad Display
Ad Loading Speed
Safeness of Ads
Content of Ads
×
Please rate each item regarding Game8.co's Quality of Articles.
Amount of information
Very Dissatisfied
Somewhat Dissatisfied
Fine
Somewhat Satisfied
Highly Satisfied
Frequency of updates
Speed of new information
Accuracy of articles
Understandibility of articles
Readability of sentences
×
Please rate each item regarding Game8.co's Usability of the Site.
Ease of finding information
Very Dissatisfied
Somewhat Dissatisfied
Fine
Somewhat Satisfied
Highly Satisfied
Loading Speed
Use of Color
Font Size
Visibility of Images
Easy to Understand Layout
×
Please rate each item regarding Game8.co's Message Boards, Comments.
Ease of Writing
Very Dissatisfied
Somewhat Dissatisfied
Fine
Somewhat Satisfied
Highly Satisfied
Readability
Ease in Finding Information
Comment Quality
Comment Quantity
Admin Response
×
Please rate each item regarding Game8.co's Site's new design.
Please rate our site's new design
Very Dissatisfied
Somewhat Dissatisfied
Fine
Somewhat Satisfied
Highly Satisfied
Do you think that the website's design change makes the site easier to use?
Has the new design made it easier for you to find information on the site?
Has the new design improved the overall visual appeal of the site?
How would you rate your overall satisfaction with the new design of the site?
×
How likely are you to recommend Game8 to someone you know?
Very Unlikely
0
1
2
3
4
5
6
7
8
9
10
Very Likely
If you have other opinions regarding potential improvement to the website, please share them with us. We would appreciate your honest opinion.
Note: This is a free response section, so you can proceed without entering anything.
Note: Please be sure not to enter any kind of personal information into your response.
Note: Please be sure not to enter any kind of personal information into your response.
×
Thank You
×
Thank you for participating in our survey! Your answers will help us to improve the quality of our website and services.
We hope you continue to make use of Game8.
We hope you continue to make use of Game8.
Close
Rankings
- We could not find the message board you were looking for.
Gaming News


Popular Games

Genshin Impact Walkthrough & Guides Wiki
Honkai: Star Rail Walkthrough & Guides Wiki
Umamusume: Pretty Derby Walkthrough & Guides Wiki
Pokemon Pokopia Walkthrough & Guides Wiki
Resident Evil Requiem (RE9) Walkthrough & Guides Wiki
Monster Hunter Wilds Walkthrough & Guides Wiki
Wuthering Waves Walkthrough & Guides Wiki
Arknights: Endfield Walkthrough & Guides Wiki
Pokemon FireRed and LeafGreen (FRLG) Walkthrough & Guides Wiki
Pokemon TCG Pocket (PTCGP) Strategies & Guides Wiki


Recommended Games
Diablo 4: Vessel of Hatred Walkthrough & Guides Wiki
Fire Emblem Heroes (FEH) Walkthrough & Guides Wiki
Yu-Gi-Oh! Master Duel Walkthrough & Guides Wiki
Super Smash Bros. Ultimate Walkthrough & Guides Wiki
Pokemon Brilliant Diamond and Shining Pearl (BDSP) Walkthrough & Guides Wiki
Elden Ring Shadow of the Erdtree Walkthrough & Guides Wiki
Monster Hunter World Walkthrough & Guides Wiki
The Legend of Zelda: Tears of the Kingdom Walkthrough & Guides Wiki
Persona 3 Reload Walkthrough & Guides Wiki
Cyberpunk 2077: Ultimate Edition Walkthrough & Guides Wiki


All rights reserved
© Nintendo. The Legend of Zelda and Nintendo Switch are trademarks of Nintendo.
The copyrights of videos of games used in our content and other intellectual property rights belong to the provider of the game.
The contents we provide on this site were created personally by members of the Game8 editorial department.
We refuse the right to reuse or repost content taken without our permission such as data or images to other sites.