The First Descendant Esiemo
Please note that the First Descendant Team has stopped covering the game as of October 2024. Information on certain pages may not be up-to-date.

This is an Esiemo build for normal and hard mode in The First Descendant. Read on to learn Esiemo's best builds, how to unlock Esiemo, his basic info and skills, and Esiemo's exclusive equipment and skins!
List of Contents
Best Esiemo Build for Hard Mode
| Jump to a section! | |||||||||||
|---|---|---|---|---|---|---|---|---|---|---|---|
| Descendant Modules | Weapons and Modules | ||||||||||
| Reactor and External Components | Playstyle Tips | ||||||||||
| ▼Jump to Normal Mode Build▼ | |||||||||||
Best Esiemo Modules (Hard)
 Explosive Evade Explosive Evade
|
 Mid-Air Maneuvering Mid-Air Maneuvering
|
 Weighing the Scales Weighing the Scales
|
 Iron Defense Iron Defense
|
 Focus on Fire Focus on Fire
|
 Focus on Tech Focus on Tech
|
 Maximize Efficiency Maximize Efficiency
|
 MP Conversion MP Conversion
|
 Skill Simplification Skill Simplification
|
 Increased HP Increased HP
|
 Strong Mentality Strong Mentality
|
 Nimble Fingers Nimble Fingers
|
More Modules can be seen by scrolling horizontally.
The build revolves around increasing Esiemo's skill power and decreasing his skill cooldowns to keep his abilities active. The reason for this build is due to Esiemo's damage setup being slow, having his build stack on skill cooldown will allow you to nuke bosses and mob groups faster at the cost of MP.
You'll need to focus on getting External Components that grant Max MP and MP regeneration to mitigate the negative module effects for this build. You'll also need to set up a weapon that can apply constant DPS to bosses while your MP is recovering.
A key module for this build is the Explosive Evade which allows you to cast a Guided Landmine while evading, this skill has no MP cost, allowing you to continuously damage enemies through evading.
Modules Guide: List of Modules
Best Esiemo Weapons and Weapon Modules (Hard)
| Weapon | Substat Priority |
|---|---|
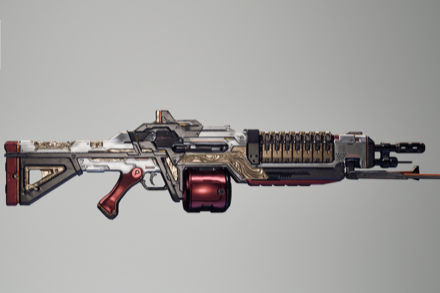 Enduring Legacy Enduring Legacy
|
・Firearm ATK
・Firearm Critical Hit Rate ・Weak Point Damage ・Firearm ATK vs Colossus |
Best Weapon Modules
 Fire Conductor Fire Conductor
|
 Deadeye Deadeye
|
 Reload Insight Reload Insight
|
 Insight Support Ammo Insight Support Ammo
|
 Insight Focus Insight Focus
|
 Pinpoint Shot Pinpoint Shot
|
 Better Concentration Better Concentration
|
 Expand General Magazine Expand General Magazine
|
 Better Insight Better Insight
|
 Rifling Reinforcement Rifling Reinforcement
|
The Enduring Legacy is our chosen weapon for this Esiemo build to apply constant DPS against bosses. The primary module slotted for this weapon is the Fire Conductor to take advantage of the weapon's unique ability which increases Firearm ATK against burning enemies.
Best Weapons Tier List
Best Esiemo Equipment (Hard)
| Equipment | Substat Priority |
|---|---|
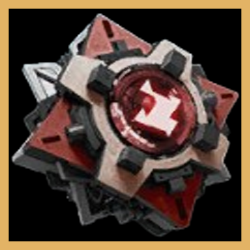 Burning Mechanics Reactor Burning Mechanics Reactor
|
• Skill Cooldown Reduction
• Skill Cost Reduction • Fire Skill Power Boost Ratio • Tech Skill Power Boost Ratio |
 Slayer Auxiliary Power Slayer Auxiliary Power
|
• Max HP
• MP Recovery Out of Combat |
 Slayer Sensor Slayer Sensor
|
• Max MP
• MP Recovery In Combat |
 Slayer Memory Slayer Memory
|
• DEF
• Shield Recovery In Combat |
 Slayer Processor Slayer Processor
|
• Max Shield
• Shield Recovery Modifier |
Note that External Components with set bonuses have fixed main stats.
The Burning Mechanics Reactor is great for this Esiemo build as it will focus on his Time Bomb and Guided Landmine, both of which are Fire and Tech Skills. This results in both skills gaining the skill power bonus from the reactor. For the Reactor Substats, try to get one with Skill Cooldown Reduction and Skill Cost Reduction to help with the build's setup.
The Slayer External Component Set is great for this Esiemo build as it grants an additional 26% Skill Power. You'll need to obtain these External Components with MP management substats in mind to mitigate the negative effects of the modules for Esiemo.
| List of Reactors | List of External Components |
Esiemo Playstyle Tips
| Esiemo Playstyle Tips |
|---|
|
|
Use Dodge Whenever it's Available
Dodging is now a damaging ability thanks to Explosive Evade. Always dodge near enemies or bosses to make use of the extra Guided Landmine that drops whenever you dodge.
With the build focused on skill cooldown reduction, your dodge should be available every 3-5 seconds.
Stack Time Bomb and Landmine on Bosses
Always stack your Time Bombs and Guided Landmines on bosses to nuke them and land as much damage as possible before they enter their frenzied state. This strategy is viable whenever you have full MP and full stacks of Time Bomb and Guided Landmine.
Best Esiemo Builds for Normal Mode
| Jump to a Section! | |||||||||||
|---|---|---|---|---|---|---|---|---|---|---|---|
| Descendant Modules | Weapon and Modules | ||||||||||
| Best Reactor | Best External Components | ||||||||||
| ▲Jump to Hard Mode Build▲ | |||||||||||
Best Esiemo Modules (Normal)
| Best Esiemo Modules | |
|---|---|
 Technique Manual Technique Manual
|
Landing a skill attack, deals X% of own Max HP as additional damage to the target (Cooldown Xs against the same target). |
 Weighing the Scales Weighing the Scales
|
Max Shield +X%, Skill Cost -X% |
 Iron Defense Iron Defense
|
DEF +X%, Skill Power Modifier +X% |
 Tech Specialist Tech Specialist
|
Tech Skill Power Modifier +X% |
 Fire Specialist Fire Specialist
|
Fire Skill Power +X% |
 Skill Expansion Skill Expansion
|
Skill Effect Range +X%, applies only to certain skills for each Descendant |
 Increased DEF Increased DEF
|
DEF +X% |
 Increased HP Increased HP
|
Max HP +X% |
 Strong Mentality Strong Mentality
|
Skill Cost -X% |
 Nimble Fingers Nimble Fingers
|
Skill Cooldown -X% |
The selected modules focus on boosting the damage and effectiveness of Esiemo's explosives. This build allows you to survive close encounters and push through any high-difficulty content with high mob-clearing and boss DPS potential.
Modules Guide: List of Modules
Best Esiemo Weapon and Modules (Normal)
| Weapon | SubstatPriority | ||
|---|---|---|---|
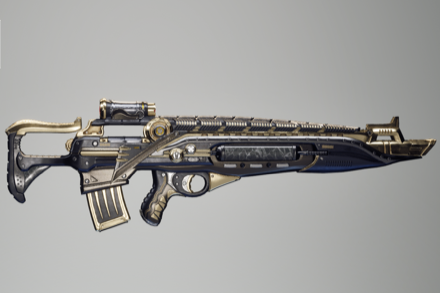 Greg's Reversed Fate Greg's Reversed Fate
|
・Fire ATK ・Attribute Status Trigger Rate ・Firearm ATK ・Recoil |
||
| Best Modules for Greg's Reversed Fate | |||
 Sweeping Squad Sweeping Squad
|
When defeating an enemy, Firearm ATK +X% for Xs at a X% chance (up to X Stacks). | ||
 Insight Support Ammo Insight Support Ammo
|
Rounds per Magazine +X%, Firearm Critical Hit Rate +X% | ||
 Insight Focus Insight Focus
|
Firearm Critical Hit Rate +X%, Firearm Critical Hit Damage +X% | ||
 Weak Point Insight Weak Point Insight
|
Weak Point Damage +X%, Firearm Critical Hit Rate +X% | ||
 Sharpshooter Sharpshooter
|
Firearm ATK +X%, Firearm Critical Hit Rate +X% | ||
 Action and Reaction Action and Reaction
|
Firearm ATK +X%, Recoil +X% | ||
 Weak Point Sight Weak Point Sight
|
Weak Point Damage +X% | ||
 Better Concentration Better Concentration
|
Firearm Critical Hit Damage +X% | ||
 Better Insight Better Insight
|
Firearm Critical Hit Rate +X% | ||
 Rifling Reinforcement Rifling Reinforcement
|
Firearm ATK +X% | ||
Greg's Reversed Fate is a great weapon for Esiemo as it synergizes with his explosives, allowing you to drop bombardments on enemy positions. This weapon build also aims to give Esiemo a focused damage source that can deal precise hits on enemy Weak Points for him to exploit.
The modules selected for Greg's Reversed Fate will focus on Weak Point Damage, Critical Hit Rate, Critical Hit Damage, and Firearm ATK to maximize overall DPS against elite enemies and bosses..
Best Esiemo Reactor (Normal)
| Reactor | Substat Priority | |
|---|---|---|
 Burning Mechanics Reactor Burning Mechanics Reactor
|
・Skill Power ・Sub Attack Power ・Fire Skill Boost Ratio ・Tech Skill Boost Ratio |
|
A Burning Mixture Reactor will give you the most bonus effects since Esiemo's Time Bomb and Guided Landmine are Fire and Tech. For the substats, look for Fire Skill Power Boost Ratio and Skill Power to improve the effectiveness of your skills.
Reactors Guide: List of Reactors
Best Esiemo External Components (Normal)
| Set | Set Effect |
|---|---|
    |
2-Set Effect: ・Skill Critical Hit Rate +18% 4-Set Effect: ・Skill Power +4% ・Skill Cost -2.8% |
| Substat Priority | |
| Auxiliary Power | ・Max HP ・MP Recovery Out of Combat |
| Sensor | ・Max MP ・MP Recovery in Combat |
| Memory | ・DEF ・Shield Recovery In Combat |
| Processor | ・Max Shield ・Shield Recovery Modifier |
The Battle Aesthetic Set boosts your Skill Power, reduces your skill cost, and increases your skill crit rate. Overall this set is extremely useful for Esiemo especially in Normal Mode, as this set grants the highest Skill Power boost out of all External Component sets in Normal Mode.
How to Unlock Esiemo
Unlock Using the Research Institute
| Research Time | Cost |
|---|---|
| 16:00:00 | 400,000 |
| Required Research Material | How to Get |
|---|---|
| Esiemo Code x1 |
・Vespers (Hard) - Abyssal Void Fusion Reactor - Vespers Moonlight Lake ・ Kingston (Hard) - Abyssal Void Fusion Reactor - Kingston Grand Square ・ Agna Desert (Hard) - Abyssal Void Fusion Reactor - Agna Desert The Storage ・ Hagios (Hard) - Abyssal Void Fusion Reactor - Hagios Corrupted Zone |
| Esiemo Enhanced Cells x1 |
・Research
Research Materials Needed: ・Flectorite x292 ・Shape Memory Alloy x462 ・Deformed Biometal x76 ・Esiemo Enhanced Cells Blueprint x1 |
| Esiemo Spiral Catalyst x1 |
・Research
Research Materials Needed: ・Semi-permanent Plasma x290 ・Nanopolymers x363 ・Specialized Biometal x46 ・Esiemo Spiral Catalyst Blueprint x1 |
| Esiemo Stabilizer x1 |
・Research
Research Materials Needed: ・Ceramic Composite x408 ・Reverse Charging Coil x455 ・Organic Biogel x26 ・Esiemo Stabilizer Blueprint x1 |
You can unlock Esiemo through the Research Institute in Albion. Note that to acquire a Descendant using research, you need all the required items and gold to unlock this character.
Purchase Esiemo Using Caliber
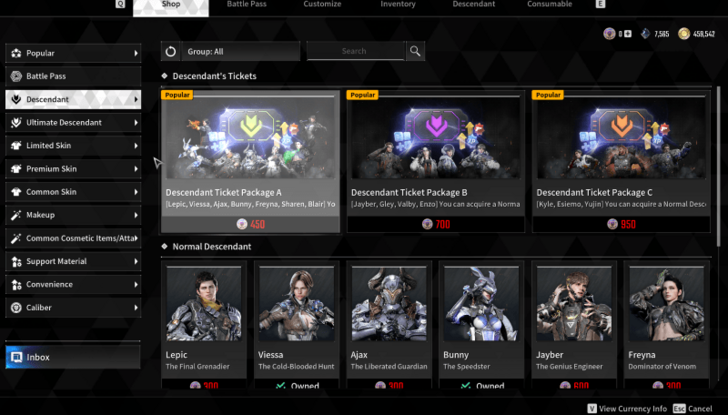
Alternatively, you can unlock Descendants by purchasing them in the Shop. This method only requires Caliber, an in-game currency that you can buy with real money. Purchasing Esiemo in the Shop instantly unlocks the Descendant, allowing you to skip the item requirements and research time.
Esiemo Basic Info & Stats
| Esiemo Basic Info | ||
|---|---|---|
 Esiemo EsiemoThe Explosives Master |
Role | Burst DPS |
| Element |
|
|
| Description | ||
| "A Burst DPS who handles explosives. Attaches bombs to enemies and detonates them at the right opportunity." | ||
Stats
| DEF | Max Shield | Shield Recovery | Max MP | Max HP |
|---|---|---|---|---|
| 2441 | 413 | 4.88 | 187 | 1373 |
Esiemo Skills
Passive Skills
| Skill | Type Effect |
|---|---|
 Adventitious Habit Adventitious Habit
|
Drops a bomb on the ground when the shield is completely depleted. |
Active Skills
| Skill | Type Effect |
|---|---|
 Time Bomb Time Bomb
|
Launches a Sticky Bomb forward. The Sticky Bomb attaches to an enemy or terrain feature on contact. |
 Blast Blast
|
Instantly detonates attached bombs. Bomb damage increases with the number of attached bombs. |
 Guided Landmine Guided Landmine
|
Places a Guided Landmine at current location. Once placed, the Guided Landmine will fly to an enemy within its detection range and attach to it. |
 Arche Explosion Arche Explosion
|
Starts moving forward fast. On collision with an enemy while charging, inflicts Knockback. When the movement ends, deals damage to nearby enemies and removes buffs from them. After the skill ends, Esiemo enters Madness state. |
Esiemo Exclusive Equipment
Flying Suit with Superconductivity Thrusters
Esiemo's suit was designed to let him use his Arche ability, Magnetic Force, freely. The suit allowed Esiemo to protect and save his allies anywhere and anytime, with functions that allowed him to move high-speed for moments of danger. Completing the suit, however, was fraught with conflict between Esiemo's demands over the performance of the suit, and the Magisters contesting this, saying his body would not be able to withstand such power and Arche depletion. At one point, there were loud scuffling noises inside the Magister's laboratory, followed by Esiemo walking out, infuriated. Eventually deciding to build the suit himself, Esiemo received the materials from the Magisters. Before long, the completed suit was more than just a mere demonstration; it was exactly the way he wanted.
Esiemo Skins
| Jump to a Skin type! | ||
|---|---|---|
| Head | Body | Back |
| Chest | Ecive | Full Body |
| Grappling Hook | Make Up | Spawn |
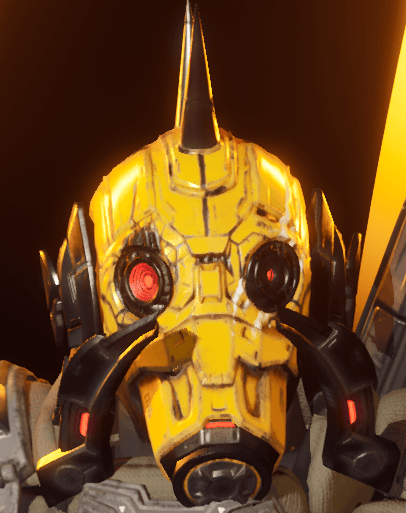
All Esiemo Head Skins
 |
 |
 |
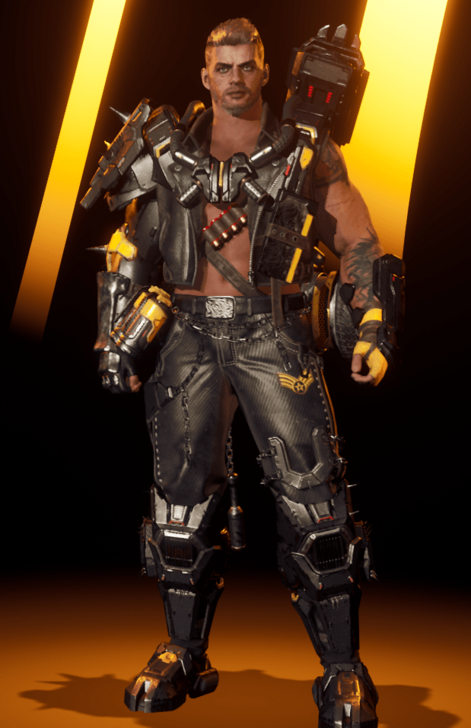
All Esiemo Body Skins
 |
 |
 |
 |
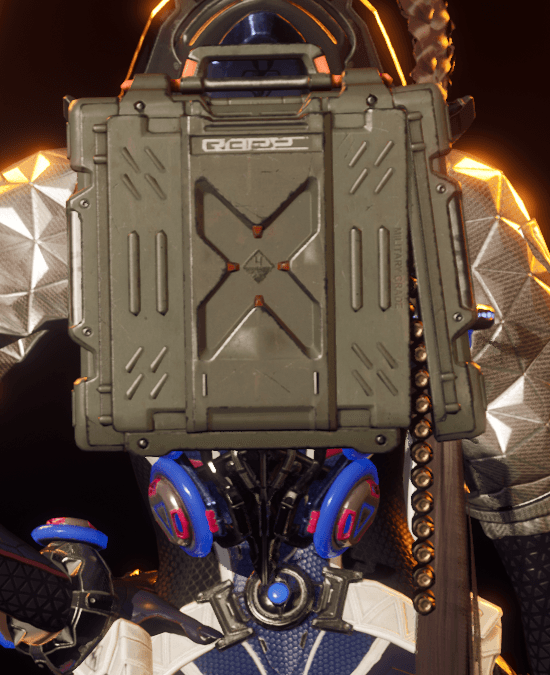
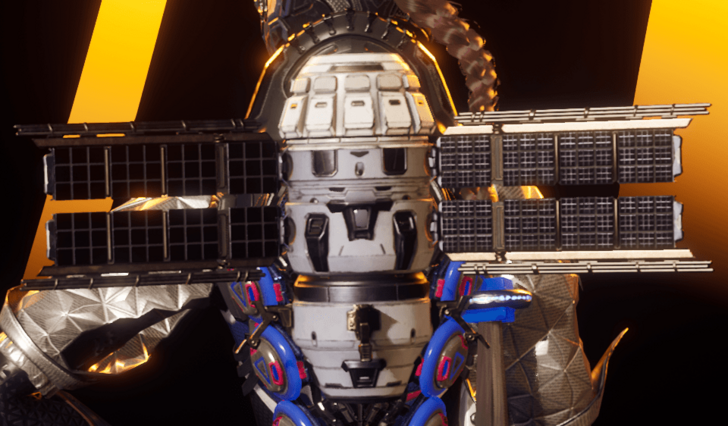
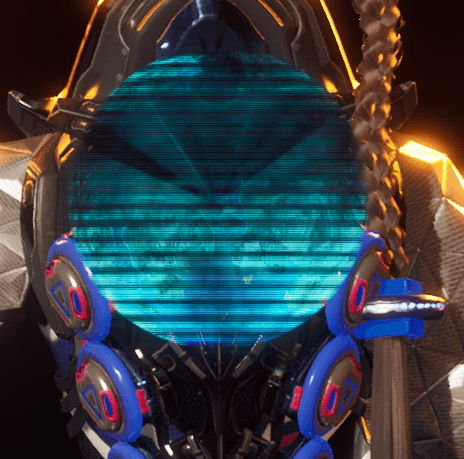
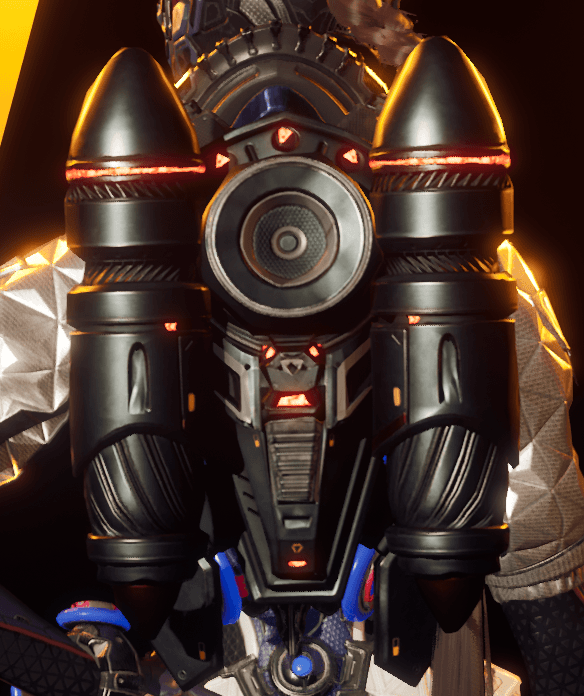
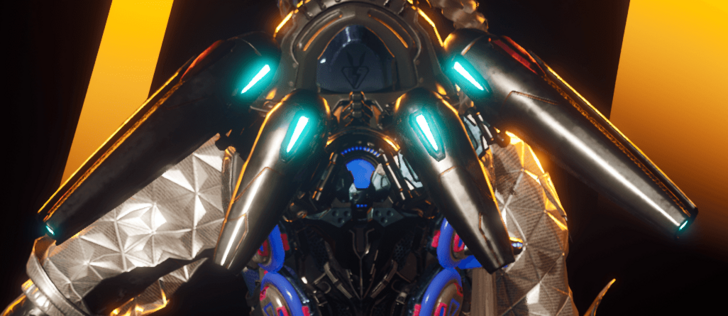
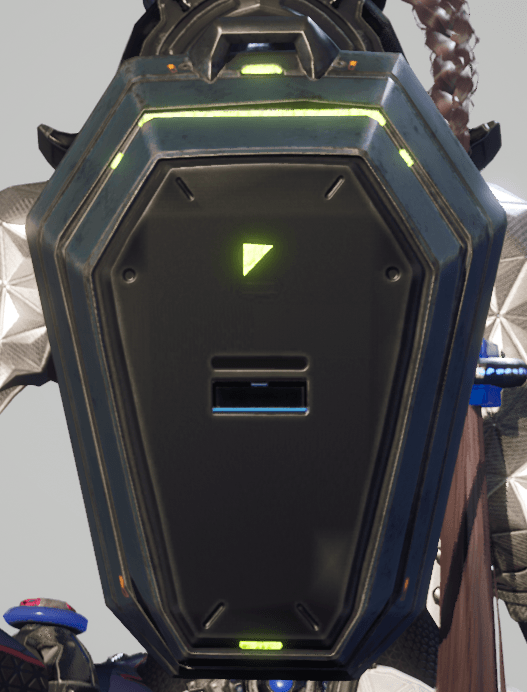
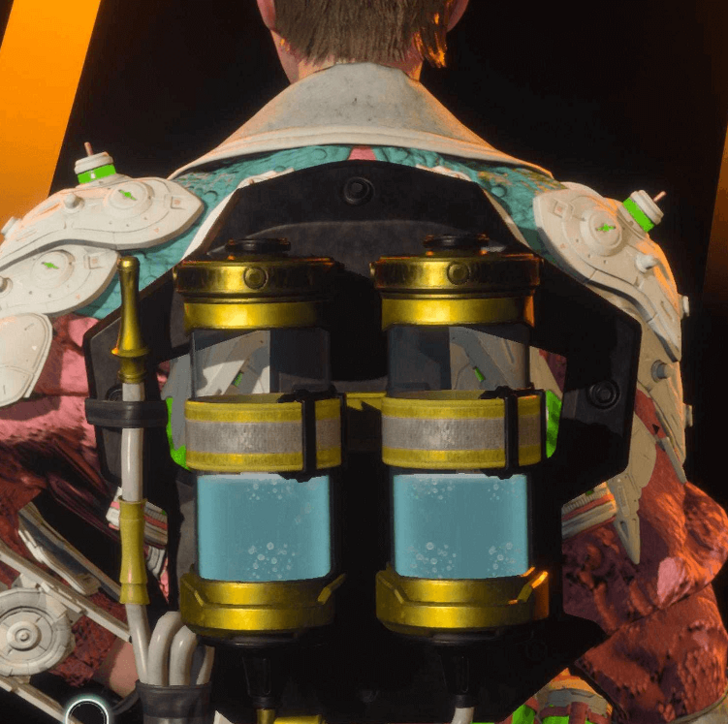
All Esiemo Back Skins
 |
 |
 |
 |
 |
 |
 |
 |
 |
 |
 |
 |
 |
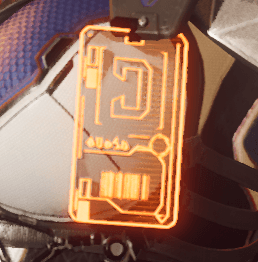
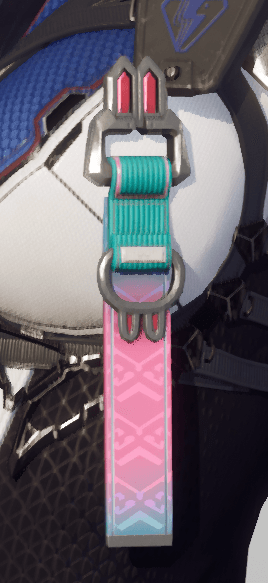
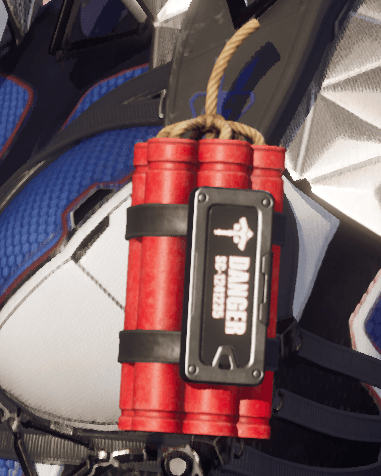
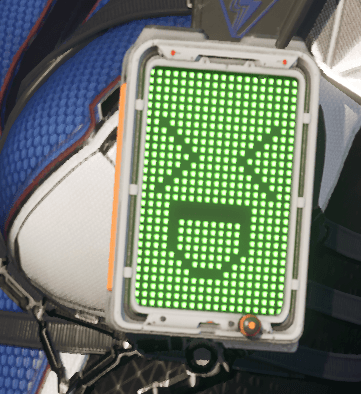
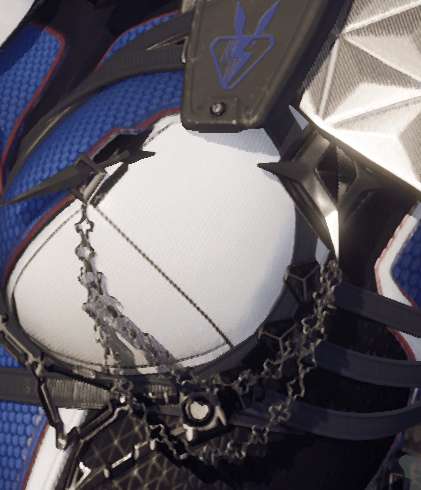
All Esiemo Chest Skins
 |
 |
 |
 |
 |
 |
 |
 |
 |
 |
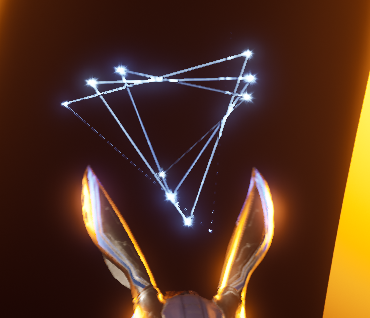
All Esiemo Ecive Skins
 |
 |
 |
All Esiemo Full Body Skins
 |
 |
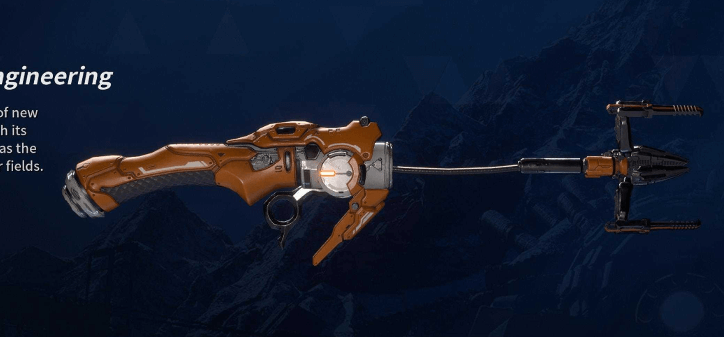
All Esiemo Grappling Hook Skins
 |
 |
All Esiemo Make Up Skins
 |
 |
All Esiemo Spawn Skins
 |
 |
 |
 |
 |
 |
 |
 |
 |
The First Descendant Related Guides

All Base Characters
 Ajax Ajax |
 Blair Blair |
 Bunny Bunny |
 Enzo Enzo |
 Esiemo Esiemo |
 Freyna Freyna |
 Gley Gley |
 Hailey Hailey |
 Jayber Jayber |
 Kyle Kyle |
 Lepic Lepic |
 Luna Luna |
 Sharen Sharen |
 Valby Valby |
 Viessa Viessa |
 Yujin Yujin |
- | - |
All Ultimate Characters
 Ultimate Ajax Ultimate Ajax |
 Ultimate Bunny Ultimate Bunny |
 Ultimate Freyna Ultimate Freyna |
 Ultimate Gley Ultimate Gley |
 Ultimate Lepic Ultimate Lepic |
 Ultimate Valby Ultimate Valby |
 Ultimate Viessa Ultimate Viessa |
- | - |
Character Guides
| Character Guides | |
|---|---|
| List of All Builds | List of All Ultimate Descendants |
| All Character Skins | - |
Author
The First Descendant Esiemo
improvement survey
04/2026
improving Game8's site?

Your answers will help us to improve our website.
Note: Please be sure not to enter any kind of personal information into your response.

We hope you continue to make use of Game8.
Rankings
- We could not find the message board you were looking for.
Gaming News
Popular Games

Genshin Impact Walkthrough & Guides Wiki

Crimson Desert Walkthrough & Guides Wiki

Umamusume: Pretty Derby Walkthrough & Guides Wiki

Honkai: Star Rail Walkthrough & Guides Wiki

Monster Hunter Stories 3: Twisted Reflection Walkthrough & Guides Wiki

Wuthering Waves Walkthrough & Guides Wiki

The Seven Deadly Sins: Origin Walkthrough & Guides Wiki

Pokemon TCG Pocket (PTCGP) Strategies & Guides Wiki

Pokemon Pokopia Walkthrough & Guides Wiki

Zenless Zone Zero Walkthrough & Guides Wiki
Recommended Games

Monster Hunter World Walkthrough & Guides Wiki

Fire Emblem Heroes (FEH) Walkthrough & Guides Wiki

Pokemon Brilliant Diamond and Shining Pearl (BDSP) Walkthrough & Guides Wiki

Super Smash Bros. Ultimate Walkthrough & Guides Wiki

Diablo 4: Vessel of Hatred Walkthrough & Guides Wiki

Cyberpunk 2077: Ultimate Edition Walkthrough & Guides Wiki

Yu-Gi-Oh! Master Duel Walkthrough & Guides Wiki

Elden Ring Shadow of the Erdtree Walkthrough & Guides Wiki

The Legend of Zelda: Tears of the Kingdom Walkthrough & Guides Wiki

Persona 3 Reload Walkthrough & Guides Wiki
All rights reserved
© NEXON Korea Corp. & NEXON Games Co, LTD. All Rights Reserved.
The copyrights of videos of games used in our content and other intellectual property rights belong to the provider of the game.
The contents we provide on this site were created personally by members of the Game8 editorial department.
We refuse the right to reuse or repost content taken without our permission such as data or images to other sites.




![Forza Horizon 6 Review [Preview] | Beautiful Roads With a Whole Lot of Oversteer](https://img.game8.co/4460981/a7254c24945c43fbdf6ad9bea52b5ce9.png/thumb)


Both Focus on Tech and Skill Simplification are Attack modules. Unfortunately, we can't use both. :)