Gley Builds and How to Unlock
Please note that the First Descendant Team has stopped covering the game as of October 2024. Information on certain pages may not be up-to-date.

This is a Gley build for normal and hard mode in The First Descendant. Read on to learn Gley's best builds, how to unlock, basic info, skills, as well as Gley's exclusive equipment and skins!
| All Gley Guides | |
|---|---|
| Gley Builds | Ultimate Gley Builds |
List of Contents
Best Gley Build for Hard Mode
| Jump to a section! | |||||||||||
|---|---|---|---|---|---|---|---|---|---|---|---|
| Descendant Modules | Weapons and Modules | ||||||||||
| Reactor and External Components | Playstyle Tips | ||||||||||
| ▼Jump to Normal Mode Build▼ | |||||||||||
Gley Hard Mode Build Showcase
Check out this Devourer clear using our Gley Hard Mode Build!
Best Gley Modules (Hard)
More Modules can be seen by scrolling horizontally.
This build primarily relies on using Massacre as your main weapon and Increased Sensory for the Maximize Lethality buff, which grants Gley infinite ammo. The combination of Massacre's inherent damage and infinite ammo makes this build exceptionally effective for dealing damage, especially against bosses.
To fully optimize this build, you need at least 70% Skill Cooldown Reduction and 80% Skill Duration to maintain the Increased Sensory buff on Gley continuously. Once you achieve 100% uptime on Increased Sensory, you can shift your focus to stacking Defense and HP. This will help you withstand enemy attacks, as the abilities' HP cost will often leave you low on health.
Modules Guide: List of Modules
Descendant Module Substitutes for Mobbing
| Module Change | Explanation | ||
|---|---|---|---|
 Massive Sanguification Massive Sanguification
|
> |
 Blood and Iron Blood and Iron
|
Allows generation of Life Spheres without relying on Massive Sanguification. |
 Walk a Tightrope Walk a Tightrope
|
> |
 HP Collector HP Collector
|
Sacrifices some Firearm ATK and Skill Power for consistent HP recovery. |
 Battle of Stamina Battle of Stamina
|
> |
 HP Amplification HP Amplification
|
Lowers Skill Duration in exchange for increased HP. |
Since you will be fighting multiple enemies instead of just a single boss, you can reduce your overall damage output in exchange for quality-of-life modules and additional survivability for a more efficient run. You don't need to rely solely on Massacre to finish off enemies, as you can still clear groups with just your main weapon.
Best Gley Weapons and Weapon Modules (Hard)
| Weapon | Substat Priority |
|---|---|
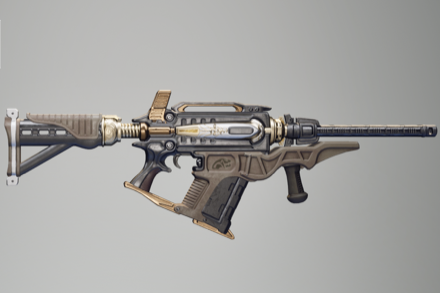 Python Python
|
• Bonus Firearm ATK Colossus (vs. Colossus)
• Recoil • Hip Fire Accuracy • Weak Point Damage |
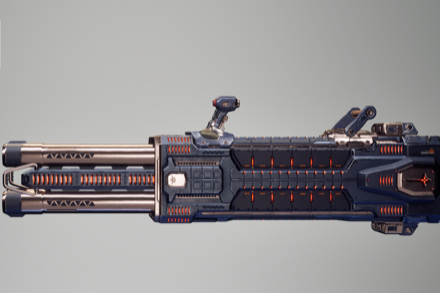 Vestigial Organ Vestigial Organ
(Optional) |
• Explosive ATK
• Attribute Status Effect Trigger Rate • Recoil • Any Elemental ATK |
When using your Massacre ability, you will benefit from the Fire Rate, Critical Hit Chance, Critical Hit Damage, Recoil, Accuracy, and Attribute Effect Trigger Rate of your current weapon. Although the Python has low Critical Hit Rate and high Recoil, its Fire Rate and your character modules compensate for the damage since Massacre scales off Non-Attribute Skill Power and Dimensional Skill Power. Therefore, the best weapon for killing bosses is the Python due to its exceptional Fire Rate. With this much Fire Rate, your Massacre ability, combined with the infinite ammo buff, allows you to burst down bosses in a flash.
Alternatively, if you are just clearing mobs, you don’t need the high damage from your Massacre ability. Instead, you can use Vestigial Organ for powerful AOE damage, which is perfect for clearing mobs. It has the best fire rate among all launchers available in the game, and you can pair it with the infinite ammo buff using Increased Sensory to bypass the reload time.
Best Weapon Modules
 Aiming Compensation Aiming Compensation
|
 Concentration Stabilizer Concentration Stabilizer
|
 Insight Focus Insight Focus
|
 Focus Fire Focus Fire
|
 Better Concentration Better Concentration
|
 Hawk-Eye Hawk-Eye
|
 Better Insight Better Insight
|
 Electric Enhancement Electric Enhancement
|
 Vibration Absorption Vibration Absorption
|
 Fire Rate UP Fire Rate UP
|
More Modules can be seen by scrolling horizontally.
For your weapon modules, focus on stacking stats that carry over to your Massacre ability. This means you don't need to prioritize Firearm ATK and Magazine Capacity modules. The most important module for your weapon is Fire Rate Up, which significantly increases your damage output. Additionally, stack Recoil and Accuracy stats to make it easier to land your shots, especially when targeting the boss from a distance.
You can replace Electric Enhancement with other Bullet Improvement modules depending on the boss's weaknesses for better Elemental ATK damage.
Best Gley Equipment (Hard)
| Equipment | Substat Priority |
|---|---|
 Materialized Phase Reactor Materialized Phase Reactor
|
• Skill Cooldown
• Skill Duration Up • Dimension Skill Power Boost Ratio • Non-Attribute Skill Power Boost Ratio |
 Annihilation Auxiliary Power Annihilation Auxiliary Power
|
• Fire Resistance
• Max HP • Kuiper Shard Drop Rate Increase Modifier • Module Drop Rate Increase Modifier |
 Annihilation Sensor Annihilation Sensor
|
• Chill Resistance
• Consumable Drop Rate Increase Modifier • HP Recovery Modifier |
 Annihilation Memory Annihilation Memory
|
• Electric Resistance
• DEF • Firearm Proficiency Gain Modifier • Gold Drop Rate Increase Modifier |
 Annihilation Processor Annihilation Processor
|
• Toxic Resistance
• Ecive Display Time • Item Acquisition Distance Increase Modifier |
Note that External Components with set bonuses have fixed main stats.
For your Reactor, it's highly recommended to boost the stats for your Dimensional and Non-Attribute Skills to further increase the damage of your Massacre. However, if you still lack cooldown reduction and skill duration for 100% uptime on Increased Sensory, you can prioritize those substats over damage for consistency.
As for External Component, since your abilities use HP instead of MP, you can fully utilize the effects of the Annihilation Set easily, as your health will often be below 50%. For substats, MP and Shield are not beneficial, so focus on stacking Resistances and Defense for better survivability. Alternatively, you can replace these substats with drop rate modifiers if you want to prioritize faster farming.
| List of Reactors | List of External Components |
Gley Playstyle Tips
| Gley Playstyle Tips |
|---|
|
|
Turn Off Frenzy When Healing
To maintain your health during fights, ensure you deactivate Frenzied before picking up Health Consumables, Life Spheres, or using Massive Sanguification to avoid the Recovery Penalty associated with Frenzied. Additionally, you can activate Increased Sensory while Frenzied is off to increase the generation rate of Life Spheres when killing enemies.
Use Increased Sensory After Casting Massacre
When using Massacre, each shot you fire will deal exceptional damage but is limited by the number of Life Spheres you have. Follow up with Increased Sensory while Frenzied to activate the Maximum Lethality buff, which grants your Massacre infinite ammo for a few seconds. Keep in mind that during Maximum Lethality, your movement speed is reduced by half, making it more challenging to dodge, especially when avoiding AOE attacks from Bosses.
Best Gley Builds for Normal Mode
| Jump to a Section! | |||||||||||
|---|---|---|---|---|---|---|---|---|---|---|---|
| Descendant Modules | Weapon and Modules | ||||||||||
| Best Reactor | Best External Components | ||||||||||
| ▲Jump to Hard Mode Build▲ | |||||||||||
Best Gley Modules (Normal)
| Best Gley Modules | |
|---|---|
 HP Collector HP Collector
|
When defeating an enemy, instantly recovers X% of Max HP (Cooldown Xs). |
 Focus on Non-Attribute Focus on Non-Attribute
|
Non-Attribute Skill Power +X%, Skill Cooldown -X% |
 Maximize Duration Maximize Duration
|
Skill Duration +X%, Skill Power Modifier -X% |
 MP Conversion MP Conversion
|
Skill Cooldown -X%, Max MP -X% |
 HP Amplification HP Amplification
|
Max HP +X%, Max Shield -X% |
 Kicking Kicking
|
Modifies the Charged Sub Attack. Use a Kick to attack when performing a Charged Sub Attack. As the Enhancement Level Increases, Max Module Capacity increases. (Currently +X) |
 Skill Extension Skill Extension
|
Skill Duration +X%, applies only to certain skills for each Descendant |
 Increased HP Increased HP
|
Max HP +X% |
 Nimble Fingers Nimble Fingers
|
Skill Cooldown -X% |
This Gley build is designed to increase her maximum HP to enhance her survivability and deal more damage with Massacre and Life Siphon. Additionally, you will also be stacking Skill Cooldown and Skill Duration to utilize the effects of Increased Sensory.
With Gley, you can pick up the double-edge modules that drastically increase your HP but negatively impact your Shield or MP. Since Gley's passive ability, Thirst, prevents her from having those stats, you will be able to completely avoid the downside of these modules.
Modules Guide: List of Modules
Best Gley Weapon and Modules (Normal)
| Weapon | Stat Priority | ||
|---|---|---|---|
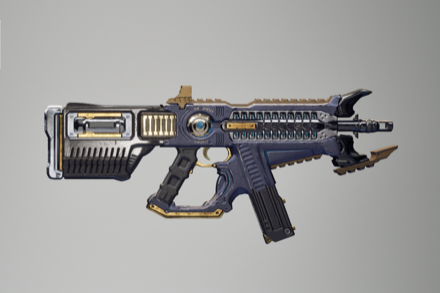 Thunder Cage Thunder Cage
|
・Firearm ATK ・Firearm Critical Hit Damage ・Firearm Critical Hit Rate ・Weak Point Damage |
||
| Best Modules for Thunder Cage | |||
 Sweeping Squad Sweeping Squad
|
When defeating an enemy, Firearm ATK +X% for Xs at a X% chance (up to X Stacks). | ||
 Rapid Fire Insight Rapid Fire Insight
|
Fire Rate +X%, Firearm Critical Hit Rate +X% | ||
 Insight Support Ammo Insight Support Ammo
|
Rounds per Magazine +X%, Firearm Critical Hit Rate +X% | ||
 Insight Focus Insight Focus
|
Firearm Critical Hit Rate +X%, Firearm Critical Hit Damage +X% | ||
 Weak Point Insight Weak Point Insight
|
Weak Point Damage +X%, Firearm Critical Hit Rate +X% | ||
 Sharpshooter Sharpshooter
|
Firearm ATK +X%, Firearm Critical Hit Rate +X% | ||
 Weak Point Sight Weak Point Sight
|
Weak Point Damage +X% | ||
 Better Concentration Better Concentration
|
Firearm Critical Hit Damage +X% | ||
 Better Insight Better Insight
|
Firearm Critical Hit Rate +X% | ||
 Rifling Reinforcement Rifling Reinforcement
|
Firearm ATK +X% | ||
This weapon's unique ability, Overcharge, has a chance to discharge an Electric Shockwave, helping you clear groups of enemies. Since Gley can have infinite ammo, you can easily utilize this effect by shooting grouped enemies to clear the area.
Your modules should mainly stack Critical Hit Rate and Firearm ATK to maximize the effects of the bonus Firearm ATK with Frenzied and infinite ammo when activating Increased Sensory.
Best Gley Reactor (Normal)
| Reactor | Stat Priority |
|---|---|
 Materialized Phase Reactor Materialized Phase Reactor
|
・Skill Cooldown ・Skill Duration Up |
It is better to get the Phase Reactor to obtain bonuses for your Dimensional Skills since Massacre and Life Siphon are the only two skills that can scale from Skill Power. Getting a Singularity Reactor will still provide the base Skill Power, but the effects of Frenzied and Increased Sensory will remain the same.
Reactors Guide: List of Reactors
Best Gley External Components (Normal)
| Set | Set Effect |
|---|---|
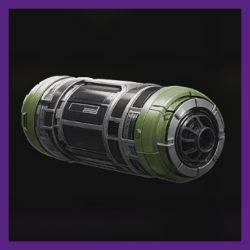 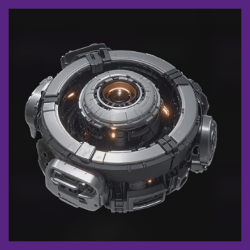 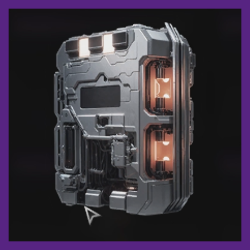 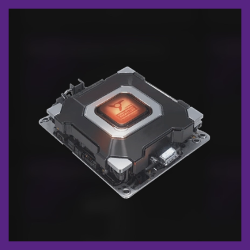 |
2-Set Effect: ・Firearm Critical Rate +5.1% 4-Set Effect: ・Firearm ATK +6.6% ・Weak Point DMG +5.8% |
| Substat Priority | |
| Auxiliary Power | ・Max HP ・Fire Resistance |
| Sensor | ・Chill Resistance ・Consumable Drop Rate Increase Modifier |
| Memory | ・DEF ・Electric Resistance |
| Processor | ・Item Acquisition Distance Increase Modifier ・Toxic Resistance |
Since you will be targeting the enemy's weak points during Void Intercept Battles, the Veteran Marksman Set is one of the best early-game external components. Additionally, it provides Firearm Critical Hit Rate and Firearm ATK, both of which are useful in any situation.
How to Unlock Gley
Unlock Using the Research Institute
| Research Time | Cost |
|---|---|
| 16:00:00 | 400,000 |
| Required Research Material | How to Get |
|---|---|
| Gley Code x1 |
・Intercept Battle: (Common) (Grave Walker) Amorphous Material Pattern: 002 required ・ Intercept Battle: (Hard) (Dead Bride) Amorphous Material Pattern: 069 required ・ Intercept Battle: (Hard) (Molten Fortress) Amorphous Material Pattern: 124 required ・ Agna Desert (Hard) - Abyssal Void Fusion Reactor - Agna Desert Miragestone Deposit |
| Gley Enhanced Cells x1 |
・Research
Research Materials Needed: ・Monad Shard x246 ・Silicon x430 ・Cooling Metallic Foil x38 ・Gley Enhanced Cells Blueprint x1 |
| Gley Spiral Catalyst x1 |
・Research
Research Materials Needed: ・Nanopolymers x363 ・Ceramic Composite x408 ・Synthesized Artificial Biometal x99 ・Gley Spiral Catalyst Blueprint x1 |
| Gley Stabilizer x1 |
・Research
Research Materials Needed: ・Metal Accelerant x519 ・Flectorite x292 ・Complex Carbon Activator x60 ・Gley Stabilizer Blueprint x1 |
You can unlock Gley through the Research Institute in Albion. Note that to acquire a Descendant using research, you need all the required items and gold to unlock this character.
Purchase Gley Using Caliber
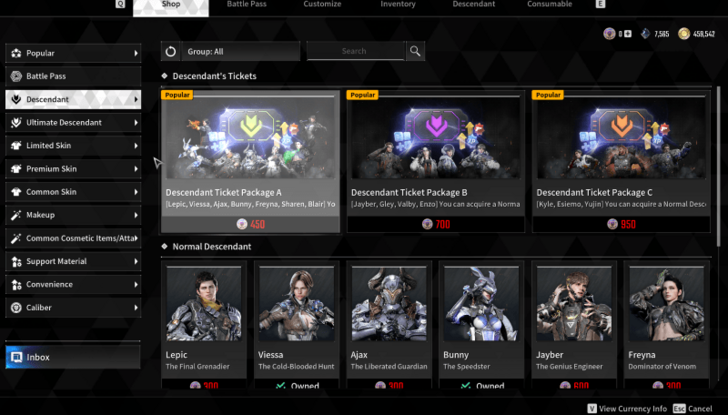
Alternatively, you can unlock Descendants by purchasing them in the Shop. This method only requires Caliber, an in-game currency that you can buy with real money. Purchasing Gley in the Shop instantly unlocks the Descendant, allowing you to skip the item requirements and research time.
Gley Basic Info & Stats
| Gley Basic Info | ||
|---|---|---|
 Gley GleyHope Seeker |
Role | Utility Dealer |
| Element |
|
|
| Description | ||
| "A dealer who becomes stronger the more she gnaws on herself. Unleashes the rage inside her to quickly subdue her enemies." | ||
Stats
| DEF | Max Shield | Shield Recovery | Max MP | Max HP |
|---|---|---|---|---|
| 2325 | 0 | 0 | 0 | 1651 |
Gley Skills
Passive Skills
| Skill | Type Effect |
|---|---|
 Thirst Thirst
|
Creates Life Spheres upon killing enemies. Recovers HP and stores Power of Life when absorbing Life Spheres. |
Active Skills
| Skill | Type Effect |
|---|---|
 Frenzied Frenzied
|
Consumes HP to enter Berserk mode. In Berserk mode, long distance weapon’s ATK and Penetration increase. |
 Life Siphon Life Siphon
|
Deals damage to nearby enemies and restores HP. In Berserk mode, damage increases; in Normal mode, damage inflicted by enemies decreases for a certain period of time. |
 Increased Sensory Increased Sensory
|
Her Increased Sensory adds an infinite ammo effect for a certain amount of time during Frenzy, and when in a Non-Frenzied state, increases Movement Speed and HP Recovery during which Life Sphere generation is increased. |
 Massacre Massacre
|
Changes current Firearm to Massacre. Adds additional skill damage during Frenzied state, and inflicts Stun effect on hit enemies. |
Gley Exclusive Equipment
Variable Arche Firearm 'Massacre'
Creating a weapon that suits Gley, the only being who can use Arche, as well as switch between the genetic structures of humans and Magisters, was a serious challenge. The main issue was deciding the basis for the output point, and while both Anais and Deslin suggested creating the weapon based on when she's in human form, Gley was adamantly against it. She wanted a weapon that would allow her to slaughterher enemies, even if it meant it ate away at her own life. After much wrangling, the output point was set based on when Gley was in a frenzy. When she finally received the weapon, Gley wordlessly stared at it for a long time before slipping it into her holster and leaving.
Gley Skins
| Jump to a Skin type! | ||
|---|---|---|
| Head | Body | Back |
| Chest | Ecive | Full Body |
| Grappling Hook | Make Up | Spawn |
All Gley Head Skins
 |
 |
 |
 |
 |
 |
All Gley Body Skins
 |
 |
 |
 |
 |
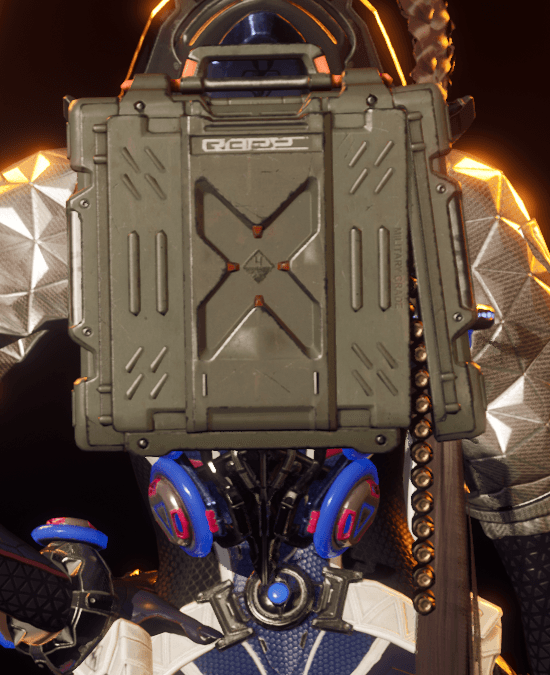
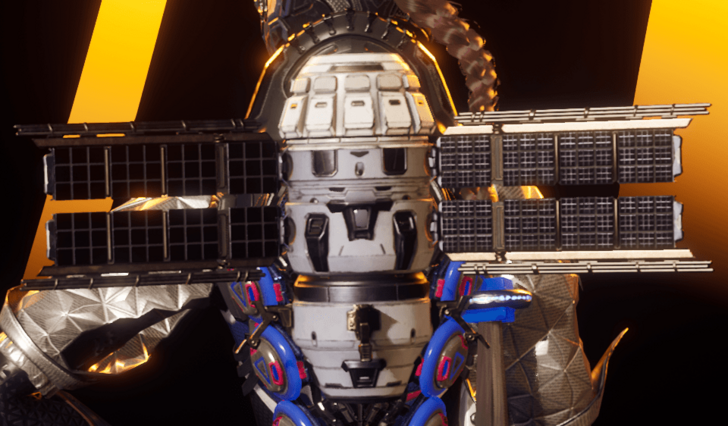
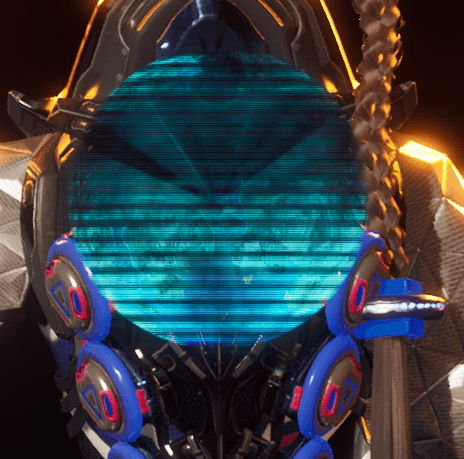
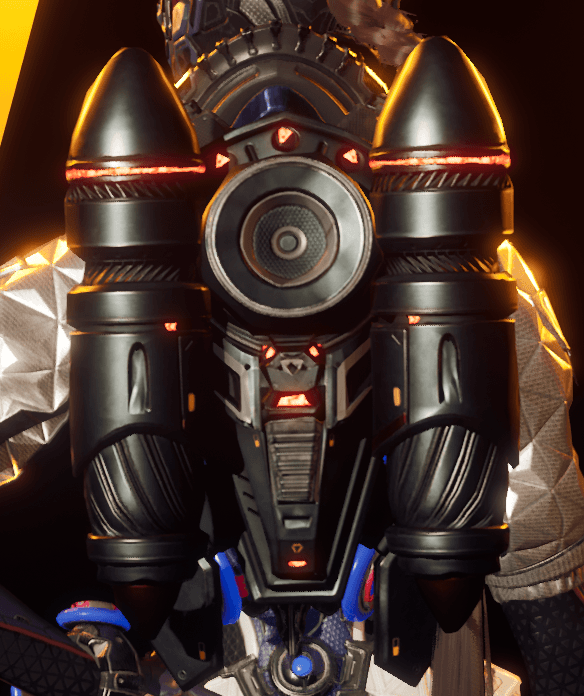
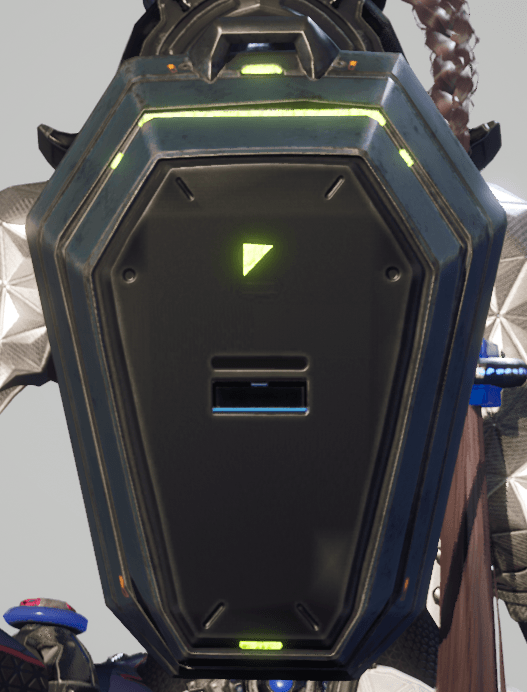
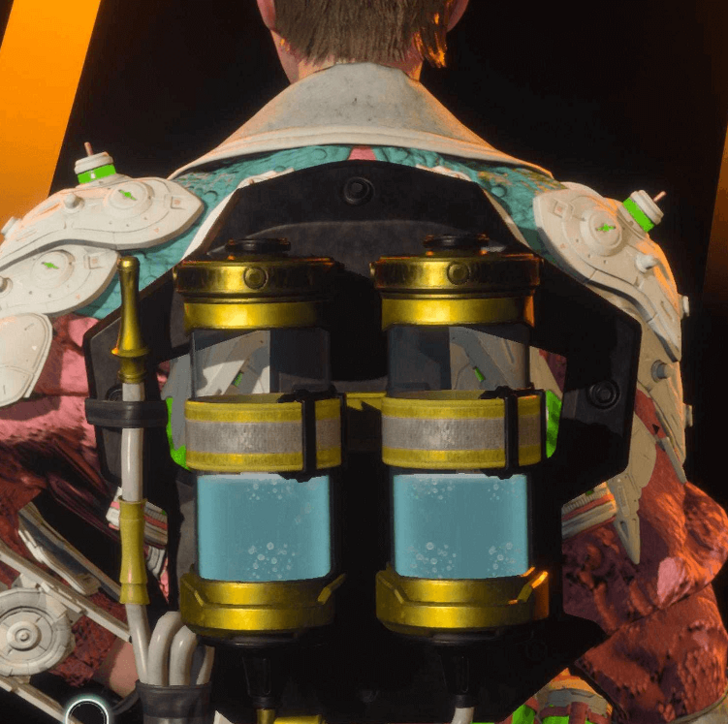
All Gley Back Skins
 |
 |
 |
 |
 |
 |
 |
 |
 |
 |
 |
 |
 |
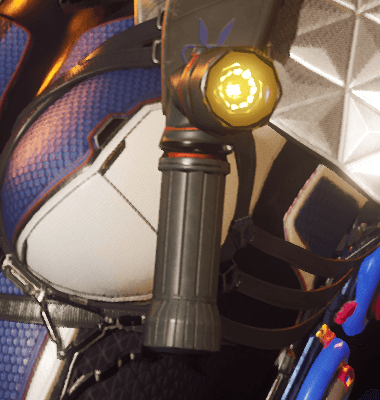
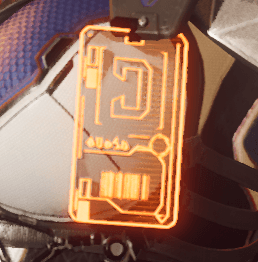
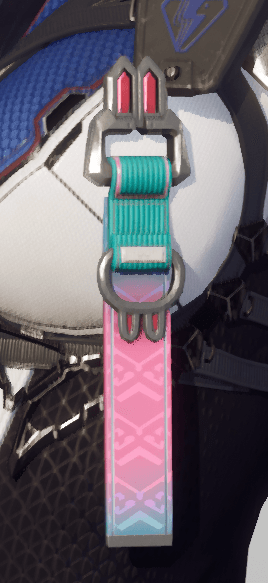
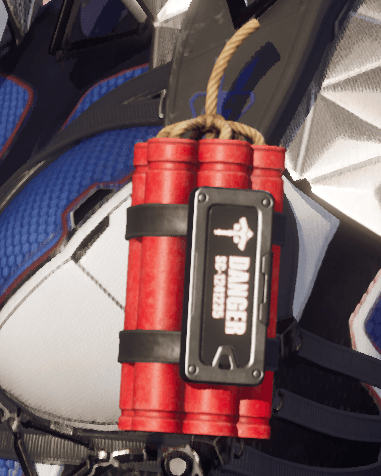
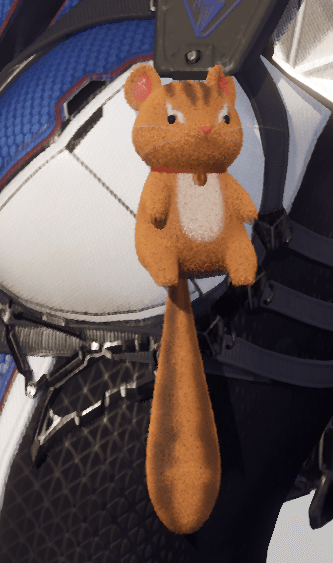
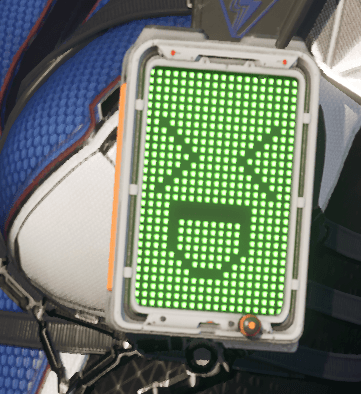
All Gley Chest Skins
 |
 |
 |
 |
 |
 |
 |
 |
 |
 |
All Gley Ecive Skins
 |
 |
 |
All Gley Full Body Skins
 |
 |
All Gley Grappling Hook Skins
 |
 |
All Gley Make Up Skins
 |
 |
 |
All Gley Spawn Skins
 |
 |
 |
 |
 |
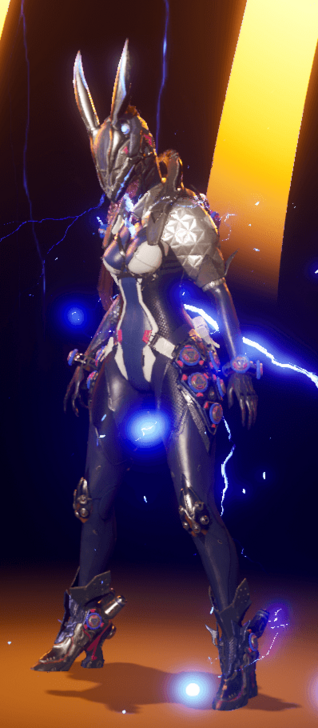 |
 |
 |
 |
The First Descendant Related Guides

All Base Characters
 Ajax Ajax |
 Blair Blair |
 Bunny Bunny |
 Enzo Enzo |
 Esiemo Esiemo |
 Freyna Freyna |
 Gley Gley |
 Hailey Hailey |
 Jayber Jayber |
 Kyle Kyle |
 Lepic Lepic |
 Luna Luna |
 Sharen Sharen |
 Valby Valby |
 Viessa Viessa |
 Yujin Yujin |
- | - |
All Ultimate Characters
 Ultimate Ajax Ultimate Ajax |
 Ultimate Bunny Ultimate Bunny |
 Ultimate Freyna Ultimate Freyna |
 Ultimate Gley Ultimate Gley |
 Ultimate Lepic Ultimate Lepic |
 Ultimate Valby Ultimate Valby |
 Ultimate Viessa Ultimate Viessa |
- | - |
Character Guides
| Character Guides | |
|---|---|
| List of All Builds | List of All Ultimate Descendants |
| All Character Skins | - |
Comment
wtf you don't need recoil substat on vestigial...
Author
Gley Builds and How to Unlock
improvement survey
04/2026
improving Game8's site?

Your answers will help us to improve our website.
Note: Please be sure not to enter any kind of personal information into your response.

We hope you continue to make use of Game8.
Rankings
- We could not find the message board you were looking for.
Gaming News
Popular Games

Genshin Impact Walkthrough & Guides Wiki

Crimson Desert Walkthrough & Guides Wiki

Umamusume: Pretty Derby Walkthrough & Guides Wiki

Honkai: Star Rail Walkthrough & Guides Wiki

Monster Hunter Stories 3: Twisted Reflection Walkthrough & Guides Wiki

Wuthering Waves Walkthrough & Guides Wiki

The Seven Deadly Sins: Origin Walkthrough & Guides Wiki

Pokemon TCG Pocket (PTCGP) Strategies & Guides Wiki

Pokemon Pokopia Walkthrough & Guides Wiki

Zenless Zone Zero Walkthrough & Guides Wiki
Recommended Games

Monster Hunter World Walkthrough & Guides Wiki

Fire Emblem Heroes (FEH) Walkthrough & Guides Wiki

Pokemon Brilliant Diamond and Shining Pearl (BDSP) Walkthrough & Guides Wiki

Super Smash Bros. Ultimate Walkthrough & Guides Wiki

Diablo 4: Vessel of Hatred Walkthrough & Guides Wiki

Cyberpunk 2077: Ultimate Edition Walkthrough & Guides Wiki

Yu-Gi-Oh! Master Duel Walkthrough & Guides Wiki

Elden Ring Shadow of the Erdtree Walkthrough & Guides Wiki

The Legend of Zelda: Tears of the Kingdom Walkthrough & Guides Wiki

Persona 3 Reload Walkthrough & Guides Wiki
All rights reserved
© NEXON Korea Corp. & NEXON Games Co, LTD. All Rights Reserved.
The copyrights of videos of games used in our content and other intellectual property rights belong to the provider of the game.
The contents we provide on this site were created personally by members of the Game8 editorial department.
We refuse the right to reuse or repost content taken without our permission such as data or images to other sites.
 Mid-Air Maneuvering
 Skill Simplification
 Increased DEF





![Forza Horizon 6 Review [Preview] | Beautiful Roads With a Whole Lot of Oversteer](https://img.game8.co/4460981/a7254c24945c43fbdf6ad9bea52b5ce9.png/thumb)


Hey, is pic for Best Gley Reactor (Normal) correct? Aren't required reactor, hm, triangular shape?