Enzo Builds and How to Unlock
Please note that the First Descendant Team has stopped covering the game as of October 2024. Information on certain pages may not be up-to-date.
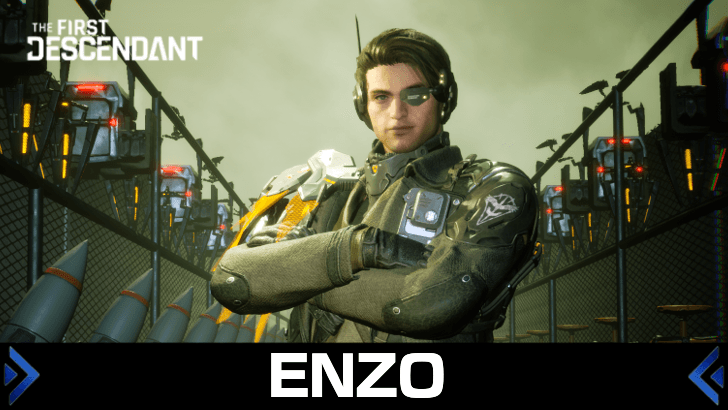
This is an Enzo build for normal and hard mode in The First Descendant. Read on to learn Enzo's best builds, how to unlock, basic info, skills, as well as Enzo's exclusive equipment and skins!
List of Contents
Best Hard Mode Enzo Build
| Enzo Hard Mode Builds | |
|---|---|
| Descendant Modules | Weapons and Modules |
| Equipment | Playstyle Tips |
| ▼Jump to Normal Mode Builds▼ | |
Enzo Hard Mode Build Showcase
Best Enzo Modules (Hard)
 Focus Fire Focus Fire
|
 Mid-Air Maneuvering Mid-Air Maneuvering
|
 Spear and Shield Spear and Shield
|
 MP Accelerant MP Accelerant
|
 Time Distribution Time Distribution
|
 Shot Focus Shot Focus
|
 HP Amplification HP Amplification
|
 Energy Collection Energy Collection
|
 Skill Extension Skill Extension
|
 Increased DEF Increased DEF
|
 Increased HP Increased HP
|
 Nimble Fingers Nimble Fingers
|
Note: You can scroll horizontally to show more modules.
This build revolves around using the Focus Fire skill with the Smithereens shotgun's guaranteed crits to have a surplus of High-Power Rounds for the Guardian R4.
The other modules focus on survival, cooldown reduction, and MP management. When fully maximized, this build should be able to tank some hits while never running out of explosive rounds to melt bosses with!
Alternative Modules for Boss Fights
| Module Change | Explanation | ||
|---|---|---|---|
 Supply Firearm Enhancer Supply Firearm Enhancer
|
If you prefer using the Tamer to the Guardian R4, this Skill Module will greatly increase your damage output on bosses. | ||
 Spear and Shield Spear and Shield
|
> | Any Element Antibody | Bringing a specific elemental resistance will significantly improve survivability in boss fights. |
If you prefer Machine Guns or Assault Rifles, it would be advisable to swap Focus Fire with Supply Firearm Enhancer and mod for Skill Duration. Slotting in this alternative skill module also allows you to help supply your allies with ammo since Focus Fire only applies to you.
Since Spear and Shield are slotted mainly for additional defenses, it is best to swap it out for any elemental antibody depending on the boss you are fighting.
Alternative Modules for Mobbing
| Module Change | Explanation | ||
|---|---|---|---|
 MP Accelerant MP Accelerant
|
> |
 Nimble Fingers Nimble Fingers
|
More Skill Cooldown over Duration and MP |
Since you will not be able to reliably proc criticals with Smithereens outside of Void Interceptions, it is recommended to swap out MP Accelerant for Nimble Fingers to have more up-time on Focus Fire!
Best Enzo Weapons and Modules (Hard)
| Weapon | Substat Priority |
|---|---|
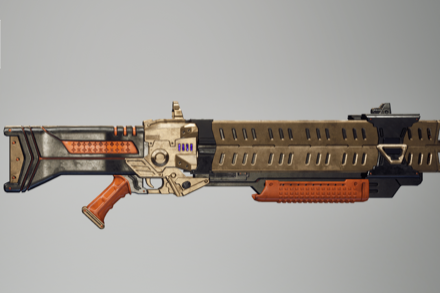 Smithereens Smithereens
|
• Bonus Firearm ATK (vs. Colossus)
• Firearm ATK • Firearm Critical Hit Damage • Round Per Magazine |
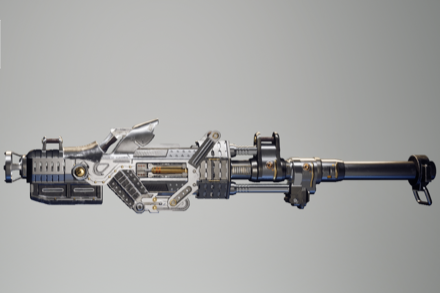 Guardian R4 Guardian R4
|
• Bonus Firearm ATK Colossus (vs. Colossus)
• Explosive ATK • Firearm Critical Hit Damage • Attribute Status Effect Trigger Rate • Any Elemental ATK (Optional) |
Best Smithereen Modules
 Hit Rate Focus Hit Rate Focus
|
 Bullet Rain Bullet Rain
|
 Commando Marksmanship Commando Marksmanship
|
 Action and Reaction Action and Reaction
|
 Better Concentration Better Concentration
|
 Chill Enhancement Chill Enhancement
|
 Electric Enhancement Electric Enhancement
|
 Toxic Enhancement Toxic Enhancement
|
 Fire Enhancement Fire Enhancement
|
 Rifling Reinforcement Rifling Reinforcement
|
Note: You can only equip one Bullet Improvement module, so change depending on the enemy's elemental weakness.
Since criticals with the Smithereen are guaranteed, it is recommended to mod it solely with Firearm ATK and Critical Hit Damage. This weapon will be your duration primer for Focus Fire as it will quickly stack up its duration due to the guaranteed criticals.
While it is not your primary DPS weapon, it still packs a punch if modded correctly and sets up your Guardian R4 with enough ammo to transition back to using Focus Fire again!
Best Guardian R4 Modules
 Strengthen First Shot Strengthen First Shot
|
 Commando Marksmanship Commando Marksmanship
|
 Action and Reaction Action and Reaction
|
 Better Concentration Better Concentration
|
 Recycling Genius Recycling Genius
|
 Chill Enhancement Chill Enhancement
|
 Electric Enhancement Electric Enhancement
|
 Toxic Enhancement Toxic Enhancement
|
 Fire Enhancement Fire Enhancement
|
 Rifling Reinforcement Rifling Reinforcement
|
Note: You can only equip one Bullet Improvement module, so change depending on the enemy's elemental weakness.
The Guardian R4 will be your main damage due to one module, Strengthen First Shot. Since the Guardian R4 can only slot in one ammo per shot, Strengthen First Shot's massive 200% Explosive ATK increase is consistently applied every 10 seconds.
The buffed-up ATK stat then also applies to your slotted elemental damage, which significantly increases damage dealt to a colossi. This weapon also has a high base critical chance, so it is recommended to slot in mods that increase Firearm ATK, Reload Time, and Critical Hit Damage!
Best Enzo Equipment (Hard)
| Equipment | Substat Priority |
|---|---|
 Materialized Phase Reactor Materialized Phase Reactor
|
• Skill Duration Up
• Skill Cooldown • Skill Cost • Non Attribute Skill Power Boost Ratio |
 Annihilation Auxiliary Power Annihilation Auxiliary Power
|
• Max HP
• MP Recovery Out of Combat |
 Annihilation Sensor Annihilation Sensor
|
• MP Recovery In Combat
• Max MP |
 Annihilation Memory Annihilation Memory
|
• DEF
• Shield Recovery In Combat |
 Annihilation Processor Annihilation Processor
|
• Item Acquisition Distance Increase Modifier
• Max Shield |
Note: External Components with set bonuses have fixed main stats.
One thing of note with Enzo is that Skill Power does not define the amount of ammunition replenished. Essentially, it would be better to focus the additional skill power on Dimension for Explosive Drone. For the substats, look for Skill Duration and Skill Cooldown to keep your essential skills for much longer!
As for the External Components, the Annihilation Set is a healthy mix between HP and Defense, so it is the perfect match for Enzo, especially if you reach 40,000 Defense! Furthermore, the set boosts your Skill Duration and incentivizes you to be upfront in the enemy's face. The trick here is to take damage intentionally until your health reaches 50%, then pop Enhance Combat Suit to activate and maintain the effect safely!
| List of Reactors | List of External Components |
Enzo Playstyle Tips
| Enzo Playstyle Tips |
|---|
|
|
Prime Focus Fire with Smithereens
Starting the fight, use Smithereens to quickly stack up Focus Fire's duration. Optimally, you should spend about a whole magazine's worth before switching to the Guardian R4!
Always remember to switch into Smithereens every so often to increase the duration and avoid running out of ammo!
Use Reload Animation Cancel
To counteract the long wait time before being able to reload after firing, you can repeatedly click on the reload button to double your damage output.
Get the High Ground
The Guardian R4 fires shells at an arc, so aiming with it can be a little challenging. It is recommended to position yourself on high ground or continuously jump while aiming your shots. Doing so will help with accuracy problems!
Use Explosive Drone to Stun Enemies
During panic situations where you are surrounded by enemies and low on health, use your Explosive Drone to daze enemies in a pinch! Doing so will get you out of a pinch and possibly get a chance to restore some HP.
Best Normal Mode Enzo Build
| Jump to a Section! | |
|---|---|
| Best Modules | Best Weapon and Modules |
| Best Reactor | Best External Components |
| ▲Jump to Hard Mode Builds▲ | |
Best Enzo Modules (Normal)
| Best Enzo Modules | |
|---|---|
 Spear and Shield Spear and Shield
|
DEF +X%, Skill Power +X% |
 Time Distribution Time Distribution
|
Skill Cooldown -X%, Max HP +X% |
 Focus on Non-Attribute Focus on Non-Attribute
|
Non-Attribute Skill Power +X%, Skill Cooldown -X% |
 Maximize Duration Maximize Duration
|
Skill Duration +X%, Skill Power Modifier -X% |
 HP Amplification HP Amplification
|
Max HP +X%, Max Shield -X% |
 Skill Extension Skill Extension
|
Skill Duration +X%, applies only to certain skills for each Descendant |
 Increased DEF Increased DEF
|
DEF +X% |
 Increased HP Increased HP
|
Max HP +X% |
 Nimble Fingers Nimble Fingers
|
Skill Cooldown -X% |
This build revolves around keeping your main-line abilities up for an extended time, allowing you to abuse Shotguns and Launchers. The selected modules focus on maximizing Skill Duration, survivability, and lowering cooldowns.
Best Enzo Weapon and Modules (Normal)
| Weapon | Substat Priority | ||
|---|---|---|---|
 Guardian R4 Guardian R4
|
• Bonus Firearm ATK (vs. Colossus)
• Explosive ATK • Firearm Critical Hit Damage • Attribute Status Effect Trigger Rate |
||
| Best Modules for Guardian R4 | |||
 Action and Reaction Action and Reaction
|
Explosive ATK +X%, Recoil +X%. | ||
 Better Concentration Better Concentration
|
Firearm Critical Hit Damage +X% | ||
 Recycling Genius Recycling Genius
|
Reload Time Modifier +X% | ||
 Rifling Reinforcement Rifling Reinforcement
|
Explosive ATK +X% | ||
The Guardian R4 is the best normal mode Launcher that Enzo can use. Your Reload Modifier acts as your fire rate for Guardian R4, so it is recommended to invest early in Recycling Genius as you go through normal mode!
Best Enzo Reactor (Normal)
| Reactor | Substat Priority |
|---|---|
 Materialized Phase Reactor Materialized Phase Reactor
|
・Skill Duration ・Skill Cost Down |
During the early game, equip the highest level Materialized Phase Reactor you get. While your skill power does not define much with Enzo, it helps add damage to Explosive Drones! This build relies on Skill Duration and Skill Cost Down, so look out for those substats!
Best Enzo External Components (Normal)
| Set | Set Effect |
|---|---|
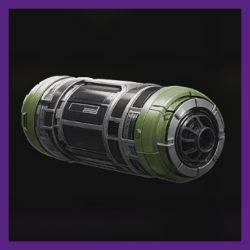 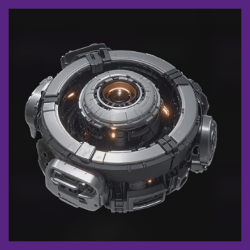 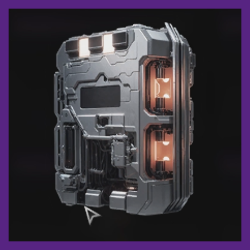 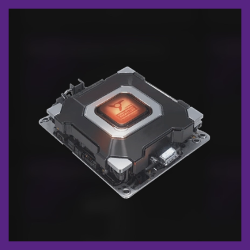 |
2-Set Effect: ・Firearm Critical Rate +5.1% 4-Set Effect: ・Firearm ATK +6.6% ・Weak Point DMG +5.8% |
| Substat Priority | |
| Auxiliary Power | ・Max HP ・Fire Resistance ・Kuiper Shard Drop Rate Increase Modifier ・Module Drop Rate Increase Modifier |
| Sensor | ・MP Recovery in Combat ・Max MP ・Consumable Drop Rate Increase Modifier ・Character EXP Gain |
| Memory | ・DEF ・Electric Resistance ・Firearm Proficiency Gain Modifier ・Gold Drop Rate Increase Modifier |
| Processor | ・Max Shield ・Item Acquisition Distance Increase Modifier ・Toxic Resistance ・Equipment Drop Rate Increase Modifier |
Enzo's whole playstyle revolves around utilizing weapons to their utmost potential. With Veteran Marksman's set bonus, you can reliably increase your firearm damage output by hitting more criticals.
How to Unlock Enzo
Unlock Using the Research Institute
| Research Time | Cost |
|---|---|
| 16:00:00 | 400,000 |
| Required Research Material | How to Get |
|---|---|
| Enzo Code x1 |
・Intercept Battle: (Common) (Dead Bride) Amorphous Material Pattern: 025 required ・ Intercept Battle: (Common) (Hanged Man) Amorphous Material Pattern: 053 ・ Agna Desert (Hard) - Abyssal Void Fusion Reactor - Agna Desert Miragestone Deposit ・ White-night Gulch (Normal) - Void Fusion Reactor - White-night Gulch Hatchery |
| Enzo Enhanced Cells x1 |
・Research
Research Materials Needed: ・Monomolecular Extractor x499 ・Flectorite x292 ・Inorganic Biogel x58 ・Enzo Enhanced Cells Blueprint x1 |
| Enzo Spiral Catalyst x1 |
・Research
Research Materials Needed: ・Semi-permanent Plasma x290 ・Ceramic Composite x408 ・Positive Ion Particle x42 ・Enzo Spiral Catalyst Blueprint x1 |
| Enzo Stabilizer x1 |
・Research
Research Materials Needed: ・Silicon x430 ・Nanopolymers x363 ・Advanced Neural Circuit x90 ・Enzo Stabilizer Blueprint x1 |
You can unlock Enzo through the Research Institute in Albion. Note that to acquire a Descendant using research, you need all the required items and gold to unlock this character.
Purchase Enzo Using Caliber
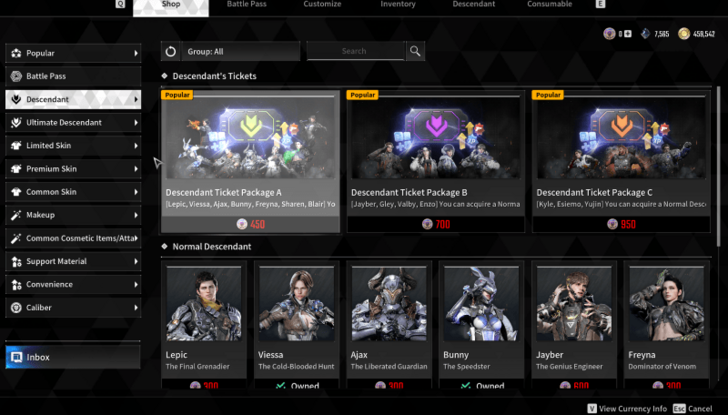
Alternatively, you can unlock Descendants by purchasing them in the Shop. This method only requires Caliber, an in-game currency that you can buy with real money. Purchasing Enzo in the Shop instantly unlocks the Descendant, allowing you to skip the item requirements and research time.
Enzo Basic Info & Stats
| Enzo Basic Info | ||
|---|---|---|
 Enzo EnzoThe Best Quartermaster |
Role | Support |
| Element |
|
|
| Description | ||
| "A supporter who uses supply drones. Commands the battlefield by supplying ammo to allies while launching long-range attacks with drones at the same time." | ||
Stats
| DEF | Max Shield | Shield Recovery | Max MP | Max HP |
|---|---|---|---|---|
| 1674 | 516 | 3.96 | 187 | 841 |
Enzo Skills
Passive Skills
| Skill | Type Effect |
|---|---|
 Shoot Support Shoot Support
|
Grants Fire Support to allies within an area around Enzo, increasing their max ammo capacity. This efficiency of this effect increases marginally with the number of Enzos in the squad. Efficiency increases when Enzo disarms the security of the Encrypted Vault, and rewards increase when this happens. |
Active Skills
| Skill | Type Effect |
|---|---|
 Start Supply Start Supply
|
Summons a Bullet Supplying Device at the designated location. Supplies bullets to allies that approach the Device. The Bullet Supplying Device can be used once by each ally, and disappears when everyone has used it or its duration ends. |
 Explosive Drone Explosive Drone
|
Launches an Explosive Drone forward. The Explosive Drone explodes on contact with an enemy or a terrain object, dealing damage. |
 Enhance Combat Suit Enhance Combat Suit
|
Summons a Shield Recovery Comms. When the Shield Recovery Comms is first summoned, recovers Enzo's Energy Shield by a certain amount, then continues to recover the Energy Shield through Enhance Combat Suit effect. |
 Perfect Support Perfect Support
|
Summons a Small Supply Ship to himself and his allies. The Small Supply Ship periodically provides Supply Bullets and grants Perfect Support to allies. The Small Supply Ship attacks enemies in front while it is active, and when the skill ends, it fires a missile forward that causes a big explosion at its destination. |
Enzo Exclusive Equipment
Arche Refrigerant Release Drone
The Arche Refrigerant Release Drone is a battle sub-system modified specifically for Enzo. It uses thermal sensors to automatically track down and attack the Vulgus who become colder than their surroundings, i.e. enemies that have been attacked by Enzo.
The drone is linked to Enzo's Arche; when Enzo uses her abilities, the drone is summoned automatically.
Various drone technologies have been researched to enhance Enzo's battle capabilities. The very first fruit of such efforts was the Arche Refrigerant Release Drone. Since then, it became possible to link the Arche of other Descendants to dedicated drones and turrets, and Enzo would sometimes joke that she was what started the Arche drone technology."
Enzo Skins
| Jump to a Skin type! | ||
|---|---|---|
| Head | Body | Back |
| Chest | Ecive | Full Body |
| Grappling Hook | Make Up | Spawn |
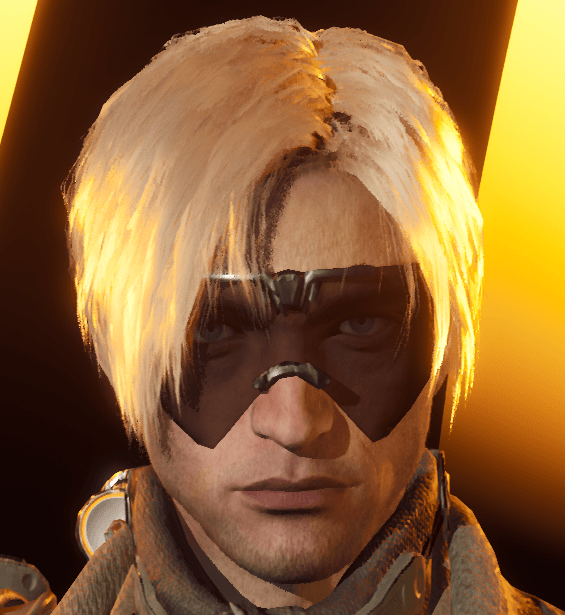
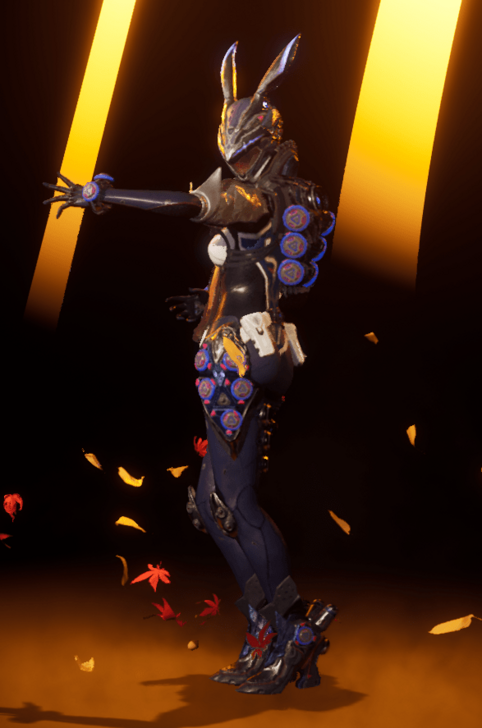
All Enzo Head Skins
 |
 |
 |
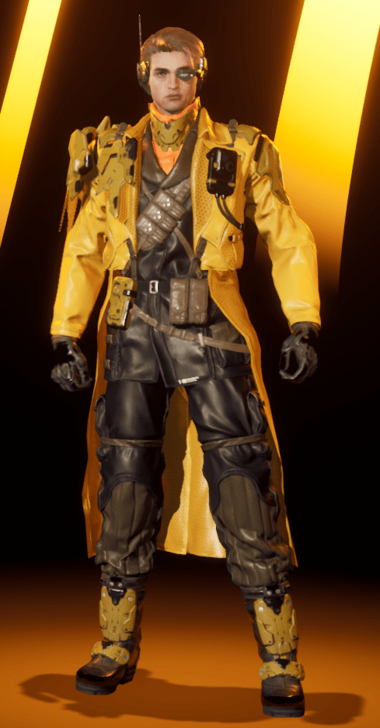
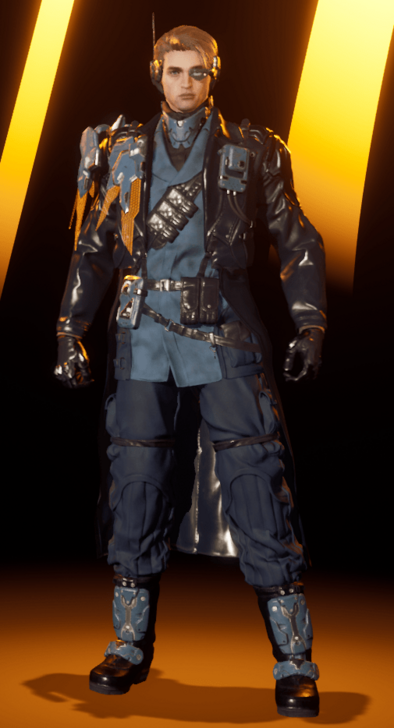
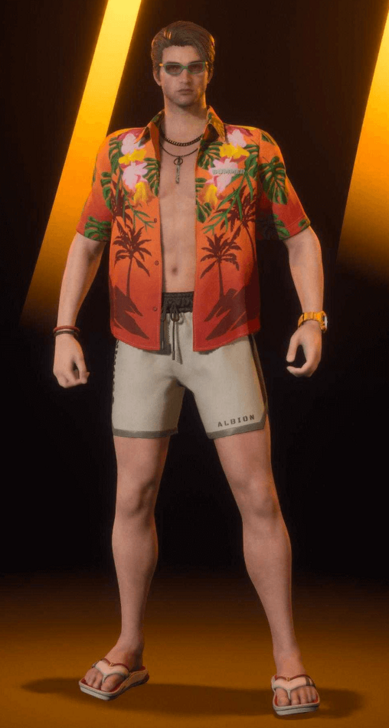
All Enzo Body Skins
 |
 |
 |
 |
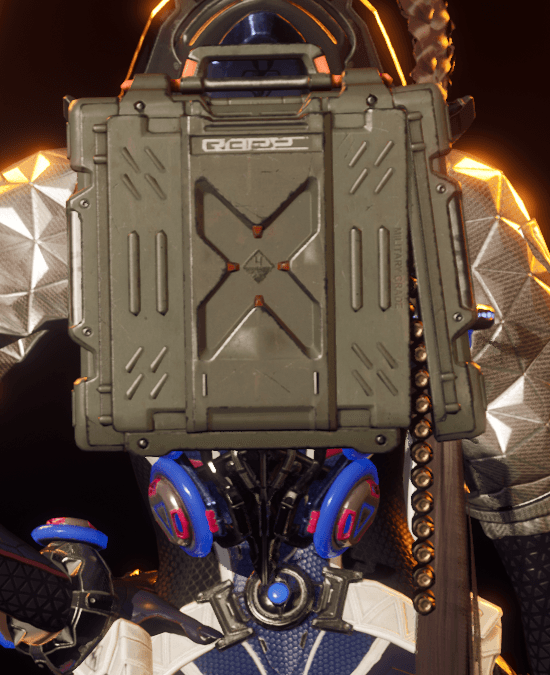
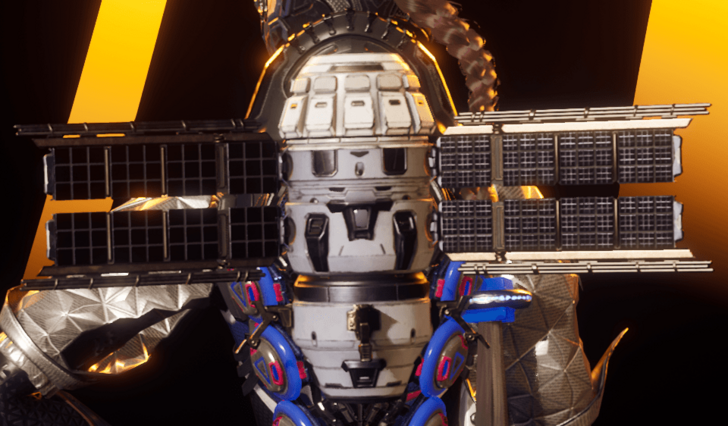
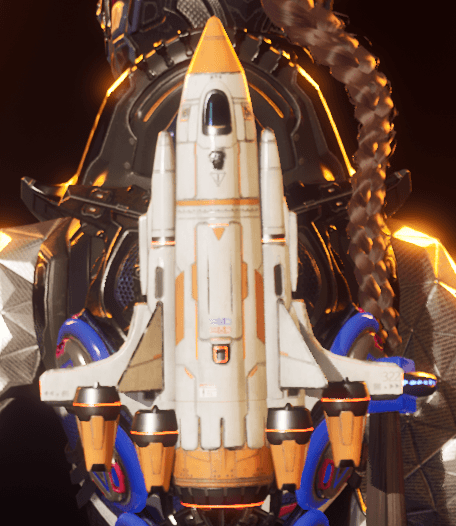
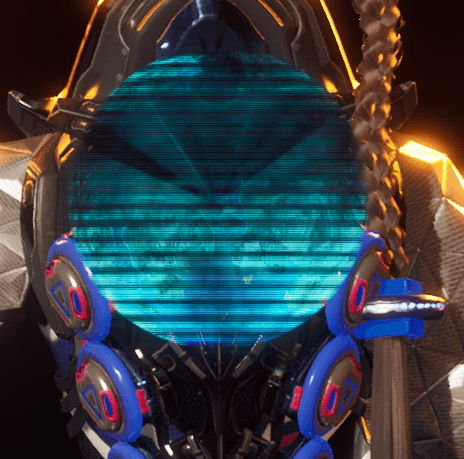
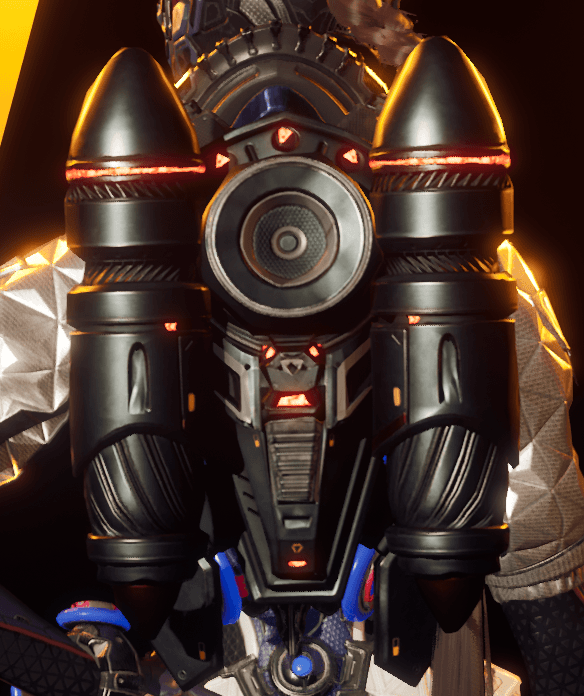
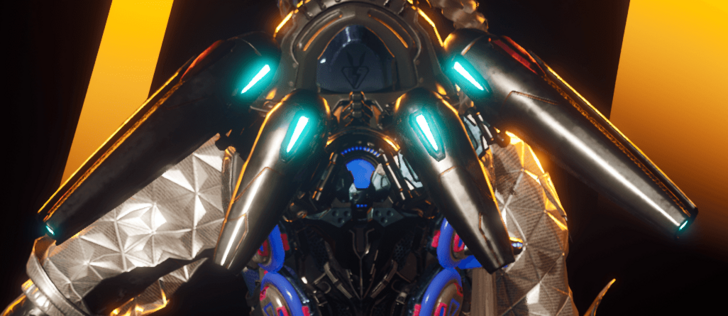
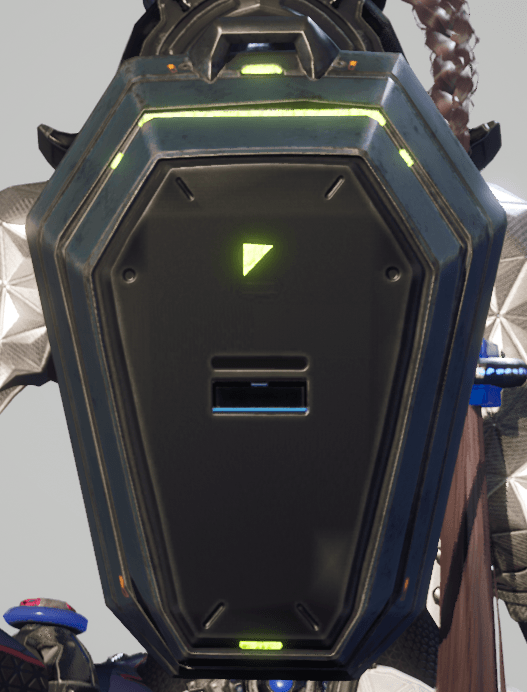
All Enzo Back Skins
 |
 |
 |
 |
 |
 |
 |
 |
 |
 |
 |
 |
 |
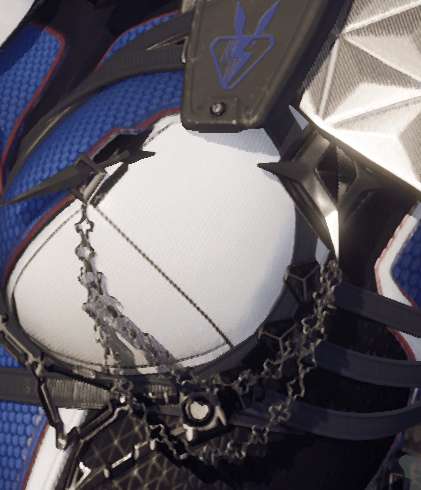
All Enzo Chest Skins
 |
 |
 |
 |
 |
 |
 |
 |
 |
 |
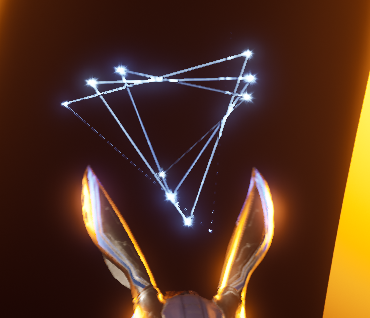
All Enzo Ecive Skins
 |
 |
 |
All Enzo Full Body Skins
 |
 |
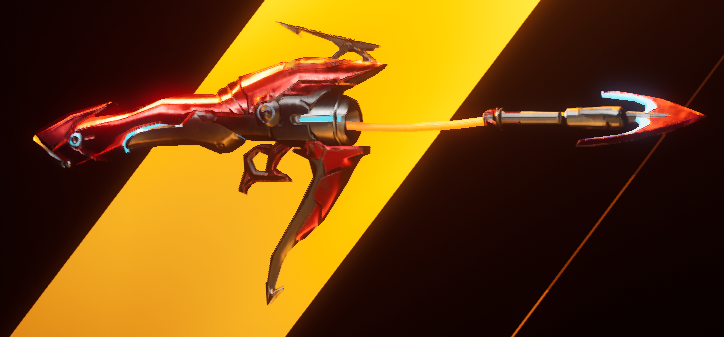
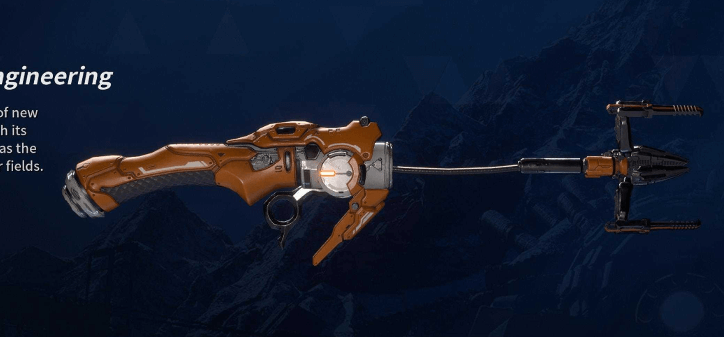
All Enzo Grappling Hook Skins
 |
 |
All Enzo Make Up Skins
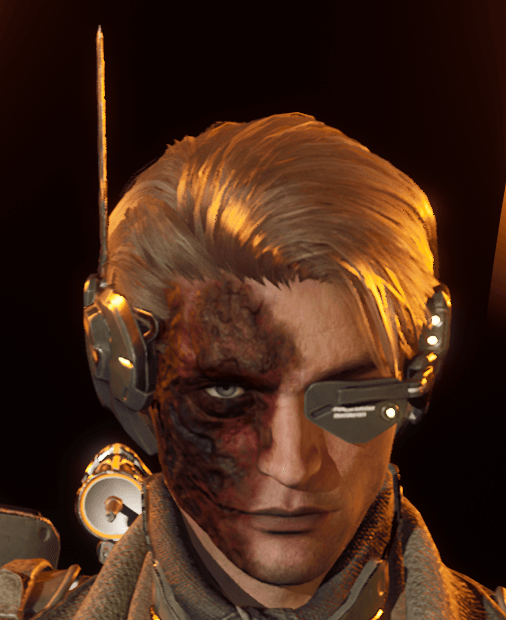 |
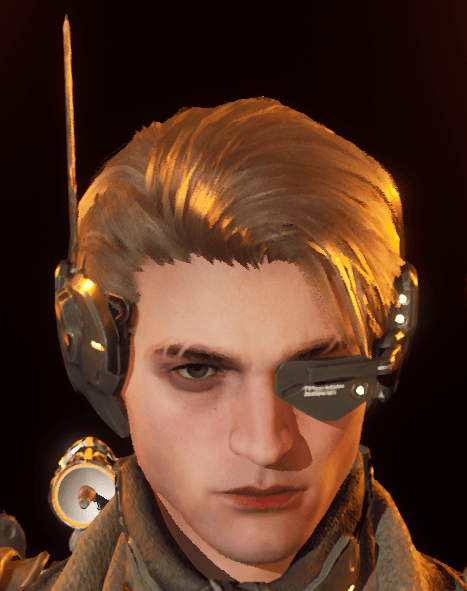 |
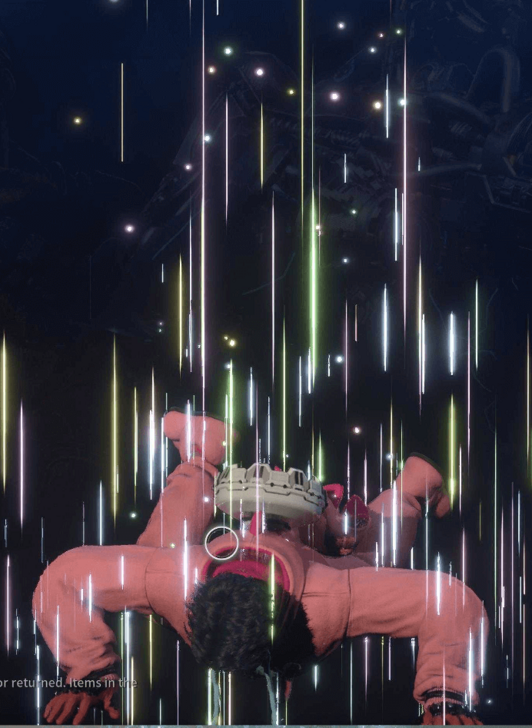
All Enzo Spawn Skins
 |
 |
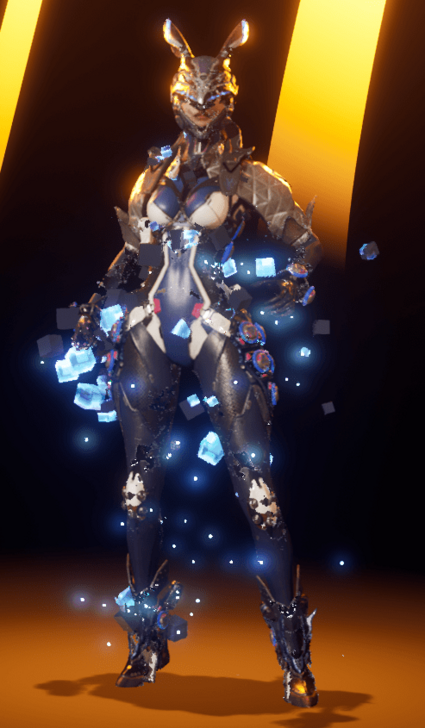 |
 |
 |
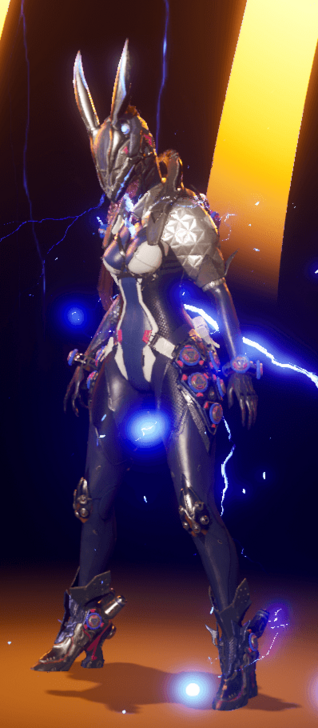 |
 |
 |
 |
The First Descendant Related Guides

All Base Characters
 Ajax Ajax |
 Blair Blair |
 Bunny Bunny |
 Enzo Enzo |
 Esiemo Esiemo |
 Freyna Freyna |
 Gley Gley |
 Hailey Hailey |
 Jayber Jayber |
 Kyle Kyle |
 Lepic Lepic |
 Luna Luna |
 Sharen Sharen |
 Valby Valby |
 Viessa Viessa |
 Yujin Yujin |
- | - |
All Ultimate Characters
 Ultimate Ajax Ultimate Ajax |
 Ultimate Bunny Ultimate Bunny |
 Ultimate Freyna Ultimate Freyna |
 Ultimate Gley Ultimate Gley |
 Ultimate Lepic Ultimate Lepic |
 Ultimate Valby Ultimate Valby |
 Ultimate Viessa Ultimate Viessa |
- | - |
Character Guides
| Character Guides | |
|---|---|
| List of All Builds | List of All Ultimate Descendants |
| All Character Skins | - |
Author
Enzo Builds and How to Unlock
improvement survey
04/2026
improving Game8's site?

Your answers will help us to improve our website.
Note: Please be sure not to enter any kind of personal information into your response.

We hope you continue to make use of Game8.
Rankings
- We could not find the message board you were looking for.
Gaming News
Popular Games

Genshin Impact Walkthrough & Guides Wiki

Crimson Desert Walkthrough & Guides Wiki

Umamusume: Pretty Derby Walkthrough & Guides Wiki

Honkai: Star Rail Walkthrough & Guides Wiki

Monster Hunter Stories 3: Twisted Reflection Walkthrough & Guides Wiki

Wuthering Waves Walkthrough & Guides Wiki

The Seven Deadly Sins: Origin Walkthrough & Guides Wiki

Pokemon TCG Pocket (PTCGP) Strategies & Guides Wiki

Pokemon Pokopia Walkthrough & Guides Wiki

Zenless Zone Zero Walkthrough & Guides Wiki
Recommended Games

Monster Hunter World Walkthrough & Guides Wiki

Fire Emblem Heroes (FEH) Walkthrough & Guides Wiki

Pokemon Brilliant Diamond and Shining Pearl (BDSP) Walkthrough & Guides Wiki

Super Smash Bros. Ultimate Walkthrough & Guides Wiki

Diablo 4: Vessel of Hatred Walkthrough & Guides Wiki

Cyberpunk 2077: Ultimate Edition Walkthrough & Guides Wiki

Yu-Gi-Oh! Master Duel Walkthrough & Guides Wiki

Elden Ring Shadow of the Erdtree Walkthrough & Guides Wiki

The Legend of Zelda: Tears of the Kingdom Walkthrough & Guides Wiki

Persona 3 Reload Walkthrough & Guides Wiki
All rights reserved
© NEXON Korea Corp. & NEXON Games Co, LTD. All Rights Reserved.
The copyrights of videos of games used in our content and other intellectual property rights belong to the provider of the game.
The contents we provide on this site were created personally by members of the Game8 editorial department.
We refuse the right to reuse or repost content taken without our permission such as data or images to other sites.




![Forza Horizon 6 Review [Preview] | Beautiful Roads With a Whole Lot of Oversteer](https://img.game8.co/4460981/a7254c24945c43fbdf6ad9bea52b5ce9.png/thumb)


Can this please be updated? AFAIK HP Amplification and Battle of Stamina share HP-Class Modifcation and cant be used together. This may also is present in multiple other guides and builds for other characters.