Ajax Builds and How to Unlock
Please note that the First Descendant Team has stopped covering the game as of October 2024. Information on certain pages may not be up-to-date.

This is an Ajax build for normal and hard mode in The First Descendant. Read on to learn Ajax's best builds, how to unlock, basic info, skills, as well as Ajax's exclusive equipment and skins!
| All Ajax Guides | |
|---|---|
| Ajax Builds | Ultimate Ajax Builds |
List of Contents
Best Ajax Build for Hard Mode
| Jump to a section! | |||||||||||
|---|---|---|---|---|---|---|---|---|---|---|---|
| Descendant Modules | Weapons and Modules | ||||||||||
| Reactor and External Components | Playstyle Tips | ||||||||||
| ▼Jump to Normal Mode Build▼ | |||||||||||
Ajax Hard Mode Build Showcase
Check out how much damage Ajax can take using our high HP and DEF build!
Best Ajax Modules (Hard)
More Modules can be seen by scrolling horizontally.
This build primarily focuses on tanking damage from bosses and mobs by using modules that greatly increase HP and Defense. You will also be adding a bit of Shields to benefit from Overwhelming HP, since that module basically converts Shields into HP, further boosting Ajax's max health even more.
This set-up also allows Ajax to frequently deploy his Shield Barrier skills as the Nimble Fingers and Time Distribution modules will reduce their skill cooldowns, giving you more chances to summon your defensive barrier skills to defend yourself and your allies.
Modules Guide: List of Modules
Alternative Descendant Module for Bosses
| Module Change | Explanation | ||
|---|---|---|---|
 Stim Accelerant Stim Accelerant
|
> |
 Battle of Stamina Battle of Stamina
|
Recommended for bossing as this extends the duration of Shield Barrier skills. |
 Strong Mentality Strong Mentality
|
> |
 Focus on Non-Attribute Focus on Non-Attribute
|
Increases Skill Power and reduces Skill Cooldowns. |
These alternative modules provide you with more Skill Power and Skill Duration in exchange for Skill MP consumption. These are mostly recommended for bossing where you will want to extend the duration of your Shield Barriers to deflect projectiles from bosses.
Descendant Module Substitutes for Mobbing
| Module Change | Explanation | ||
|---|---|---|---|
 Weighing the Scales Weighing the Scales
|
> |
 HP Collector HP Collector
|
Recommended for mobbing as it recovers HP after defeating an enemy. |
For mobbing, you will want the HP Collector since it lets you recover some HP after defeating an enemy, allowing you to tank larger mobs with excellent survivability.
Best Ajax Weapons and Weapon Modules (Hard)
| Weapon | Substat Priority |
|---|---|
 Tamer Tamer
(For Bossing) |
• Round Per Magazine
• Bonus Firearm ATK Colossus (vs. Colossus) • Firearm ATK • Weak Point Damage |
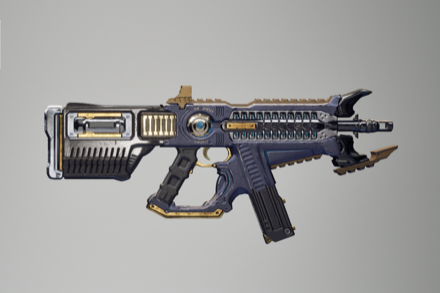 Thunder Cage Thunder Cage
(For Mobbing) |
• Skill Critical Hit Rate • Skill Critical Hit Damage • Skill Effect Range • Skill Cost |
Best Weapon Modules
 Mental Focus Mental Focus
|
 Bullet Rain Bullet Rain
|
 Weak Point Detection Weak Point Detection
|
 Concentration Priority Concentration Priority
|
 Action and Reaction Action and Reaction
|
 Weak Point Sight Weak Point Sight
|
 Better Concentration Better Concentration
|
 Better Insight Better Insight
|
 Fire Rate UP Fire Rate UP
|
 Rifling Reinforcement Rifling Reinforcement
|
More Modules can be seen by scrolling horizontally.
For Tamer, you'd want to equip modules that focuses on Weak Point Damage to exploit the weaknesses of the bosses in the colossus. The other modules will also increase its Firearm ATK, Critical Hit Rate and Damage, further strengthening the Tamer and ensure more damage against Void Intercept bosses.
These are not only limited to bossing, but for mobbing as well with the Thunder Cage. The same idea applies, with increasing Firearm ATK and Critical Hit Rate, you will be breezing through mobs with your weapon's excellent firepower.
Best Ajax Equipment (Hard)
| Equipment | Substat Priority |
|---|---|
 Materialized Mechanics Reactor Materialized Mechanics Reactor
|
• Non-Attribute Skill Power Boost Ratio • Tech Skill Power Boost Ration • Skill Duration Up |
 Annihilation Auxiliary Power Annihilation Auxiliary Power
|
• Max HP
• Fire Resistance |
 Annihilation Sensor Annihilation Sensor
|
• MP Recovery in Combat
• Max MP |
 Annihilation Memory Annihilation Memory
|
• Def
• Electric Resistance • MP Recovery Multiplier |
 Annihilation Processor Annihilation Processor
|
• Max Shield
• Toxic Resistance |
Note that External Components with set bonuses have fixed main stats.
The Annihilation Set will increase the damage of your weapon in proportion to the HP you lost. This won't be a problem as it is easily mitigated due to the build's Max HP and DEF. To add to this, the set lets you recover HP at a faster rate, granting you more survivability and to tank for your teammates longer.
The weapon damage increase is important to Ajax since the majority of the damage of this build will come from weapons. Thus, we highly recommend using a good Machine Gun such as the Tamer, as well as a viable SMG such as the Thunder Cage.
| List of Reactors | List of External Components |
Ajax Playstyle Tips
| Ajax Playstyle Tips |
|---|
|
|
Deploy the Orbit Barrier at the Right Time
The Orbit Barrier not only shields yourself from harm, but also reflects damage against enemies attacking you. Bosses and mobs usually have a short wind-up animation before firing at you, so you can use that to properly time your barrier shield skill.
You can also use this to revive a fallen ally. If ever a boss has its attention on you, you can deploy the Orbit Barrier as protection while you safely revive your teammate.
Facetank Damage While Attacking a Boss
With the Annihilation Set equipped, your damage will increase the more HP that you lose. Take advantage of this by taking damage from the boss's attacks while firing at them.
If you followed our build, you should have more than enough HP to survive attacks a lot longer than usual.
Use Void Walk for Crowd Control
In Hard mode, mobs will take a longer time to kill, giving them more chances to form into large groups. When this happens, use Void Walk to leap up in the air and slam yourself on the ground to kill multiple enemies in one blow.
Best Ajax Builds for Normal Mode
| Jump to a Section! | |
|---|---|
| Best Modules | Best Weapon and Modules |
| Best Reactor | Best External Components |
| ▲Jump to Hard Mode Builds▲ | |
Best Ajax Modules (Normal)
| Best Ajax Modules | |
|---|---|
 Potent Collector Potent Collector
|
When defeating an enemy, instantly recovers X% of Custom Resources at a X% chance. Characters with Custom Resources - Ajax - Bunny - Gley - Kyle |
 Iron Defense Iron Defense
|
DEF +X%, Skill Power Modifier +X% |
 Focus on Non-Attribute Focus on Non-Attribute
|
Non-Attribute Skill Power +X%, Skill Cooldown -X% |
 Dual Claw Dual Claw
|
Modifies the Charged Sub Attack. Use a Dual Claw to attack when performing a Charged Sub Attack. As the Enhancement Level increases, Max Module Capacity increases. (Currently +X) |
 Dimension Specialist Dimension Specialist
|
Dimension Skill Power Modifier +X% |
 Skill Expansion Skill Expansion
|
Skill Effect Range +X%, applies only to certain skills for each Descendant |
 Increased DEF Increased DEF
|
DEF +X% |
 Increased HP Increased HP
|
Max HP +X% |
 Strong Mentality Strong Mentality
|
Skill Cost -X% |
 Nimble Fingers Nimble Fingers
|
Skill Cooldown -X% |
The selected modules focus on boosting your skill's Power, Cost, Cooldown, and Range. These Modules also improve your survivability and will capitalize on increasing your DEF to maximize your Orbit Barrier.
This is a balanced build for Ajax that works for mob-clearing, crowd-control, boss DPS, and defending your teammates and mission objectives. This is also a great build to survive harder Void Intercept Battles, allowing you and your team to continuously apply DPS on bosses.
Modules Guide: List of Modules
Best Ajax Weapon and Modules (Normal)
| Weapon | Stat Priority | ||
|---|---|---|---|
 Greg's Reversed Fate Greg's Reversed Fate
|
・Firearm ATK ・Firearm Critical Hit Damage ・Firearm Critical Hit Rate ・Weak Point Damage |
||
| Best Modules for Greg's Reversed Fate | |||
 Sweeping Squad Sweeping Squad
|
When defeating an enemy, Firearm ATK +X% for Xs at a X% chance (up to X Stacks). | ||
 Insight Support Ammo Insight Support Ammo
|
Rounds per Magazine +X%, Firearm Critical Hit Rate +X% | ||
 Insight Focus Insight Focus
|
Firearm Critical Hit Rate +X%, Firearm Critical Hit Damage +X% | ||
 Weak Point Insight Weak Point Insight
|
Weak Point Damage +X%, Firearm Critical Hit Rate +X% | ||
 Sharpshooter Sharpshooter
|
Firearm ATK +X%, Firearm Critical Hit Rate +X% | ||
 Action and Reaction Action and Reaction
|
Firearm ATK +X%, Recoil +X% | ||
 Weak Point Sight Weak Point Sight
|
Weak Point Damage +X% | ||
 Better Concentration Better Concentration
|
Firearm Critical Hit Damage +X% | ||
 Better Insight Better Insight
|
Firearm Critical Hit Rate +X% | ||
 Rifling Reinforcement Rifling Reinforcement
|
Firearm ATK +X% | ||
We went with Greg's Reversed Fate as the best weapon for Ajax due to its unique ability to call bombardments, adding mob-clearing potential for Ajax. Since this build for Ajax mainly focuses on defense and crowd control, the main damage source will be from the weapons.
The weapon's modules focus on Critical Hit Rate, Weak Point Damage, and Firearm ATK to instantly kill mobs, and deal high DPS to bosses.
You can also use the Tamer which is a great weapon for mob-clearing and Void Bosses to accompany Greg's Reversed Fate.
Best Ajax Reactor (Normal)
| Reactor | Stat Priority | |
|---|---|---|
 Materialized Phase Reactor Materialized Phase Reactor
|
・Skill Power ・Sub Attack Power ・Non-Attribute Skill Boost Ratio ・Dimension Skill Boost Ratio ・Tech Skill Boost Ratio |
|
Using a Materialized Phase Reactor will give you the most bonus effects since most of Ajax's abilities are Non-Attribute and Dimension skills. For the substats, try to look for Non-Attribute Skill Boost Ratio and Tech Skill Boost Ratio or Dimension Skill Boost Ratio to improve the effectiveness of your skills.
Reactors Guide: List of Reactors
Best Ajax External Components (Normal)
| Set | Set Effect |
|---|---|
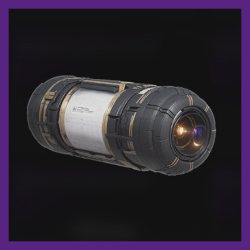 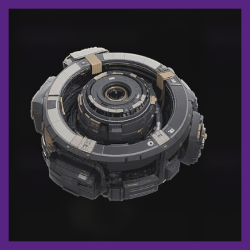  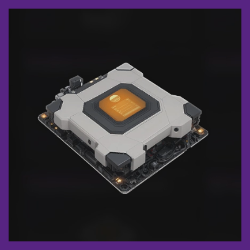 |
2-Set Effect: ・Def +25% 4-Set Effect: ・Skill Power +2.6% ・Electric Resistance +6.6% |
| Substat Priority | |
| Auxiliary Power | ・Max HP ・DBNO Duration |
| Sensor | ・Max MP ・Shield Recovery Out of Combat |
| Memory | ・DEF ・Electric Resistance |
| Processor | ・Max Shield ・Shield Recovery Modifier |
The Tomb Vanguard Set should increase your defense enough to withstand incoming damage in Normal Mode. It also enhances Skill Power to further increase damage of Ajax's Expulsion and Void Walk skills.
This set is also easily obtainable early in the game, as it's one of the drops from Grave Walker (Common Difficulty).
How to Unlock Ajax
Unlock Using the Research Institute
| Research Time | Cost |
|---|---|
| 16:00:00 | 400,000 |
| Required Research Material | How to Get |
|---|---|
| Ajax Code x1 |
・Intercept Battle: (common) Executioner - Amorphous Material Pattern: 019 required ・ (Hard) Swamp Walker - Amorphous Material Pattern: 096 required ・ Vespers (Hard) - Abysall Void Fusion Reactor - Vespers Moonlight Lake complete ・ White-night Gulch (Hard) - Abyssal Void Fusion Reactor - White-night Gulch Hatchery complete |
| Ajax Enhanced Cells x1 |
・Research
Research Materials Needed: ・Silicon x430 ・Hellion x303 ・Artificial Biometal x35 ・Ajax Enhanced Cells Blueprint x1 |
| Ajax Spiral Catalyst x1 |
・Research
Research Materials Needed: ・Compound Coating Material x239 ・Shape Memory Alloy x462 ・Positive Ion Particle x42 ・Ajax Spiral Catalyst Blueprint x1 |
| Ajax Stabilizer x1 |
・Research
Research Materials Needed: ・Hardener x386 ・Ceramic Composite x408 ・Compound Carbon Activator x30 ・Ajax Stabilizer Blueprint x1 |
You can unlock Ajax through the Research Institute in Albion. Note that to acquire a Descendant using research, you need all the required items and gold to unlock this character.
Purchase Ajax Using Caliber
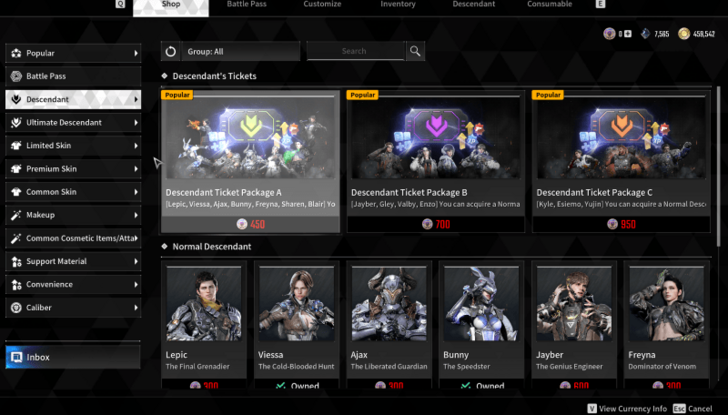
Alternatively, you can unlock Descendants by purchasing them in the Shop. This method only requires Caliber, an in-game currency that you can buy with real money. Purchasing Ajax in the Shop instantly unlocks the Descendant, allowing you to skip the item requirements and research time.
Ajax Basic Info & Stats
| Ajax Basic Info | ||
|---|---|---|
 Ajax AjaxThe Liberated Guardian |
Role | Tank |
| Element |
|
|
| Description | ||
| "A tanker who utilizes Void Energy. He leads the team with a Forcefield that protects allies while deflecting enemy attacks." | ||
Stats
| DEF | Max Shield | Shield Recovery | Max MP | Max HP |
|---|---|---|---|---|
| 6291 | 516 | 4.88 | 187 | 1749 |
Ajax Skills
Passive Skills
| Skill | Type Effect |
|---|---|
 Event Horizon Event Horizon
|
Acquires Void Energy after using skills. When the Void Energy reaches its maximum amount, it enhances skills and grants additional effects. |
Active Skills
| Skill | Type Effect |
|---|---|
 Orbit Barrier Orbit Barrier
|
Creates a shield in front of Ajax. Durability increases proportionally to Ajax’s HP and DEF. |
 Void Walk Void Walk
|
Leaps into the air and lands on the ground to strike nearby enemies, stunning them. |
 Expulsion Expulsion
|
Strikes nearby enemies, knocking them back. |
 Hypercube Hypercube
|
Creates a dome-shaped shield. Durability increases proportionally to Ajax’s HP and DEF. |
Ajax Exclusive Equipment
Raley MK.5 Void Energy Battlesuit
The Raley MK.5 Void Energy Battlesuit, named after 'Raley,' the first-ever Descendant, is a military suit developed to explore the Void. A decade later, these suits may be outdated, but as the only remaining suit of this series, it is the perfect equipment for the Descendant known as Ajax, despite it being defective.
Although the suit was damaged, it had absorbed enough Void Energy for Ajax to allow him to manipulate the Void Energy adeptly, by incorporating it into his own spatial theories and Arche. It may have been the cause of Ajax's mishap in the Void, but now it is an impregnable shield that provides powerful barriers and channels kinetic energy."
Ajax Skins
| Jump to a Skin type! | ||
|---|---|---|
| Head | Body | Back |
| Chest | Ecive | Full Body |
| Grappling Hook | Make Up | Spawn |
All Ajax Head Skins
 |
 |
 |
 |
 |
All Ajax Body Skins
 |
 |
 |
 |
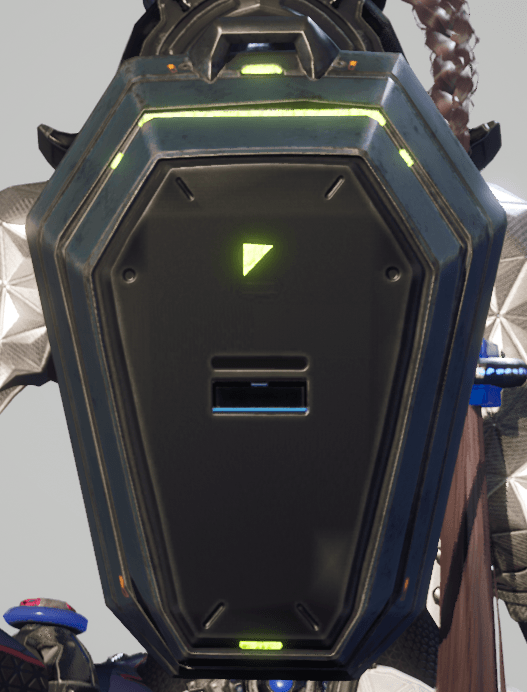
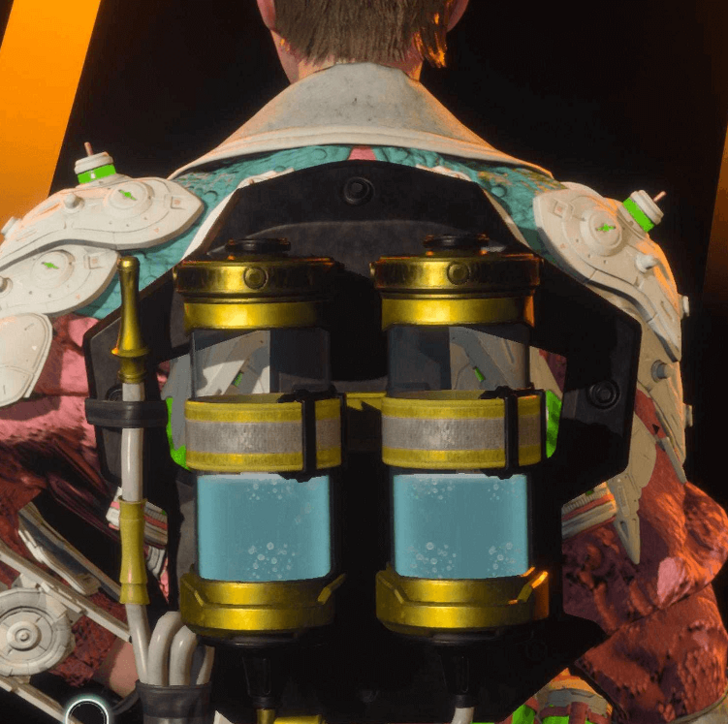
All Ajax Back Skins
 |
 |
 |
 |
 |
 |
 |
 |
 |
 |
 |
 |
 |
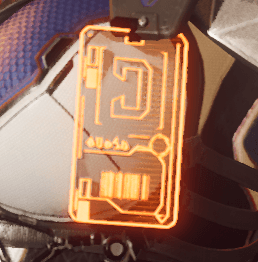
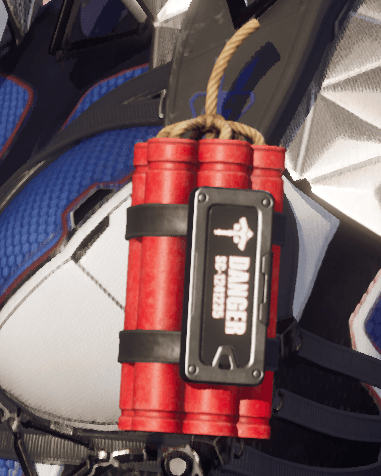
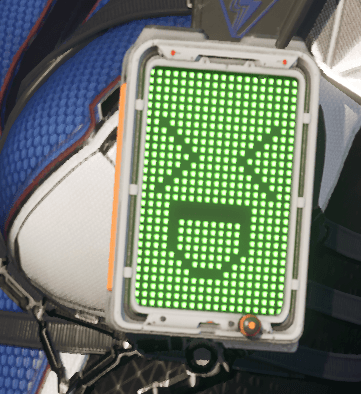
All Ajax Chest Skins
 |
 |
 |
 |
 |
 |
 |
 |
 |
 |
All Ajax Ecive Skins
 |
 |
 |
All Ajax Full Body Skins
 |
 |
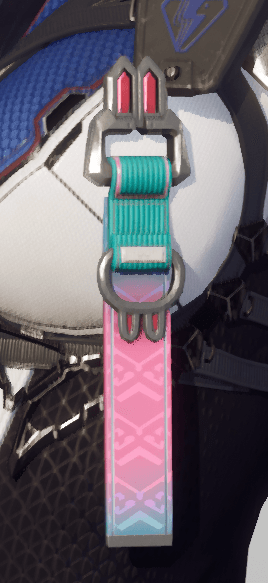
All Ajax Grappling Hook Skins
 |
 |
All Ajax Make Up Skins
 Attention! Attention! |
This character has no skins of this kind. |
|---|
All Ajax Spawn Skins
 |
 |
 |
 |
 |
 |
 |
 |
 |
The First Descendant Related Guides

All Base Characters
 Ajax Ajax |
 Blair Blair |
 Bunny Bunny |
 Enzo Enzo |
 Esiemo Esiemo |
 Freyna Freyna |
 Gley Gley |
 Hailey Hailey |
 Jayber Jayber |
 Kyle Kyle |
 Lepic Lepic |
 Luna Luna |
 Sharen Sharen |
 Valby Valby |
 Viessa Viessa |
 Yujin Yujin |
- | - |
All Ultimate Characters
 Ultimate Ajax Ultimate Ajax |
 Ultimate Bunny Ultimate Bunny |
 Ultimate Freyna Ultimate Freyna |
 Ultimate Gley Ultimate Gley |
 Ultimate Lepic Ultimate Lepic |
 Ultimate Valby Ultimate Valby |
 Ultimate Viessa Ultimate Viessa |
- | - |
Character Guides
| Character Guides | |
|---|---|
| List of All Builds | List of All Ultimate Descendants |
| All Character Skins | - |
Comment
Author
Ajax Builds and How to Unlock
improvement survey
04/2026
improving Game8's site?

Your answers will help us to improve our website.
Note: Please be sure not to enter any kind of personal information into your response.

We hope you continue to make use of Game8.
Rankings
- We could not find the message board you were looking for.
Gaming News
Popular Games

Genshin Impact Walkthrough & Guides Wiki

Crimson Desert Walkthrough & Guides Wiki

Umamusume: Pretty Derby Walkthrough & Guides Wiki

Honkai: Star Rail Walkthrough & Guides Wiki

Monster Hunter Stories 3: Twisted Reflection Walkthrough & Guides Wiki

Wuthering Waves Walkthrough & Guides Wiki

The Seven Deadly Sins: Origin Walkthrough & Guides Wiki

Pokemon TCG Pocket (PTCGP) Strategies & Guides Wiki

Pokemon Pokopia Walkthrough & Guides Wiki

Zenless Zone Zero Walkthrough & Guides Wiki
Recommended Games

Monster Hunter World Walkthrough & Guides Wiki

Fire Emblem Heroes (FEH) Walkthrough & Guides Wiki

Pokemon Brilliant Diamond and Shining Pearl (BDSP) Walkthrough & Guides Wiki

Super Smash Bros. Ultimate Walkthrough & Guides Wiki

Diablo 4: Vessel of Hatred Walkthrough & Guides Wiki

Cyberpunk 2077: Ultimate Edition Walkthrough & Guides Wiki

Yu-Gi-Oh! Master Duel Walkthrough & Guides Wiki

Elden Ring Shadow of the Erdtree Walkthrough & Guides Wiki

The Legend of Zelda: Tears of the Kingdom Walkthrough & Guides Wiki

Persona 3 Reload Walkthrough & Guides Wiki
All rights reserved
© NEXON Korea Corp. & NEXON Games Co, LTD. All Rights Reserved.
The copyrights of videos of games used in our content and other intellectual property rights belong to the provider of the game.
The contents we provide on this site were created personally by members of the Game8 editorial department.
We refuse the right to reuse or repost content taken without our permission such as data or images to other sites.
 Body Enhancement
 Long-Distance Maneuvering
 Overwhelming HP
 Spear and Shield
 Time Distribution
 Increased Shield




![Forza Horizon 6 Review [Preview] | Beautiful Roads With a Whole Lot of Oversteer](https://img.game8.co/4460981/a7254c24945c43fbdf6ad9bea52b5ce9.png/show)


![Forza Horizon 6 Review [Preview] | Beautiful Roads With a Whole Lot of Oversteer](https://img.game8.co/4460981/a7254c24945c43fbdf6ad9bea52b5ce9.png/thumb)


