This survey will take about 1 minute.
Your answers will help us to improve our website.
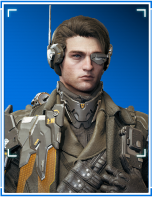
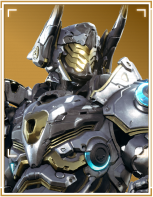
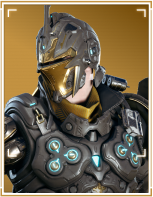
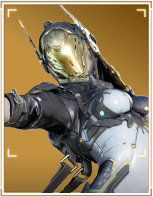
The First Descendant
The First Descendant Jayber
Please note that the First Descendant Team has stopped covering the game as of October 2024. Information on certain pages may not be up-to-date.

This is a Jayber build for normal and hard mode in The First Descendant. Read on to learn Jayber's best builds, how to unlock, basic info, skills, as well as Jayber's exclusive equipment and skins!
List of Contents
Best Jayber Build for Hard Mode
| Jump to a section! | |||||||||||
|---|---|---|---|---|---|---|---|---|---|---|---|
| Descendant Modules | Weapons and Modules | ||||||||||
| Reactor and External Components | Playstyle Tips | ||||||||||
| ▼Jump to Normal Mode Build▼ | |||||||||||
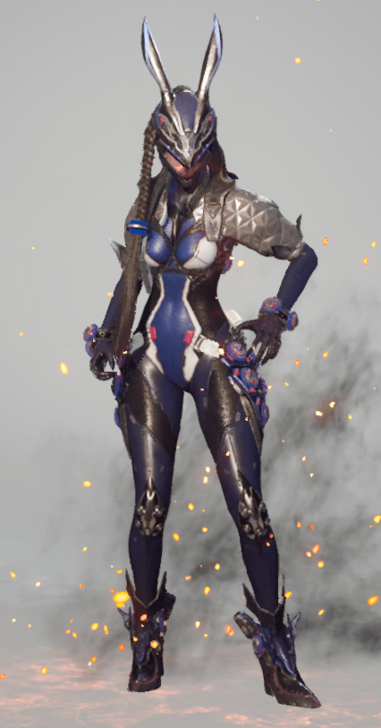
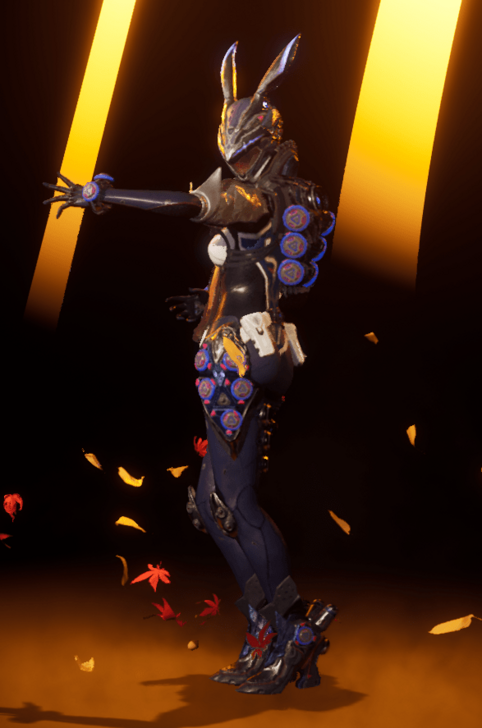
Jayber Hard Mode Build Showcase
Check out how much damage Jayber can take using our high HP and DEF Hard Mode Build!
Best Jayber Modules (Hard)
 Turret Engineering Turret Engineering
|
 Mid-Air Maneuvering Mid-Air Maneuvering
|
 Iron Defense Iron Defense
|
 Second Wind Second Wind
|
 Time Distribution Time Distribution
|
 Maximize Duration Maximize Duration
|
 HP Amplification HP Amplification
|
 Medical Support Medical Support
|
 Skill Expansion Skill Expansion
|
 Increased DEF Increased DEF
|
 Increased HP Increased HP
|
 Nimble Fingers Nimble Fingers
|
More Modules can be seen by scrolling horizontally.
Boosting the Skill Power of your Non-Attribute and Dimensional Skills does affect the damage output of your turret, but it does not significantly impact the course of the fight during Void Intercept Battles. With this in mind, the main focus of this build should be to stack defensive stats to increase the durability of all your turrets and to enhance the healing capabilities of your Medical Turret. By using these modules, your HP and defense will be high enough to tank all of the boss's attacks and provide excellent healing for your team.
Modules Guide: List of Modules
Descendant Module Substitutes for Mobbing
| Module Change | Explanation | ||
|---|---|---|---|
|
Turret Engineering
|
> |
 Attacking Compulsion Attacking Compulsion
|
Replaces Medical Turret with another Assault Turret. |
|
Second Wind
|
> |
 Skill Simplification Skill Simplification
|
increases your Skill Power Modifier but lowers your Max MP. |
|
Iron Defense
|
> |
 Dimension Master Dimension Master
|
Improves the damage output of your Assault Turret. |
|
Medical Support
|
> |
 Dimension Specialist Dimension Specialist
|
Removes HP healing in exchange for more Assault Turret damage. |
For clearing mobs, you can replace your defensive and HP healing modules with more offensive ones to enhance the effectiveness of your Assault Turrets. Since enemies can drop HP consumables, you won't need to heal yourself or your team at all. Instead, you can focus on increasing the damage of your turrets to ensure that enemies die from a single shot. This way, you can defend an area with ease using your Assault Turrets, paired with Turret Engineering.
Best Jayber Weapons and Weapon Modules (Hard)
| Weapon | Substat Priority |
|---|---|
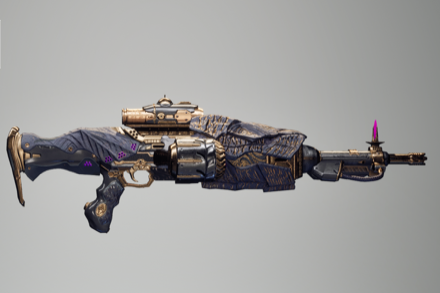 Tamer Tamer
|
• Bonus Firearm ATK (vs. Colossus)
• Firearm ATK • Recoil • Rounds per Magazine |
For this build, you will primarily use the Tamer due to its high fire rate and large magazine capacity. Since nearly all of your descendant modules will focus on increasing your defense and HP, you will be able to attack the boss continuously without worrying about dodging incoming attacks. This playstyle addresses the Tamer's main weakness: the significant decrease in movement speed for dodging.
Best Weapon Modules
 Firing Fiesta Firing Fiesta
|
 Reload Expert Reload Expert
|
 Stance Stabilizer Stance Stabilizer
|
 Weapon Tuning Weapon Tuning
|
 Action and Reaction Action and Reaction
|
 Expand Weapon Charge Expand Weapon Charge
|
 Electric Enhancement Electric Enhancement
|
 Vibration Absorption Vibration Absorption
|
 Fire Rate UP Fire Rate UP
|
 Rifling Reinforcement Rifling Reinforcement
|
More Modules can be seen by scrolling horizontally.
When using the Tamer, your main goal is to increase the Fire Rate, Firearm Attack, and Attribute attack to enhance your overall damage against enemies. Since your base Critical Hit Chance will be extremely low, you can disregard it entirely. Instead, focus on expanding your Magazine Capacity and improving Recoil stats. Do note that you can replace Electric Enhancement with other module attributes depending on the boss' weakness.
Best Jayber Equipment (Hard)
| Equipment | Substat Priority |
|---|---|
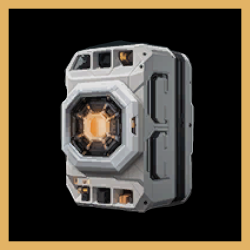
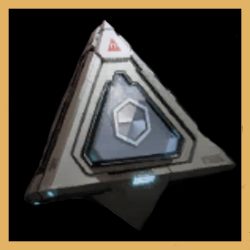 Materialized Phase Reactor Materialized Phase Reactor
|
• Skill Cooldown
• Skill Duration Up • Skill Effect Range |
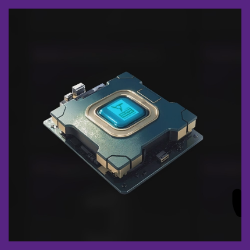
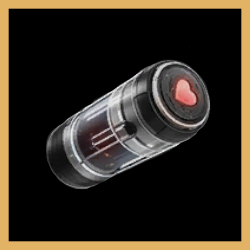 HP Auxiliary Power HP Auxiliary Power
|
・Max HP ・Fire Resistance |
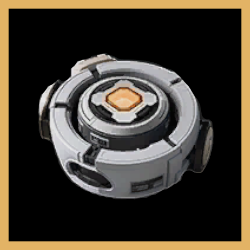 DEF Support Sensor DEF Support Sensor
|
・Max MP ・MP Recovery In Combat |
 DEF Support Memory DEF Support Memory
|
・DEF ・Electric Resistance |
 DEF Support Processor DEF Support Processor
|
・Max Shield ・Toxic Resistance |
Note that External Components with set bonuses have fixed main stats.
For the Reactor, you can use a Materialized Phase Reactor since you will rely on your Assault Turret as a secondary source of damage. Additionally, make sure to acquire Skill Duration and Skill Range sub-stats to enhance the effectiveness of your Medical Turret.
As for the External Component, it is ideal to obtain set effect bonuses to improve the performance of the build on descendants. However, for Jayber, this is not necessary since you do not need to increase your skill power and firearm attack. It is better to simply stack HP and DEF using Support External Components, which directly increase Jayber's base stats, resulting in a significant boost to your descendant modules.
| List of Reactors | List of External Components |
Jayber Playstyle Tips
| Jayber Playstyle Tips |
|---|
|
|
Refresh Turret Duration Using Turret Engineering
During fights, don’t wait for the turrets to expire and then re-summon them. Instead, use Turret Engineering to refresh their duration. With the right Modules, Reactor Sub-stats, and enough Skill Cooldown, you can maintain 100% uptime on your turrets using Turret Engineering.
Do Not Stand Too Close to Your Turret
Even though your turret is extremely durable, it is still recommended that you avoid standing too close to ensure at least one of you remains healthy during the boss's AOE attacks. Stay within the turret’s range to benefit from the Medical Turret’s healing, but be prepared to move away immediately if you draw the boss’s attention.
Best Jayber Builds for Normal Mode
| Jump to a Section! | |||||||||||
|---|---|---|---|---|---|---|---|---|---|---|---|
| Descendant Modules | Weapon and Modules | ||||||||||
| Best Reactor | Best External Components | ||||||||||
| ▲Jump to Hard Mode Build▲ | |||||||||||
Best Jayber Modules (Normal)
| Best Jayber Modules | |
|---|---|
|
Mid-Air Maneuvering
|
Modifies the Grappling Hook to be cast mid-air. However, it can only be used once, and Charge Time increases by X %. Based on the Enhancement Level, increases Max Module Cpacity (current + X), decreases Charge Time Increase (current + X%). |
 Veteran's Tactics Veteran's Tactics
|
When defeating an enemy, resets the cooldown of a random skill at a X% chance. |
 Spear and Shield Spear and Shield
|
DEF +X%, Skill Power +X% |
|
Time Distribution
|
Skill Cooldown -X%, Max HP +X% |
 Focus on Non-Attribute Focus on Non-Attribute
|
Non-Attribute Skill Power +X%, Skill Cooldown -X% |
 Focus on Dimension Focus on Dimension
|
Dimension Skill Power Modifier +X%, Skill Cooldown -X% |
|
Skill Expansion
|
Skill Effect Range +X%, applies only to certain skills for each Descendant |
|
Increased DEF
|
DEF +X% |
|
Increased HP
|
Max HP +X% |
|
Nimble Fingers
|
Skill Cooldown -X% |
With this build, you will fully utilize your Assault Turret to kill enemies and secure areas. Focus on building up Skill Power and Non-Attribute stats to boost turret damage, along with HP and Defense Modules for increased durability, as they scale with your Descendant's HP and Defense.
Including Cooldown Reduction Modules will allow you to frequently reposition your turret during missions or while defending areas. Additionally, summoning a new turret replenishes its HP, so you can use it as a tank to draw enemies away from you.
Modules Guide: List of Modules
Best Jayber Weapon and Modules (Normal)
| Weapon | Stat Priority | ||
|---|---|---|---|
|
Tamer
|
• Recoil • Attribute Status Effect Trigger Rate • Firearm ATK • Rounds per Magazine |
||
| Best Modules for Tamer | |||
|
Firing Fiesta
|
When reloading, rounds are not consumed for Xs (Cooldown Xs). | ||
|
Reload Expert
|
Reload Time Modifier +X%, Firearm ATK +X% | ||
|
Stance Stabilizer
|
Recoil -X%, Firearm ATK +X% | ||
|
Weapon Tuning
|
Rounds per Magazine +X%, Firearm ATK +X% | ||
|
Action and Reaction
|
Firearm ATK +X%, Recoil +X% | ||
|
Expand Weapon Charge
|
Rounds per Magazine +X% | ||
|
Electric Enhancement
|
Adds Electric ATK equal to X% of Firearm ATK | ||
|
Vibration Absorption
|
Recoil -X% | ||
|
Fire Rate UP
|
Fire Rate +X% | ||
|
Rifling Reinforcement
|
Firearm ATK +X% | ||
Using this build, your weapon of choice will be the Tamer due to its High Fire Rate, which is extremely useful when dealing with large groups of enemies or against Void Intercept Battles.
Because of this, your main goal is to increase your Magazine Capacity to make your weapon more effective, especially with Attribute Status Effect. It is also highly recommended to invest in Recoil Modules to control your shots when targeting Weak Points.
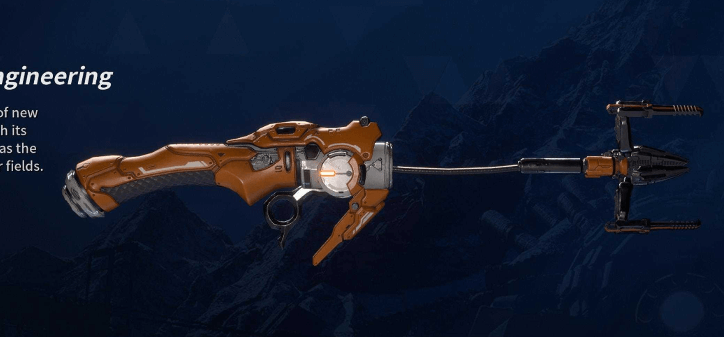
Best Jayber Reactor (Normal)
| Reactor | Stat Priority |
|---|---|
|
Materialized Phase Reactor
|
・Dimension Skill Power Boost Ratio ・Skill Cooldown |
It is best to improve the stats and effects of your Turrets, as they are the main skills you will use throughout the fight. It is highly recommended to use a Materialized Phase Reactor since both your Assault Turret and Medical Turret are tagged as Non-Attribute and Dimension Skills. Although Multi-Purpose Gun and Reactivate can be useful, they are very situational and won't be used as much.
Reactors Guide: List of Reactors
Best Jayber External Components (Normal)
| Set | Set Effect |
|---|---|
    |
2-Set Effect: ・Skill Power+ 1.7% Firearm ATK+2.8% 4-Set Effect: ・Firearm Critical Hit Rate +5.9% ・Skill Critical Hit Rate +21% |
| Substat Priority | |
| Auxiliary Power | ・Max HP ・Fire Resistance ・Kuiper Shard Drop Rate Increase Modifier ・Module Drop Rate Increase Modifier |
| Sensor | ・Max MP ・MP Recovery In Combat ・Chill Resistance ・Consumable Drop Rate Increase Modifier |
| Memory | ・DEF ・Electric Resistance ・Shield Recovery In Combat ・Ecive Search Radius Increase Modifier ・Firearm Proficiency Gain Modifier ・Gold Drop Rate Increase Modifier |
| Processor | ・Max Shield ・Toxic Resistance ・Item Acquisition Distance Increase Modifier ・Ecive Display Time |
You will be using the Acrobat Set to gain Skill Power and Firearm ATK Bonus for your Weapon and Turret. Additionally, it provides a small boost on the Critical Hit Rate of your Weapon and Skills.
How to Unlock Jayber
Unlock Using the Research Institute
| Research Time | Cost |
|---|---|
| 16:00:00 | 400,000 |
| Required Research Material | How to Get |
|---|---|
| Jayber Code x1 |
・Agna Desert (Hard) - Abyssal Void Fusion Reactor - Agna Desert Miragestone Deposit ・ Fortress (Normal) - Void Fusion Reactor - Fortress Frozen Valley ・ Sterile Land (Hard) - Abyssal Void Fusion Reactor - Sterile Land Restricted Zone ・ White-night Gulch (Hard) - Abyssal Void Fusion Reactor - White-night Gulch Observatory |
| Jayber Enhanced Cells x1 |
・Research
Research Materials Needed: ・Hellion x303 ・Reverse Charging Coil x455 ・Insulated Metallic Foil x34 ・Jayber Enhanced Cells Blueprint x1 |
| Jayber Spiral Catalyst x1 |
・Research
Research Materials Needed: ・Flectorite x292 ・Carbon Crystal x554 ・Thermal Metallic Foil x26 ・Jayber Spiral Catalyst Blueprint x1 |
| Jayber Stabilizer x1 |
・Research
Research Materials Needed: ・Nanopolymers x363 ・Shape Memory Alloy x462 ・Balanced Plasma Battery x43 ・Jayber Stabilizer Blueprint x1 |
You can unlock Jayber through the Research Institute in Albion. Note that to acquire a Descendant using research, you need all the required items and gold to unlock this character.
Purchase Jayber Using Caliber
Alternatively, you can unlock Descendants by purchasing them in the Shop. This method only requires Caliber, an in-game currency that you can buy with real money. Purchasing Jayber in the Shop instantly unlocks the Descendant, allowing you to skip the item requirements and research time.
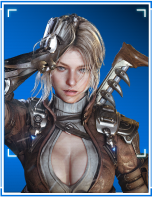
Jayber Basic Info & Stats
| Jayber Basic Info | ||
|---|---|---|
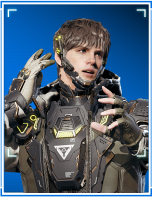 Jayber JayberThe Genius Engineer |
Role | Utility Dealer |
| Element |
|
|
| Description | ||
| "A utility-type DPS who uses turrets. Summons turrets for assault and recovery respectively. When the turrets are enhanced by multi-purpose guns, he can fight more efficiently." | ||
Stats
| DEF | Max Shield | Shield Recovery | Max MP | Max HP |
|---|---|---|---|---|
| 2120 | 238 | 3.96 | 187 | 1009 |
Jayber Skills
Passive Skills
| Skill | Type Effect |
|---|---|
 Turret Sync Turret Sync
|
ATK increases when assault turret and medical turret are both summoned. |
Active Skills
| Skill | Type Effect |
|---|---|
 Assault Turret Assault Turret
|
Summons an assault turret to attack the enemy. If enhanced, it launches attacks into nearby area. |
 Medical Turret Medical Turret
|
Summons a medical turret to heal allies and distract enemies. If enhanced, it restores Mana. |
 Multi-Purpose Gun Multi-Purpose Gun
|
Changes gun to a Multi-Purpose Gun. If hit by a Multi-Purpose Gun, turret enters an enhanced state. |
 Reactivate Reactivate
|
Recalls all summoned turrets and inflicts powerful damage to nearby enemies. After using Total Recall, you enter Overhaul state, where turrets are summoned in their enhanced states. |
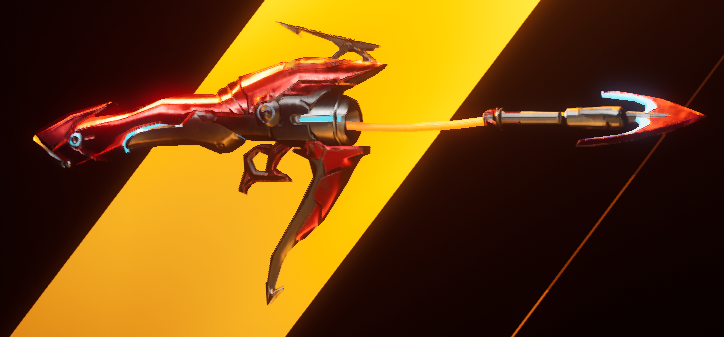
Jayber Exclusive Equipment
Arche-Sensitive Electronic Network System
Developed to fully utilize Jayber's ability to send and receive electronic signals using his Arche, this system is a formidable electronic warfare device designed to collect all electronic signals within the range of Jayber's Arche and relay them directly to his brainwaves, allowing his response time to be less than 0 ms. In particular, due to their unique versatility and responsiveness, dedicated turrets utilizing this system are used in various battle missions. The use of multi-purpose guns that amplify Arche signals gives him an advantage, even against large groups of Vulgus.
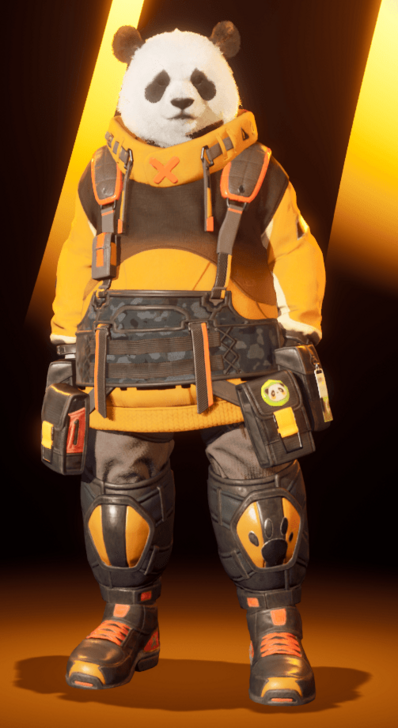
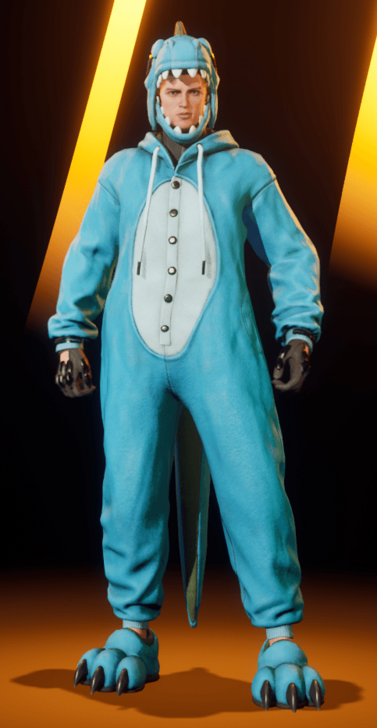
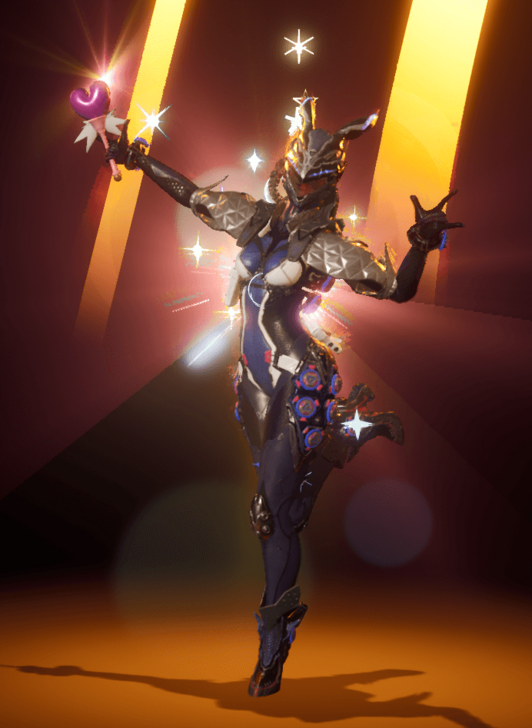
Jayber Skins
| Jump to a Skin type! | ||
|---|---|---|
| Head | Body | Back |
| Chest | Ecive | Full Body |
| Grappling Hook | Make Up | Spawn |
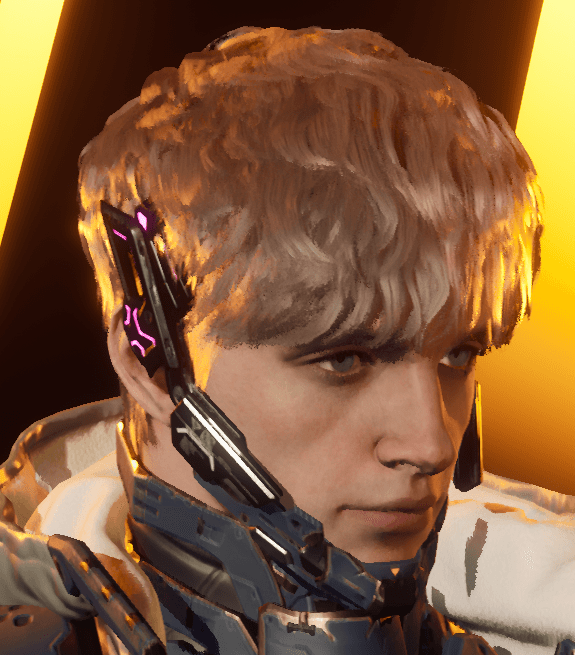
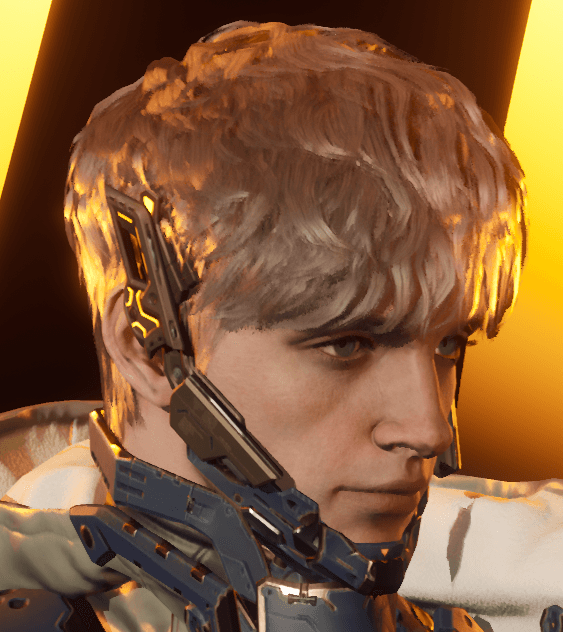
All Jayber Head Skins
 |
 |
 |
 |
 |
 |
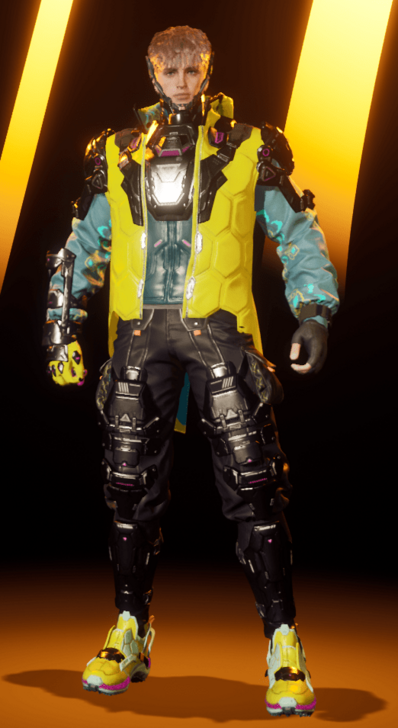
All Jayber Body Skins
 |
 |
 |
 |
 |
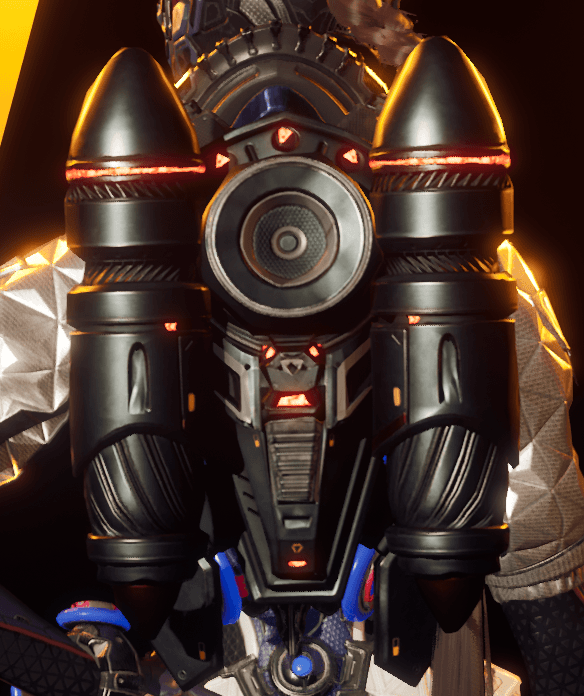
All Jayber Back Skins
 |
 |
 |
 |
 |
 |
 |
 |
 |
 |
 |
 |
 |
All Jayber Chest Skins
 |
 |
 |
 |
 |
 |
 |
 |
 |
 |
All Jayber Ecive Skins
 |
 |
 |
All Jayber Full Body Skins
 |
 |
All Jayber Grappling Hook Skins
 |
 |
All Jayber Make Up Skins
 |
 |
All Jayber Spawn Skins
 |
 |
 |
 |
 |
 |
 |
 |
 |
The First Descendant Related Guides

All Base Characters
 Ajax Ajax |
 Blair Blair |
 Bunny Bunny |
 Enzo Enzo |
 Esiemo Esiemo |
 Freyna Freyna |
 Gley Gley |
 Hailey Hailey |
Jayber |
 Kyle Kyle |
 Lepic Lepic |
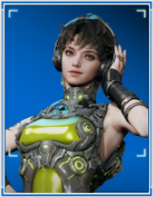 Luna Luna |
 Sharen Sharen |
 Valby Valby |
 Viessa Viessa |
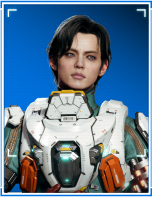 Yujin Yujin |
- | - |
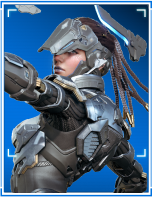
All Ultimate Characters
 Ultimate Ajax Ultimate Ajax |
 Ultimate Bunny Ultimate Bunny |
 Ultimate Freyna Ultimate Freyna |
 Ultimate Gley Ultimate Gley |
 Ultimate Lepic Ultimate Lepic |
 Ultimate Valby Ultimate Valby |
 Ultimate Viessa Ultimate Viessa |
- | - |
Character Guides
| Character Guides | |
|---|---|
| List of All Builds | List of All Ultimate Descendants |
| All Character Skins | - |
Author
The First Descendant Jayber
Please participate in our site
improvement survey
04/2026
improvement survey
04/2026
Would you assist in
improving Game8's site?
improving Game8's site?

×
We are listening to our users' valuable opinions and discussing how to act on them.
The information collected through this survey will be used for the purpose of improving our services. In addition, the information will only be disclosed a part of a statistic in a format that will not allow identification of personal information.
Begin Survey
Not Now
×
Please rate each item regarding Game8.co's Advertisements.
Amount of Ads
Very Dissatisfied
Somewhat Dissatisfied
Fine
Somewhat Satisfied
Highly Satisfied
Placement of Ads
Timing of Ad Display
Ad Loading Speed
Safeness of Ads
Content of Ads
×
Please rate each item regarding Game8.co's Quality of Articles.
Amount of information
Very Dissatisfied
Somewhat Dissatisfied
Fine
Somewhat Satisfied
Highly Satisfied
Frequency of updates
Speed of new information
Accuracy of articles
Understandibility of articles
Readability of sentences
×
Please rate each item regarding Game8.co's Usability of the Site.
Ease of finding information
Very Dissatisfied
Somewhat Dissatisfied
Fine
Somewhat Satisfied
Highly Satisfied
Loading Speed
Use of Color
Font Size
Visibility of Images
Easy to Understand Layout
×
Please rate each item regarding Game8.co's Message Boards, Comments.
Ease of Writing
Very Dissatisfied
Somewhat Dissatisfied
Fine
Somewhat Satisfied
Highly Satisfied
Readability
Ease in Finding Information
Comment Quality
Comment Quantity
Admin Response
×
Please rate each item regarding Game8.co's Site's new design.
Please rate our site's new design
Very Dissatisfied
Somewhat Dissatisfied
Fine
Somewhat Satisfied
Highly Satisfied
Do you think that the website's design change makes the site easier to use?
Has the new design made it easier for you to find information on the site?
Has the new design improved the overall visual appeal of the site?
How would you rate your overall satisfaction with the new design of the site?
×
How likely are you to recommend Game8 to someone you know?
Very Unlikely
0
1
2
3
4
5
6
7
8
9
10
Very Likely
If you have other opinions regarding potential improvement to the website, please share them with us. We would appreciate your honest opinion.
Note: This is a free response section, so you can proceed without entering anything.
Note: Please be sure not to enter any kind of personal information into your response.
Note: Please be sure not to enter any kind of personal information into your response.
×
Thank You
×
Thank you for participating in our survey! Your answers will help us to improve the quality of our website and services.
We hope you continue to make use of Game8.
We hope you continue to make use of Game8.
Close
Rankings
- We could not find the message board you were looking for.
Gaming News


![Forza Horizon 6 Review [Preview] | Beautiful Roads With a Whole Lot of Oversteer](https://img.game8.co/4460981/a7254c24945c43fbdf6ad9bea52b5ce9.png/thumb)
Popular Games

Genshin Impact Walkthrough & Guides Wiki
Crimson Desert Walkthrough & Guides Wiki
Umamusume: Pretty Derby Walkthrough & Guides Wiki
Honkai: Star Rail Walkthrough & Guides Wiki
Monster Hunter Stories 3: Twisted Reflection Walkthrough & Guides Wiki
Wuthering Waves Walkthrough & Guides Wiki
The Seven Deadly Sins: Origin Walkthrough & Guides Wiki
Pokemon TCG Pocket (PTCGP) Strategies & Guides Wiki
Pokemon Pokopia Walkthrough & Guides Wiki
Zenless Zone Zero Walkthrough & Guides Wiki


Recommended Games
Monster Hunter World Walkthrough & Guides Wiki
Fire Emblem Heroes (FEH) Walkthrough & Guides Wiki
Pokemon Brilliant Diamond and Shining Pearl (BDSP) Walkthrough & Guides Wiki
Super Smash Bros. Ultimate Walkthrough & Guides Wiki
Diablo 4: Vessel of Hatred Walkthrough & Guides Wiki
Cyberpunk 2077: Ultimate Edition Walkthrough & Guides Wiki
Yu-Gi-Oh! Master Duel Walkthrough & Guides Wiki
Elden Ring Shadow of the Erdtree Walkthrough & Guides Wiki
The Legend of Zelda: Tears of the Kingdom Walkthrough & Guides Wiki
Persona 3 Reload Walkthrough & Guides Wiki


All rights reserved
© NEXON Korea Corp. & NEXON Games Co, LTD. All Rights Reserved.
The copyrights of videos of games used in our content and other intellectual property rights belong to the provider of the game.
The contents we provide on this site were created personally by members of the Game8 editorial department.
We refuse the right to reuse or repost content taken without our permission such as data or images to other sites.
Just for clarification. You can't put both Skill Simplification and Dimension Specialist in for the Mobbing variant. They're both Attack modules.