 Beginner's Guide
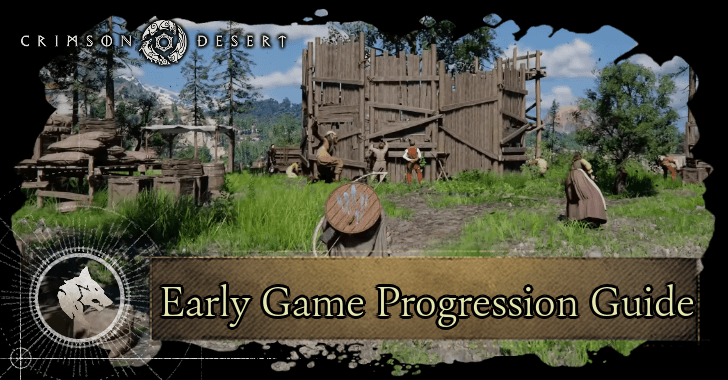 Early Progression Guide
 Is There Transmog?
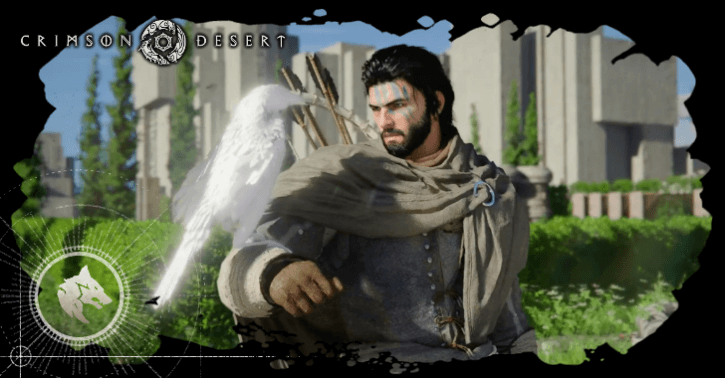 How to Fast Travel
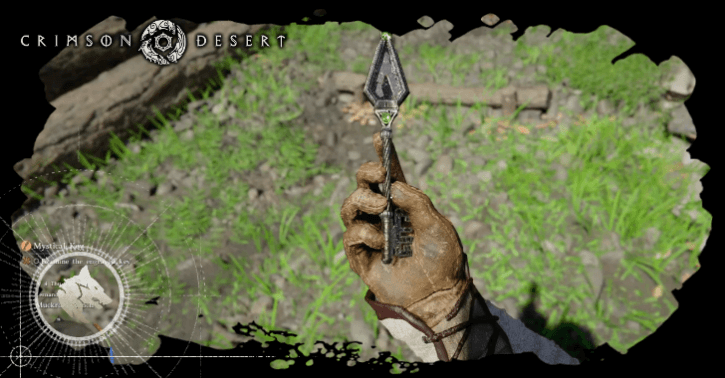 Where to Store Items
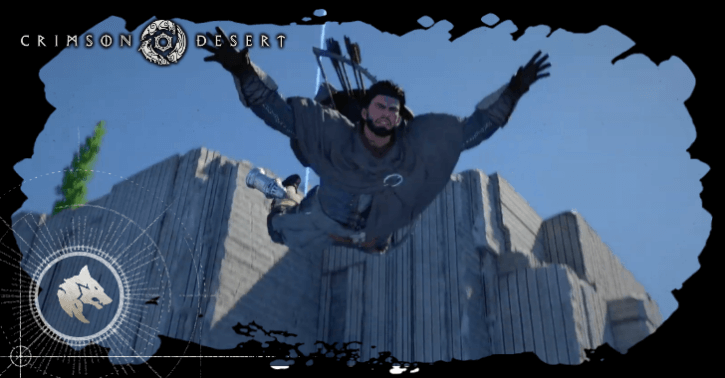 Can You Skip Cutscenes
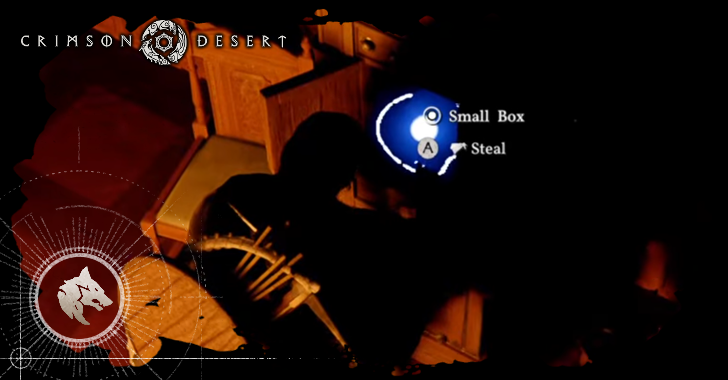 How to Steal Items
 How to Pass Time
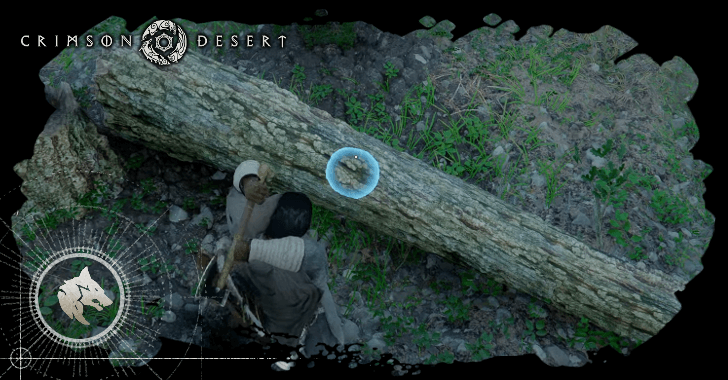 How to Log Trees
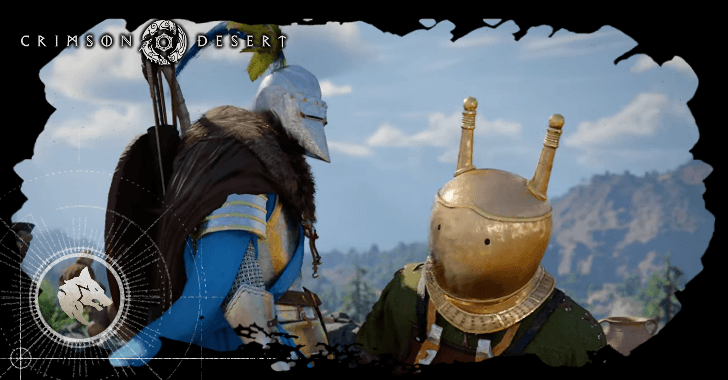 Can You Hide Your Helmet?
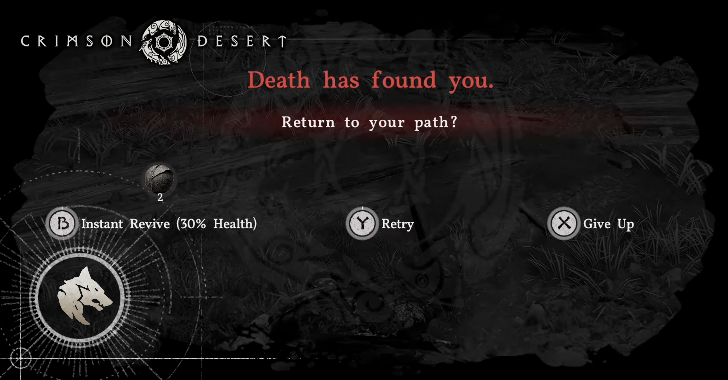 Death Penalty Explained
 Trust System Explained
 How Long Is Crimson Desert?
 How to Heal Your Horse
 How to Equip Abyss Cores
 All Missables and One-Time Events
 How to Play Duo
 How to Infiltrate Guarded Areas
 Best Items to Keep, Buy, and Sell
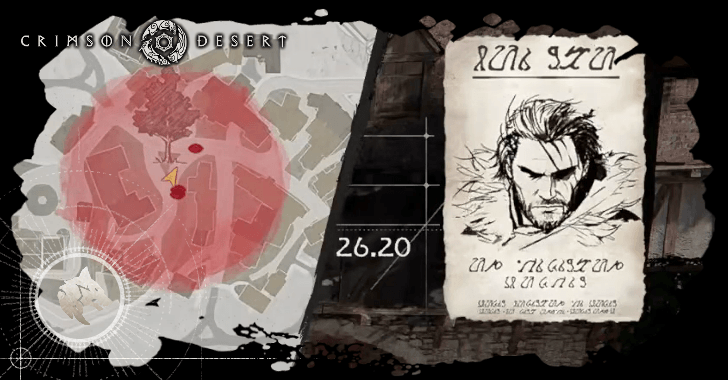 Wanted System Explained
 Best Side Quests to Complete
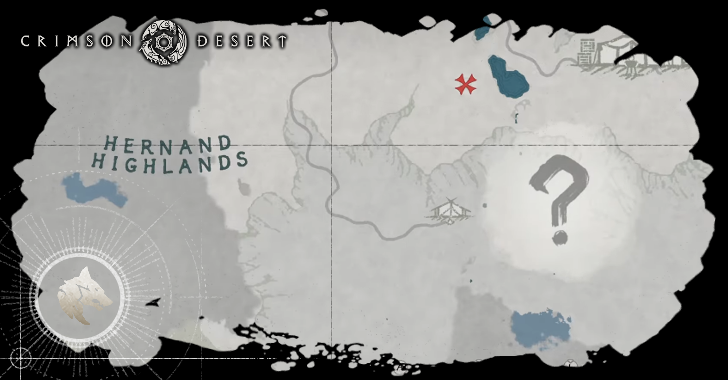 What Are Mysterious Energies?
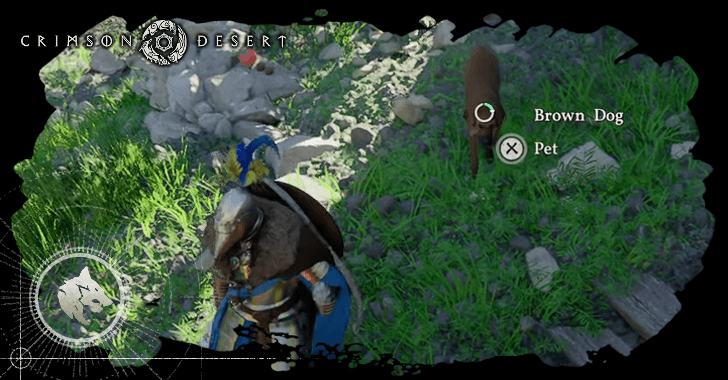 How to Unlock and Get Pets
 List of Trophies and Achievements
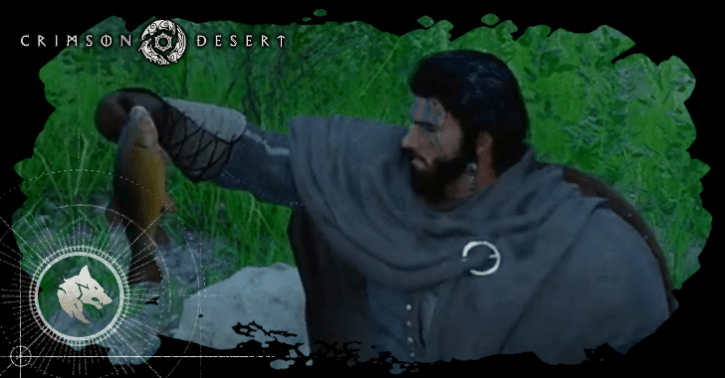 How to Fish
 How to Clear Fog of War
 How to Deal with Cold and Hot Climates
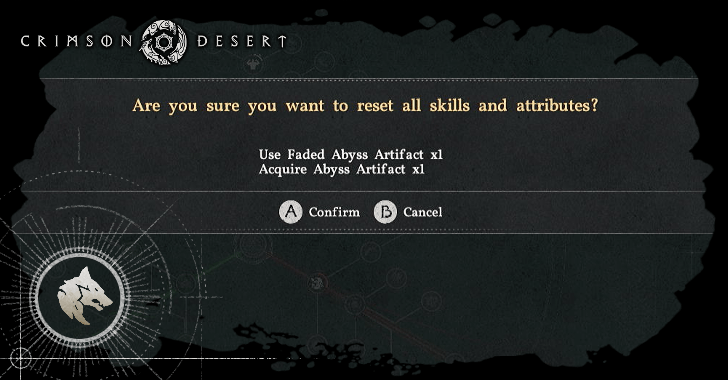 How to Respec Skills
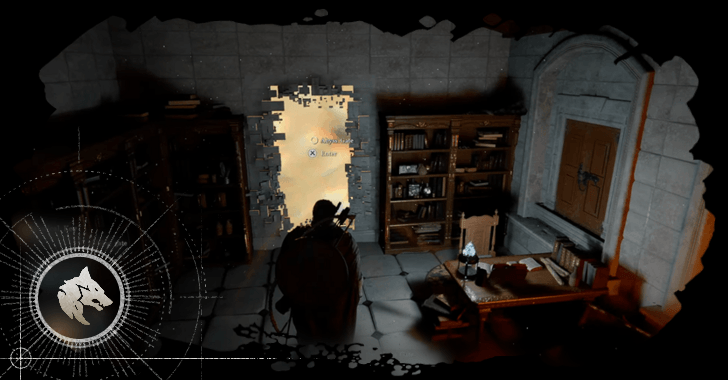 How to Find the Room the Key Opens
 Refinement Guide
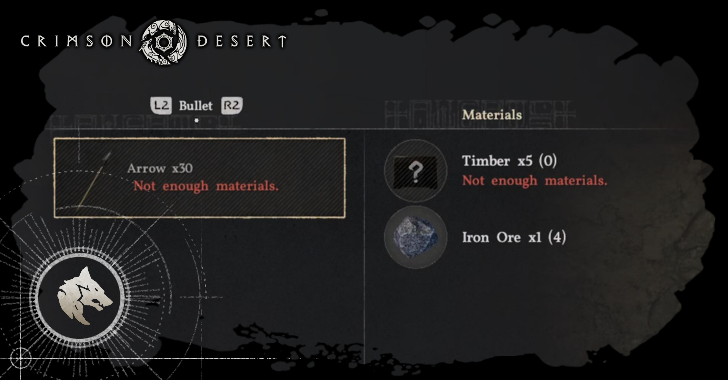 How to Craft Equipment
 How to in Win Arm Wrestling
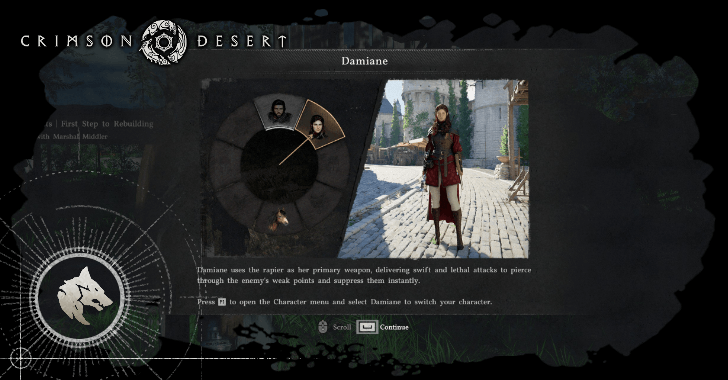 How to Change Characters
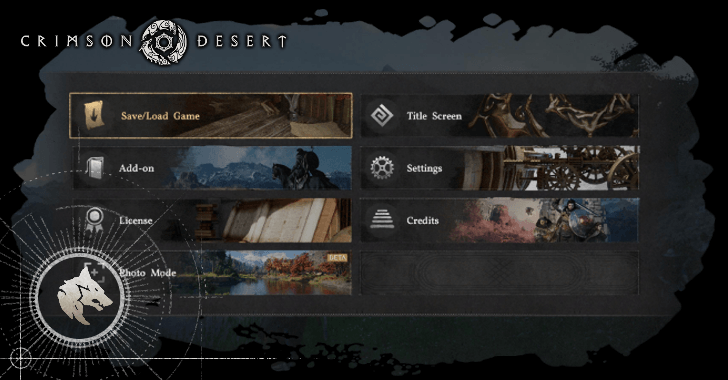 How to Save
 How to Sheathe Your Weapon
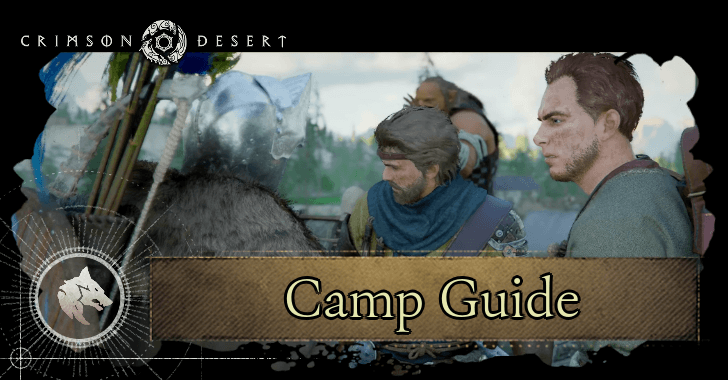 Camp Features
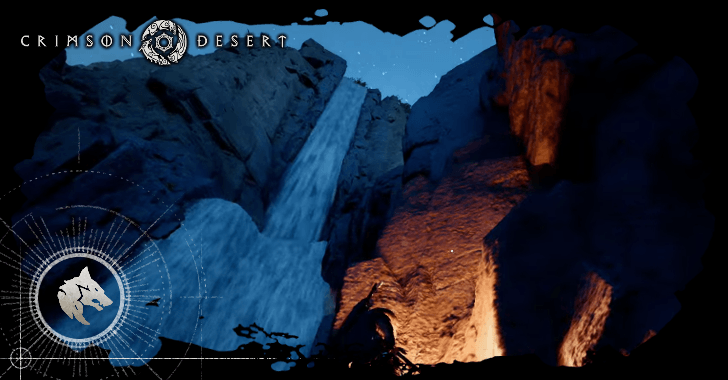 How to Enter Waterfalls
 Do Enemies and Gatherables Respawn?
 List of Puzzles
 How to Burn Vines
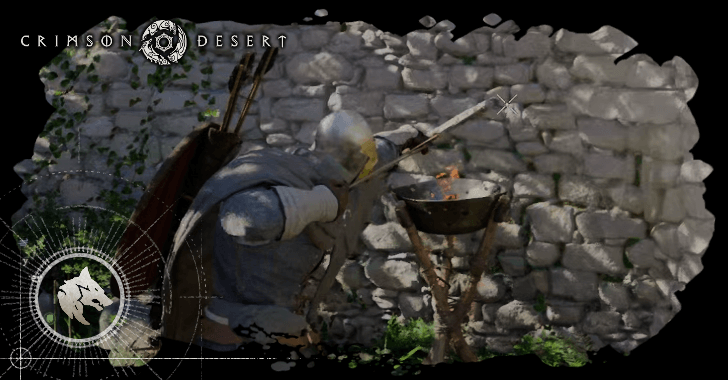 How to Make Fire Arrows
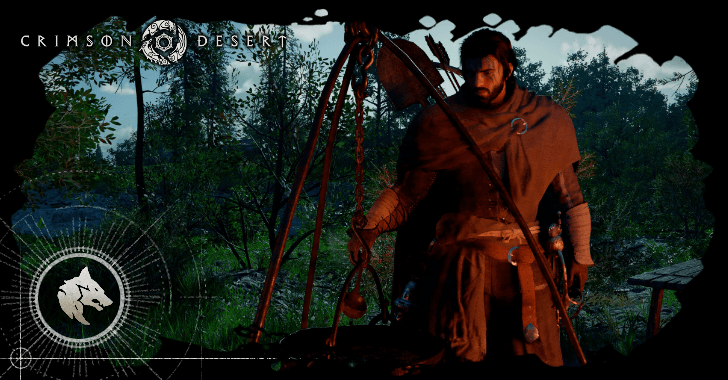 How to Cook Food
 Story Explained
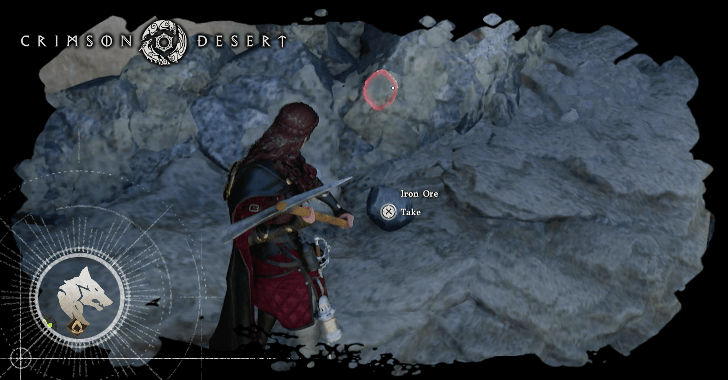 How to Mine Ores
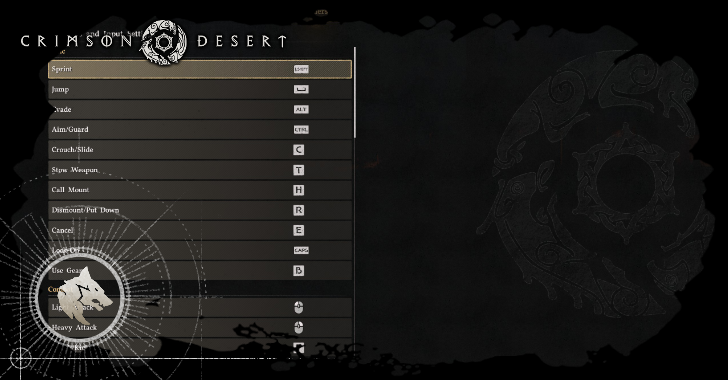 Mouse and Keyboard or Controller?
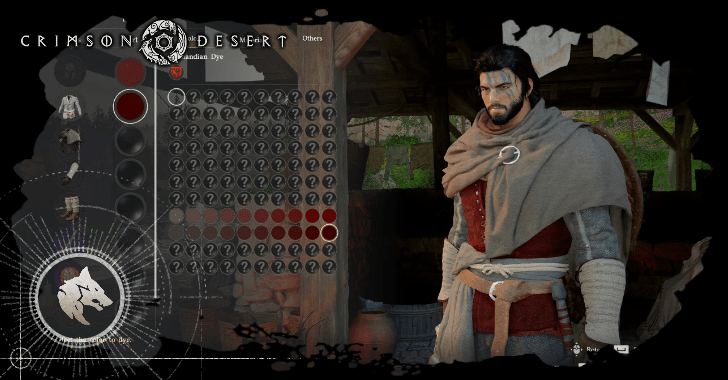 How to Dye Armor
 Trading System Explained
 Why Does Your Lantern Glow Blue?
 Where to Turn In Bounties
 Supply Chests Locations
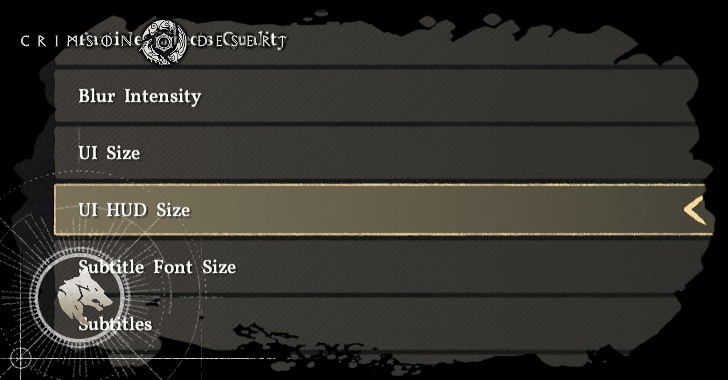 HUD Explained
 Is There New Game Plus?
 How to Slide
 What Are Unequippable Equipment?
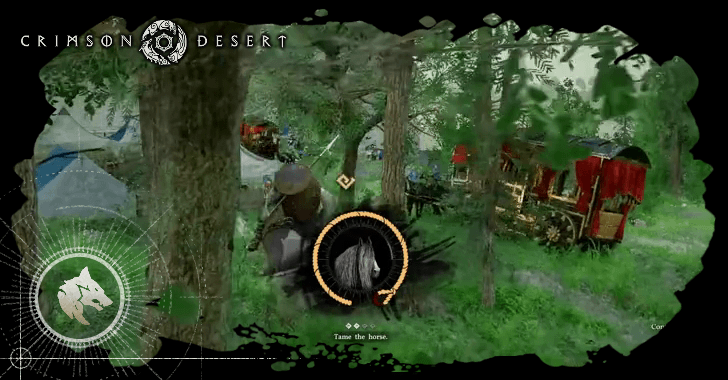 How to Tame Horses
 How to Take the White Bird's Letter
 Do Weapons Have Durability?
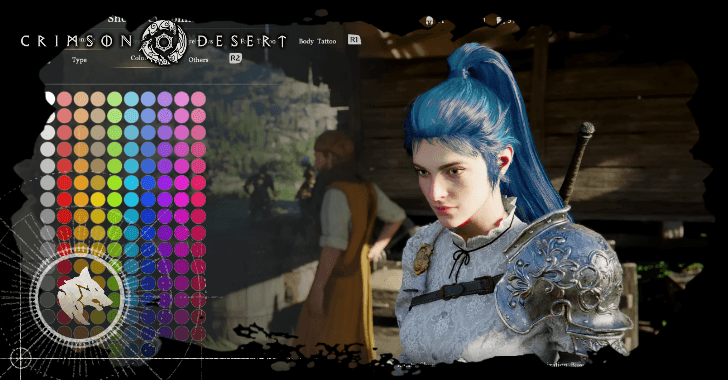 How to Unlock Barber
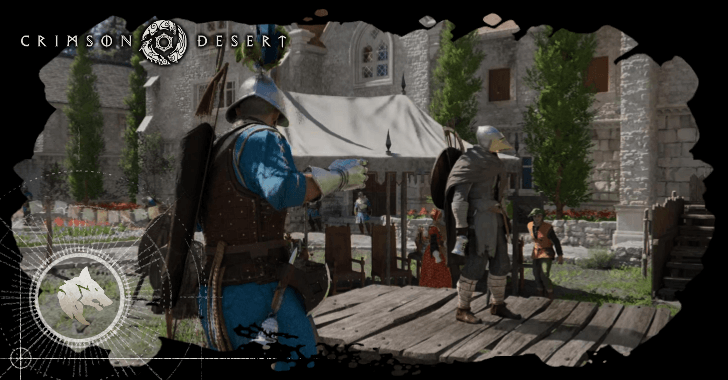 How to Win Archery Contests
 How to Increase Reputation
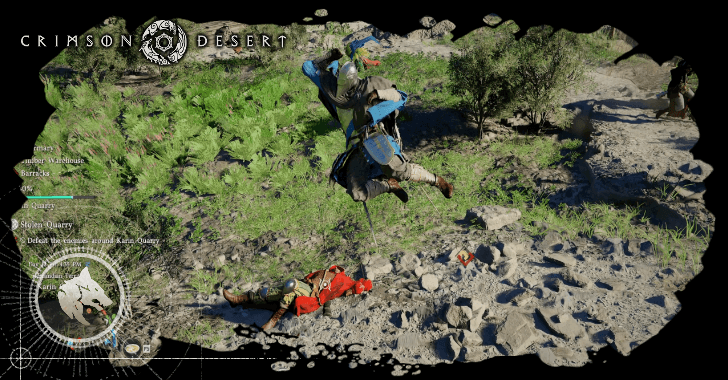 Advanced Combat Guide
 How to Sleep
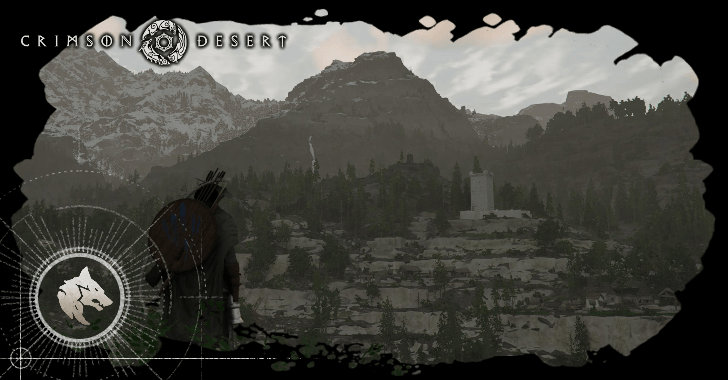 When to Start Exploring?
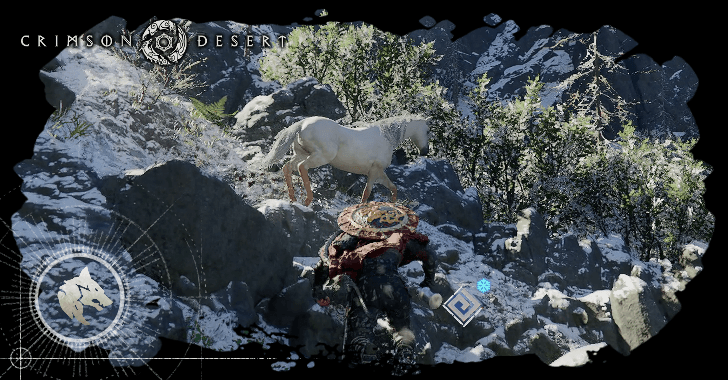 Best Horses
 Black Market Locations
 What Is the Yellow Bar?
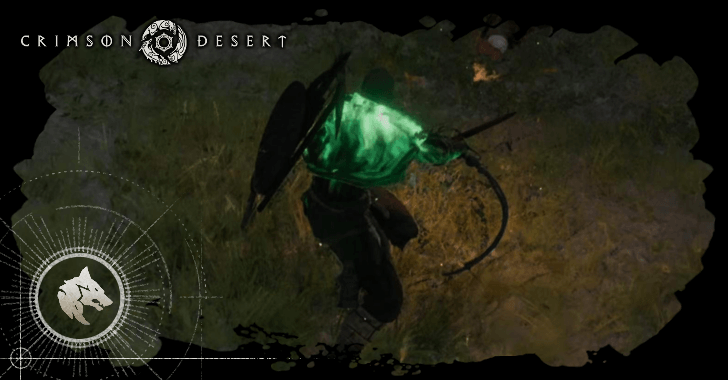 Why Do You Glow Green?
 How to Win in Unarmed Duel
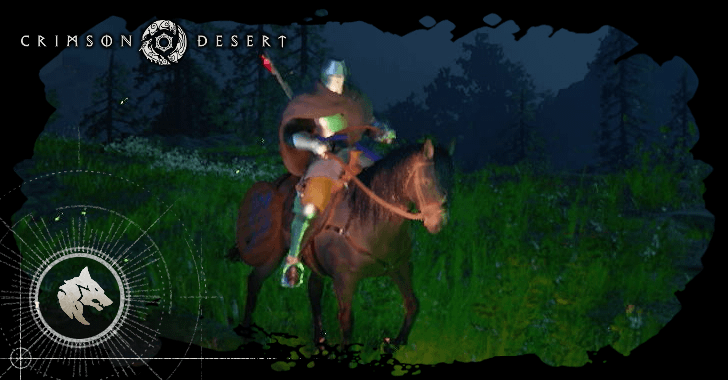 How to Level Up Your Horse
 How to Dispatch Comrades
 How to Hire Contribution Workers
 Best Places to Mine Ores
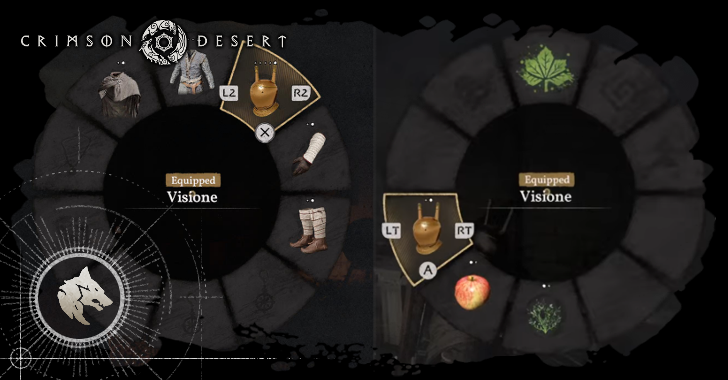 How to Use Item Abilities
 How to Eavesdrop
 How to Increase Research Knowledge
 What Are Camp Provisions?
 How to Level Up Comrades
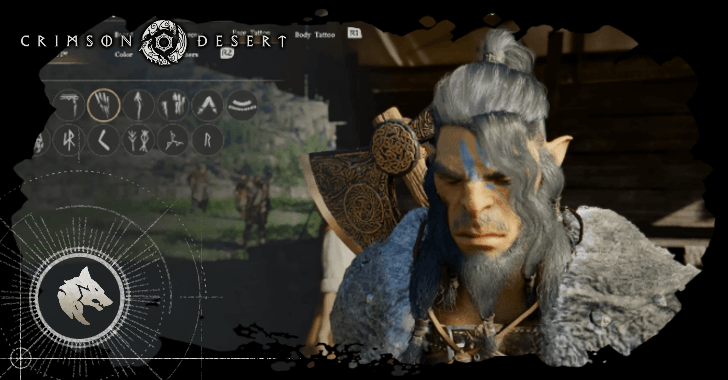 All Character Creation Options
 How to Pickpocket
 Should You Sell Recipes?
 How to Upgrade Camp
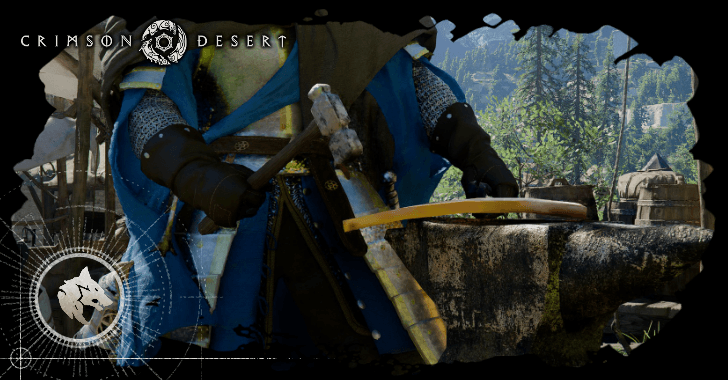 How to Increase Defense
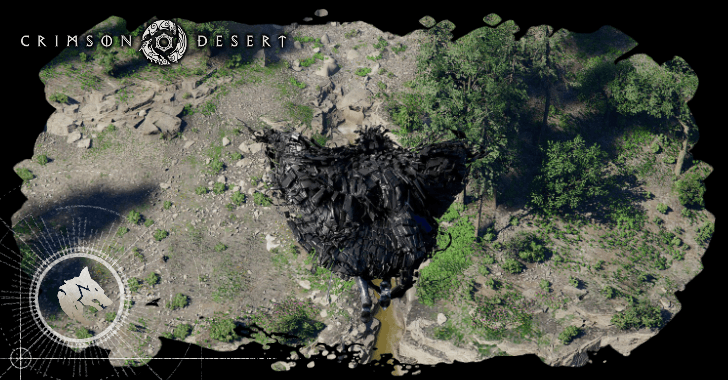 Movement Speed Explained
 Attack Speed Explained
 Critical Chance Explained
 How to Unlock Core Slot
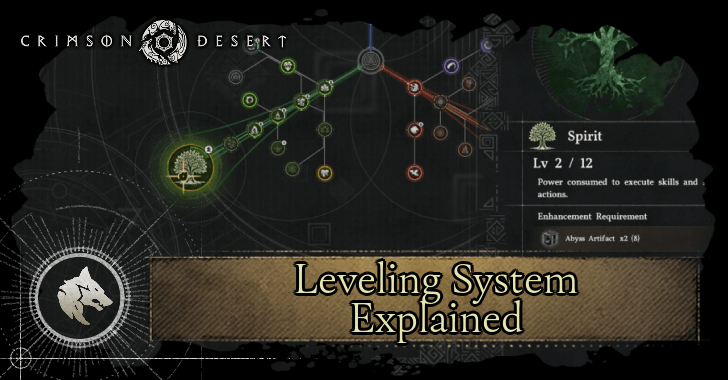 Leveling System Explained
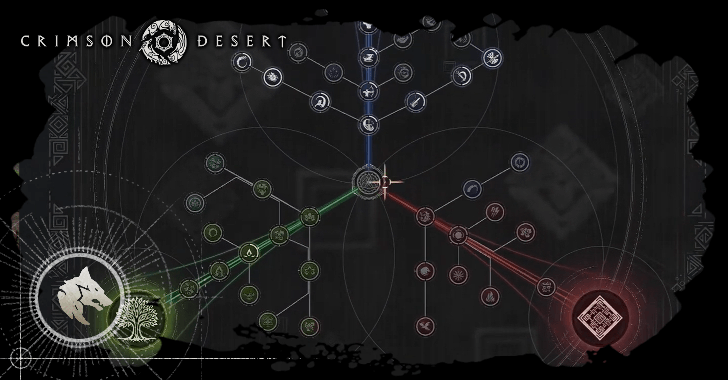
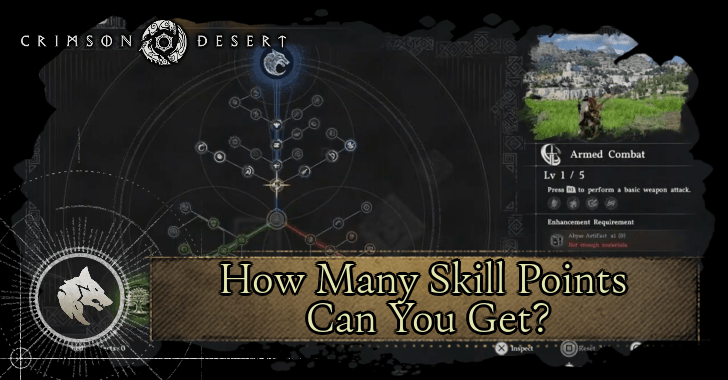 How Many Skill Points Can You Get?
 How to Increase Health
 How to Increase Spirit
 How to Increase Stamina
 How to Unlock Elemental Skills
This survey will take about 1 minute.
Your answers will help us to improve our website.
Crimson Desert
HUD Explained
☆ Best: Side Quests | Weapons | Armor | Skills
★ Controls | Best Items | What to Do First
☆ Characters: Damiane | Oongka | Kliff
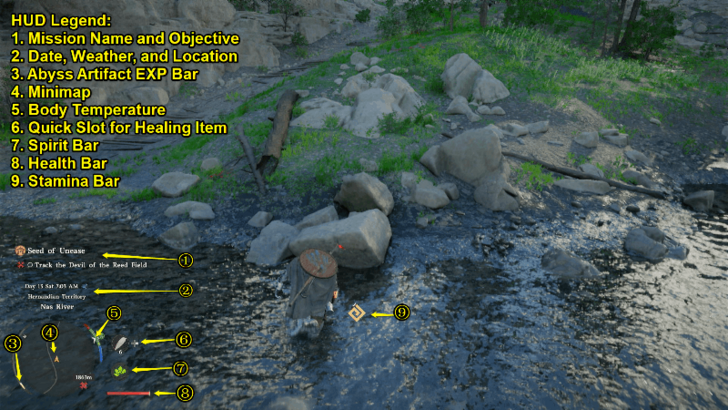
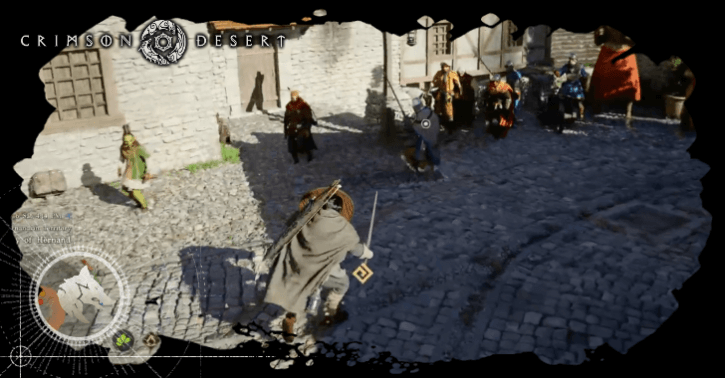
A guide that explains the meaning and usage of the icons on the HUD (Heads-Up Display) of Crimson Desert. See the explanations of each icon on the HUD here.
List of Contents
HUD Explained
All HUD Icons and Explanations
 |
|
| HUD | Explanation |
|---|---|
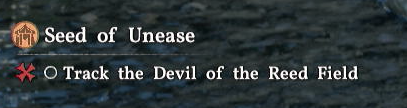 Mission Name and Objective Mission Name and Objective |
・ Displays the name of the tracked mission and its objective. |
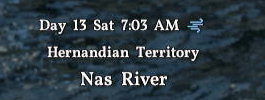 Date, Weather, and Location Date, Weather, and Location |
・Displays the current in-game day, time, and weather. |
 Abyss Artifact EXP Bar Abyss Artifact EXP Bar |
・Yellow bar indicates how many experience points you need before you can obtain an Abyss Artifact. |
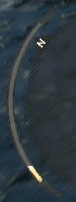
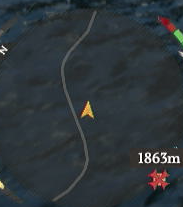 Minimap Minimap |
・Displays your current position on the map, north cardinal direction, and marked destination. |
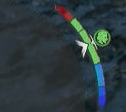 Body Temperature Body Temperature |
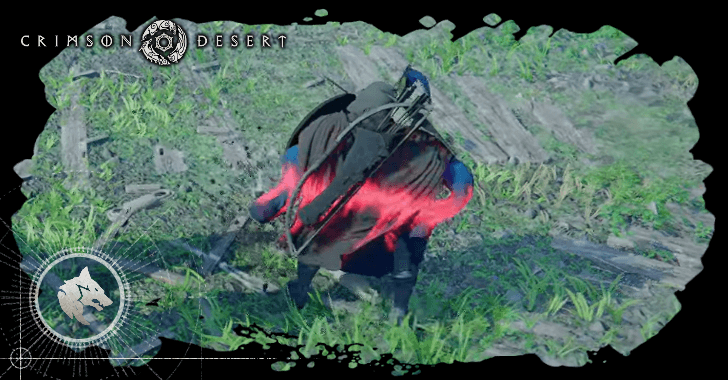
・Shows your character's current body temperature. ・Green indicates neutral temperature, red indicates overheating, and blue indicates freezing. |
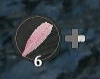 Quick Slot for Healing Item Quick Slot for Healing Item |
・Shows the current food item or potion to use to restore health. ・Hold the Right D-Pad to change the item to use on this slot. |
 Spirit Bar Spirit Bar |
・Shows the current amount of Spirit you have. ・Hold the Left Thumbstick and Right Thumbstick while not in combat to restore Spirit. |
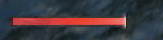 Health Bar Health Bar |
・Shows the current amount of Health you have. |
 Stamina Bar Stamina Bar |
・Shows the current amount of Stamina you have. ・Only appears when performing actions that reduce stamina such as running, climbing, and blocking enemy attacks with shields. |
Can You Increase the UI HUD Size?
You Cannot Increase the Size
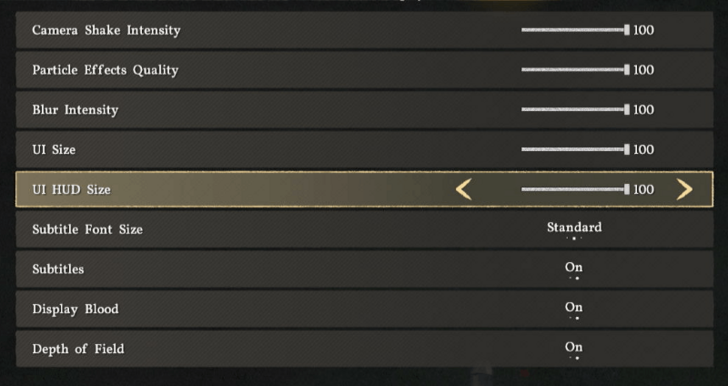
You cannot increase the size of the UI on the HUD in Crimson Desert. By default, the size for both the general UI and the UI on the HUD is 100 and you can only decrease it further.
Crimson Desert Related Guides

Meta Guides
 Best Ways to Farm Money Best Ways to Farm Money |
 Best Skills to Get Early Best Skills to Get Early |
 Best Places to Visit Early Best Places to Visit Early |
 Best Abyss Gears Best Abyss Gears |
 Best Ways to Farm Abyss Artifacts Best Ways to Farm Abyss Artifacts |
 Best Armor Best Armor |
 Best Weapons Best Weapons |
 Best Bows Best Bows |
- |
Beginner Guides
Character Progression Guides
Combat Tips
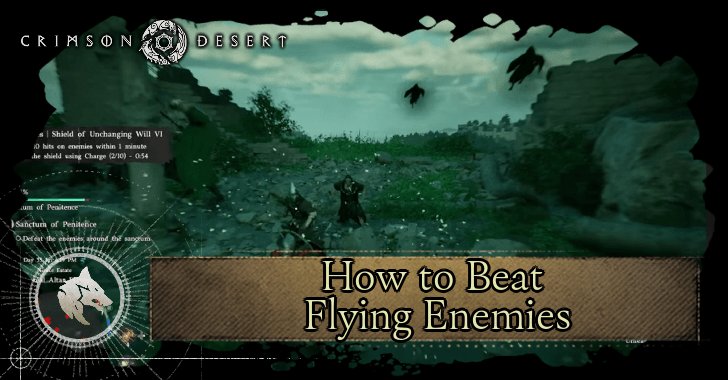 How to Beat Flying Enemies How to Beat Flying Enemies |
 How to Heal How to Heal |
 Can You Defeat Myurdin? (Tutorial Boss) Can You Defeat Myurdin? (Tutorial Boss) |
 How to Perfect Dodge How to Perfect Dodge |
 How to Parry Attacks How to Parry Attacks |
 How to Lock On Targets How to Lock On Targets |
 How to Defeat Enemies with a Shield How to Defeat Enemies with a Shield |
- | - |
Settings Guides
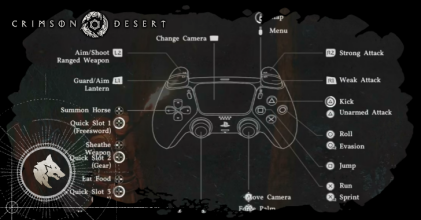 List of All Controls List of All Controls |
 Best Settings Best Settings |
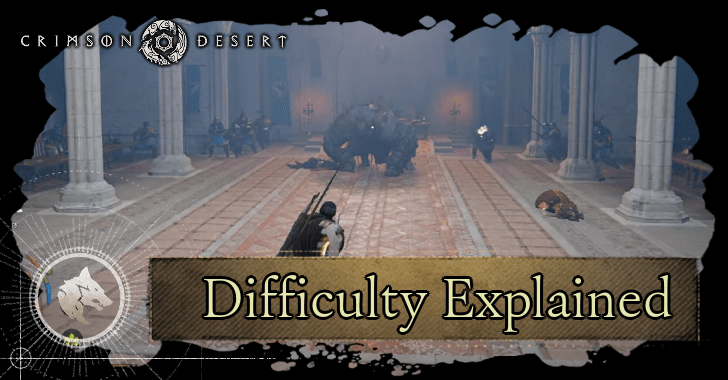 Difficulty Explained Difficulty Explained |
Comment
Author

HUD Explained
Please participate in our site
improvement survey
04/2026
improvement survey
04/2026
Would you assist in
improving Game8's site?
improving Game8's site?

×
We are listening to our users' valuable opinions and discussing how to act on them.
The information collected through this survey will be used for the purpose of improving our services. In addition, the information will only be disclosed a part of a statistic in a format that will not allow identification of personal information.
Begin Survey
Not Now
×
Please rate each item regarding Game8.co's Advertisements.
Amount of Ads
Very Dissatisfied
Somewhat Dissatisfied
Fine
Somewhat Satisfied
Highly Satisfied
Placement of Ads
Timing of Ad Display
Ad Loading Speed
Safeness of Ads
Content of Ads
×
Please rate each item regarding Game8.co's Quality of Articles.
Amount of information
Very Dissatisfied
Somewhat Dissatisfied
Fine
Somewhat Satisfied
Highly Satisfied
Frequency of updates
Speed of new information
Accuracy of articles
Understandibility of articles
Readability of sentences
×
Please rate each item regarding Game8.co's Usability of the Site.
Ease of finding information
Very Dissatisfied
Somewhat Dissatisfied
Fine
Somewhat Satisfied
Highly Satisfied
Loading Speed
Use of Color
Font Size
Visibility of Images
Easy to Understand Layout
×
Please rate each item regarding Game8.co's Message Boards, Comments.
Ease of Writing
Very Dissatisfied
Somewhat Dissatisfied
Fine
Somewhat Satisfied
Highly Satisfied
Readability
Ease in Finding Information
Comment Quality
Comment Quantity
Admin Response
×
Please rate each item regarding Game8.co's Site's new design.
Please rate our site's new design
Very Dissatisfied
Somewhat Dissatisfied
Fine
Somewhat Satisfied
Highly Satisfied
Do you think that the website's design change makes the site easier to use?
Has the new design made it easier for you to find information on the site?
Has the new design improved the overall visual appeal of the site?
How would you rate your overall satisfaction with the new design of the site?
×
How likely are you to recommend Game8 to someone you know?
Very Unlikely
0
1
2
3
4
5
6
7
8
9
10
Very Likely
If you have other opinions regarding potential improvement to the website, please share them with us. We would appreciate your honest opinion.
Note: This is a free response section, so you can proceed without entering anything.
Note: Please be sure not to enter any kind of personal information into your response.
Note: Please be sure not to enter any kind of personal information into your response.
×
Thank You
×
Thank you for participating in our survey! Your answers will help us to improve the quality of our website and services.
We hope you continue to make use of Game8.
We hope you continue to make use of Game8.
Close
Rankings
- We could not find the message board you were looking for.
Gaming News


![Forza Horizon 6 Review [Preview] | Beautiful Roads With a Whole Lot of Oversteer](https://img.game8.co/4460981/a7254c24945c43fbdf6ad9bea52b5ce9.png/thumb)
Popular Games

Genshin Impact Walkthrough & Guides Wiki
Crimson Desert Walkthrough & Guides Wiki
Umamusume: Pretty Derby Walkthrough & Guides Wiki
Honkai: Star Rail Walkthrough & Guides Wiki
Monster Hunter Stories 3: Twisted Reflection Walkthrough & Guides Wiki
Wuthering Waves Walkthrough & Guides Wiki
The Seven Deadly Sins: Origin Walkthrough & Guides Wiki
Pokemon TCG Pocket (PTCGP) Strategies & Guides Wiki
Pokemon Pokopia Walkthrough & Guides Wiki
Zenless Zone Zero Walkthrough & Guides Wiki


Recommended Games
Monster Hunter World Walkthrough & Guides Wiki
Fire Emblem Heroes (FEH) Walkthrough & Guides Wiki
Pokemon Brilliant Diamond and Shining Pearl (BDSP) Walkthrough & Guides Wiki
Super Smash Bros. Ultimate Walkthrough & Guides Wiki
Diablo 4: Vessel of Hatred Walkthrough & Guides Wiki
Cyberpunk 2077: Ultimate Edition Walkthrough & Guides Wiki
Yu-Gi-Oh! Master Duel Walkthrough & Guides Wiki
Elden Ring Shadow of the Erdtree Walkthrough & Guides Wiki
The Legend of Zelda: Tears of the Kingdom Walkthrough & Guides Wiki
Persona 3 Reload Walkthrough & Guides Wiki


All rights reserved
© Pearl Abyss Corp. All Rights Reserved.
The copyrights of videos of games used in our content and other intellectual property rights belong to the provider of the game.
The contents we provide on this site were created personally by members of the Game8 editorial department.
We refuse the right to reuse or repost content taken without our permission such as data or images to other sites.