Sanctorum of Darkness Abyss Puzzle Solution
☆ Best: Side Quests | Weapons | Armor | Skills
★ Controls | Best Items | What to Do First
☆ Characters: Damiane | Oongka | Kliff
★ Trending: Excavatron | Hornsplitter | Blix
┣ Dragon's Chamber | Azure Moon Labyrinth
┗ Bianca | Strongbox | How to Steal | Pets
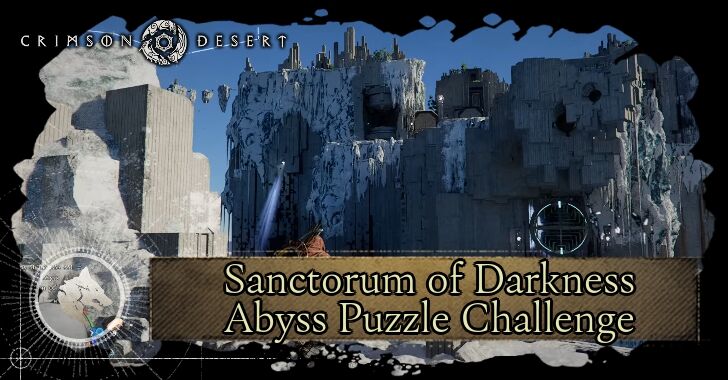
Solve the Sanctorum of Darkness abyss puzzle in Crimson Desert! Learn the puzzle solution and where to find the abyss location here.
List of Contents
Sanctorum of Darkness Puzzle Solution
Activate the Two Crystals
| Step | How to Solve |
|---|---|
| 1 |  Follow the path in the Sanctorum of Darkness and reach the upper platform to activate the Abyss Nexus. |
| 2 | 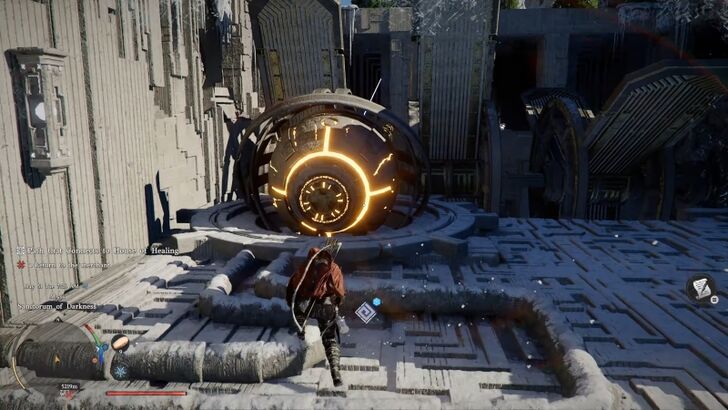 You'll find that only one of the two light beam machines are working. Align the light beam of the machine to the crystal using Axiom Force. |
| 3 | 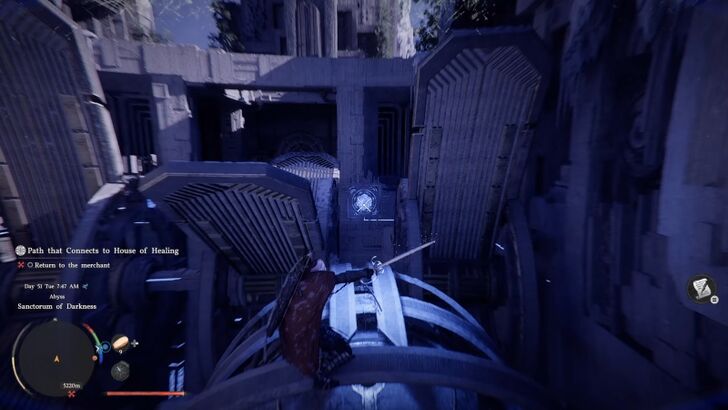 Use Blinding Flash: Concentrated Light on the other crystal until the rotating machines start moving and use their wind to swiftly fly across to reach the generator in time. Alternatively, you can use the skill while you're on the other side instead so you'll have enough time to activate the circular generator. |
| 4 |  Once activated, quickly use Force Palm or Axiom Force on the center of the circular generator to restore the abyss before the crystal deactivates. |
| 5 | 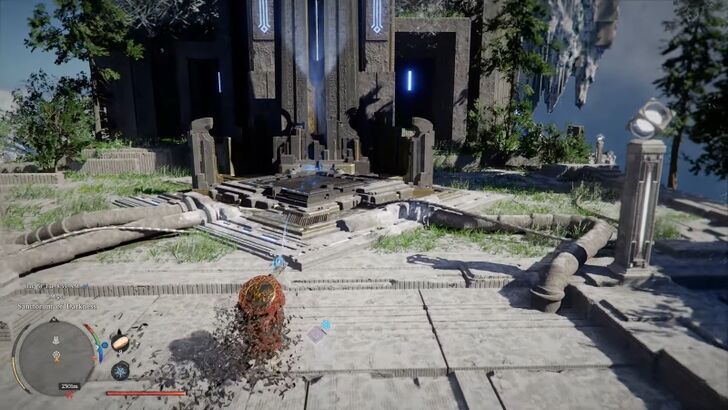 Go to the platform above to obtain the artifact and complete the challange. |
Activate the two crystals to restore the abyss and obtain the artifact.
Sanctorum of Darkness Puzzle Location
Past the Path of Trials
| Abyss Path to Sanctorum of Darkness |
|---|
| Spire of Ringing Truth → Ether Rest → Frostbitten Paradise → Path of Trials → Sanctorum of Darkness |
After completing the Path of Trials, follow the path beyond the abyss nexus to access Sanctorum of Darkness.
Path of Trials Abyss Challenge Solution
Sanctorum of Darkness Puzzle and Challenge Rewards
Puzzle and Completion Rewards
| Rewards |
|---|
| ・ Abyss Artifact x1 |
Crimson Desert Related Guides
Exploration Challenges
| Abyss | Secret Places | Ancient Ruins | |||
| Sanctums | Spires |
Mastery Challenges
| Sword | Shield | ||||
| Bow | Spear | ||||
| Two-Handed Weapon | Rapier and Shield | Gun | |||
Combat Challenges
| Training | Operation |
Life Challenges
| Hunting | Life | ||
| Above the Law | Challenges and Changes |
Minigame Challenges
| Duel | Mind Games |
Other Abyss Puzzles
Comment
Author

Sanctorum of Darkness Abyss Puzzle Solution
Rankings
- We could not find the message board you were looking for.
Gaming News

![Star Savior Review [First Impressions] | Engaging, Entertaining, and Expensive](https://img.game8.co/4447603/8f500e9bf666bdb8adb1af478e9dfdbd.png/show)


Popular Games

Genshin Impact Walkthrough & Guides Wiki
Umamusume: Pretty Derby Walkthrough & Guides Wiki
Crimson Desert Walkthrough & Guides Wiki
Monster Hunter Stories 3: Twisted Reflection Walkthrough & Guides Wiki
Honkai: Star Rail Walkthrough & Guides Wiki
Pokemon Pokopia Walkthrough & Guides Wiki
The Seven Deadly Sins: Origin Walkthrough & Guides Wiki
Wuthering Waves Walkthrough & Guides Wiki
Zenless Zone Zero Walkthrough & Guides Wiki
Arknights: Endfield Walkthrough & Guides Wiki


Recommended Games
Fire Emblem Heroes (FEH) Walkthrough & Guides Wiki
Diablo 4: Vessel of Hatred Walkthrough & Guides Wiki
Cyberpunk 2077: Ultimate Edition Walkthrough & Guides Wiki
Yu-Gi-Oh! Master Duel Walkthrough & Guides Wiki
Super Smash Bros. Ultimate Walkthrough & Guides Wiki
Pokemon Brilliant Diamond and Shining Pearl (BDSP) Walkthrough & Guides Wiki
Elden Ring Shadow of the Erdtree Walkthrough & Guides Wiki
Monster Hunter World Walkthrough & Guides Wiki
The Legend of Zelda: Tears of the Kingdom Walkthrough & Guides Wiki
Persona 3 Reload Walkthrough & Guides Wiki


All rights reserved
© Pearl Abyss Corp. All Rights Reserved.
The copyrights of videos of games used in our content and other intellectual property rights belong to the provider of the game.
The contents we provide on this site were created personally by members of the Game8 editorial department.
We refuse the right to reuse or repost content taken without our permission such as data or images to other sites.