How to Get 10 3-Star Photos in One Run
The Steady Aim Research Title requires you to snap one 3-star photo each for at least 10 species of Pokemon. This guide will show you one of the easiest ways to get the research title, and how to get 10 3-star photos in one course for New Pokemon Snap (Pokemon Snap 2) on the Nintendo Switch.
List of Contents
Best Level For 10 3-Star Photos
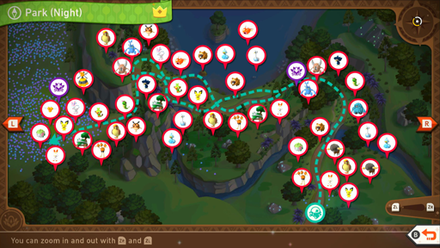
From what we've tested, the best and easiest course to get a lot of 3-Star photos from is Park (Night) at Research Level 2.
Illumina Orbs are required. One of the poses requires Melody, while another is only available during the post-game, but you can still get 10 3-Star Photos in the same run even without either of these. Lastly, Turbo is optional, but helpful.
The Pokemon that we will try to get 3-Star photos for include the following:
 Scorbunny Scorbunny
|
 Shaymin Shaymin
|
 Tangrowth Tangrowth
|
 Pidgeot Pidgeot
|
 Pinsir Pinsir
|
 Heracross Heracross
|
 Bidoof Bidoof
|
 Swanna Swanna
|
 Ducklett Ducklett
|
 Magikarp Magikarp
|
 Hoothoot Hoothoot
|
 Caterpie Caterpie
|
 Dodrio Dodrio
|
 Torterra Torterra
|
How to Get 10 3-Star Photos in One Run
Video Guide
There is going to be a long sequence of actions you'll have to do which will be detailed below.
Since this guide covers how to get 14 3-stars poses in one run, you'll have some room for error in case you miss out on some of the poses! Do your best to follow along with the guide, and you'll definitely get at least 10 in no time.
Step-By-Step Text Guide
| Step | Procedure |
|---|---|
| 1 | 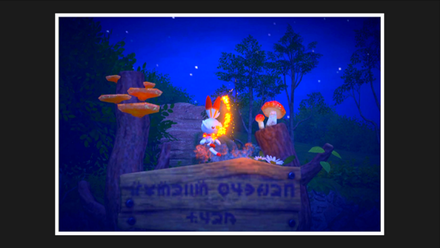 |
| 2 | 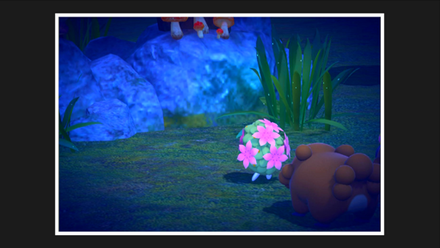 |
| 3 | 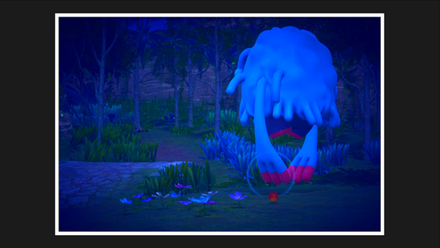 |
| 4 | 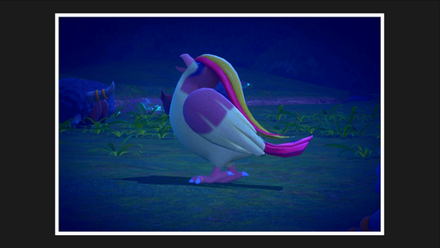 |
| 5 | 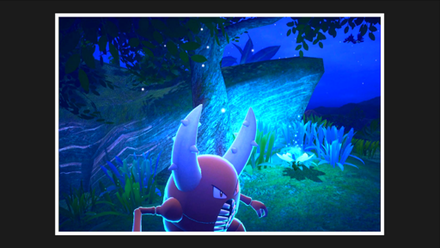 |
| 6 | 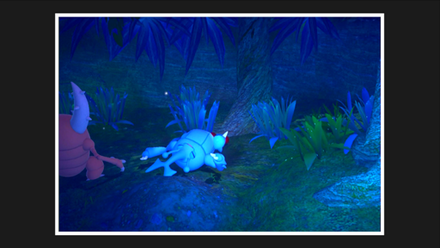 |
| 7 | 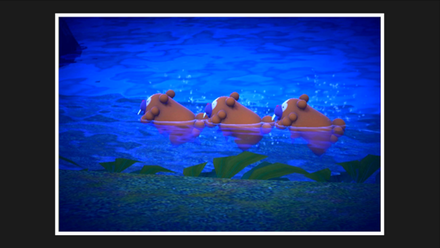 |
| 8 | 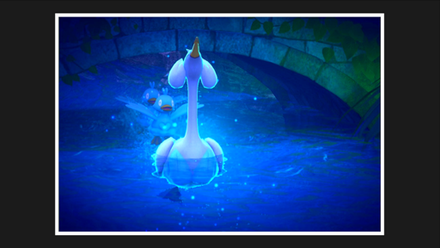 |
| 9 | 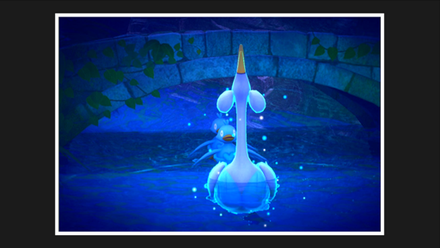 |
| 10 | 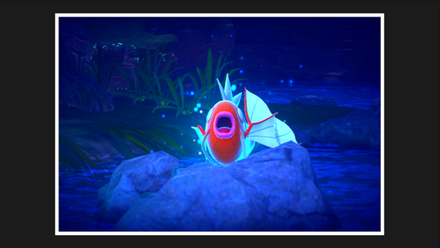 |
| 11 | 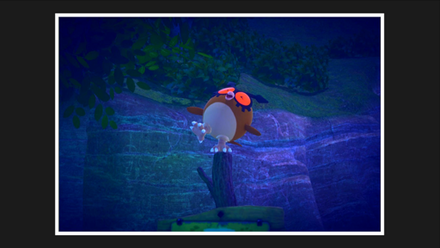 |
| 12 | 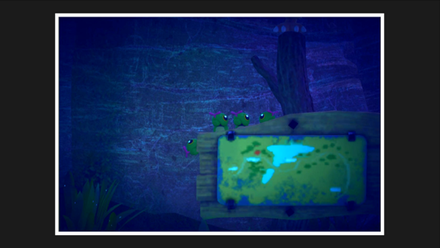 |
| 13 | 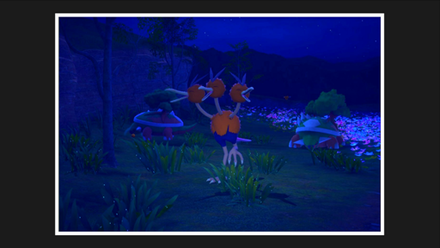 |
| 14 | 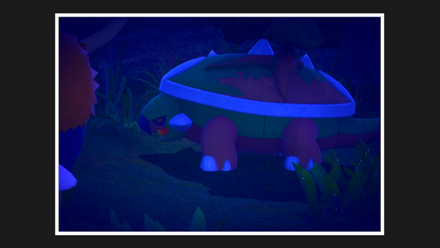 |
| 15 | 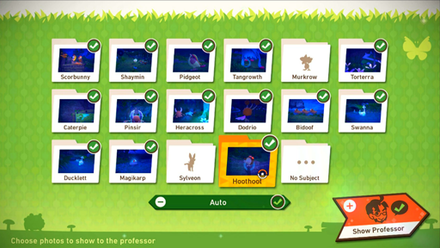 |
Reward For 10 3-Star Photos in One Run
Steady Aim Research Title
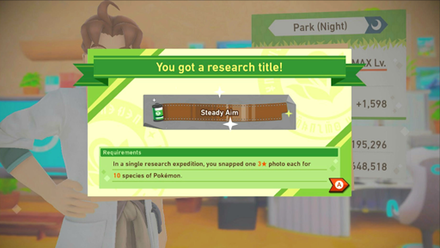
If you were able to successfully take and submit at least 10 3-star photos, you'll unlock the Steady Aim Research Title! Congratulations!
Learn How to Unlock All Research Titles
New Pokemon Snap Related Guides

New Pokemon Snap Tips and Tricks
Author
How to Get 10 3-Star Photos in One Run
improvement survey
03/2026
improving Game8's site?

Your answers will help us to improve our website.
Note: Please be sure not to enter any kind of personal information into your response.

We hope you continue to make use of Game8.
Rankings
- We could not find the message board you were looking for.
Gaming News
Popular Games

Genshin Impact Walkthrough & Guides Wiki

Honkai: Star Rail Walkthrough & Guides Wiki

Umamusume: Pretty Derby Walkthrough & Guides Wiki

Pokemon Pokopia Walkthrough & Guides Wiki

Resident Evil Requiem (RE9) Walkthrough & Guides Wiki

Monster Hunter Wilds Walkthrough & Guides Wiki

Wuthering Waves Walkthrough & Guides Wiki

Arknights: Endfield Walkthrough & Guides Wiki

Pokemon FireRed and LeafGreen (FRLG) Walkthrough & Guides Wiki

Pokemon TCG Pocket (PTCGP) Strategies & Guides Wiki
Recommended Games

Diablo 4: Vessel of Hatred Walkthrough & Guides Wiki

Cyberpunk 2077: Ultimate Edition Walkthrough & Guides Wiki

Fire Emblem Heroes (FEH) Walkthrough & Guides Wiki

Yu-Gi-Oh! Master Duel Walkthrough & Guides Wiki

Super Smash Bros. Ultimate Walkthrough & Guides Wiki

Pokemon Brilliant Diamond and Shining Pearl (BDSP) Walkthrough & Guides Wiki

Elden Ring Shadow of the Erdtree Walkthrough & Guides Wiki

Monster Hunter World Walkthrough & Guides Wiki

The Legend of Zelda: Tears of the Kingdom Walkthrough & Guides Wiki

Persona 3 Reload Walkthrough & Guides Wiki
All rights reserved
©2021 Pokémon. ©1995–2021 Nintendo / Creatures Inc. / GAME FREAK inc. ©1999 Nintendo / HAL Laboratory, Inc. Developed by BANDAI NAMCO Studios Inc.
Pokémon and Nintendo Switch are trademarks of Nintendo. © 2021 Nintendo.
The copyrights of videos of games used in our content and other intellectual property rights belong to the provider of the game.
The contents we provide on this site were created personally by members of the Game8 editorial department.
We refuse the right to reuse or repost content taken without our permission such as data or images to other sites.


![Monster Hunter Stories 3 Review [First Impressions] | Simply Rejuvenating](https://img.game8.co/4438641/2a31b7702bd70e78ec8efd24661dacda.jpeg/thumb)


