The Siege of Weisshaupt Quest Guide
★ Classes & Builds: Warrior, Mage, Rogue
★ Equipment: Weapons, Armor, and Accessories
★ All Major Choices and effects on the story
★ Romance Guides for each Companion
★ Beginner and Combat guides for starting out
★ Find all Treasure Chests and Wolf Statues
This is a complete walkthrough for the main quest, The Siege of Weisshaupt, of Dragon Age: The Veilguard's campaign. See this guide for quest information, objectives, and major decisions!
| ◀︎ Previous Quest | Next Quest ▶︎ |
|---|---|
| Something Wrong | After The Storm |
List of Contents
The Siege of Weisshaupt Overview
| The Siege of Weisshaupt | ||
|---|---|---|
| Location | Weisshaupt | |
| Rewards |
・4,500 XP ・+250 Grey Wardens Strength ・Increased bond with All Companions ・Weapons ・+700 Gold ・+2 Dragonfire Catalyst |
|
| Description | ||
| After receiving word that the gods are marching towards Weisshaupt, the team must seize the opportunity to destroy them. | ||
| Required Companion | ||
| Davrin | ||
The Siege of Weisshaupt Objectives
| Quest Objectives |
|---|
|
|
Complete a Change on the Wind
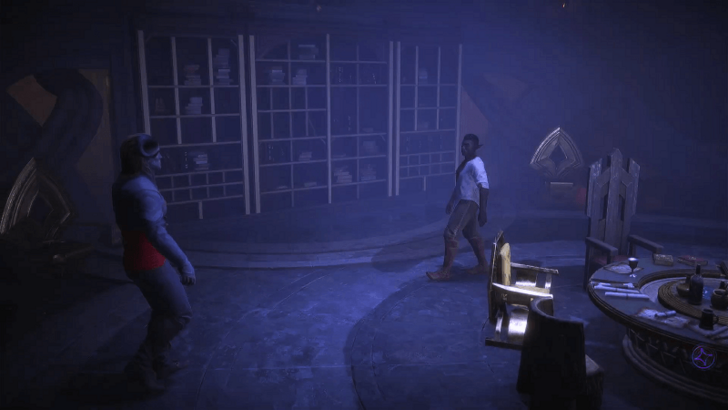
After completing Something Wrong, return to the Lighthouse where you will be spoken to by Davrin. After speaking to Davrin, the quest will immediately transition into the Siege of Weisshaupt.
Talk to Solas
Approach the Meditation Chamber and talk to Solas, where he tells you the method to win the battle: Get help from the Grey Wardens, and kill the Archdemon before slaying the god with the dagger.
Enter Weisshaupt
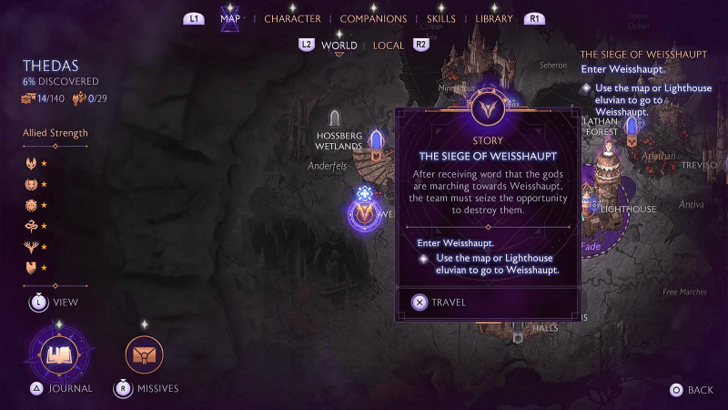
Fast travel to Weisshaupt, located west of the Lighthouse on the map.
Davrin is required to be in the party for the Siege of Weisshaupt.
Find Antoine and Evka
Enter the Courtyard
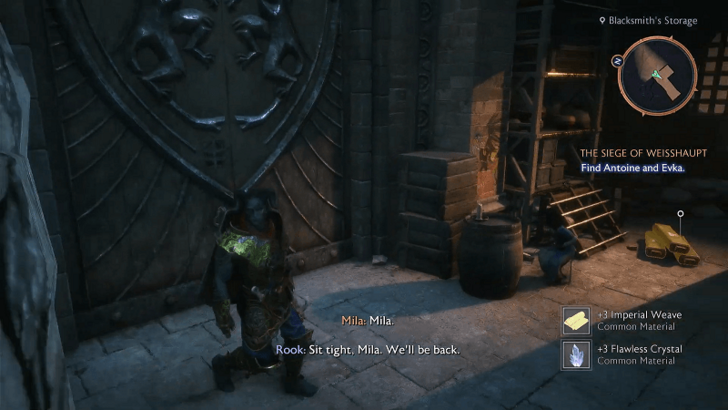
You will arrive in the Blacksmith's Storage inside Weisshaupt, the fortress currently under siege. In the room you will find Mila, she is near the door to the courtyard.
Defeat the Darkspawn
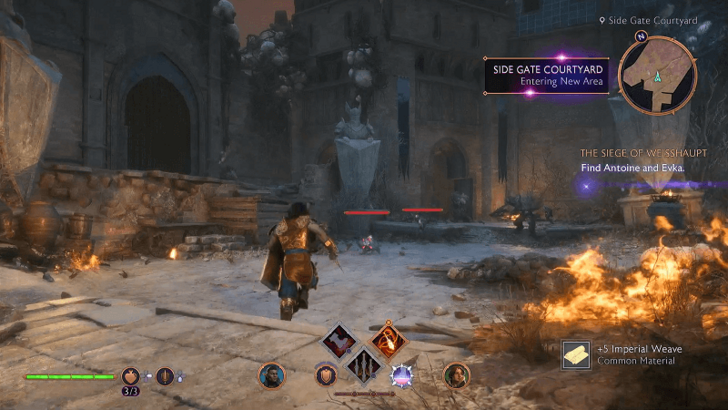
Out in the courtyard, defeat the darkspawn squad attacking, consisting of Melee and Ranged Hurlocks, and Ghouls.
Get to the War Room
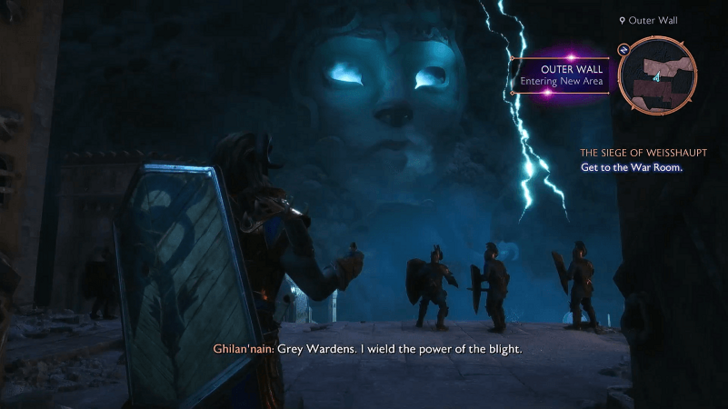
Once the coast is clear, follow Mila who tells you that Antoine and Evka are likely inside the War Room. She will lead you to a secret passage. Through there, head to the outer wall.
Once outside, fight your way through darkspawn to get to the War Room. Inside the War Room, Evka and Antoine argue with the First Warden about the battle plans, as Rook interrupts.
Punch or Reason With the First Warden
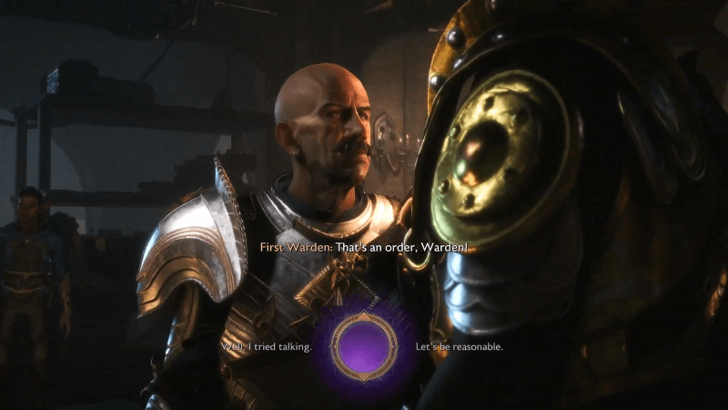
| Decision | |
|---|---|
| First Warden: That's an order, Warden! | |
| Choice | Consequence |
| Knock the First Warden out and take charge: Well. I tried talking. |
・Greatly Increases Approval with Lucanis, Davrin, Taash, Neve, and Harding ・Greatly Decreases Approval with Bellara and Emmrich |
| Talk sense into the First Warden: Let's be reasonable. |
・Greatly Increases Approval with Bellara, Emmrich, and Harding ・Greatly Decreases Approval with Lucanis, Davrin, Taash, and Neve |
Should You Punch or Reason with the First Warden?
Find the Dragon Trap
Either with the First Warden on your side or knocked out cold, Rook will take charge to find the dragon trap to combat the Archdemon. Exit and move along the path towards the Dragon Trap.
Fight Through the Walls
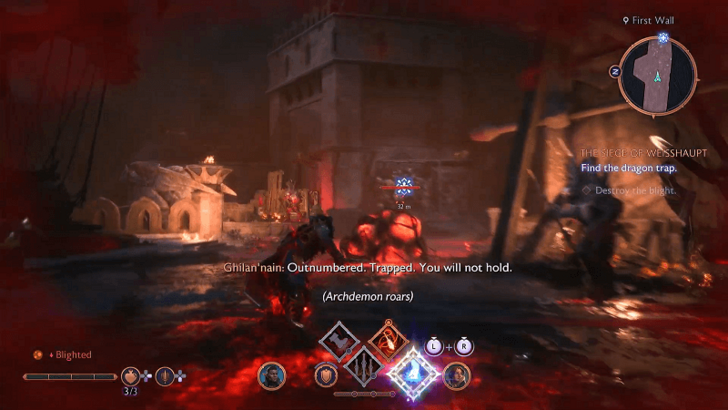
The path forward is guarded by multiple Hurlocks and Ghouls and is blocked by blight. Defeat the darkspawn and destroy the connected blight boil in the center to open up the path.
Drop into the Front gate wall, and fight your way through another group of darkspawn with a greater concentration of Hurlock Blighters that throw Blighted AoE attacks.
Once they are defeated, make your way up the stairs blocked by blight boils that can easily be destroyed.
Use the Ballista
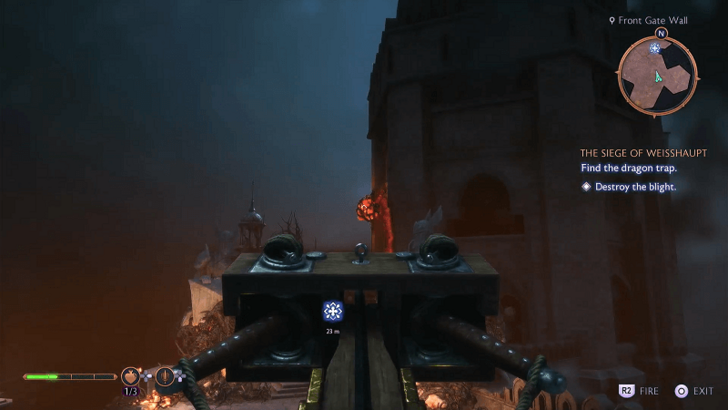
Up the steps, you will find a Ballista covered in blight. Destroy the boils in the vicinity, and use the now operable Ballista to destroy the blight boils above.
Progress through the path and arrive at the First Wall Scaffold, where you will find the path leading to the Dragon Trap destroyed. The party will need an alternative route.
Get to the Library
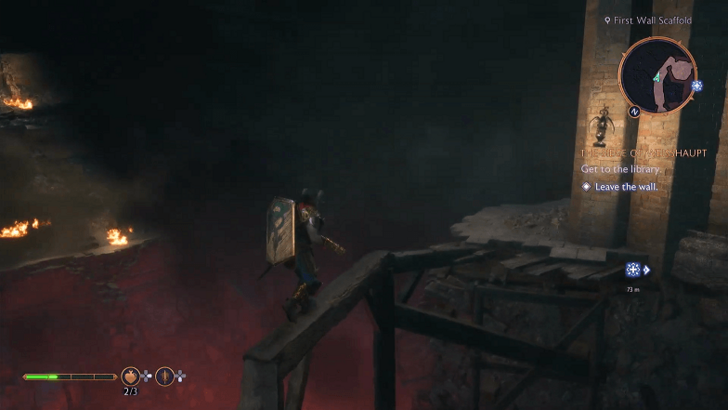
Davrin suggests to go through the library to get to the Dragon Trap. Balance through the remaining scaffolding to get across to progress.
Go inside the door and continue on the path below. Slide down at the bottom towards the front gate courtyard.
Fight Through the Front Gate Courtyard
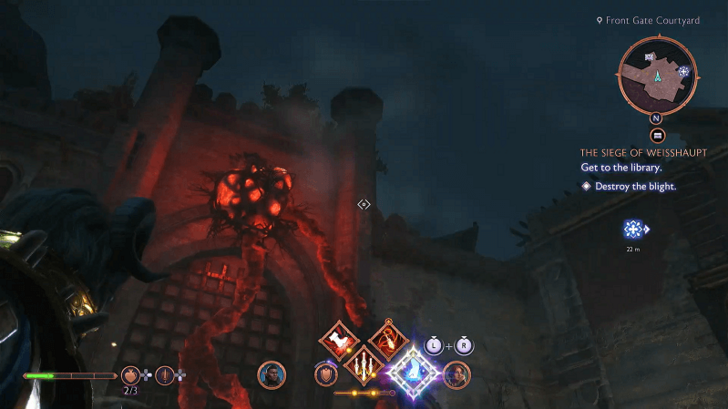
Defeat the Ghouls and destroy the Blight in the area. One of the blight boils is located above the wall on the south-side of the courtyard. Use a ranged attack to bring it down.
Move Along the Township Streets
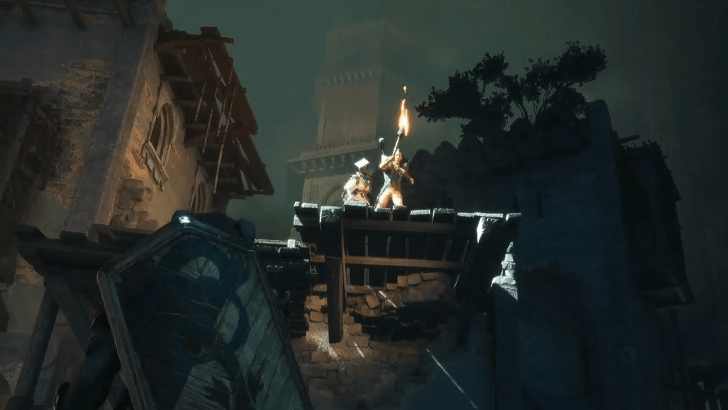
Move through the barracks area and you will find one of your companions throwing a torch to light the path. Follow the torch and climb over the obstacles to get to the other side of the wooden wall.
On the other side, red explosive barrels litter the area, and will explode on hit. Fight the darkspawn and move forward.
The Relentless Wall, a Greater Hurlock boss will attack the party. After its defeat, you can progress through the path once more.
Cross the Bell Tower Ruins
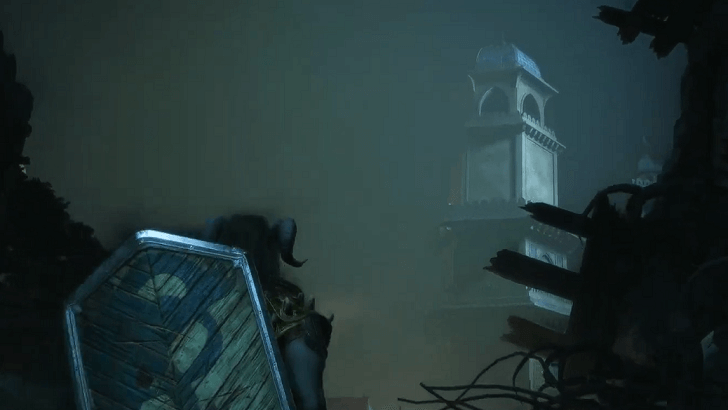
The Bell Tower is the next place to go, but it gets destroyed as you approach it. Take an alternate path through the Bell Tower Ruins and defeat more darkspawn stationed there.
Moving forward, you will reach one of your companions and they will open the gate for you towards the library.
Escape the Barracks Area
On the other side of the gate, a group of Ghouls await. Dispatch them and follow the path to the library.
Upon reaching the path, blight will sprawl out of the fortress walls and trap Rook and the party. Luckily, Mila will appear on top of wall and deploy a ladder for the party to escape.
Secure the Library's Front Steps
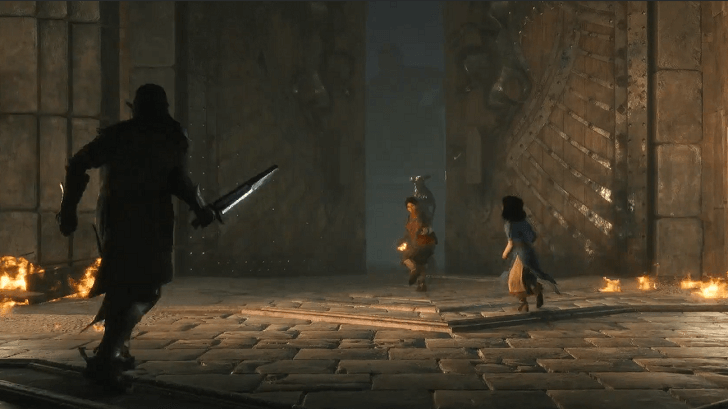
Climb up to the front steps of the library, which is under attack. There will be multiple Ogres and Greater Hurlocks in the area, so be prepared for a scrap.
After dispatching most of the enemies, a companion of yours will open the library door and let you and the party escape to safety.
Get to The Dragon Trap
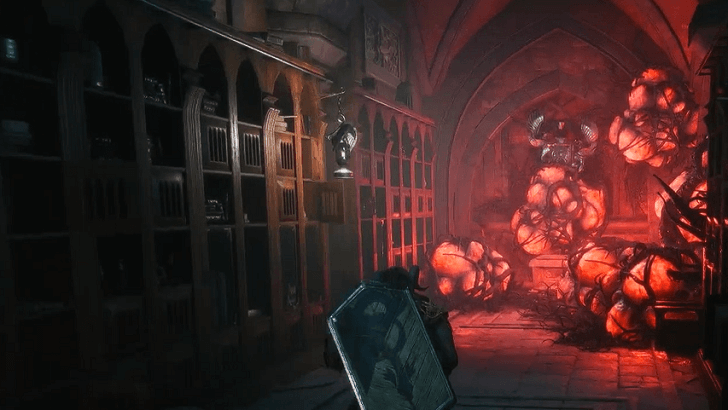
Now inside, work your way through the library's path towards the Dragon Trap. The library's halls will be infected with blight boils, destroy them to be able to proceed through pathways blocked by blight.
Bait the Archdemon
Now back outside on the trap battlement, fight a few more darkspawn before going to the Griffon Statue to bait Ghilan'nain and the Archdemon.
The bait works, and catches the Archdemon perfectly in the trap. After the First Warden comes back to finish the job, he is interrupted and killed by Ghilan'nain.
Defeat Ghilan'nain's Archdemon

Ghilan'nain releases the true form of Archdemon Razikale, which leads to a three-phase boss fight.
Defeat the boss, and Ghilan'nain will be weakened. Lucanis will dive in and attempt to kill the Elven god.
Back to the Lighthouse
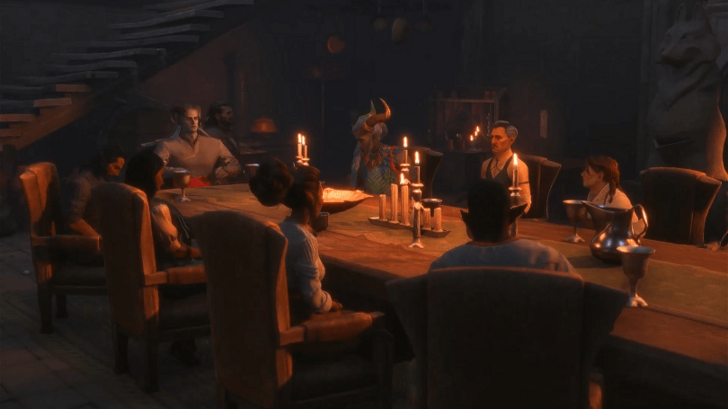
After the failed attempt to destroy Ghilan'nain, the party escapes through the Eluvian back to the Lighthouse. Discuss with the party the events of the siege and plan the next course of action.
Dragon Age: The Veilguard Related Guides
All Quest Guides
| Quest Guides | ||
|---|---|---|
| Main Quests | Companion Quests | Faction and Region Quests | Best Side Quests | - | - |
List of All Main Quests
Comment
Author
The Siege of Weisshaupt Quest Guide
improvement survey
03/2026
improving Game8's site?

Your answers will help us to improve our website.
Note: Please be sure not to enter any kind of personal information into your response.

We hope you continue to make use of Game8.
Rankings
Gaming News
Popular Games

Genshin Impact Walkthrough & Guides Wiki

Honkai: Star Rail Walkthrough & Guides Wiki

Umamusume: Pretty Derby Walkthrough & Guides Wiki

Pokemon Pokopia Walkthrough & Guides Wiki

Resident Evil Requiem (RE9) Walkthrough & Guides Wiki

Monster Hunter Wilds Walkthrough & Guides Wiki

Wuthering Waves Walkthrough & Guides Wiki

Arknights: Endfield Walkthrough & Guides Wiki

Pokemon FireRed and LeafGreen (FRLG) Walkthrough & Guides Wiki

Pokemon TCG Pocket (PTCGP) Strategies & Guides Wiki
Recommended Games

Diablo 4: Vessel of Hatred Walkthrough & Guides Wiki

Fire Emblem Heroes (FEH) Walkthrough & Guides Wiki

Yu-Gi-Oh! Master Duel Walkthrough & Guides Wiki

Super Smash Bros. Ultimate Walkthrough & Guides Wiki

Pokemon Brilliant Diamond and Shining Pearl (BDSP) Walkthrough & Guides Wiki

Elden Ring Shadow of the Erdtree Walkthrough & Guides Wiki

Monster Hunter World Walkthrough & Guides Wiki

The Legend of Zelda: Tears of the Kingdom Walkthrough & Guides Wiki

Persona 3 Reload Walkthrough & Guides Wiki

Cyberpunk 2077: Ultimate Edition Walkthrough & Guides Wiki
All rights reserved
© 2024 Electronic Arts Inc.
The copyrights of videos of games used in our content and other intellectual property rights belong to the provider of the game.
The contents we provide on this site were created personally by members of the Game8 editorial department.
We refuse the right to reuse or repost content taken without our permission such as data or images to other sites.


![Everwind Review [Early Access] | The Shaky First Step to A Very Long Journey](https://img.game8.co/4440226/ab079b1153298a042633dd1ef51e878e.png/thumb)

![Monster Hunter Stories 3 Review [First Impressions] | Simply Rejuvenating](https://img.game8.co/4438641/2a31b7702bd70e78ec8efd24661dacda.jpeg/thumb)


