Sea Tower 100% Walkthrough | Collectibles, Toads, and Hidden Block Locations
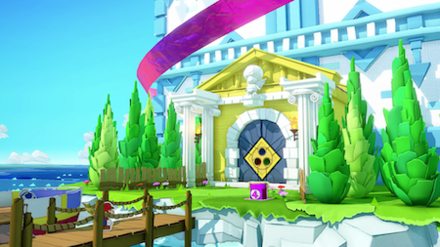
This is a walkthrough for Sea Tower in Paper Mario: The Origami King. Read on to learn to find Toad and confetti hole locations, as well as ? Blocks and other useful tips and strategies for getting through this area.
| Previous Area | Diamond Island |
|---|---|
| Current Area | Sea Tower |
| Next Area | Shangri-Spa |
List of Contents
Sea Tower Location
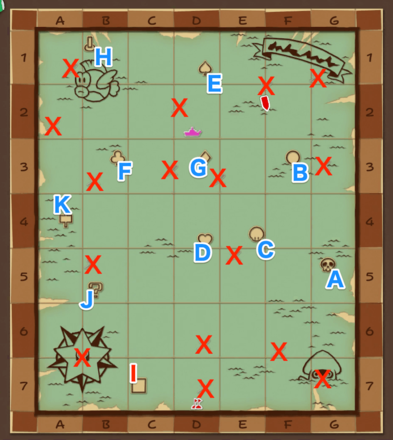
1.) The red X's represent Treasure locations
2.) The Princess Peach's location will change. It is represented by the pink ship.
| Letter | Island |
|---|---|
| A | Bonehead Island |
| B | Crescent / Moon Island |
| C | Mushroom Island |
| D | Heart Island |
| E | Spade Island |
| F | Club Island |
| G | Diamond Island |
| H | Sea Tower |
| I | Scuffle Island |
| J | ? Island |
| K | Hammer Island |
Sea Tower Walkthrough
| Objectives | |
|---|---|
| 1 |
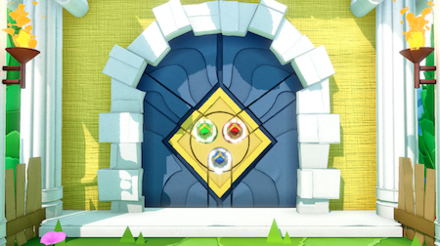 Place the Power, Courage, and Wisdom Orbs on the Sea Tower's gate. This unlocks and opens the gate. Go inside. At the island's entrance, tear Olly's tape off the Purple #4 Pipe. This will give you quick access back to previously-explored locations. |
| 2 | Once inside the Sea Tower, head north across the sliding platforms until you reach the platform with giant head statues of the Water and Earth Vellumentals. |
| 3 |
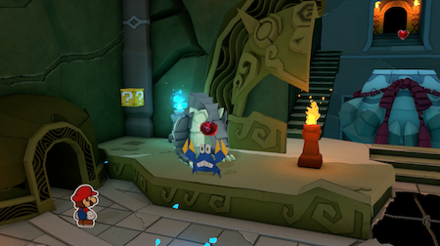 Head west and enter the doorway to follow the blue Sidestepper holding a Red Gem. |
| 4 |
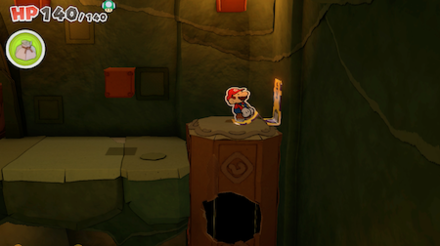 Head southwest and jump to the upper level. Follow the upper path to the pillar in the northeast corner. Remove Olly's tape to lower the pillar and gain access to follow the Sidestepper. Follow the Sidestepper into the center entryway. |
| 5 |
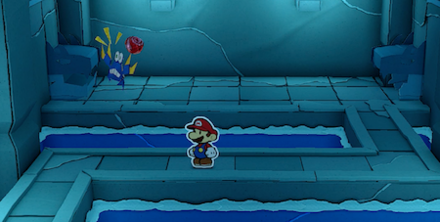 Along the 2-shaped path, trap the Sidestepper by hitting all the top-read crack until the Water Elemental head falls down onto it. Time it so that you can hit it after it gets confused and turns back. If it hits you, you'll have to defeat it in a Ring Battle, but if you swing your Hammer correctly you can defeat it without a battle to receive the Red Gem. |
| 6 |
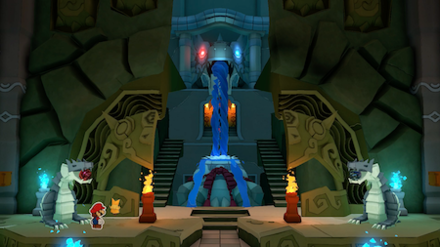 Go back to the central room. On the west side, place the Red Gem inside the mouth of the small Water Vellumental statue. This reveals a stairway going up in the center of the platform. Go up the stairway and into the entryway. This exits you to the Sea Tower's balcony, which spirals upwards, along the Sea Tower's exterior walls. |
| 7 |
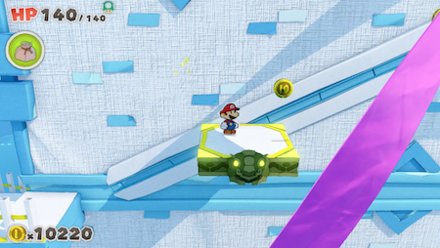 Continue up the balcony and jump on the platform to ride up. When you reach the next entryway, go inside. |
| 8 | This leads you to a platform with giant Ice and Fire Vellumental head statues. Head east, down the steps and to the frozen area. Slide on the ice, heading west into the entryway. Continue sliding west and jump onto the steps ahead, head up the steps, and enter a room with a sliding platform puzzle. |
| 9 | 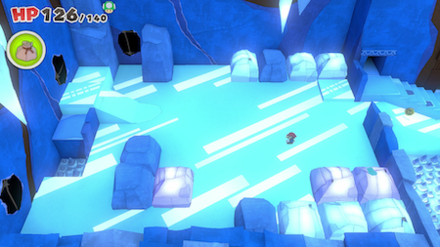 Enlarge Enlarge
Break all blocks except those shown in the above image. Solve the puzzle by sliding the platform from its northeast position to the spiked square hole on the west, in the following order: down, left, up, right, down, left, up. Jump up to the small platform and slide down the slope, heading east. This gives you access to an entryway to the east, lit by 2 torches. Go inside. |
| 10 |
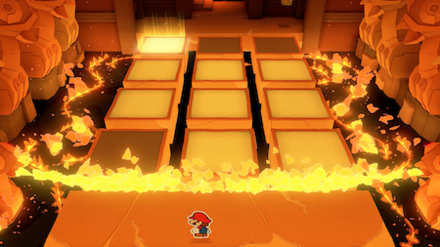 Head north without getting burned, by jumping only onto the platforms that light up, in the opposite order that they lit up. Go into the the entryway heading west, returning you to the giant Vellumental head statues. |
| 11 |
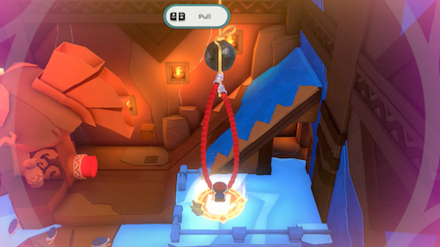 Step on the Magic Circle. Use 1000-Fold Arms to pull the rope ahead. This releases a boulder which rolls down the slope and presses the red button behind the Fire Vellumental head, making the head breathe fire that melts the ice covering the Ice Vellumental's mouth, creating a path for you to progress. |
| 12 |
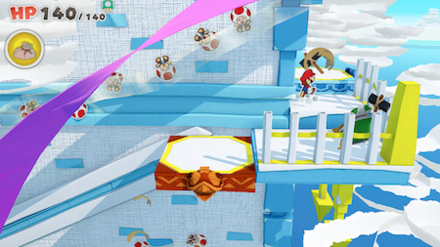 Head west to that new path and go in the entryway, heading north. This exits you to the balcony. Continue up along the balcony until you reach a platform that raises you to the Sea Tower's peak. |
| 13 |
 Walk to the center to start a Boss Battle with Tape. After defeating it, use 1000-Fold Arms to break and clear the Purple Streamer. This increases your MAX Confetti.How to Beat Tape |
| 14 |
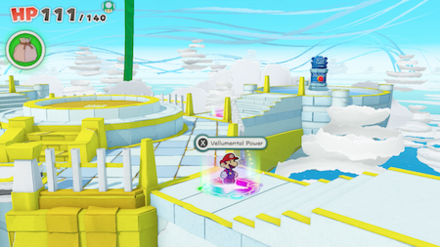 Stay on top of the Sea Tower and press the button on each Vellumental totem. With the rainbow Magic Circle, use the same Vellumental as the totem, to gain access to each totem's button. Pressing the totems' buttons make them face and shoot lasers towards the center, creating a pillar of light, leading to Shangri-Spa. |
Sea Tower Video Walkthrough
Tips and Strategies
Use the Sliding Platforms with Pointy Ears
 Enlarge
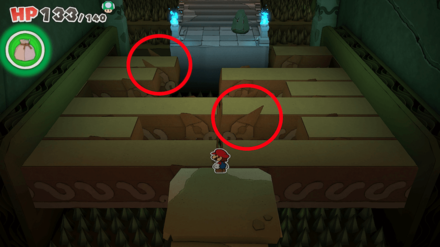
The sliding platforms in the first room often slide back into the wall before the next platform has come out, forcing Mario to move backwards. Use the platforms with pointy ears, as these platforms will never slide completely into the wall. Get to one of these platforms and stop, then wait for the right platforms to come out and form a path ahead.
Hammer the Blue Sidestepper
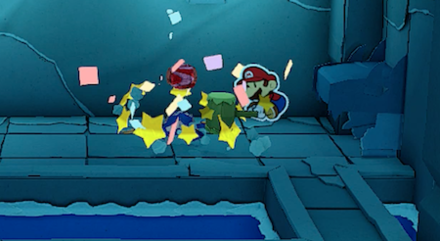
If you Hammer it with good timing, you can skip the battle with the Blue Sidestepper to retrieve the Red Gem. After trapping it by lowering the statue head in the northwest, it will move between the upper two heads repeatedly, so watch it and time its movements to get in a perfect swing!
Boss Strategy Guide
Tape

Even as stationary goods go, Tape looks unintimidating, but it's got a few tricks up its sleeve. Be sure to hit the treasure chest to reveal all the tiles, as it will hide any tile you've previously used in there.
In the second phase, Tape will start to tape rows and rings together, making them unshiftable and limiting your options. Use the Fire Vellumental to get rid of the tape it places, and use the Hands to lay on the hurt!
Sea Tower Toad Locations
0 Locations Total
There are no Toads found in Sea Tower.
Sea Tower Collectible Treasure Locations
1 Locations Total
| Treasure Name and How to Find | |
|---|---|
 Enlarge Enlarge
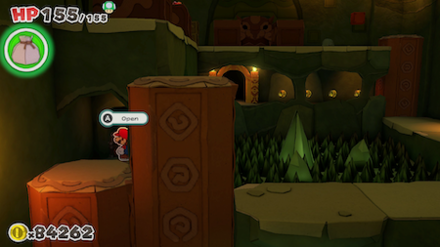
Sea Captain Toad's Boat |
Before jumping to the upper level, in Step 4 of the walkthrough, wait for the southwest pillar to go down to access a Hidden Treasure Chest. |
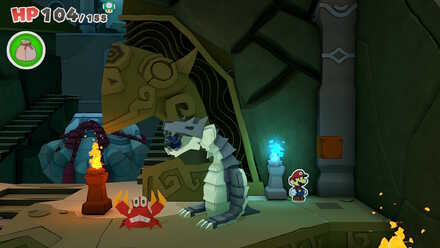
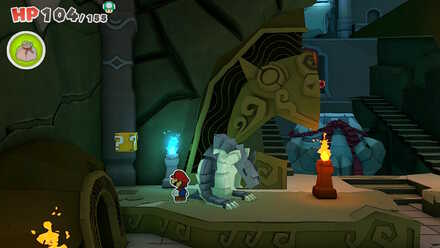
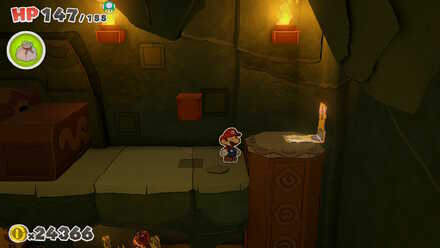
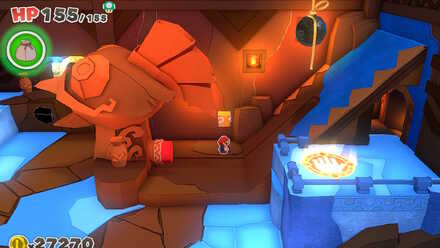
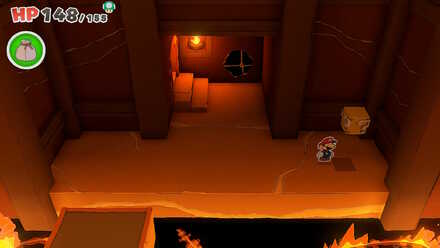
Sea Tower ? Block (Hidden Block) Locations
5 Locations Total
| Location | |
|---|---|
 Enlarge Enlarge
|
 Enlarge Enlarge
|
 Enlarge Enlarge
|
 Enlarge Enlarge
|
 Enlarge Enlarge
|
|
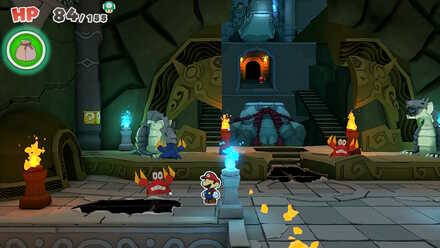
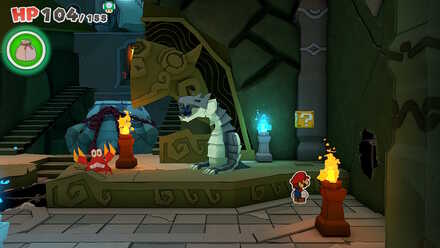
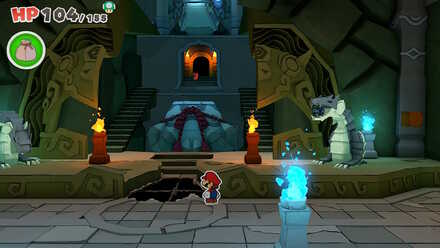
Sea Tower Not-Bottomless (Confetti) Hole Locations
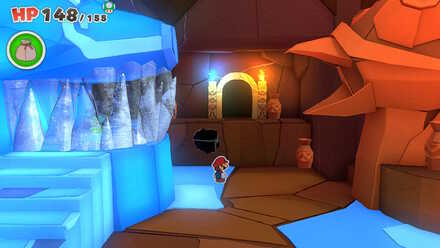
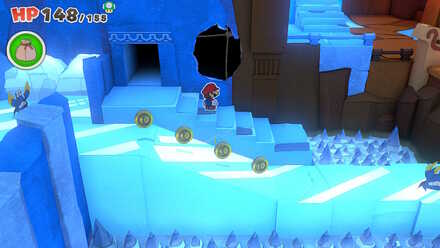
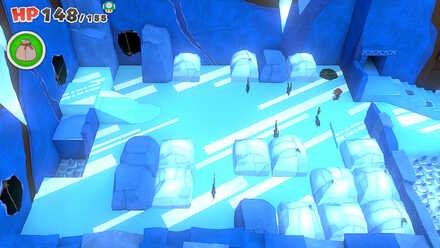
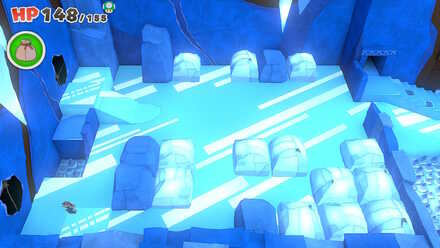
18 Locations Total
| Location | |
|---|---|
 Enlarge Enlarge
|
 Enlarge Enlarge
|
 Enlarge Enlarge
|
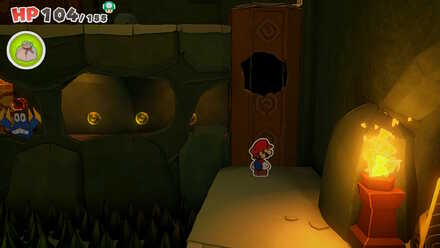 Enlarge Enlarge
|
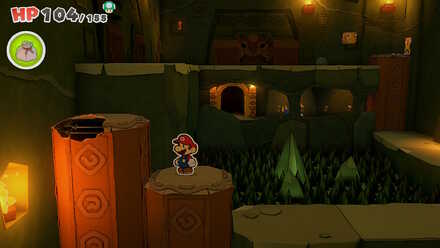 Enlarge Enlarge
|
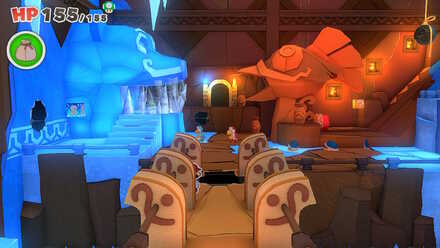 Enlarge Enlarge
|
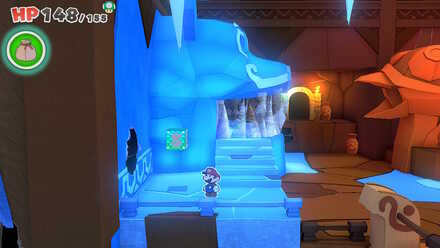 Enlarge Enlarge
|
 Enlarge Enlarge
|
 Enlarge Enlarge
|
 Enlarge Enlarge
|
 Enlarge Enlarge
|
 Enlarge Enlarge
|
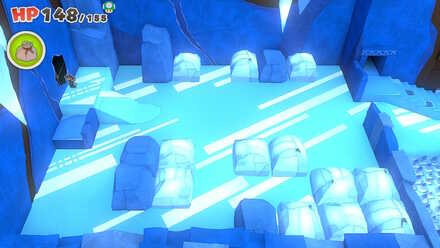 Enlarge Enlarge
|
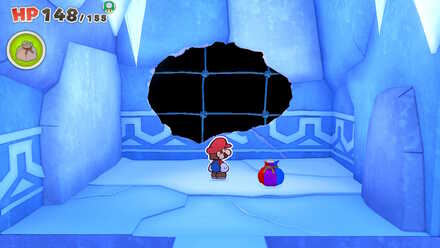 Enlarge Enlarge
|
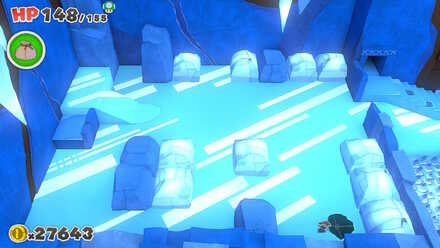 Enlarge Enlarge
|
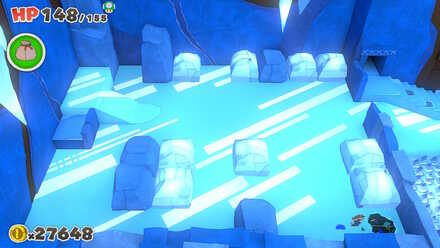 Enlarge Enlarge
|
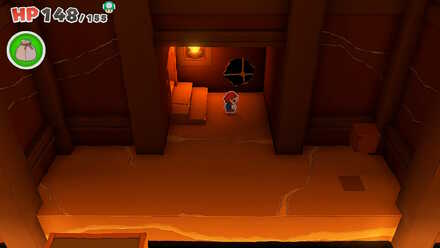 Enlarge Enlarge
|
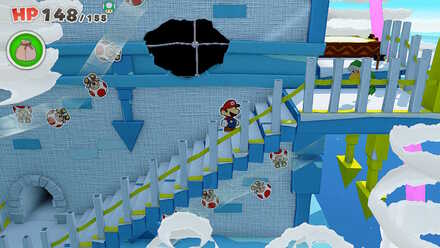 Enlarge Enlarge
|
Story Walkthrough Related Links
Main Story Walkthrough
Other Story Guides
| Location | Guide |
|---|---|
| Whispering Woods |
How to Walk Over Spiky Ground How to Start the Campfire |
| Toad Town |
How to Get the Toad Town Chest How to Get the Sewer Hook (Manhole Hook) |
| Overlook Mountain |
Where to Find All Shell Stones Best Green Shell Stone Price How to Get the Blue Shell Stone |
| Overlook Tower | Kitchen Goomba Locations |
| Autumn Mountain |
How to Save Bobby (Bob-omb) How to Open the Can |
| Water Vellumental Shrine | How to Solve the Water Puzzle |
| Snif City | How to Guess the Snifit Mood |
| Scorching Sandpaper Desert | Where to Find the Jewels |
| Temple of Shrooms |
How to Find All 40 Faceless Toads A Star Lights Your Way Puzzle Solution |
| The Great Sea |
How to Find Diamond Island Trial of Wisdom Quiz Answers |
| Several Locations | Where is Luigi? |
| Ending | How to Get the Secret Ending |
Author
Paper Mario: The Origami King (Switch) Walkthrough & Guides Wiki
Sea Tower 100% Walkthrough | Collectibles, Toads, and Hidden Block Locations
Rankings
- We could not find the message board you were looking for.
Gaming News
Popular Games

Genshin Impact Walkthrough & Guides Wiki

Honkai: Star Rail Walkthrough & Guides Wiki

Arknights: Endfield Walkthrough & Guides Wiki

Umamusume: Pretty Derby Walkthrough & Guides Wiki

Wuthering Waves Walkthrough & Guides Wiki

Pokemon TCG Pocket (PTCGP) Strategies & Guides Wiki

Abyss Walkthrough & Guides Wiki

Zenless Zone Zero Walkthrough & Guides Wiki

Digimon Story: Time Stranger Walkthrough & Guides Wiki

Clair Obscur: Expedition 33 Walkthrough & Guides Wiki
Recommended Games

Fire Emblem Heroes (FEH) Walkthrough & Guides Wiki

Pokemon Brilliant Diamond and Shining Pearl (BDSP) Walkthrough & Guides Wiki

Diablo 4: Vessel of Hatred Walkthrough & Guides Wiki

Super Smash Bros. Ultimate Walkthrough & Guides Wiki

Yu-Gi-Oh! Master Duel Walkthrough & Guides Wiki

Elden Ring Shadow of the Erdtree Walkthrough & Guides Wiki

Monster Hunter World Walkthrough & Guides Wiki

The Legend of Zelda: Tears of the Kingdom Walkthrough & Guides Wiki

Persona 3 Reload Walkthrough & Guides Wiki

Cyberpunk 2077: Ultimate Edition Walkthrough & Guides Wiki
All rights reserved
©2020 Nintendo
The copyrights of videos of games used in our content and other intellectual property rights belong to the provider of the game.
The contents we provide on this site were created personally by members of the Game8 editorial department.
We refuse the right to reuse or repost content taken without our permission such as data or images to other sites.


