Toad Town 100% Walkthrough | Collectibles, Toads, and Hidden Block Locations
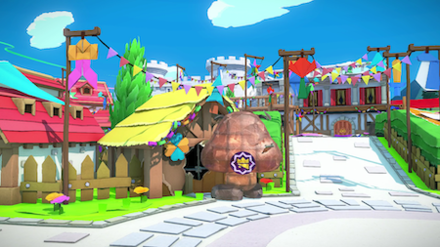
This is a walkthrough for Toad Town in Paper Mario: The Origami King. Read on to learn locations for all Toad Town collectibles and treasure, hidden toads, hidden blocks, and confetti holes, as well as other useful tips and strategies for getting through this area.
| Previous Area | Whispering Woods |
|---|---|
| Current Area | Toad Town |
| Next Area | Graffiti Underground |
List of Contents
Toad Town Walkthrough
Destroyed Toad Town
| Objectives | |
|---|---|
| 1 | On the next screen, you'll fight a Wave Battle with two groups of 4 Goombas. Continue ahead until you arrive in Toad Town. |
| 2 |
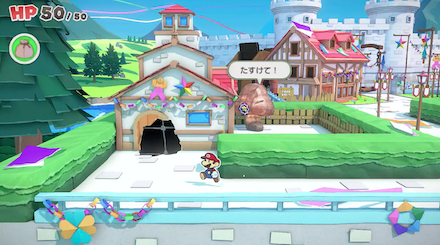
In Toad Town, you'll encounter a Paper Macho Goomba. You'll fight it in a real-time battle, so be prepared. Hit the seal on its back to deactivate the seal. After that, it will become vulnerable to damage, so keep hitting it until it is defeated. Before destroying the seal, if you hit the Goomba anywhere else, it won't do any damage, so be careful! |
| 3 | Continue to the back-left corner of Toad Town. You'll find a door with legs sticking out. Pull out a Red Shy Guy, and it will tell you about the sewer entrance to Peach's Castle. Interact with the sewer to hear about another Red Shy Guy that Mario needs to rescue. |
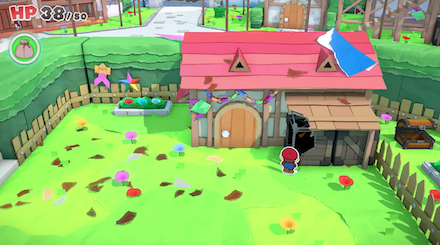
| 4 |  To the left, you can see the other Red Shy Guy in the yard of a house. Go through the house. The door is locked, so jump on the shelf and hammer the window to open it. |
| 5 | In the yard, defeat the Paper Macho Goomba. Defeat it to rescue the Red Shy Guy and hear a hint about opening the sewer. |
| 6 | Continue to the red brick building on the far right side of Toad Town. Inside, jump on the box in the bottom-right corner and hold A to rescue a Spike. Hit the shelf on the right side of the room with a hammer to shake the boxes. Keep hitting it repeatedly until one of the boxes falls and creates a Magic Circle. Move the 1,000-Fold Arms to the top left corner of the brick wall and pull to the right to reveal a door. |
| 7 |
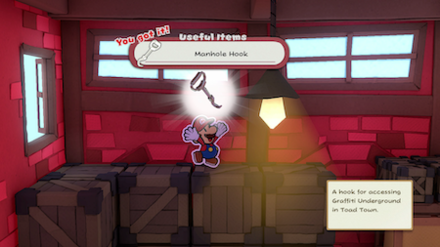 In the next room, stand on the platform to the left of the pushcart and hit it with the Hammer. This will knock the pushcart to the right. Jump onto the pushcart and onto the top shelves, then across to the left to find the Manhole Hook, along with a Mushroom. If the Goombas in this room are in the way of the pushcart, they'll get automatically defeated when it hits them! |
| 8 | Go back to the sewer and use the Manhole Hook to proceed to the Graffiti Underground. |
Video Walkthrough
Tips & Strategies
Reaching the 2nd Floor of the Mansion
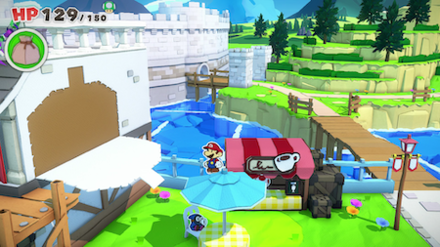
Two trophies can only be obtained by reaching the 2nd floor of the mansion in Toad Town, but it's not accessible normally. To reach it, hit the blue parasol next to the coffee shop to make a Magic Circle come out, then use the 1,000-Fold Arms to tear open the wall.
Next, hit the parasol again to open it back up, and jump on top of the coffee shop to the parasol to the new platform. This will allow Mario to reach Collectible Treasures No. 6 and 13!
To access Collectible Treasure No. 13, you will need to first save the owner of the mansion in Shroom City. Otherwise, the 2nd floor door to the mansion will still be locked. After you rescue him, talk to him inside on the 2nd floor and he will give you access to the door.
Buying Confetti
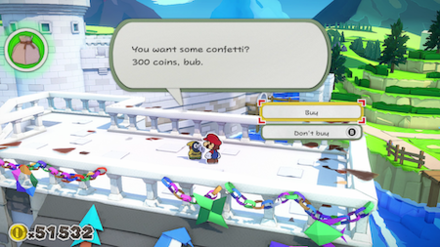
After you've saved the Snifit who gives Collectible Treasure No. 6, he'll also offer to refill your confetti for 300 coins. Stop by when you need a recharge!
Finding the Monty Mole
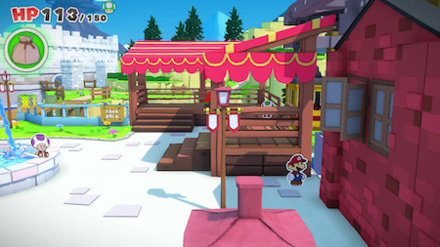
The Monty Mole who sells Collectible Treasures No. 7 to 12 can be a bit tricky to find. If you squeeze in the gap between the tram station and the red brick building, you'll find a hidden path to a pier where the Monty Mole is waiting!
Boss Strategy Guide
Paper Macho Goomba
This mini-boss in Toad Town can be defeated in a few hits, but it can deal a surprising amount of damage. Since this is the first real-time battle of the game, it can catch players off-guard.
Be sure to destroy the seal on the first swing, before the Goomba turns around. Otherwise, it will be much harder to get a good swing in, so don't miss the chance!
After that, try to avoid its attacks while getting in enough damage to destroy it.
Toad Town Toad Locations
1 Location Total
| Location and Explanation | |
|---|---|
|
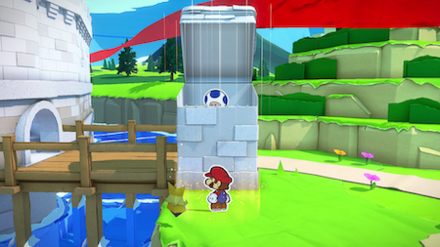
After leaving the grounds where Peach's Castle formerly stood, you'll need to rescue this Toad to continue the story. Check the Story Walkthrough to continue along until you reach this Toad. |
Toad Town Collectible Treasure Locations
15 Collectibles Total
| Location and Treasure Name | |
|---|---|

Princess Peach's Torch |
Beside the Battle Lab (Red Mushroom House), there's a hidden entrance behind the two boxes. It will lead you to a tunnel that lets you cross under the bridge. You will find the Collectible Treasure Chest on the other side. |
Camp Speaker |
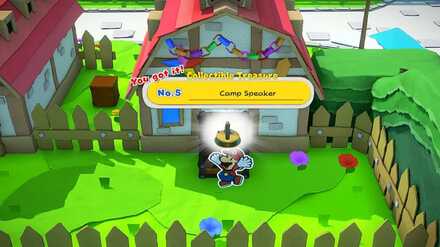
From the location of Paper Macho, take the path on the west. Then, enter the house next to it. Inside the house, exit to the door near the bed. Move east to find the Collectible Treasure Chest behind a house. |

Coin |
Hit the closed parasol near the coffee shop to create a Magic Circle and pull open a platform. Jump up to the 2nd floor of the mansion and go up the stairs to battle a Paper Macho Goomba. The Snifit inside will give you Collectible Treasure No. 6: Coin. |

Colored Pencils |
Find a hidden path behind the red brick building to reach a pier. After you've beaten Colored Pencils, the Monty Mole here will sell this to you for 698 coins. |
Rubber Band |
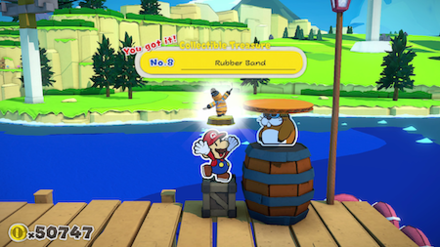
After you've beaten Rubber Band, the Monty Mole will sell to you the Collectible Treasure Rubber Band for 398 coins. |
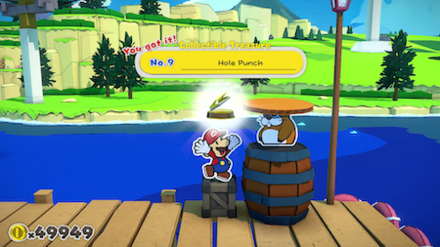
Hole Punch |
After you've beaten Hole Punch, the Monty Mole will sell to you the Collectible Treasure Hole Punch you for 798 coins. |
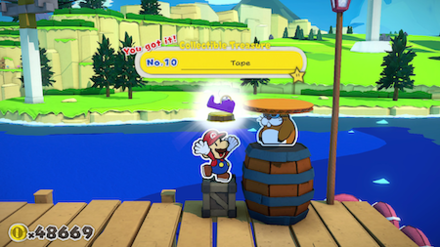
Tape |
After you've beaten Tape, the Monty Mole will sell this to you for 1280 coins. |

Scissors |
After you've beaten Scissors, the Monty Mole will sell this Collectible Treasure to you for 1580 coins. |
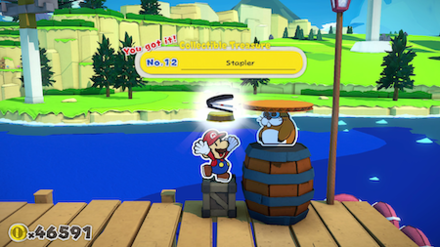
Stapler |
After you've beaten Stapler, the Monty Mole will sell this Collectible Treasure to you for 498 coins. |
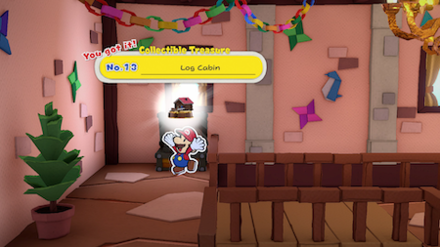
Log Cabin |
Same as Treasure No. 6, on the 2nd floor of the mansion, take the door inside to find this chest. You must rescue the mansion owner in Shroom City first. |
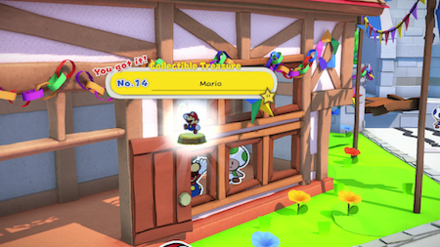
Mario |
Later in the game, return to the building where you rescued the first Shy Guy. Return the Manhole Hook to get this Treasure. |
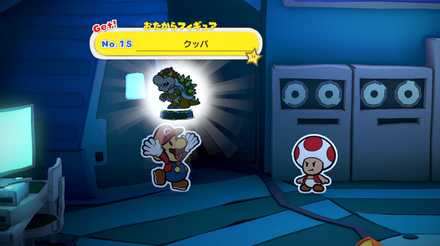 Treasure No. 15: Bowser |
Defeat all bosses in the Battle Machine. |
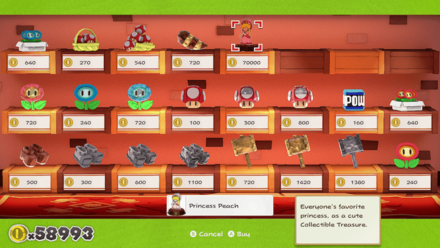
Princess Peach |
After completing the game, reload the save file from the last save. It will be available from the Toad Town shop for 70,000 Coins. |

Origami Cranes |
After completing the game, reload the save file from the last save. Go to Toad Town and check the center of the plaza to find it. |
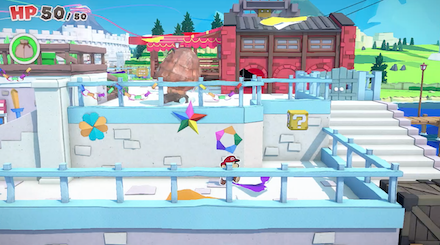
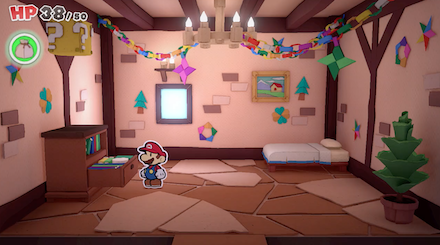
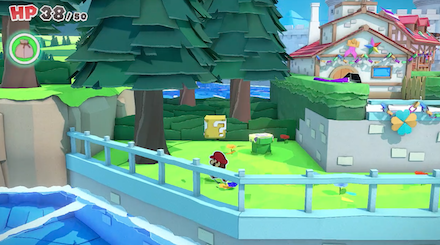
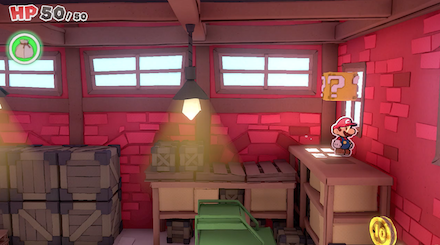
Toad Town ? Block (Hidden Block) Locations
6 Locations Total
| Location | |
|---|---|
|
|

|
|
|

|
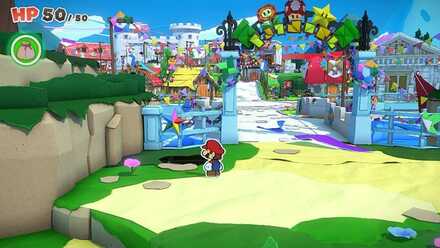
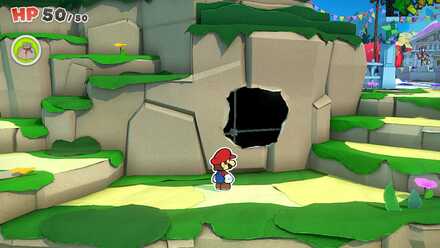
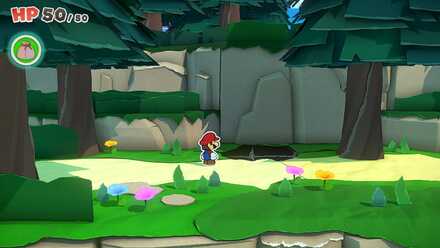
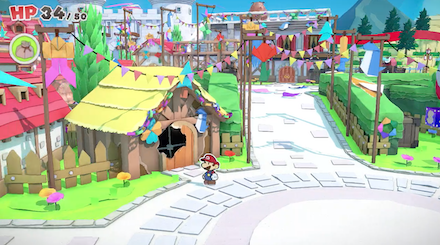
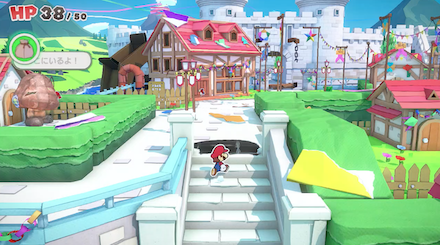
Toad Town Not-Bottomless (Confetti) Hole Locations
16 Locations Total
| Location | |
|---|---|
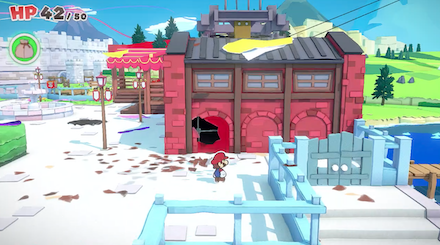
|
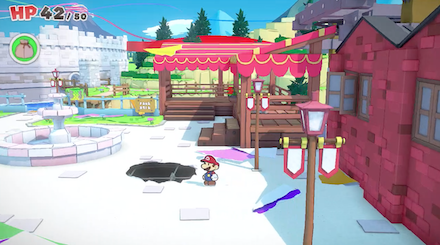
|

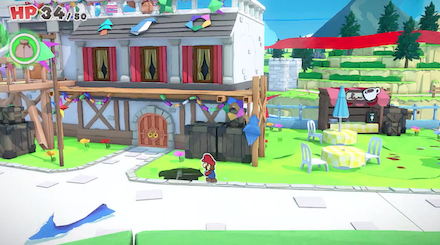
|

|
|
|
|
|
|
|
|

|
|
|
|

|
Story Walkthrough Related Links
Main Story Walkthrough
Other Story Guides
| Location | Guide |
|---|---|
| Whispering Woods |
How to Walk Over Spiky Ground How to Start the Campfire |
| Toad Town |
How to Get the Toad Town Chest How to Get the Sewer Hook (Manhole Hook) |
| Overlook Mountain |
Where to Find All Shell Stones Best Green Shell Stone Price How to Get the Blue Shell Stone |
| Overlook Tower | Kitchen Goomba Locations |
| Autumn Mountain |
How to Save Bobby (Bob-omb) How to Open the Can |
| Water Vellumental Shrine | How to Solve the Water Puzzle |
| Snif City | How to Guess the Snifit Mood |
| Scorching Sandpaper Desert | Where to Find the Jewels |
| Temple of Shrooms |
How to Find All 40 Faceless Toads A Star Lights Your Way Puzzle Solution |
| The Great Sea |
How to Find Diamond Island Trial of Wisdom Quiz Answers |
| Several Locations | Where is Luigi? |
| Ending | How to Get the Secret Ending |
Comment
Are you sure all of the bosses are unlocked in the simulation? You might need to beat the game then come back to the battle room.
Author
Paper Mario: The Origami King (Switch) Walkthrough & Guides Wiki
Toad Town 100% Walkthrough | Collectibles, Toads, and Hidden Block Locations
improvement survey
03/2026
improving Game8's site?

Your answers will help us to improve our website.
Note: Please be sure not to enter any kind of personal information into your response.

We hope you continue to make use of Game8.
Rankings
- We could not find the message board you were looking for.
Gaming News
Popular Games

Genshin Impact Walkthrough & Guides Wiki

Honkai: Star Rail Walkthrough & Guides Wiki

Umamusume: Pretty Derby Walkthrough & Guides Wiki

Pokemon Pokopia Walkthrough & Guides Wiki

Resident Evil Requiem (RE9) Walkthrough & Guides Wiki

Monster Hunter Wilds Walkthrough & Guides Wiki

Wuthering Waves Walkthrough & Guides Wiki

Arknights: Endfield Walkthrough & Guides Wiki

Pokemon FireRed and LeafGreen (FRLG) Walkthrough & Guides Wiki

Pokemon TCG Pocket (PTCGP) Strategies & Guides Wiki
Recommended Games

Diablo 4: Vessel of Hatred Walkthrough & Guides Wiki

Fire Emblem Heroes (FEH) Walkthrough & Guides Wiki

Yu-Gi-Oh! Master Duel Walkthrough & Guides Wiki

Super Smash Bros. Ultimate Walkthrough & Guides Wiki

Pokemon Brilliant Diamond and Shining Pearl (BDSP) Walkthrough & Guides Wiki

Elden Ring Shadow of the Erdtree Walkthrough & Guides Wiki

Monster Hunter World Walkthrough & Guides Wiki

The Legend of Zelda: Tears of the Kingdom Walkthrough & Guides Wiki

Persona 3 Reload Walkthrough & Guides Wiki

Cyberpunk 2077: Ultimate Edition Walkthrough & Guides Wiki
All rights reserved
©2020 Nintendo
The copyrights of videos of games used in our content and other intellectual property rights belong to the provider of the game.
The contents we provide on this site were created personally by members of the Game8 editorial department.
We refuse the right to reuse or repost content taken without our permission such as data or images to other sites.





![Everwind Review [Early Access] | The Shaky First Step to A Very Long Journey](https://img.game8.co/4440226/ab079b1153298a042633dd1ef51e878e.png/thumb)

![Monster Hunter Stories 3 Review [First Impressions] | Simply Rejuvenating](https://img.game8.co/4438641/2a31b7702bd70e78ec8efd24661dacda.jpeg/thumb)


You do need to complete the game first in my case. As after I beat it I started going back over the Nooks and Crannies, trying to get the alternative ending. I’m not entirely sure, but it’s very like this is the case.