Silver Lake Remix Platinum Medal Walkthrough (Collect Treasure!)
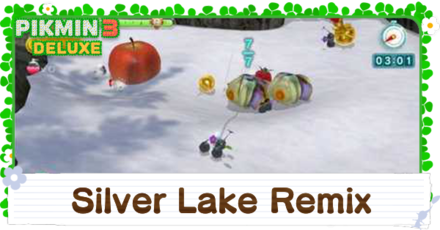
A guide to obtaining the platinum medal for the Collect Treasure! Mission: Silver Lake Remix in Pikmin 3 Deluxe for the Nintendo Switch. This guide will walk you through how to clear the mission and earn a platinum medal!
| Previous Mission | Next Mission |
|---|---|
| Tropical Forest Remix | Thirsty Desert Remix |
List of Contents
Silver Lake Remix Video Walkthrough
Note that the video above contains Japanese text. Please be patient while we work on creating an English one!
Silver Lake Remix Tips and Strategy
Effectively use the Bomb Rocks
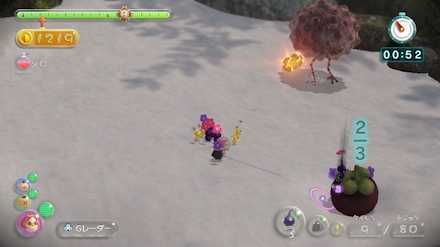
Effectively using Bomb Rocks will be the key in Silver Lake Remix. Defeating enemies with Bomb Rocks is fast, so in positions use a Bomb Rock to effeciently perform tasks.
Efficiently Divide Labor and Retrieve Fruit
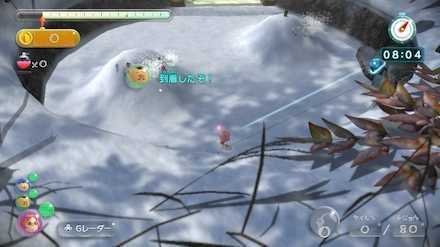
Splitting up work in this stage is very important. There are especially areas in the beginning where you can be completely stumped, so split your jobs into teams in order to swiftly solve problems. Be sure to also incorporate splitting up work when retrieving fruit which are the Citrus Lump, Juicy Gaggle, Dusk Pustules, Sunseed Berry, Insect Condo, Tremendous Sniffer, and Dapper Blob.
Silver Lake Remix Platinum Medal Walkthrough
1: Gather Pikmin and Split up Work
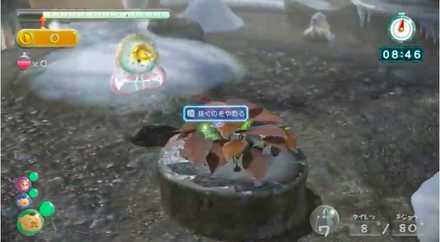
Alph
First, have Alph gather up the Red Pikmin in front of him and then throw Charlie towards the center of the map where the Rock Pikmin are located. After that, bring the Red Pikmin to the electric gate and have them perform a charge attack on the nearby egg.
Charlie
After Charlie has retrieved the Rock Pikmin, have him throw them at the floating enemy to defeat it. Afterward, retrieve the Rock Pikmin and use the Go Here feature to head to the bottom of the northern bridge near the starting area. Once arriving, defeat the Medusal Slurker with the Rock Pikmin.
Brittany
Have Brittany pluck all the nearby Pikmin and then split into two teams to dig out the nearby fruits.
2: Continue Exploration
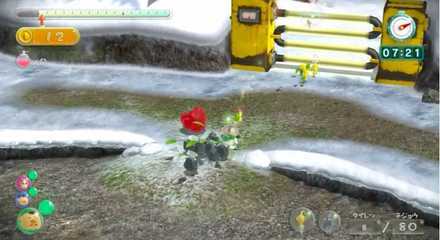
Alph
After having let the Red Pikmin bloom, head west and throw some Pikmin after the snow pile near the rubble pieces. Have the remaining Pikmin perform a charge attack on the rubble to start transporting it. After that, perform the Go Here function to the area where the Rock Pikmin. After arriving, destroy the nearby crystal and use a charge attack to have the Rock Pikmin start working on the Nuggets.
Charlie
After retrieving the Medusal Slurker with the Yellow Pikmin, use the Go Here function to head towards Alph and the area with crystal. Have the Rock Pikmin charge at the egg and after then have bloomed destroy the nearby crystal.
During this time, the Yellow Pikmin will just be returning, so interrupt their retrieval task and have them charge attack the electric gate. While the Rock Pikmin are digging up the fruit and Nuggets, throw a few at the Bomb Rocks to retrieve it.
3: Begin Taking Down Enemies and Collecting Fruits
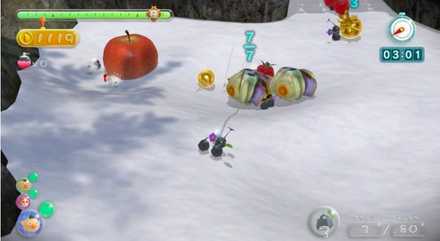
Charlie
Use the Go Here function and head towards the bottom of the northern bridge with the Rock Pikmin that are holding the Bomb Rocks. After arriving, throw a Bomb Rock at each Arctic Cannon Larva and take it out. Task the remaining Pikmin with digging up the items buried in snow. Also, destroy the crystal located on the right-hand side. During these jobs, pluck the Yellow Pikmin nearby.
Brittany
After destroying the electric gate, call back your Yellow Pikmin and retrieve the fruit and enemies in front of you. After throwing your Pikmin use the Go Here function to head back towards the starting area and call back any nearby Pikmin. After throwing a few Pikmin at the snow pile located on the right-hand side of the starting area, use the Go Here function to head west towards a large fruit.
4: Continue Fruit Retrieval and Exploration
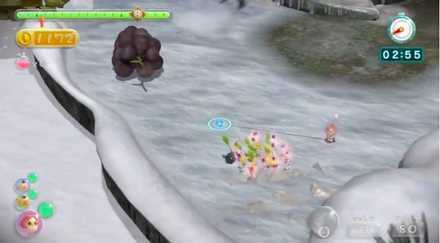
Have Alph call back the Red Pikmin that had gathered the rubble pieces, and, at the same time, head towards the northern electric wall after retrieving the Rock Pikmin that had gathered the Nuggets. Defeat the Arctic Cannon Larva in front of you and have the Pikmin perform a charge attack on the rubble pieces.
After they have finished gathering the pieces, break the nearby crystal and have all your Pikmin retrieve the Nuggets.
Charlie
Have Charlie head towards the electric gate on the right side with Yellow Pikmin and throw them at the electric gate. After destroying it, use the Go Here function and head towards the starting area.
Brittany
After arriving, knock the fruit up above down with Yellow Pikmin and, without retrieving the fruit, have them all charge at Nuggets in front of you to start collecting them.
5: Continue with the Finishing Retrieval Work
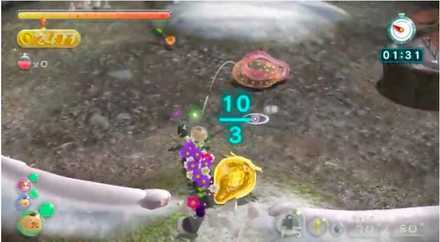
Alph
After destroying the electric gate, throw Yellow Pikmin at the nearby fruit and hole. While this is happening begin plucking the Purple Pikmin. After this, take all your Pikmin and head towards the area where the Arctic Cannon Larva was defeated. Throw 3 Bomb Rocks at enemies and defeat them.
Use the remaining Pikmin to start digging and retrieving fruit.
Charlie & Brittany
Use Charlie and Brittany to finish retrieving the nearby fruits, enemies, and Nuggets. With this, you will complete your work in the level.
Related Guides
| Previous Mission | Next Mission |
|---|---|
| Tropical Forest Remix | Thirsty Desert Remix |

Collect Treasure! Missions List
| All Collect Treasure! Walkthroughs | |
|---|---|
 1: Tropical Forest 1: Tropical Forest |
 2: Silver Lake 2: Silver Lake |
 3: Thirsty Desert 3: Thirsty Desert |
 4: Twilight Hollow 4: Twilight Hollow |
 5: Shaded Garden 5: Shaded Garden |
 6: Tropical Forest Remix 6: Tropical Forest Remix |
 7: Silver Lake Remix 7: Silver Lake Remix |
 8: Thirsty Desert Remix 8: Thirsty Desert Remix |
 9: Twilght Hollow Remix 9: Twilght Hollow Remix |
 10: Shaded Garden Remix 10: Shaded Garden Remix |
 11: Fortess of Festivity 11: Fortess of Festivity |
 12: The Rustyard 12: The Rustyard |
 13: Beastly Caverns 13: Beastly Caverns |
 14: Forgotten Cove 14: Forgotten Cove |
 15: Clockwork Chasm 15: Clockwork Chasm |
- |
Author
Silver Lake Remix Platinum Medal Walkthrough (Collect Treasure!)
improvement survey
03/2026
improving Game8's site?

Your answers will help us to improve our website.
Note: Please be sure not to enter any kind of personal information into your response.

We hope you continue to make use of Game8.
Rankings
- We could not find the message board you were looking for.
Gaming News
Popular Games

Genshin Impact Walkthrough & Guides Wiki

Honkai: Star Rail Walkthrough & Guides Wiki

Umamusume: Pretty Derby Walkthrough & Guides Wiki

Pokemon Pokopia Walkthrough & Guides Wiki

Resident Evil Requiem (RE9) Walkthrough & Guides Wiki

Monster Hunter Wilds Walkthrough & Guides Wiki

Wuthering Waves Walkthrough & Guides Wiki

Arknights: Endfield Walkthrough & Guides Wiki

Pokemon FireRed and LeafGreen (FRLG) Walkthrough & Guides Wiki

Pokemon TCG Pocket (PTCGP) Strategies & Guides Wiki
Recommended Games

Diablo 4: Vessel of Hatred Walkthrough & Guides Wiki

Fire Emblem Heroes (FEH) Walkthrough & Guides Wiki

Yu-Gi-Oh! Master Duel Walkthrough & Guides Wiki

Super Smash Bros. Ultimate Walkthrough & Guides Wiki

Pokemon Brilliant Diamond and Shining Pearl (BDSP) Walkthrough & Guides Wiki

Elden Ring Shadow of the Erdtree Walkthrough & Guides Wiki

Monster Hunter World Walkthrough & Guides Wiki

The Legend of Zelda: Tears of the Kingdom Walkthrough & Guides Wiki

Persona 3 Reload Walkthrough & Guides Wiki

Cyberpunk 2077: Ultimate Edition Walkthrough & Guides Wiki
All rights reserved
© 2013 - 2020 Nintendo. Pikmin and Nintendo Switch are trademarks of Nintendo.
The copyrights of videos of games used in our content and other intellectual property rights belong to the provider of the game.
The contents we provide on this site were created personally by members of the Game8 editorial department.
We refuse the right to reuse or repost content taken without our permission such as data or images to other sites.




![Everwind Review [Early Access] | The Shaky First Step to A Very Long Journey](https://img.game8.co/4440226/ab079b1153298a042633dd1ef51e878e.png/thumb)

![Monster Hunter Stories 3 Review [First Impressions] | Simply Rejuvenating](https://img.game8.co/4438641/2a31b7702bd70e78ec8efd24661dacda.jpeg/thumb)


