Fortess of Festivity Platinum Medal Walkthrough (Collect Treasure!)
A guide to obtaining the platinum medal for the Collect Treasure! Mission: Fortess of Festivity in Pikmin 3 Deluxe for the Nintendo Switch. This guide will walk you through how to clear the mission and earn a platinum medal!
| Previous Mission | Next Mission |
|---|---|
| Shaded Garden Remix | The Rustyard |
List of Contents
Fortess of Festivity Video Walkthrough
Note that the video above contains Japanese text. Please be patient while we work on creating an English one!
Fortess of Festivity Tips and Strategy
Opening up the Road Bit by Bit is Key
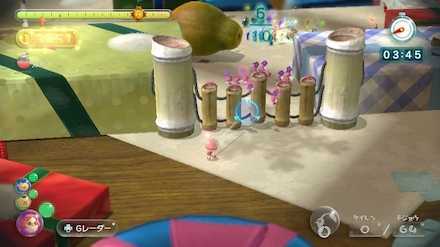
The Fortress of Festivity is a very dangerous map. The path will need to be opened up bit by bit by working together with your three leaders. Try throwing a leader somewhere and switching to them or using the Go Here function when in trouble.
The Division of Pikmin Roles is Important
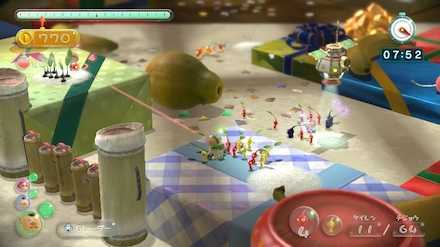
In the Fortress of Festivity, the division of Pikmin roles will be more important than ever. From large fruits to Nuggets, there are a variety of items scattered about in various locations.
Allocating the use of each Pikmins strength such as having the Purple Pikmin transport the large fruits like the Zest Bomb, Insect Condo, Slapstick Crescent, Dusk Pustules, and Seed Hive. While leaving the Nuggets to the fast White Pikmin will lead to higher points.
Fortress of Festivity Platinum Medal Walkthrough
1:First Gather Pikmin
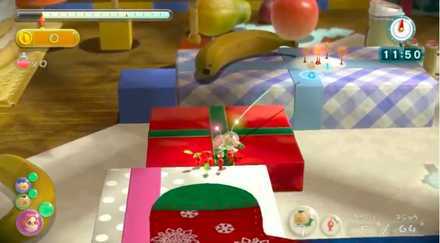
This time gathering Pikmin will not occur in the ordinary way. First, gather Charlie and Brittany and throw them onto the step in front of you. Then, have Charlie throw Brittany up one step higher and retrieve all the Red Pikmin.
After Alph has thrown them, go pluck the Blue Pikmin located in the south.
2:Divide up Work Bit by Bit and Explore
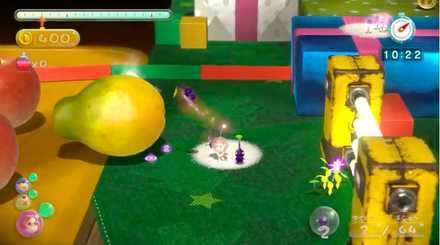
Charlie
Have Brittany drop down to the step where Charlie is and have Charlie throw Brittany over to the box where the Purple Pikmin are located. Afterward, use the Go Here function to head towards the dirt wall next to the box where Brittany is located.
Brittany
After retrieving the Purple Pikmin, retrieve the nearby fruit and immediately regroup with Charlie. There is a step on the right side of the dirt wall that Charlie is near. Throw Charlie onto the step.
After that, destroy the dirt wall with Red Pikmin and use the Go Here function to head to Alph who is by the water area.
Alph
After retrieving the Blue Pikmin in the water area, head back to the starting area using the Go Here function. While Charlie and Brittany are busy retrieving, retrieve all the Cupid's Grenades in the water area.
3:Explore the Northern Area while also Retrieving Fruits
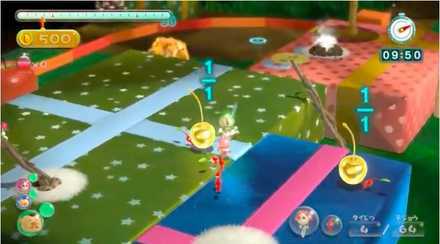
Charlie
Immediately retrieve the Yellow Pikmin and after being thrown to the electric gate, use the Go Here function to head towards the northern area with the White Pikmin. After plucking the White Pikmin, throw them at the nearby tree branch and retrieve the Nuggets.
Afterward, use the Go Here function and head towards the cake with Pikmin in the northeast.
Brittany
Reunite with Alph and have him throw you onto the step in the northern part of the water area. Go through the gate that was destroyed by the Yellow Pikmin and use the Go Here function to head towards Charlie at the cake in the northeast area.
Alph
After throwing Brittany, use the Go Here function to head towards the dirt wall the Red Pikmin destroyed earlier. Retrieve the Red Pikmin and have them charge at the dirt wall that is located next to the water area. Then, return to the start using the Go Here function.
4:Continue with Fruit Retrieval and Exploration
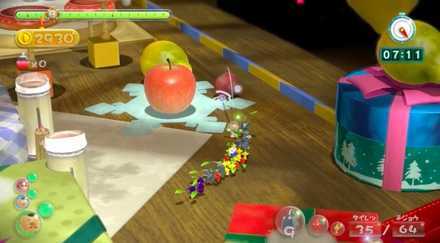
Brittany
After reuniting with Charlie and Alph, retrieve the Yellow Pikmin and throw all of them to retrieve the fruits. After that, use the Bouncing Mushroom and arrive at the blue box located near the starting area. Have Brittany throw Charlie to the box where the Rock Pikmin are growing.
Then, use the Go Here function to head to the area where you threw Charlie and take the Rock Pikmin to the northeastern cake. On the right-hand side there is some Ultra-Spicy Spray. Use it on your Rock Pikmin.
Charlie
Retrieve the Rock Pikmin and destroy all of the crystal below. Afterward, use the Dodge Whistle to have the Winged Pikmin in the box land and then retrieve them.
Throw the Winged Pikmin to the fruit that can be seen on the right-hand side of the Nuggets and have them retrieve all of it. After completing that, use the Go Here function and head towards the White Pikmin at the southern bridge near the pizza.
Alph
Retrieve the Blue and Purple Pikmin that were retrieving fruit at the starting area and immediately throw the Blue Pikmin at the Nuggets. Then, retrieve the Red Pikmin that destroyed the dirt wall and, using the Go Here function, head to the electric gate.
5:Retrieve Fruits and Nuggets
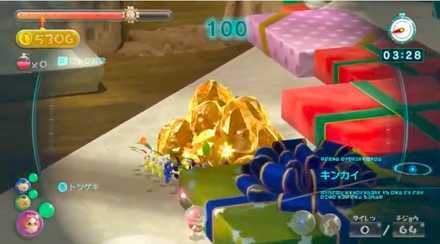
Alph
After retrieving the Yellow Pikmin, have the Purple Pikmin retrieve all the large fruits and use the geyser to move. After riding the geyser, have the Yellow and Red Pikmin retrieve the nearby fruits and Nuggets.
Charlie
After retrieving the White Pikmin, have the White Pikmin charge at the Nuggets on the right-hand side. After that, use the Go Here function to head to where the White Pikmin transported the fruit and once again have them charge at the Nuggets to start retrieving them.
Brittany
After blooming the Rock Pikmin move to the crystal in the center of the map and destroy it with the Rock Pikmin. Then, have the Rock Pikmin charge at the Nuggets located to the right of the fruits.
Afterward, make your way back to the starting point and, using the Purple and Yellow Pikmin that had retrieved fruit, retrieve all the fruit to the south of the starting area.
6:Finish up with Fruit Retrieval
Charlie
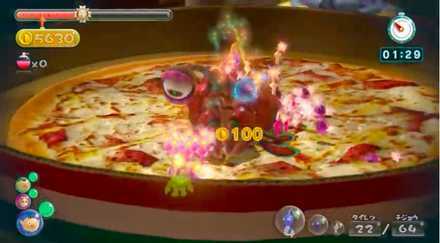
Have Charlie take the Red, Yellow, and Rock Pikmin what were retrieving fruits and Nuggets to the pizza using the Go Here function. Then, defeat the Bug-Eyed Crawmad and retrieve its body.
Brittany
After retrieving the fruits at the starting area, go through the fence lifted by the Winged Pikmin and retrieve the heavy fruit located north of the starting area. During this time, work with Alph and finish retrieving all the fruits in the northern area.
Related Guides
| Previous Mission | Next Mission |
|---|---|
| Shaded Garden Remix | The Rustyard |

Collect Treasure! Missions List
| All Collect Treasure! Walkthroughs | |
|---|---|
 1: Tropical Forest 1: Tropical Forest |
 2: Silver Lake 2: Silver Lake |
 3: Thirsty Desert 3: Thirsty Desert |
 4: Twilight Hollow 4: Twilight Hollow |
 5: Shaded Garden 5: Shaded Garden |
 6: Tropical Forest Remix 6: Tropical Forest Remix |
 7: Silver Lake Remix 7: Silver Lake Remix |
 8: Thirsty Desert Remix 8: Thirsty Desert Remix |
 9: Twilght Hollow Remix 9: Twilght Hollow Remix |
 10: Shaded Garden Remix 10: Shaded Garden Remix |
 11: Fortess of Festivity 11: Fortess of Festivity |
 12: The Rustyard 12: The Rustyard |
 13: Beastly Caverns 13: Beastly Caverns |
 14: Forgotten Cove 14: Forgotten Cove |
 15: Clockwork Chasm 15: Clockwork Chasm |
- |
Author
Fortess of Festivity Platinum Medal Walkthrough (Collect Treasure!)
improvement survey
03/2026
improving Game8's site?

Your answers will help us to improve our website.
Note: Please be sure not to enter any kind of personal information into your response.

We hope you continue to make use of Game8.
Rankings
- We could not find the message board you were looking for.
Gaming News
Popular Games

Genshin Impact Walkthrough & Guides Wiki

Honkai: Star Rail Walkthrough & Guides Wiki

Umamusume: Pretty Derby Walkthrough & Guides Wiki

Pokemon Pokopia Walkthrough & Guides Wiki

Resident Evil Requiem (RE9) Walkthrough & Guides Wiki

Monster Hunter Wilds Walkthrough & Guides Wiki

Wuthering Waves Walkthrough & Guides Wiki

Arknights: Endfield Walkthrough & Guides Wiki

Pokemon FireRed and LeafGreen (FRLG) Walkthrough & Guides Wiki

Pokemon TCG Pocket (PTCGP) Strategies & Guides Wiki
Recommended Games

Diablo 4: Vessel of Hatred Walkthrough & Guides Wiki

Cyberpunk 2077: Ultimate Edition Walkthrough & Guides Wiki

Fire Emblem Heroes (FEH) Walkthrough & Guides Wiki

Yu-Gi-Oh! Master Duel Walkthrough & Guides Wiki

Super Smash Bros. Ultimate Walkthrough & Guides Wiki

Pokemon Brilliant Diamond and Shining Pearl (BDSP) Walkthrough & Guides Wiki

Elden Ring Shadow of the Erdtree Walkthrough & Guides Wiki

Monster Hunter World Walkthrough & Guides Wiki

The Legend of Zelda: Tears of the Kingdom Walkthrough & Guides Wiki

Persona 3 Reload Walkthrough & Guides Wiki
All rights reserved
© 2013 - 2020 Nintendo. Pikmin and Nintendo Switch are trademarks of Nintendo.
The copyrights of videos of games used in our content and other intellectual property rights belong to the provider of the game.
The contents we provide on this site were created personally by members of the Game8 editorial department.
We refuse the right to reuse or repost content taken without our permission such as data or images to other sites.




![Monster Hunter Stories 3 Review [First Impressions] | Simply Rejuvenating](https://img.game8.co/4438641/2a31b7702bd70e78ec8efd24661dacda.jpeg/thumb)


