Chapter 1: Black Cloud Red Fire Walkthrough Guide
☆ Walkthrough ▶ 1 | 2 | 3 | 4 | 5 | 6 | Endings | NG+
★ All Quests ▶ Man-in-Stone | Boar | Fox
☆ Best Builds | Transformations | Spells | Armor
★ Bosses ▶ Yellow Wind Sage | Captain Wise-Voice
┗ Erlang | 4 Heavenly Kings | Final Boss
A complete walkthrough for Black Myth: Wukong's Chapter 1: Black Cloud, Red Fire. Read on for a detailed guide for this chapter, including locations of collectibles, how to beat the bosses, as well as to unlock the secret area for completing this chapter!
| ◄ Previous Chapter | Next Chapter ► |
|---|---|
| - | Chapter 2: Yellow Sand, Desolate Dusk |
Chapter 1: Black Cloud, Red Fire Guide
| Chapter 1: Black Cloud, Red Fire | |
|---|---|
 |
|
| Locations |
・Forest of Wolves ・Bamboo Grove ・Black Wind Cave |
| Secret Location | ・Ancient Guanyin Temple |
| Yaoguai Chiefs |
・ Guangzhi ・ Guangmou |
| Yaoguai Kings |
・ Lingxuzi |
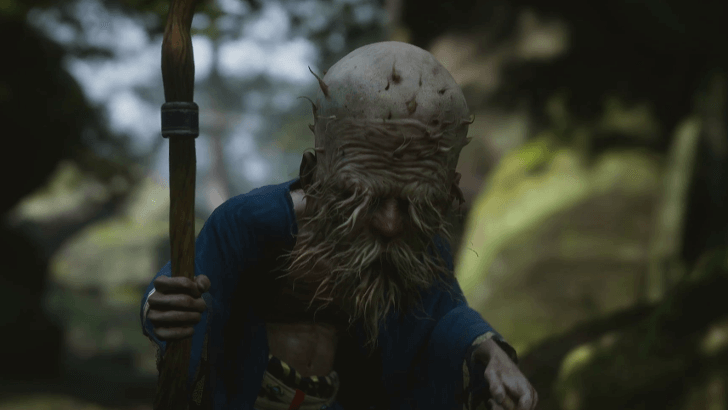
| Characters | |
Chapter 1: Black Cloud, Red Fire Walkthrough
| Jump to a Section! | |||||||||||
|---|---|---|---|---|---|---|---|---|---|---|---|
| Forest of Wolves | Bamboo Grove | Blackwind Cave | |||||||||
| Secret Area: Ancient Guanyin Temple | |||||||||||
Forest of Wolves Walkthrough
| # | Forest of Wolves Objectives |
|---|---|
| 0 | Prologue |
| 1 | Front Hills |
| 2 | Outside the Forest |
| 3 | Guanyin Temple |
Prologue Guide
| Objectives | |
|---|---|
| 1 |  You will start the game as Sun Wukong facing off against the Court of Heaven and its Heavenly Kings. |
| 2 | After the cutscene will be thrust into a boss fight with Erlang, don't worry as you cannot die in this fight so use this chance to practice the controls. |
| 3 | Once you defeat Erlang, another cutscene will play with Sun Wukong being incapacitated by his circlet. |
| 4 | 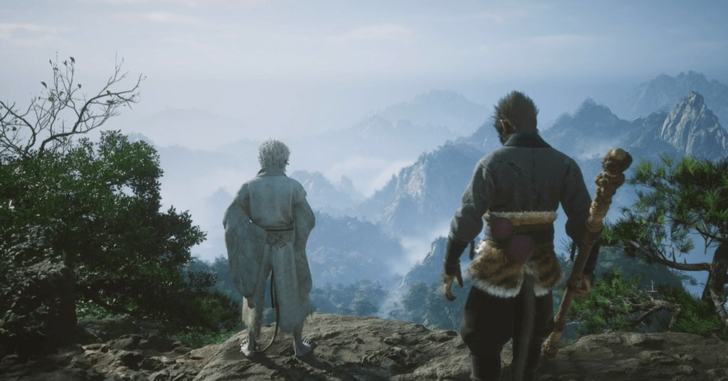 After being turned into a rock, and another cutscene, you will now be able to play as the Destined One. |
| 5 | After tricking some Wolf Guais into thinking you're a Peach, go ahead and fight them. Use the chance to get used to the controls. |
| 6 | After the fight, head north up a path and there's another Wolf Scout. Defeat it and head up some stone steps you should end up with a fork in the road. |
| 7 | 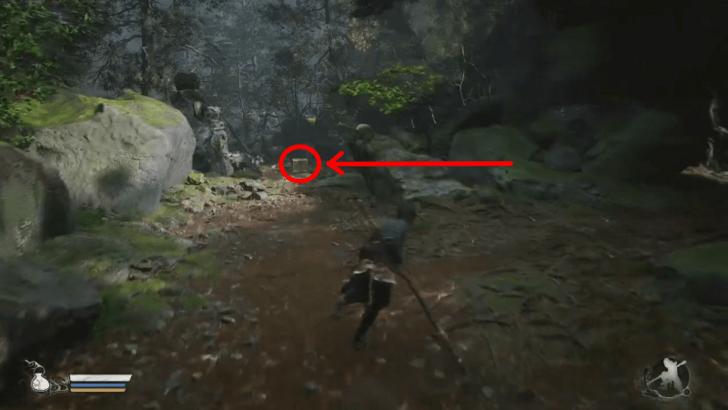 Head left from the path and fight the Wolf Scout guarding a chest. Head back and now go right where you will fight a Wolf Stalwart. Defeat it and you will be directed to a small shrine. |
| 8 | 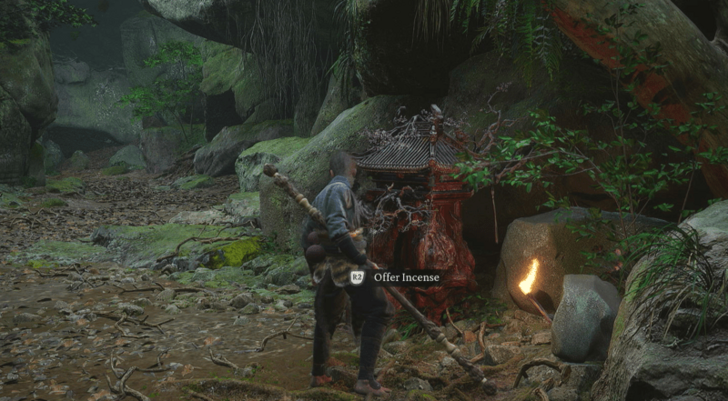 Interact with the shrine and a cutscene will play and the Keeper will ask you to head to Guanyin Temple. |
Front Hills Guide
| Objectives | |
|---|---|
| 1 | After doing what you need at the Shine and getting the Incense Trail Talisman, move forward and beat the wolves along the way. |
| 2 | Cross the bridge and keep moving forward. You will now be in an open area. To progress the story, follow the path. |
| * | You can jump down into the river and follow it upstream and there will be a Crow Diviner Yaoguai. Defeat it for a ton of experience and capture the nearby Wisps. |
| 3 | Going back to the forest hill path, make your way right and you will encounter the Bullguard. Be careful as this is the first boss you'll fight! You can go back to a shrine to refill your health and gourd. |
| 4 | Before heading to the boss, turn left towards the large head on the ground to collect the Skandha of Form. This is part of the Five Skandhas Quest that will take place throughout the entire game. ▶ Five Skandhas Quest Guide |
| 5 | 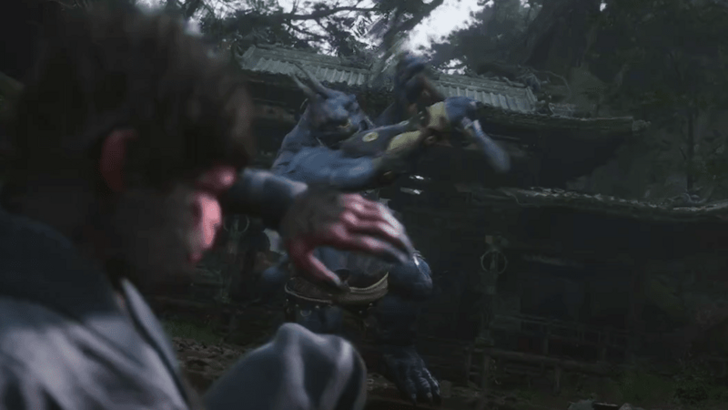 Once you're ready, head towards the Bullguard to engage it in battle. Once you whittle it down to half its health, the Keeper will give you the Immobilize spell! Keep up the offense until you beat the boss! ▶ Bullguard Boss Guide |
| 6 | Past the gate the Bullguard was guarding, there will be another fork in the road. Head right for some medicine ingredients and head left to progress the story. |
| 7 | 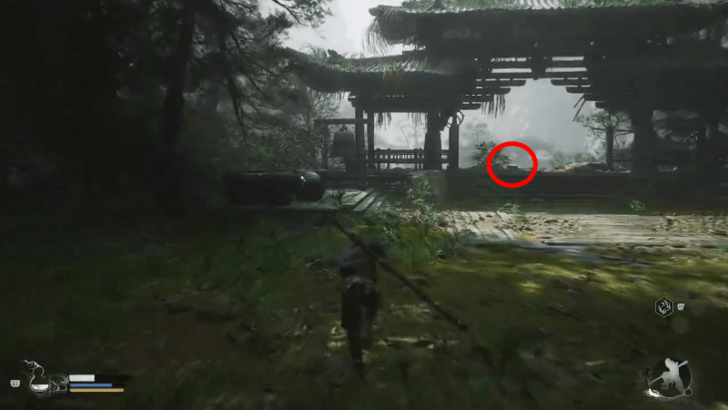 Follow the path and you will end up at a Meditation Spot. Make sure to use it to get a free Spark for unlocking Skills. |
| 8 | 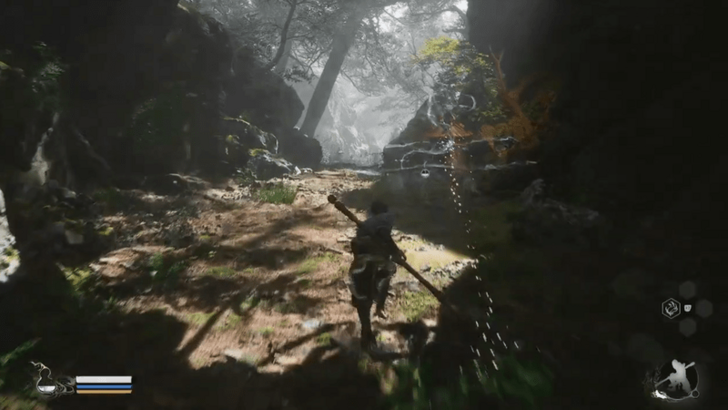 Across the meditation spot, there will be a crevice on the wall. Head inside and make your way through, following the gold trail to the next Shrine. |
Outside the Forest Guide
| Objectives | |
|---|---|
| 1 | 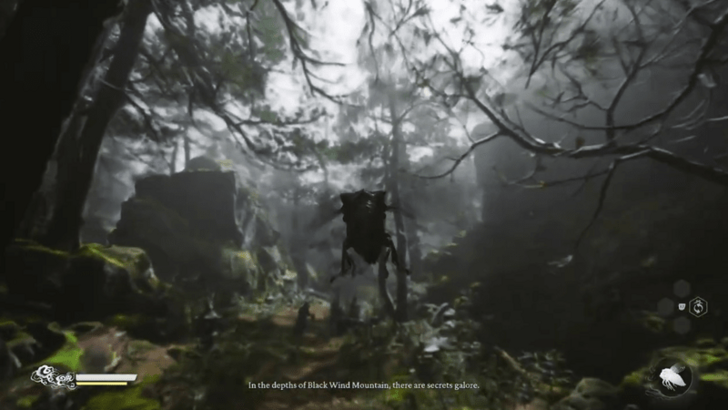 After doing what you need at the Shine, the Keeper will turn you into a Golden Cicada. Make use of this to scout the area ahead, you can skip forward or head back for anything you may have passed. Note: This form is only temporary, and you can't transform back once you've swapped back to your regular form. |
| * | If you don't care about the optional objectives in this area, follow the path on the right until you've passed the Wandering Wight and reached the safe zone past him. |
| 2 | Teleport back to the shrine and head forward beating up the wolves along the way.. |
| 3 | Head left at the fork and unlock the chest after dealing with the wolves. Near the stream, there's a Ginseng plant that's a monster. Be careful as this one can deal serious damage. |
| 4 | Follow the stream from the source and you will come across another Crow Diviner meditating. Head back to the bridge and there is an archer there. |
| 5 | From the bridge and archer head towards the shrine where you can find Guangzhi. Make sure you're prepared before you take on the boss! |
| 6 | 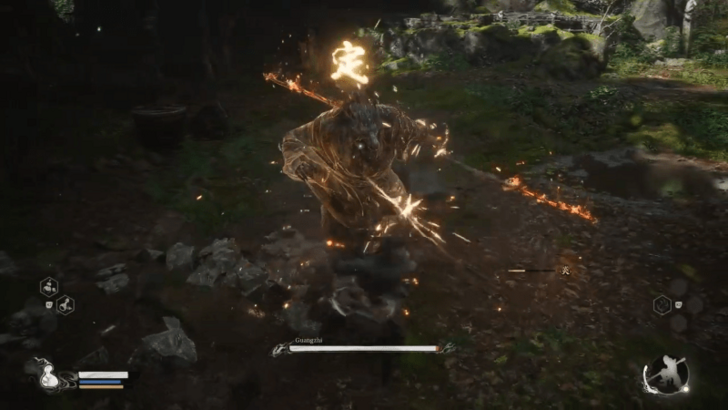 When you're ready, head towards Guangzhi to engage it in battle. Once he's been defeated, you'll unlock the Red Tides Transformation! ▶ Guangzhi Boss Guide |
| 7 | 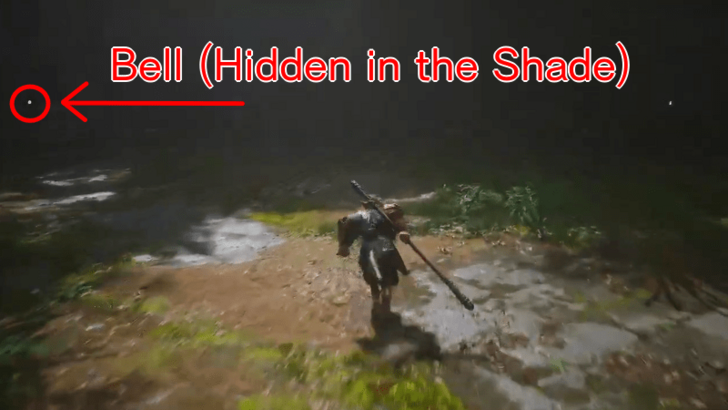 After beating Guangzhi, make sure to ring the nearby bell. This is tied to the Secret Area of Chapter 1, so make sure you don't miss it! After looting the area, teleport back to the shrine and follow the path on the right towards where the giant monster is. ▶ Chapter 1 Secret Area Guide |
| * | 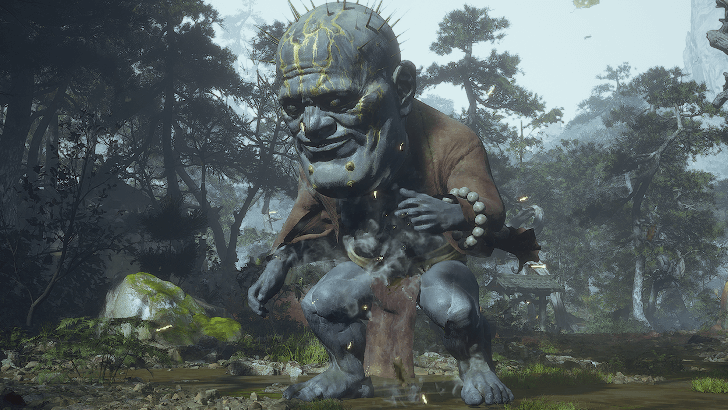 When you're ready, head forward and attack Wandering Wight. This is a pretty tough fight, so make sure to take your time and only go in for attacks when there's an opening to do so. Optionally, you can just run past him and head into the tunnel at the back. Just make sure to come back later since he drops a powerful Spirit that also increases your Defense! ▶ Wandering Wight Boss Guide |
| 8 | 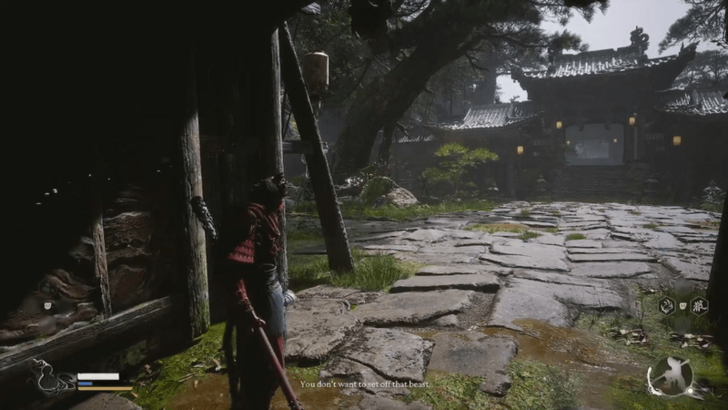 After beating or running past the Wandering Wight, keep following the path through the tunnel. Defeat the enemies along the way and you will end up at Guanyin Temple Shrine. |
Guanyin Temple Guide
| Objectives | |
|---|---|
| 1 | Head inside the temple and a small cutscene will play. Afterwards, head towards the shrine and you are now able to craft new Armor! Make sure you have enough materials. |
| 2 | After getting your new drip at the Shine, you can look around and break stuff. Northwest of the shrine, there is a Chest so make sure to grab that too. |
| 3 | 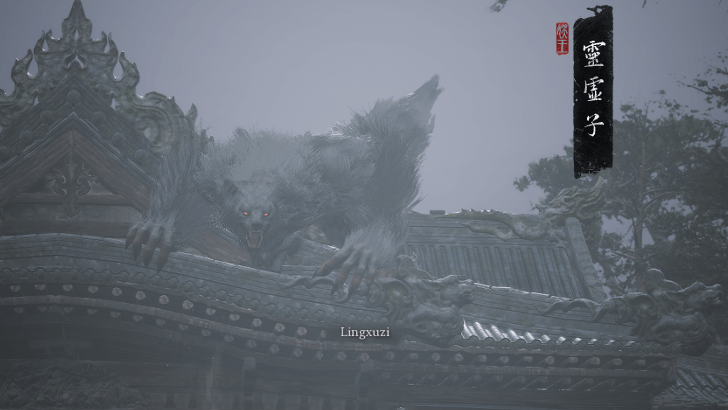 Once you're ready to face another boss, head up the steps where you will face off against Lingxuzi. ▶ Lingxuzi Boss Guide |
| 4 | 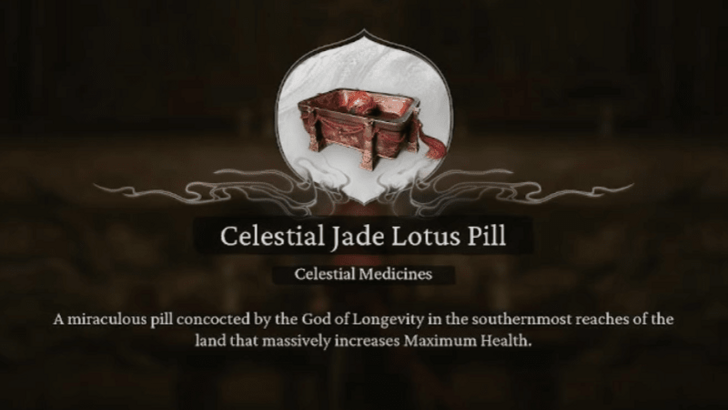 After beating Lingxuzi, you can look around and loot stuff. Afterwards, head inside the temple where there's a chest with a Celestial Jade Lotus Pill. Don't miss this since it increases your max HP! |
| 5 | 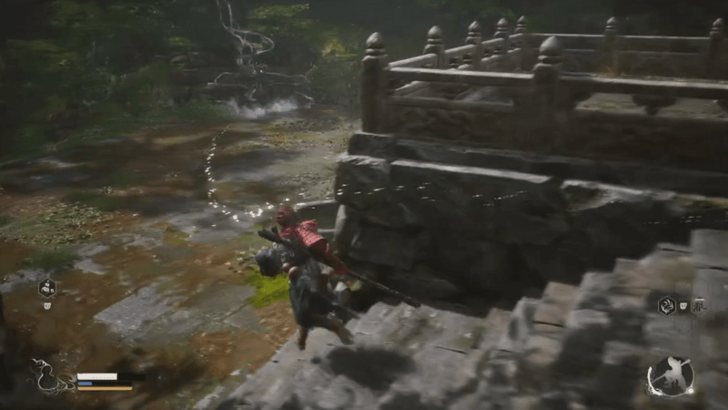 After grabbing the pills, you can keep moving forward and exit through the back. Follow the glittering trail to the Back Hills Shrine! |
Bamboo Grove Walkthrough
| # | Bamboo Grove Objectives |
|---|---|
| 1 | Back Hills |
| 2 | Snake Trail |
| 3 | Marsh of White Mist |
Back Hills Guide
| Objectives | |
|---|---|
| 1 | 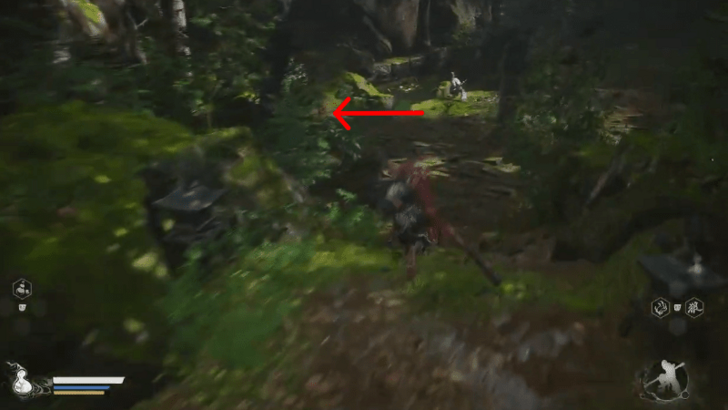 After resting up at the Shrine, you will see a small valley with a few enemies. Before you go running forward, to your left there will be a small cave so make sure to hug the wall while going forward. |
| 2 | 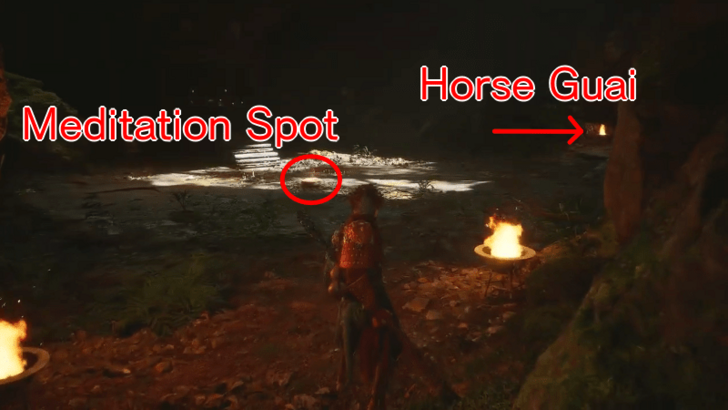 After finding the cave, you will find a Horse monster named Guai and a Meditation spot in the middle of the cave. Make sure to exhaust his dialogue options and use the Meditation Spot in the middle. |
| 3 | Once you're done, keep following the path down and you can wander around the water for some Wills. If you want to progress, head up the stone stairs and you will see a bridge on top. |
| 4 | 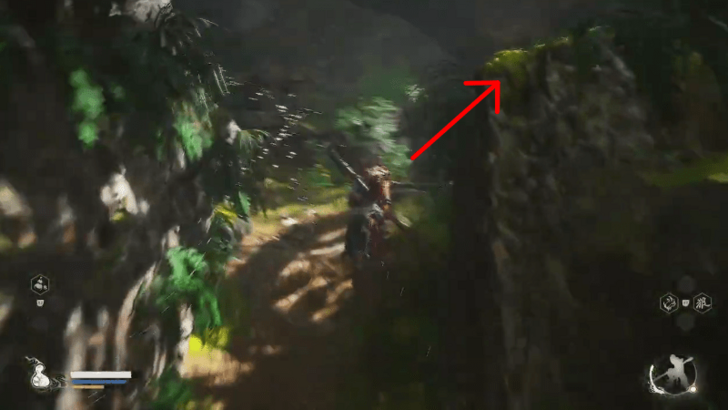 Cross the bridge and you will be greeted by another familiar trail of sparkles. There is a nearby gazebo with a gold box to the right and up some stairs. |
| 5 | 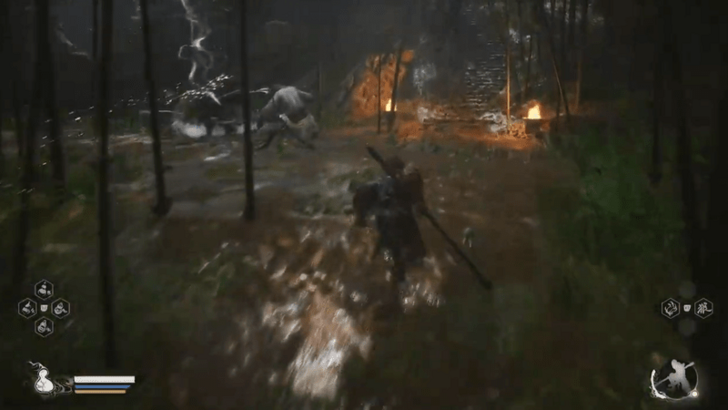 After grabbing the contents follow the sparkle, follow the glittering trail to the Snake Trail! |
Snake Trail Guide
| Objectives | |
|---|---|
| 1 | Head towards the Shrine, you need to fight another Crow Diviner. Defeat it and you can rest up and swap some skills and equipment around. |
| 2 | 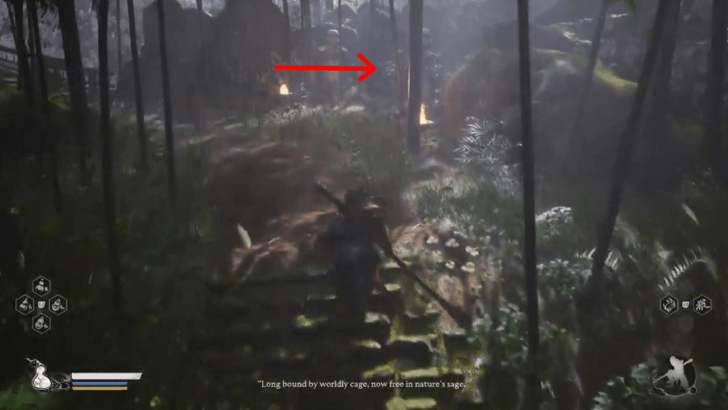 After doing what you need at the Shine, head up the stairs. You will see a strange man reciting poetry, go talk to him to upgrade your Gourd. |
| * | If you defeated the Wandering Wight, head back to the Shrine and select Retrieve Spirits. You can also upgrade it with the Blood of the Iron Bull it dropped. |
| 3 | Once you're done, head back to where the old man is and you can proceed to cross the bridge. |
| 4 | Keep heading forward and you will see a field of Bones. Past that, you can continue walking until another fork in the road appears. |
| 5 | After getting to the fork in the road, follow the stream instead of going under the bridge first. You can collect the green Will spirits along the way. |
| 6 | 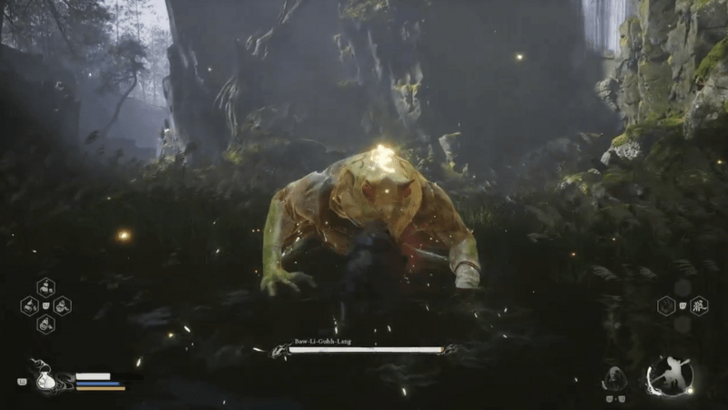 Keep following the stream and you will be put into a battle with Baw-Li-Guhh-Lang. ▶ Baw-Li-Guhh-Lang Boss Guide |
| 7 | After beating Baw-Li-Guhh-Lang, collect its spirit and Tadpole. Keep following the stream and you will be taken back to the main path. |
| 8 | You can head back to a Shine and heal up. Head back to the fork in the road and you can now head under the bridge. |
| 9 | After a bit of walking, you will end up in a bamboo forest. There is a Fungiling near a brasier if you pick up a Snake-Head Mushroom |
| 10 | 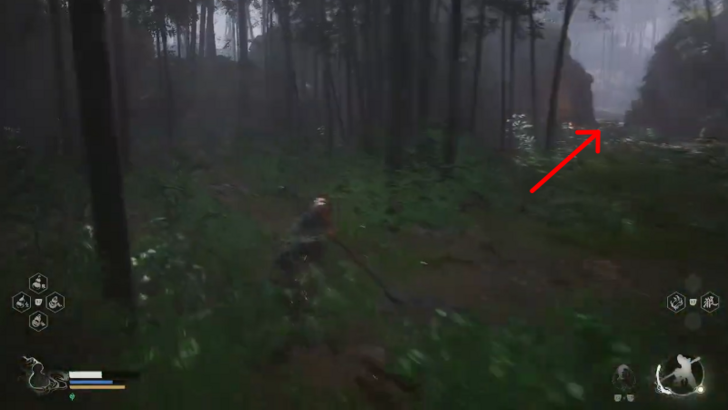 If you want to progress, look around and you will see a small opening to the right lit up by torches. |
| 11 | 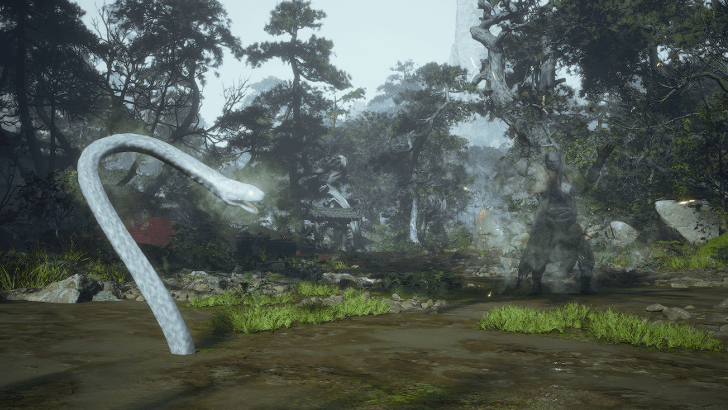 Head inside the opening and you will be put into a battle with Guangmou. ▶ Guangmou Boss Guide |
| 12 | 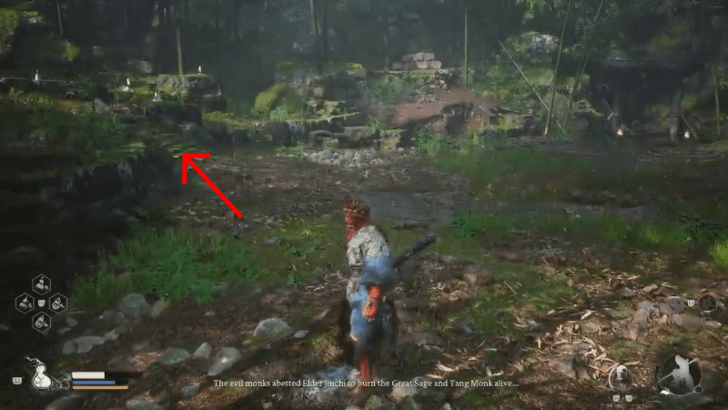 After beating Guangmou, make sure to ring the nearby bell. It is located up the stairway, so don't miss it before heading forward.. |
| 13 | After ringing the bell, head through the small archway and follow the trail of gold to the next Shrine. |
Marsh of the White Mist Guide
| Objectives | |
|---|---|
| 1 | After resting up at the Shrine, across it, there is a tree with yellow flowers hanging from it. Grab the Luojia Fragrant Vine used to upgrade your Gourds. |
| 2 | 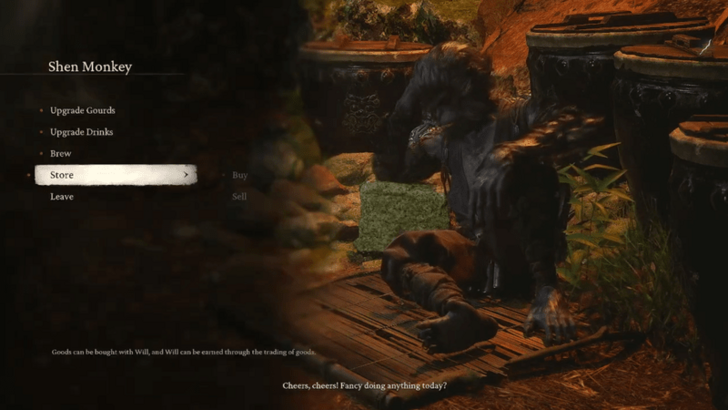 Head down the path and you will see a Snake Patroller harassing a Monkey. Defeat the snake and you will gain access to the Monkey's Shop! Take note of this location since this is a very important shop that lets you upgrade your Gourds and Drinks, improving your healing throughout the game! |
| 3 | Exit the monkey's cave and cross the wooden platform to get to a building with a chest. |
| 4 | 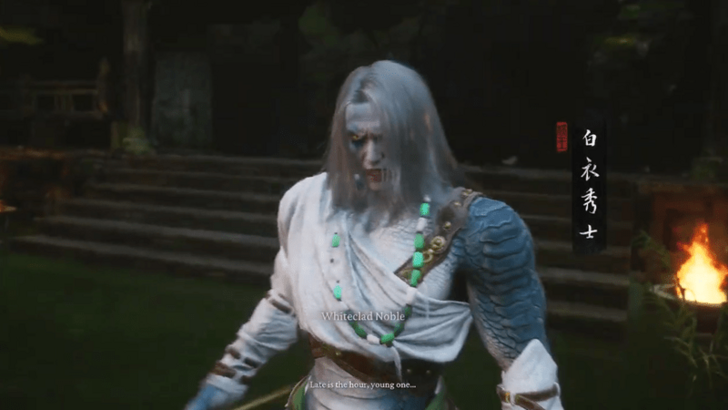 Keep following the path and make sure you're properly equipped since at the end of the path, you will be put into a battle with the Whiteclad Noble. ▶ Whiteclad Noble Boss Guide |
| 5 | 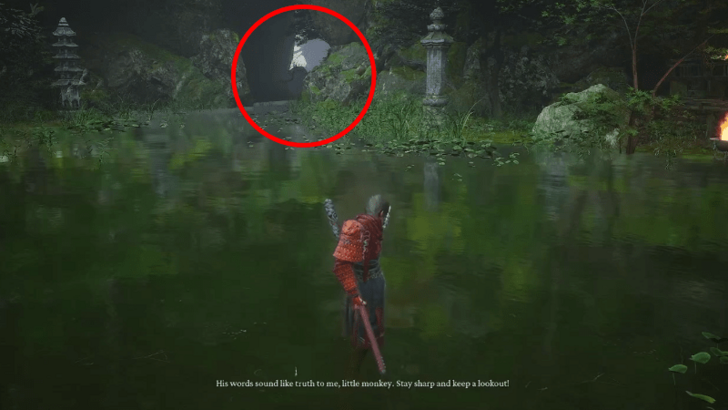 After getting through the two phases of the boss, go towards the left to a flooded ravine that leads to the third and final bell. |
| 6 | Once you're through the ravine, you will see the bell and some wolves you'll need to beat. After they're gone, walk up and ring the final bell to head to the Chapter 1 Secret Area. |
| 7 | Ring the bell and you will then be teleported to The Ancient Guanyin Temple. ▶ Jump to The Ancient Guanyin Temple |
| 8 | After the Ancient Guanyin Temple, or if you skipped this area, head inside the structure behind where the Whiteclad Noble was to get to the Black Wind Cave. |
Blackwind Cave Walkthrough
| # | Blackwind Cave Objectives |
|---|---|
| 1 | Cave Interior |
| 2 | Outside the Cave |
| 3 | Bodhi Peak |
Cave Interior Guide
| Objectives | |
|---|---|
| 1 | Head inside the cave behind where the Whiteclad Noble was. There will be a Wolf Assassin once you reach a bright area so be careful. |
| 2 | 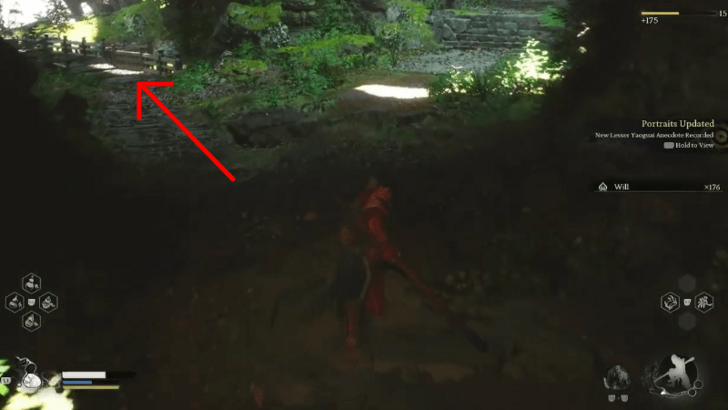 Head further into the tunnel until you reach a fork. Head to the left for the last Meditation Spot and a Celestial Taiyi Pill. |
| 3 | Head back and follow the path on the right to reach the Shrine guarded by two Wolf Sentinels. After the fight, interact with the Shrine and rest up before proceeding onward. |
| 4 | 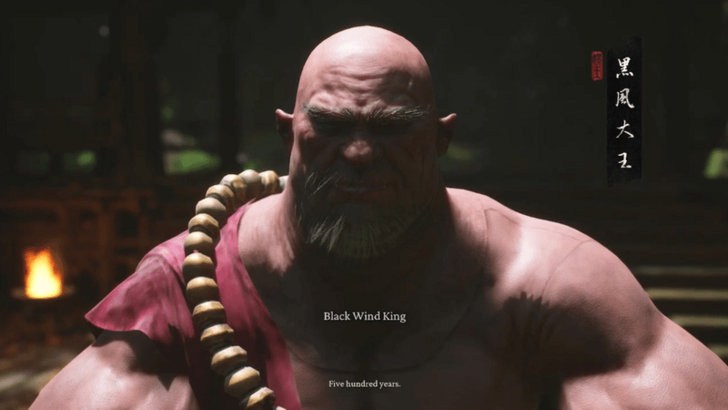 From the shrine, head forward and you will now be faced with the Black Wind King. ▶ Black Wind King Boss Guide |
| 5 | After beating the Black Wind King, you will receive the Cloud Step Spell. Loot the area next and proceed once you're ready. |
Outside the Cave Guide
| Objectives | |
|---|---|
| 1 | Head to the Shrine and you can now proceed to the top of the mountain. |
| 2 | 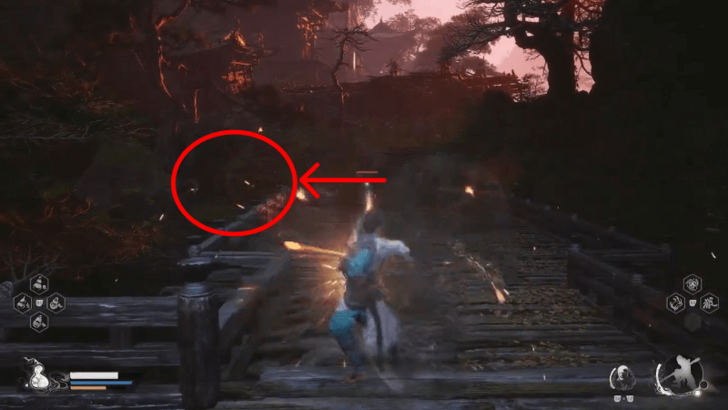 While heading up, there is a small area you can drop down from where there's a chest guarded by a Wolf Assassin. |
| 3 | Keep heading up while beating the Bullguards along the way and make sure to grab the Celestial Nonary Pill while you're going up. |
| 4 | The rest of the way up, will just be a bunch of Wolves so take them out and you will soon arrive at the final Shrine. |
Bodhi Peak Guide
| Objectives | |
|---|---|
| 1 | Head to the Shrine and make sure you're prepared before moving forward. |
| 2 | 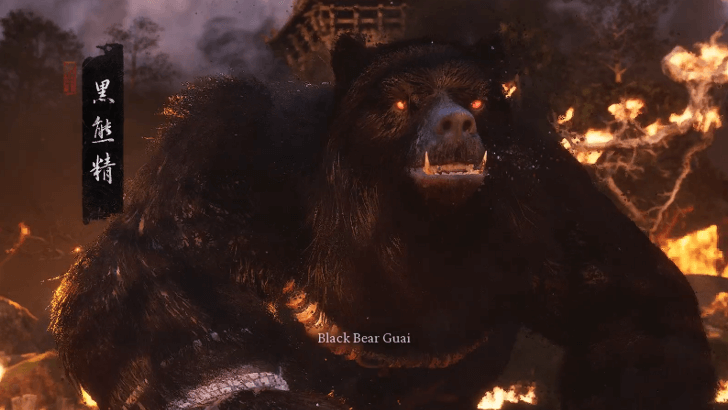 Once you're ready, head on forward to face the final boss of Chapter 1, Black Bear Guai. ▶ Black Bear Guai Boss Guide |
| 3 | After beating Black Bear Guai, you will get your first Relic and that concludes the first Chapter! |
Ancient Guanyin Temple Walkthrough
| # | Ancient Guanyin Temple Objectives |
|---|---|
| 1 | Grand Chamber |
Grand Chamber
| Objectives | |
|---|---|
| 1 | After ringing the bell, you will be teleported to The Ancient Guanyin Temple. |
| 2 | 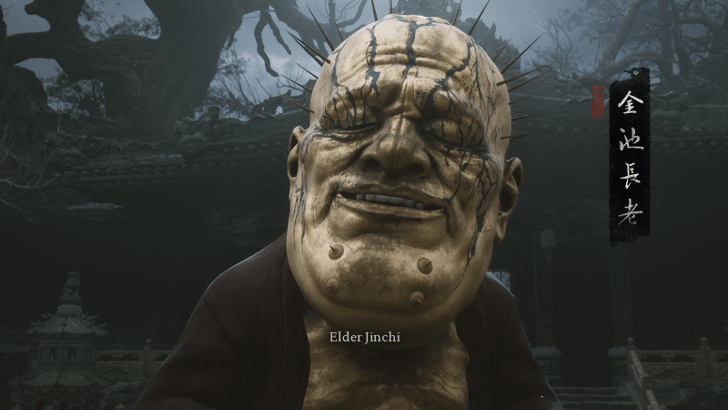 Head to the Temple and there will be a Shrine there. Once you're ready, head inside and after a cutscene, you will be put into a battle with Elder Jinchi. Head to the Temple and there will be a Shrine there. Once you're ready, head inside and after a cutscene, you will be put into a battle with Elder Jinchi. ▶ Elder Jinchi Boss Guide |
Chapter 1: Black Cloud, Red Fire Interactive Map
Interactive Map Key
| Meditation Spot | Fragrant Vine | Wine Worm | Chest |
|---|---|---|---|
| Curio | Spirit | Shrine | Gourd |
| Boss | |||
Black Myth: Wukong Interactive Map
Chapter 1: Black Cloud, Red Fire Bosses
| Mini-Bosses | |
|---|---|
| Bullguard | Guangzhi |
| Wandering Wight | Guangmou |
| Baw-Li-Guhh-Lang | Whiteclad Noble |
| Bosses | |
| Lingxuzi | Black Wind King |
| Black Bear Guai | - |
| Secret Bosses | |
| Elder Jinchi | - |
Chapter 1: Black Cloud, Red Fire Collectibles
Chapter 1 Chest Locations
| World Location | Rewards |
|---|---|
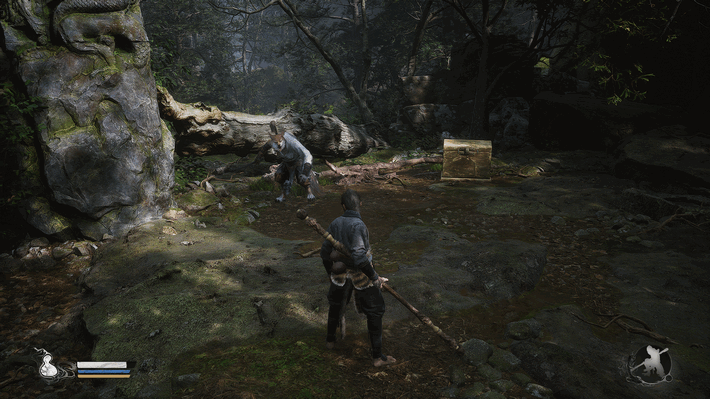 Guarded by a Yaoguai in the Forest of Wolves |
・Tiny Piece of Gold x2 ・Stone Spirit x2 |
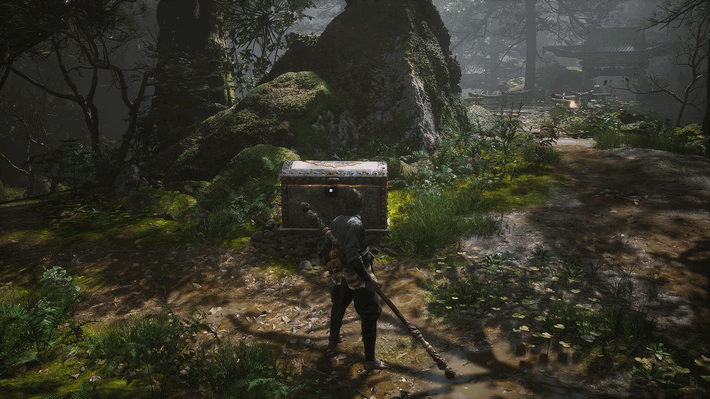 Guarded by a Bandit Chief, near the Guangzhi boss arena |
・Evil Repelling Medicament x2 ・ Tiny Piece of Gold x5 |
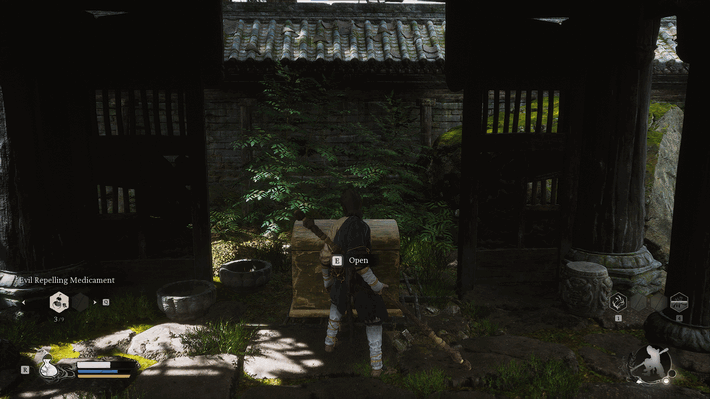 Can be found after the Lingxuzi Boss fight |
・Tiny Piece of Gold x2 ・Yarn x3 |
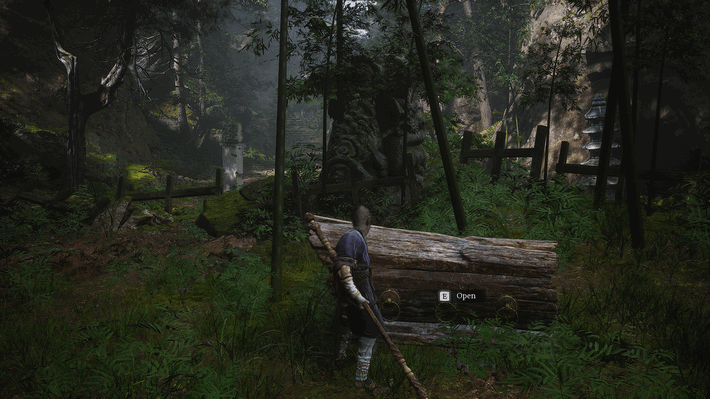 Can be found shortly after the Meditation Spot cave. Guarded by a Bandit Chief |
・Yarn x2 |
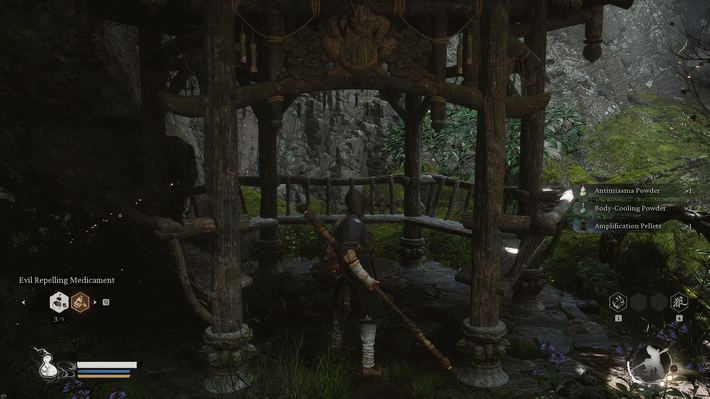 Can be found past the wooden bridge above the Croaky enemies |
・Antimiasma Powder x1 ・Body-Cooling Powder x2 ・Amplification Pellets x1 |
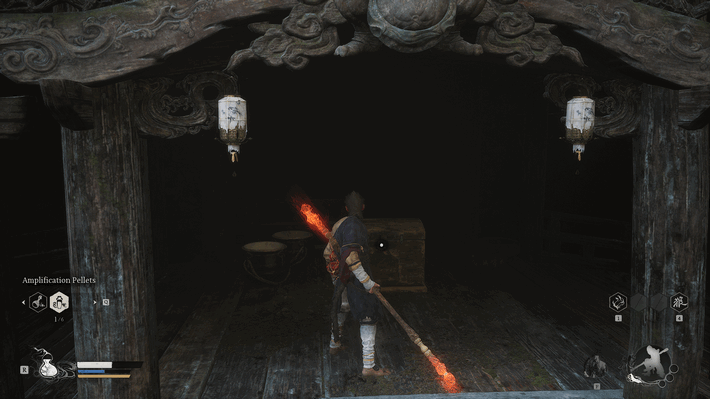 Head west after going down the wooden walkway after the Snake Patroller fight |
・Tiny Piece of Gold x2 ・Stone Spirit x2 |
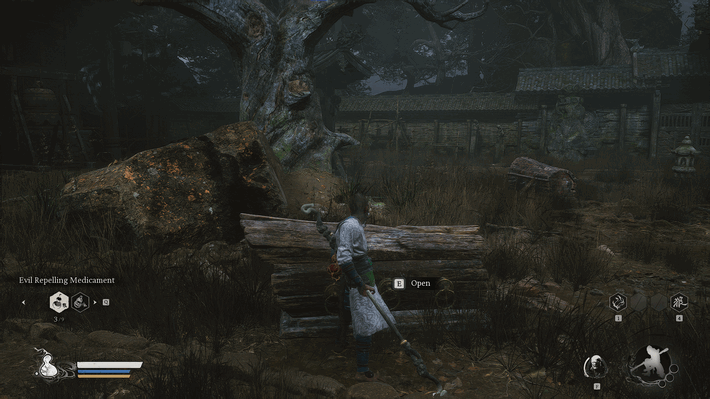 Within the Ancient Guanyin Temple |
・Stone Spirit x2 |
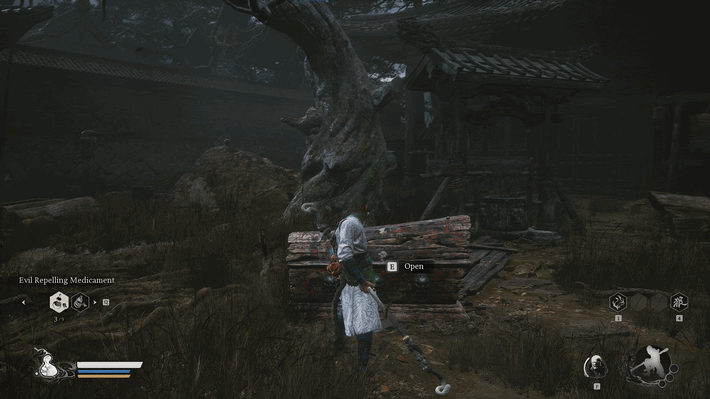 Within the Ancient Guanyin Temple |
・Guanyin's Prayer Beads |
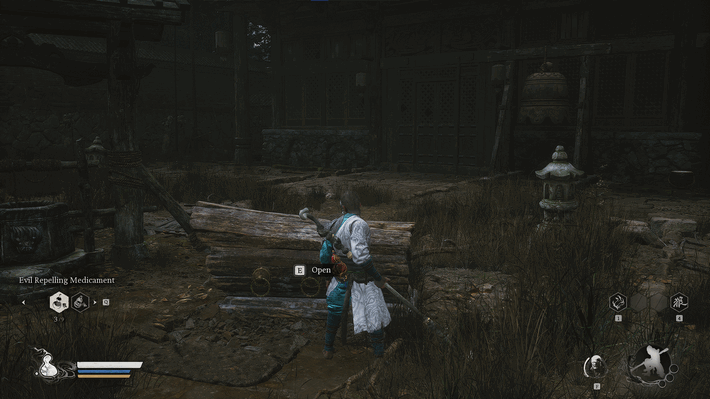 Within the Ancient Guanyin Temple |
・Stone Spirit x2 |
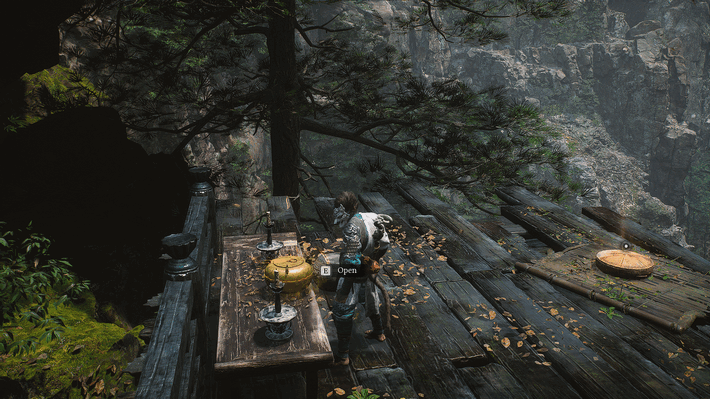 Near Black Wind Cave Meditation spot |
・Celestial Taiyi Pill |
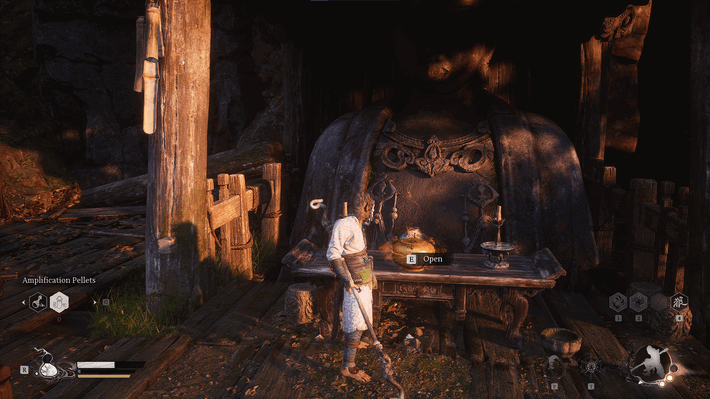 Past the Bullguard and Archers |
・Celestial Nonary Pill |
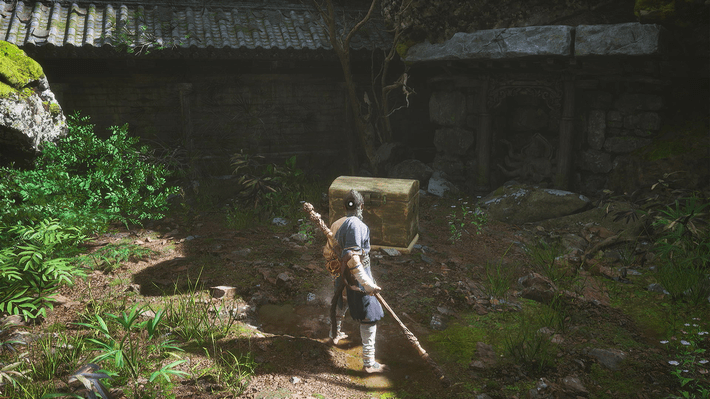 Found at the Guanyin Temple, just before the gate to the Lingxuzi fight |
・Tiny Piece of Gold x5 |
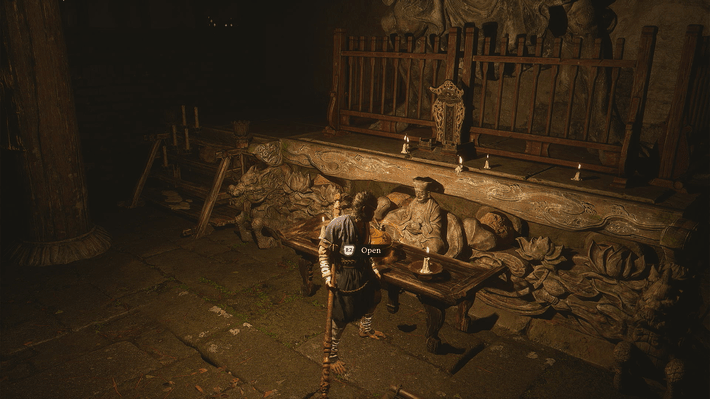 In the temple after the Lingxuzi Boss fight |
・Celestial Jade Lotus Pill |
Chapter 1 Meditation Spots
| Collectible Locations |
|---|
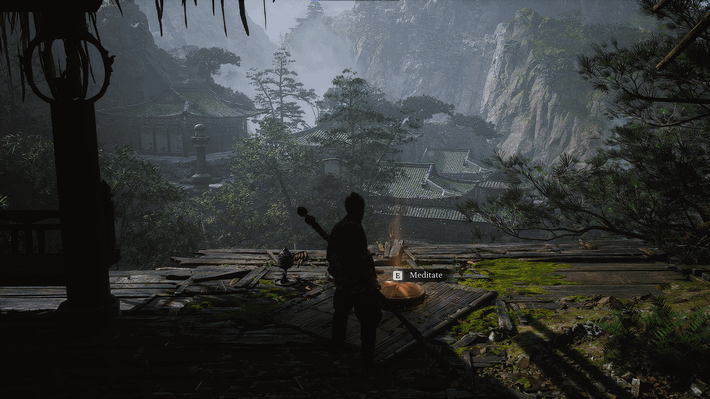 Shortly after the fight with the Bullguard, follow the path until you come across the wooden shrine with a bell and wooden crates. |
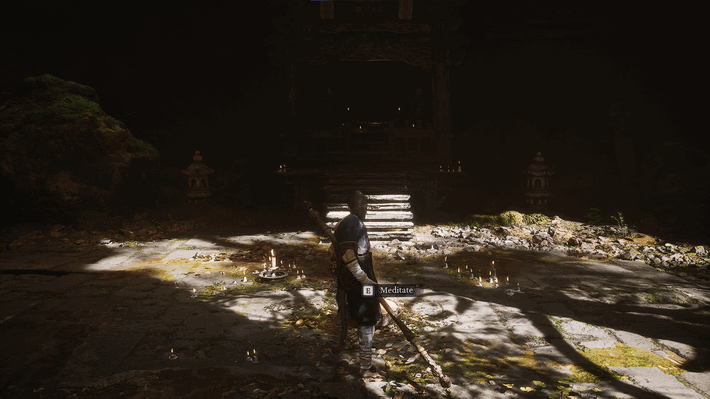 After Lingxuzi Fight, follow the path past the Shrine, then head left into a cave with a Boar NPC |
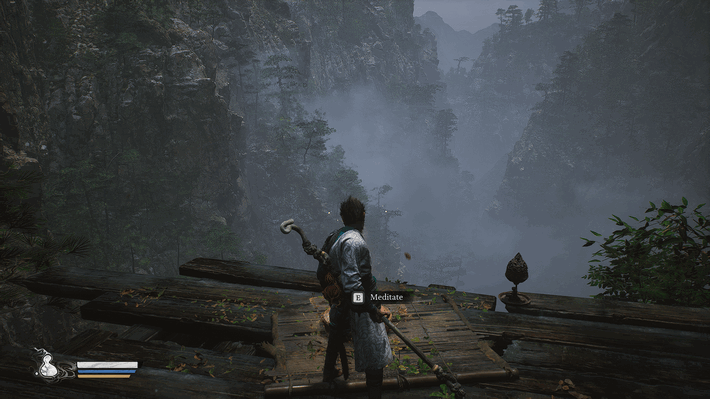 On a wooden platform after the Whiteclad Noble boss fight |
Chapter 1 Luojia Fragrant Vine Locations
| Collectible Locations |
|---|
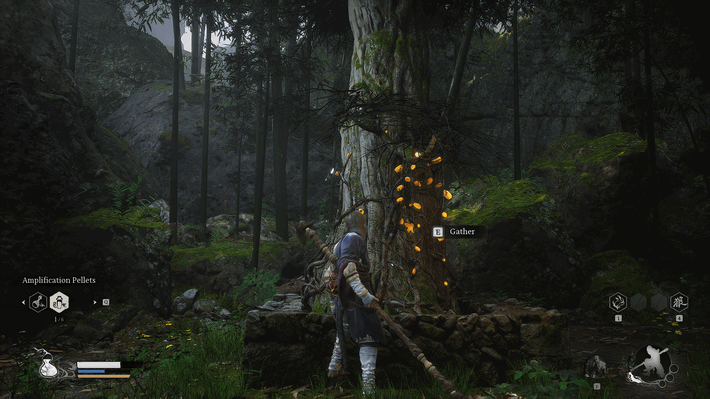 By the shrine after the Guangmou boss fight |
Chapter 1 Awaken Wine Worm Locations
| Collectible Locations |
|---|
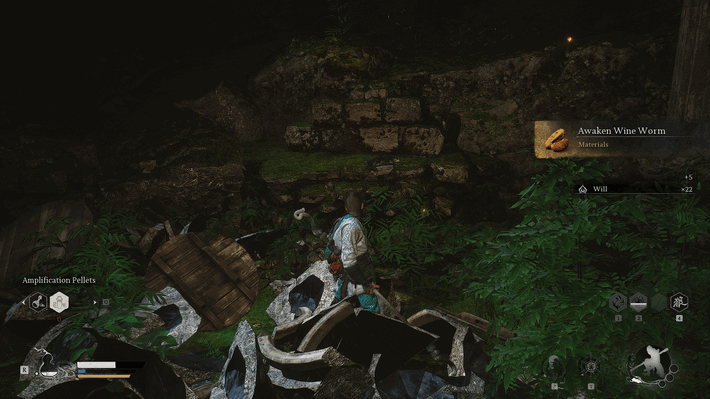 A glowing pot found after the Black Wind King boss fight |
Chapter 1 Curio Locations
| Collectible Locations |
|---|
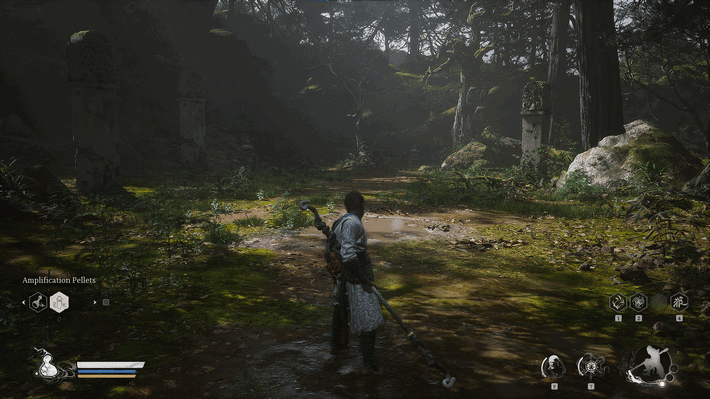 Obtained after defeating the Wandering Wight |
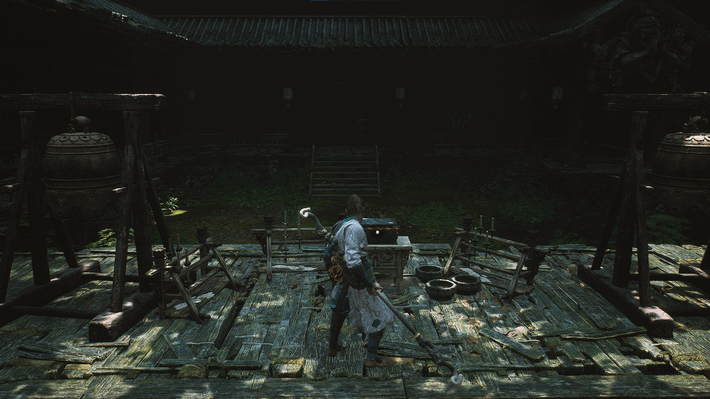 Can be found inside a small green chest west of the Black Wind King boss arena |
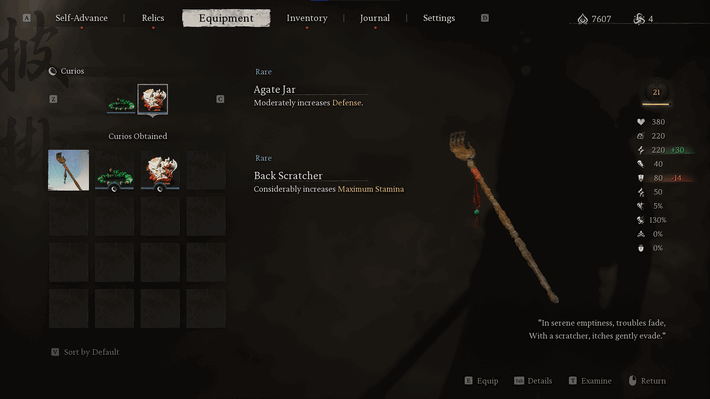 Can be bought from a Shrine after defeating the Black Bear Guai |
Chapter 1 Spirit Locations
| Collectible Locations |
|---|
 Absorbed after defeating the Wandering Wight |
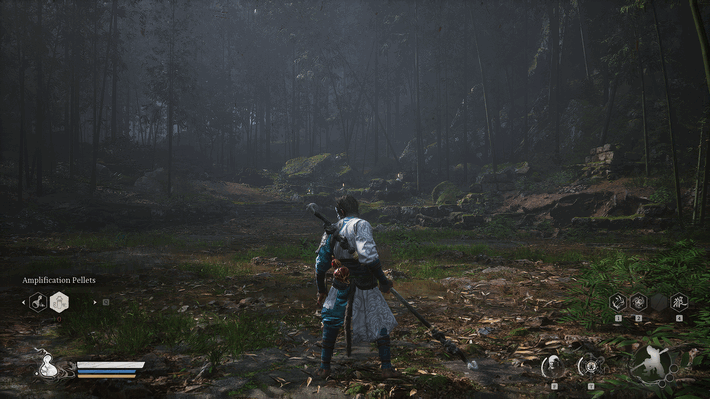 Absorbed after defeating Guangmou |
Chapter 1: Black Cloud, Red Fire Secret Locations
How to Get to Ancient Guanyin Temple
Ring all Three Bells after Defeating Guangzhi, Guangmou, and the Whiteclad Noble
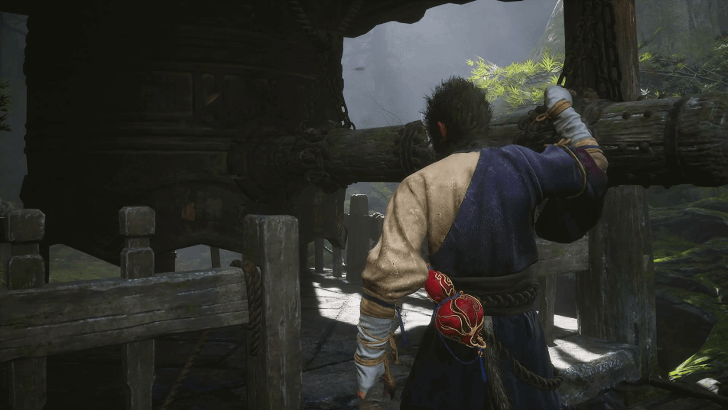
To access the secret location in Chapter 1, you need to have rung the three Bells after beating Guangzhi, Guangmou, and the Whiteclad Noble. The last one will teleport you to the Ancient Guanyin Temple where you can battle Elder Jinchi.
Chapter 1 Secret Area: Ancient Guanyin Temple Guide
Black Myth: Wukong Related Guides

All Chapter Walkthrough Guides
Main Chapter Walkthroughs
| All Chapters | |||||
|---|---|---|---|---|---|
 Chapter 1 Chapter 1 |
 Chapter 2 Chapter 2 |
 Chapter 3 Chapter 3 |
|||
 Chapter 4 Chapter 4 |
 Chapter 5 Chapter 5 |
 Chapter 6 Chapter 6 |
|||
 All Endings Guide All Endings Guide |
 How to Get the Secret Ending How to Get the Secret Ending |
||||
Area Walkthroughs
| Chapter 1 Areas | |
|---|---|
| Black Wind Mountain | |
| Forest of Wolves | Bamboo Grove |
| Black Wind Cave | - |
| Chapter 2 Areas | |
| Sandgate Village | Crouching Tiger Temple |
| Fright Cliff | The Kingdom of Sahali |
| Chapter 3 Areas | |
| Pagoda Realm | The Great Pagoda |
| Secret Areas | |
| List of All Secret Areas | |
| Ancient Guanyin Temple | The Kingdom of Sahali |
| Mount Mei | Purple Cloud Mountain |
| Bishui Cave | - |
Side Quest Walkthroughs
| List of All Quests | |
|---|---|
| Chapter 1 Quests | |
| Ring the 3 Bells | - |
| Chapter 2 Quests | |
| Boar Quest | Man-In-Stone Quest |
| Old Rattle-Drum Quest | Xu Dog Quest |
| Two-Headed Rat Guai Quest | - |
| Chapter 3 Quests | |
| Treasure Hunter Quest | Fox Quest |
| Third Prince Quest | Ruyi Scroll Quest |
| Chapter 4 Quests | |
| Venom Daoist Quest | Daoist Mi Quest |
| Purple Talisman Quest | - |
| Chapter 5 Quests | |
| Five Element Carts | - |
| Other Quests | |
| Supreme Gourd Quest | Five Skandhas Quest |
| Horse Guai Questline | - |
Comment
Author
Chapter 1: Black Cloud Red Fire Walkthrough Guide
improvement survey
03/2026
improving Game8's site?

Your answers will help us to improve our website.
Note: Please be sure not to enter any kind of personal information into your response.

We hope you continue to make use of Game8.
Rankings
- We could not find the message board you were looking for.
Gaming News
Popular Games

Genshin Impact Walkthrough & Guides Wiki

Honkai: Star Rail Walkthrough & Guides Wiki

Umamusume: Pretty Derby Walkthrough & Guides Wiki

Pokemon Pokopia Walkthrough & Guides Wiki

Resident Evil Requiem (RE9) Walkthrough & Guides Wiki

Monster Hunter Wilds Walkthrough & Guides Wiki

Wuthering Waves Walkthrough & Guides Wiki

Arknights: Endfield Walkthrough & Guides Wiki

Pokemon FireRed and LeafGreen (FRLG) Walkthrough & Guides Wiki

Pokemon TCG Pocket (PTCGP) Strategies & Guides Wiki
Recommended Games

Diablo 4: Vessel of Hatred Walkthrough & Guides Wiki

Cyberpunk 2077: Ultimate Edition Walkthrough & Guides Wiki

Fire Emblem Heroes (FEH) Walkthrough & Guides Wiki

Yu-Gi-Oh! Master Duel Walkthrough & Guides Wiki

Super Smash Bros. Ultimate Walkthrough & Guides Wiki

Pokemon Brilliant Diamond and Shining Pearl (BDSP) Walkthrough & Guides Wiki

Elden Ring Shadow of the Erdtree Walkthrough & Guides Wiki

Monster Hunter World Walkthrough & Guides Wiki

The Legend of Zelda: Tears of the Kingdom Walkthrough & Guides Wiki

Persona 3 Reload Walkthrough & Guides Wiki
All rights reserved
Copyright © Game Science Interactive Technology Co., Ltd. All Rights Reserved.
备案号: 浙ICP备20024998号-1
The copyrights of videos of games used in our content and other intellectual property rights belong to the provider of the game.
The contents we provide on this site were created personally by members of the Game8 editorial department.
We refuse the right to reuse or repost content taken without our permission such as data or images to other sites.


![Monster Hunter Stories 3 Review [First Impressions] | Simply Rejuvenating](https://img.game8.co/4438641/2a31b7702bd70e78ec8efd24661dacda.jpeg/thumb)


