List of Armor Sets and Effects
☆ Walkthrough ▶ 1 | 2 | 3 | 4 | 5 | 6 | Endings | NG+
★ All Quests ▶ Man-in-Stone | Boar | Fox
☆ Best Builds | Transformations | Spells | Armor
★ Bosses ▶ Yellow Wind Sage | Captain Wise-Voice
┗ Erlang | 4 Heavenly Kings | Final Boss

This is a list of all armor in Black Myth: Wukong. Read on to check out all armor sets and individual armor pieces in the game, their stats and effects, how to get them, and more!
List of Contents
List of All Armor
| All Armor | ||
|---|---|---|
| Armor Sets | Non-Set Pieces | Armor by Slot |
All Armor Sets
| Armor Set | Set Effect |
|---|---|
| Bronze Set |
Evil Crasher 2-Piece: Deals additional Damage to the enemy upon crashing their immobilization. 4-Piece: Upon crashing the immobilization on the enemy, massively reduces Cooldown for Immobilize Spell. |
| Bull King Set |
Unyielding Resolve 2-Piece: Upon taking damage, temporarily grants moderate Defense. 4-Piece: Disables Perfect Dodges but grants Tenacity when Health is below half. |
| Centipede Set |
Poison Ward 2-Piece: Massively reduces the continuous damage received from Poisoned State. 4-Piece: Significantly increases Attack while suffering from Poisoned State |
| Ebongold Set |
Dance of the Black Wind 3-Piece: In Cloud Step, shrouding black wind will attack enemies nearby the Destined One and the Decoy continuously. |
| Folk Opera Set |
Every Bit Counts 4-Piece: Moderately increases the Will gained from defeating the enemy. |
| Fortune's Favor Set |
Fortune's Favor 3-Piece: Each new Great Sage's Talent awakened increases the Defense of this armor set. |
| Galeguard Set |
Gale Guardian 2-Piece: Upon Perfect Dodges, grants considerable additional Focus. 4-Piece: Perfect Dodges slightly reduces Cooldown for all Spells. |
| Golden Set |
Gilded Radiance 3-Piece: For a short duration after performing a Spirit Skill or using a Vessel considerably increases Attack. 4-Piece: Upon Critical Hits and defeats, grants a small amount of Qi. |
| Heaven's Equal Set |
Heaven's Equal 3-Piece: For a short duration after casting a Spell, moderately increases Critical Hit Chance. 5-Piece: Upon Critical Hit, slightly reduces Cooldown for all Spells. |
| Insect Set |
Fuban Strength 2-Piece: Upon taking medicines, grants considerable Focus. 4-Piece: Moderately increases the duration of all medicinal effects. |
| Iron Set |
Iron Will 2-Piece: Upon successful Rock Solid Deflections, massively increases Focus gained by Nick of Time. 4-Piece: Upon successful Rock Solid Deflections, considerably reduces its Cooldown. |
| Loongscale Set |
Thunder Veins 3-Piece: Moderately reduces the duration of Shocked State; moderately increases Thunder Damage. |
| Non-Pure Set |
From Mud to Lotus 2-Piece: Mud that stains upon De-Transformation and exiting Spirit Skills grants considerable Damage Reduction for a short duration. 4-Piece: When stained with mud, increases Might recovery rate; Dodges and Perfect Dodges also recover a small amount of additional Might. |
| Ochre Set |
Raging Sandstorm 3-Piece: Decoy and Duplicates are cloaked in Yellow Wind, granting them considerable Damage Reduction. |
| Pilgrim Set |
Swift Pilgrim 2-Piece: Moderately increases Sprint speed. 4-Piece: When Sprinting, each second moderately increases Attack. This effect can stack up to 10 times and will cease upon stopping. |
| Serpentscale Set |
Wave-Rider 3-Piece: Massively reduces Stamina cost when in water. |
| Yaksha Outrage Set |
Outrage 2-Piece: Pillar Stance Varied Combos, Sweeping Gale and Churning Gale, deal additional Damage. 4-Piece: Unleash the rage within, significantly increasing Damage both dealt and taken. |
All Non-Set Armor Pieces
| Armor | Defense | Bonus Effect | How to Get |
|---|---|---|---|
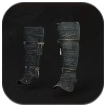 Cotton Legwraps Cotton Legwraps
(Common) |
3 | None | Available at the start of the game |
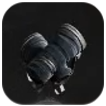 Cotton Wristwraps Cotton Wristwraps
(Common) |
2 | None | Available at the start of the game |
 Earth Spirit Cap Earth Spirit Cap
(Epic) |
26 |
Poison Resistance +15
Slowly loses Health, but massively increases Health recovery when Using Gourd.
|
Defeat the Nine-Capped Lingzhi Guai from the mushroom node near the Ashen Pass III in the Field of Fire in Chapter 5 |
 Ginseng Cape Ginseng Cape
(Epic) |
48 |
Chill Resistance +8
For a short duration after using the gourd, moderately increases Maximum Stamina.
|
Defeat the Old Ginseng Guai near the Towers of Karma Shrine in the Valley of Ecstasy during Chapter 3 |
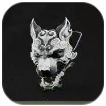 Grey Wolf Mask Grey Wolf Mask
(Uncommon) |
10 |
Inflicts considerably more Damage Bonus on enemies at critical Health.
|
Defeat Lingxuzi at the Forest of Wolves |
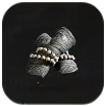 Guanyin's Prayer Beads Guanyin's Prayer Beads
(Uncommon) |
10 |
After absorbing the lingering will, moderately increase Maximum Health and Mana for a long duration.
|
Obtain in a chest at the Grand Chamber in the Ancient Guanyin Temple |
 Locust Antennae Mask Locust Antennae Mask
(Epic) |
24 |
Considerably increases power of all Jump Attacks.
|
Dropped by grasshoper enemies in the Webbed Hollow in Chapter 4 |
 See No Evil See No Evil
(Epic) |
25 |
More easily triggers Perfect Dodge.
|
Obtained from a blindfolded monk enemy in New Thunderclap Temple |
 Skull of Turtle Treasure Skull of Turtle Treasure
(Epic) |
30 |
Moderately increases the chance of obtaining materials upon killing an enemy.
|
Dropped by Turtle Treasure in Chapter 3 |
 Snout Mask Snout Mask
(Rare) |
17 |
For a short duration after using the gourd, moderately increases Attack; refraining from Using Gourd for a relatively long duration moderately reduces Attack on the contrary.
|
Hand the Sobering Stone and Jade Lotus first and then defeat Boar Man in Fright Cliff - Rockrest Flat in Yellow Wind Ridge |
 Tiger Hide Loincloth Tiger Hide Loincloth
(Common) |
5 | None | Available at the start of the game |
 Vajra Armguard Vajra Armguard
(Epic) |
20 |
Moderately reduces Cooldown of all Mysticism Spells.
|
Dropped by Clay Vajra in Chapter 3 |
 Venomous Armguard Venomous Armguard
(Legendary) |
30 |
Critical Hit Chance +3%
|
Break all four arms of the Venom Daoist boss in the Webbed Hollow in Chapter 4 |
 Yin-Yang Daoist Robe Yin-Yang Daoist Robe
(Legendary) |
36 |
When Health is above half, the Destined One is in Yang state, which moderately reduces damage taken, but disables Critical Hits; when Health is below half, the Destined One shifts to Yin state, which massively increases Critical Hit Chance but massively increases damage taken.
|
Defeat Keeper of the Flaming Mountains in Chapter 5 |
All Armor by Slot
| All Armor by Slot | |||
|---|---|---|---|
 Headgear Headgear |
 Chest Chest |
 Arms Arms |
 Legs Legs |
How to Get New Armor
Craft Armor in Shrines
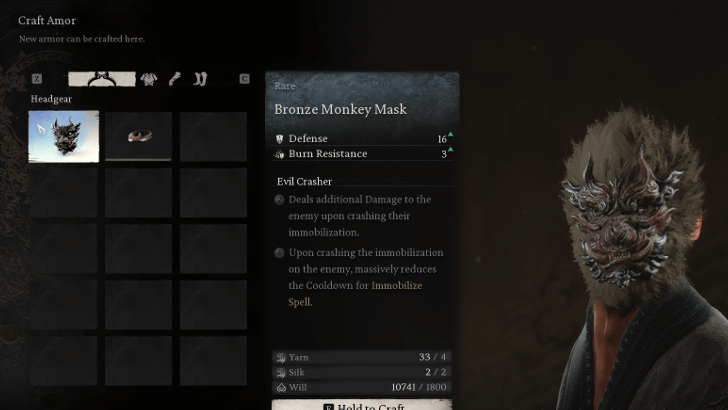
Most armor can be crafted in Shrines after unlocking their recipes once you defeat bosses. These recipes unlock the whole armor set, so you'll be able to make the armor pieces that you want and benefit from set bonuses.
Loot Armor from Chests
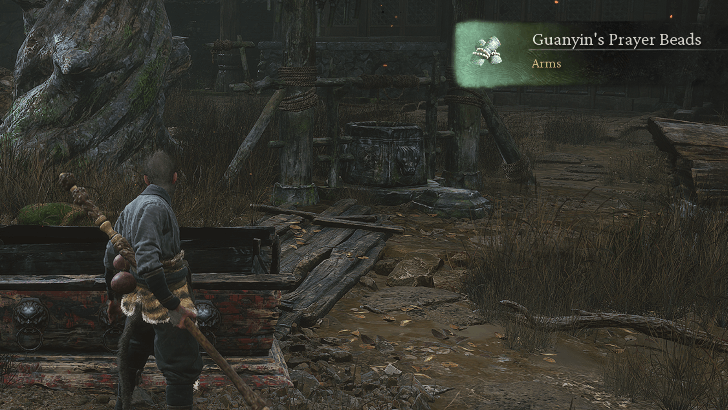
Some armor pieces can be obtained after opening chests and containers found in the overworld. These armor pieces do not have set bonuses as they don't belong in any set, but they can be useful to be equipped in certain combat situations.
How to Upgrade Armor
Complete Xu Dog Quest
To unlock the option to upgrade armor, you need to complete a questline involving Xu Dog and the boss Chen Loong.
Speak to Yin Tiger in Zodiac Village
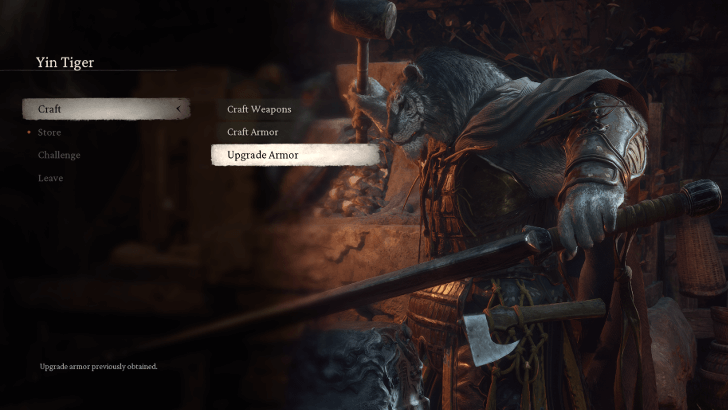
After defeating Chen Loong, you'll be able to go to the Zodiac Village, where a bunch of merchants are located. One of them will be Yin Tiger, with whom you will be able to upgrade your armor.
This will let you use any older armor pieces you like, as you can improve their stats.
Armor Set Bonuses Explained
Get Buffs from Multiple Armor Pieces
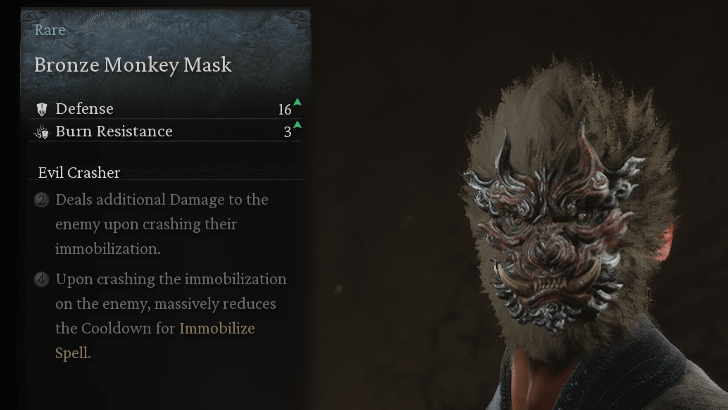
Armor sets can grant you additional buffs if you equip the required number of armor pieces per set. Some sets have more than one effect if you equip three or all four armor pieces belonging to that set.
You can also try equipping two sets of armor pieces belonging to different sets to get two unique buffs, which can be useful if you want to mix and match different armor sets to match your playstyle.
Black Myth: Wukong Related Links

| Hot Articles | |
|---|---|
| All Skill Trees | Best Builds |
Comment
Stand alone pieces is upgradable or no?
Author
List of Armor Sets and Effects
improvement survey
03/2026
improving Game8's site?

Your answers will help us to improve our website.
Note: Please be sure not to enter any kind of personal information into your response.

We hope you continue to make use of Game8.
Rankings
- We could not find the message board you were looking for.
Gaming News
Popular Games

Genshin Impact Walkthrough & Guides Wiki

Honkai: Star Rail Walkthrough & Guides Wiki

Umamusume: Pretty Derby Walkthrough & Guides Wiki

Pokemon Pokopia Walkthrough & Guides Wiki

Resident Evil Requiem (RE9) Walkthrough & Guides Wiki

Monster Hunter Wilds Walkthrough & Guides Wiki

Wuthering Waves Walkthrough & Guides Wiki

Arknights: Endfield Walkthrough & Guides Wiki

Pokemon FireRed and LeafGreen (FRLG) Walkthrough & Guides Wiki

Pokemon TCG Pocket (PTCGP) Strategies & Guides Wiki
Recommended Games

Diablo 4: Vessel of Hatred Walkthrough & Guides Wiki

Cyberpunk 2077: Ultimate Edition Walkthrough & Guides Wiki

Fire Emblem Heroes (FEH) Walkthrough & Guides Wiki

Yu-Gi-Oh! Master Duel Walkthrough & Guides Wiki

Super Smash Bros. Ultimate Walkthrough & Guides Wiki

Pokemon Brilliant Diamond and Shining Pearl (BDSP) Walkthrough & Guides Wiki

Elden Ring Shadow of the Erdtree Walkthrough & Guides Wiki

Monster Hunter World Walkthrough & Guides Wiki

The Legend of Zelda: Tears of the Kingdom Walkthrough & Guides Wiki

Persona 3 Reload Walkthrough & Guides Wiki
All rights reserved
Copyright © Game Science Interactive Technology Co., Ltd. All Rights Reserved.
备案号: 浙ICP备20024998号-1
The copyrights of videos of games used in our content and other intellectual property rights belong to the provider of the game.
The contents we provide on this site were created personally by members of the Game8 editorial department.
We refuse the right to reuse or repost content taken without our permission such as data or images to other sites.
 News
News Walkthroughs
 Bosses
 Tips and Tricks
 Armor
Armor Weapons
 Equipment
 Inventory Items
 Spells
 Transformations
 Spirits
 Foundation Skills
 Staff Stance Skills
 Collectibles
 Trophies
 Characters
 Interactive Map


![Monster Hunter Stories 3 Review [First Impressions] | Simply Rejuvenating](https://img.game8.co/4438641/2a31b7702bd70e78ec8efd24661dacda.jpeg/thumb)


You guys usually have the the best / most complete info for games, so I'm surprised your layout isn't good for the armor in this game. Several of the armor sets have additional buffs when you max/upgrade them to mythical, so there's an entire column that you are missing for the mythical upgrade buffs, which would be the most helpful column since people will want to figure out what armor to focus on upgrading to mythical since the game doesn't tell you the mythical buff unless you upgrade it.