All Chapter Walkthrough Guides
☆ Walkthrough ▶ 1 | 2 | 3 | 4 | 5 | 6 | Endings | NG+
★ All Quests ▶ Man-in-Stone | Boar | Fox
☆ Best Builds | Transformations | Spells | Armor
★ Bosses ▶ Yellow Wind Sage | Captain Wise-Voice
┗ Erlang | 4 Heavenly Kings | Final Boss
This is a complete walkthrough guide for Black Myth: Wukong that covers all six chapters and locations in the game. Read our guide for a full progression walkthrough and details on the story!
List of Contents
Chapter 1: Black Cloud, Red Fire Walkthrough
| Jump to a Section! | |||||||||||
|---|---|---|---|---|---|---|---|---|---|---|---|
| Forest of Wolves | Bamboo Grove | Blackwind Cave | |||||||||
| Secret Area: Ancient Guanyin Temple | |||||||||||
Chapter 1: Black Cloud Red Fire Walkthrough Guide
Forest of Wolves
| # | Forest of Wolves Objectives |
|---|---|
| 0 | Prologue |
| 1 | Front Hills |
| 2 | Outside the Forest |
| 3 | Guanyin Temple |
Prologue
| Objectives | |
|---|---|
| 1 | 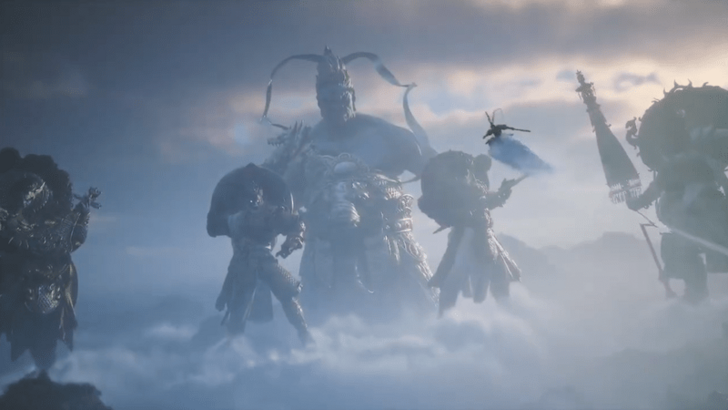 You will start the game as Sun Wukong facing off against the Court of Heaven and its Heavenly Kings. |
| 2 | After the cutscene will be thrust into a boss fight with Erlang, don't worry as you cannot die in this fight so use this chance to practice the controls. |
| 3 | Once you defeat Erlang, another cutscene will play with Sun Wukong being incapacitated by his circlet. |
| 4 | 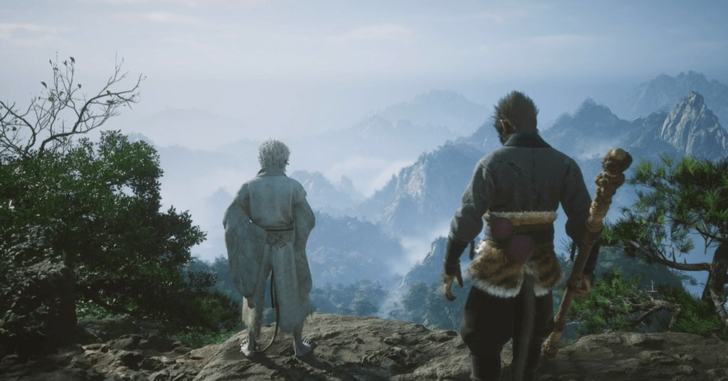 After being turned into a rock, and another cutscene, you will now be able to play as the Destined One. |
| 5 | After tricking some Wolf Guais into thinking you're a Peach, go ahead and fight them. Use the chance to get used to the controls. |
| 6 | After the fight, head north up a path and there's another Wolf Scout. Defeat it and head up some stone steps you should end up with a fork in the road. |
| 7 | 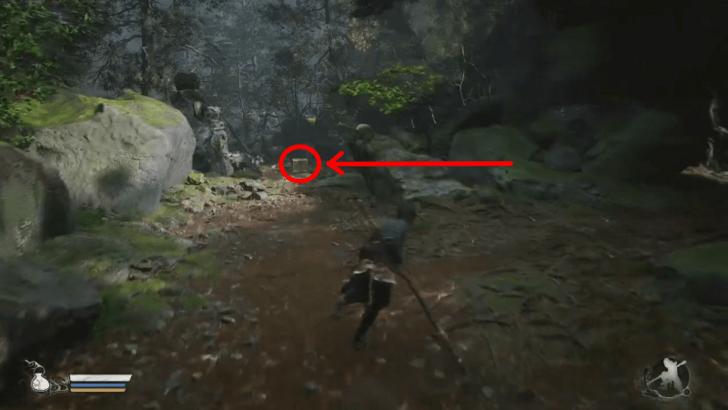 Head left from the path and fight the Wolf Scout guarding a chest. Head back and now go right where you will fight a Wolf Stalwart. Defeat it and you will be directed to a small shrine. |
| 8 | 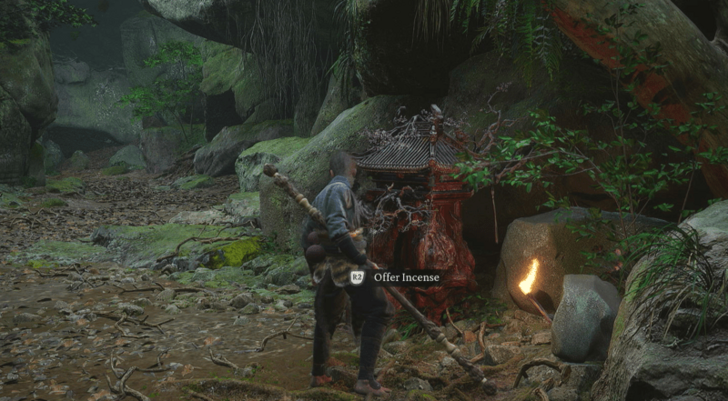 Interact with the shrine and a cutscene will play and the Keeper will ask you to head to Guanyin Temple. |
Front Hills
| Objectives | |
|---|---|
| 1 | After doing what you need at the Shine and getting the Incense Trail Talisman, move forward and beat the wolves along the way. |
| 2 | Cross the bridge and keep moving forward. You will now be in an open area. To progress the story, follow the path. |
| * | You can jump down into the river and follow it upstream and there will be a Crow Diviner Yaoguai. Defeat it for a ton of experience and capture the nearby Wisps. |
| 3 | Going back to the forest hill path, make your way right and you will encounter the Bullguard. Be careful as this is the first boss you'll fight! You can go back to a shrine to refill your health and gourd. |
| 4 | Before heading to the boss, turn left towards the large head on the ground to collect the Skandha of Form. This is part of the Five Skandhas Quest that will take place throughout the entire game. ▶ Five Skandhas Quest Guide |
| 5 | 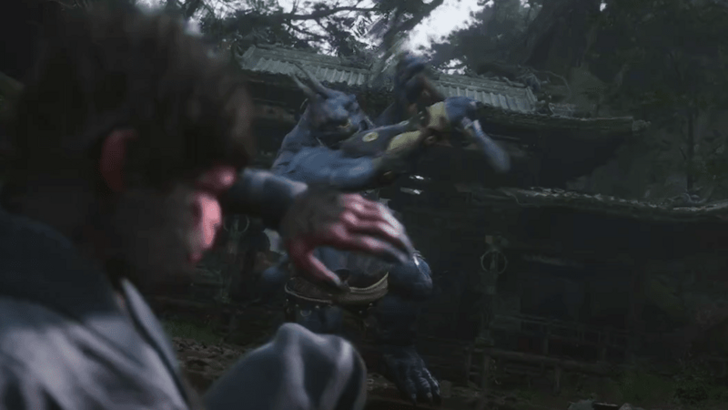 Once you're ready, head towards the Bullguard to engage it in battle. Once you whittle it down to half its health, the Keeper will give you the Immobilize spell! Keep up the offense until you beat the boss! ▶ Bullguard Boss Guide |
| 6 | Past the gate the Bullguard was guarding, there will be another fork in the road. Head right for some medicine ingredients and head left to progress the story. |
| 7 | 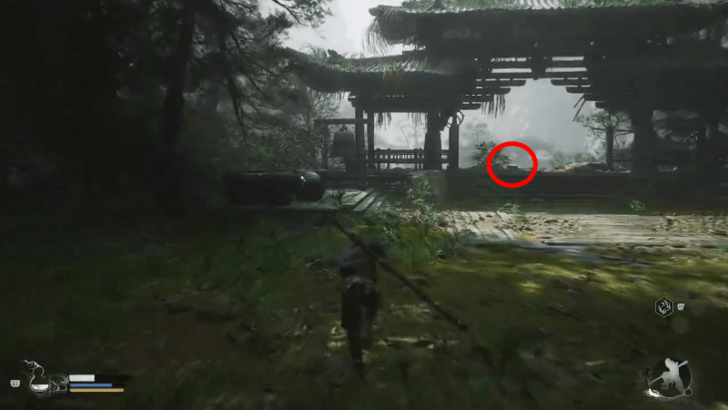 Follow the path and you will end up at a Meditation Spot. Make sure to use it to get a free Spark for unlocking Skills. |
| 8 | 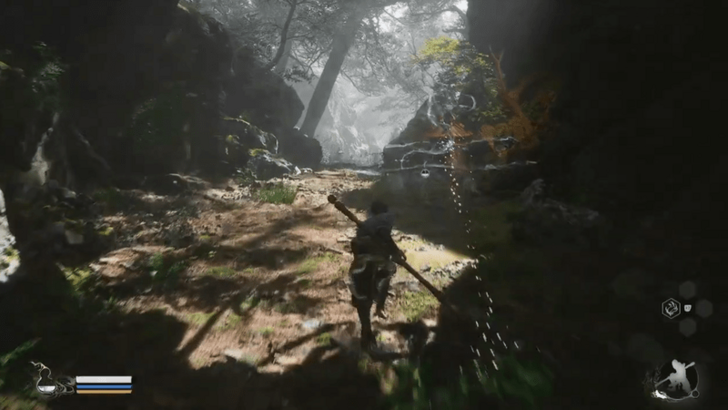 Across the meditation spot, there will be a crevice on the wall. Head inside and make your way through, following the gold trail to the next Shrine. |
Outside the Forest
| Objectives | |
|---|---|
| 1 | 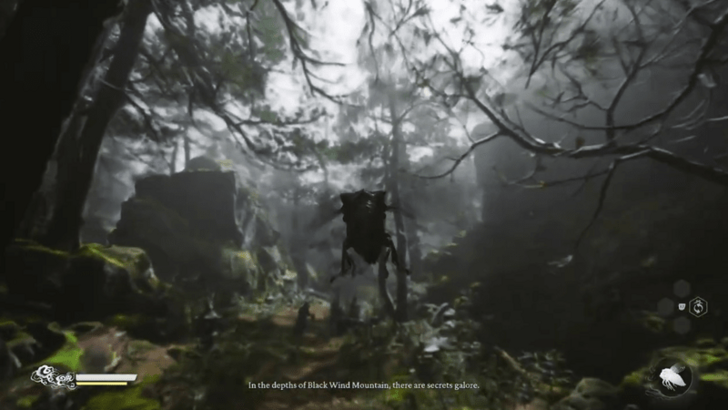 After doing what you need at the Shine, the Keeper will turn you into a Golden Cicada. Make use of this to scout the area ahead, you can skip forward or head back for anything you may have passed. Note: This form is only temporary, and you can't transform back once you've swapped back to your regular form. |
| * | If you don't care about the optional objectives in this area, follow the path on the right until you've passed the Wandering Wight and reached the safe zone past him. |
| 2 | Teleport back to the shrine and head forward beating up the wolves along the way.. |
| 3 | Head left at the fork and unlock the chest after dealing with the wolves. Near the stream, there's a Ginseng plant that's a monster. Be careful as this one can deal serious damage. |
| 4 | Follow the stream from the source and you will come across another Crow Diviner meditating. Head back to the bridge and there is an archer there. |
| 5 | From the bridge and archer head towards the shrine where you can find Guangzhi. Make sure you're prepared before you take on the boss! |
| 6 | 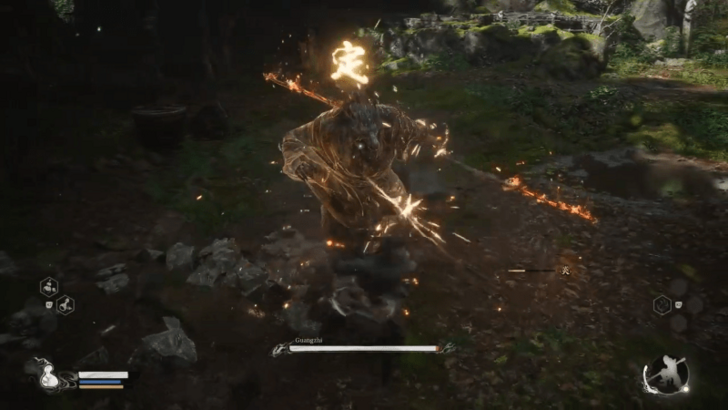 When you're ready, head towards Guangzhi to engage it in battle. Once he's been defeated, you'll unlock the Red Tides Transformation! ▶ Guangzhi Boss Guide |
| 7 | 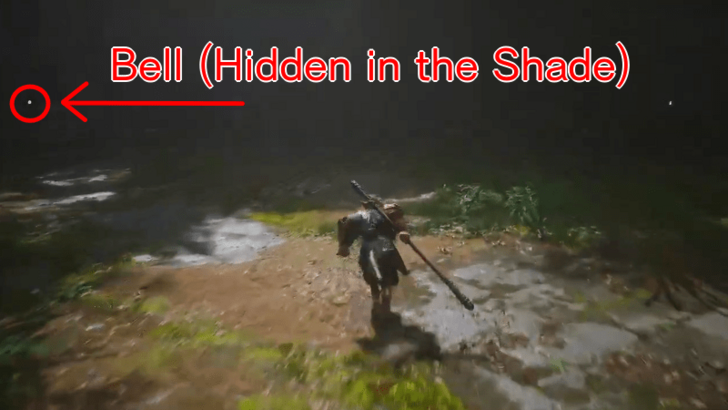 After beating Guangzhi, make sure to ring the nearby bell. This is tied to the Secret Area of Chapter 1, so make sure you don't miss it! After looting the area, teleport back to the shrine and follow the path on the right towards where the giant monster is. ▶ Chapter 1 Secret Area Guide |
| * | 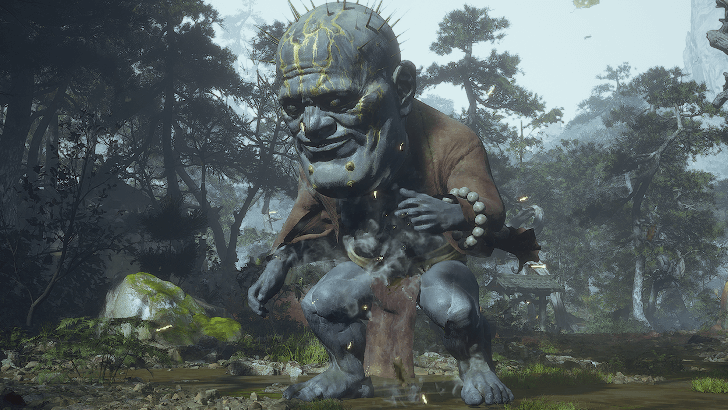 When you're ready, head forward and attack Wandering Wight. This is a pretty tough fight, so make sure to take your time and only go in for attacks when there's an opening to do so. Optionally, you can just run past him and head into the tunnel at the back. Just make sure to come back later since he drops a powerful Spirit that also increases your Defense! ▶ Wandering Wight Boss Guide |
| 8 | 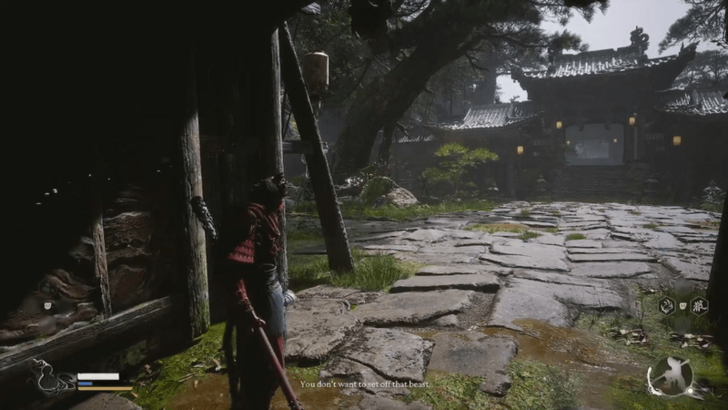 After beating or running past the Wandering Wight, keep following the path through the tunnel. Defeat the enemies along the way and you will end up at Guanyin Temple Shrine. |
Guanyin Temple
| Objectives | |
|---|---|
| 1 | Head inside the temple and a small cutscene will play. Afterwards, head towards the shrine and you are now able to craft new Armor! Make sure you have enough materials. |
| 2 | After getting your new drip at the Shine, you can look around and break stuff. Northwest of the shrine, there is a Chest so make sure to grab that too. |
| 3 | 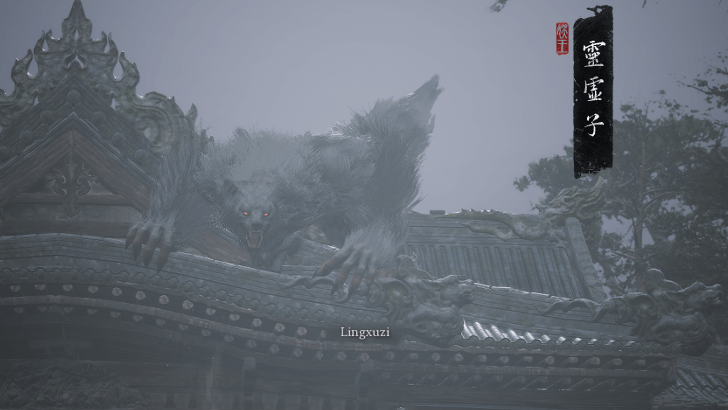 Once you're ready to face another boss, head up the steps where you will face off against Lingxuzi. ▶ Lingxuzi Boss Guide |
| 4 | 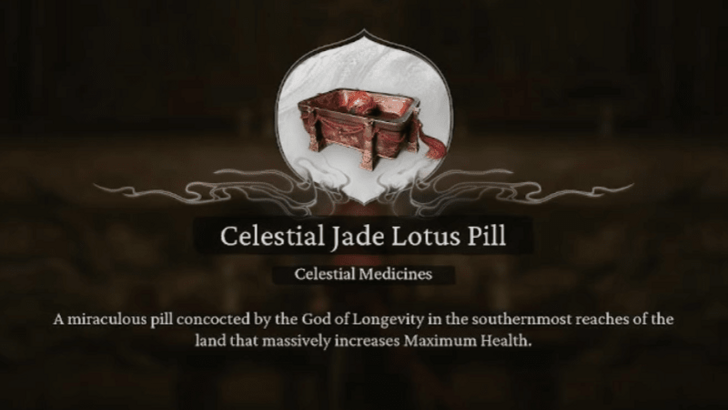 After beating Lingxuzi, you can look around and loot stuff. Afterwards, head inside the temple where there's a chest with a Celestial Jade Lotus Pill. Don't miss this since it increases your max HP! |
| 5 | 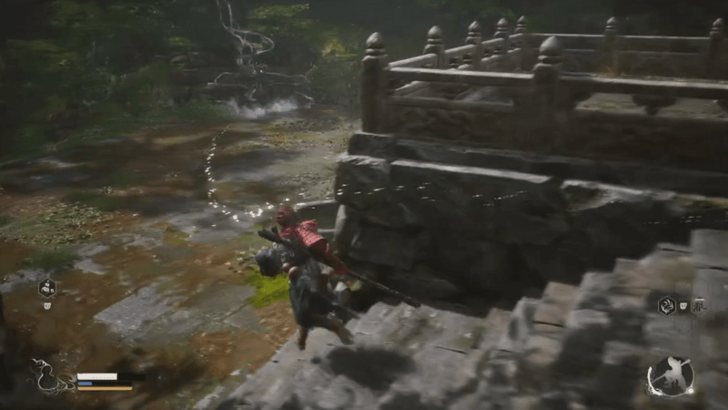 After grabbing the pills, you can keep moving forward and exit through the back. Follow the glittering trail to the Back Hills Shrine! |
Bamboo Grove
| # | Bamboo Grove Objectives |
|---|---|
| 1 | Back Hills |
| 2 | Snake Trail |
| 3 | Marsh of White Mist |
Back Hills
| Objectives | |
|---|---|
| 1 | 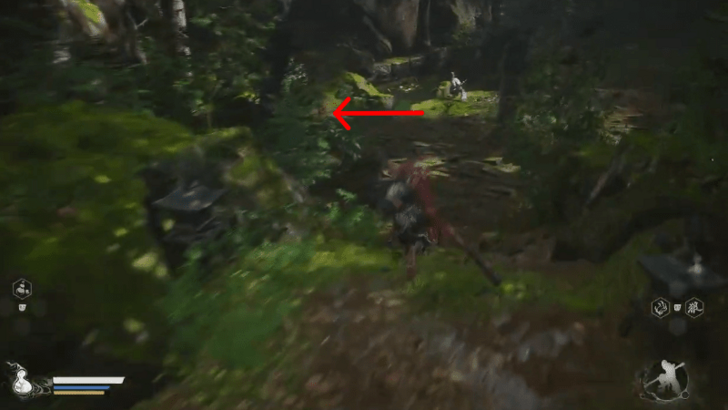 After resting up at the Shrine, you will see a small valley with a few enemies. Before you go running forward, to your left there will be a small cave so make sure to hug the wall while going forward. |
| 2 | 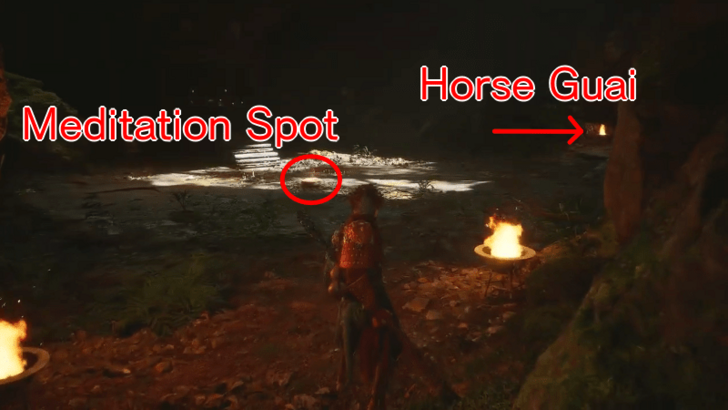 After finding the cave, you will find a Horse monster named Guai and a Meditation spot in the middle of the cave. Make sure to exhaust his dialogue options and use the Meditation Spot in the middle. |
| 3 | Once you're done, keep following the path down and you can wander around the water for some Wills. If you want to progress, head up the stone stairs and you will see a bridge on top. |
| 4 | 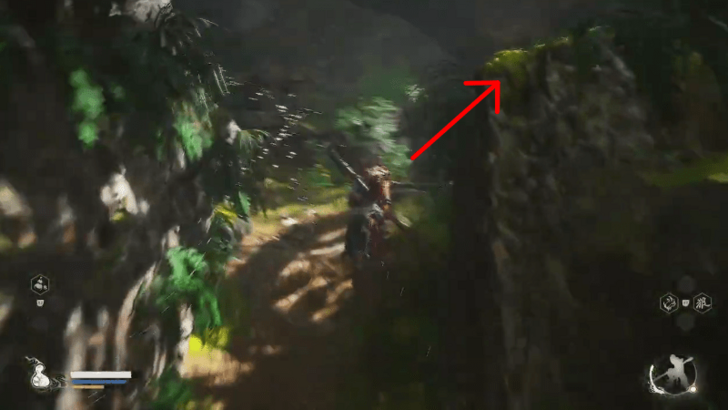 Cross the bridge and you will be greeted by another familiar trail of sparkles. There is a nearby gazebo with a gold box to the right and up some stairs. |
| 5 | 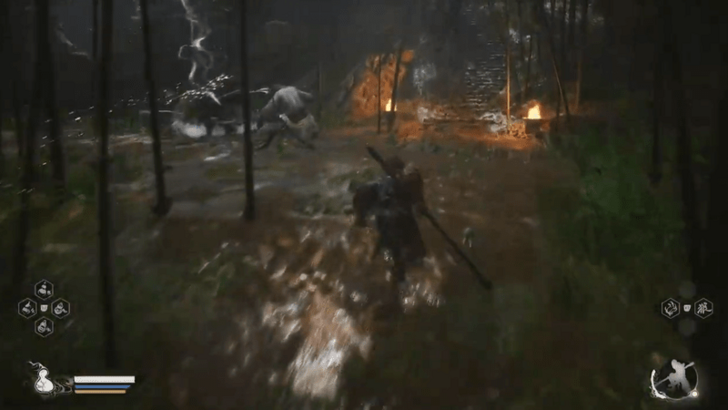 After grabbing the contents follow the sparkle, follow the glittering trail to the Snake Trail! |
Snake Trail
| Objectives | |
|---|---|
| 1 | Head towards the Shrine, you need to fight another Crow Diviner. Defeat it and you can rest up and swap some skills and equipment around. |
| 2 | 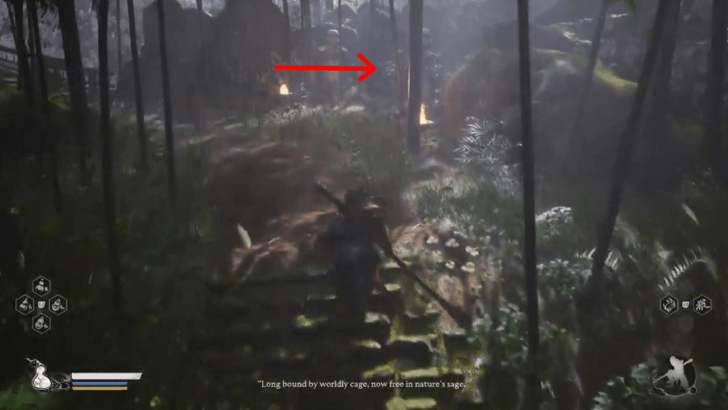 After doing what you need at the Shine, head up the stairs. You will see a strange man reciting poetry, go talk to him to upgrade your Gourd. |
| * | If you defeated the Wandering Wight, head back to the Shrine and select Retrieve Spirits. You can also upgrade it with the Blood of the Iron Bull it dropped. |
| 3 | Once you're done, head back to where the old man is and you can proceed to cross the bridge. |
| 4 | Keep heading forward and you will see a field of Bones. Past that, you can continue walking until another fork in the road appears. |
| 5 | After getting to the fork in the road, follow the stream instead of going under the bridge first. You can collect the green Will spirits along the way. |
| 6 | 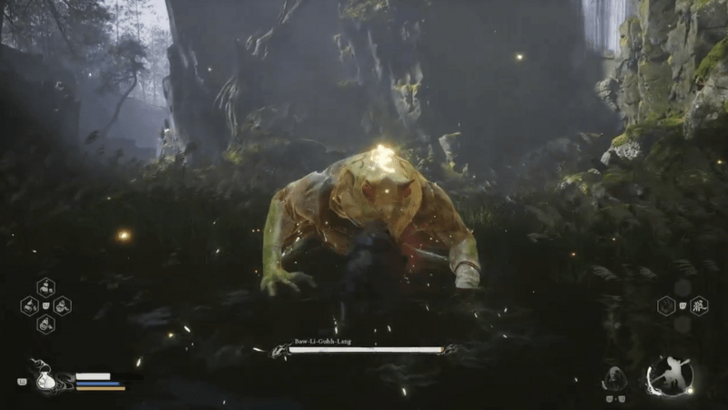 Keep following the stream and you will be put into a battle with Baw-Li-Guhh-Lang. ▶ Baw-Li-Guhh-Lang Boss Guide |
| 7 | After beating Baw-Li-Guhh-Lang, collect its spirit and Tadpole. Keep following the stream and you will be taken back to the main path. |
| 8 | You can head back to a Shine and heal up. Head back to the fork in the road and you can now head under the bridge. |
| 9 | After a bit of walking, you will end up in a bamboo forest. There is a Fungiling near a brasier if you pick up a Snake-Head Mushroom |
| 10 | 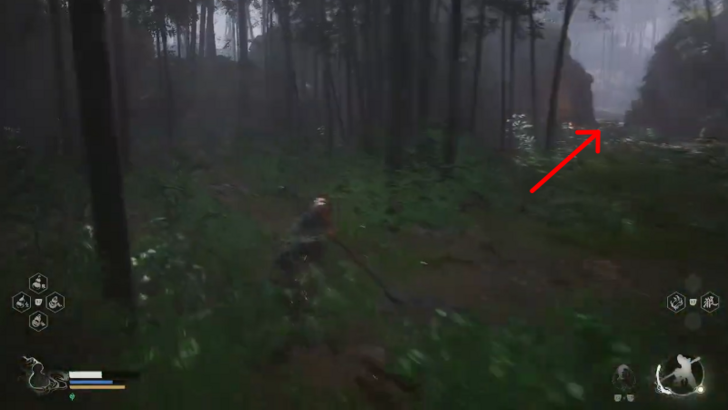 If you want to progress, look around and you will see a small opening to the right lit up by torches. |
| 11 | 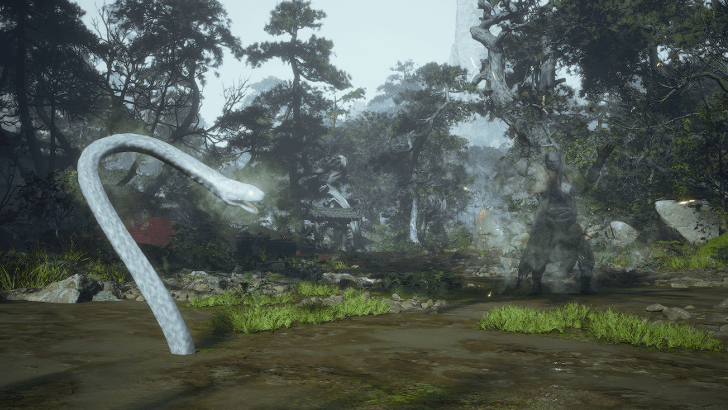 Head inside the opening and you will be put into a battle with Guangmou. ▶ Guangmou Boss Guide |
| 12 | 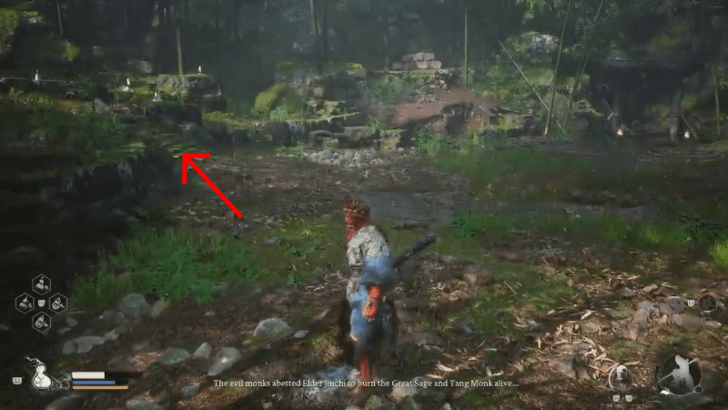 After beating Guangmou, make sure to ring the nearby bell. It is located up the stairway, so don't miss it before heading forward.. |
| 13 | After ringing the bell, head through the small archway and follow the trail of gold to the next Shrine. |
Marsh of the White Mist
| Objectives | |
|---|---|
| 1 | After resting up at the Shrine, across it, there is a tree with yellow flowers hanging from it. Grab the Luojia Fragrant Vine used to upgrade your Gourds. |
| 2 | 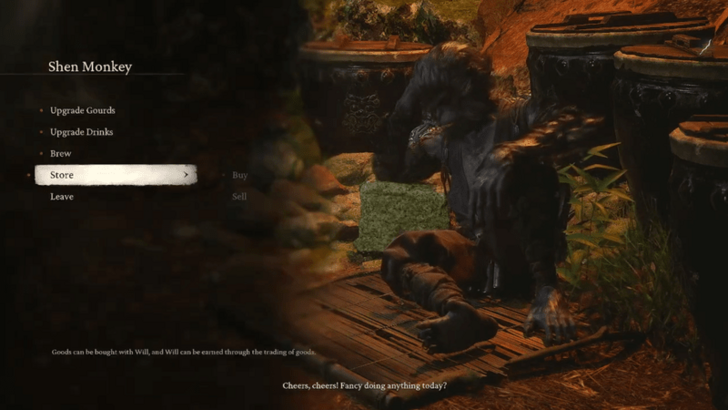 Head down the path and you will see a Snake Patroller harassing a Monkey. Defeat the snake and you will gain access to the Monkey's Shop! Take note of this location since this is a very important shop that lets you upgrade your Gourds and Drinks, improving your healing throughout the game! |
| 3 | Exit the monkey's cave and cross the wooden platform to get to a building with a chest. |
| 4 | 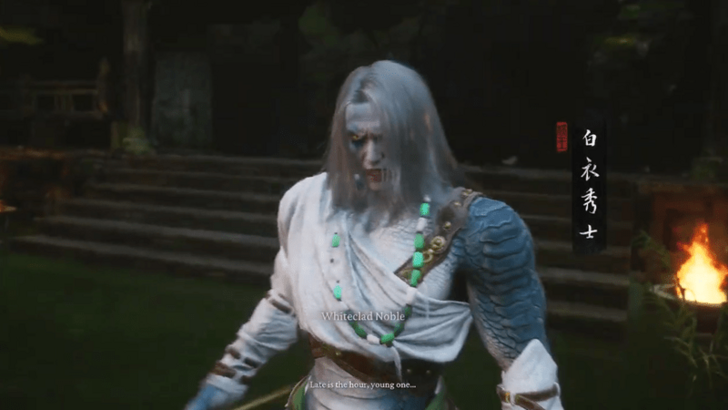 Keep following the path and make sure you're properly equipped since at the end of the path, you will be put into a battle with the Whiteclad Noble. ▶ Whiteclad Noble Boss Guide |
| 5 | 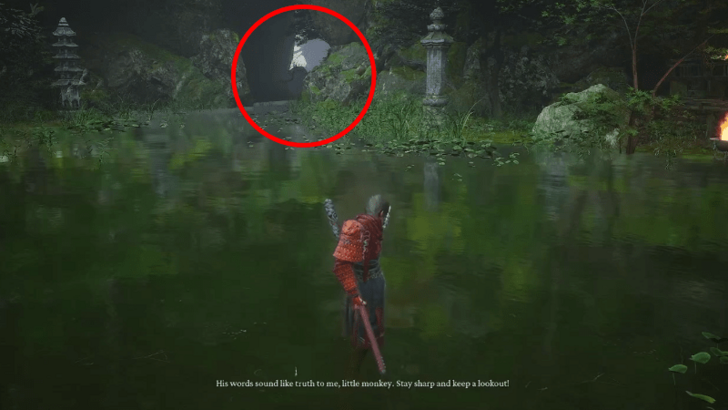 After getting through the two phases of the boss, go towards the left to a flooded ravine that leads to the third and final bell. |
| 6 | Once you're through the ravine, you will see the bell and some wolves you'll need to beat. After they're gone, walk up and ring the final bell to head to the Chapter 1 Secret Area. |
| 7 | Ring the bell and you will then be teleported to The Ancient Guanyin Temple. ▶ Jump to The Ancient Guanyin Temple |
| 8 | After the Ancient Guanyin Temple, or if you skipped this area, head inside the structure behind where the Whiteclad Noble was to get to the Black Wind Cave. |
Blackwind Cave
| # | Blackwind Cave Objectives |
|---|---|
| 1 | Cave Interior |
| 2 | Outside the Cave |
| 3 | Bodhi Peak |
Cave Interior
| Objectives | |
|---|---|
| 1 | Head inside the cave behind where the Whiteclad Noble was. There will be a Wolf Assassin once you reach a bright area so be careful. |
| 2 | 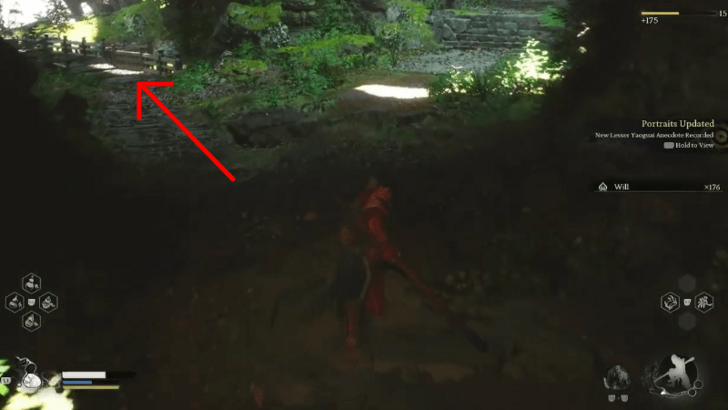 Head further into the tunnel until you reach a fork. Head to the left for the last Meditation Spot and a Celestial Taiyi Pill. |
| 3 | Head back and follow the path on the right to reach the Shrine guarded by two Wolf Sentinels. After the fight, interact with the Shrine and rest up before proceeding onward. |
| 4 | 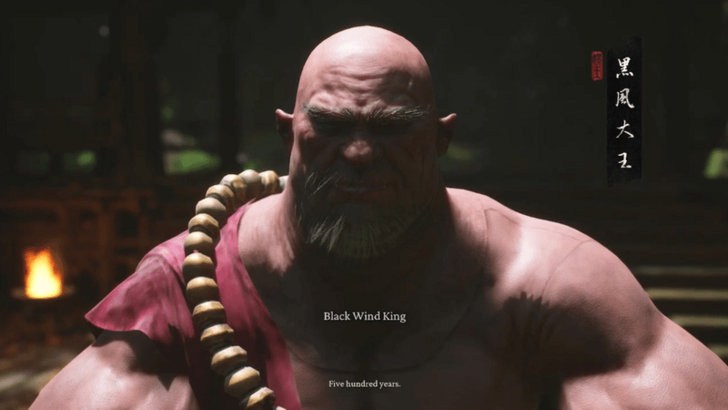 From the shrine, head forward and you will now be faced with the Black Wind King. ▶ Black Wind King Boss Guide |
| 5 | After beating the Black Wind King, you will receive the Cloud Step Spell. Loot the area next and proceed once you're ready. |
Outside the Cave
| Objectives | |
|---|---|
| 1 | Head to the Shrine and you can now proceed to the top of the mountain. |
| 2 | 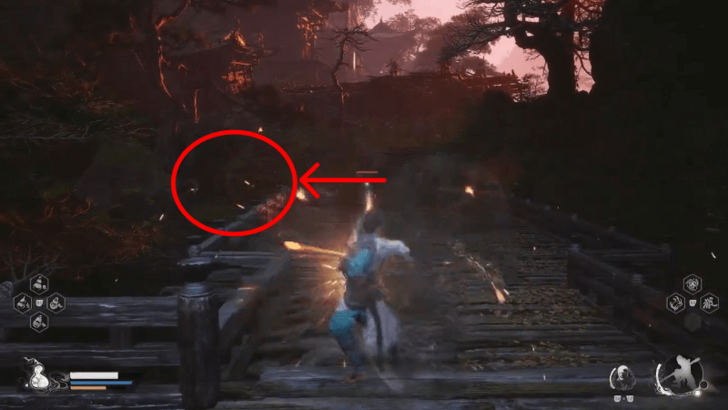 While heading up, there is a small area you can drop down from where there's a chest guarded by a Wolf Assassin. |
| 3 | Keep heading up while beating the Bullguards along the way and make sure to grab the Celestial Nonary Pill while you're going up. |
| 4 | The rest of the way up, will just be a bunch of Wolves so take them out and you will soon arrive at the final Shrine. |
Bodhi Peak
| Objectives | |
|---|---|
| 1 | Head to the Shrine and make sure you're prepared before moving forward. |
| 2 | 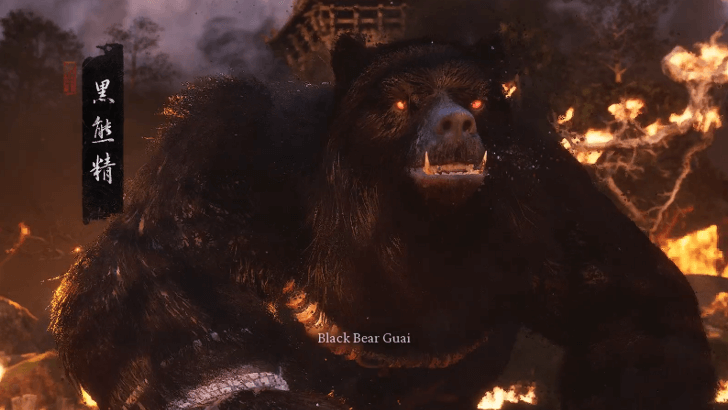 Once you're ready, head on forward to face the final boss of Chapter 1, Black Bear Guai. ▶ Black Bear Guai Boss Guide |
| 3 | After beating Black Bear Guai, you will get your first Relic and that concludes the first Chapter! |
Ancient Guanyin Temple
| # | Ancient Guanyin Temple Objectives |
|---|---|
| 1 | Grand Chamber |
Grand Chamber
| Objectives | |
|---|---|
| 1 | After ringing the bell, you will be teleported to The Ancient Guanyin Temple. |
| 2 | 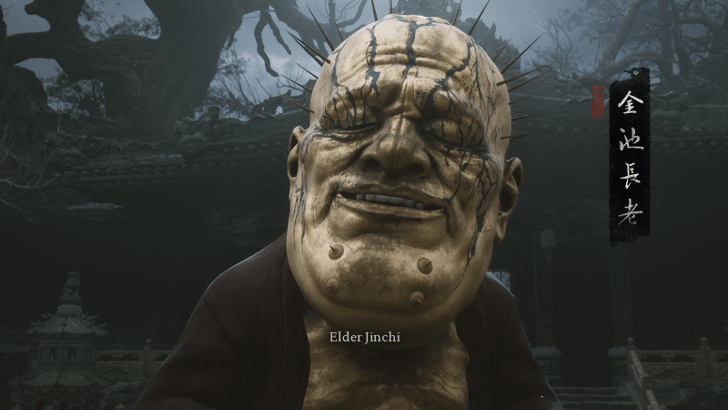 Head to the Temple and there will be a Shrine there. Once you're ready, head inside and after a cutscene, you will be put into a battle with Elder Jinchi. Head to the Temple and there will be a Shrine there. Once you're ready, head inside and after a cutscene, you will be put into a battle with Elder Jinchi. ▶ Elder Jinchi Boss Guide |
Chapter 2: Yellow Sand, Desolate Dusk Walkthrough
| Jump to a Section! | |||||||||||
|---|---|---|---|---|---|---|---|---|---|---|---|
| Sandgate Village | Crouching Tiger Temple | ||||||||||
| Fright Cliff | Yellow Wind Formation | ||||||||||
| Secret Area: Kingdom of Sahali | |||||||||||
Chapter 2: Yellow Sand Desolate Dusk Walkthrough Guide
Sandgate Village Walkthrough
| # | Sandgate Village Objectives |
|---|---|
| 1 | Village Entrance |
| * | Bottom of the Well |
| 2 | Valley of Despair |
Village Entrance Guide
| Objectives | |
|---|---|
| 1 | 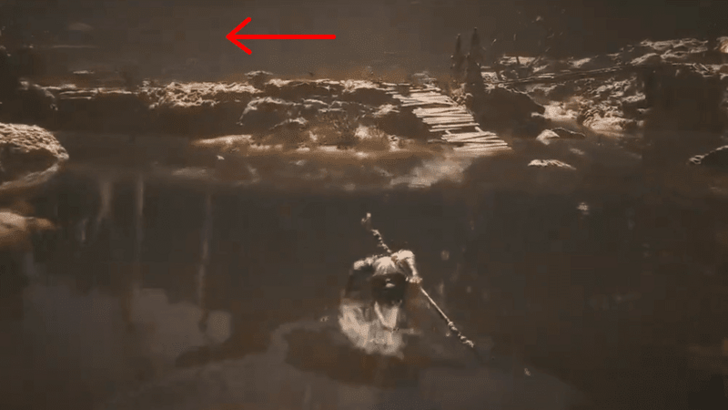 From the starting area, go through the water and towards the left, opposite the big dead tree. |
| 2 | Follow the path upwards until you can see the Sandgate Village. |
| 3 | 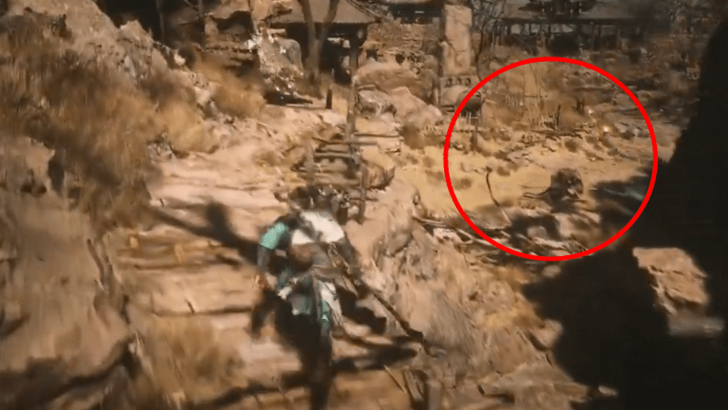 Continue following the path until you can drop down to defeat an enemy and unlock the Shrine. |
| * | Optionally, you can head back towards the starting area to explore and pick up any items you find. |
| 4 | Head towards the main gate and drop off the bridge into the ditch. From there, head into the cave. |
| * | 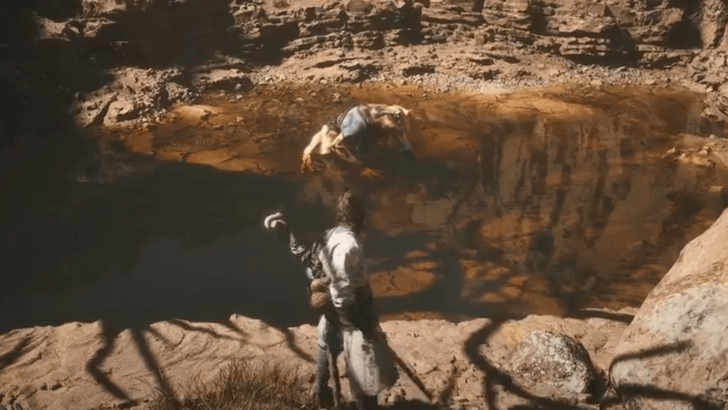 Head forward and down into the pit to defeat Lang-Li-Guhh-Baw for Xu Dog. Make sure to talk to him afterwards to initiate his quest. ▶ How to Beat Lang-Li-Guhh-Baw |
| 5 | Go up the stairs and to the left towards the back area of the village. Defeat enemies and pick up items on the way to the gate on the right. Be careful of the two-headed Rat Captains as they're tough even if they're regular enemies. |
| 6 | 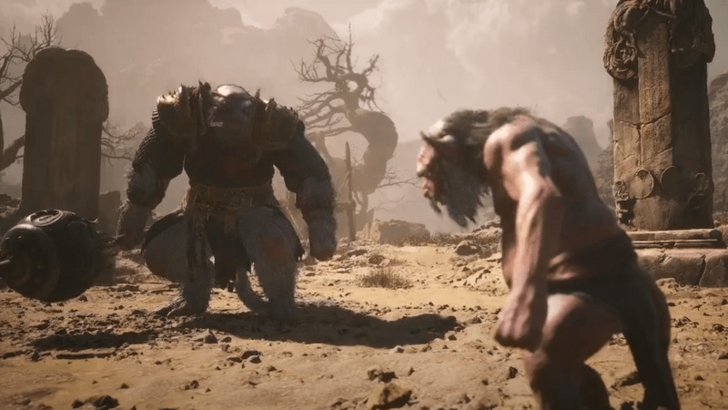 Go through the gate and defeat the King of Flowing Sands and his son, the Second Prince of Flowing Sands. ▶ Second Prince of Flowing Sands Boss Guide |
| 7 | After the fight, head left of the big locked gate to activate the Valley of Despair Shrine. |
| * | 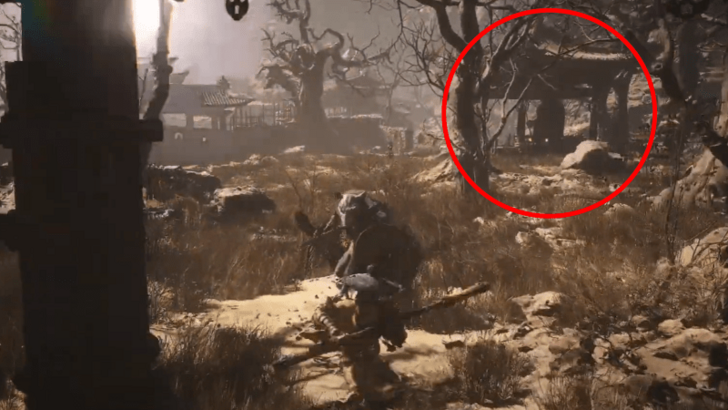 Head back towards the village, and go towards the large pagoda. Ignore the Earth Wolf and talk to the Horse Guai in the Pagoda. You can't free him, so just exhaust all of his dialogue. Once that's done, turn back and defeat the Earth Wolf to claim its Spirit. ▶ How to Beat Earth Wolf |
Bottom of the Well
| Objectives | |
|---|---|
| * | Only accessible after using the Old-Rattle Drum in three locations around Yellow Wind Ridge. ▶ Old Rattle-Drum Quest Guide |
| 1 | 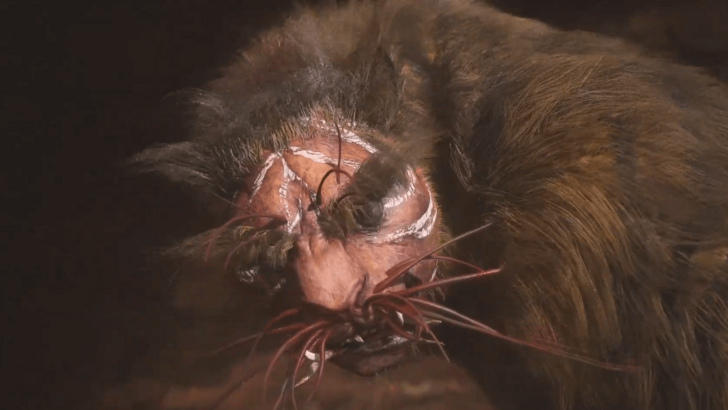 Defeat the Mad Tiger at the bottom of the well. You can die the first time to reset before the boss and activate the shrine. ▶ Mad Tiger Boss Guide |
| 2 | Head to the left side of the arena and pick up the Plaguebane Gourd from the treasure chest. |
Valley of Despair Guide
| Objectives | |
|---|---|
| 1 | 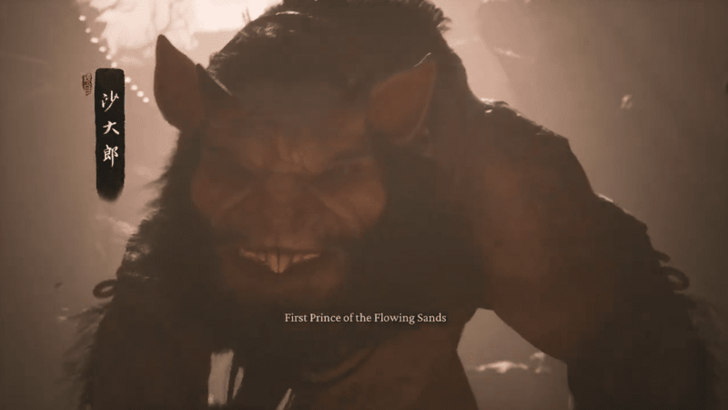 Head into the cave and go left towards the open-lit area. This is the boss arena for the First Prince of Flowing Sands, and its unlock conditions differ depending if you beat the King or Prince first in the previous boss fight. ▶ First Prince of Flowing Sands Boss Guide |
| * | Defeat the First Prince of Flowing Sands to get a drop necessary to unlock the Secret Area for this region. |
| ** | 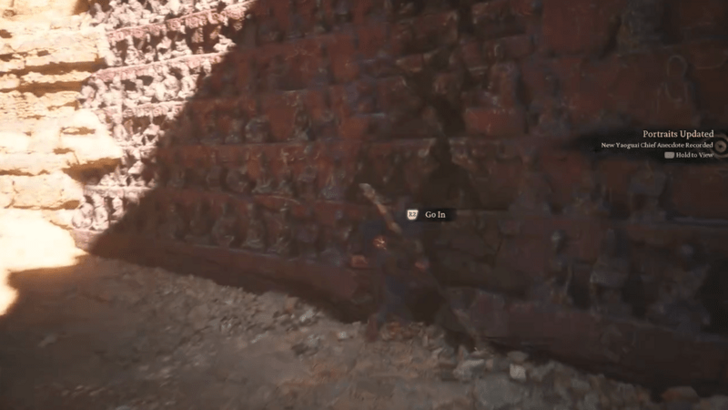 Break the red wall with one of the First Prince's attacks or with one of your Transformations, like the Wandering Wight. This will unlock an area that has the Loong Scales used to unlock the optional Loong bosses. ▶ The Loong Pattern Trophy Guide |
| 3 | 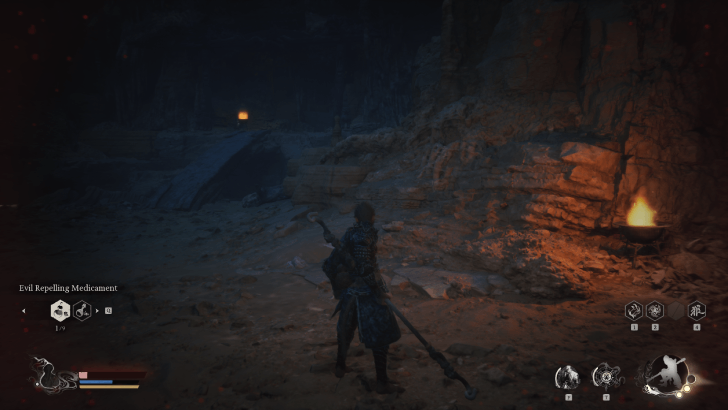 Follow the lit braziers to the left towards a wall that you'll need to squeeze through. |
| 4 | Defeat the Swift Bat and absorb its Spirit. |
| * | Roll through the wooden barricades to get to an area with more Bats and a small treasure chest. |
| 5 | Head out of the cave and back into the sunlight. Follow the path until you reach the Crouching Tiger Temple's Entrance Shrine. |
Crouching Tiger Temple Walkthrough
| # | Crouching Tiger Temple Objectives |
|---|---|
| 1 | Temple Entrance |
| 2 | Cellar |
Temple Entrance Guide
| Objectives | |
|---|---|
| * | Explore the area for items, a treasure chest, and a Meditation Spot. |
| 1 | 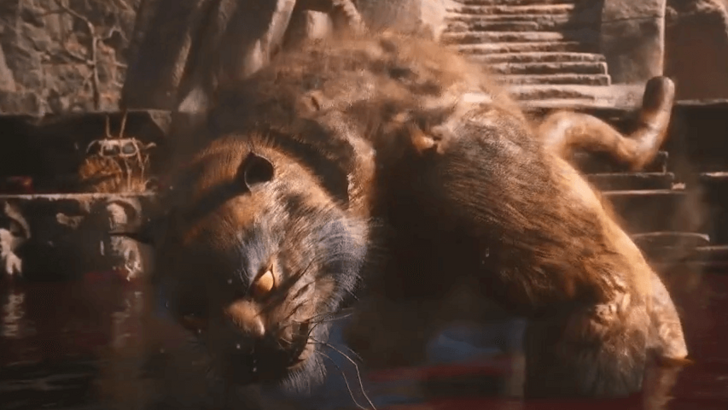 When you're ready, head up the stairs to fight the Tiger Vanguard. ▶ Tiger Vanguard (Crouching Tiger Temple) Boss Guide |
| 2 | After the fight, head past the statue and down the stairs. |
| 3 | Follow the path, defeating any enemies and picking up items along the way. |
| 4 | At the top of the path, unlock the Windrest Bridge Shrine. ▶ Jump to Windrest Bridge |
Cellar Guide
| Objectives | |
|---|---|
| * | Unlocked after beating both the Tiger and Stone Vanguards, and activating the statue on top of the pool's stairs. You can also reach this shrine by going down from the Windseal Gate Shrine and heading left before the tornado. Although, you'll lose out on the rewards you get from going through the Crouching Tiger Temple Entrance. |
| 1 | Head down through the mouth and follow the path until you reach the cave area past a doorway. |
| 2 | Defeat the Civet Sergeants and pick up the Spirit and treasure chest rewards after the fight. |
| 3 | Jump and slide down the sand until you reach the Cellar Shrine. Rest here before moving forward. During the small slide, you can jump and use a heavy attack to reach the small chest just above the slide. |
| * | 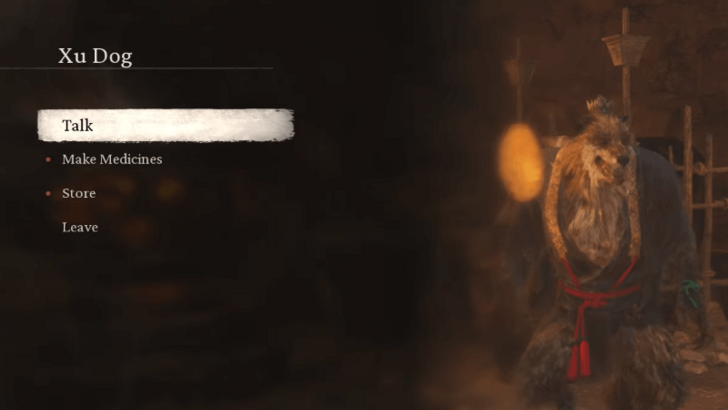 If you've beaten Lang-Li-Guhh-Baw and helped Xu Dog, he will appear to the right of the shrine. This unlocks the ability to make Celestial Medicines to buff your base stats. ▶ Xu Dog Questline Guide |
| 5 | 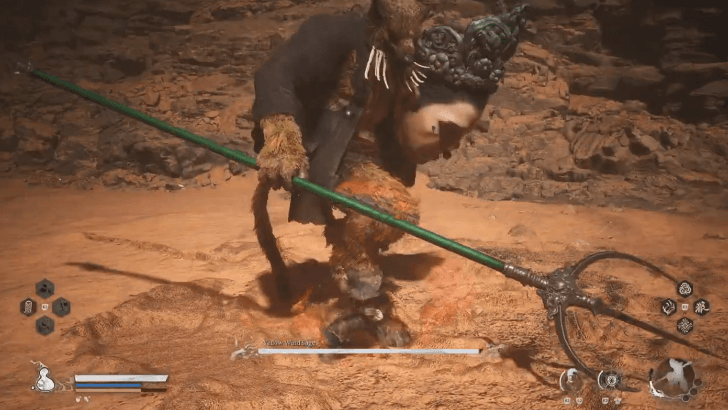 Head down and left to face the final boss of this chapter, the Yellow Wind Sage. ▶ Yellow Wind Sage Boss Guide |
Fright Cliff Walkthrough
| # | Fright Cliff Objectives |
|---|---|
| 1 | Squall Hideout |
| 2 | Rockrest Flat |
| 3 | Hidden Loong Cavern |
| 4 | Rock Crash Platform |
Squall Hideout Guide
| Objectives | |
|---|---|
| 1 | From the Valley of Despair Shrine, turn around and cross the bridge. |
| 2 | Follow the path until you reach the Squall Hideout shrine. |
| * | 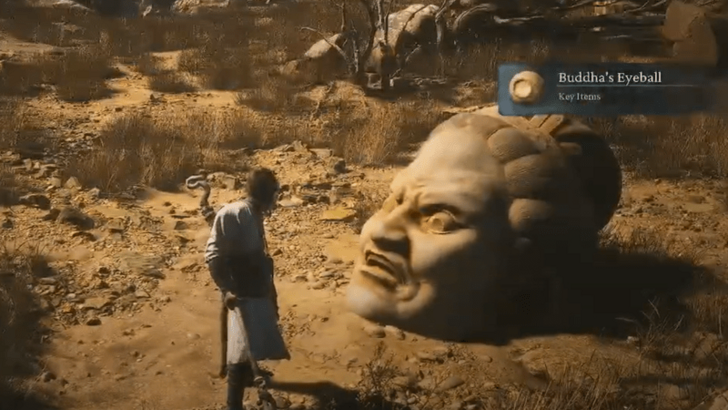 Explore the area for any items and treasures, as well as the 6 Buddha's Eyeballs to unlock the Shigandang boss fight. ▶ All Buddha's Eyeball Locations |
| 4 | From the shrine, take the left path towards the cave full of Stone-type enemies. |
| 5 | 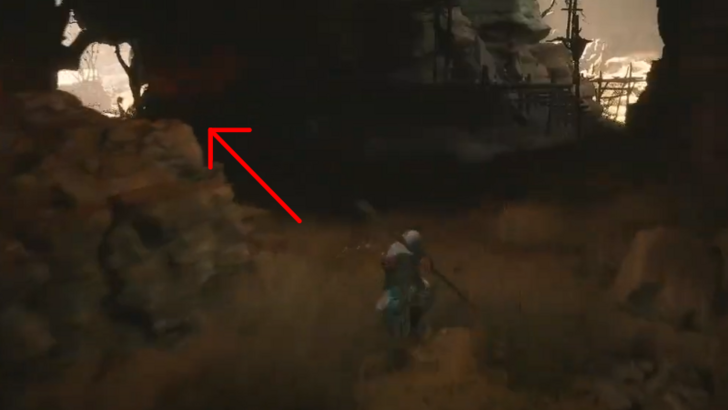 Continue through the cave until you reach a branching point with a Poistone and Blazebones. When you get there, head left. |
| * | 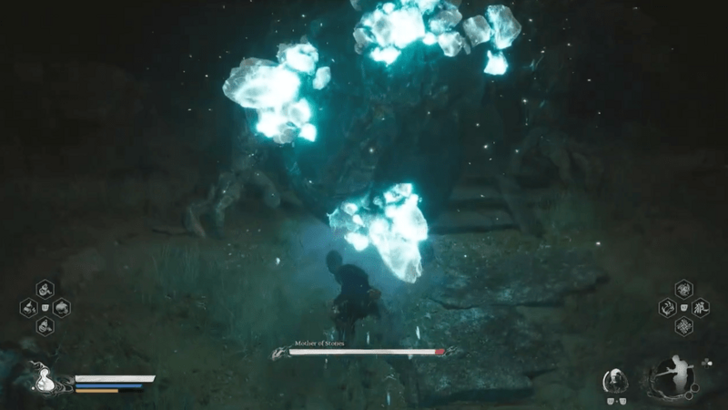 Optionally, follow the braziers on the left to go up and fight the Mother of Stones optional boss. This boss is part of the Man-in-Stone Quest, but can be fought at any time. ▶ Mother of Stones Boss Guide |
| 6 | After turning left, head out to the right to unlock the Rockrest Flat Shrine. |
Rockrest Flat Guide
| Objectives | |
|---|---|
| * | 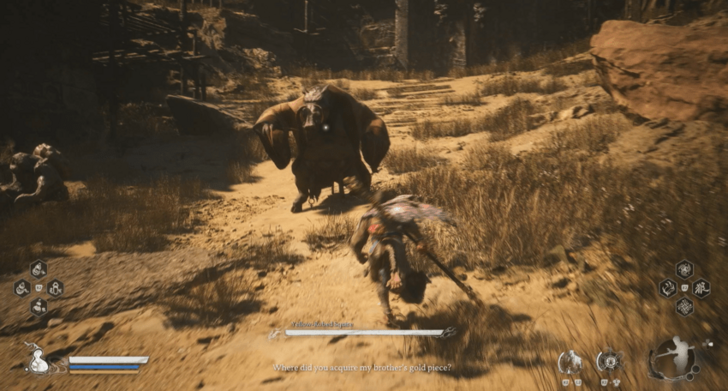 Going straight ahead from the shrine will lead you to the Yellow-Robed Squire for the Drunk Boar Quest. This quest is required to unlock the Secret Area for Chapter 2. ▶ Yellow-Robed Squire Boss Guide |
| ** | Going to the right from the shrine will lead you to the Spearbone Spirit and the sand waterfall that hides the Hidden Loong Cavern. ▶ Jump to the Hidden Loong Cavern |
| 1 | 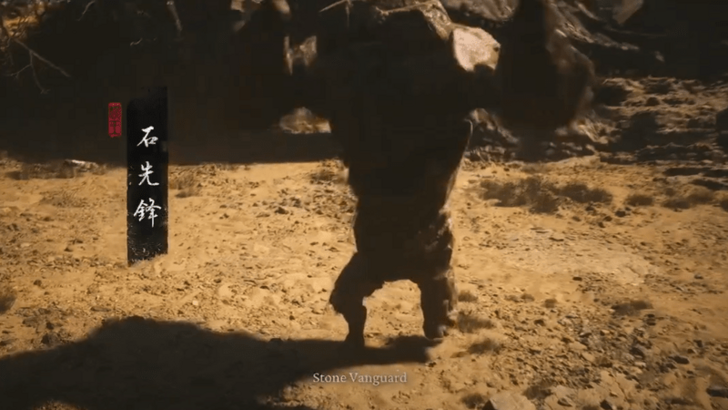 Hug the wall on the left until you reach the boss arena for the Stone Vanguard. When you're ready, head towards the back of the arena to start the fight. ▶ Stone Vanguard Boss Guide |
| * | 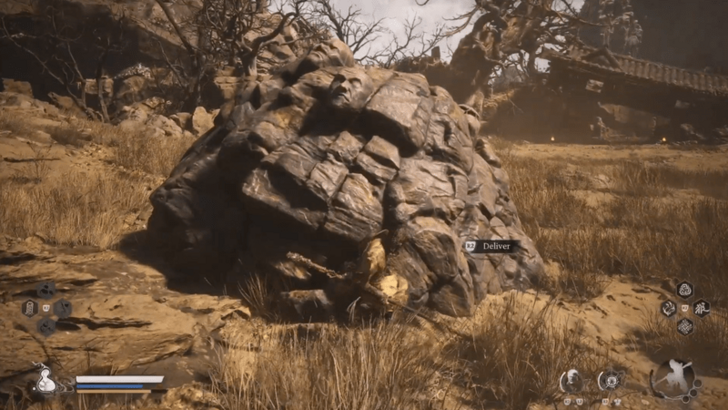 The boulder immediately on the left when entering the arena is Shigandang. If you have all 6 Buddha's Eyeballs, you can interact with it for a special boss battle with both Shigandang and Stone Vanguard! ▶ Shigandang Boss Guide |
| ** | Defeating Shigandang will reward you with the Skandha of Feeling which is part of the Five Skandha Quest! ▶ Five Skandhas Quest Guide |
| 2 | After beating the Stone Vanguard, head through the collapsed gateway to activate the Rock Crash Platform shrine. |
Hidden Loong Cavern Guide
| Objectives | |
|---|---|
| * | Unlocked after obtaining the Loong Scales and removing the sand waterfall in Rockrest Flat. |
| 1 | 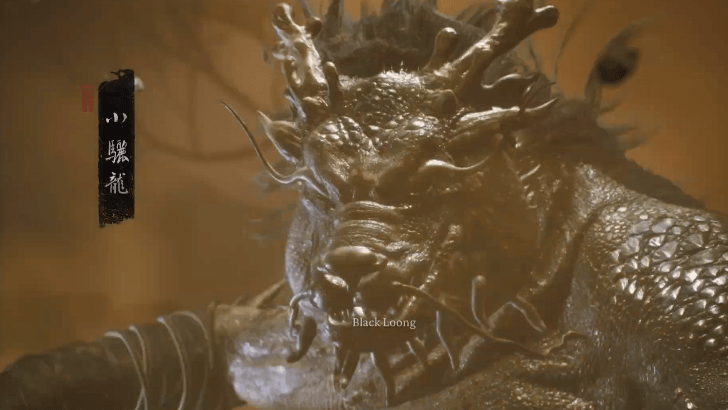 Defeat the Black Loong and open the treasure chest afterwards. ▶ Black Loong Boss Guide |
Rock Crash Platform Guide
| Objectives | |
|---|---|
| 1 | Follow the path defeating any enemies and picking up items along the way. |
| * | 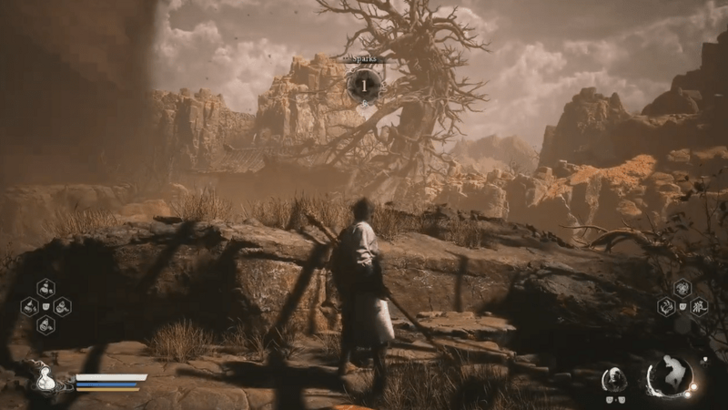 Continue heading straight towards the ledge to unlock a Meditation Spot. |
| 2 | Head right following the lit braziers and continue to follow the path forward. |
| 3 | Jump down to the left and slide down the sandy slope. |
| 4 | Head on forwards towards the bridge and Rest at the Windseal Gate Shrine. ▶ Jump to the Windseal Gate |
Yellow Wind Formations Walkthrough
| # | Yellow Wind Formations Objectives |
|---|---|
| 1 | Windrest Bridge |
| 2 | Windrest Hamlet |
| 3 | Windseal Gate |
Windrest Bridge Guide
| Objectives | |
|---|---|
| 1 | Head down towards the bridge and clear the enemies blocking your path. |
| 2 | 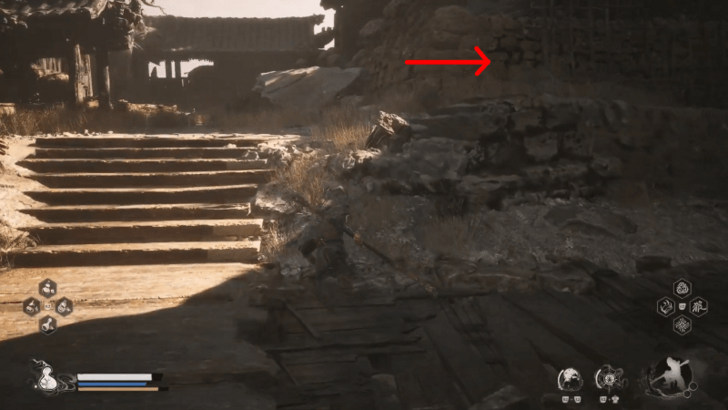 Go left and up the stairs, then immediately go right to where a Blazebone is blocking the way. |
| 3 | Keep going forward and down to kill the Spearbone on the way to the gate. |
| 4 | Defeat multiple Rat Imperial Guards to unlock the gate. You will also get a Spirit after killing the Rat with the blue flame. |
| 5 | 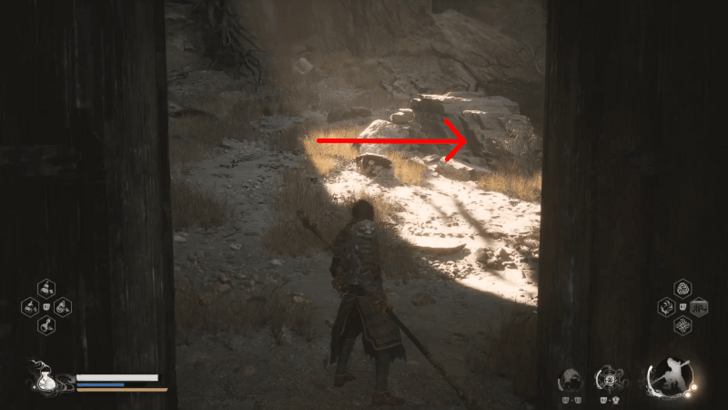 Open the gate and go right to pick up a Luojia Fragrant Vine for your Gourd upgrades. |
| 6 | Follow the path upwards until you reach the Windrest Hamlet shrine. |
Windrest Hamlet Guide
| Objectives | |
|---|---|
| 1 | Head towards the bridge and defeat any enemies in your way. |
| 2 | Pick up some Will and open the treasure chest on the way to the windy bridge. |
| 3 | 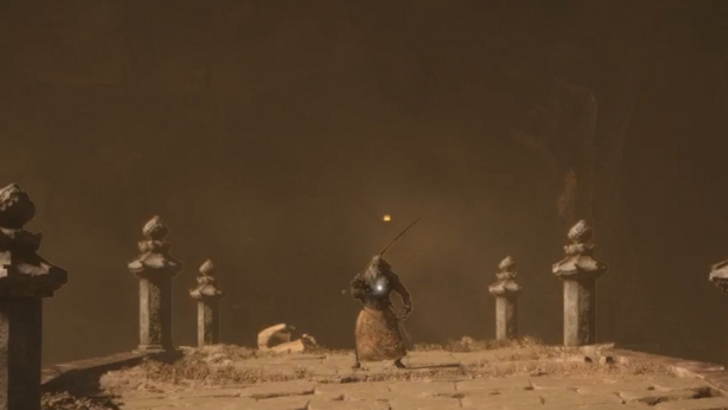 Prepare yourself to take on the Tiger's Acolyte. Be careful not to fall off the bridge since there are no invisible barriers on the sides. ▶ Tiger's Acolyte Boss Guide |
| 4 | Absorb the Spirit of the Tiger's Acolyte and head into the cave on the other side of the bridge. |
| 5 | Defeat enemies in your way and open the small chest containing the Glazed Reliquary Curio. |
| 6 | Continue through the cave until you're back outside and can drop down into the Stone Vanguard's arena. ▶ Jump to Stone Vanguard Section |
Windseal Gate Guide
| Objectives | |
|---|---|
| * | 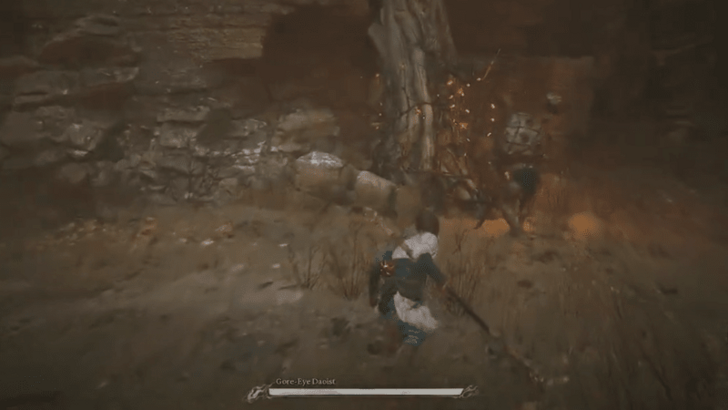 From the shrine, head to the left side of the bridge and up the path. This will lead you to the Gore-Eye Daoist boss, who rewards you with his Spirit and a Luojia Fragrant Vine afterwards. As a note, there's no need to continue further up the path right away since it leads you back to the Sandgate Village and Valley of Despair. ▶ How to Beat Gore-Eye Daoist |
| 1 | Open the gate after beating the Tiger and Stone Vanguards, then head down towards the sand tornado. |
| 2 |  Prepare yourself before heading into the tornado as this is the final boss of the area. Prepare yourself before heading into the tornado as this is the final boss of the area. ▶ Yellow Wind Sage Boss Guide |
Kingdom of Sahali Walkthrough
| # | Kingdom of Sahali Objectives |
|---|---|
| 1 | Sandgate Pass |
| 2 | Sandgate Bound |
Sandgate Pass
| Objectives | |
|---|---|
| * | Complete the Drunk Boar Quest and interact with the massive doorway to access this Secret Area. ▶ Drunk Boar Quest Guide |
| 1 | After the cutscene, you'll be teleported to the Kingdom of Sahali. Head on forward until you reach the Sandgate Pass Shrine. |
| 2 | 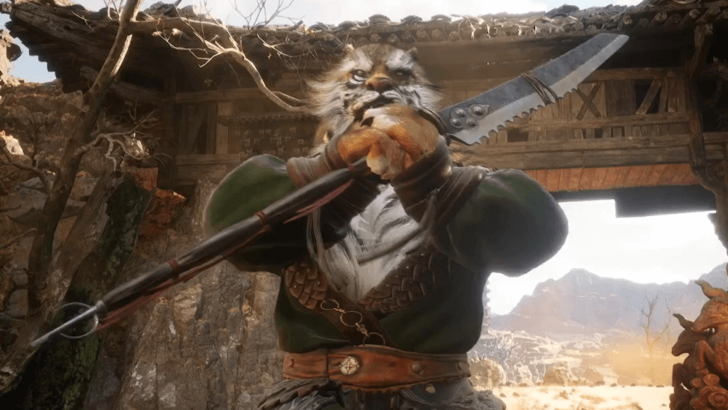 When you're ready, go forward until you reach the "Tiger Vanguard", who you must defeat before proceeding forward. ▶ Tiger Vanguard (Kingdom of Sahali) Boss Guide |
Sandgate Bound
| Objectives | |
|---|---|
| 1 | Head towards the large area and activate the Sandgate Bound Shrine. |
| * | Explore the area for two treasure chests and a Meditation Spot. |
| 2 | Head up the cliff and talk to the Yellow Wind Sage beside the drum. |
| 3 | 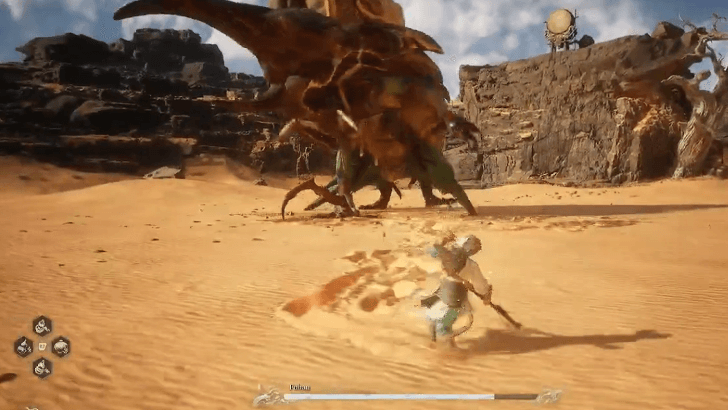 When you're ready, head down to the arena to fight Fuban. Once they get knocked down and you grab the vessel, the Yellow Wind Sage will join you, making the fight significantly easier. ▶ Fuban Boss Guide |
| 4 | After they've been defeated, you'll be teleported back to where you fought the Yellow-Robed Squire. |
Chapter 3: White Snow, Ice Cold Walkthrough
| Jump to a Section! | |||||||||||
|---|---|---|---|---|---|---|---|---|---|---|---|
| Snowhill Path | Pagoda Realm | ||||||||||
| Bitter Lake | Valley of Ecstasy | ||||||||||
| New Thunderclap Temple | Secret Area: Mount Mei | ||||||||||
Chapter 3: White Snow Ice Cold Walkthrough Guide
Snowhill Path Walkthrough
| Snowhill Path Objectives | |
|---|---|
| 1 | Frost-Clad Path |
| 2 | Mirrormere |
Frost-Clad Path Guide
| Objectives | |
|---|---|
| 1 | From the starting area, follow the path until you're out of the cave. |
| 2 | Activate the Frost-Clad Path Shrine. |
| 3 | Continue following the path up the mountain killing any enemies on the way. |
| 4 | 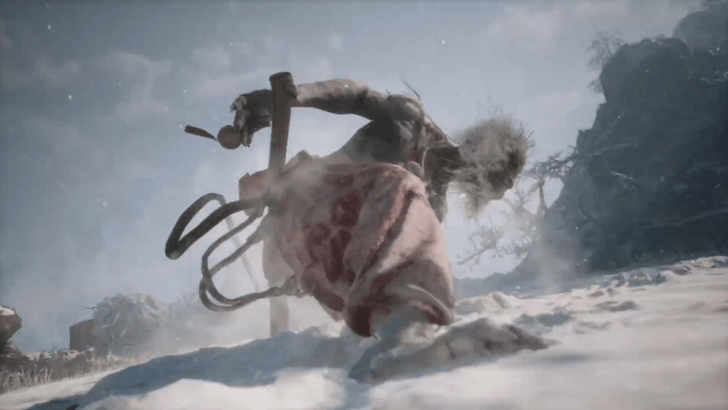 Prepare yourself to fight the Macaque Chief before heading into the open area. ▶ How to Beat Macaque Chief |
| * | Rest back at the Shrine if you need it since the next one you unlock is at the end of Snowhill Path. |
| 5 | Continue up the mountain until you reach the temple area. |
| 6 | 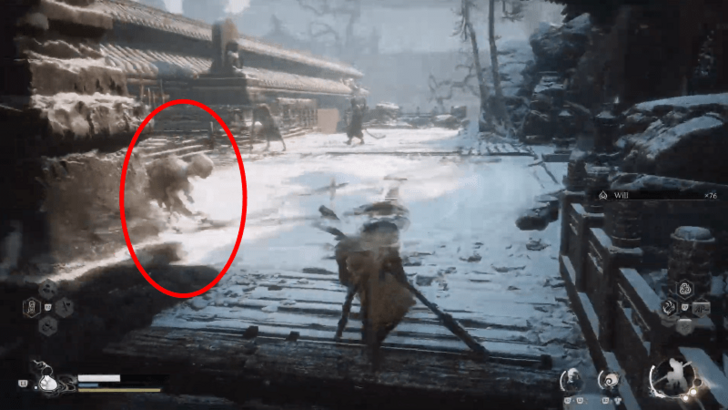 Immediately head left and up the stairs. Also, dodge as soon as you get to the top of the stairs since there will be an enemy waiting to ambush you. |
| * | Explore the area for any treasure chests and items you can find. |
| 7 | Continue down and right towards the tree in the middle of an island. Don't go to the tree until you're ready to proceed to the next area. |
Mirrormere Guide
| Objectives | |
|---|---|
| 1 | After the cutscene ends, activate the Mirrormere Shrine. |
| * | Explore the area for a Meditation Spot, treasure chests, and any other items you can find. |
| 2 | 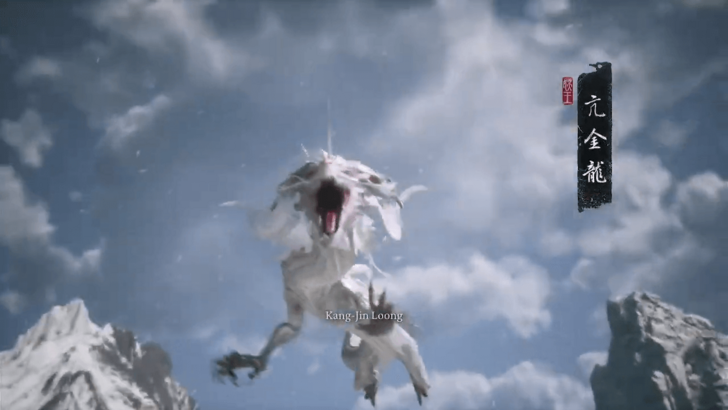 When you're ready, step onto the lake and fight the next boss, Kang-Jin Loong. ▶ Kang-Jin Loong Boss Guide |
Pagoda Realm Walkthrough
| Pagoda Realm Objectives | |
|---|---|
| 1 | Lower Pagoda |
| 2 | Upper Pagoda |
| 3 | Mani Wheel |
| 4 | Outside the Wheel |
| 5 | Snow-Veiled Trail |
| 6 | The Great Pagoda |
| 7 | Warding Temple |
This area has a gimmick with Lantern Wardens where they will cut your Max HP in half. Whenever your screen turns distorted, wait out the effect so you can heal yourself back to full.
Waiting out the effect is the preferred option, but defeating Lantern Wardens grants you a lot of EXP and Will. Defeating all of them will also give you the Auspicious Lantern Curio!
Lower Pagoda Guide
| Objectives | |
|---|---|
| 1 | After the cutscene ends, you will be put in a new area. Follow the path outside your cell until you reach the Lower Pagoda Shrine. |
| * | 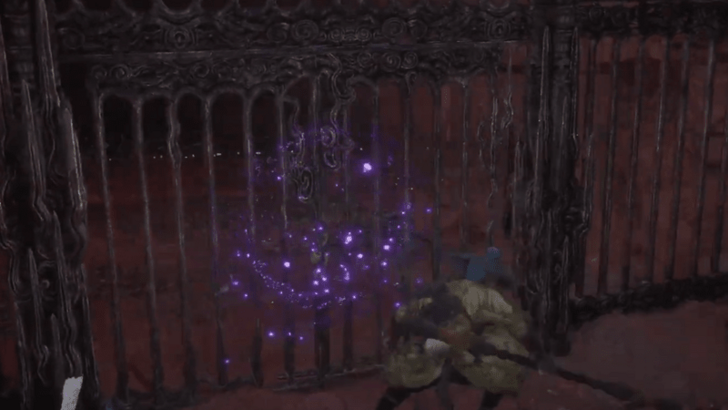 Ignore any cells with a purple seal for now since you'll need to defeat a boss to unlock them. ▶ How to Open the Purple Seal Doors |
| 2 | 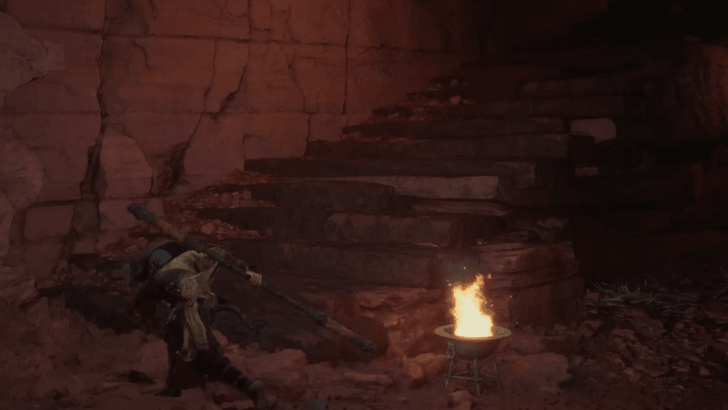 Continue following the path until you see a staircase on the left that will lead you to the second floor. |
| 3 | Head up and turn right once you're on the second floor. Follow the path across the wooden beam and head inside. |
| 4 | 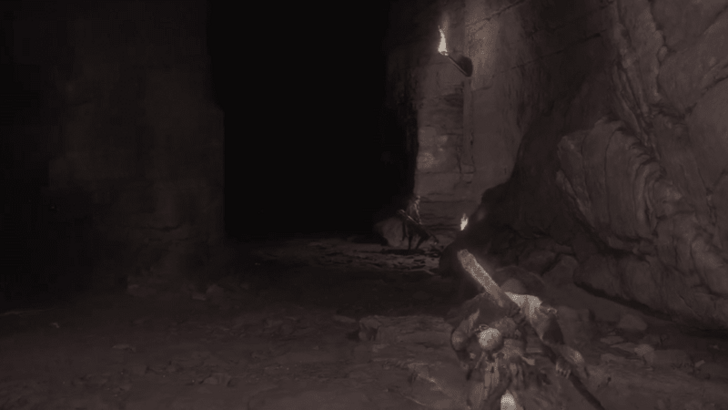 Continue following the path until you come across a ramp on the right that will lead you up to the third floor. |
| 5 | At the top, continue following the path forward until you come across the Upper Pagoda Shrine. Make sure to activate it, otherwise, you'll need to go all the way back up here if you die. |
| * | 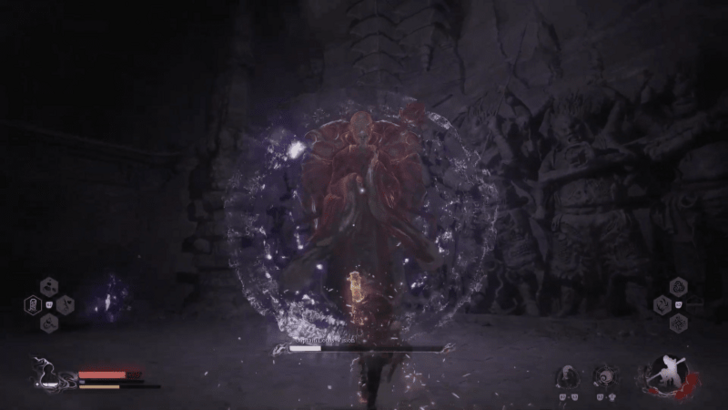 Turn around and drop down to the purple area to fight Captain-Lotus Vision. Defeating this boss will unlock all the purple-sealed cells in the area. ▶ Captain Lotus-Vision Boss Guide |
| ** | Re-explore the first and second floors for any newly unsealed cells. There will be a bunch of items and treasures, as well as the Third Prince Quest and the Ashen Slumber Transformation. Make sure that you grab the Ashen Slumber Transformation since it can be missed! If the body with the sword doesn't spawn, then you'll need to kill the Two-Headed Rat Guais back in the Sandgate Village and exhaust all dialogue options at a nearby hut. |
Upper Pagoda Guide
| Objectives | |
|---|---|
| 1 | 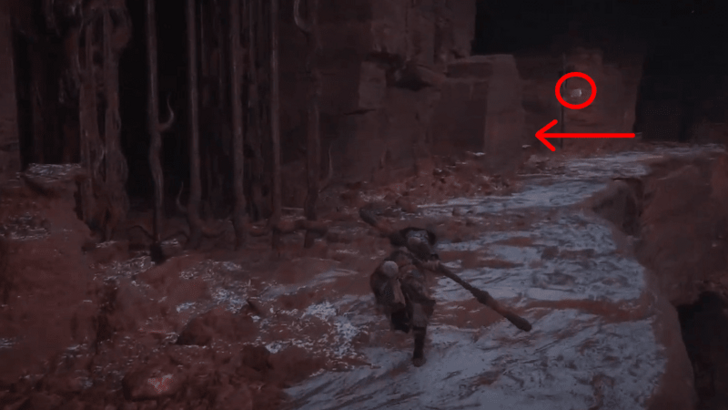 From this Shrine, continue forward until you're past the wooden beams and you reach an entrance with a lantern. |
| 2 | Go through the entrance and head up the ramp leading to the fourth floor. |
| 3 | 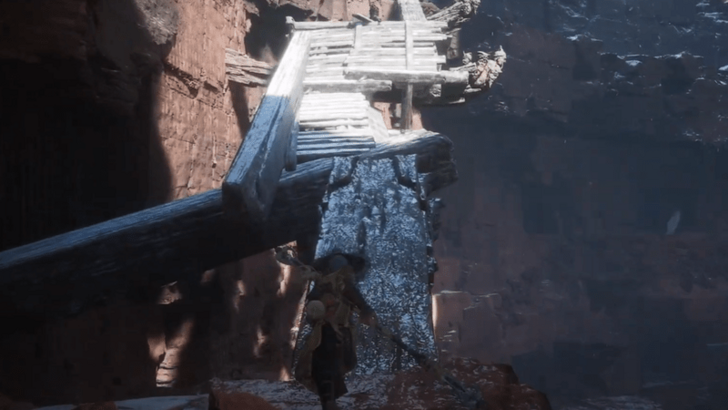 At the top, head out left and follow the path until you reach the broken structure that leads you to the top of the prison. |
| 4 | Once you're at the top, follow the path on the left until you reach the Mani Wheel Shrine. |
Mani Wheel Guide
| Objectives | |
|---|---|
| 1 | 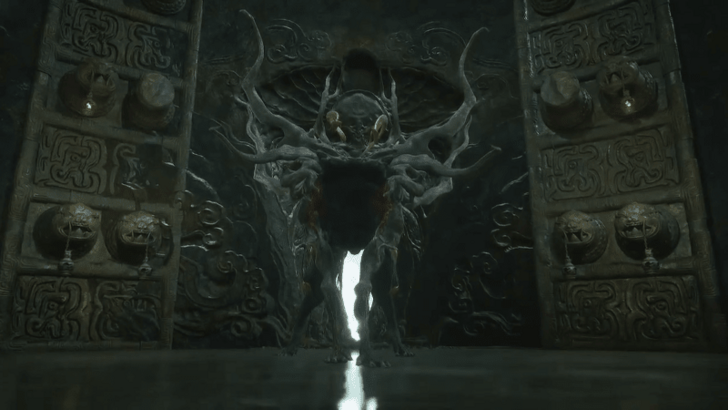 Rest and prepare yourself to fight Captain Wise-Voice. Defeating this boss will prevent any Lantern Wardens from spawning, so make sure to take on this boss only after you've defeated all 9 of them. ▶ Captain Wise-Voice Boss Guide |
| 2 | After the boss has been defeated, head out to the other side and activate the Outside the Wheel Shrine inside the cave. |
Outside the Wheel Guide
| Objectives | |
|---|---|
| 1 | 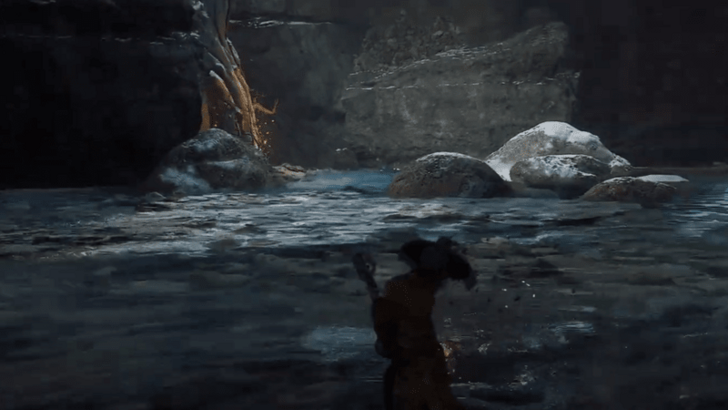 Head forward through the cave picking up any items along the way. Make sure to get the Luojia Fragrant Vine for your Gourd upgrades. |
| 2 | Continue forward outside the cave and pick up any items and treasure chests you find. |
| 3 | The path forward is extremely linear, so keep following the path until you reach the Snow-Veiled Trail Shrine. |
Snow-Veiled Trail Guide
| Objectives | |
|---|---|
| 1 | 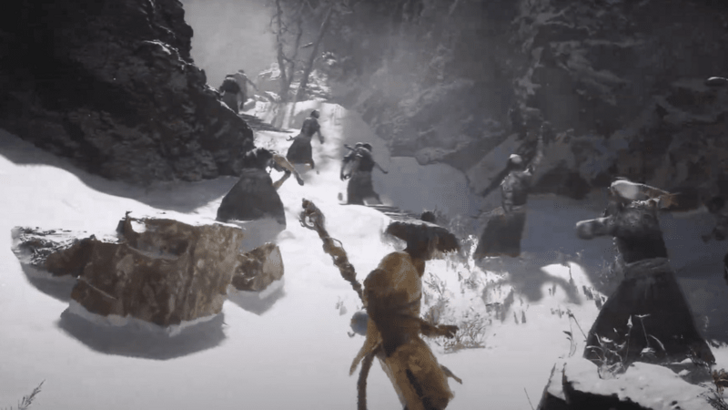 Head up the stairs to the left and follow the path filled with the Frozen Corpses. |
| * | Following the path to the right will lead you to The Great Pagoda, but you can't do anything there yet. It's still a good idea to visit the area though just to unlock the Shrine. |
| 2 | Once you reach the small creek to the right, head left up the stairs until you reach the Warding Temple Shrine. |
The Great Pagoda Guide
Unless you've beaten the game, there is nothing to do here besides unlocking the Shrine.
Later on, once you've completed the game and unlocked all 6 murals by completing every chapter, an NPC will show up at the middle wall to lead you to the Secret Area, Mount Mei.
Warding Temple Guide
| Objectives | |
|---|---|
| 1 | 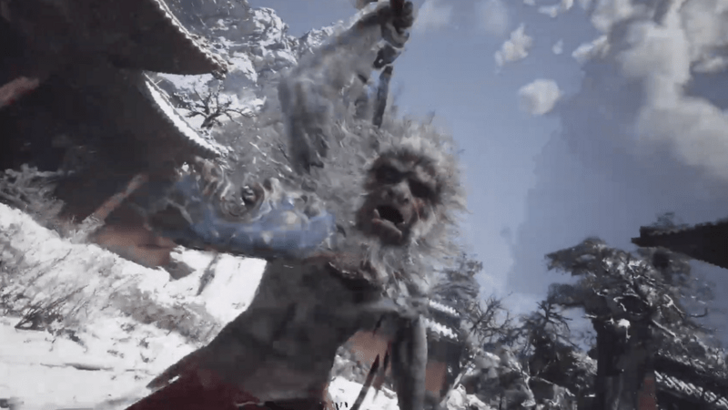 Continue up the stairs and into the temple, where you will need to fight the Macaque Chief for the second time. ▶ How to Beat Macaque Chief |
| * | Head back to the Shrine and rest since there will be another boss fight after leaving this area. |
| 2 | After beating the boss and unlocking the Ring of Fire spell, head to the left and out through the back exit. |
| 3 | Head up the slope and then slide down into the next area. |
Bitter Lake Walkthrough
| Bitter Lake Objectives | |
|---|---|
| 1 | South Shore of the Bitter Lake |
| 2 | Turtle Island |
| 3 | North Shore of the Bitter Lake |
| 4 | Precept Corridor |
South Shore of the Bitter Lake Guide
This is the area you slide down towards before boarding Turtle Island. As of now, it looks like there's nothing to do here besides unlocking the Shrine. If you want to get here, you'll just need to take the same path mentioned in the Warding Temple Guide.
Turtle Island Guide
| Objectives | |
|---|---|
| * | Die to Kang-Jin Star first to respawn and activate the Turtle Island Shrine. |
| 1 | 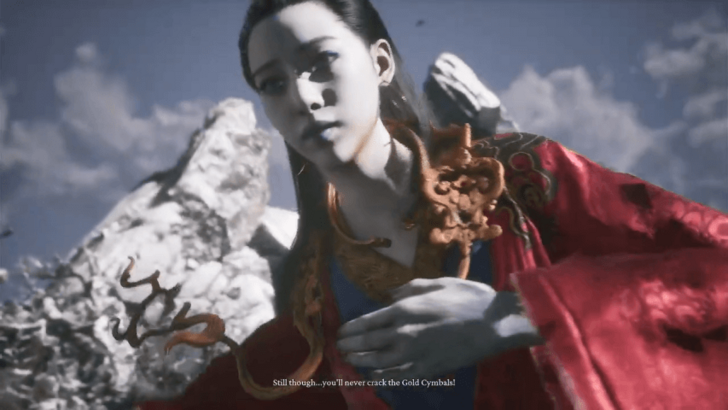 Once you're ready, head up towards the cymbals and defeat Kang-Jin Star. Bring ways to counter Electric since she'll use the same element as her Loong form. ▶ Kang-Jin Star Boss Guide |
| * | 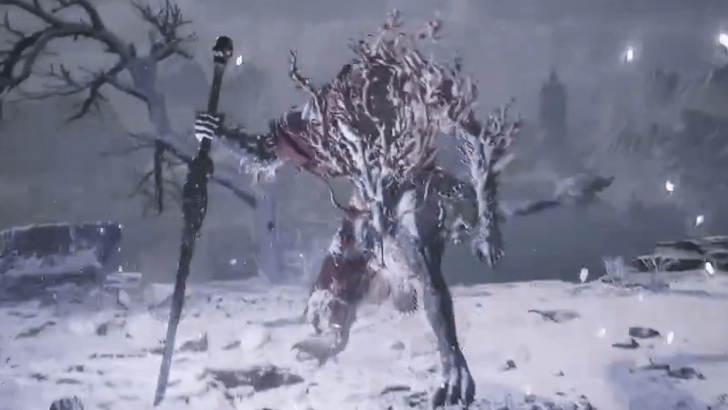 Rest at the Shrine and head directly to the right and drop down the ledge to defeat Cyan Loong. He can be found at the edge of the turtle's back fishing by himself. ▶ Cyan Loong Boss Guide |
| 2 | Head forward from the Shrine to the Turtle General's head. You can explore the area first if you wish, but you can teleport back here later. |
| 3 | When you're ready to leave, talk to the Pig to leave the area and push the story forward. After you've dismounted the turtle, activate the nearby shrine. |
North Shore of the Bitter Lake Guide
| Objectives | |
|---|---|
| * | 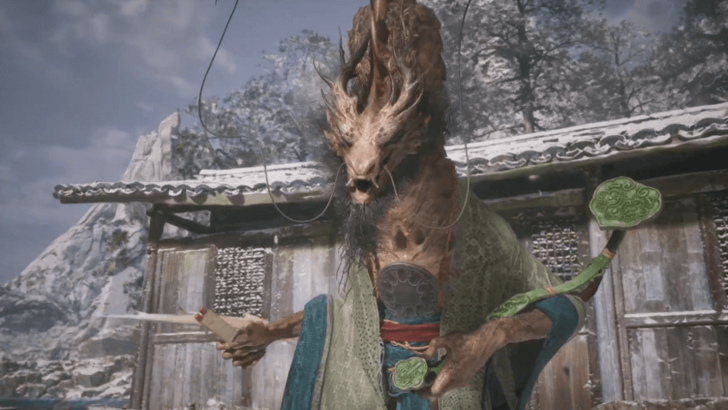 Head to the left and defeat Chen Loong in the shallow water to start the Ruyi Scroll Quest. ▶ Chen Loong Boss Guide |
| ** | Continue following the left path to find a Treasure Hunter being attacked by enemies. Saving and talking to him will initiate the Treasure Hunter Quest. ▶ Treasure Hunter Quest Guide |
| *** | 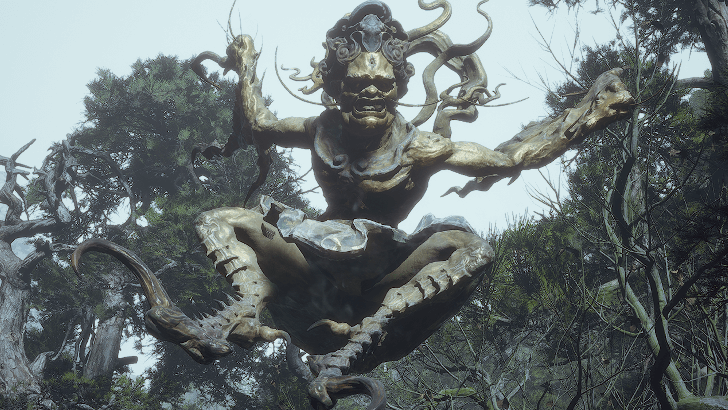 Go back to the shrine and take the right path filled with bones. At the end path, you'll face the Apramana Bat, and after he's been beaten, interacting with the skeleton will drop the Turtle Tear under the Turtle General's head. Make sure to beat this optional boss before proceeding forward since it's a missable and disappears if you proceed too far into the story. ▶ Apramana Bat Boss Guide |
| 1 | From the Shrine, follow the frozen corpses to the right and into a cave. Follow the path upwards until you reach a rope bridge. |
| * | Before the bridge, go through the opening on the left to grab a treasure chest. |
| 2 | Head across the bridge and unlock the Precept Corridor Shrine. |
Precept Corridor Guide
| Objectives | |
|---|---|
| 1 | Follow the path forward, picking up the Meditation Spot and treasure chest on the way. |
| 2 | Once you reach the cave, head left and follow the stairs upwards until you fight the Red-Haired Yaksha. |
| 3 | After beating the Yaoguai and absorbing its Spirit, head out and go down into the pagoda to start a cutscene. |
| 4 | 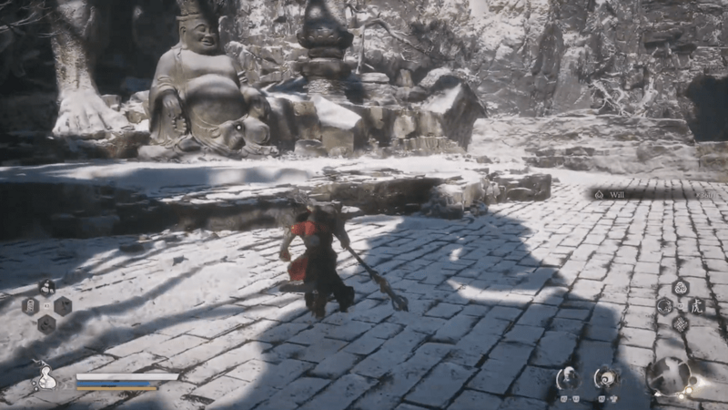 After the cutscene, head left and interact with the first Buddha statue. |
| 5 | 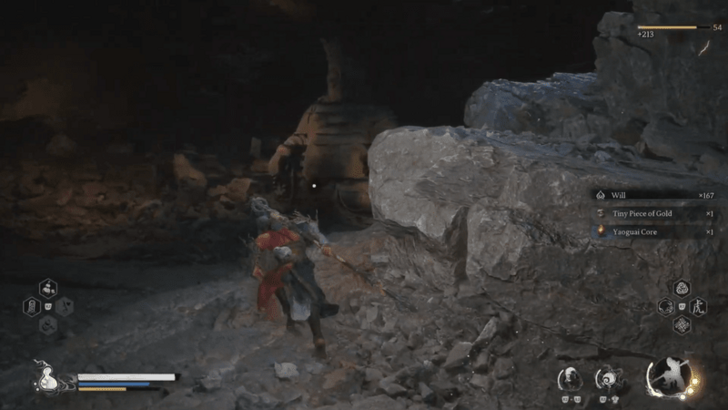 Continue going left and down the stairs until you reach the second Buddha statue on the right. |
| 6 | 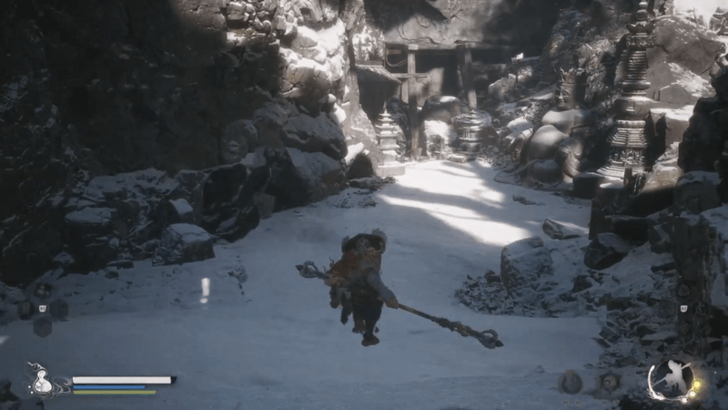 Turn around and follow the path past the stairs until you reach the third Buddha statue. |
| 7 | 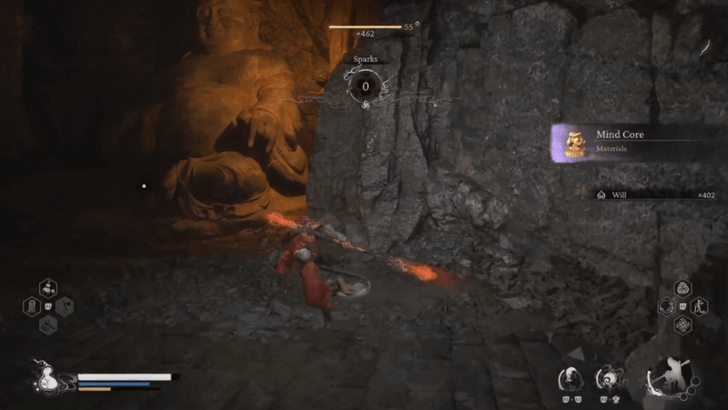 Go through the gate and continue until you see the final Buddha statue with a Red-Haired Yaksha on the right. |
| 8 | Turn around and drop down back to the pagoda for another cutscene. |
| 9 | After the cutscene, head right and follow the stairs all the way up towards the big statues. |
| 10 | Keep going forward past the first two big statues until you reach the third one. |
| 11 | 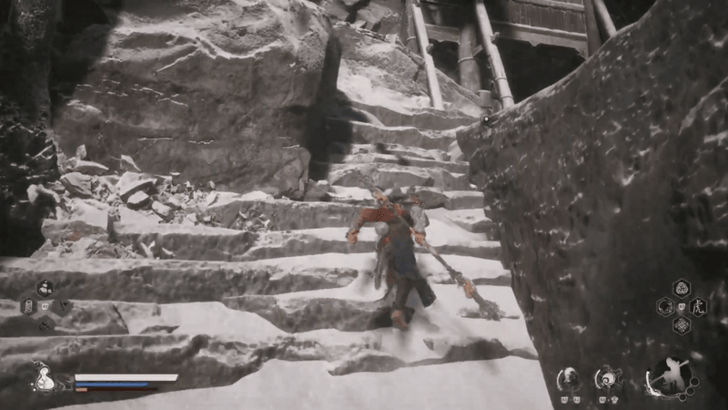 Head up the stairs and go in through the small gap at the top. |
| 12 | Follow the path upwards until you reach the Mindfulness Cliff Shrine. |
Valley of Ecstasy Walkthrough
| Valley of Ecstasy Objectives | |
|---|---|
| 1 | Mindfulness Cliff |
| 2 | Forest of Felicity |
| 3 | Melon Field |
| 4 | Brook of Bliss |
| 5 | Towers of Karma |
| 6 | Longevity Road |
Mindfulness Cliff Guide
| Objectives | |
|---|---|
| 1 | 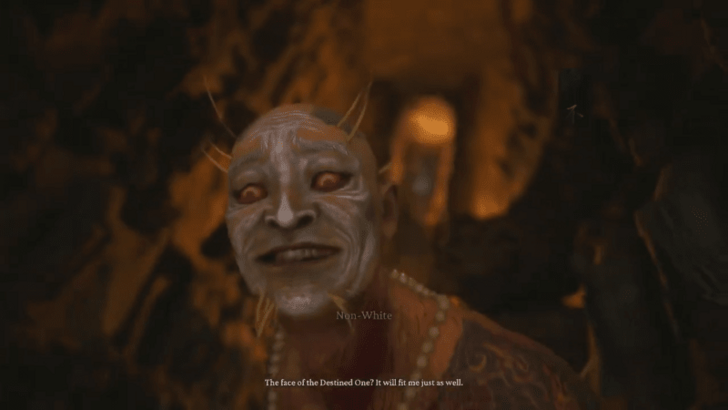 Once you're ready, follow the path into the open area where you'll have to fight Non-White for the first time. ▶ Non-White Boss Guide |
| * | Head back to the Shrine and rest up before proceeding forward. |
| ** | 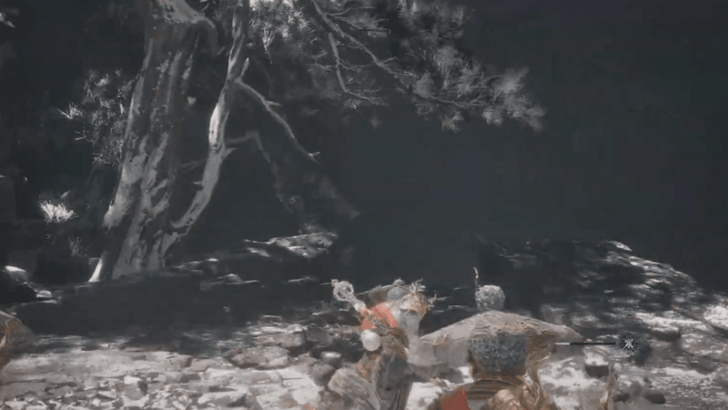 You can drop down to the collapsed pillar by following the path downwards past the tree in the Non-White boss arena. Following this path will lead you to the Fiery Gourd and the Skandha of Thought. ▶ Five Skandhas Quest Guide |
| 2 | Continue upwards past the cave entrance and head forward until you fight Non-White for the final time. |
| 3 | After the fight, activate the Meditation Spot and proceed down the snowy slope and to the Forest of Felicity Shrine. |
Forest of Felicity Guide
| Objectives | |
|---|---|
| 1 | 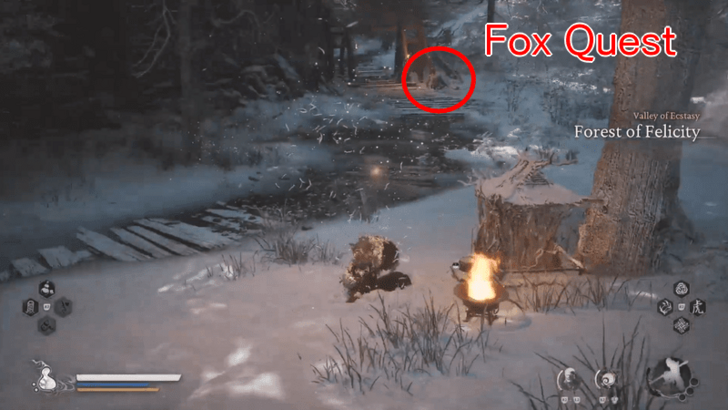 Follow the very long path forward through the small archway until you reach the Longevity Road Shrine. Just follow the obvious path laid out before you and you'll get there eventually. Before proceeding forward, talk to the corpse laying on the archway to initiate the Fox Quest. ▶ Fox Quest Guide |
| * | You can choose to explore the Valley of Ecstasy since this is a large section with many optional areas, bosses, and quests. Make sure to activate any Shrine you come across so that you have locations to teleport to. |
Melon Field Guide
| Objectives | |
|---|---|
| 1 | From the Forest of Felicity Shrine, turn around and take the path to the left that goes down. Keep going down until you reach the river at the bottom. |
| * | You can cross the bridges that lead to the right at any time so you can activate the Brook of Bliss Shrine. |
| 2 | 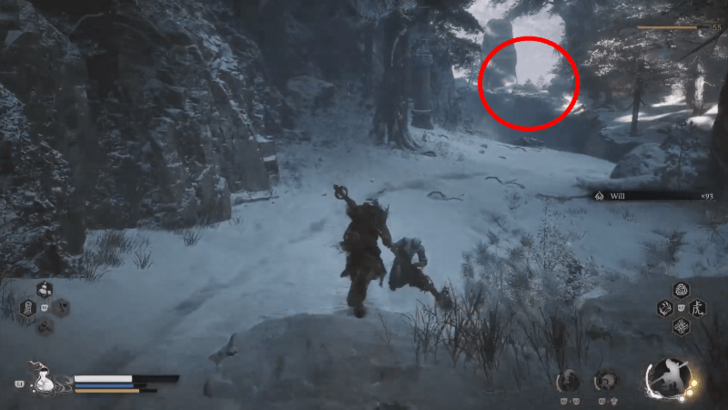 Once you've reached the bottom, head towards the right side of the cliff in the distance. When you see two lit braziers, go between them and drop down slowly following the braziers until you reach the Melon Field Shrine. |
This is an optional area that's part of the Treasure Hunter Quest. Unless you've encountered and talked to the Treasure Hunter at all of the locations he appears in, you won't be able to do anything when you get here.
Brook of Bliss Guide
| Objectives | |
|---|---|
| 1 | To get to this area, turn around from the Forest of Felicity Shrine and head down to the path on the left. |
| 2 | Once you're down, take any of the bridges to the right side of the area so you can access the Brook of Bliss Shrine. |
This is an optional area that's not necessary to complete the main story. However, there are items, collectables, and the Non-Able boss around this area, so it is still worth visiting.
Towers of Karma Guide
| Objectives | |
|---|---|
| 1 | To get to this area, you'll want to head through the archway in front of the Forest of Felicity Shrine, and then head left. |
| 2 | From there turn right and follow the path forward until you reach the Towers of Karma Shrine. |
This is another optional area that's not necessary to complete the main story. Again, there are items and collectables around this area that make it worth visiting, especially if you're completing the Treasure Hunter quest.
Longevity Road Guide
| Objectives | |
|---|---|
| * | 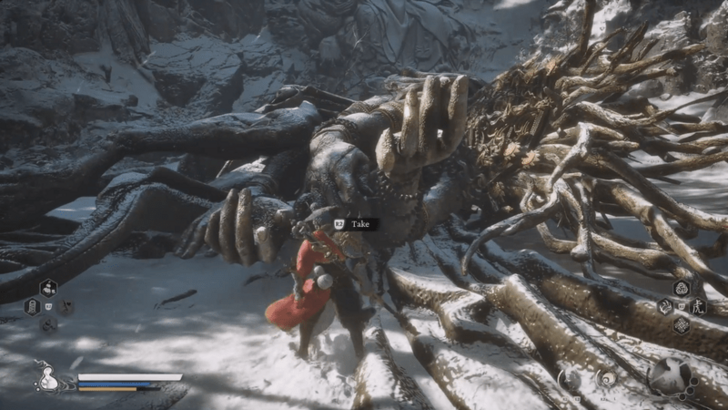 Before proceeding forwards, head to the right to collect the Soul of Captain Void-Illusion. Unlike the other Captains, there's no boss and the soul must be collected from their corpse. |
| 1 | From the Shrine, head forward to the open area and go right towards the New Thunderclap Temple. |
| 2 | 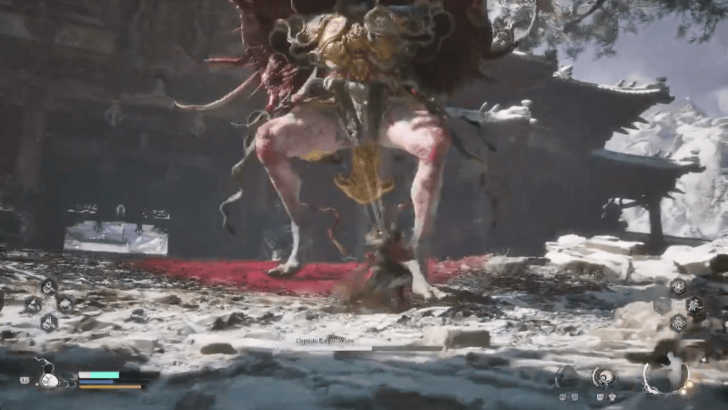 When you're ready, continue following the path up to the entrance of the temple and defeat Captain Kalpa-Wave. ▶ Captain Kalpa-Wave Boss Guide |
| 3 | Once the boss is defeated, head through the entrance and activate the Temple Entrance Shrine. |
| * | If you collected the Soul of Captain Void-Illusion earlier, teleport back to the Lower Pagoda and talk to the Third Prisoner to get an item required to get a new weapon! ▶ Third Prince Quest Guide |
New Thunderclap Temple Walkthrough
| Sandgate Village Objectives | |
|---|---|
| 1 | Temple Entrance |
| 2 | Mahavira Hall |
| 2 | Floating Sculpture |
Temple Entrance Guide
| Objectives | |
|---|---|
| * | Before proceeding onwards straight to the end of the temple, you can explore the different side areas. There are a bunch of optional objectives around here, like treasure chests and bosses. If you don't want to miss anything, we recommended exploring first since there are some objectives here, specifically the ones for the Horse Guai Quest and the Fox Quest, that become missable. |
| 1 | From the Temple Entrance Shrine, just head on straight through the building in front of you and up the dual staircase. To get to the next Shrine, just keep heading north towards the large pagoda. |
| 2 | Once you're up the stairs, continue straight through the nearby building. Continue going straight on forward until you reach the large open area with a big set of stairs and two massive Dark-faced Overlords. |
| 3 | Once you've either defeated or ran past them, climb up the stairs and activate the Mahavira Hall shrine. |
Mahavira Hall Guide
| Objectives | |
|---|---|
| * | Prepare yourself since this is the final Shrine before you head to the final boss of this chapter. If you want to explore the rest of Chapter 3 and check that you didn't forget any missables, now is the time to do so. It's recommended to at least do the Treasure Hunter Quest since it will reward you with a spell that will greatly help with the final boss. |
| 1 | 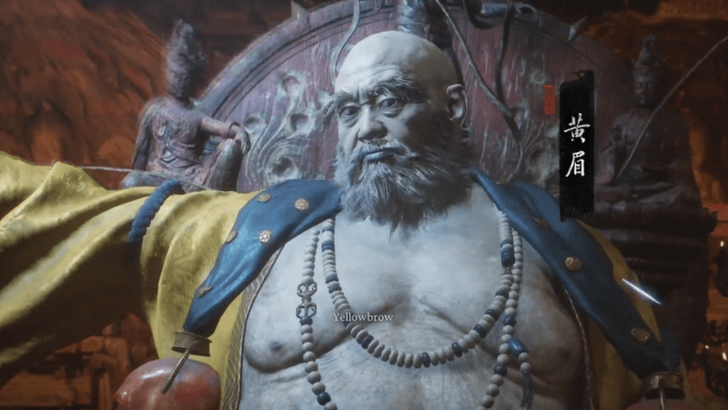 When you're ready, head through the doors to face the final boss of this chapter, Yellowbrow. ▶ Yellowbrow Boss Guide |
| 2 | After beating his first phase, you will be sucked into his pouch where you'll fight a power-up version of the Macaque Chief. Thankfully, you'll be fully recovered so the only thing you'll need to worry about are your cooldowns. ▶ How to Beat Macaque Chief |
| 3 | Once the Macaque Chief goes down for the final time, you'll be teleported to the Floating Sculpture that was behind Yellowbrow during the cutscene before his first phase. |
| 4 | Follow the path until you reach the second and final Yellowbrow fight. Once he goes down, you'll have beaten Chapter 3! You can opt to die first to change your equipment and spells if you wish, especially if you don't have the spell from the Treasure Hunter Quest equipped. |
Floating Scuplture Guide
The Floating Sculpture Upper and Lower Level travel locations aren't Shrines but are teleport points that act as a failsafe in case you die during the Yellowbrow boss gauntlet.
This allows you to teleport back to those checkpoints in case you leave using the Incense Trail Talisman to change your equipment and spells at a Shrine.
Mount Mei Walkthrough
| How to Unlock Mount Mei |
|---|
|
|
Complete Chapter 6
| Objectives | |
|---|---|
| 1 | Complete Chapter 6, essentially finishing the main story and seeing the first ending for the first time. |
| 2 | Click Continue when you're brought back to the main menu, not New Cycle. If you pick New Cycle, you'll be put into New Game+ and will need to play again until you reach Chapter 3. |
| 2 | After returning to a shrine, travel back to The Great Pagoda in Chapter 3. |
Travel to The Great Pagoda
| Objectives | |
|---|---|
| 1 | If you don't have The Great Pagoda unlocked yet, return to Snowhill Path, and take the path across the bridge to reach The Great Pagoda. |
| 2 | Within the Great Pagoda, climb up the stairs to meet with the monk. |
| 3 | After a brief cutscene, the wall will open, revealing the Secret Area. |
Explore Mount Mei
| Objectives | |
|---|---|
| 1 | After the cutscene, you will spawn inside Mount Mei. Follow the path forward, which is linear so there are no other areas to explore. |
| 2 | Unlock the Shrine at the top of the stairs, and when you're ready, continue following the path towards the next set of stairs in front of you. |
| 3 | Once you reach the top of the stairs, a cutscene will start with Erlang Shen. |
Defeat Erlang
| Objectives | |
|---|---|
| 1 | 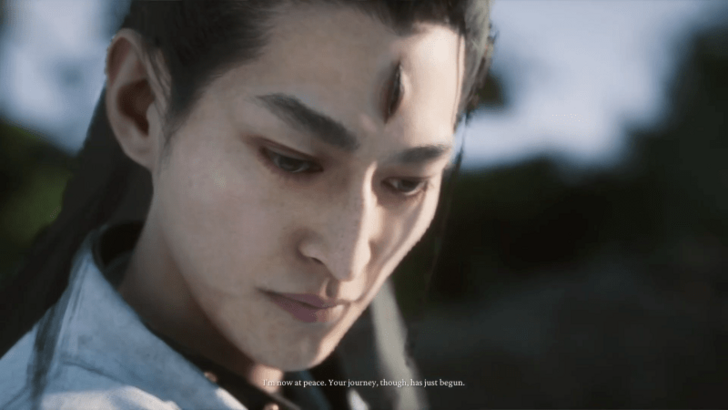 After the cutscene, you must first defeat Erlang, the Sacred Divinity. This is one of, if not, the toughest fight in the game, so be prepared for a gruelling battle. ▶ Erlang Boss Guide |
| 2 | After reducing Erlang's HP to 0, a cutscene will ensue where you will both transform into beasts larger than the mountains around you. |
| 3 | 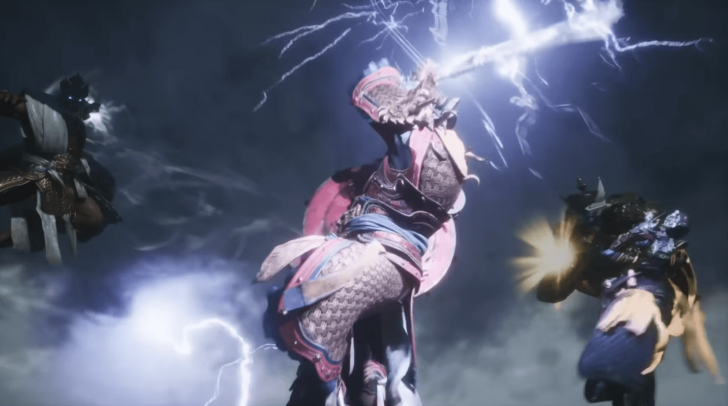 Once you're transformed, you'll be thrust into a new form to battle The Four Heavenly Kings. Take this time to learn your new moves and remember to heal using Heavy Attacks if you get low on HP. ▶ The Four Heavenly Kings Boss Guide |
| 4 | Finally, once all four of them go down, you'll have to face Erlang in his gigantic transformed form. Once he goes down, you'll unlock a new Transformation, Weapon, and the ability to view the secret ending after beating the final boss one more time! |
Chapter 4: Rosy Cheeks, Gray Hair Walkthrough
| Jump to a Section! | |||||||||||
|---|---|---|---|---|---|---|---|---|---|---|---|
| Village of Lanxi | Webbed Hollow | Temple of Yellow Flowers | |||||||||
| Secret Area: Purple Cloud Mountain | |||||||||||
Chapter 4: Rosy Cheeks Gray Hair Walkthrough Guide
Village of Lanxi Walkthrough
| # | Village of Lanxi Objectives |
|---|---|
| 1 | Estate of the Zhu |
Estate of the Zhu Guide
| Objectives | |
|---|---|
| 1 | Along with Zhu Baije, head towards the nearby village. Make your way to the far end of the village to get to the first Shrine. |
| 2 | Once you're ready, head east of the shrine and open the door to the next area. You will be stopped and turned into a monster for a cutscene. |
| 3 | 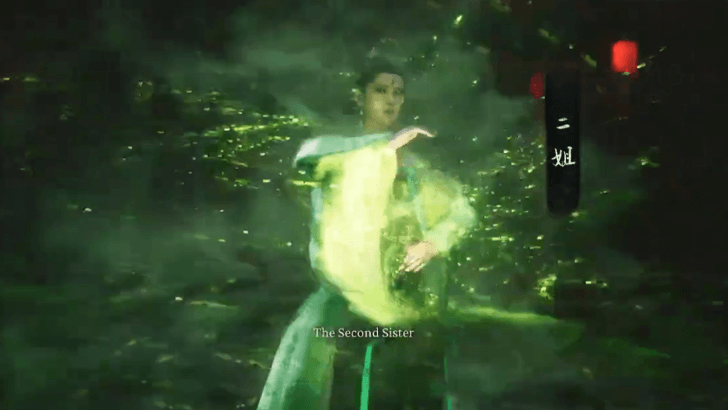 After the cutscene, you need to fight the Second Sister. Once defeated, feel free to look around for some loot, like a Celestial Pill and an Awakened Wine Worm. ▶ How to Beat The Second Sister |
| 4 | When you're ready and want to progress the story, head to where Zhu Baije headed off to and down the hole. |
Webbed Hollow Walkthrough
| # | Webbed Hollow Objectives |
|---|---|
| 1 | Upper Hallow |
| 2 | Pool of Shattered Jade |
| 3 | The Verdure Bridge |
| 4 | Middle Hallow |
| 5 | Bonevault |
| 6 | Cliff of Oblivion |
| 7 | Relief of the Fallen Loong |
| 8 | Lower Hallow |
| 9 | Hut of Immortality |
| 10 | The Purifying Spring |
| 11 | The Gathering Cave |
Upper Hallow
| Objectives | |
|---|---|
| 1 | Once you drop down and wake up, pick up the nearby treasures before heading to the Shrine. |
| 2 | 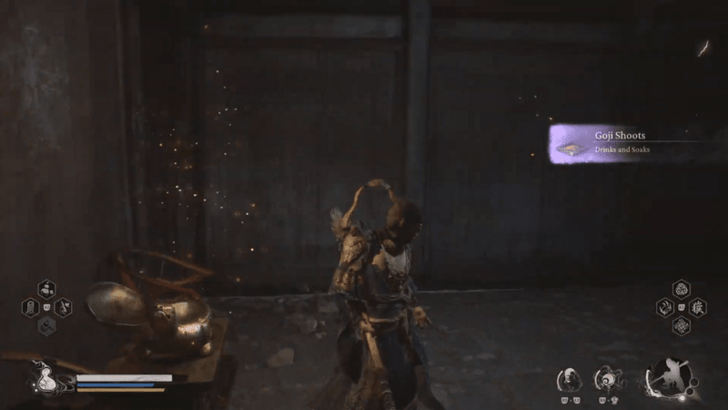 After using the shrine, head southwest of the shrine going up the nearby staircase. Keep Heading up until you see a building with a box that has Goji Shoots in it. |
| 3 | Head out of the building and keep right to cross the ravine. You will arrive at an open area with some spider eggs and a Will spirit near a torch. |
| * | If you want, you can head up a bit for a good amount of treasure. Otherwise, drop down the platform near the Wills spirit and Torch. |
| 4 | Explore the area and then from where you dropped down, head right and keep following the path beating the enemies along the way. |
| 5 | 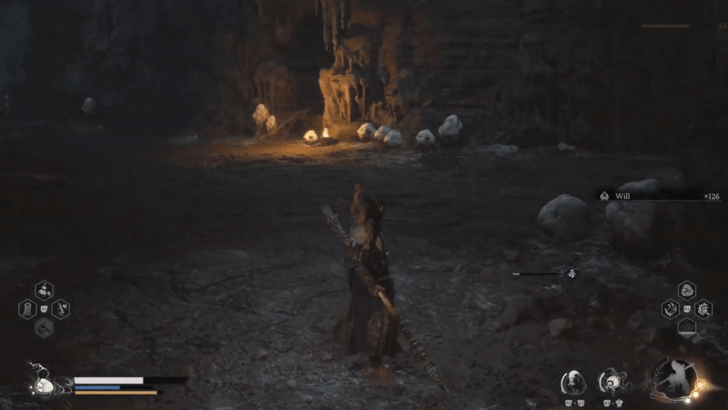 Keep following the path. You can take a detour to your right if you want to capture the Beetle Captain spirit. Otherwise, head forward until you reach a dead end. |
| 6 | 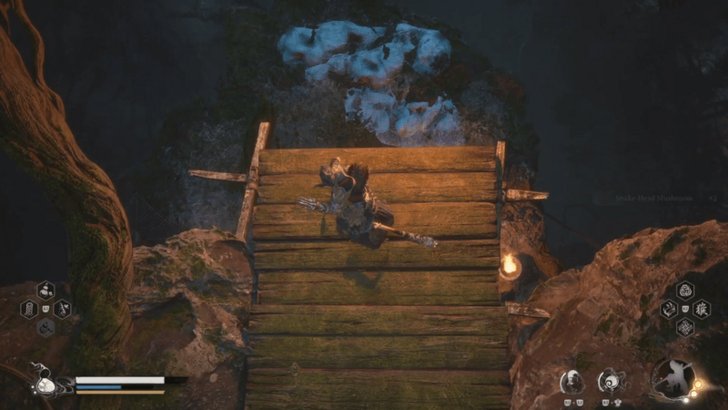 Here, you need to drop from another platform next to another torch. Just keep dropping down and following the torches. The Verdure Bridge shrine should be near the last drop guarded by a Beetle Captain. |
Pool of Shattered Jade Guide
| Objectives | |
|---|---|
| * | This Shrine is optional and can be easily missed if you're just progressing the story. |
| 1 | 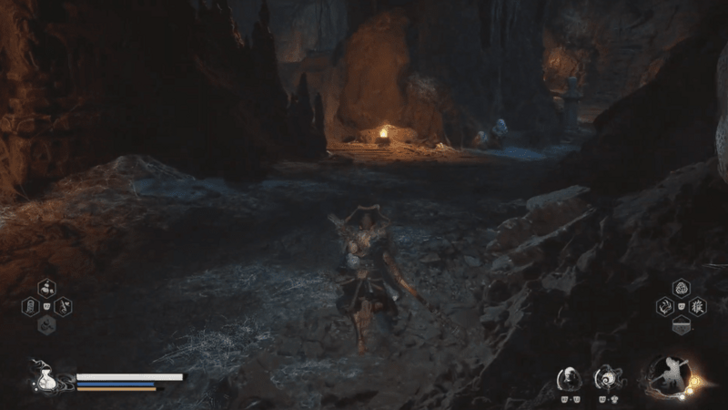 Starting from the Upper Hallow Shrine, head up the stairs lit by torches. Keep following the torches until you reach a wooden path next to a torch you can drop off from. Go down the path, turn right, and drop down another level. |
| 2 | After the final drop, head right into the unlit path and you should see some spider sacs dangling from the ceiling. Keep following the path turning left and you should see some torches near the end. |
| 3 | Keep following the torches to progress, and when you see a fork in the road, choose the left path with egg sacs in it. |
| 4 | 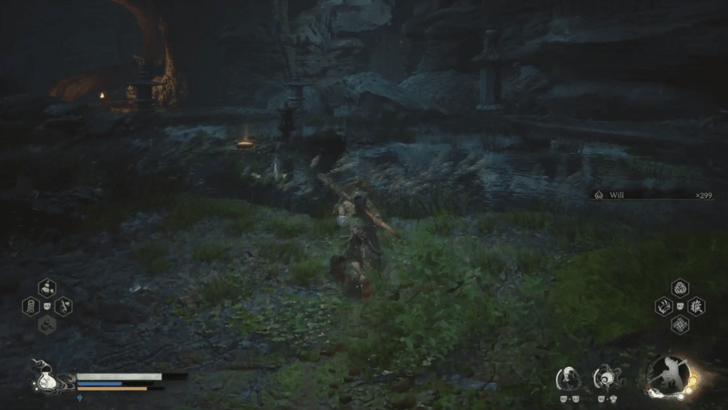 Past the sacs, head up the staircase and just keep following this winding path onto another staircase. Along the way go to the Meditate Spot in the middle of the water. |
| 5 | Once you're up the last set of stairs, just keep heading forward and the Pool of Shattered Jade Shrine should be next to some torches next to a cave. |
| 6 | 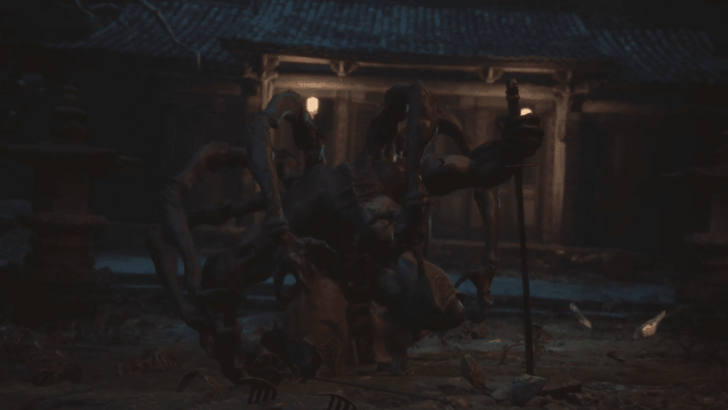 To the right, enter the cave for an optional boss. It starts as the Old Cocoon but will hatch into the Venom Daoist during the second phase. Beating this boss is necessary to unlock the Secret Area for this Chapter. Also, make sure that you break all of the arms on his back to get the Venomous Armguard, which is one of the missables in this chapter! ▶ Venom Daoist Boss Guide |
| 7 | After the fight, head back to the Shrine and teleport to the Verdure Bridge, or the Upper Hallow if you haven't unlocked it yet. |
The Verdure Bridge Guide
| Objectives | |
|---|---|
| 1 | After beating the Beetle Guardian and resting up at the Verdure Bridge shrine, head northwest. |
| 2 | 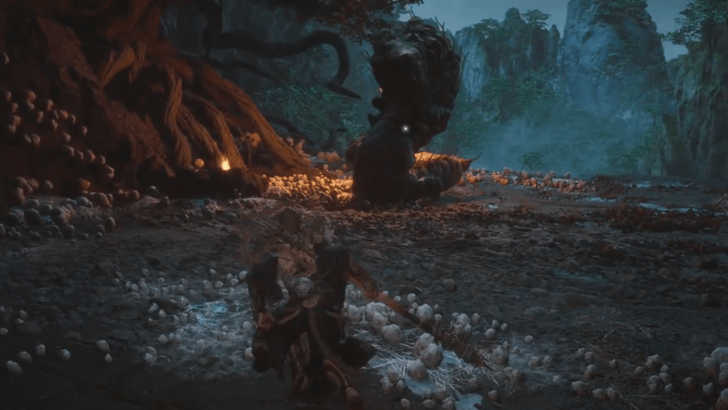 Keep following the path and a cutscene will play with talking lanterns. After the cutscene, head inside and open all the treasure chests. Proceed further in to fight the Elder Amourworm boss. ▶ Elder Amourworm Boss Guide |
| * | Beating this will give you the Proto-Amourworm, which you can give to Chen Loong in the Zodiac Village. Later when you come back, you can feed it 3 Rice Coccoons to get the Elder Amourworm Spirit. ▶ Elder Amourworm Spirit Guide |
| 3 | After beating the Amourworm, head towards the statue and turn left. Continue taking this path following the torches until you meet a fork in the road. |
| 4 | 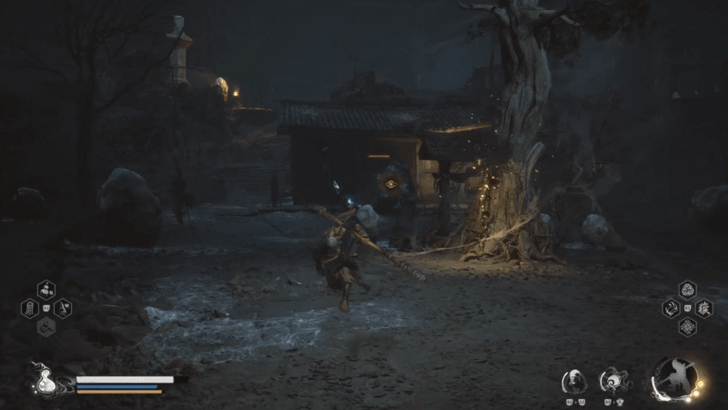 Keep following the path to progress. Head left and you should see a Scorpion Prince enemy guarding a Luojia Fragrant Vine. |
| 5 |  Keep following the torches, and a cutscene will play involving the woman who attacked the lantern and a talisman. After the cutscene, be sure to remove the talisman as this is part of the Purple Talisman Quest. ▶ Purple Talisman Quest Guide |
| 6 | After removing the talisman, keep following the path and you should find the sparkle guiding you to the shrine and a nearby Meditation Spot. |
| 7 | Head towards the Middle Hallow Shrine, but you'll need to fight a few enemies before you can offer incense. |
Middle Hallow Guide
| Objectives | |
|---|---|
| * | After resting up at the Shrine, go to the left path for a chest and then go back to the right path to continue your way. |
| 1 | 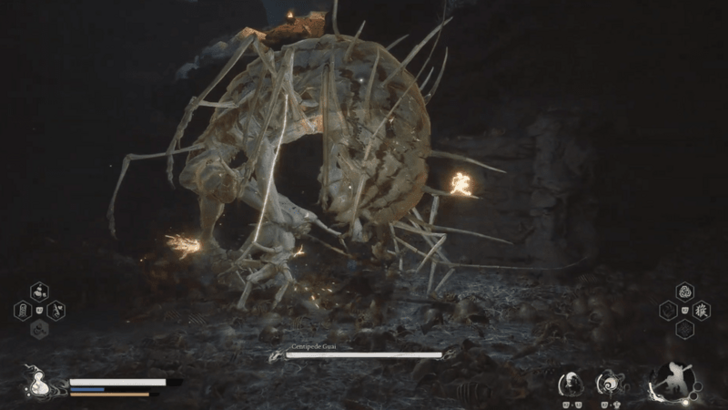 When you're ready, follow the path until you drop down into the large area with a skull pile to fight the Centipede Guai. ▶ How to Beat Centipede Guai |
| 2 | After beating the Centipede Guai, head to the lit-up cave to the left. Keep following the path and near the end you will meet the Horse Guai trapped in a cocoon and a cutscene will play. Do note that the Horse Guai will only appear if you've talked to him in every previous chapter. ▶ Horse Guai Questline Guide |
| 3 | 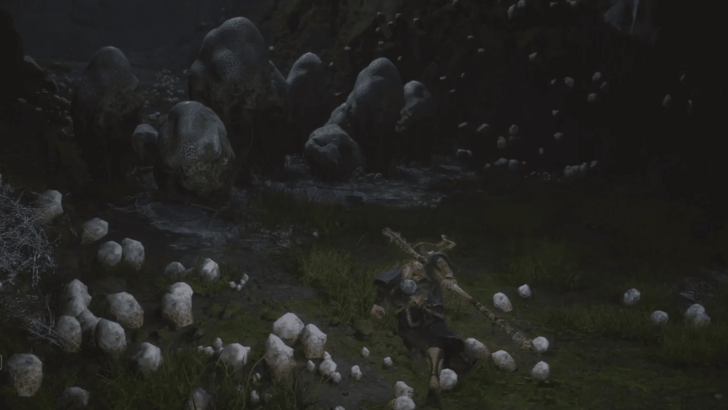 From the Horse Guai, make a left and keep following the path. You will arrive at an area with a caterpillar monster next to a table. Break the sacs to the left of the table to continue. |
| 4 | 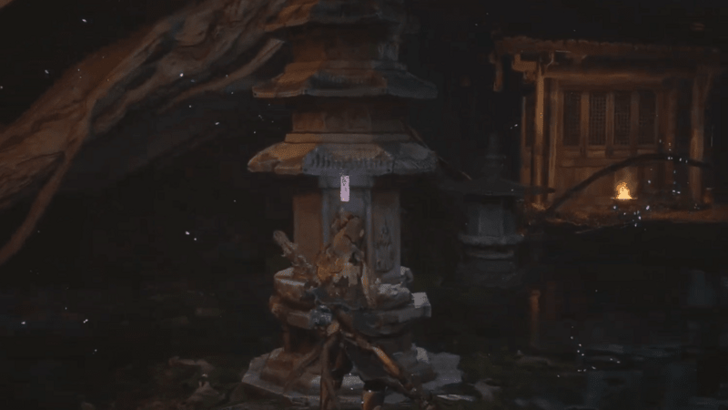 Head up the slope and there should be another Talisman to remove. Head right for a chest, then go left to get to the Cliff of Oblivion Shrine. ▶ Purple Talisman Quest Guide |
Bonevault Guide
| Objectives | |
|---|---|
| * | This Shrine is an alternate path to the Centipede Guai boss fight. If you've already fought this boss, you can skip this Shrine. |
| 1 | Starting from the Middle Hallow Shrine, head back to where the Talisman you removed is located. From the Talisman, head northeast to a makeshift wooden bridge. From there, drop down and head towards the sacs on the floor. |
| 2 | 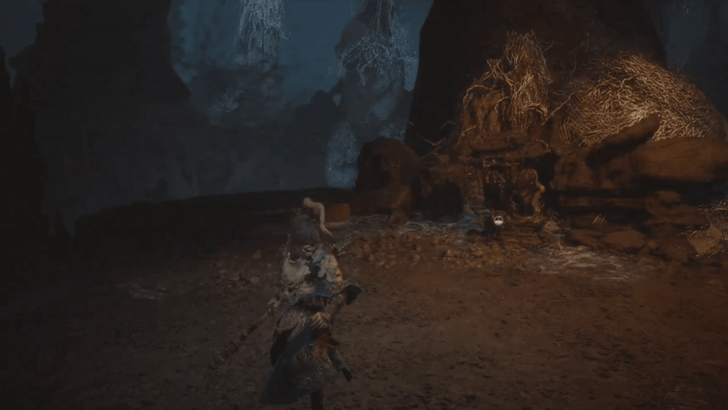 After breaking the sacs, head left and the Bonevault Shrine should be to your right as long as you follow the path. |
Cliff of Oblivion Guide
| Objectives | |
|---|---|
| 1 | 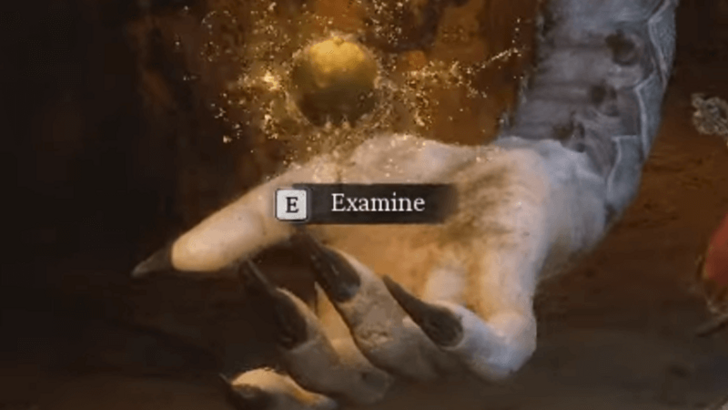 After resting up at the Shrine, head east and you will be taken into a boss fight with Buddha's Right Hand. ▶ How to Beat Buddha's Right Hand |
| 2 | Once you beat Buddha's Right Hand, use its corpse as a bridge to continue your journey. Drop down and then head right until you get to another drop and then go right once more. |
| 3 | Once the road forward splits, head right and then drop down and continue following the torches until you reach what seems to be a dead end. |
| 4 | 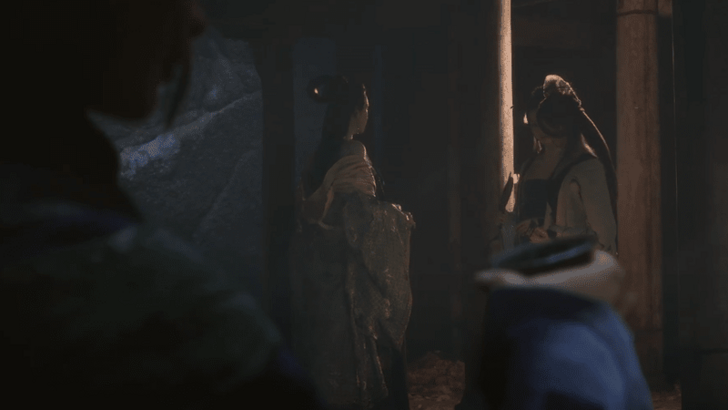 From the dead end, head right into a tight alley and a cutscene involving Zhu Bajie and the Spider Family will play. After the cutscene, head right and you can slowly drop down and continue forward. |
| 5 | Continue following the torches and you will come across a hall of spider webs. Here, you can find a Meditation Spot behind a crack in the wall on the right side. |
| 6 | You can head back out to the spider web hallway or, you can also just head back and turn right from the Meditation Spot and drop down into the Lower Hallow Shrine from the Will spirit. |
Relief of the Fallen Loong Guide
| Objectives | |
|---|---|
| * | This Shrine is optional and can be easily missed if you're just progressing the story. It's recommended to equip the Cloud Step spell to make getting to this area easier. |
| 1 | Starting from the Cliff of Oblivion Shrine, head back to where the corpse of Buddha's Right Hand is located. Once you get to the corpse of Buddha's Right Hand, drop down and then head right until you get to another drop and then go right once more. |
| 2 | 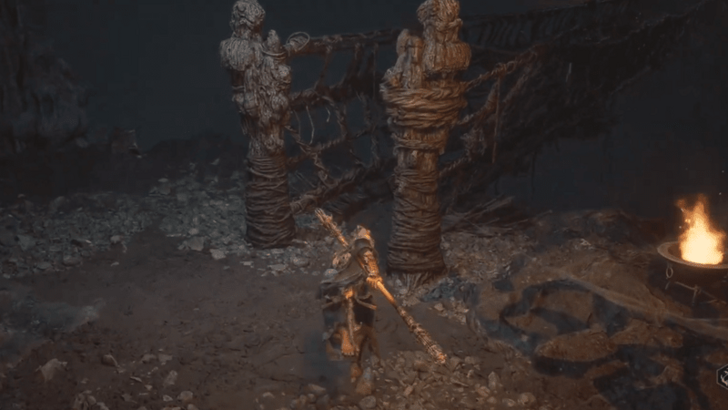 Once the road forward splits, head left and then drop down to the very long rope bridge. Cross it and continue moving forward, you can drop by to the right for a chest along the way. |
| 3 | You will then come across a narrow bridge with a bunch of spider sacs that will try to push you off. Use Cloud Step to cross or just pick them off one by one with the Thrust Stance. |
| 4 | Once you cross the bridge, you can now head out to the new area. Keep going forward for a Luojia Fragrant Vine, then head keep going left and you will come across the Relief of the Fallen Loong Shrine. |
| * | 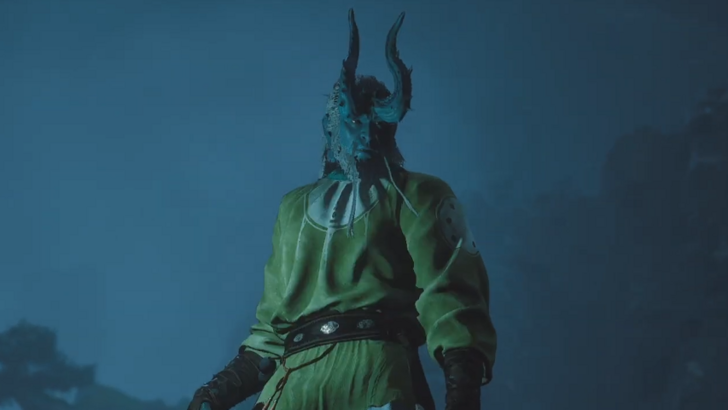 If you head straight up the stairs from the Relief of the Fallen Loong Shrine, you can find the Yellow Loong boss waiting for you to fight him. ▶ Yellow Loong Boss Guide |
| 6 | Once you're ready to move on, enter the cave where there are three paths. The left path will each take you to treasure, meanwhile the right one will get you the Puppet Tick Spirit. |
| 7 | 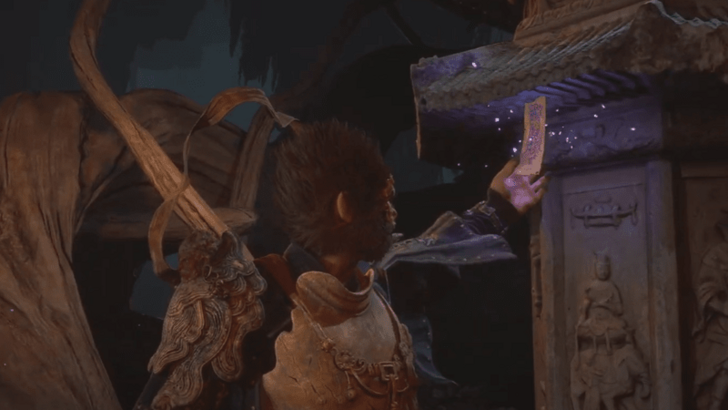 Take the middle path and you will get another chest and you can take down another Talisman. Afterwards, follow the torches and drop down to the path that leads you to the Lower Hallow Shrine. ▶ Purple Talisman Quest Guide |
Lower Hallow Guide
| Objectives | |
|---|---|
| 1 | 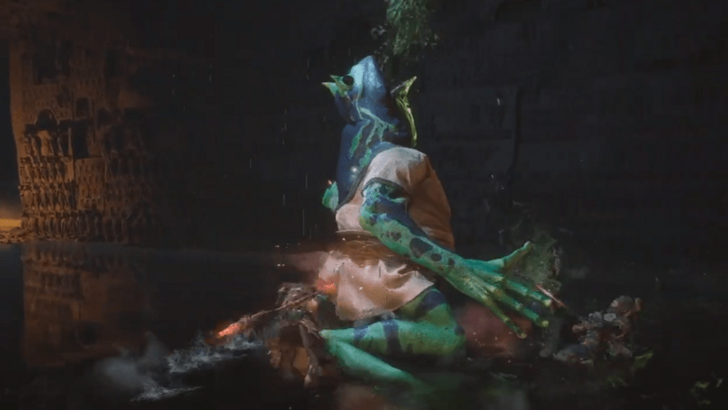 Once you rest up at the Lower Hallow shrine, jump up to the path from the Meditation Spot and continue right where you can face off against Baw-Li-Guhh-Baw. ▶ How to Beat Baw-Li-Guhh-Baw |
| 2 | After beating Baw-Li-Guhh-Baw, head to the opposite side of where you entered and you drop down. To your left, defeat the Beetle Guardian under the arch. |
| 3 | Past the arch, you can drop down one more time and keep following the torches and you should now be at the Hut of Immortality Shrine. |
Hut of Immortality Guide
| Objectives | |
|---|---|
| 1 | 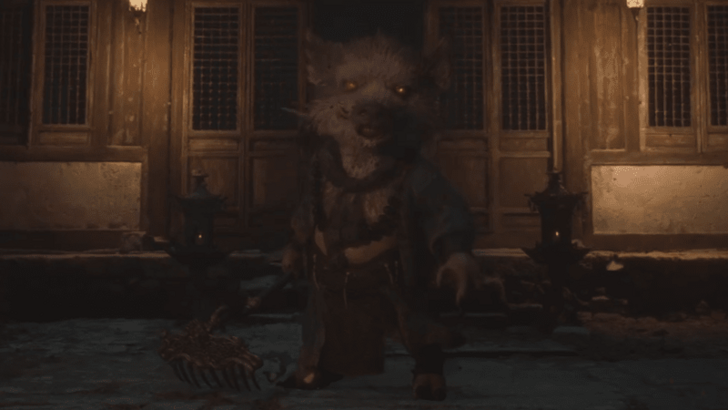 Once you rest up at the Hut of Immortality shrine, head to where the feast was held and after the cutscene, you now have to face off against Zhu Bajie. ▶ Zhu Bajie Boss Guide |
| 2 | After beating Zhu Baije, you can look around and loot the place. Afterwards, go back to the shrine and head north from the Hut and you will eventually get to a narrow space you need to shimmy through. |
| 3 | 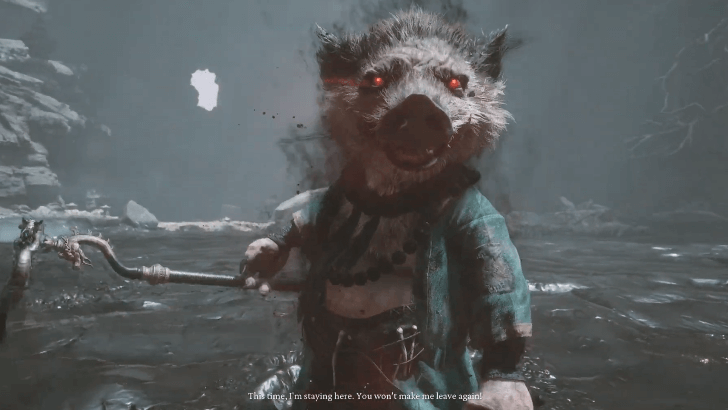 Once you shimmy your way out, make your way forward and a cutscene will play and you have to fight Zhu Bajie again, this time with two phases. |
| 4 | After beating Zhu Baizhe the second time, you will be left alone again and now you can continue going onwards. |
| 5 | Follow the glittering trail and open a few chests along the way and you are now at The Purifying Spring Shrine! |
The Purifying Spring Guide
| Objectives | |
|---|---|
| 1 | Once you rest up at the shrine, head up and then follow the winding path to a set of stairs. |
| * | 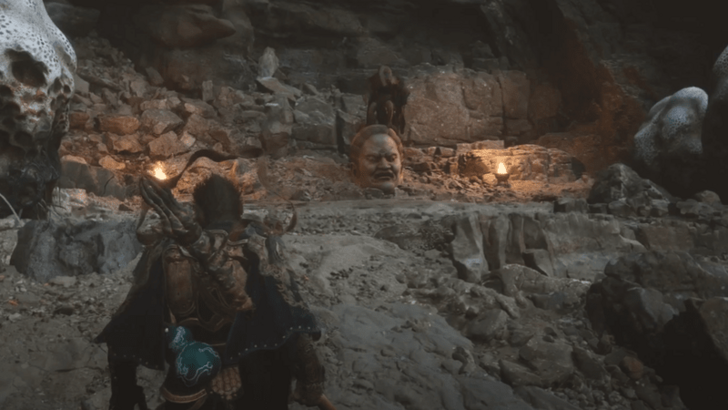 You will see a familiar rat on a Buddha head if you drop down the path. Grab the Skandha of Choice from the head and head back to the path. ▶ Five Skandhas Quest Guide |
| 2 | Go up the stairs and you will be ambushed by a Locust and then up another set of stairs is a Scorpion Prince. Make sure to fight them separately. |
| * | Don't go too far to the sides of the arena as a powerful Dragonfly Guai can join in the fight. Leave it for last so you can get its spirit! |
| 3 | From the Scorpion Prince, keep following the trail of torches and at the end, you will arrive at The Gathering Cave Shrine! |
The Gathering Cave Guide
| Objectives | |
|---|---|
| 1 | 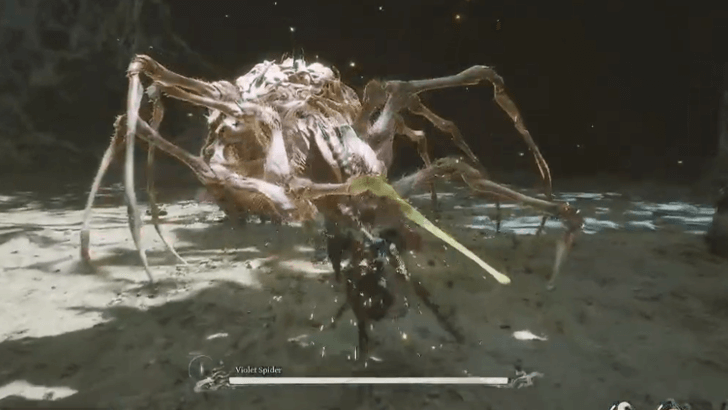 Once you rest up, head forward and a cutscene will play explaining the history between Zhu Baije and the Violet Spider. Afterwards, you will have to fight the matriarch herself. ▶ Violet Spider Boss Guide |
| 2 | After beating the Violet Spider, the arena will be infested with golden spiders! Run away and a cutscene will play of you being saved by a mysterious giant spider. |
| 3 | After being saved, head onwards and grab the Luojia Fragrant Vine along the way as you make your way towards the Mountain Trail Shrine at the Temple of Yellow Flowers. |
Temple of Yellow Flowers Walkthrough
| # | Temple of Yellow Flowers Objectives |
|---|---|
| 1 | Mountain Trail |
| 2 | Forest of Ferocity |
| 3 | Temple Entrance |
| 4 | Court of Illumination |
Mountain Trail
| Objectives | |
|---|---|
| 1 | Once you're ready head up the steps to an open field of greenery. Feel free to explore but keep going forward to progress. |
| 2 | 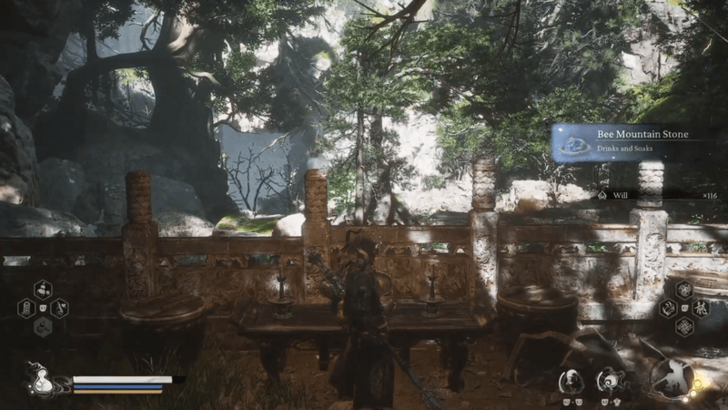 Head further up and make sure to pick up the Bee Mountain Stone. You will then see a temple at the end, head left. |
| 3 | At the end of this dark path is a chest and a good amount of enemies so be careful. From here, head right and you will be taken into another dark path to a cave. |
| 4 | Past the cave, another chest guarded by a lot of enemies and then another cave will greet you. At the end of this path is the Forest of Ferocity Shrine! |
Forest of Ferocity Guide
| Objectives | |
|---|---|
| 1 | From the Shrine, head left for a Meditation Spot. Then you can go forward to see a flight of steps to the top. |
| 2 | 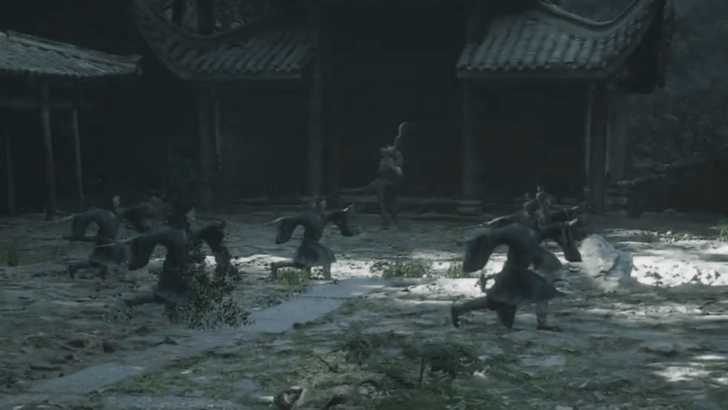 At the top is Commander Beetle and his Students, defeat this boss and get the Tablet of the Three Supremes Curio. ▶ How to Beat Commander Beetle |
| 3 | From there, keep scaling the stairs and you will end up at the Temple Entrance Shrine! |
Temple Entrance Guide
| Objectives | |
|---|---|
| 1 | From the Shrine, head inside the gate and climb yet another set of stairs. You will soon arrive at the temple. |
| 2 | 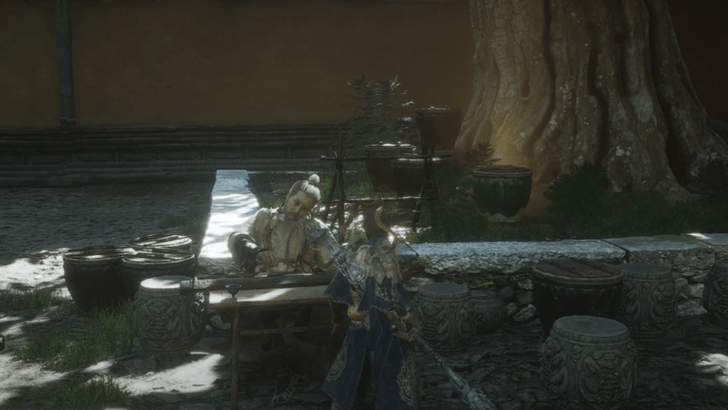 Once inside, you can go to the right for a Snake Sheriff Spirit, an Awaken Wine Worm, and a monk playing the Guqin. There is also another Meditation Spot so beat up the nearby enemies to relax. |
| 3 | Head back out and follow the path to the left until you hit a dead-end. Go to the left so you can get to the Court of Illumination Shrine! |
Court of Illumination Guide
| Objectives | |
|---|---|
| 1 | Facing the Court of Illumination shrine, head south from the Court of Illuminations Shrine and go through the gate. Keep going up at the top you will obtain the Sunset of the Nine Skies Drink. |
| 2 | 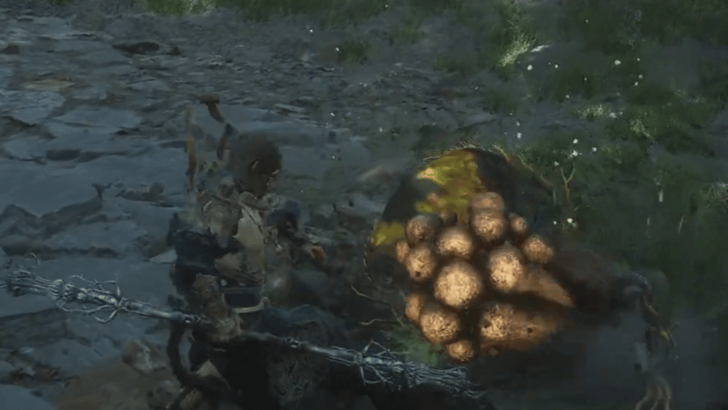 From the Sunset of the Nine Skies Drink, go back and pick the Monkey-Head Fungus to start the Fungiwoman boss fight. Beating it will get you its Spirit. ▶ How to Beat Fungiwoman |
| 3 | 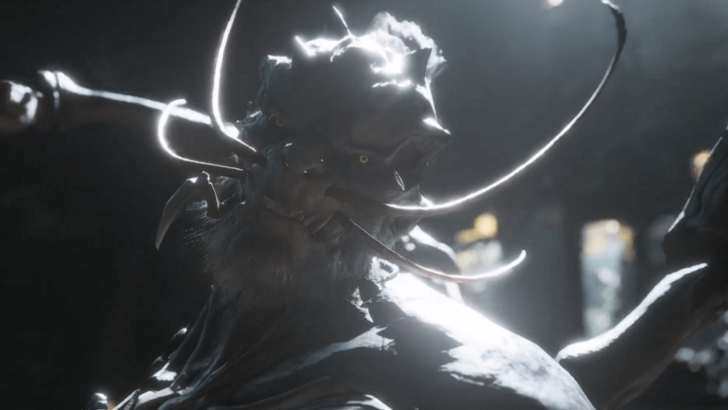 Turn around and head back to where you came from. On the way, you should see an opening that will lead you to the second Venom Daoist fight. Defeating him here will unlock the Secret Area for this chapter! ▶ Venom Daoist Boss Guide |
| 4 | Head back to the Court of Illumination Shrine. Facing the shrine, head north up the steps and you will find what should be the final talisman. |
| 5 | 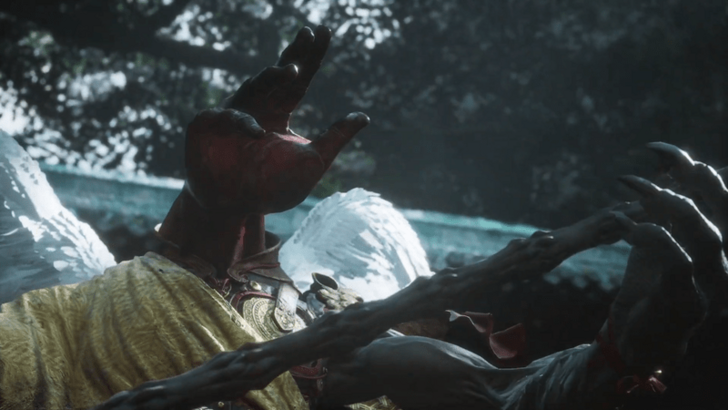 After ripping it off, the Supreme Inspector will appear. This fight cannot be won, so just survive until a cutscene starts. |
| 6 | After the cutscene, pick up the Celestial Nonary Pill and head back to the Court of Illumination shrine. This time, facing the shrine, head down the steps and a cutscene will play. |
| 7 |  After this cutscene, you now need to fight the Hundred-Eyed Daoist Master. The Violet Queen's daughters will aid you in this fight. ▶ Hundred-Eyed Daoist Master Boss Guide |
| * | Once it reaches around a third of its health, it will go into its second phase! If you have the Weaver's Needle Vessel, use it to cancel the boss' effect and you can fight him as normal. If you don't have it yet, then you'll need to head to the Secret Area and beat the big boss of the area to get it. ▶ Chapter 4 Secret Area Guide |
| 8 | After beating the boss, the usual video will play and this marks the end of Chapter 4. |
Purple Cloud Mountain Walkthrough
| # | Purple Cloud Mountain Objectives |
|---|---|
| 1 | Valley of Blooms |
| 2 | Bounds of Deity's Abode |
| 3 | Petalfall Hamlet |
| 4 | Cloudnest Peak |
Valley of Blooms
| Objectives | |
|---|---|
| 1 | Head out from the Court of Illuminations Shrine and go to the opposite path and back up to the top where you obtained the Sunset of the Nine Skies Drink. |
| 2 |  From there, go back and take the route to the right and once you drop down is your second fight against the Venom Daoist. Note that you will need to have beaten him in the Pool of Shattered Jade first for him to show up in this area. ▶ Venom Daoist Boss Guide |
| 3 | After beating Venom Daoist again, head out the back first and to your right is the path to the Soul Remigration Pill. |
| 4 | 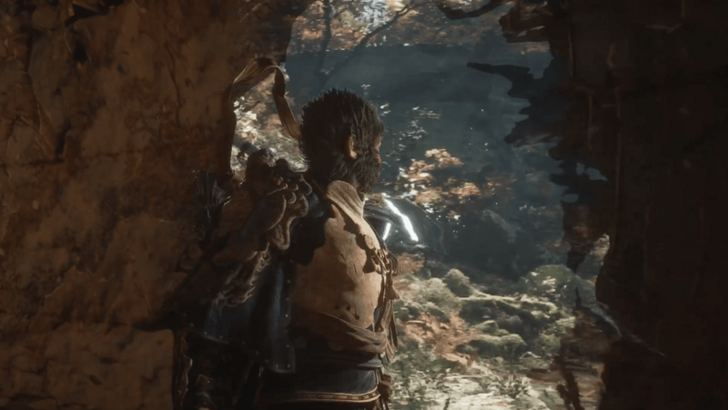 Head back to where you beat the Venom Daoist and interact with the painting. This will take you to the Purple Cloud Mountain. |
| 5 | Once you arrive, just follow the path and a snake will talk to you and then you can cross the bridge. Keep pressing on and you will soon get to the Mountain Trail Shrine. |
| 6 | After resting at the Shrine, keep going onwards and head to the right to grab the Verdant Glow Spirit along the way. |
| 7 | Eventually, the familiar sparkle will appear and it will guide you to the Bound of Deity's Abode Shrine. |
Bounds of Deity's Abode
| Objectives | |
|---|---|
| 1 | 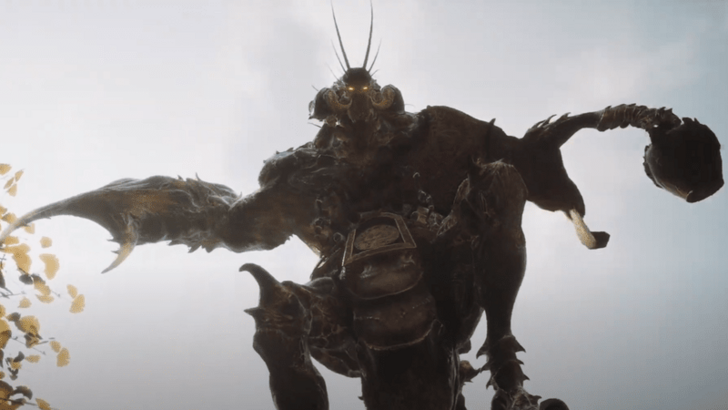 From the Bounds of Deity's Abode Shrine, head up and you will see The Scorpionlord. To start the fight, you need to break his jars of alcohol. ▶ The Scorpionlord Boss Guide |
| * | Warning! If you start the final boss of this area without beating The Scorpionlord first, he will despawn and you will miss out on his rewards! |
| 2 | After beating him and claiming his rewards, you can progress to the other Shrines in this area. There's nothing else here so feel free to go back and explore the other areas. |
Petalfall Hamlet
| Objectives | |
|---|---|
| 1 | From the Bounds of Deity's Abode Shrine, head in the opposite direction and get the Celestial Registry Tablet Curio under a pagoda. |
| 2 | From the pagoda, head in the opposite direction and after taking care of the two guards, you can now get to the Petalfall Hamlet Shrine. |
| 3 | Before going in, go the opposite way from Petalfall Hamlet Shrine to a gate and grab the Snake Herbalist Spirit. You can also climb up the gate and follow the path to get the Gold Sun Crow Curio. |
| 4 | 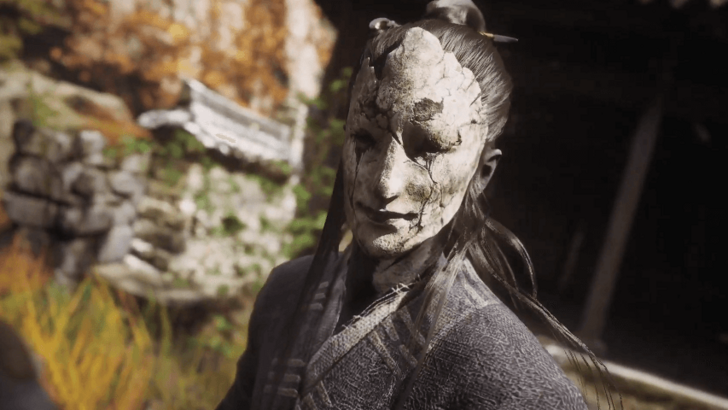 You can now head inside the Petalfall Hamlet Shrine and you will first see Daoist Mi. To start his boss fight you need the Violet Hail Key Item from one of the enemies in this area. ▶ Daoist Mi Boss Guide |
| * | Warning! If you start the final boss of this area without beating Daoist Mi first, he will despawn and you will miss out on his rewards! |
| 5 | After beating him, Hong Yi, the talking snake, will appear and she will give you the Violet Hail Transformation. |
| 6 | After getting your new transformation, head further in through the cobble arch. You can go ahead and battle enemies along the way as long as you follow the path forward. |
| 7 | Just keep following the path until you see a well with a huge rock beside it. From there, turn right and you can fall down and the sparkle should guide you to the Cloudnest Peak Shrine. |
Cloudnest Peak
| Objectives | |
|---|---|
| 1 | After healing at the shrine, you can go ahead and grab the treasure chest and raid the nearby houses before going up. |
| 2 | 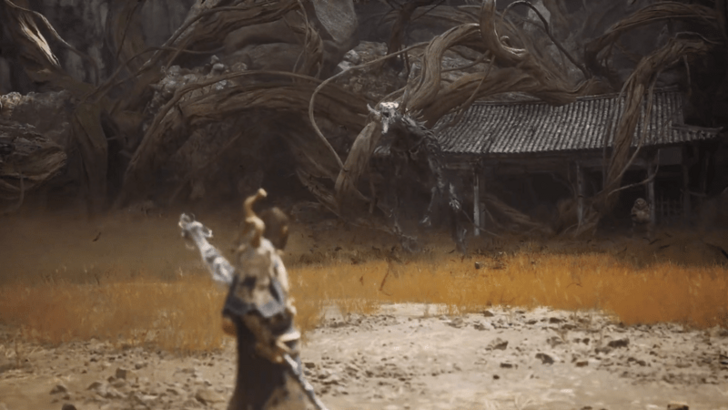 When you're ready, and you've beaten every other boss in the area, head up to the boss arena to fight The Duskveil. ▶ The Duskveil Boss Guide |
| * | Warning! If you defeat the Duskveil without beating Daoist Mi and The Scorpionlord, they will despawn and you will miss out on the rewards for beating each boss! |
| 3 | After beating the two phases of the Duskveil, a cutscene will play and the Hong Yi will give you the Weaver's Needle Vessel. |
Chapter 5: Golden Child, Crimson Blood Walkthrough
| Jump to a Section! | |||||||||||
|---|---|---|---|---|---|---|---|---|---|---|---|
| Woods of Ember | Furnace Valley | Field of Fire | |||||||||
| Secret Area: Bishui Cave | |||||||||||
Chapter 5: Golden Child Crimson Blood Walkthrough Guide
Woods of Ember Walkthrough
| Woods of Ember Objectives | |
|---|---|
| 1 | Ashen Pass I |
| 2 | Camp of Seasons |
| 3 | Height of Ember |
| 4 | Ashen Pass II |
Ashen Pass I Guide
| Objectives | |
|---|---|
| 1 | As soon as you spawn in the chapter, you'll have to fight off a wave of enemies alongside Zhu Bajie. Once they've been defeated, a cutscene will play and you can move on through the large doors. |
| 2 | Head forward and defeat the enemies in front of the Ashen Pass I Shrine to unlock it. |
| 3 | 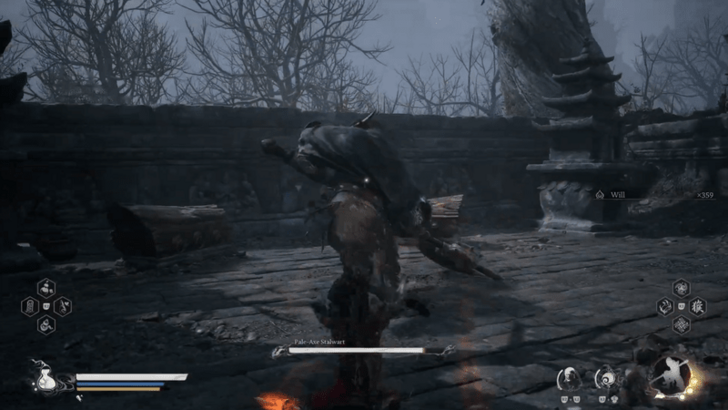 After resting at the Shrine, follow the path until you reach an area with enemies fighting each other. Clear out as many enemies as you can to make the boss fight against the Pale-Axe Stalwart more manageable. At around 25% HP, the boss will get on his knee, allowing you to talk to him to initiate the Five Element Carts Quest. This is required to unlock the Secret Area for Chapter 5! ▶ How to Beat Pale-Axe Stalwart |
| * | As long as you're not being assaulted with a barrage of fireballs, you can explore the area to unlock the treasure chests. |
| 4 | 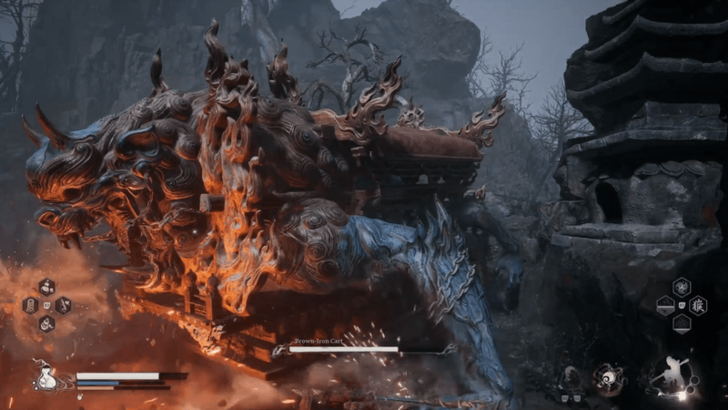 Afterwards, head up the stairs towards the bridge to deal with the Brown-Iron Cart boss that's been flinging fireballs at you. ▶ How to Beat Brown-Iron Cart |
| 5 | Once they've been dealt with, head to the bridge to unlock the Camp of Seasons Shrine. |
Camp of Seasons
| Objectives | |
|---|---|
| 1 | Head across the bridge and follow the path through some caves. |
| 2 | 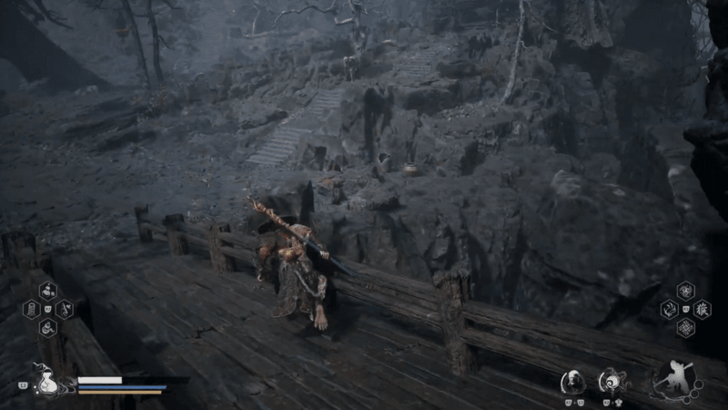 Once you've crossed a different smaller bridge, defeat the enemies in the area to unlock a treasure chest and the Meditation Spot at the top of the stairs to the right. |
| * | Follow the path to the left of the stairs to reach a treasure chest guarded by a few enemies. |
| 3 | 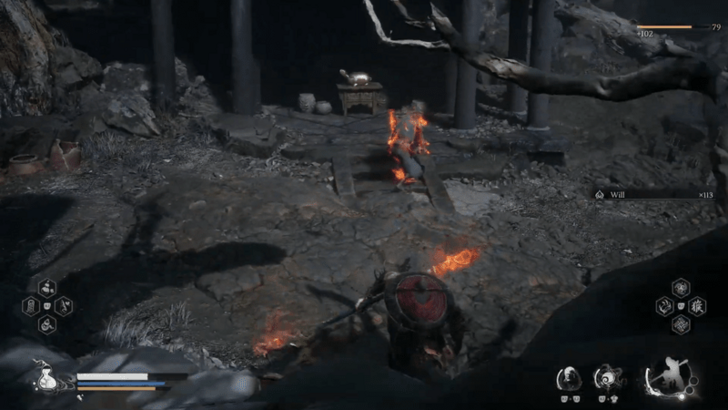 Continue forward until you reach the structure with a small chest containing the Mount Lingtai Seedlings Soak. |
| 4 | Cross the bridge and keep following the path to the Height of Ember Shrine. |
Height of Ember
| Objectives | |
|---|---|
| 1 | 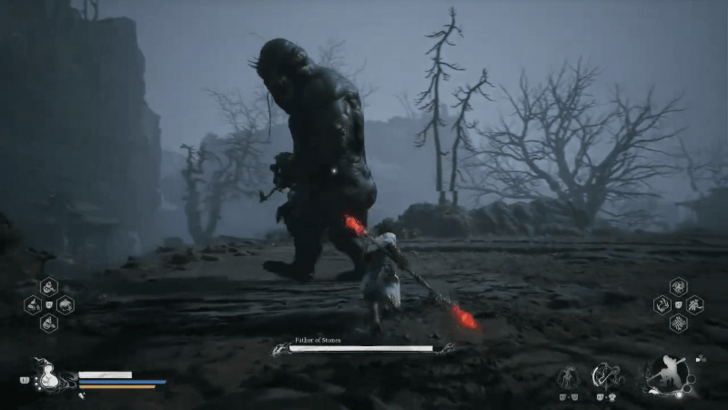 When you're ready, head to the open area to take on the Father of Stones boss fight. ▶ How to Beat Father of Stones |
| * | After the fight, ignore the doorway and go explore the area ahead. There will be a treasure chest when you go straight, and if you explore the area below, there will be a few items to pick up like a Luojia Fragrant Vine. |
| 2 | When you're ready, head through the doorway along the wall that the F ather of Stones jumped over. |
| 3 | Follow the path forward, ignoring the Gray-Bronze Cart HP Bar for now, until you reach a cave. |
| * | 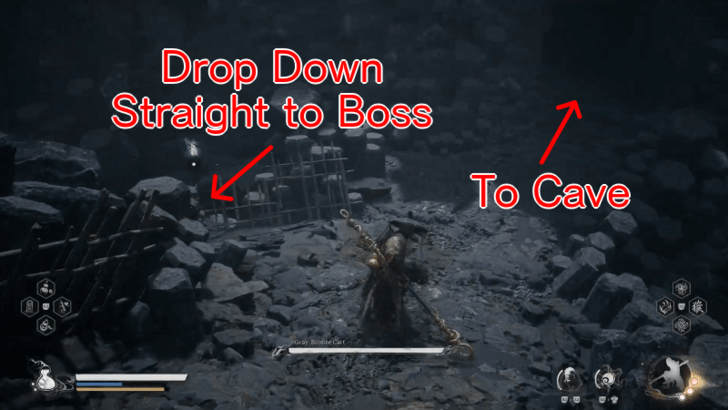 If you wish to ignore the cave and the items inside, you can drop down to the left before entering the cave. However, you will take fall damage and will need to use up one of your Gourd heals. |
| 4 | Explore the cave for a bunch of Will, a few treasure chests, and the Spirit of a Charface. When you want to proceed, follow the lit braziers to get out of the cave. |
| 5 | 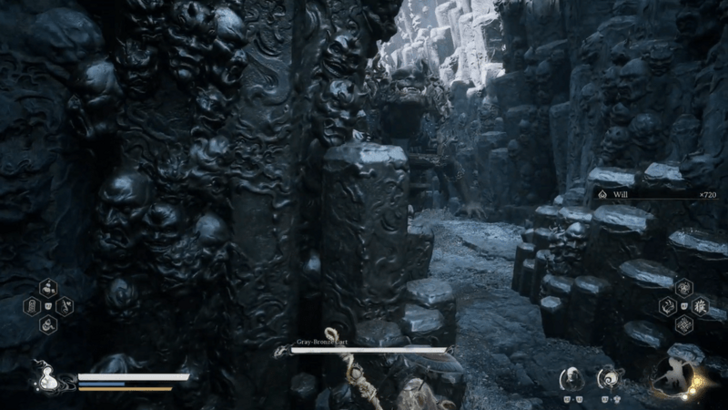 Continue following the path outside, opening the chest along the way, and head towards the Gray-Bronze Cart boss fight. ▶ How to Beat Gray-Bronze Cart |
| * | Optionally, after beating the boss, teleport back to the shrine to rest back up as there's another boss fight immediately up ahead. |
| 6 | 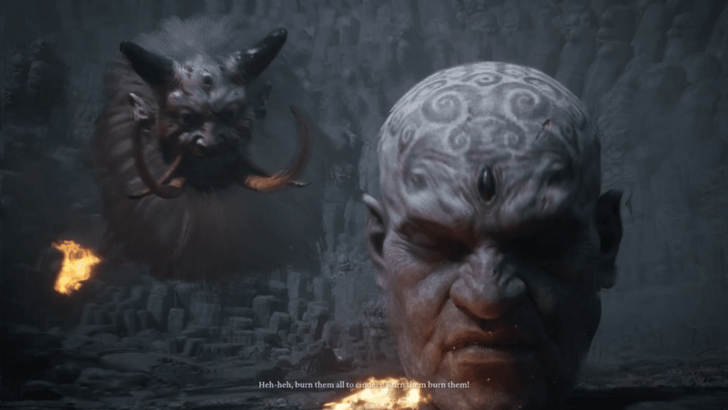 When you're ready, head through the narrow corridor for a boss fight against Quick as Fire, Fast as Wind. ▶ Quick as Fire, Fast as Wind Boss Guide |
| 7 | After the two heads have been defeated, head around to the back of the boss arena to unlock the Ashen Pass II Shrine. |
Ashen Pass II
| Objectives | |
|---|---|
| 1 | Follow the Fox until you reach a cliff edge. Once you're there, drop down for a cutscene that will introduce the Furnace Valley. |
| 2 | Head forward across the water until you reach the Valley Entrance Shrine. |
Furnace Valley Walkthrough
| Furnace Valley Objectives | |
|---|---|
| 1 | Valley Entrance |
| 2 | Rakshasa Palace |
| 3 | The Emerald Hall |
Valley Entrance Guide
| Objectives | |
|---|---|
| * | Before proceeding, equip the Fireproof Mantle so that you're immune to the lava-covered terrain. |
| 1 | Continue on forwards until you reach two large pillars where you'll then head down to the magma area. |
| 2 | 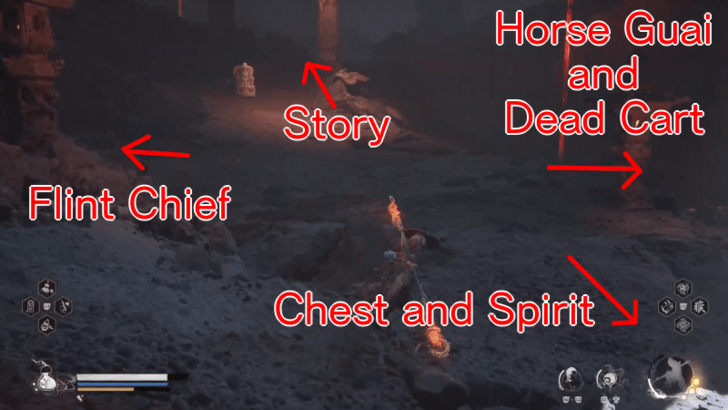 Once you're at the bottom, head forward and up to continue with the story. Optionally, you can explore this area for a bunch of side objectives. |
| * | The non-lava-covered path to the right leads you to a treasure chest and a dead cart. The cart is the finale of the Horse Guai Quest and part of the Five Element Carts Quest. Make sure that you've talked to the Horse Guai in all 4 previous chapters before interacting with the cart, otherwise, you will miss out on the rewards from their quest! |
| ** | The lava-covered path to the right will lead you to a treasure chest containing a Kun Steel, and a Spirit for the Turtle Treasure. |
| *** | 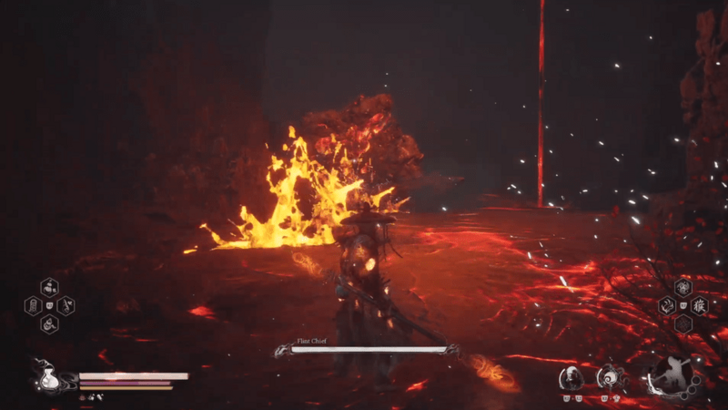 The lava-covered path to the left will lead you to the Flint Chief optional boss. Make sure you have the Fireproof Mantle equipped since you'll be on top of lava the entire fight. ▶ Flint Chief Boss Guide |
| 3 | Around halfway up the path, there will be a treasure chest guarded by an Earth Rakshasa, that also drops its spirit. Be careful of its flame breath as it can stun lock and kill you in one hit. |
| 4 | 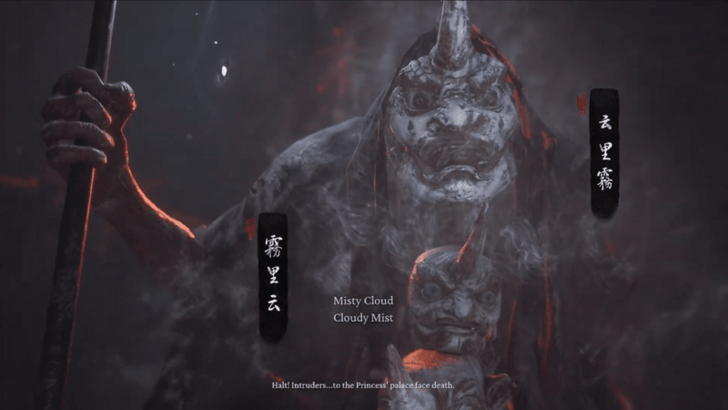 Continue up the path until you reach the Cloudy Mist, Misty Cloud boss arena. After the fight, go up the stairs and through the doorway to activate the Rakshasa Palace Shrine. ▶ Cloudy Mist, Misty Cloud Boss Guide |
Rakshasa Palace Guide
| Objectives | |
|---|---|
| * | Look around the area of the shrine for treasure chests before proceeding forward. |
| 1 | Follow the path forward along the bridges until you reach the area with large enemies with shields. |
| * | 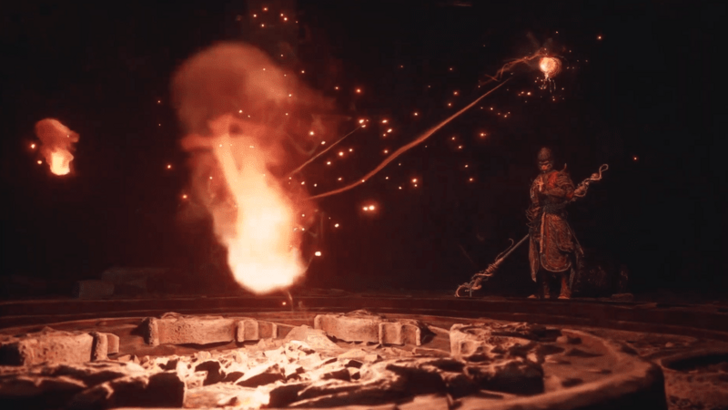 Step down onto the lava to reach an area on the left with the Old Sage and a glowing barrel containing an Awaken Wine Worm. If you talk to the Sage with a fully upgraded Medicine Buddha Gourd, you can interact with the fire to upgrade it to a Supreme Gourd! ▶ Supreme Gourd Quest Guide |
| 2 | Head into the pagoda on the right and follow the path forward to reach The Emerald Hall Shrine. |
The Emerald Hall Guide
| Objectives | |
|---|---|
| * | Before proceeding forward, make sure that you've talked to the Horse Guai in all 4 previous chapters first. If you don't, beating the next boss will stop Ma Tianba from spawning and you can't pull the whip from the cart to complete the quest. ▶ Horse Guai Questline Guide |
| 1 | 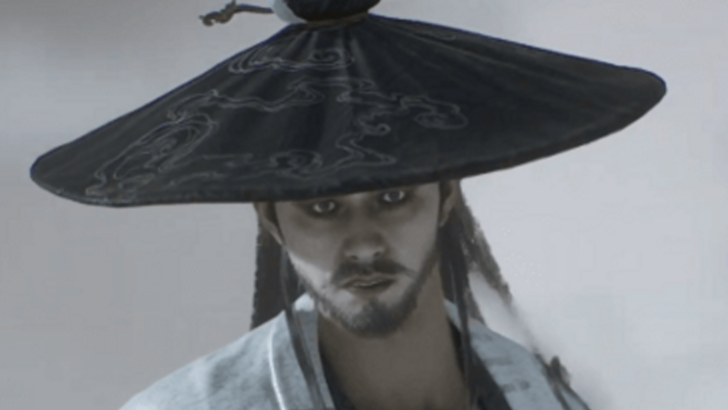 Once you're ready, head up the stairs to initiate the back-to-back boss fights with the Keeper of Flaming Mountains and Yin-Yang Fish. If you die during either phase of this fight, you'll have to start at the beginning and fight the Keeper again. ▶ Keeper of Flaming Mountains and Yin-Yang Fish Boss Guide |
| * | After the battle, head up to the altar to get the Loong Balm Drink from the small chest. Next, head out towards the balcony and go right to activate a Meditation Spot. Finally, turn back towards the altar and go left to find a chest with the Slumbering Beetle Husk Soak. |
| 2 | When you're ready to move forward, go back to the altar and head up left, following the path and unlocking the chest along the way. |
| 3 | 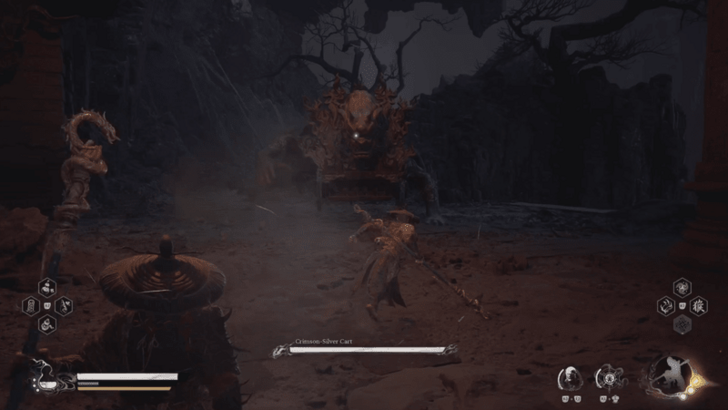 Continue following the path headed upwards until you have to face the Crimson-Silver Cart. ▶ How to Beat Crimson-Silver Cart |
| * | If you've exhausted all of the Pale-Axe Stalwart's dialogue in the Camp of Seasons, you can talk to him here after beating the Crimson-Silver Cart. Make sure to exhaust all of his dialogue here as well. |
| 4 | After the fight, continue on the path until you reach the Ashen Pass III Shrine. |
Field of Fire Walkthrough
| Village of Lanxi Objectives | |
|---|---|
| 1 | Ashen Pass III |
| 2 | Cooling Slope |
| 3 | Fallen Furnace Crater |
Ashen Pass III Guide
| Objectives | |
|---|---|
| * | 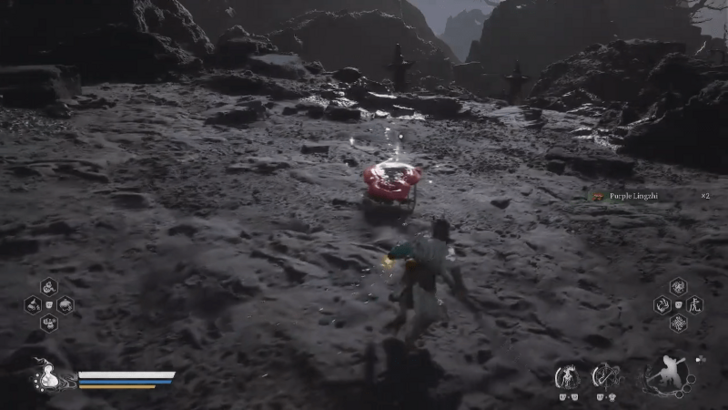 To the right of the Shrine, interacting with the big red mushroom will start a boss fight with the Nine-Capped Lingzhi Guai. After it's been defeated, you can activate the Meditation Spot in the same area. ▶ Nine-Capped Lingzhi Guai Boss Guide |
| 1 | When you're ready to move on, head down the path left of the Shrine towards the giant spinning ball of death. Don't get hit by this thing as it kills you in one hit. The only way past this thing is by standing in the little side areas of the path occupied by enemies. Take your time and scout the path ahead so that you can time your movements properly. |
| 2 | You'll be safe from the ball once you've reached the end of the path and start a cutscene. Once it ends, follow the little fox lady down the path until you reach the Fallen Furnace Crate Shrine. |
| * | 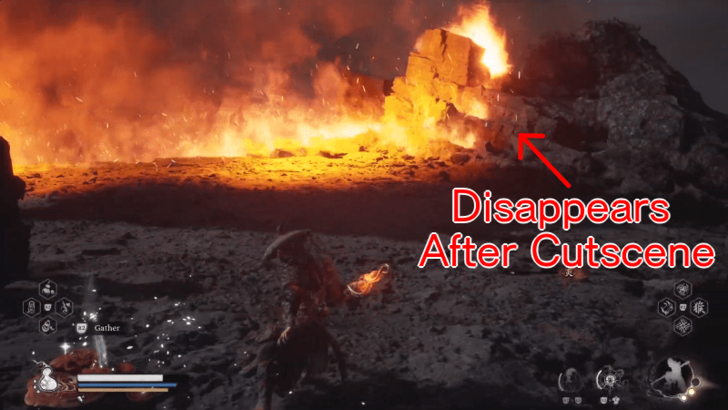 After getting the Fallen Furnace Shrine, head back down the path where the ball was rolling to find a newly opened area on the left that leads you to the Cooling Slope Shrine. |
| ** | You can also return to the Emerald Hall Shrine and make your back up to the Ashen Pass III Shrine to find the Top Takes Bottom, Bottom Takes Top Spirit. This will only spawn after the ball falls off the cliff during the cutscene. |
Cooling Slope Guide
| Objectives | |
|---|---|
| * | This area is optional, but it leads you to the Secret Area for this chapter. |
| 1 | 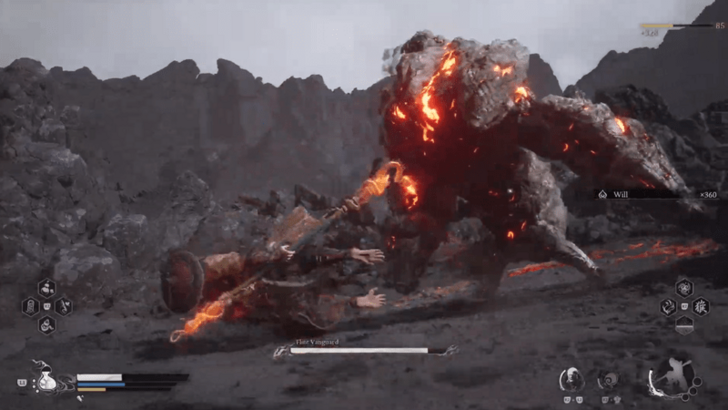 From the newly opened path, head downwards until you reach the Flint Vanguard boss. Be careful since they can spawn other rock monsters to attack you during the fight. ▶ Flint Vanguard Boss Guide |
| 2 | 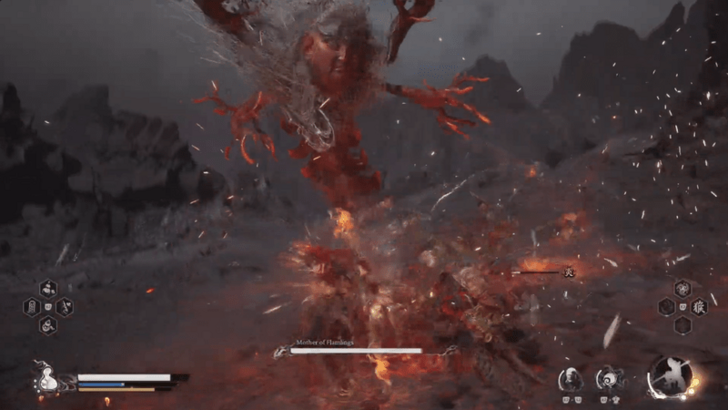 After the fight, continue down the path until you reach a treasure chest and a large glowing red mark on the ground. Interacting with this mark with 4 Flame Ores in your inventory will start the Mother of Flamlings boss fight. Flame Ores are dropped by the smaller Flamlings in the area or bought at one of the Shrines in this chapter. ▶ How to Beat Mother of Flamlings |
| 3 | Once the boss has been defeated, continue following the path until you reach the Cooling Slope Shrine. |
| 4 | 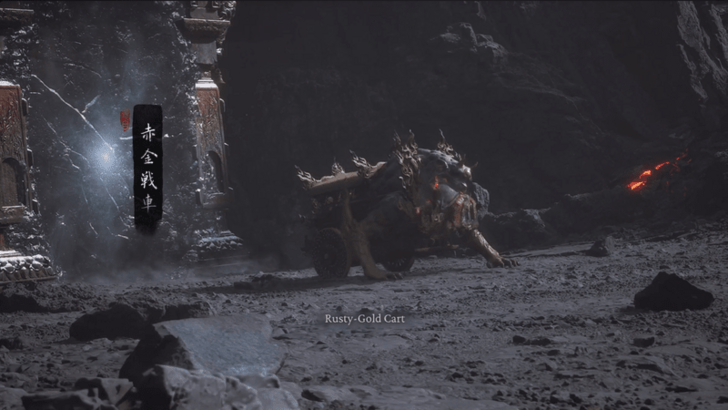 When you're ready, and you've exhausted the Pale-Axe Stalwart's dialogue near the Crimson-Silver Cart earlier, walking towards the gate will start a fight with the Rusty-Gold Cart. Beating this boss and talking to the Pale-Axe Stalwart will finish the Five Element Carts Quest and unlock the Secret Area. ▶ How to Beat Rusty-Gold Cart |
| * | 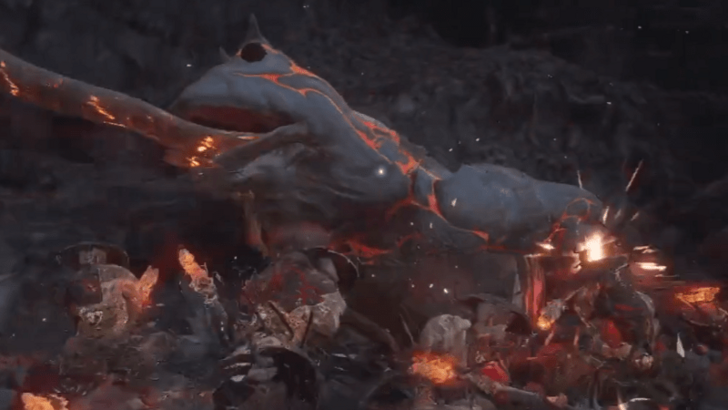 After you destroy the ice gate, go down and to the left to fight Baw-Lang-Lang before heading to the center and teleporting to the secret area. ▶ How to Beat Baw-Lang-Lang |
Fallen Furnace Crater Guide
| Objectives | |
|---|---|
| 1 | 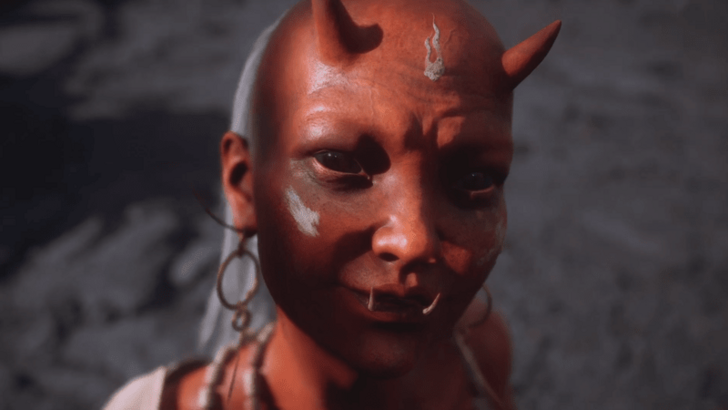 Prepare yourself since you're about to face the final boss of this area. Once you're ready, proceed to the open area to start a cutscene and the Red Boy boss fight. After the fight, another cutscene will play and you'll have to face the Yaksha King next with Zhu Bajie assisting you. ▶ Red Boy and Yaksha King Boss Guide |
| 2 | Once he's been defeated, the final cutscene will start and Chapter 5 will end. |
Bishui Cave Walkthrough
| Bishui Cave Objectives | |
|---|---|
| 1 | Purge Pit |
| 2 | Cave Depths |
| 3 | Corridor of Fire and Ice |
Purge Pit Guide
| Objectives | |
|---|---|
| 1 | Once you spawn in, follow the path downwards and open the treasure chest along the way. Once you reach the large indoor area, turn left to activate the Purge Pit Shrine. |
| * | Follow the path right from the entrance to activate the final Meditation Spot. |
| 2 | 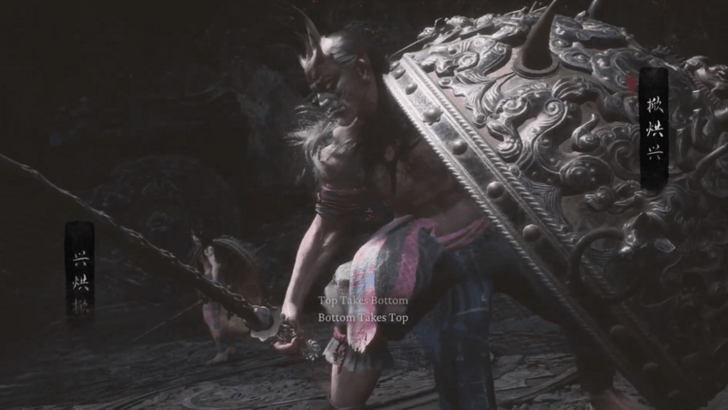 Once you're ready, follow the path from the shrine down into the boss arena to fight Top Takes Bottom, Bottom Takes Top. ▶ How to Beat Top Takes Bottom, Bottom Takes Top |
| 3 | After the fight, head up the stairs and through the large doorway. |
| * | On the way down from the doorway, watch out for an area on the left with a small chest containing a Celestial Pill. |
| 4 | Follow the path downwards until you reach the Cave Depths Shrine. |
Cave Depths Guide
| Objectives | |
|---|---|
| 1 | 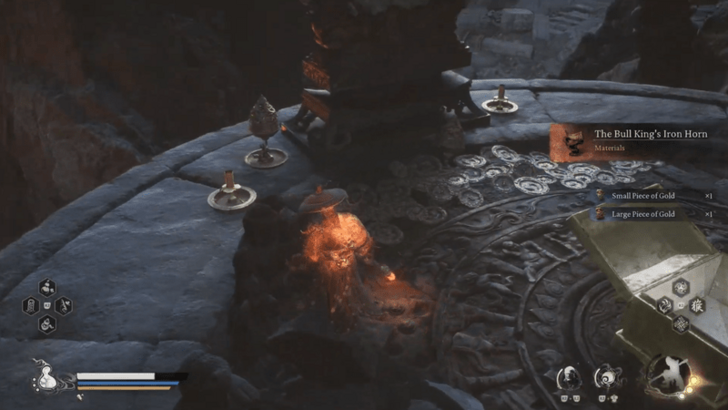 Follow the path downwards and fight all the rhinos first to make fighting the Bull Governor more manageable. After it goes down, absorb its Spirit. Don't forget to pick up The Bull King's Iron Horn from the chest on the left as it's used to create one of the best armour sets in the game! |
| 2 | Continue following the path and picking up any items along the way. After sliding down the long ice slope, activate the Corridor of Fire and Ice Shrine. |
Corridor of Fire and Ice Guide
| Objectives | |
|---|---|
| 1 | 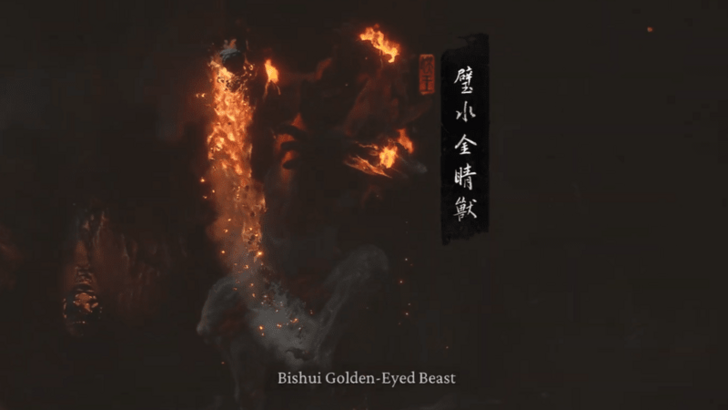 Equip the Fireproof Mantle and head down into the Bishui Golden-Eyed Beast boss fight. ▶ Bishui Golden-Eyed Beast Boss Guide |
| 2 | After the boss has been defeated, a cutscene will play and you'll have cleared the secret area! |
| * | Make sure to grab the Awaken Wine Worm throught the Ice door in the boss arena. If you haven't teleport back here after the fight and the cutscene to get it. |
Chapter 6: Unfinished Walkthrough
| Jump to a Section! | |||||||||||
|---|---|---|---|---|---|---|---|---|---|---|---|
| Foothills | Water Curtain Cave | Birthstone | |||||||||
Chapter 6: Unfinished Walkthrough Guide
Foothills Walkthrough
| # | Foothills Objectives |
|---|---|
| 1 | Verdant Path |
| 2 | Rhino Watch Slope |
| 3 | Deer Sight Forest |
| 4 | Mantis-Catching Swamp |
Verdant Path
| Objectives | |
|---|---|
| 1 | Follow the path and fight the enemies in your way until you reach the Verdant Path Shrine. Take this time to heal and do any upgrades, since you'll be thrown into a boss fight shortly. |
| 2 | 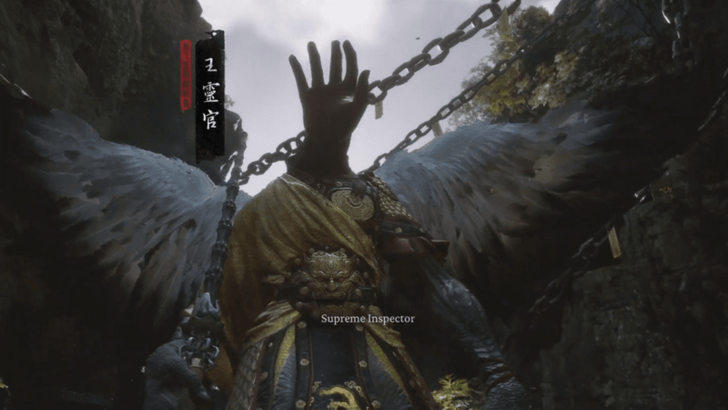 Once you're ready, continue up the path, and you will be confronted by the Supreme Inspector. If you completed the Purple Talisman Quest during Chapter 4, this will be a completely different fight from that one. ▶ Supreme Inspector Boss Guide |
| 3 | After defeating the Supreme Inspector, you'll be taken up to a high ledge on Mount Huaguo and will have access to the Somersault Cloud as a form of transportation for the rest of the chapter. |
| * |  From here, the chapter opens up into an extremely large open area that hasn't been seen or experienced in the previous chapters. Feel free to take your time exploring this vast region for any optional bosses and collectibles. The goal is to get the four pieces of Wukong's Armor from four different bosses in the area. You'll only need to defeat the four bosses listed in this walkthrough to proceed with the story. |
| 4 | One of the required bosses in this area likes to hop around from one spot to the next. Heal up at a Shrine, max out your Stamina and HP, and then equip as much Fire-Resistant equipment as you can before hopping onto your cloud. |
| 5 | Fly around until you see a giant cricket hopping around. Follow and approach it once you're ready to take on this boss. |
| 6 |  To trigger the fight with the Feng-Tail General. You'll need to land on its back and interact with the antennae on its head. This isn't a traditional boss battle, but instead a stat check. Interacting with it the first time will check if you have enough Stamina to hang on while it hops around, while the second check will see if you have enough HP and Fire Resistance to survive burning the antennae. ▶ Feng-Tail General Boss Guide |
| 7 | After you've successfully passed the two stat checks, you'll defeat it and be rewarded with the Golden Feng-Tail Crown. You can also head back to a Shrine to swap back to your regular build and equipment. |
Rhino Watch Slope
| Objectives | |
|---|---|
| 1 | From the Supreme Inspector boss arena, fly to the right until you see a fiery war-torn battlefield, but don't head directly there unless you want to start the boss fight immediately. |
| 2 |  Land on the grassy area near the edge of the battlefield to activate the nearby Shrine. It can be found near a large rock. |
| 3 |  When you're ready, head to the battlefield to fight the Gold Armored Rhino. This boss takes next to no damage unless you break it's horn, so make sure you to use max charged Heavy Attacks on its head. ▶ Gold Armored Rhino Boss Guide |
| 4 | Defeat the rhino to get Wukong's Gold Suozi Armor. It should automatically be equipped on you once you get it. |
| 5 | To help keep your bearings, you can go back to the Supreme Inspector boss arena. |
Deer Sight Forest
| Objectives | |
|---|---|
| 1 |  From the Supreme Inspector boss arena, fly right towards the red trees and lightning. |
| 2 | Before reaching the large central area, drop down near the edge of the cliff and activate the Shrine. |
| 3 |  Fight the Cloudtreading Deer boss. This boss has two phases, one where it uses windy Ice Attacks and another where it uses Poison. ▶ Cloudtreading Deer Boss Guide |
| 4 | Defeating the Cloudtreading Deer rewards you with the Lotus Silk Cloudtreaders. Again, this will ber automatically equipped once you get it. |
Mantis-Catching Swamp
| Objectives | |
|---|---|
| 1 |  From the Supreme Inspector boss arena, fly left towards the tree with the golden leaves by the water. There should be a Shrine at the base of the tree that you can activate. |
| 2 | 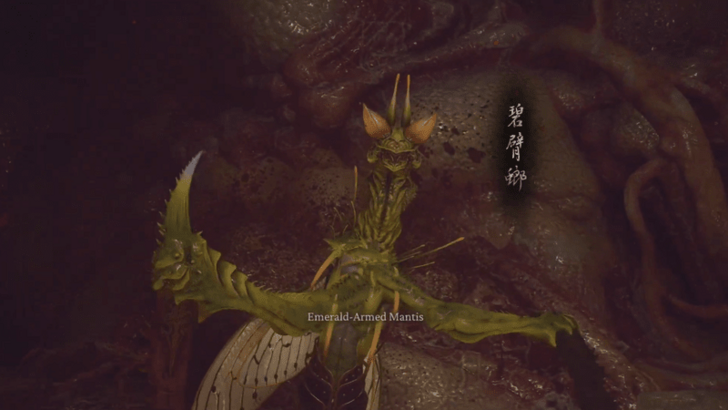 Once you're ready to face the Emerald-Armed Mantis, walk around the tree to activate the cutscene. This boss can only be fought after beating the other mandatory bosses. ▶ Emerald-Armed Mantis Boss Guide |
| 3 | Upon defeating the Emerald-Armed Mantis, you will receive the final piece of armour you need, the Dian-Cui Loong-Soaring Bracers. |
Water Curtain Cave
| # | Water Curtain Cave Objectives |
|---|---|
| 1 | Return Path |
| 2 | Peak of Innocence |
Return Path
| Objectives | |
|---|---|
| 1 |  Once you obtain all four armour pieces, you can go to the Water Curtain Cave. From the Supreme Inspector boss arena, face the Mantis-Catching Swamp Shrine. Fly to the right of it, towards the rocky area with the dead tree up in the mountains. |
| 2 | Upon reaching the Water Curtain Cave, go inside the waterfall to the left. Follow the path until you reach a cutscene. |
| 3 |  After the cutscene, you will obtain the Jingubang Staff. Continue on the path until you reach the Return Path Shrine. |
| 4 | From that Shrine, follow the path and fight your way through until you reach the Peak of Innocence Shrine. |
Peak of Innocence
| Objectives | |
|---|---|
| 1 | Make your final preparations for the final boss. Although there is a Shrine in the final boss area, you don't unlock it unless you die in battle first. |
| 2 | Once you're ready, follow the path towards the final boss location. |
Birthstone
Heart of Birthstone
| Objectives | |
|---|---|
| 1 | 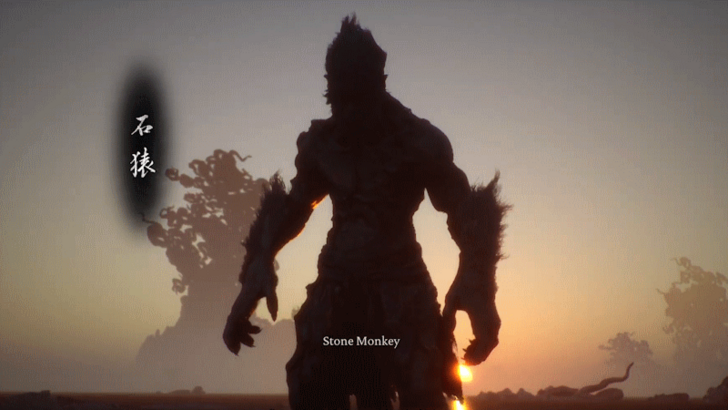 This is the location of the final boss battle with the Stone Monkey and the Great Sage's Broken Shell. There's a total of 4 phases in this fight. If you die during the battle, you will resurrect at a Shrine nearby in this area. ▶ Final Boss Guide |
| 2 | Congratulations! Once you've beaten the fourth and final phase, you'll have beaten the game! From here, you can choose to either continue playing and tie up any loose ends, like unlocking the Chapter 3 Secret Area and getting the secret ending, or you can go ahead and start playing on New Game+. |
Endings Walkthroughs
How to Get the First Ending
| How to Get the First Ending |
|---|
How to Get the Secret Ending
| How to Get the Secret Ending |
|---|
Area Walkthroughs
All Secret Areas

Every chapter in the game, except for the final chapter has a secret area with optional bosses and rewards inside. These are important to find as the reward for beating the secret area's final boss is an item that's extremely useful in beating their respective chapter's final boss!
Chapter 1: Black Cloud, Red Fire
| Chapter 1 Areas | |
|---|---|
| Forest of Wolves | Bamboo Grove |
| Black Wind Cave | Secret: Ancient Guanyin Temple |
Chapter 2: Yellow Sand, Desolate Dusk
| Chapter 2 Areas | |
|---|---|
| Sandgate Village | Secret: The Kingdom of Sahali |
Chapter 3: White Snow, Ice Cold
| Chapter 3 Areas | |
|---|---|
| Pagoda Realm | The Great Pagoda |
| Secret: Mount Mei | - |
Chapter 4: Rosy Cheeks, Gray Hair
| Chapter 4 Areas | |
|---|---|
| Secret: Purple Cloud Mountain | - |
Chapter 5: Golden Child, Crimson Blood
| Chapter 5 Areas | |
|---|---|
| Secret: Bishui Cave | - |
Quest Walkthroughs
| Jump to a Section! | |||||||||||
|---|---|---|---|---|---|---|---|---|---|---|---|
| Chapter 1 | Chapter 2 | ||||||||||
| Chapter 3 | Chapter 5 | ||||||||||
| List of All Quests | |||||||||||
Chapter 1: Black Cloud, Red Fire
| Chapter 1 Quests | |
|---|---|
 Secret Area Bell Locations Secret Area Bell Locations |
|
Chapter 2: Yellow Sand, Desolate Dusk
| Chapter 2 Quests | |
|---|---|
 Man-In-Stone Quest Man-In-Stone Quest |
 Boar Quest Boar Quest |
 Old Rattle-Drum Quest Old Rattle-Drum Quest |
 Xu Dog Quest Xu Dog Quest
|
Chapter 3: White Snow, Ice Cold
| Chapter 3 Quests | |
|---|---|
 Treasure Hunter Quest Treasure Hunter Quest |
 Fox Quest Fox Quest |
 Third Prince Quest Third Prince Quest |
 Ruyi Scroll Quest Ruyi Scroll Quest |
Chapter 4: Rosy Cheeks, Gray Hair
| Chapter 4 Quests | |
|---|---|
 Venom Daoist Quest Venom Daoist Quest |
 Daoist Mi Quest Daoist Mi Quest |
 Purple Talisman Quest Purple Talisman Quest |
- |
Chapter 5: Golden Child, Crimson Blood
| Chapter 5 Quests | |
|---|---|
 Five Element Carts Quest Five Element Carts Quest |
- |
Other Quests
| Other Quests | |
|---|---|
 Supreme Gourd Quest Supreme Gourd Quest |
 Five Skandhas Quest Five Skandhas Quest |
| Horse Guai Questline | - |
Main Story Synopsis
Based on Journey to the West
Based on the Chinese Novel, Journey to the West, you set out as the Destined One to explore the world around you and defeating enemies along the way. Uncover the obscured truth beneath the veil of a glorious legend from the past.
Is Black Myth Wukong Based on Journey to the West?
How Long to Beat?
15 Hours of Play Time to Complete the Story
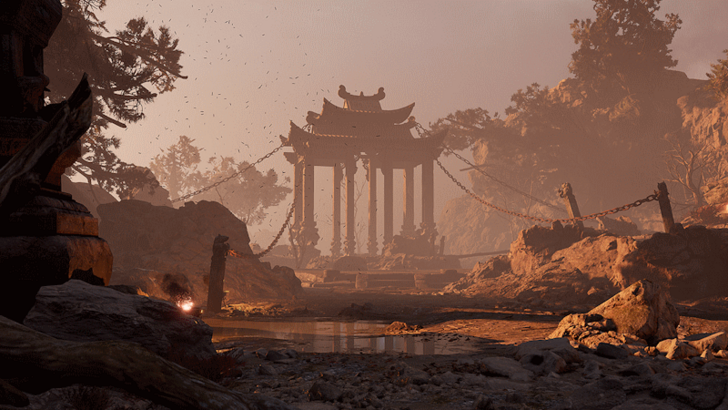
Black Myth: Wukong offers multiple large levels, a variety of bosses, and interesting questlines. However, if you focus solely on completing the main story and defeating the final boss, expect to spend about 15 hours on your playthrough.
20 to 25 Hours for All Bosses and Collectibles
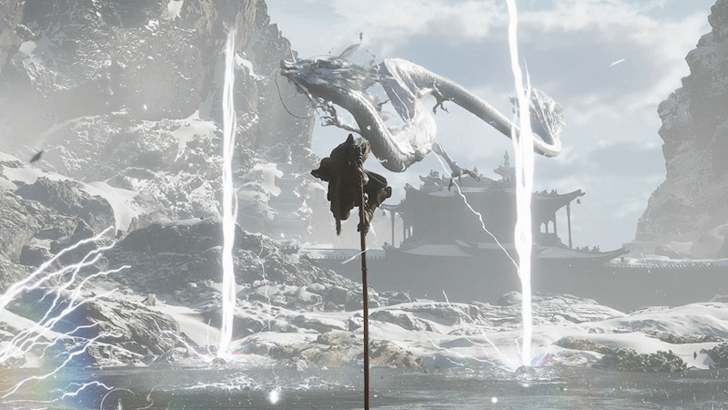
The game features numerous bosses and collectibles, some of which are optional and hidden. To defeat all bosses, gather every collectible, and complete all achievements, you may need an additional 5 to 10 hours, bringing your total playtime to around 25 hours.
If you haven’t dedicated much time to leveling up, you might find some bosses particularly challenging, which could extend your overall playtime to complete the game.
Black Myth: Wukong Related Guides

| All Categories | |
|---|---|
 News News |
 Walkthroughs Walkthroughs |
 Bosses Bosses |
 Tips and Tricks Tips and Tricks |
 Armor Armor |
 Weapons Weapons |
 Equipment Equipment |
 Inventory Items Inventory Items |
 Spells Spells |
 Transformations Transformations |
 Spirits Spirits |
 Foundation Skills Foundation Skills |
 Staff Stance Skills Staff Stance Skills |
 Collectibles Collectibles |
 Trophies Trophies |
 Characters Characters |
 Interactive Map Interactive Map |
|
| Hot Articles | |
|---|---|
| All Skill Trees | Best Builds |
Comment
You can't fight emrald arm mantis unless you kill feng general....... Also, you should mention that you need 300 stamina and fire proof mantle (chapter 1 vessel) to kill general feng......................
Author
All Chapter Walkthrough Guides
improvement survey
03/2026
improving Game8's site?

Your answers will help us to improve our website.
Note: Please be sure not to enter any kind of personal information into your response.

We hope you continue to make use of Game8.
Rankings
- We could not find the message board you were looking for.
Gaming News
Popular Games

Genshin Impact Walkthrough & Guides Wiki

Honkai: Star Rail Walkthrough & Guides Wiki

Umamusume: Pretty Derby Walkthrough & Guides Wiki

Pokemon Pokopia Walkthrough & Guides Wiki

Resident Evil Requiem (RE9) Walkthrough & Guides Wiki

Monster Hunter Wilds Walkthrough & Guides Wiki

Wuthering Waves Walkthrough & Guides Wiki

Arknights: Endfield Walkthrough & Guides Wiki

Pokemon FireRed and LeafGreen (FRLG) Walkthrough & Guides Wiki

Pokemon TCG Pocket (PTCGP) Strategies & Guides Wiki
Recommended Games

Diablo 4: Vessel of Hatred Walkthrough & Guides Wiki

Cyberpunk 2077: Ultimate Edition Walkthrough & Guides Wiki

Fire Emblem Heroes (FEH) Walkthrough & Guides Wiki

Yu-Gi-Oh! Master Duel Walkthrough & Guides Wiki

Super Smash Bros. Ultimate Walkthrough & Guides Wiki

Pokemon Brilliant Diamond and Shining Pearl (BDSP) Walkthrough & Guides Wiki

Elden Ring Shadow of the Erdtree Walkthrough & Guides Wiki

Monster Hunter World Walkthrough & Guides Wiki

The Legend of Zelda: Tears of the Kingdom Walkthrough & Guides Wiki

Persona 3 Reload Walkthrough & Guides Wiki
All rights reserved
Copyright © Game Science Interactive Technology Co., Ltd. All Rights Reserved.
备案号: 浙ICP备20024998号-1
The copyrights of videos of games used in our content and other intellectual property rights belong to the provider of the game.
The contents we provide on this site were created personally by members of the Game8 editorial department.
We refuse the right to reuse or repost content taken without our permission such as data or images to other sites.


![Monster Hunter Stories 3 Review [First Impressions] | Simply Rejuvenating](https://img.game8.co/4438641/2a31b7702bd70e78ec8efd24661dacda.jpeg/thumb)


When discussing "Black Myth: Wukong," emphasize how the game introduces players to classical literature, particularly *Journey to the West*. Highlight how the lore brings ancient stories and mythological characters to life, making it appealing for both gamers and fans of classical literature. https://rohitdangol.com/news/black-myth-wukongs-legend-introduces-classic-lit/