This survey will take about 1 minute.
Your answers will help us to improve our website.
Black Myth: Wukong
How to Beat Final Boss Wukong
☆ Walkthrough ▶ 1 | 2 | 3 | 4 | 5 | 6 | Endings | NG+
★ All Quests ▶ Man-in-Stone | Boar | Fox
☆ Best Builds | Transformations | Spells | Armor
★ Bosses ▶ Yellow Wind Sage | Captain Wise-Voice
┗ Erlang | 4 Heavenly Kings | Final Boss
The final boss of Black Myth: Wukong is broken down into 4 phases with two forms; the Stone Monkey and The Great Sage's Broken Shell. Here are tips on how defeat the final boss, the rewards for defeating it, its location, and its phases.
List of Contents
| Final Boss Guides | |
|---|---|
| Stone Monkey | The Great Sage's Broken Shell |
How to Beat the Final Boss
Phase 1 & 2: Stone Monkey
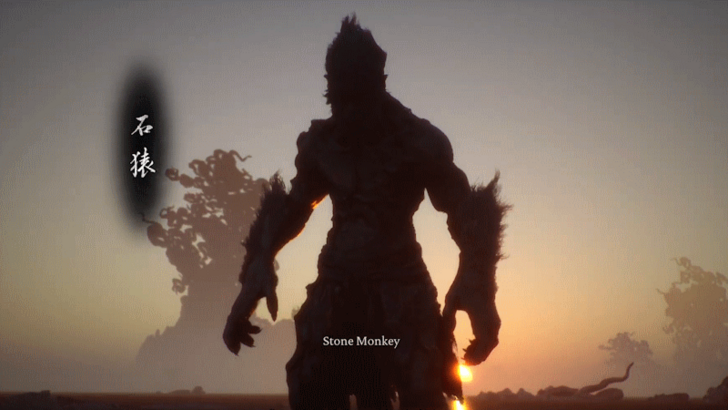
The final boss fight consists of four phases. In the first two phases, you battle the Stone Monkey, a fragment of Sun Wukong's former self. Initially, its attacks are slow but powerful, and it fights with its bare hands. As the fight progresses, it enters phase two, significantly increasing its strength, speed, and spell usage.
⬇︎How to Beat Stone Monkey⬇︎
Phase 3 & 4: The Great Sage's Broken Shell
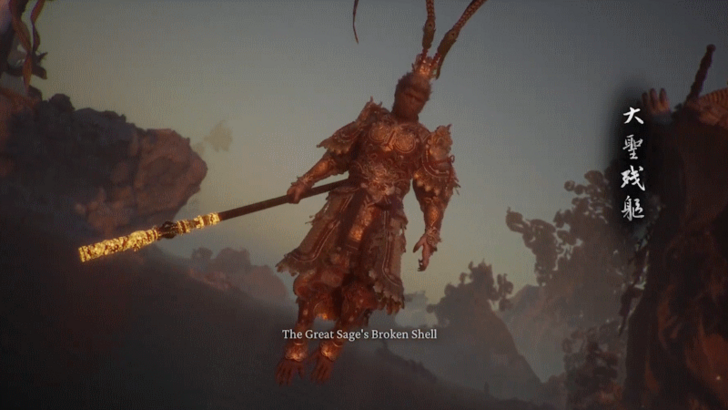
After defeating the Stone Monkey in phase two, it evolves into The Great Sage's Broken Shell, mimicking the former glory of Sun Wukong and wielding his staff. This part of the fight features fast, long combos and challenging attacks to counter. In the final phase, the boss absorbs the five Relics you've collected from your journey, reaching nearly the full power of the Great Sage, Sun Wukong.
⬇︎How to Beat Great Sage's Broken Shell⬇︎
How to Beat Stone Monkey
Phase 1 and 2 Guide
| Stone Monkey Strategy |
|---|
|
|
Dodge the Rock Solid Grab Counter
The Stone Monkey frequently uses the Rock Solid spell to set up a powerful grab attack. If you mistakenly attack it during this spell, your attack will bounce off, leaving you open to the grab. However, if you time it right, you can dodge the grab and avoid being punished.
Stay Away from the Ground Shockwaves
Many of the Stone Monkey's attacks involve ground slams that create damaging shockwaves. When it performs a multi-hit ground slam, stay clear until the delayed, powerful explosion finishes.
Get Away From the Freezing Water
The Stone Monkey has ice elemental moves that temporary freeze the surrounding water before shattering in an icy explosion. When this happens, move away from the freezing water by either getting closer to the Stone Monkey or retreating to a safe distance. If you're hit by this attack, you'll be frozen and vulnerable to follow-up attacks or the clone's strikes.
Focus on the Monkey with the Bottom Health Bar
In Phase 2, when the Stone Monkey reaches around 60% health, it will summon a clone with its own health bar at the top of the original's. The two will take turns attacking you. The clone will eventually disappear, leaving the original Stone Monkey alone. To conserve resources, focus your spells and Focus Points on the original Monkey, but you can still build up Focus by attacking the clone.
How to Beat The Great Sage's Broken Shell
Phase 3 and 4 Guide
| The Great Sage's Broken Shell Strategy |
|---|
|
|
Watch Out for Its Combos
The boss has long combos that makes it extremely hard to hit. It's best to move away from the boss and wait for it to finish its combos. On the other hand, you can also just look for an opening while it's doing the combos.
Stun It and Combo with Other Spells
The best strategy to use against the boss is to use Pluck of Many and stun it with Immobilize or Wind Tamer. This is an easy combo to do that can slowly melt through the boss' HP. You can also use the Withering Wight's spirit attack to deal high burst damage.
Watch Out for Its Jump Attacks
The boss has jump attacks that deal high damage and makes it impossible to hit. Once you see it perform these attacks, it's best to circle around and dodge the attacks.
Moreover, do not use Immobilize when it's in the air since it's impossible to hit it while it's airbourne. Just wait for it to land back down before attacking.
Be Aware of Its Spells
The boss can use the same spells as you can, such as Immobilize, Ring of Fire, and Rock Solid. It's best to watch out for them as the boss can take advantage of their effects.
For Immobilize, use Cloud Step to break the spell and reposition quickly.
For Ring of Fire, just stay out of the flaming area and take the fight away from it.
For Rock Solid, just don't attack the boss to prevent it from countering.
How to Beat The Great Sage's Broken Shell
Use Great Sage Form's Charged Heavy Attack
When you equip the Heaven's Equal Set with the Jingubang, you get access to the Great Sage form, a stance that allows you to charge heavy attacks with up to four focus points, and the fully charged heavy attack has a very long reach.
In Phase 3, you can stay far away from the boss and fully charge your heavy attack then hit the boss with it. Afterward, you can retreat and repeat the process until you beat Phase 3.
Final Boss Wukong Rewards
New Cycle / New Game Plus
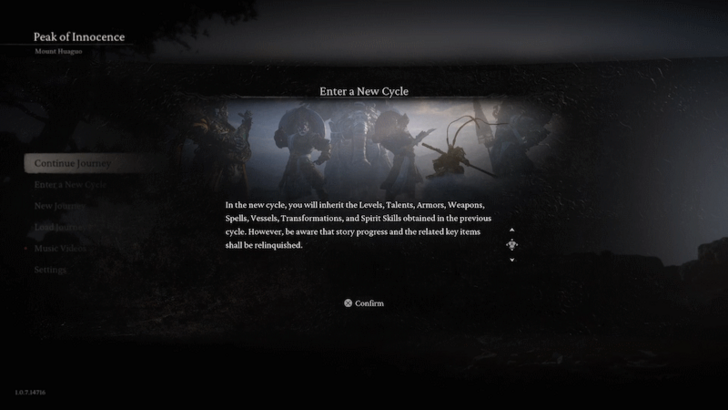
After defeating the final boss, you'll return to the Main Menu and unlock the option to start a new cycle, commonly known as New Game Plus. However, don't rush into a new cycle just yet, as new secrets can be unlocked post-defeat. It's highly recommended to choose the Continue Journey
option.
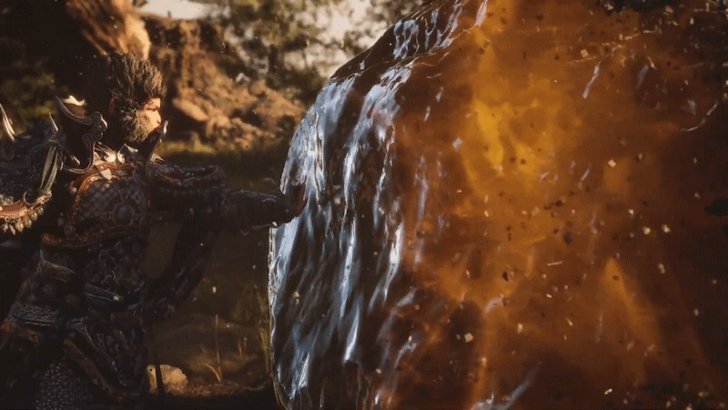
Secret: Mount Mei Area
By selecting Continue Journey
from the Main Menu, you can revisit The Great Pagoda in Chapter 3. Approach Bodhisattva Maitreya, disguised as a young monk, to trigger a cutscene that teleports you to the secret area, Mount Mei, where a hidden boss awaits.
Chapter 3: White Snow Ice Cold Walkthrough Guide
Unlocks Epic Rarity Material From the Blacksmith
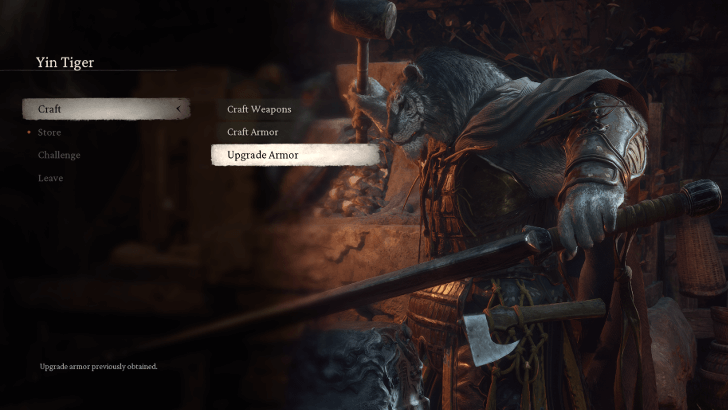
Continuing your journey also grants access to Epic rarity materials from, Yin Tiger, the blacksmith in Zodiac Village in Chapter 3, allowing you to easily complete weapon and armor upgrades.
Final Boss Location
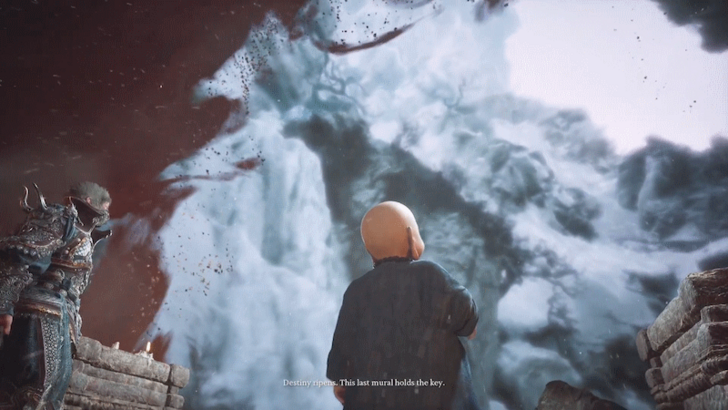
Found in the Birthstone
The final boss is located in the Heart of the Birthstone. You can access this area by interacting with the Birthstone itself at the end of the cliff near the Peak of Innocence Keeper's Shrine in the Water Curtain Cave area of Chapter 6.
Black Myth: Wukong Related Guides

Bosses by Chapter
| All Bosses by Chapter | ||
|---|---|---|
| Chapter 1 | Chapter 2 | |
| Chapter 3 | Chapter 4 | |
| Chapter 5 | Chapter 6 | |
Other Boss Guides
| Other Boss Guides | |
|---|---|
| The 10 Hardest Bosses | - |
All Yaoguai Chiefs
All Yaoguai Kings
All Characters
| List of All Characters | ||
|---|---|---|
| Whiteclad Noble | Yellow-Robed Squire | Man-in-Stone |
| Yin Tiger | Zhu Bajie | Keeper of Flaming Mountains |
| Pale-Axe Stalwart | - | - |
Other Mini-Bosses
| List of All Other Mini-Bosses | ||
|---|---|---|
| Wandering Wight | Baw-Li-Guhh-Lang | - |
Final Boss Guides
| Final Boss Guides | ||
|---|---|---|
| Final Boss Wukong | Stone Monkey | The Great Sage's Broken Shell |
Chapter 3 Secret Bosses
| Final Boss Guides | ||
|---|---|---|
| Erlang Shen | The Four Heavenly Kings | Green-Capped Martialist |
Comment
Author

How to Beat Final Boss Wukong
Please participate in our site
improvement survey
03/2026
improvement survey
03/2026
Would you assist in
improving Game8's site?
improving Game8's site?

×
We are listening to our users' valuable opinions and discussing how to act on them.
The information collected through this survey will be used for the purpose of improving our services. In addition, the information will only be disclosed a part of a statistic in a format that will not allow identification of personal information.
Begin Survey
Not Now
×
Please rate each item regarding Game8.co's Advertisements.
Amount of Ads
Very Dissatisfied
Somewhat Dissatisfied
Fine
Somewhat Satisfied
Highly Satisfied
Placement of Ads
Timing of Ad Display
Ad Loading Speed
Safeness of Ads
Content of Ads
×
Please rate each item regarding Game8.co's Quality of Articles.
Amount of information
Very Dissatisfied
Somewhat Dissatisfied
Fine
Somewhat Satisfied
Highly Satisfied
Frequency of updates
Speed of new information
Accuracy of articles
Understandibility of articles
Readability of sentences
×
Please rate each item regarding Game8.co's Usability of the Site.
Ease of finding information
Very Dissatisfied
Somewhat Dissatisfied
Fine
Somewhat Satisfied
Highly Satisfied
Loading Speed
Use of Color
Font Size
Visibility of Images
Easy to Understand Layout
×
Please rate each item regarding Game8.co's Message Boards, Comments.
Ease of Writing
Very Dissatisfied
Somewhat Dissatisfied
Fine
Somewhat Satisfied
Highly Satisfied
Readability
Ease in Finding Information
Comment Quality
Comment Quantity
Admin Response
×
Please rate each item regarding Game8.co's Site's new design.
Please rate our site's new design
Very Dissatisfied
Somewhat Dissatisfied
Fine
Somewhat Satisfied
Highly Satisfied
Do you think that the website's design change makes the site easier to use?
Has the new design made it easier for you to find information on the site?
Has the new design improved the overall visual appeal of the site?
How would you rate your overall satisfaction with the new design of the site?
×
How likely are you to recommend Game8 to someone you know?
Very Unlikely
0
1
2
3
4
5
6
7
8
9
10
Very Likely
If you have other opinions regarding potential improvement to the website, please share them with us. We would appreciate your honest opinion.
Note: This is a free response section, so you can proceed without entering anything.
Note: Please be sure not to enter any kind of personal information into your response.
Note: Please be sure not to enter any kind of personal information into your response.
×
Thank You
×
Thank you for participating in our survey! Your answers will help us to improve the quality of our website and services.
We hope you continue to make use of Game8.
We hope you continue to make use of Game8.
Close
Rankings
- We could not find the message board you were looking for.
Gaming News


![Monster Hunter Stories 3 Review [First Impressions] | Simply Rejuvenating](https://img.game8.co/4438641/2a31b7702bd70e78ec8efd24661dacda.jpeg/thumb)
Popular Games

Genshin Impact Walkthrough & Guides Wiki
Honkai: Star Rail Walkthrough & Guides Wiki
Umamusume: Pretty Derby Walkthrough & Guides Wiki
Pokemon Pokopia Walkthrough & Guides Wiki
Resident Evil Requiem (RE9) Walkthrough & Guides Wiki
Monster Hunter Wilds Walkthrough & Guides Wiki
Wuthering Waves Walkthrough & Guides Wiki
Arknights: Endfield Walkthrough & Guides Wiki
Pokemon FireRed and LeafGreen (FRLG) Walkthrough & Guides Wiki
Pokemon TCG Pocket (PTCGP) Strategies & Guides Wiki


Recommended Games
Diablo 4: Vessel of Hatred Walkthrough & Guides Wiki
Cyberpunk 2077: Ultimate Edition Walkthrough & Guides Wiki
Fire Emblem Heroes (FEH) Walkthrough & Guides Wiki
Yu-Gi-Oh! Master Duel Walkthrough & Guides Wiki
Super Smash Bros. Ultimate Walkthrough & Guides Wiki
Pokemon Brilliant Diamond and Shining Pearl (BDSP) Walkthrough & Guides Wiki
Elden Ring Shadow of the Erdtree Walkthrough & Guides Wiki
Monster Hunter World Walkthrough & Guides Wiki
The Legend of Zelda: Tears of the Kingdom Walkthrough & Guides Wiki
Persona 3 Reload Walkthrough & Guides Wiki


All rights reserved
Copyright © Game Science Interactive Technology Co., Ltd. All Rights Reserved.
备案号: 浙ICP备20024998号-1
The copyrights of videos of games used in our content and other intellectual property rights belong to the provider of the game.
The contents we provide on this site were created personally by members of the Game8 editorial department.
We refuse the right to reuse or repost content taken without our permission such as data or images to other sites.