This survey will take about 1 minute.
Your answers will help us to improve our website.
Black Myth: Wukong
Chapter 3: White Snow Ice Cold Walkthrough Guide
☆ Walkthrough ▶ 1 | 2 | 3 | 4 | 5 | 6 | Endings | NG+
★ All Quests ▶ Man-in-Stone | Boar | Fox
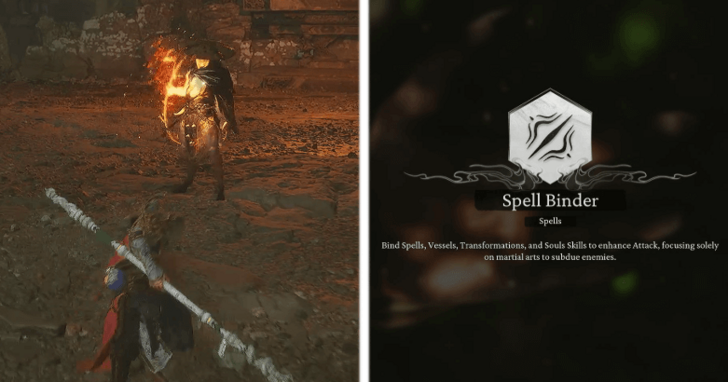
☆ Best Builds | Transformations | Spells | Armor
★ Bosses ▶ Yellow Wind Sage | Captain Wise-Voice
┗ Erlang | 4 Heavenly Kings | Final Boss
A complete walkthrough for Black Myth: Wukong's Chapter 3: White Snow, Ice Cold. Read on for a detailed guide for this chapter, including locations of collectables, how to beat the bosses, as well as to unlock the secret area for completing this chapter!
| ◄ Previous Chapter | Next Chapter ► |
|---|---|
| Chapter 2: Yellow Sand, Desolate Dusk |
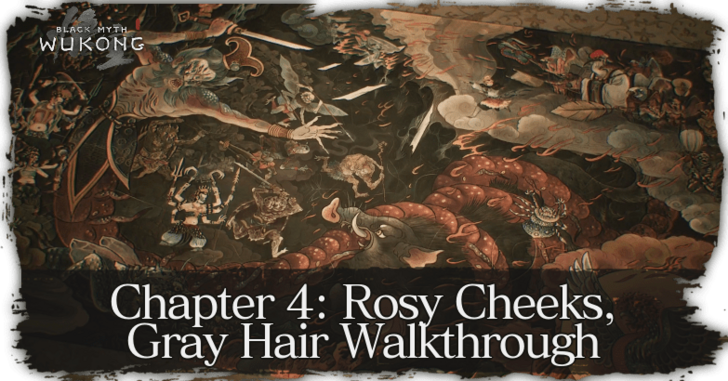
Chapter 4: Rosy Cheeks, Gray Hair |
Chapter 3: White Snow, Ice Cold Guide
| Chapter 3: White Snow, Ice Cold | |
|---|---|
 |
|
| Locations |
・Snowhill Path ・Pagoda Realm ・Bitter Lake ・Valley of Ecstasy ・New Thunderclap Temple |
| Yaoguai Chiefs |
・Captain Lotus-Vision ・Captain Void-Illusion ・Captain Kalpa-Wave ・Apramana Bat ・Lang-Li-Guhh-Lang ・Old Ginseng Guai ・Non-White ・Non-Pure ・Non-Able ・Non-Void ・Monk from the Sea ・Macaque Chief |
| Yaoguai Kings |
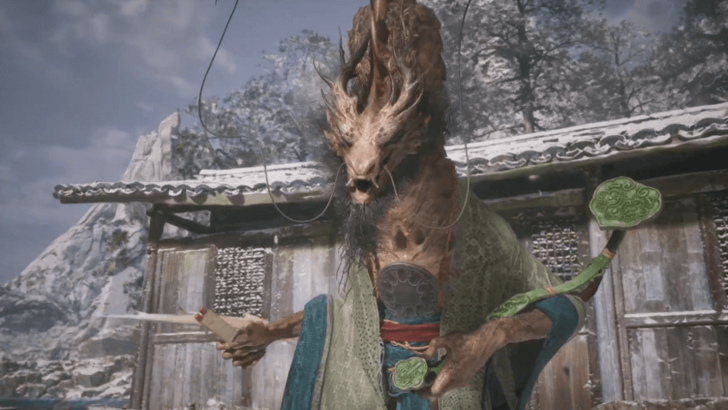
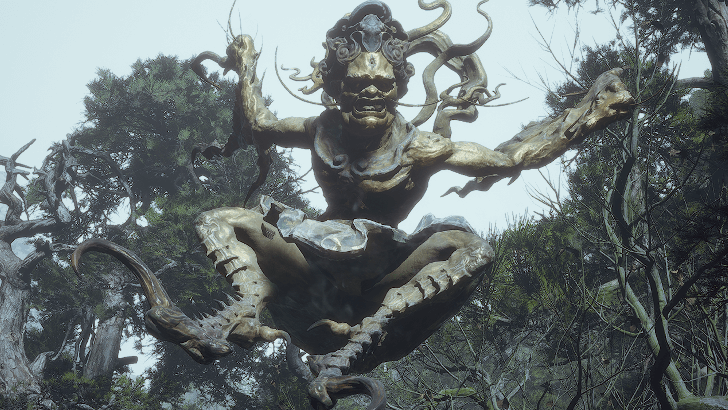
・Kang-Jin Loong ・Kang-Jin Star ・Captain Wise-Voice ・Cyan Loong ・Yellowbrow |
| Characters |
・Turtle General ・The Fox ・Green-Capped Martialist ・The Third Prince ・The Keeper of the New West ・Yin Tiger ・Chen Loong |
Chapter 3: White Snow, Ice Cold Walkthrough
| Jump to a Section! | |||||||||||
|---|---|---|---|---|---|---|---|---|---|---|---|
| Snowhill Path | Pagoda Realm | ||||||||||
| Bitter Lake | Valley of Ecstasy | ||||||||||
| New Thunderclap Temple | Secret Area: Mount Mei | ||||||||||
Snowhill Path Walkthrough
| Snowhill Path Objectives | |
|---|---|
| 1 | Frost-Clad Path |
| 2 | Mirrormere |
Frost-Clad Path Guide
| Objectives | |
|---|---|
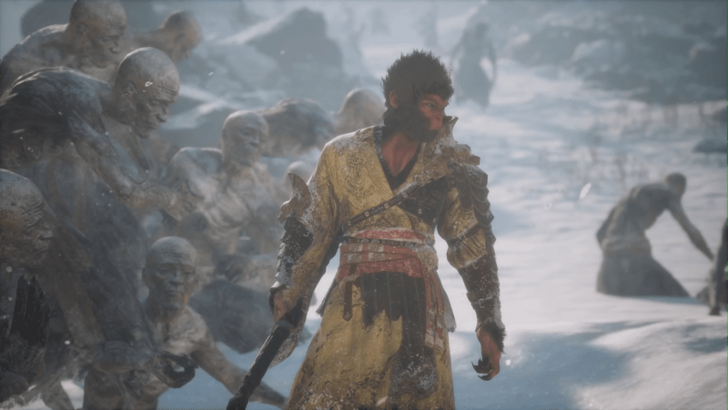
| 1 | From the starting area, follow the path until you're out of the cave. |
| 2 | Activate the Frost-Clad Path Shrine. |
| 3 | Continue following the path up the mountain killing any enemies on the way. |
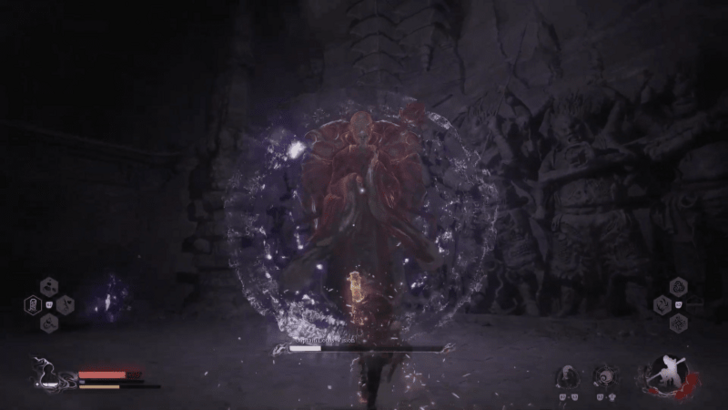
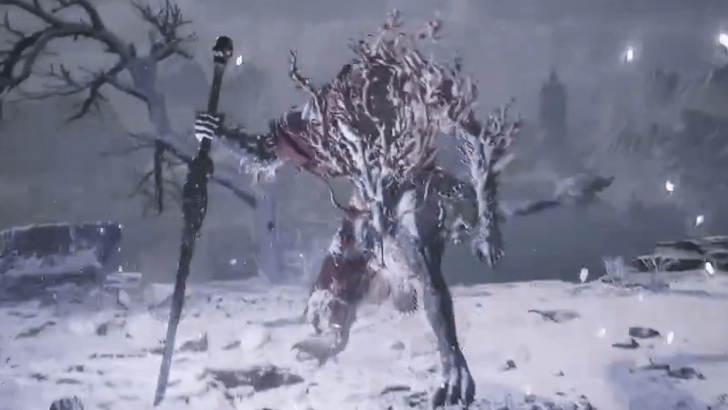
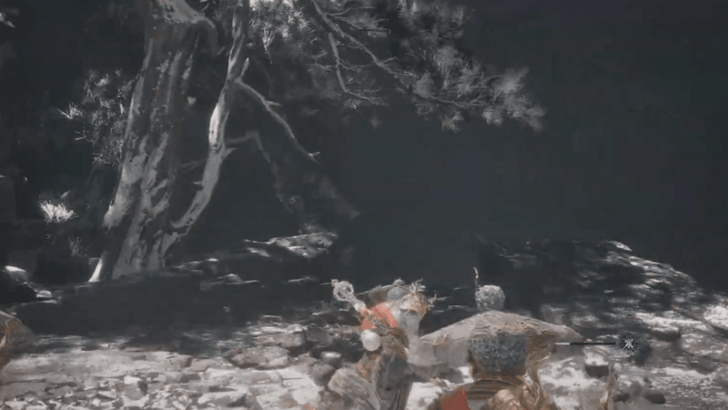
| 4 | 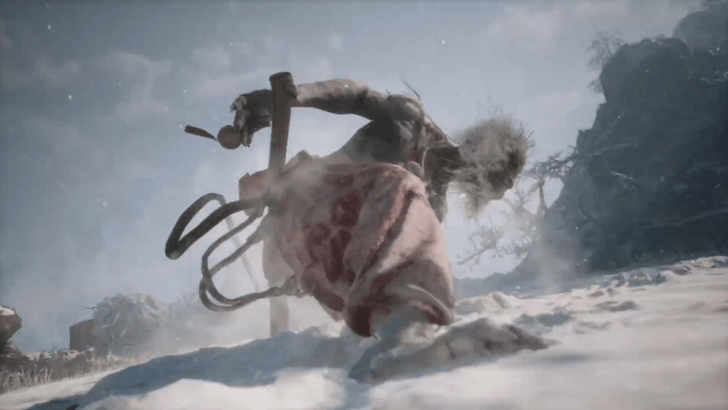 Prepare yourself to fight the Macaque Chief before heading into the open area. ▶ How to Beat Macaque Chief |
| * | Rest back at the Shrine if you need it since the next one you unlock is at the end of Snowhill Path. |
| 5 | Continue up the mountain until you reach the temple area. |
| 6 | 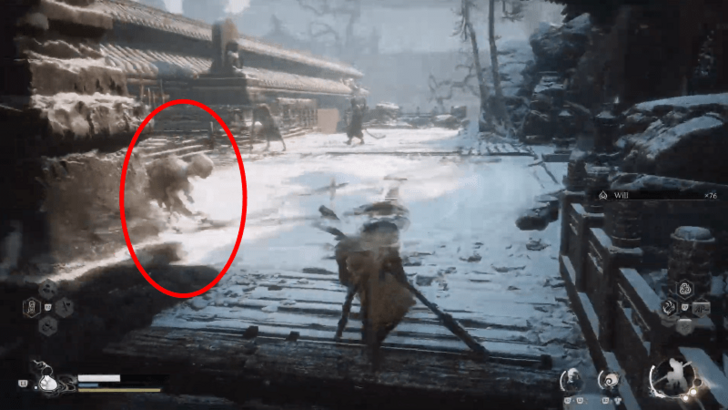 Immediately head left and up the stairs. Also, dodge as soon as you get to the top of the stairs since there will be an enemy waiting to ambush you. |
| * | Explore the area for any treasure chests and items you can find. |
| 7 | Continue down and right towards the tree in the middle of an island. Don't go to the tree until you're ready to proceed to the next area. |
Mirrormere Guide
| Objectives | |
|---|---|
| 1 | After the cutscene ends, activate the Mirrormere Shrine. |
| * | Explore the area for a Meditation Spot, treasure chests, and any other items you can find. |
| 2 | 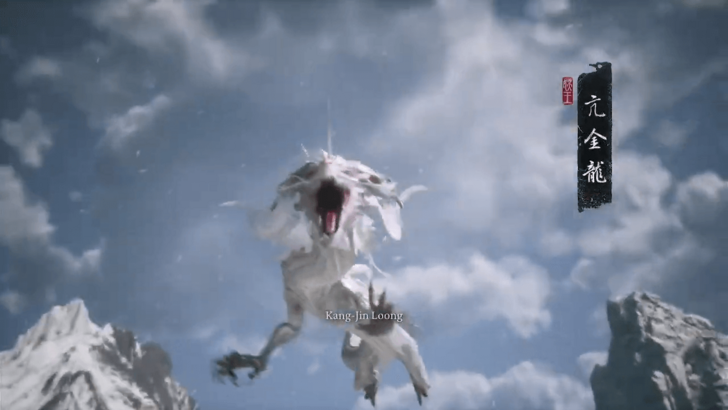 When you're ready, step onto the lake and fight the next boss, Kang-Jin Loong. ▶ Kang-Jin Loong Boss Guide |
Pagoda Realm Walkthrough
| Pagoda Realm Objectives | |
|---|---|
| 1 | Lower Pagoda |
| 2 | Upper Pagoda |
| 3 | Mani Wheel |
| 4 | Outside the Wheel |
| 5 | Snow-Veiled Trail |
| 6 | The Great Pagoda |
| 7 | Warding Temple |
This area has a gimmick with Lantern Wardens where they will cut your Max HP in half. Whenever your screen turns distorted, wait out the effect so you can heal yourself back to full.
Waiting out the effect is the preferred option, but defeating Lantern Wardens grants you a lot of EXP and Will. Defeating all of them will also give you the Auspicious Lantern Curio!
Lower Pagoda Guide
| Objectives | |
|---|---|
| 1 | After the cutscene ends, you will be put in a new area. Follow the path outside your cell until you reach the Lower Pagoda Shrine. |
| * |  Ignore any cells with a purple seal for now since you'll need to defeat a boss to unlock them. ▶ How to Open the Purple Seal Doors |
| 2 |  Continue following the path until you see a staircase on the left that will lead you to the second floor. |
| 3 | Head up and turn right once you're on the second floor. Follow the path across the wooden beam and head inside. |
| 4 |  Continue following the path until you come across a ramp on the right that will lead you up to the third floor. |
| 5 | At the top, continue following the path forward until you come across the Upper Pagoda Shrine. Make sure to activate it, otherwise, you'll need to go all the way back up here if you die. |
| * |  Turn around and drop down to the purple area to fight Captain-Lotus Vision. Defeating this boss will unlock all the purple-sealed cells in the area. ▶ Captain Lotus-Vision Boss Guide |
| ** | Re-explore the first and second floors for any newly unsealed cells. There will be a bunch of items and treasures, as well as the Third Prince Quest and the Ashen Slumber Transformation. Make sure that you grab the Ashen Slumber Transformation since it can be missed! If the body with the sword doesn't spawn, then you'll need to kill the Two-Headed Rat Guais back in the Sandgate Village and exhaust all dialogue options at a nearby hut. |
Upper Pagoda Guide
| Objectives | |
|---|---|
| 1 | 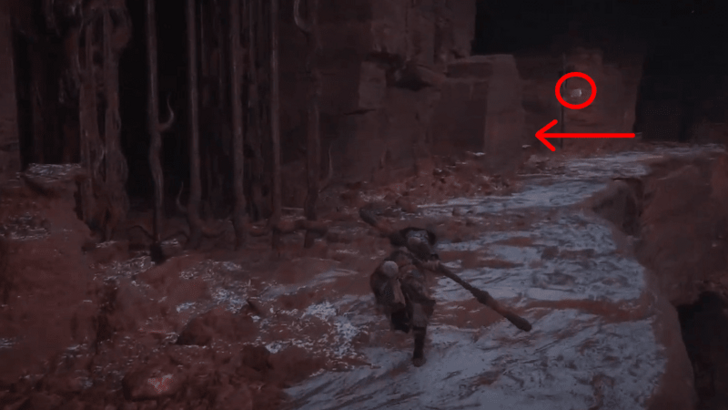 From this Shrine, continue forward until you're past the wooden beams and you reach an entrance with a lantern. |
| 2 | Go through the entrance and head up the ramp leading to the fourth floor. |
| 3 | 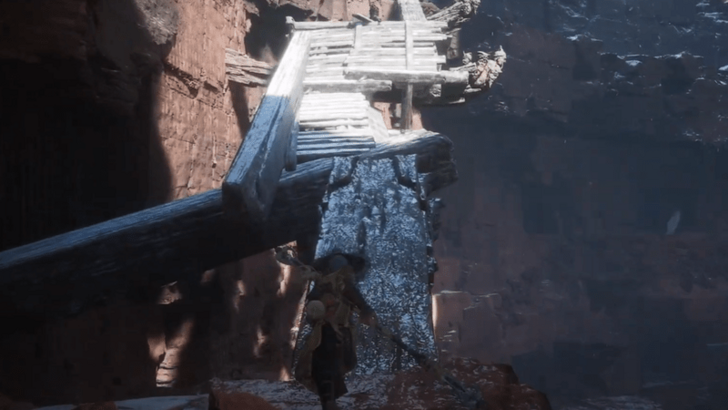 At the top, head out left and follow the path until you reach the broken structure that leads you to the top of the prison. |
| 4 | Once you're at the top, follow the path on the left until you reach the Mani Wheel Shrine. |
Mani Wheel Guide
| Objectives | |
|---|---|
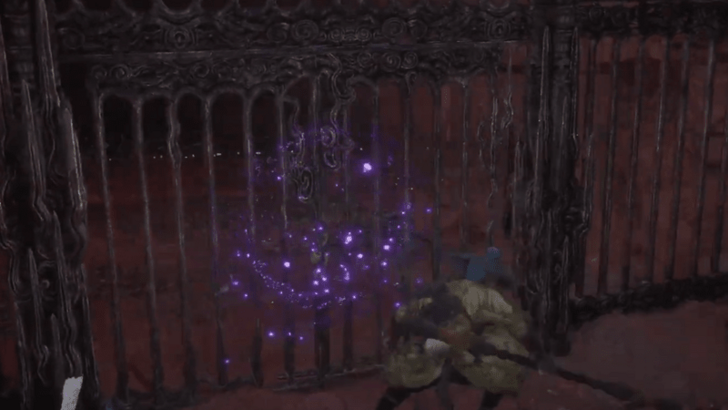
| 1 | 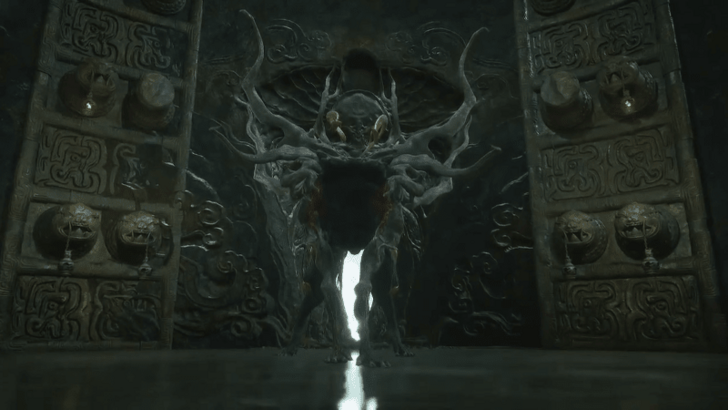 Rest and prepare yourself to fight Captain Wise-Voice. Defeating this boss will prevent any Lantern Wardens from spawning, so make sure to take on this boss only after you've defeated all 9 of them. ▶ Captain Wise-Voice Boss Guide |
| 2 | After the boss has been defeated, head out to the other side and activate the Outside the Wheel Shrine inside the cave. |
Outside the Wheel Guide
| Objectives | |
|---|---|
| 1 | 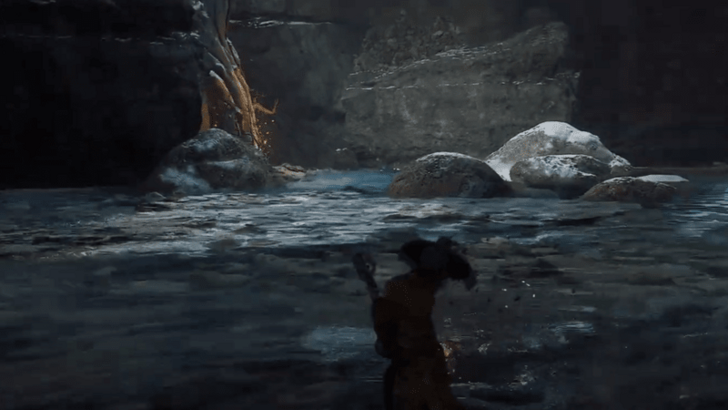 Head forward through the cave picking up any items along the way. Make sure to get the Luojia Fragrant Vine for your Gourd upgrades. |
| 2 | Continue forward outside the cave and pick up any items and treasure chests you find. |
| 3 | The path forward is extremely linear, so keep following the path until you reach the Snow-Veiled Trail Shrine. |
Snow-Veiled Trail Guide
| Objectives | |
|---|---|
| 1 | 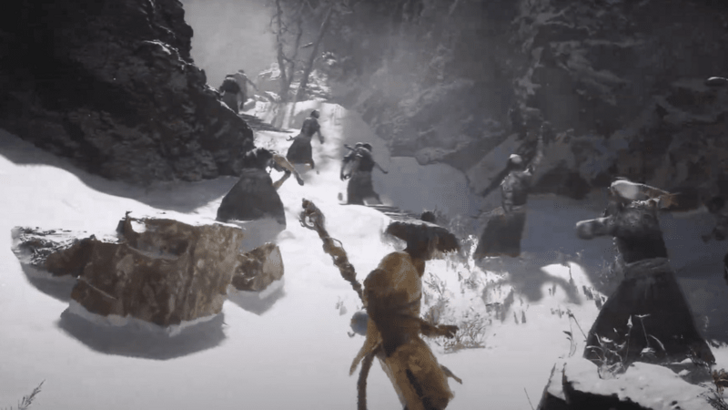 Head up the stairs to the left and follow the path filled with the Frozen Corpses. |
| * | Following the path to the right will lead you to The Great Pagoda, but you can't do anything there yet. It's still a good idea to visit the area though just to unlock the Shrine. |
| 2 | Once you reach the small creek to the right, head left up the stairs until you reach the Warding Temple Shrine. |
The Great Pagoda Guide
Unless you've beaten the game, there is nothing to do here besides unlocking the Shrine.
Later on, once you've completed the game and unlocked all 6 murals by completing every chapter, an NPC will show up at the middle wall to lead you to the Secret Area, Mount Mei.
Warding Temple Guide
| Objectives | |
|---|---|
| 1 | 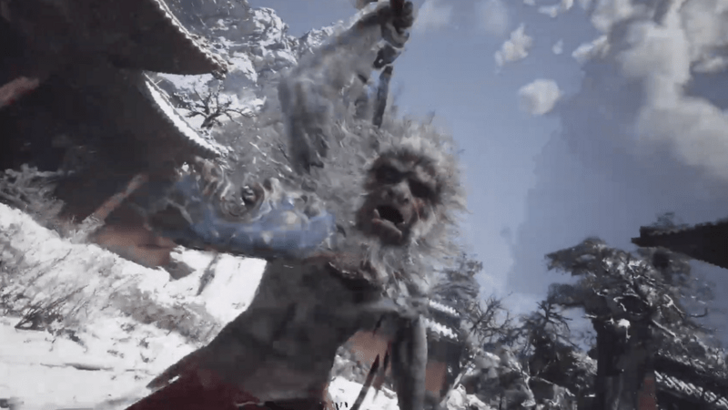 Continue up the stairs and into the temple, where you will need to fight the Macaque Chief for the second time. ▶ How to Beat Macaque Chief |
| * | Head back to the Shrine and rest since there will be another boss fight after leaving this area. |
| 2 | After beating the boss and unlocking the Ring of Fire spell, head to the left and out through the back exit. |
| 3 | Head up the slope and then slide down into the next area. |
Bitter Lake Walkthrough
| Bitter Lake Objectives | |
|---|---|
| 1 | South Shore of the Bitter Lake |
| 2 | Turtle Island |
| 3 | North Shore of the Bitter Lake |
| 4 | Precept Corridor |
South Shore of the Bitter Lake Guide
This is the area you slide down towards before boarding Turtle Island. As of now, it looks like there's nothing to do here besides unlocking the Shrine. If you want to get here, you'll just need to take the same path mentioned in the Warding Temple Guide.
Turtle Island Guide
| Objectives | |
|---|---|
| * | Die to Kang-Jin Star first to respawn and activate the Turtle Island Shrine. |
| 1 | 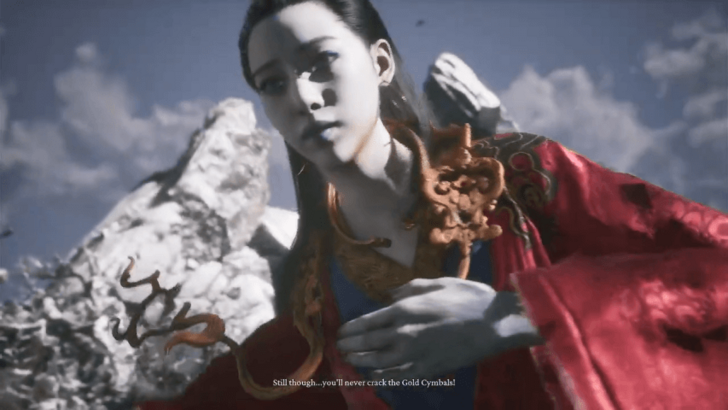 Once you're ready, head up towards the cymbals and defeat Kang-Jin Star. Bring ways to counter Electric since she'll use the same element as her Loong form. ▶ Kang-Jin Star Boss Guide |
| * |  Rest at the Shrine and head directly to the right and drop down the ledge to defeat Cyan Loong. He can be found at the edge of the turtle's back fishing by himself. ▶ Cyan Loong Boss Guide |
| 2 | Head forward from the Shrine to the Turtle General's head. You can explore the area first if you wish, but you can teleport back here later. |
| 3 | When you're ready to leave, talk to the Pig to leave the area and push the story forward. After you've dismounted the turtle, activate the nearby shrine. |
North Shore of the Bitter Lake Guide
| Objectives | |
|---|---|
| * |  Head to the left and defeat Chen Loong in the shallow water to start the Ruyi Scroll Quest. ▶ Chen Loong Boss Guide |
| ** | Continue following the left path to find a Treasure Hunter being attacked by enemies. Saving and talking to him will initiate the Treasure Hunter Quest. ▶ Treasure Hunter Quest Guide |
| *** |  Go back to the shrine and take the right path filled with bones. At the end path, you'll face the Apramana Bat, and after he's been beaten, interacting with the skeleton will drop the Turtle Tear under the Turtle General's head. Make sure to beat this optional boss before proceeding forward since it's a missable and disappears if you proceed too far into the story. ▶ Apramana Bat Boss Guide |
| 1 | From the Shrine, follow the frozen corpses to the right and into a cave. Follow the path upwards until you reach a rope bridge. |
| * | Before the bridge, go through the opening on the left to grab a treasure chest. |
| 2 | Head across the bridge and unlock the Precept Corridor Shrine. |
Precept Corridor Guide
| Objectives | |
|---|---|
| 1 | Follow the path forward, picking up the Meditation Spot and treasure chest on the way. |
| 2 | Once you reach the cave, head left and follow the stairs upwards until you fight the Red-Haired Yaksha. |
| 3 | After beating the Yaoguai and absorbing its Spirit, head out and go down into the pagoda to start a cutscene. |
| 4 | 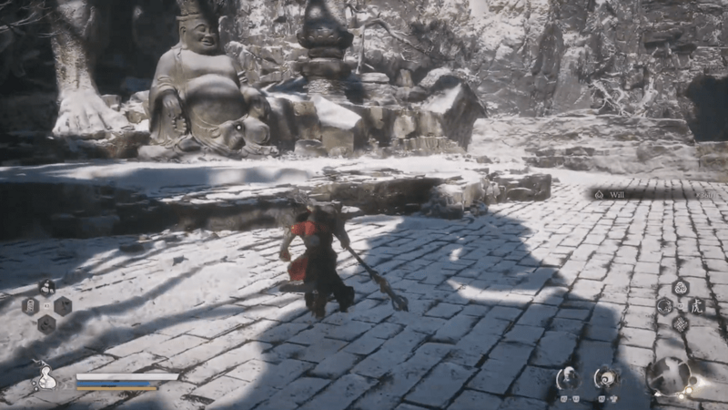 After the cutscene, head left and interact with the first Buddha statue. |
| 5 | 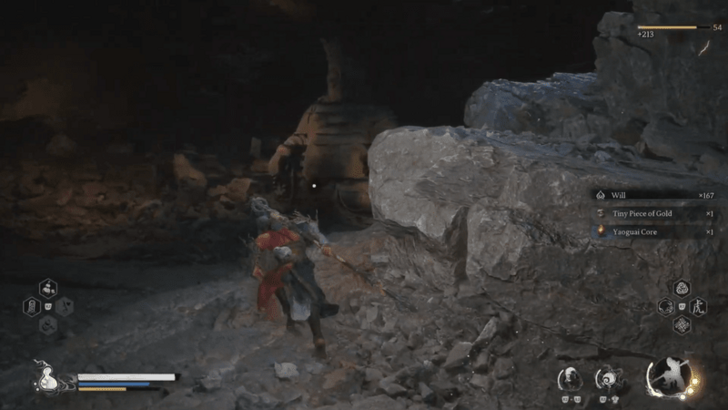 Continue going left and down the stairs until you reach the second Buddha statue on the right. |
| 6 | 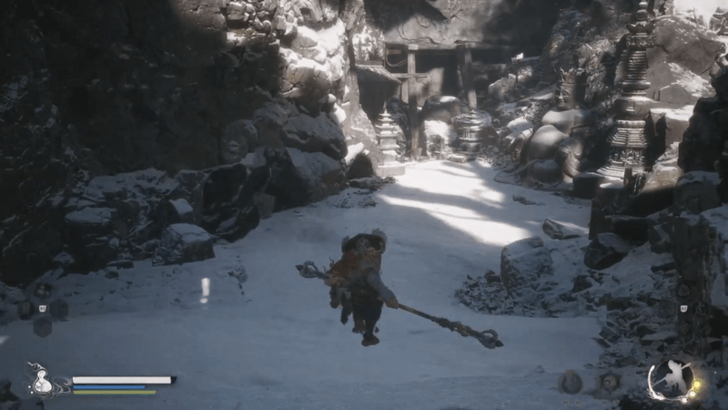 Turn around and follow the path past the stairs until you reach the third Buddha statue. |
| 7 |  Go through the gate and continue until you see the final Buddha statue with a Red-Haired Yaksha on the right. |
| 8 | Turn around and drop down back to the pagoda for another cutscene. |
| 9 | After the cutscene, head right and follow the stairs all the way up towards the big statues. |
| 10 | Keep going forward past the first two big statues until you reach the third one. |
| 11 | 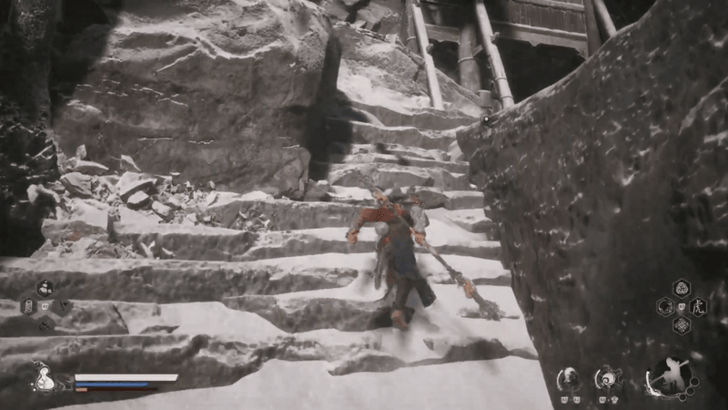 Head up the stairs and go in through the small gap at the top. |
| 12 | Follow the path upwards until you reach the Mindfulness Cliff Shrine. |
Valley of Ecstasy Walkthrough
| Valley of Ecstasy Objectives | |
|---|---|
| 1 | Mindfulness Cliff |
| 2 | Forest of Felicity |
| 3 | Melon Field |
| 4 | Brook of Bliss |
| 5 | Towers of Karma |
| 6 | Longevity Road |
Mindfulness Cliff Guide
| Objectives | |
|---|---|
| 1 | 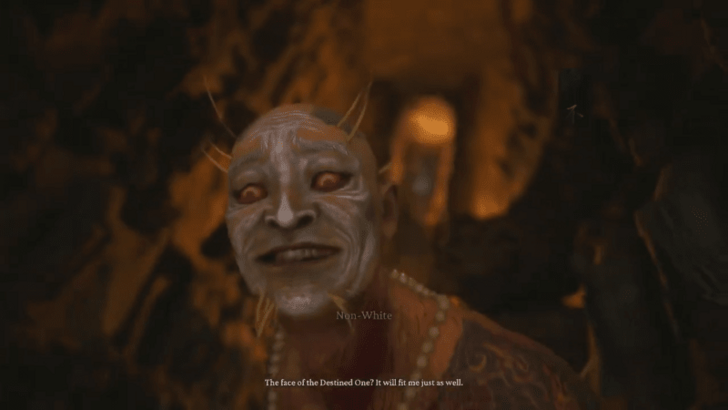 Once you're ready, follow the path into the open area where you'll have to fight Non-White for the first time. ▶ Non-White Boss Guide |
| * | Head back to the Shrine and rest up before proceeding forward. |
| ** |  You can drop down to the collapsed pillar by following the path downwards past the tree in the Non-White boss arena. Following this path will lead you to the Fiery Gourd and the Skandha of Thought. ▶ Five Skandhas Quest Guide |
| 2 | Continue upwards past the cave entrance and head forward until you fight Non-White for the final time. |
| 3 | After the fight, activate the Meditation Spot and proceed down the snowy slope and to the Forest of Felicity Shrine. |
Forest of Felicity Guide
| Objectives | |
|---|---|
| 1 | 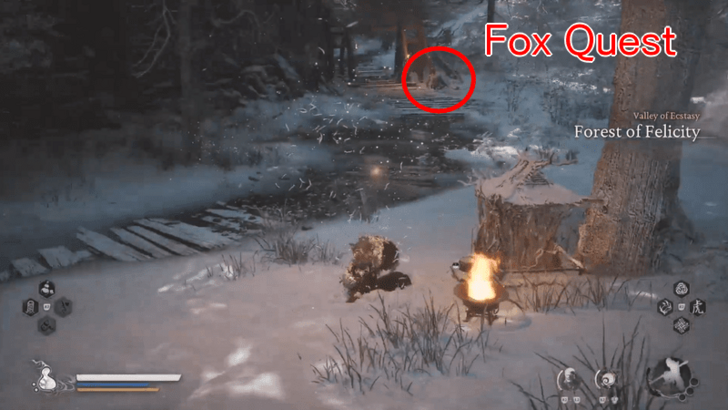 Follow the very long path forward through the small archway until you reach the Longevity Road Shrine. Just follow the obvious path laid out before you and you'll get there eventually. Before proceeding forward, talk to the corpse laying on the archway to initiate the Fox Quest. ▶ Fox Quest Guide |
| * | You can choose to explore the Valley of Ecstasy since this is a large section with many optional areas, bosses, and quests. Make sure to activate any Shrine you come across so that you have locations to teleport to. |
Melon Field Guide
| Objectives | |
|---|---|
| 1 | From the Forest of Felicity Shrine, turn around and take the path to the left that goes down. Keep going down until you reach the river at the bottom. |
| * | You can cross the bridges that lead to the right at any time so you can activate the Brook of Bliss Shrine. |
| 2 | 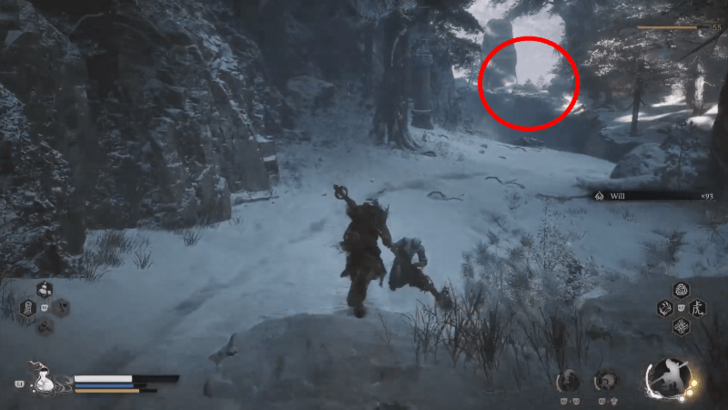 Once you've reached the bottom, head towards the right side of the cliff in the distance. When you see two lit braziers, go between them and drop down slowly following the braziers until you reach the Melon Field Shrine. |
This is an optional area that's part of the Treasure Hunter Quest. Unless you've encountered and talked to the Treasure Hunter at all of the locations he appears in, you won't be able to do anything when you get here.
Brook of Bliss Guide
| Objectives | |
|---|---|
| 1 | To get to this area, turn around from the Forest of Felicity Shrine and head down to the path on the left. |
| 2 | Once you're down, take any of the bridges to the right side of the area so you can access the Brook of Bliss Shrine. |
This is an optional area that's not necessary to complete the main story. However, there are items, collectables, and the Non-Able boss around this area, so it is still worth visiting.
Towers of Karma Guide
| Objectives | |
|---|---|
| 1 | To get to this area, you'll want to head through the archway in front of the Forest of Felicity Shrine, and then head left. |
| 2 | From there turn right and follow the path forward until you reach the Towers of Karma Shrine. |
This is another optional area that's not necessary to complete the main story. Again, there are items and collectables around this area that make it worth visiting, especially if you're completing the Treasure Hunter quest.
Longevity Road Guide
| Objectives | |
|---|---|
| * | 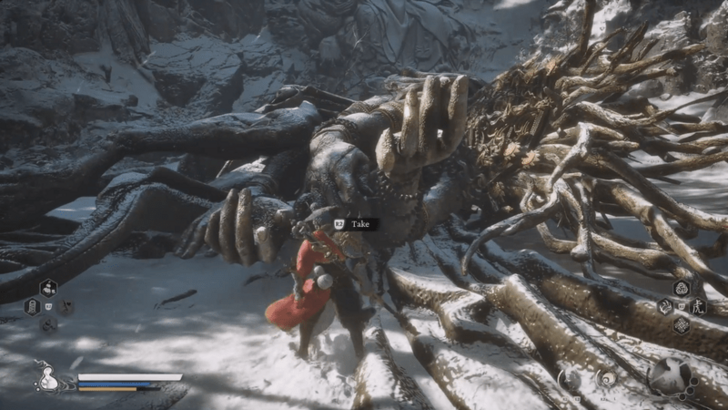 Before proceeding forwards, head to the right to collect the Soul of Captain Void-Illusion. Unlike the other Captains, there's no boss and the soul must be collected from their corpse. |
| 1 | From the Shrine, head forward to the open area and go right towards the New Thunderclap Temple. |
| 2 | 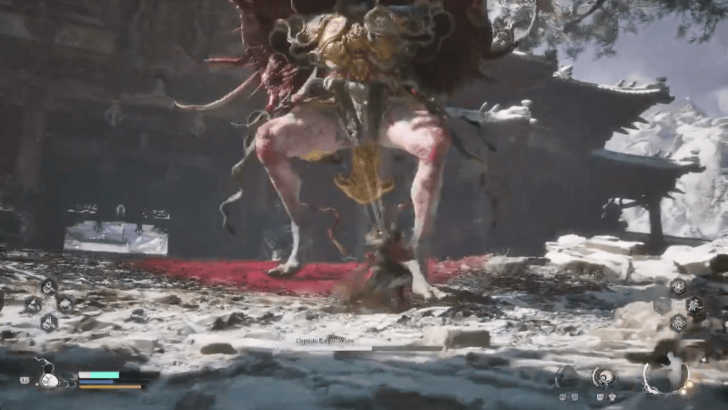 When you're ready, continue following the path up to the entrance of the temple and defeat Captain Kalpa-Wave. ▶ Captain Kalpa-Wave Boss Guide |
| 3 | Once the boss is defeated, head through the entrance and activate the Temple Entrance Shrine. |
| * | If you collected the Soul of Captain Void-Illusion earlier, teleport back to the Lower Pagoda and talk to the Third Prisoner to get an item required to get a new weapon! ▶ Third Prince Quest Guide |
New Thunderclap Temple Walkthrough
| Sandgate Village Objectives | |
|---|---|
| 1 | Temple Entrance |
| 2 | Mahavira Hall |
| 2 | Floating Sculpture |
Temple Entrance Guide
| Objectives | |
|---|---|
| * | Before proceeding onwards straight to the end of the temple, you can explore the different side areas. There are a bunch of optional objectives around here, like treasure chests and bosses. If you don't want to miss anything, we recommended exploring first since there are some objectives here, specifically the ones for the Horse Guai Quest and the Fox Quest, that become missable. |
| 1 | From the Temple Entrance Shrine, just head on straight through the building in front of you and up the dual staircase. To get to the next Shrine, just keep heading north towards the large pagoda. |
| 2 | Once you're up the stairs, continue straight through the nearby building. Continue going straight on forward until you reach the large open area with a big set of stairs and two massive Dark-faced Overlords. |
| 3 | Once you've either defeated or ran past them, climb up the stairs and activate the Mahavira Hall shrine. |
Mahavira Hall Guide
| Objectives | |
|---|---|
| * | Prepare yourself since this is the final Shrine before you head to the final boss of this chapter. If you want to explore the rest of Chapter 3 and check that you didn't forget any missables, now is the time to do so. It's recommended to at least do the Treasure Hunter Quest since it will reward you with a spell that will greatly help with the final boss. |
| 1 | 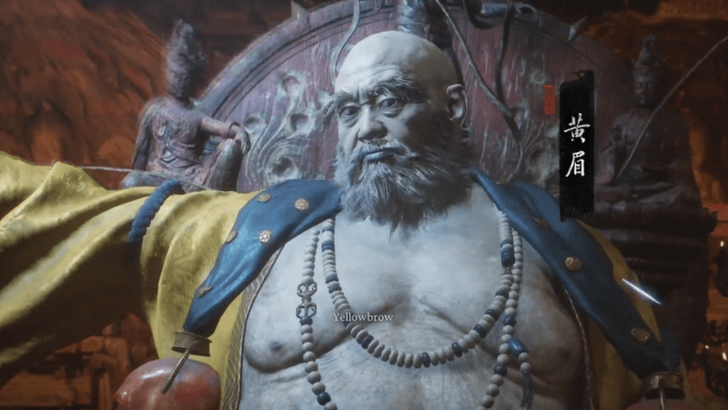 When you're ready, head through the doors to face the final boss of this chapter, Yellowbrow. ▶ Yellowbrow Boss Guide |
| 2 | After beating his first phase, you will be sucked into his pouch where you'll fight a power-up version of the Macaque Chief. Thankfully, you'll be fully recovered so the only thing you'll need to worry about are your cooldowns. ▶ How to Beat Macaque Chief |
| 3 | Once the Macaque Chief goes down for the final time, you'll be teleported to the Floating Sculpture that was behind Yellowbrow during the cutscene before his first phase. |
| 4 | Follow the path until you reach the second and final Yellowbrow fight. Once he goes down, you'll have beaten Chapter 3! You can opt to die first to change your equipment and spells if you wish, especially if you don't have the spell from the Treasure Hunter Quest equipped. |
Floating Scuplture Guide
The Floating Sculpture Upper and Lower Level travel locations aren't Shrines but are teleport points that act as a failsafe in case you die during the Yellowbrow boss gauntlet.
This allows you to teleport back to those checkpoints in case you leave using the Incense Trail Talisman to change your equipment and spells at a Shrine.
Mount Mei Walkthrough
| Mount Mei Objectives |
|---|
|
|
Unlock Mount Mei
| Objectives | |
|---|---|
| 1 | Complete All Secret Areas in the other Chapters. |
| 2 | Complete the Treasure Hunter Quest in Chapter 3. |
| 2 | After returning to a shrine, travel back to The Great Pagoda in Chapter 3. |
Travel to The Great Pagoda
| Objectives | |
|---|---|
| 1 | If you don't have The Great Pagoda unlocked yet, return to Snowhill Path, and take the path across the bridge to reach The Great Pagoda. |
| 2 | Within the Great Pagoda, climb up the stairs to meet with the monk. |
| 3 | After a brief cutscene, the wall will open, revealing the Secret Area. |
Explore Mount Mei
| Objectives | |
|---|---|
| 1 | After the cutscene, you will spawn inside Mount Mei. Follow the path forward, which is linear so there are no other areas to explore. |
| 2 | Unlock the Shrine at the top of the stairs, and when you're ready, continue following the path towards the next set of stairs in front of you. |
| 3 | Once you reach the top of the stairs, a cutscene will start with Erlang Shen. |
Defeat Erlang
| Objectives | |
|---|---|
| 1 |  After the cutscene, you must first defeat Erlang, the Sacred Divinity. This is one of, if not, the toughest fight in the game, so be prepared for a gruelling battle. ▶ Erlang Boss Guide |
| 2 | After reducing Erlang's HP to 0, a cutscene will ensue where you will both transform into beasts larger than the mountains around you. |
| 3 | 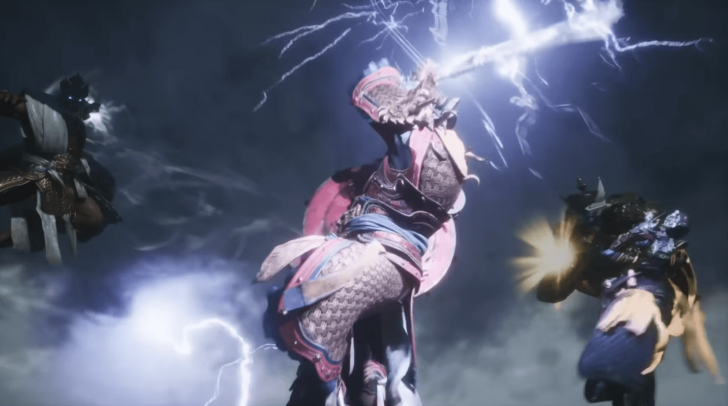 Once you're transformed, you'll be thrust into a new form to battle The Four Heavenly Kings. Take this time to learn your new moves and remember to heal using Heavy Attacks if you get low on HP. ▶ The Four Heavenly Kings Boss Guide |
| 4 | Finally, once all four of them go down, you'll have to face Erlang in his gigantic transformed form. Once he goes down, you'll unlock a new Transformation, Weapon, and the ability to view the secret ending after beating the final boss one more time! |
Chapter 3: White Snow, Ice Cold Interactive Map
| Notice! | You can change to a different map for Chapter 3 by clicking on the drop down menu at the top of the map |
|---|
Interactive Map Key
| Meditation Spot | Fragrant Vine | Wine Worm | Chest |
|---|---|---|---|
| Curio | Spirit | Shrine | Gourd |
| Boss | |||
Black Myth: Wukong Interactive Map
Chapter 3: White Snow, Ice Cold Bosses
Chapter 3: White Snow, Ice Cold Secret Location
How to Get to Mount Mei
Beat the Secret Areas in Every Other Chapter
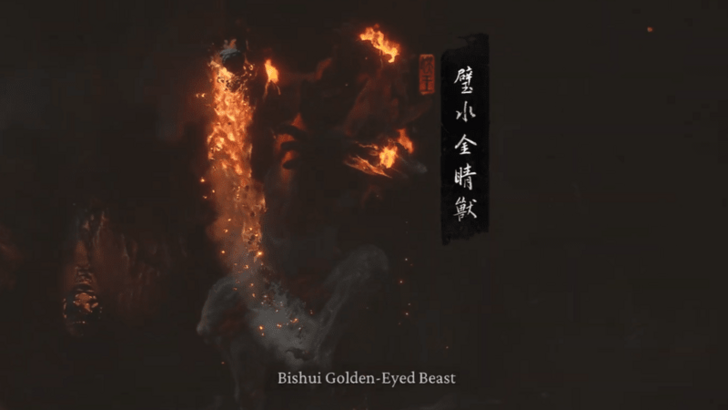
To access the secret location in Chapter 3, you must first complete all Secret Areas in the other Chapters: Ancient Guanyin Temple, The Kingdom of Sahali, Purple Cloud Mountain, and Bishui Cave.
Complete the Treasure Hunter Quest
Afterward, you must complete the Treasure Hunter Quest in Chapter 3 to unlock Mount Mei. However, if you have already done the quest before doing the rest of the secret areas, then you may head straight to The Great Pagoda shrine and talk to the monk at the top of the stairs.
Chapter 3 Secret Area: Mount Mei
Black Myth: Wukong Related Guides

All Chapter Walkthrough Guides
Main Chapter Walkthroughs
| All Chapters | |||||
|---|---|---|---|---|---|
 Chapter 1 Chapter 1 |
 Chapter 2 Chapter 2 |
Chapter 3 |
|||
 Chapter 4 Chapter 4 |
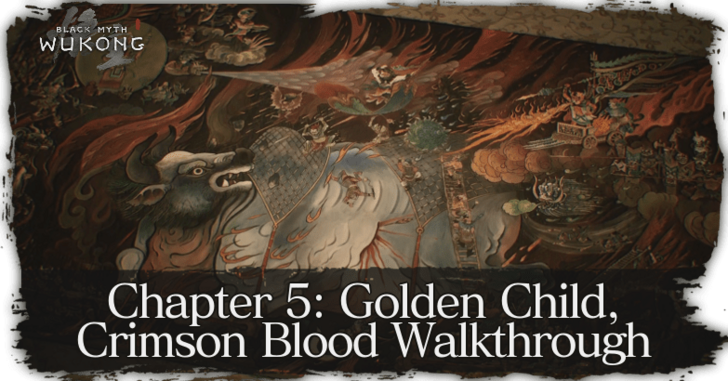 Chapter 5 Chapter 5 |
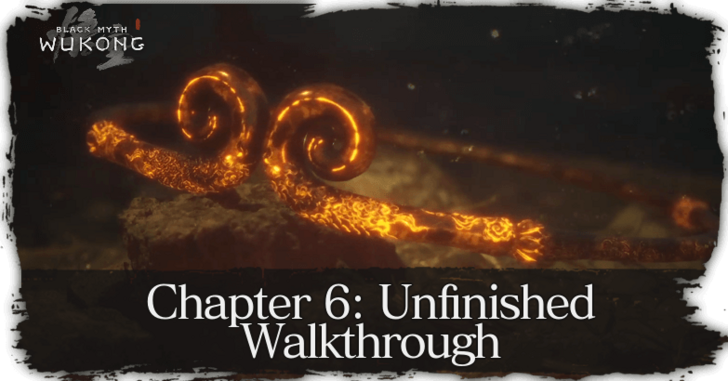 Chapter 6 Chapter 6 |
|||
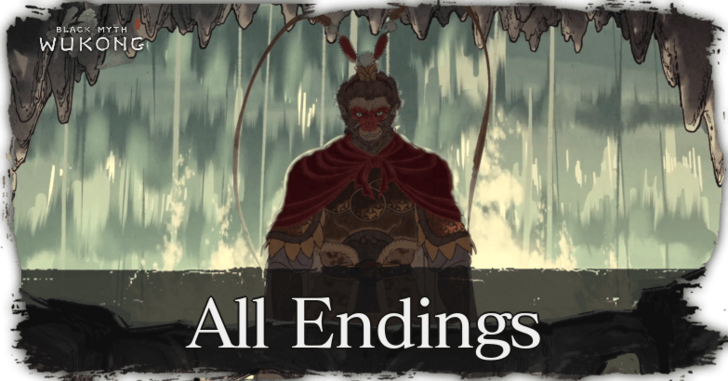 All Endings Guide All Endings Guide |
 How to Get the Secret Ending How to Get the Secret Ending |
||||
Area Walkthroughs
| Chapter 1 Areas | |
|---|---|
| Black Wind Mountain | |
| Forest of Wolves | Bamboo Grove |
| Black Wind Cave | - |
| Chapter 2 Areas | |
| Sandgate Village | Crouching Tiger Temple |
| Fright Cliff | The Kingdom of Sahali |
| Chapter 3 Areas | |
| Pagoda Realm | The Great Pagoda |
| Secret Areas | |
| List of All Secret Areas | |
| Ancient Guanyin Temple | The Kingdom of Sahali |
| Mount Mei | Purple Cloud Mountain |
| Bishui Cave | - |
Side Quest Walkthroughs
| List of All Quests | |
|---|---|
| Chapter 1 Quests | |
| Ring the 3 Bells | - |
| Chapter 2 Quests | |
| Boar Quest | Man-In-Stone Quest |
| Old Rattle-Drum Quest | Xu Dog Quest |
| Two-Headed Rat Guai Quest | - |
| Chapter 3 Quests | |
| Treasure Hunter Quest | Fox Quest |
| Third Prince Quest | Ruyi Scroll Quest |
| Chapter 4 Quests | |
| Venom Daoist Quest | Daoist Mi Quest |
| Purple Talisman Quest | - |
| Chapter 5 Quests | |
| Five Element Carts | - |
| Other Quests | |
| Supreme Gourd Quest | Five Skandhas Quest |
| Horse Guai Questline | - |
Comment
Author

Chapter 3: White Snow Ice Cold Walkthrough Guide
Please participate in our site
improvement survey
03/2026
improvement survey
03/2026
Would you assist in
improving Game8's site?
improving Game8's site?

×
We are listening to our users' valuable opinions and discussing how to act on them.
The information collected through this survey will be used for the purpose of improving our services. In addition, the information will only be disclosed a part of a statistic in a format that will not allow identification of personal information.
Begin Survey
Not Now
×
Please rate each item regarding Game8.co's Advertisements.
Amount of Ads
Very Dissatisfied
Somewhat Dissatisfied
Fine
Somewhat Satisfied
Highly Satisfied
Placement of Ads
Timing of Ad Display
Ad Loading Speed
Safeness of Ads
Content of Ads
×
Please rate each item regarding Game8.co's Quality of Articles.
Amount of information
Very Dissatisfied
Somewhat Dissatisfied
Fine
Somewhat Satisfied
Highly Satisfied
Frequency of updates
Speed of new information
Accuracy of articles
Understandibility of articles
Readability of sentences
×
Please rate each item regarding Game8.co's Usability of the Site.
Ease of finding information
Very Dissatisfied
Somewhat Dissatisfied
Fine
Somewhat Satisfied
Highly Satisfied
Loading Speed
Use of Color
Font Size
Visibility of Images
Easy to Understand Layout
×
Please rate each item regarding Game8.co's Message Boards, Comments.
Ease of Writing
Very Dissatisfied
Somewhat Dissatisfied
Fine
Somewhat Satisfied
Highly Satisfied
Readability
Ease in Finding Information
Comment Quality
Comment Quantity
Admin Response
×
Please rate each item regarding Game8.co's Site's new design.
Please rate our site's new design
Very Dissatisfied
Somewhat Dissatisfied
Fine
Somewhat Satisfied
Highly Satisfied
Do you think that the website's design change makes the site easier to use?
Has the new design made it easier for you to find information on the site?
Has the new design improved the overall visual appeal of the site?
How would you rate your overall satisfaction with the new design of the site?
×
How likely are you to recommend Game8 to someone you know?
Very Unlikely
0
1
2
3
4
5
6
7
8
9
10
Very Likely
If you have other opinions regarding potential improvement to the website, please share them with us. We would appreciate your honest opinion.
Note: This is a free response section, so you can proceed without entering anything.
Note: Please be sure not to enter any kind of personal information into your response.
Note: Please be sure not to enter any kind of personal information into your response.
×
Thank You
×
Thank you for participating in our survey! Your answers will help us to improve the quality of our website and services.
We hope you continue to make use of Game8.
We hope you continue to make use of Game8.
Close
Rankings
- We could not find the message board you were looking for.
Gaming News


![Monster Hunter Stories 3 Review [First Impressions] | Simply Rejuvenating](https://img.game8.co/4438641/2a31b7702bd70e78ec8efd24661dacda.jpeg/thumb)
Popular Games

Genshin Impact Walkthrough & Guides Wiki
Honkai: Star Rail Walkthrough & Guides Wiki
Umamusume: Pretty Derby Walkthrough & Guides Wiki
Pokemon Pokopia Walkthrough & Guides Wiki
Resident Evil Requiem (RE9) Walkthrough & Guides Wiki
Monster Hunter Wilds Walkthrough & Guides Wiki
Wuthering Waves Walkthrough & Guides Wiki
Arknights: Endfield Walkthrough & Guides Wiki
Pokemon FireRed and LeafGreen (FRLG) Walkthrough & Guides Wiki
Pokemon TCG Pocket (PTCGP) Strategies & Guides Wiki


Recommended Games
Diablo 4: Vessel of Hatred Walkthrough & Guides Wiki
Cyberpunk 2077: Ultimate Edition Walkthrough & Guides Wiki
Fire Emblem Heroes (FEH) Walkthrough & Guides Wiki
Yu-Gi-Oh! Master Duel Walkthrough & Guides Wiki
Super Smash Bros. Ultimate Walkthrough & Guides Wiki
Pokemon Brilliant Diamond and Shining Pearl (BDSP) Walkthrough & Guides Wiki
Elden Ring Shadow of the Erdtree Walkthrough & Guides Wiki
Monster Hunter World Walkthrough & Guides Wiki
The Legend of Zelda: Tears of the Kingdom Walkthrough & Guides Wiki
Persona 3 Reload Walkthrough & Guides Wiki


All rights reserved
Copyright © Game Science Interactive Technology Co., Ltd. All Rights Reserved.
备案号: 浙ICP备20024998号-1
The copyrights of videos of games used in our content and other intellectual property rights belong to the provider of the game.
The contents we provide on this site were created personally by members of the Game8 editorial department.
We refuse the right to reuse or repost content taken without our permission such as data or images to other sites.