Our Town (Priority Mission) Walkthrough and Chest Locations
Welcome to Game8's Marvel's Avengers Walkthrough Wiki! Our writers are putting out new guides as quickly as possible! Have a look at any of the guides below to get started!
- Reassemble Campaign Walkthrough | Story Missions
- Best Characters and Strike Team
- Best Builds For Every Character
- Guide to Weekly Challenges and Daily Missions
Version 1.08 Is here!
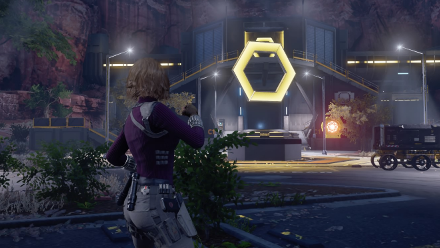
This is a walkthrough for the Mission Our Town (Priority Mission) in Marvel's Avengers (game). See all mission objectives, chest locations, and tips and strategy for beating the mission.
List of Contents
Our Town (Priority Mission) General Info
Mission Information
| Mission | Our Town (Priority Mission) |
|---|---|
| Type | Priority Threat Sector |
| Mission Power | 125 |
| Reward | Guaranteed Reward Hero Specific Gear |
| Description | AIM is doing more experiments on the citizens of Venture Ridge, Wyoming. The Avengers must do what they can to help them out. |
Our Town (Priority Mission) Walkthrough
| Objectives | |
|---|---|
| 1 | Head to the first building from where you land. Immediately, JARVIS will mention a chest hidden in a room. |
| 2 | 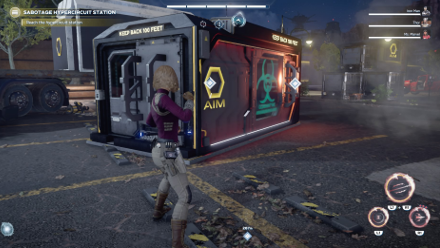 Head a little north to find an agent who needs rescuing. Battle the enemies that appear there as well. |
| 3 | Head northeast from there to find a building with switches. Opening them will lead to some loot. From there you will notice that your HUD has a directional navigator. Follow it to a SHIELD cache. |
| 4 | Head out of the cache and from there, open up your tactical awareness to see three "?" markers. Head to the nearest one to find some loot and some enemies. |
| 5 |  Head west from there to find a special AIM unit to defeat. |
| 6 |  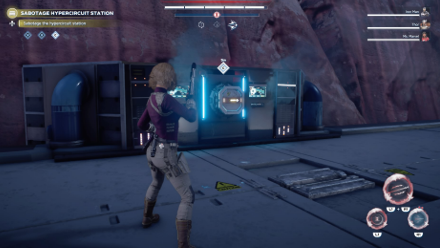 Head to the main objective marker and destroy the generators while fighting off enemies. Two will be on the ground and another on the roof. After destroying them, proceed to the next area. |
| 7 | In the next area, in the first corridor you encounter, there will be a smashable door with some loot inside. On this same floor, you can find the secret treasure room which can be opened via switches. |
| 8 | 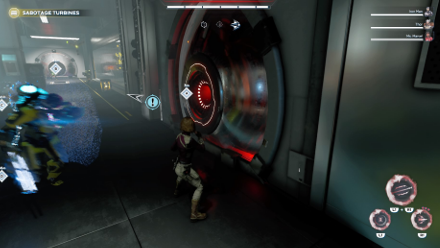 Head to the next area and destroy all generators while dealing with enemy waves. |
| 9 | Head over to the next area. Hack all three servers while defeating all enemies there. Reaching 100% completion in this area will end the mission. |
Our Town (Priority Mission) Tips and Strategy
Move Around
In the final area where you hack into the servers, several AIM units will try to remove JARVIS from the servers and advance their security protocols. If they reach 100%, you fail the mission. Move to each server quickly and defeat those AIM units.
Perfect Evade
Adept Drones are common here so using Perfect Evade to dodge their homing attacks will be crucial. In the 2nd area, Elite Peacekeepers and Assault Adaptoids all hit you with a lot of ranged attacks so dodge those too.
Solving The Puzzle: First Area (Near The Dropzone)
This switch puzzle is just by the building in front of your dropzone inside a warehouse. These are circular switches that can be activated with a single ranged attack.
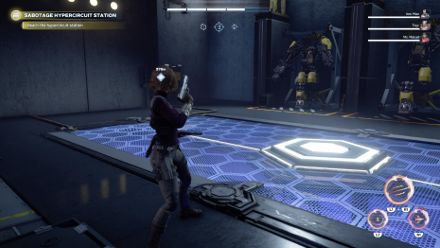
Note that the entrance of the treasure room is on the floor and is blocked by a barrier.
Here are their locations:
| Locations | |
|---|---|
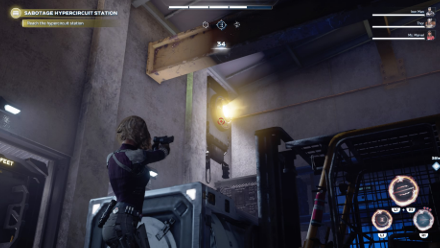 |
This is to the left of the entrance of the warehouse. |
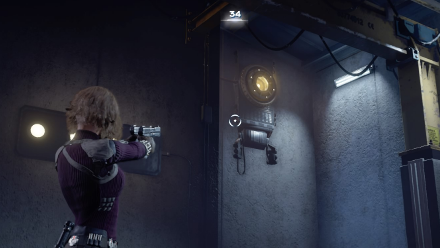 |
This is right across from the 1st switch. |
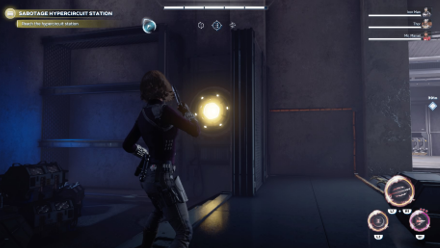 |
This is on the right side of the warehouse. |
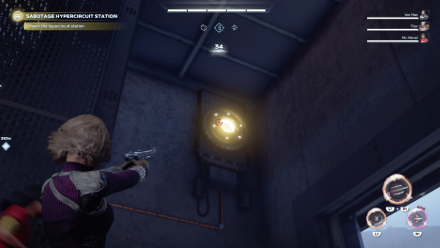 |
This is right across the third switch. |
Solving The Puzzle: First Area (Northeastern AIM Building)
This is found in the northeastern AIM building. The wall switches can be activated by hitting it three times. Here are their locations:
| Locations | |
|---|---|
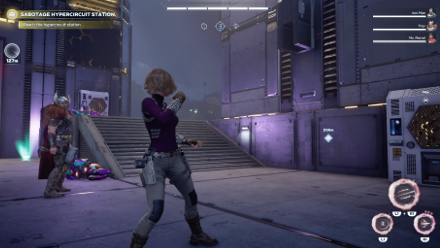 |
These switches are near the treasure building itself. |
 |
This one is at the back of the building just across the treasure building |
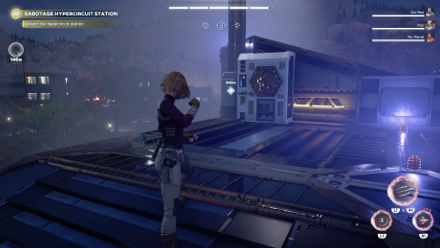 |
This is on the rooftop of the building where the 3rd switch is. |
Solving The Puzzle: Second Area (Treasure Room)
This is in the second area after riding the train. The locks are circular switches that glow green when hit once by a ranged attack. Some of them are hidden inside vents with fans. You have to destroy them first to be able to activate them. Note that the entrance of the treasure room is on the floor. Once all switches are active, the floor turns red.
Here are their locations:
| Locations | |
|---|---|
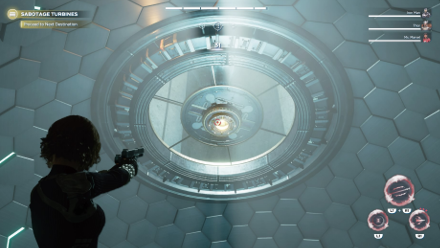 |
This switch is directly on top of the entrance of the treasure room. |
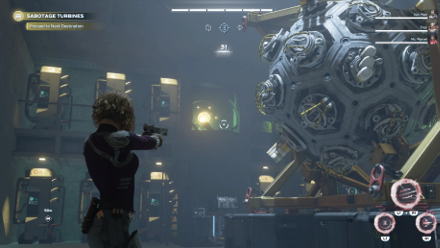 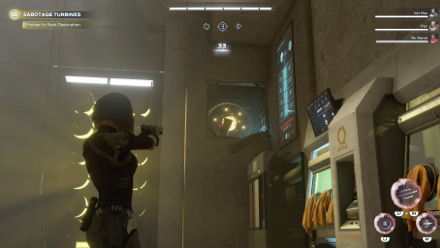 |
These switches are to the northwest of the treasure room entrance. They are in opposite rooms. |
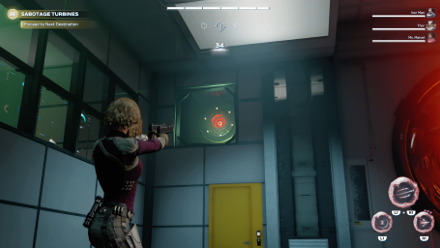 |
This switch is to the northeast of the treasure room inside a room with a generator-looking machine. |
Our Town (Priority Mission) Enemies
| Enemy | Strategy |
|---|---|
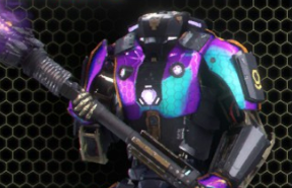 Prime Adept Synthoid Prime Adept Synthoid
|
They have uninterruptible attacks so time your dodge as they attack and counter back. |
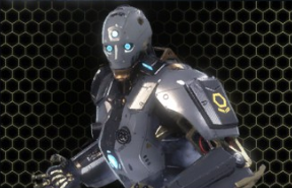 Cryo Synthoid Cryo Synthoid
|
Basic enemy that can be dealt with by combos. Be wary of its chilling attack. |
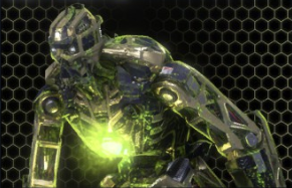 Plague Proto-Synthoid Plague Proto-Synthoid
|
Avoid its poison attacks and land in your combos. Don't hesitate to retreat until the poison effects wears off. |
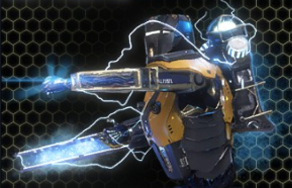 Riotbot Riotbot
|
Use charged attacks to break their shields or vault over their back to attack their weak spot. |
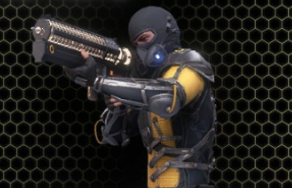 Keeper Keeper
|
They have slow recharge times so get closer to them and beat them with melee attacks. |
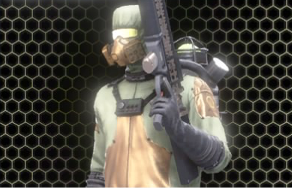 Purge Keeper Purge Keeper
|
They fire poisonous projectiles so dodge it quickly. Close the gap and strike with combos. |
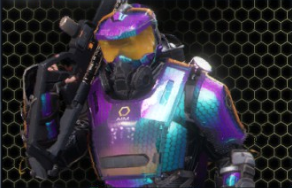 Peacekeeper Peacekeeper
|
Be quick with your attacks since they teleport when you strike them from close range. When they charge their shots, time your dodges as it means they will unleash a wide-arcing multiple shots. |
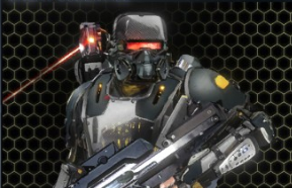 Elite Peacekeeper Elite Peacekeeper
|
Close the gap immediately to prevent them from using their attacks. They also have higher attack than most Keepers so time your dodge properly. |
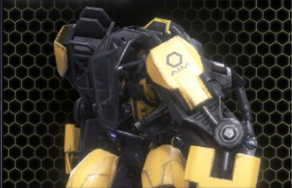 Monotronic Exo Monotronic Exo
|
Be careful of powerful attacks that may cause you to stagger. Dodge and counter its attacks. |
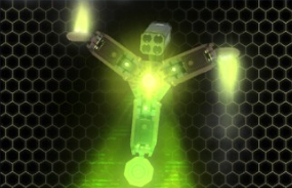 Plague Drone Plague Drone
|
Dispose quickly by using ranged attacks. |
 SPIN Synthoid SPIN Synthoid
|
Dodge their projectiles to avoid losing heroic charges and take them out as soon as possible. |
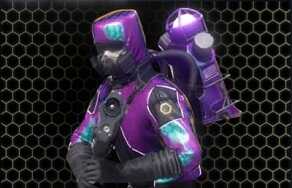 Adept Keeper Adept Keeper
|
Close the gap in order to prevent them from using their homing attacks . |
 Assault Adaptoid Assault Adaptoid
|
Watch out for the continuous damage dealt by its aura while using melee attacks then back out and use ranged attacks when you are low on health. |
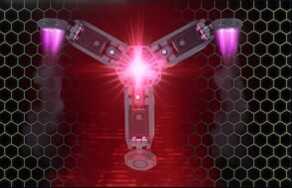 Adept Drone Adept Drone
|
Dispose quickly by using ranged attacks. Has a high dodge rate than most drones. |
 Adept Adaptoid Adept Adaptoid
|
Destroy his exterior shield first and defeat him while he is grounded. |
Our Town (Priority Mission) Chest Locations
| Chest Locations | |
|---|---|
 Enlarge Enlarge |
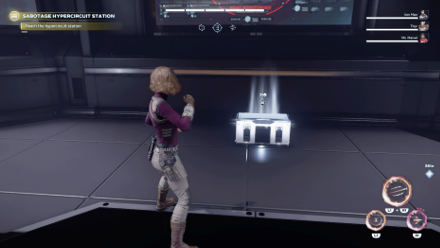
This chest is in the building in front of you when you drop in this mission. It can be accessed inside a room that can be opened via switches. See the Tips and Strategy section to know their locations. |
 Enlarge Enlarge |
This is west of your starting point just by a huge building. |
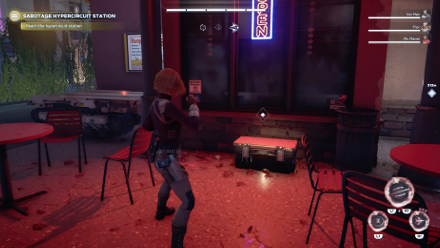 Enlarge Enlarge |
This is in one of the buildings just before you reach the agent that needs rescuing. |
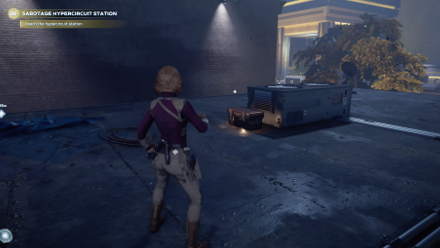 Enlarge Enlarge |
This is west of the third chest, on the rooftop of the building. |
 Enlarge Enlarge |
This is in the building northeast of your starting point inside a building that can be opened via switches. See the Tips and Strategy section to know their locations. |
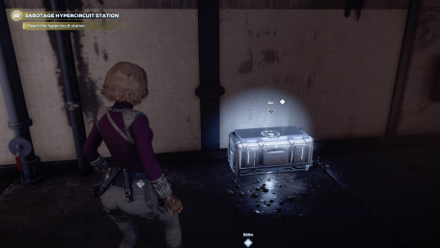 Enlarge Enlarge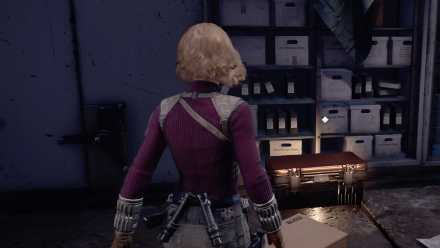 Enlarge Enlarge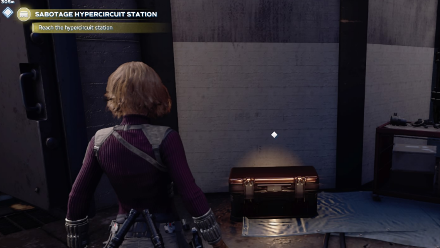 Enlarge Enlarge |
These are in the SHIELD cache near the fifth chest. |
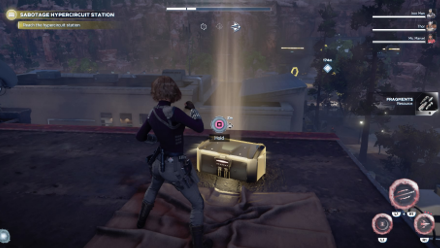 Enlarge Enlarge |
This is north of the SHIELD cache on top of a building. |
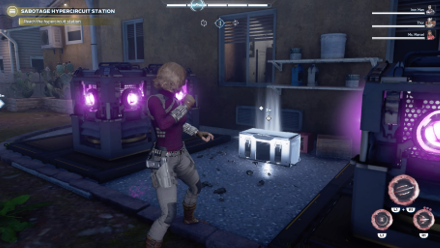 Enlarge Enlarge |
This is west of the seventh chest behind some houses. |
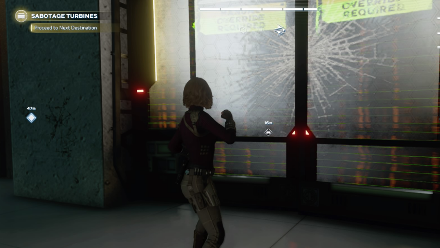 Enlarge Enlarge |
This is inside a smashable door in the second area of this mission. It's on the right wall just as you enter the corridor after riding the train. |
 Enlarge Enlarge |
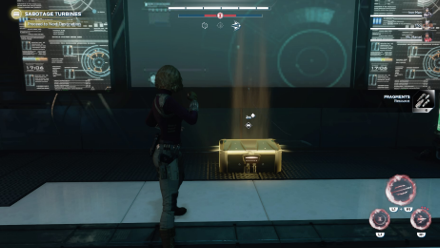
This is inside the treasure room in the same area of the ninth chest. It can only be accessed after hitting all switches. See the Tips and Strategy section to know their locations. |
Note that dark brown / bronze colored chests may shift locations or not be present at all during a mission.
Marvel's Avengers Mission Walkthroughs
War Zone Missions
Author
Our Town (Priority Mission) Walkthrough and Chest Locations
improvement survey
03/2026
improving Game8's site?

Your answers will help us to improve our website.
Note: Please be sure not to enter any kind of personal information into your response.

We hope you continue to make use of Game8.
Rankings
- We could not find the message board you were looking for.
Gaming News
Popular Games

Genshin Impact Walkthrough & Guides Wiki

Honkai: Star Rail Walkthrough & Guides Wiki

Umamusume: Pretty Derby Walkthrough & Guides Wiki

Pokemon Pokopia Walkthrough & Guides Wiki

Resident Evil Requiem (RE9) Walkthrough & Guides Wiki

Monster Hunter Wilds Walkthrough & Guides Wiki

Wuthering Waves Walkthrough & Guides Wiki

Arknights: Endfield Walkthrough & Guides Wiki

Pokemon FireRed and LeafGreen (FRLG) Walkthrough & Guides Wiki

Pokemon TCG Pocket (PTCGP) Strategies & Guides Wiki
Recommended Games

Diablo 4: Vessel of Hatred Walkthrough & Guides Wiki

Cyberpunk 2077: Ultimate Edition Walkthrough & Guides Wiki

Fire Emblem Heroes (FEH) Walkthrough & Guides Wiki

Yu-Gi-Oh! Master Duel Walkthrough & Guides Wiki

Super Smash Bros. Ultimate Walkthrough & Guides Wiki

Pokemon Brilliant Diamond and Shining Pearl (BDSP) Walkthrough & Guides Wiki

Elden Ring Shadow of the Erdtree Walkthrough & Guides Wiki

Monster Hunter World Walkthrough & Guides Wiki

The Legend of Zelda: Tears of the Kingdom Walkthrough & Guides Wiki

Persona 3 Reload Walkthrough & Guides Wiki
All rights reserved
© 2020 MARVEL. Developed by Crystal Dynamics and Eidos Montréal. Development support provided by Nixxes. SQUARE ENIX and the SQUARE ENIX logo are registered trademarks or trademarks of Square Enix Holdings Co., Ltd. Crystal Dynamics, Crystal Northwest, Eidos Montréal and their respective logos are registered trademarks or trademarks of Square Enix Limited.
©2020 Sony Interactive Entertainment LLC. "PlayStation Family Mark", "PS4 logo" and "PS5 logo" are registered trademarks or trademarks of Sony Interactive Entertainment Inc. XBOX and Xbox logos are registered trademarks or trademarks of the Microsoft group of companies and are used under license. Stadia, the Stadia beacon, and related marks and logos, are trademarks of Google LLC. ©2020 Valve Corporation. Steam and the Steam logo are trademarks and/or registered trademarks of Valve Corporation in the U.S. and/or other countries. Nixxes and the Nixxes logo are trademarks of Nixxes Software BV. The ratings icon is a registered trademark of the Entertainment Software Association. All other trademarks are the property of their respective owners.
The copyrights of videos of games used in our content and other intellectual property rights belong to the provider of the game.
The contents we provide on this site were created personally by members of the Game8 editorial department.
We refuse the right to reuse or repost content taken without our permission such as data or images to other sites.


![Monster Hunter Stories 3 Review [First Impressions] | Simply Rejuvenating](https://img.game8.co/4438641/2a31b7702bd70e78ec8efd24661dacda.jpeg/thumb)


