This survey will take about 1 minute.
Your answers will help us to improve our website.
Marvel's Avengers
In Honor's Name Walkthrough: Chest Locations and Enemy List
Welcome to Game8's Marvel's Avengers Walkthrough Wiki! Our writers are putting out new guides as quickly as possible! Have a look at any of the guides below to get started!
- Reassemble Campaign Walkthrough | Story Missions
- Best Characters and Strike Team
- Best Builds For Every Character
- Guide to Weekly Challenges and Daily Missions
Version 1.08 Is here!
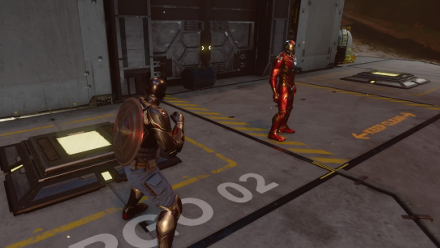
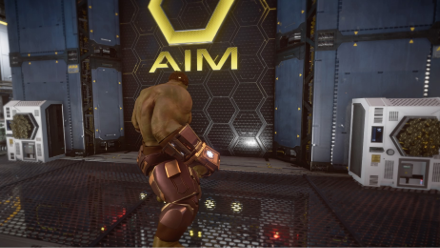
This is a walkthrough for the Mission In Honor's Name in Marvel's Avengers (game). See all mission objectives, chest locations, as well as tips and strategy and an enemy list.
List of Contents
In Honor's Name General Info
Mission Information
| Mission | In Honor's Name |
|---|---|
| Type | SHIELD Faction Mission |
| Mission Power | 30 |
| Reward | Performance Reward Rare or Better Gear |
| Description | AIM keeps a list of potential security risks among their employees. Commander Hill wants access to the list to identify possible defectors to join the Resistance, and asks the Avengers for help. |
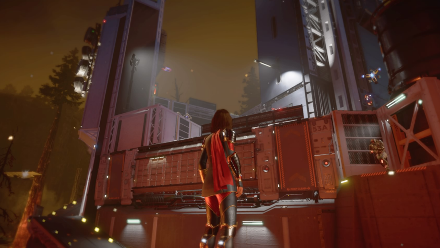
In Honor's Name Walkthrough
| Objectives | |
|---|---|
| 1 | Head to the first objective marker and defeat the enemies there. |
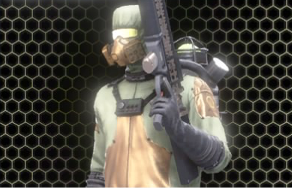
| 2 |  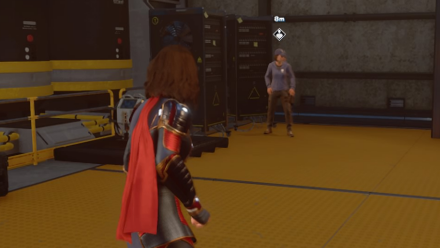 Head east to a building to battle some more enemies. There's also a SHIELD agent to be rescued inside the locked doors which can be opened via a switch puzzle. |
| 3 | 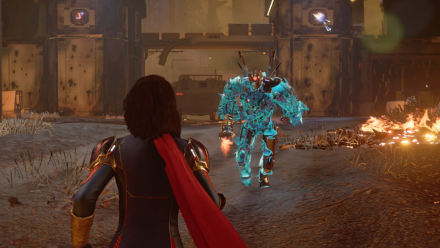 Continue to battle through the AIM specialized squad marked by your objective marker. |
| 4 | 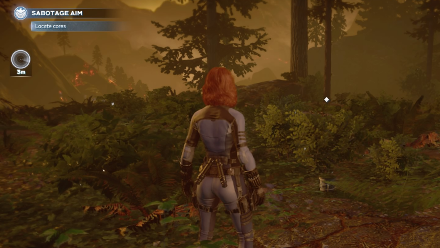 From there, head west to find a SHIELD cache. From there, head west to find a SHIELD cache. |
| 5 | 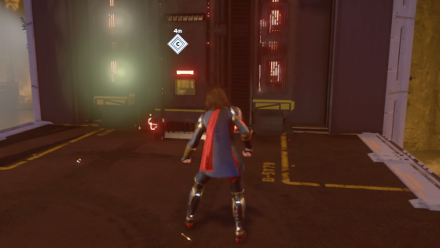 Head to the final objective marker. Destroy the three cores marked by JARVIS. In doing so, you finish the mission and the mission chain. |
In Honor's Name Tips and Strategy
Focus On The Difficult Enemies First
This isn't a very difficult mission, but there are some noteworthy opponents here that can make life difficult for you. Defeat them first then focus on the less difficult ones. Some of the difficult enemies here include Assault Adaptoids and the Elite Synthoid.
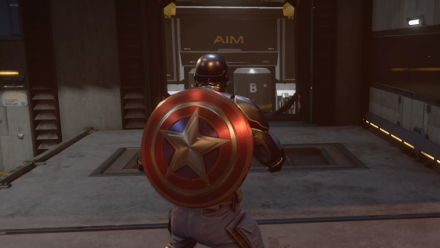
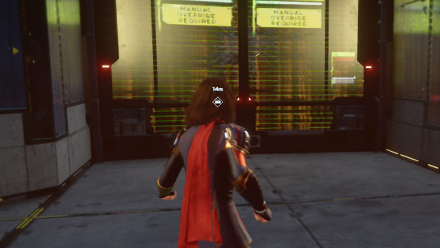
Solving The Door Puzzle: AIM Building
In order to access the room with the locked SHIELD agent inside, look for switches around the building. They glow yellow and turn blue once activated. Once you hit all of the switches, they turn green and you will hear a confirmatory sound that you have unlocked the door.
Depending on which switch you get, here are the locations of the switches.
Circular Switches
These switches are located on the tower beside the building. You just have to hit them once to activate them.
| Location | |
|---|---|
 Enlarge Enlarge |
For the first switch, you can hit this via a ranged attack from the ground. |
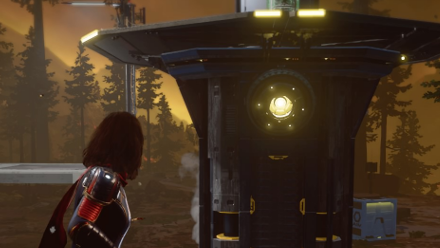 Enlarge Enlarge |
For the second switch, climb the steps nearby the tower and face the back of the tower to locate the 2nd switch. |
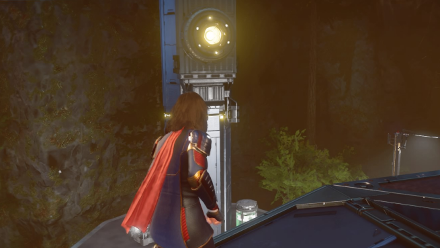 Enlarge Enlarge |
From there, jump to the top of the building and face the tower to see the third switch. |
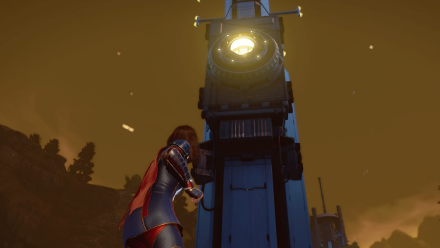 Enlarge Enlarge |
From the top of the building, jump to climb the next platform to locate the fourth switch. |
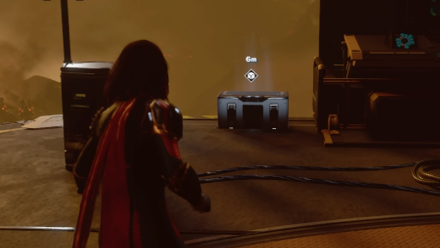
Floor Panels
These switches are on the ground and glows yellow. You just have to step on them for a second to activate them.
| Location | |
|---|---|
 Enlarge Enlarge |
The first two switches are on the ground floor just in front of the door. |
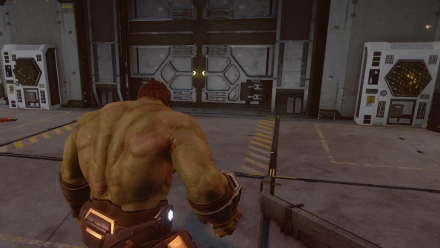
 Enlarge Enlarge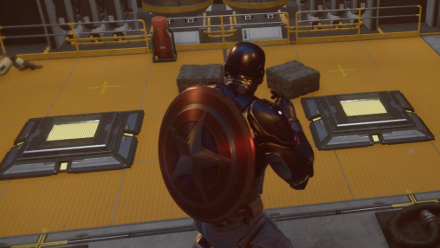 Enlarge Enlarge |
The next two switches are inside the building. You can access it by destroying a fan allowing you access to the room inside where the other two switches are. |
Wall Locks
These switches are attached to the wall of the buildings and needs to be hit thrice in order to activate them.
| Location | |
|---|---|
 Enlarge Enlarge |
The first two switches are on the ground floor just beside the door. |
 Enlarge Enlarge |
The next two are on the second floor. Climb the building and hit them to activate them. |
In Honor's Name Enemies
| Enemy | Strategy |
|---|---|
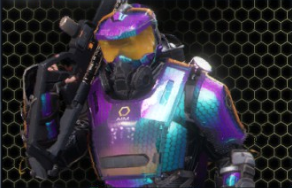
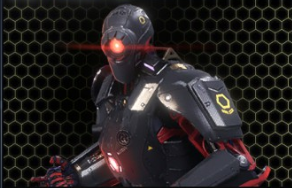 Elite Synthoid Elite Synthoid
|
They dodge and have uninterruptible laser attacks. Dodge and counter. |
 Proto-Synthoid Proto-Synthoid
|
Use combos to deal in damage then dodge when they execute their attacks. |
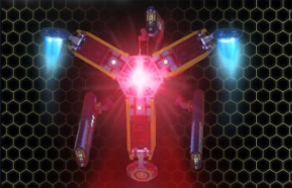
 Riotbot Riotbot
|
Use charged attacks to break their shields or vault over their back to attack their weak spot. |
 Aero Keeper Aero Keeper
|
Use ranged attacks to defeat them quickly. |
 Purge Keeper Purge Keeper
|
They fire poisonous projectiles so dodge it quickly. Close the gap and strike with combos. |
 Peacekeeper Peacekeeper
|
Be quick with your attacks since they teleport when you strike them from close range. When they charge their shots, time your dodges as it means they will unleash a wide-arcing multiple shots. |
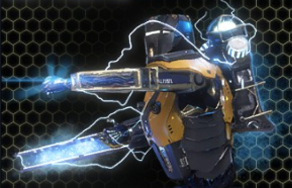
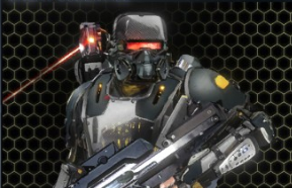 Elite Peacekeeper Elite Peacekeeper
|
Close the gap immediately to prevent them from using their attacks. They also have higher attack than most Keepers so time your dodge properly. |
 Security Drone Security Drone
|
Dispose quickly by using ranged attacks. |
 Blitz Proto-Synthoid Blitz Proto-Synthoid
|
Before it explodes, it will stop for a few seconds. Destroy it quickly during this opening. |
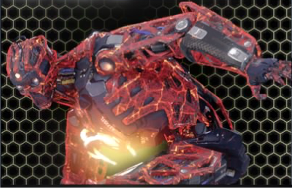
 Assault Adaptoid Assault Adaptoid
|
Watch out for the continuous damage dealt by its aura while using melee attacks then back out and use ranged attacks when you are low on health. |
In Honor's Name Chest Locations
| Chest Locations | |
|---|---|
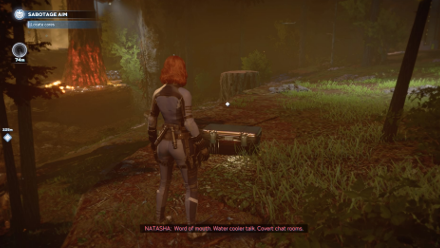
 Enlarge Enlarge |
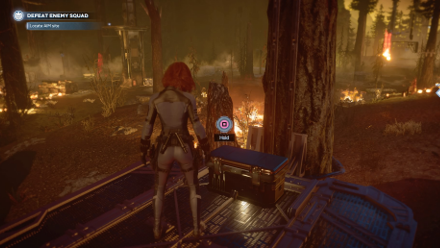
After defeating the first set of enemies, head a little to the east to find some platforms on some burned trees. You can find this chest on one of them. |
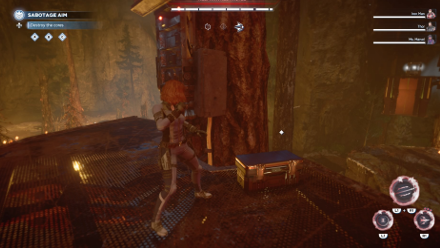
 Enlarge Enlarge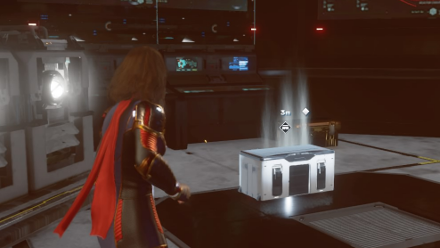 Enlarge Enlarge |
Head to the northeast after defeating the enemies at the first objective marker to locate a small AIM building. These chests will be behind a smashable door on the second floor of this building. |
 Enlarge Enlarge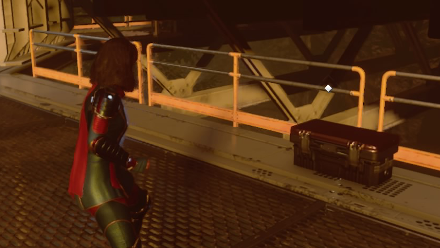 Enlarge Enlarge Enlarge Enlarge |
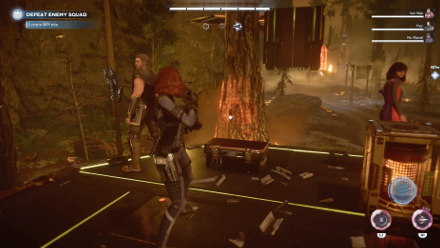
These next three chests are north of the small AIM building previously. One can be immediately seen on the platform. The other two are partially hidden from view as they are at the bottom platform. |
 Enlarge Enlarge |
This chest is one of the smaller structures just northwest of your first objective marker |
 Enlarge Enlarge |
This chest a little northeast from the sixth chest. It's on one of the platforms on the trees. |
 Enlarge Enlarge |
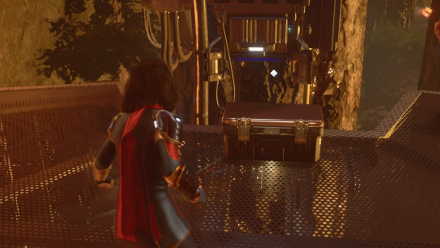
This chest is on one of the tree platforms just before the area where you find the SHIELD cache. |
 Enlarge Enlarge |
This chest is east from the entrance of the SHIELD cache. |
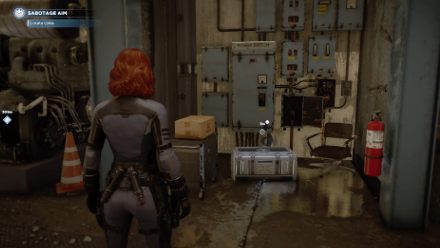 Enlarge Enlarge Enlarge Enlarge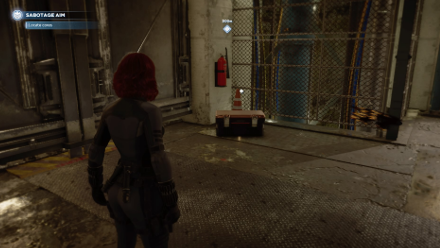 Enlarge Enlarge |
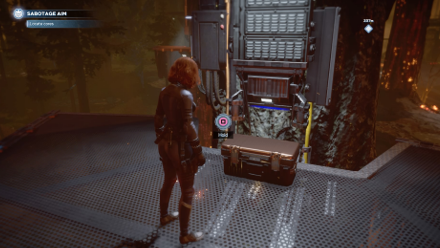
These chests are found in the SHIELD cache. |
 Enlarge Enlarge |
This chest is a little northeast of the final objective marker. It's on one of the platforms on the trees. |
Note that dark brown / bronze colored chests may shift locations or not be present at all during a mission.
Marvel's Avengers Mission Walkthroughs
War Zone Missions
Author

In Honor's Name Walkthrough: Chest Locations and Enemy List
Please participate in our site
improvement survey
03/2026
improvement survey
03/2026
Would you assist in
improving Game8's site?
improving Game8's site?

×
We are listening to our users' valuable opinions and discussing how to act on them.
The information collected through this survey will be used for the purpose of improving our services. In addition, the information will only be disclosed a part of a statistic in a format that will not allow identification of personal information.
Begin Survey
Not Now
×
Please rate each item regarding Game8.co's Advertisements.
Amount of Ads
Very Dissatisfied
Somewhat Dissatisfied
Fine
Somewhat Satisfied
Highly Satisfied
Placement of Ads
Timing of Ad Display
Ad Loading Speed
Safeness of Ads
Content of Ads
×
Please rate each item regarding Game8.co's Quality of Articles.
Amount of information
Very Dissatisfied
Somewhat Dissatisfied
Fine
Somewhat Satisfied
Highly Satisfied
Frequency of updates
Speed of new information
Accuracy of articles
Understandibility of articles
Readability of sentences
×
Please rate each item regarding Game8.co's Usability of the Site.
Ease of finding information
Very Dissatisfied
Somewhat Dissatisfied
Fine
Somewhat Satisfied
Highly Satisfied
Loading Speed
Use of Color
Font Size
Visibility of Images
Easy to Understand Layout
×
Please rate each item regarding Game8.co's Message Boards, Comments.
Ease of Writing
Very Dissatisfied
Somewhat Dissatisfied
Fine
Somewhat Satisfied
Highly Satisfied
Readability
Ease in Finding Information
Comment Quality
Comment Quantity
Admin Response
×
Please rate each item regarding Game8.co's Site's new design.
Please rate our site's new design
Very Dissatisfied
Somewhat Dissatisfied
Fine
Somewhat Satisfied
Highly Satisfied
Do you think that the website's design change makes the site easier to use?
Has the new design made it easier for you to find information on the site?
Has the new design improved the overall visual appeal of the site?
How would you rate your overall satisfaction with the new design of the site?
×
How likely are you to recommend Game8 to someone you know?
Very Unlikely
0
1
2
3
4
5
6
7
8
9
10
Very Likely
If you have other opinions regarding potential improvement to the website, please share them with us. We would appreciate your honest opinion.
Note: This is a free response section, so you can proceed without entering anything.
Note: Please be sure not to enter any kind of personal information into your response.
Note: Please be sure not to enter any kind of personal information into your response.
×
Thank You
×
Thank you for participating in our survey! Your answers will help us to improve the quality of our website and services.
We hope you continue to make use of Game8.
We hope you continue to make use of Game8.
Close
Rankings
- We could not find the message board you were looking for.
Gaming News


![Monster Hunter Stories 3 Review [First Impressions] | Simply Rejuvenating](https://img.game8.co/4438641/2a31b7702bd70e78ec8efd24661dacda.jpeg/thumb)
Popular Games

Genshin Impact Walkthrough & Guides Wiki
Honkai: Star Rail Walkthrough & Guides Wiki
Umamusume: Pretty Derby Walkthrough & Guides Wiki
Pokemon Pokopia Walkthrough & Guides Wiki
Resident Evil Requiem (RE9) Walkthrough & Guides Wiki
Monster Hunter Wilds Walkthrough & Guides Wiki
Wuthering Waves Walkthrough & Guides Wiki
Arknights: Endfield Walkthrough & Guides Wiki
Pokemon FireRed and LeafGreen (FRLG) Walkthrough & Guides Wiki
Pokemon TCG Pocket (PTCGP) Strategies & Guides Wiki


Recommended Games
Diablo 4: Vessel of Hatred Walkthrough & Guides Wiki
Cyberpunk 2077: Ultimate Edition Walkthrough & Guides Wiki
Fire Emblem Heroes (FEH) Walkthrough & Guides Wiki
Yu-Gi-Oh! Master Duel Walkthrough & Guides Wiki
Super Smash Bros. Ultimate Walkthrough & Guides Wiki
Pokemon Brilliant Diamond and Shining Pearl (BDSP) Walkthrough & Guides Wiki
Elden Ring Shadow of the Erdtree Walkthrough & Guides Wiki
Monster Hunter World Walkthrough & Guides Wiki
The Legend of Zelda: Tears of the Kingdom Walkthrough & Guides Wiki
Persona 3 Reload Walkthrough & Guides Wiki


All rights reserved
© 2020 MARVEL. Developed by Crystal Dynamics and Eidos Montréal. Development support provided by Nixxes. SQUARE ENIX and the SQUARE ENIX logo are registered trademarks or trademarks of Square Enix Holdings Co., Ltd. Crystal Dynamics, Crystal Northwest, Eidos Montréal and their respective logos are registered trademarks or trademarks of Square Enix Limited.
©2020 Sony Interactive Entertainment LLC. "PlayStation Family Mark", "PS4 logo" and "PS5 logo" are registered trademarks or trademarks of Sony Interactive Entertainment Inc. XBOX and Xbox logos are registered trademarks or trademarks of the Microsoft group of companies and are used under license. Stadia, the Stadia beacon, and related marks and logos, are trademarks of Google LLC. ©2020 Valve Corporation. Steam and the Steam logo are trademarks and/or registered trademarks of Valve Corporation in the U.S. and/or other countries. Nixxes and the Nixxes logo are trademarks of Nixxes Software BV. The ratings icon is a registered trademark of the Entertainment Software Association. All other trademarks are the property of their respective owners.
The copyrights of videos of games used in our content and other intellectual property rights belong to the provider of the game.
The contents we provide on this site were created personally by members of the Game8 editorial department.
We refuse the right to reuse or repost content taken without our permission such as data or images to other sites.