Desert Vault (Elite) Walkthrough: Chest Locations and Enemy List
Welcome to Game8's Marvel's Avengers Walkthrough Wiki! Our writers are putting out new guides as quickly as possible! Have a look at any of the guides below to get started!
- Reassemble Campaign Walkthrough | Story Missions
- Best Characters and Strike Team
- Best Builds For Every Character
- Guide to Weekly Challenges and Daily Missions
Version 1.08 Is here!

This is a walkthrough for the Mission Desert Vault (Elite) in Marvel's Avengers (game). See all mission objectives, chest locations, and tips and strategy for completing the mission.
List of Contents
Desert Vault (Elite) General Info
Mission Information
| Mission | Desert Vault (Elite) |
|---|---|
| Type | Vault |
| Mission Power | 119 |
| Reward | Guaranteed Reward Rare or Better Gear |
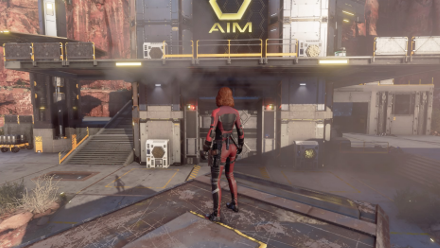
| Description | The Resistance has discovered the hidden location of another SHIELD Vault, but AIM is in the area. The Avengers must recover its contents before AIM can interfere. |
Desert Vault (Elite) Walkthrough
| Objectives | |
|---|---|
| 1 | Go towards the platforms in front of you and access the tunnel just past them. Defeat the enemies here. The moment you get past the tunnel, you will notice that you will have a directional navigator which indicates the location of the Vault. Note that the location of the Vault can change. It can be in the western portion of the map just past the hyperstation or in the eastern portion of the map just past the huge hole in the area. This walkthrough assumes that the Vault is located in the eastern portion of the map. |
| 2 | Head to the west from the exit of the tunnel to find a building with special loot. Nearby it is a tunnel the leads to another area of the map. |
| 3 | Go through the enemies and into the open area with a hypercircuit station in the middle. Just a bit northwest of there are some smaller buildings with some loot. Slightly west of that are some more enemies. |
| 4 | Go north from there to battle some enemies and a room on the hyperstation that you can access via a switch puzzle. Proceed to eastern end of the skybridge to find more enemies and another secret room. |
| 5 | Go back to the entrance of the second tunnel and begin heading circling west around the map. Just before you get to the big building, there is a small tunnel to the west with some loot in it. |
| 6 | Head to the main structure on the map and locate the secret loot in there. Going past the building, you will notice another tunnel. Disregard that for now and head towards an area with containers (this is near the exit of the first tunnel) and fight the enemies there. |
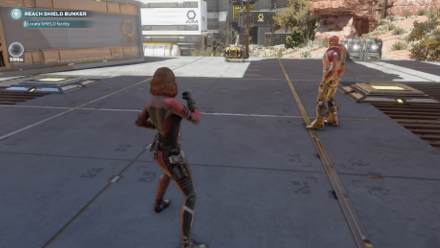
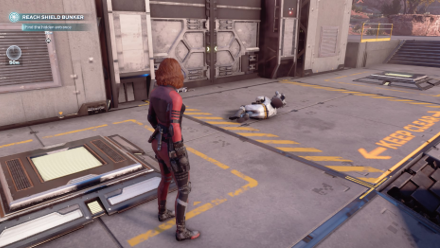
| 7 | 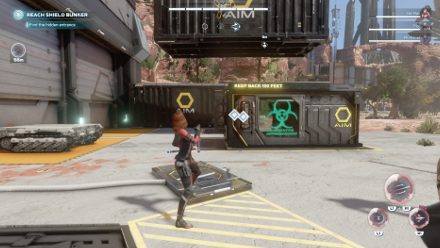 Head back towards the tunnel you just got past and go through the third area by hugging the west wall. Just north of it, there will be an agent you can rescue. |
| 8 | Not far from there is an AIM building with several treasures inside. You will need someone who can smash doors to access one of them while another has a puzzle to solve before you can access it. |
| 9 | 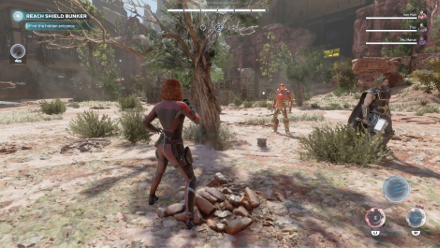 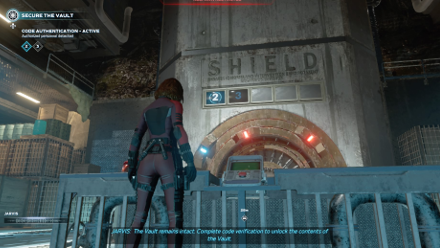 Head now to the location of the secret vault nearby. After unlocking the secret vault, enter the elevator and head down. You will be notified that this is a code verification type of vault. You need to verify the code that appears on the screen three times. |
| 10 | 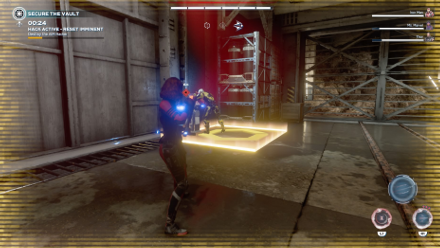 Each time you successfully put in the code, several waves of enemies will spawn. Sometimes, one of them will attempt to hack and prevent you from accessing the vault. Destroy them immediately. |
| 11 | After the third set of codes are put in, the vault will open and you can get your rewards within. Access the panel at the far end of the room to end the mission. |
Desert Vault (Elite) Tips and Strategy
Bring Support Heroes
Most often this mission will last long especially as you unlock the Vault. With such a long series of battles ahead, having the Support Heroic of heroes such as Ms. Marvel's Healing Spirit, Black Widow's Veil of Shadows and Captain America's Rally Cry will help in keeping your team alive.
Back Down When Needed
In the vault, you will encounter massive waves of enemies. Being too aggressive might be dangerous - use ranged attacks whenever needed.
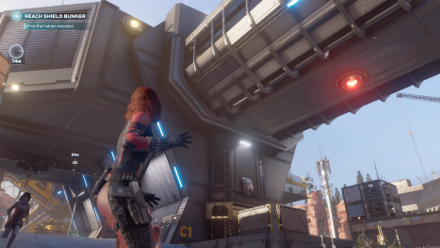
Solving The Puzzle: AIM Hyperstation
This puzzle is located to the west of the map. There are four switches to be found. Depending on which type of switch you get, each one has a different activation mechanism.
Here are their types and locations:
Floor Switch
These switches are scattered on the ground underneath the hypercircuit station. You need to step on them for a second to activate them.
| Locations | |
|---|---|
 |
These two are found just as you approach the hypercircuit station. |
 |
These ones are just near the stairs that allows you access to the hypercircuit station. |
Wall Lock
These switches needs 3 melee hits to activate. These are found on either side of the roof of the hypercircuit station.
| Locations | |
|---|---|
 |
These are on the right side of the hypercircuit station. |
 |
These are on the left side of the hypercircuit station. |
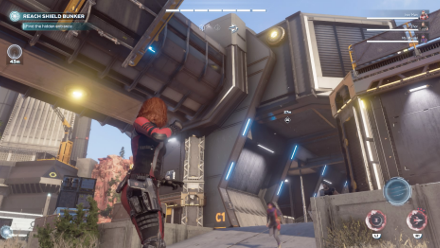
Circular Switch
These switches are found on either side of the hypercircuit station and underneath it. You need to hit them with a ranged attack once to activate them.
| Locations | |
|---|---|
 |
These are on the left side of the hypercircuit station. |
 |
These are on the right side of the hypercircuit station. |
Solving The Puzzle: AIM Building
This puzzle is located to the east of the map. There are four switches to be found. Depending on which type of switch you get, each one has a different activation mechanism.
Here are their types and locations:
Circular Switch
These switches are primarily located on the tower just beside the building. You need to hit these once with a ranged attack to activate them.
| Locations | |
|---|---|
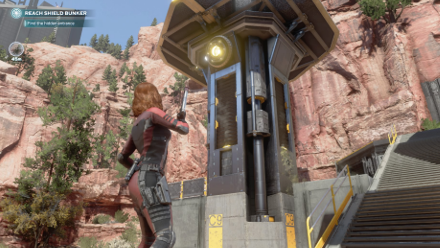 |
This switch is on the lower part of the tower. |
 |
Climb the stairs nearby and face the tower again. The second and third switches can be seen from there. |
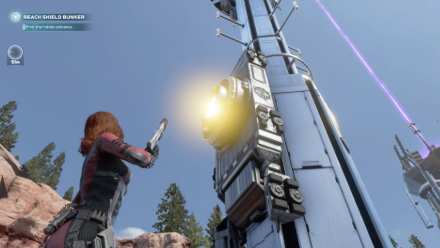 |
These switch is at the topmost part of the tower. Climb to the roof of the AIM building and go to the topmost platform. The switch is found facing away from the building. |
Wall Lock
These locks needs to be hit three times with melee attacks.
| Locations | |
|---|---|
 |
The switches are found on the lower and upper floor of the AIM Building. |
Floor Switch
You need to step on these switches for a second to activate them.
| Locations | |
|---|---|
 |
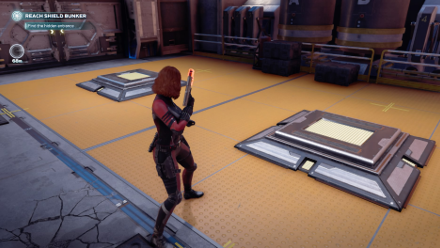
These switches are at the front of the AIM building. |
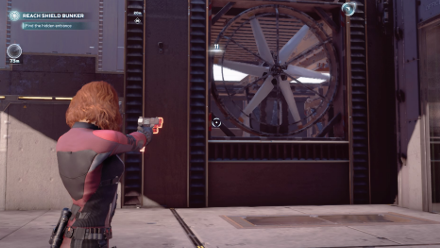  |
Go to the side of the building where you can spot a fan. Destroy it and enter the room inside to find the next two switches. |
Desert Vault (Elite) Enemies
| Enemy | Strategy |
|---|---|
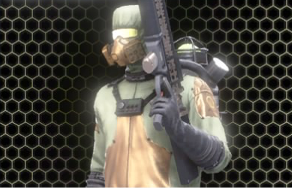
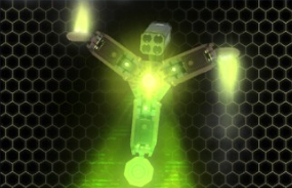
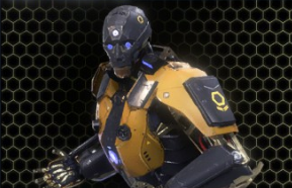 Synthoid Synthoid
|
Basic enemy that can be easily dealt with by combos. |
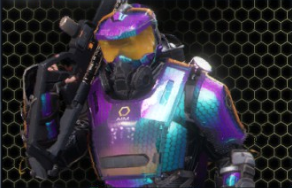
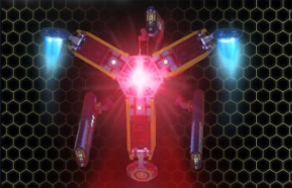
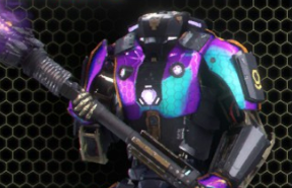 Prime Adept Synthoid Prime Adept Synthoid
|
They have uninterruptible attacks so time your dodge as they attack and counter back. |
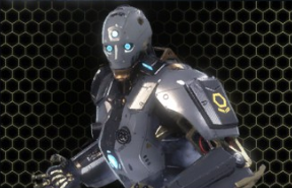
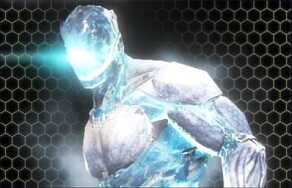
 Prime Cryo Synthoid Prime Cryo Synthoid
|
Time your dodge to avoid their chilling attacks and counter back. |
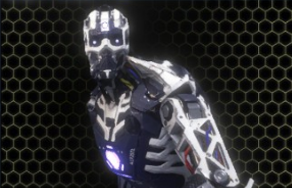
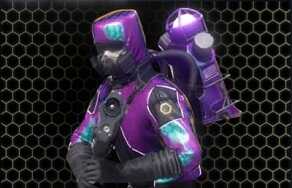
 Cryo Synthoid Cryo Synthoid
|
Basic enemy that can be dealt with by combos. Be wary of its chilling attack. |
 Proto-Synthoid Proto-Synthoid
|
Use combos to deal in damage then dodge when they execute their attacks. |
 Plague Proto-Synthoid Plague Proto-Synthoid
|
Avoid its poison attacks and land in your combos. Don't hesitate to retreat until the poison effects wears off. |
 Stilleto Riotbot Stilleto Riotbot
|
Use charged attacks to break their shields or vault over their back to attack their weak spot. |
 Keeper Keeper
|
They have slow recharge times so get closer to them and beat them with melee attacks. |
 Aero Keeper Aero Keeper
|
Use ranged attacks to defeat them quickly. |
 Cryo Keeper Cryo Keeper
|
Use ranged attacks but dodge whenever they fire their projectiles since it can freeze you. |
 Purge Keeper Purge Keeper
|
They fire poisonous projectiles so dodge it quickly. Close the gap and strike with combos. |
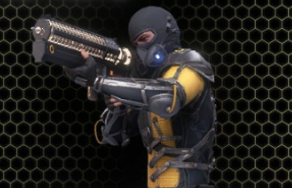
 Peacekeeper Peacekeeper
|
Be quick with your attacks since they teleport when you strike them from close range. When they charge their shots, time your dodges as it means they will unleash a wide-arcing multiple shots. |
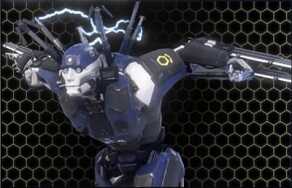
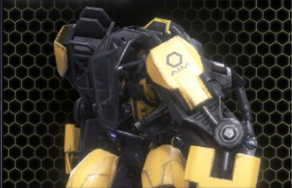 Monotronic Exo Monotronic Exo
|
Be careful of powerful attacks that may cause you to stagger. Dodge and counter its attacks. |
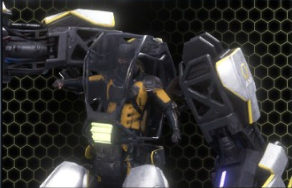 Cryotronic Exo Cryotronic Exo
|
Be careful of powerful attacks that may cause you to freeze. Dodge and counter its attacks. |
 Plague Drone Plague Drone
|
Dispose quickly by using ranged attacks. |
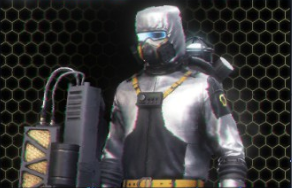
 Security Drone Security Drone
|
Dispose quickly by using ranged attacks. |
 Cryo Adaptoid Cryo Adaptoid
|
Use support heroics whenever possible as these enemies are sturdy. Alternate between quick attacks and dodging whenever they strike back. |
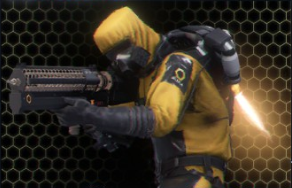
 SPIN Synthoid SPIN Synthoid
|
Dodge their projectiles to avoid losing heroic charges and take them out as soon as possible. |
 Adept Keeper Adept Keeper
|
Close the gap in order to prevent them from using their homing attacks . |
 Blitz Proto-Synthoid Blitz Proto-Synthoid
|
Before it explodes, it will stop for a few seconds. Destroy it quickly during this opening. |
 Assault Adaptoid Assault Adaptoid
|
Watch out for the continuous damage dealt by its aura while using melee attacks then back out and use ranged attacks when you are low on health. |
 Adept Drone Adept Drone
|
Dispose quickly by using ranged attacks. Has a high dodge rate than most drones. |
Desert Vault (Elite) Chest Locations
Note that the locations here follow the progress of the walkthrough.
| Chest Locations | |
|---|---|
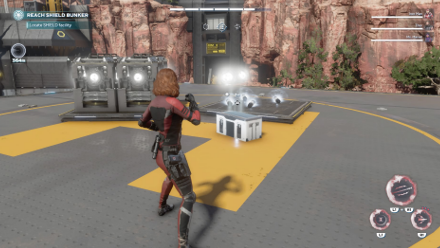
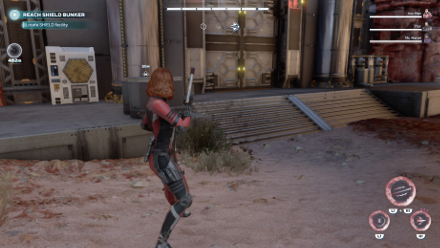
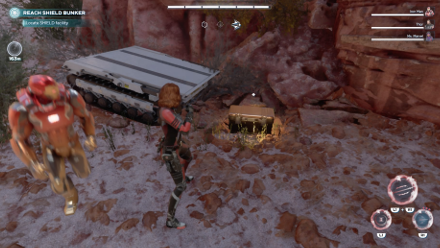
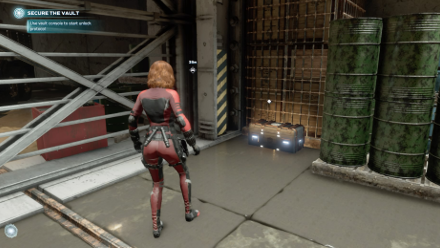
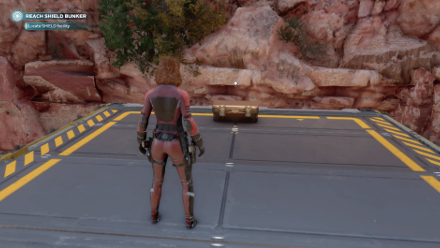 Enlarge Enlarge |
This chest is on one of the floating platforms near where you start. |
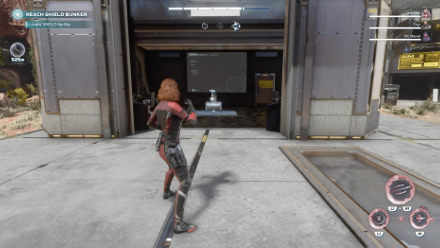
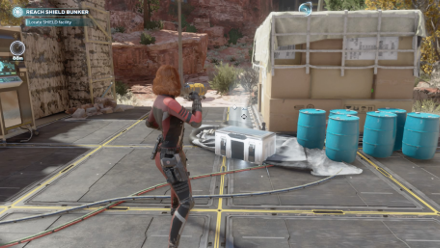
 Enlarge Enlarge |
This is on the building just slightly northwest from the exit of first tunnel. |
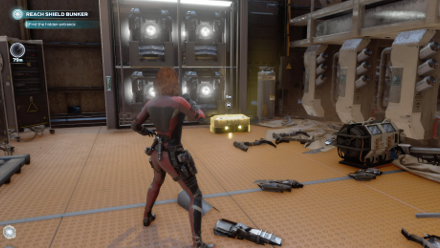
 Enlarge Enlarge |
This is in a small building to the west of the map just before the hypercircuit station. JARVIS will mark it for you. |
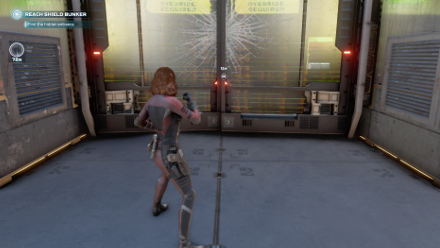
 Enlarge Enlarge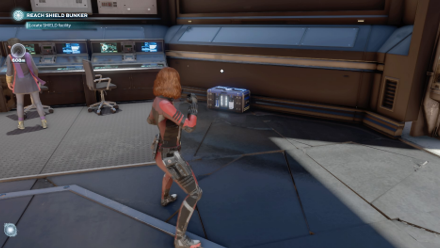 Enlarge Enlarge |
These are in a hypercircuit station. You need to solve a switch puzzle to gain access to this. See the Tips and Strategy section to know their locations. |
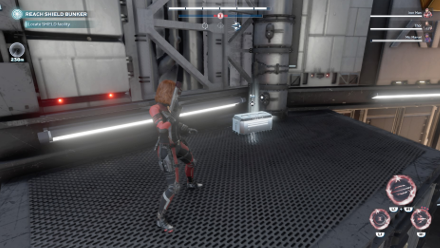
 Enlarge Enlarge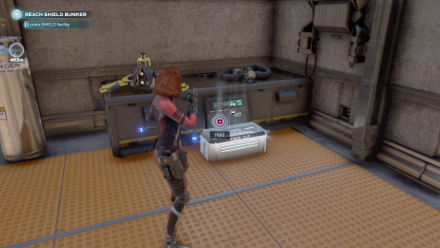 Enlarge Enlarge |
This is at the eastern end of the hypercircuit track. You can gain access to this by hitting a switch nearby. |
 Enlarge Enlarge |
This chest is in the small cavern just before you reach the huge building northwest of the second tunnel entrance. |
 Enlarge Enlarge |
This is on the second level of the huge building northwest of the second tunnel entrance. |
 Enlarge Enlarge |
This is at the upper floor of container area just before you reach the tunnel leading to the third area of this map. |
 Enlarge Enlarge |
As you enter the third area (east from the 1st tunnel exit), hug the west wall. Just before you reach the nearby ruined building, there will be a chest on the ground. |
 Enlarge Enlarge |
This chest is in the ruins just across the ruined building. JARVIS will mark it for you. |
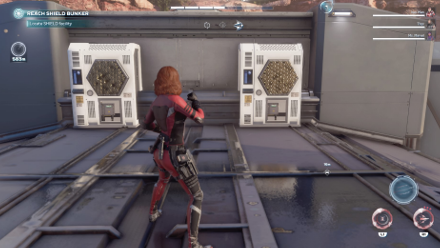
 Enlarge Enlarge |
This is in the AIM building in the eastern part of the third area. You need to solve a switch puzzle to access this one. See the Tips and Strategy section to know their locations. |
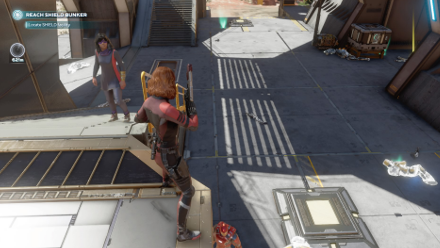
 Enlarge Enlarge |
This chest is in 2nd level of the same building as 12th chest. It's behind a smashable door. |
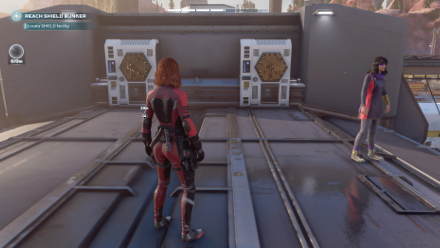
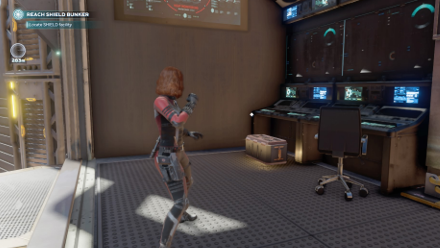
 Enlarge Enlarge |
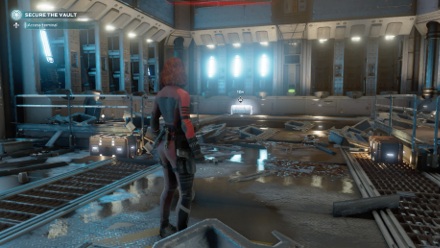
This chest is hidden in the room to the left of the vault computer. |
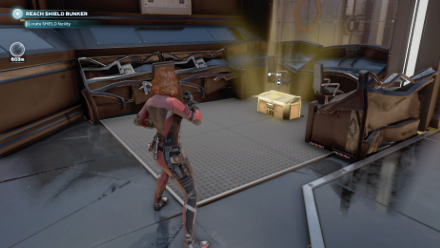
 Enlarge Enlarge |
These chests are the rewards for opening the vault. |
Note that dark brown / bronze colored chests may shift locations or not be present at all during a mission.
Marvel's Avengers Mission Walkthroughs
Vault Onboarding
Vault Onboarding Mission Chain
| Power Level | Mission | Reward |
|---|---|---|
| 24 | Snowy Tundra Vault | Rare or Better Gear |
| 30 | Forest Vault | Rare or Better Gear |
| 34 | Desert Vault | Rare or Better Gear |
| 40 | Forest Vault (Elite) | Rare or Better Gear |
| 119 | Desert Vault (Elite) | Rare or Better Gear |
| 120 | Snowy Tundra Vault (Elite) | Rare or Better Gear |
Author
Desert Vault (Elite) Walkthrough: Chest Locations and Enemy List
Rankings
Gaming News


![Monster Hunter Stories 3 Review [First Impressions] | Simply Rejuvenating](https://img.game8.co/4438641/2a31b7702bd70e78ec8efd24661dacda.jpeg/thumb)
Popular Games

Genshin Impact Walkthrough & Guides Wiki
Umamusume: Pretty Derby Walkthrough & Guides Wiki
Pokemon Pokopia Walkthrough & Guides Wiki
Honkai: Star Rail Walkthrough & Guides Wiki
Monster Hunter Stories 3: Twisted Reflection Walkthrough & Guides Wiki
Arknights: Endfield Walkthrough & Guides Wiki
Wuthering Waves Walkthrough & Guides Wiki
Zenless Zone Zero Walkthrough & Guides Wiki
Pokemon TCG Pocket (PTCGP) Strategies & Guides Wiki
Monster Hunter Wilds Walkthrough & Guides Wiki


Recommended Games
Diablo 4: Vessel of Hatred Walkthrough & Guides Wiki
Cyberpunk 2077: Ultimate Edition Walkthrough & Guides Wiki
Fire Emblem Heroes (FEH) Walkthrough & Guides Wiki
Yu-Gi-Oh! Master Duel Walkthrough & Guides Wiki
Super Smash Bros. Ultimate Walkthrough & Guides Wiki
Pokemon Brilliant Diamond and Shining Pearl (BDSP) Walkthrough & Guides Wiki
Elden Ring Shadow of the Erdtree Walkthrough & Guides Wiki
Monster Hunter World Walkthrough & Guides Wiki
The Legend of Zelda: Tears of the Kingdom Walkthrough & Guides Wiki
Persona 3 Reload Walkthrough & Guides Wiki


All rights reserved
© 2020 MARVEL. Developed by Crystal Dynamics and Eidos Montréal. Development support provided by Nixxes. SQUARE ENIX and the SQUARE ENIX logo are registered trademarks or trademarks of Square Enix Holdings Co., Ltd. Crystal Dynamics, Crystal Northwest, Eidos Montréal and their respective logos are registered trademarks or trademarks of Square Enix Limited.
©2020 Sony Interactive Entertainment LLC. "PlayStation Family Mark", "PS4 logo" and "PS5 logo" are registered trademarks or trademarks of Sony Interactive Entertainment Inc. XBOX and Xbox logos are registered trademarks or trademarks of the Microsoft group of companies and are used under license. Stadia, the Stadia beacon, and related marks and logos, are trademarks of Google LLC. ©2020 Valve Corporation. Steam and the Steam logo are trademarks and/or registered trademarks of Valve Corporation in the U.S. and/or other countries. Nixxes and the Nixxes logo are trademarks of Nixxes Software BV. The ratings icon is a registered trademark of the Entertainment Software Association. All other trademarks are the property of their respective owners.
The copyrights of videos of games used in our content and other intellectual property rights belong to the provider of the game.
The contents we provide on this site were created personally by members of the Game8 editorial department.
We refuse the right to reuse or repost content taken without our permission such as data or images to other sites.