To Stand Alone Walkthrough: All Chest and Collectible Locations
Welcome to Game8's Marvel's Avengers Walkthrough Wiki! Our writers are putting out new guides as quickly as possible! Have a look at any of the guides below to get started!
- Reassemble Campaign Walkthrough | Story Missions
- Best Characters and Strike Team
- Best Builds For Every Character
- Guide to Weekly Challenges and Daily Missions
Version 1.08 Is here!
| Previous Mission | Next Mission |
|---|---|
| Breakout | The Chimera (Black Widow) |
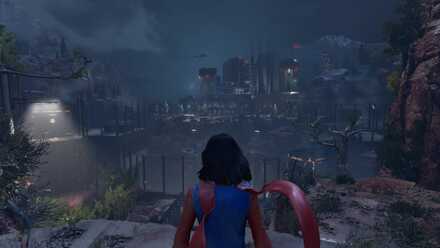
This is a walkthrough for the Mission To Stand Alone in Marvel's Avengers (game). See all mission objectives, collectible and chest locations, and tips and strategy for beating the boss.
List of Contents
To Stand Alone General Info
Mission Information
| Mission | To Stand Alone |
|---|---|
| Type | Campaign |
| Mission Power | - |
| Reward | - |
| Description | Fearing they'll be taken somewhere they won't be found, Kamala heads for AIM's prison facility to free her fellow Inhumans. |
To Stand Alone Walkthrough
Ms. Marvel
| Objectives | |
|---|---|
| 1 | Head for the AIM prison. |
| 2 | Sneak in through the back of the prison. |
| 3 | Defeat the AIM guards. The second wave will require you to use your Ultimate heroic ability that will last until the battle is over. |
Black Widow
| Objectives | |
|---|---|
| 1 | Sneak through the maintenance corridors of AIM's prison. |
| 2 | Use the terminal to expose the lock mechanism and break it using melee attacks. |
| 3 | Sneak through the malfunctioning doors. |
| 4 | Continue down to the lower levels of AIM's prison and find Kamala. |
| 5 | Find a way into Monica's lab. |
| 6 | Once inside the lab, use the terminal to recall the prison cell. |
| 7 | Defeat the AIM units that will appear. |
| 8 | Shoot all 5 security locks and punch the lock mechanisms to deactivate the gas. Take out the next wave of enemies. |
| 9 | Head for the prison's security control room and use the security terminal to release the AIM prisoners. Defeat more AIM units. |
| 10 | Head to the elevator. Defeat the Adaptoid and its reinforcements once you get off. |
| 11 | Use the terminal to expose the lock mechanism and punch it so you can slip through the doors. |
| 12 | Head for the hangar and defeat AIM's security forces. |
| 13 | Use the terminal above. You will be interrupted by Monica Rappaccini so take her down instead. |
To Stand Alone Enemies
| Enemy | Strategy |
|---|---|
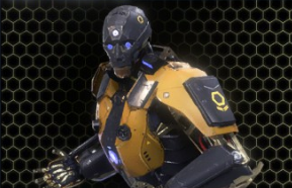 Synthoid Synthoid
|
Basic enemy that can be easily dealt with by combos. |
 Prime Cryo Synthoid Prime Cryo Synthoid
|
Time your dodge to avoid their chilling attacks and counter back. |
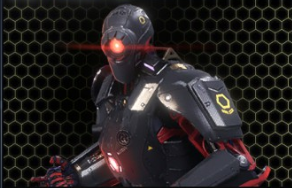 Elite Synthoid Elite Synthoid
|
They dodge and have uninterruptible laser attacks. Dodge and counter. |
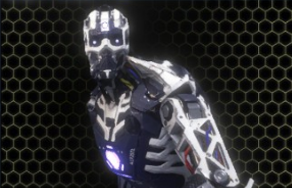 Proto-Synthoid Proto-Synthoid
|
Use combos to deal in damage then dodge when they execute their attacks. |
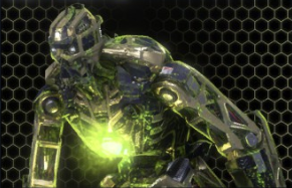 Plague Proto-Synthoid Plague Proto-Synthoid
|
Avoid its poison attacks and land in your combos. Don't hesitate to retreat until the poison effects wears off. |
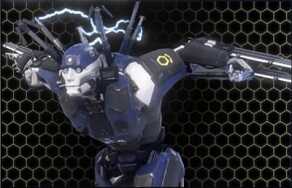 Stilleto Riotbot Stilleto Riotbot
|
Use charged attacks to break their shields or vault over their back to attack their weak spot. |
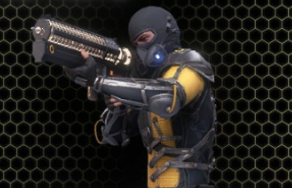 Keeper Keeper
|
They have slow recharge times so get closer to them and beat them with melee attacks. |
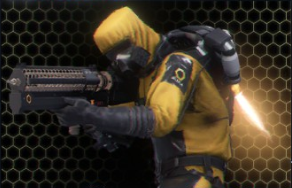 Aero Keeper Aero Keeper
|
Use ranged attacks to defeat them quickly. |
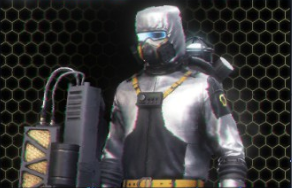 Cryo Keeper Cryo Keeper
|
Use ranged attacks but dodge whenever they fire their projectiles since it can freeze you. |
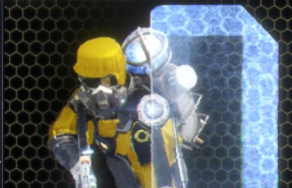 Aegis Keeper Aegis Keeper
|
Use charged attacks to break their shields or vault over their back to attack their weak spot. |
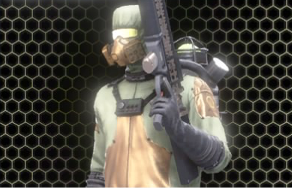 Purge Keeper Purge Keeper
|
They fire poisonous projectiles so dodge it quickly. Close the gap and strike with combos. |
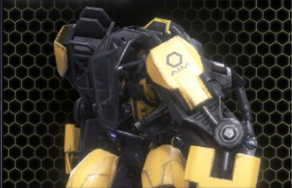 Monotronic Exo Monotronic Exo
|
Be careful of powerful attacks that may cause you to stagger. Dodge and counter its attacks. |
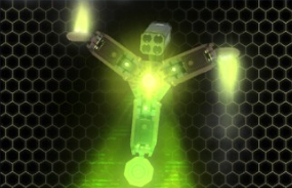 Plague Drone Plague Drone
|
Dispose quickly by using ranged attacks. |
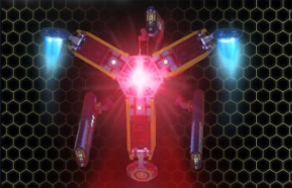 Security Drone Security Drone
|
Dispose quickly by using ranged attacks. |
 Adaptoid Adaptoid
|
Use support heroics whenever possible as these enemies are sturdy. Alternate between quick attacks and dodging whenever they strike back. |
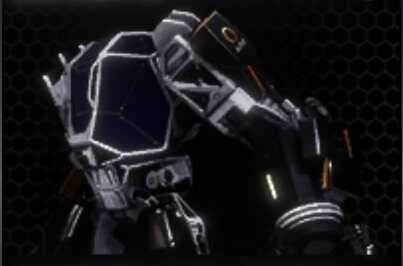 Monica Rappaccini (Exo) Monica Rappaccini (Exo)
|
Use ranged attacks to dish out constant damage, and use your counter whenever you see blue or yellow attacks. Watch out for the frost debuff in her second phase and large area of effect greneades in the third phase. |
To Stand Alone Boss Guide
Avoid the Poison Gas
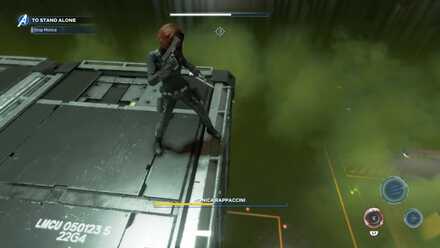
The poison gas that was released during the previous objective will still be there during the boss fight. Try to avoid falling down as you will be damaged continuously below.
Also avoid launching enemy reinforcements (such as the Adaptoids) down below during the boss fight as they won't get back up and you'll have to defeat them below to proceed to the next phase.
Maximize the Use of Grappling Hooks
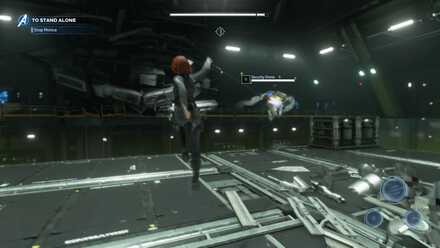
Grappling hooks are very useful in this fight as you can essentially dive to the enemy to let in a few combos then get away to use your range attacks.
You can also use these when dealing with the drones and other AIM reinforcements.
Ranged Attacks on Second Phase
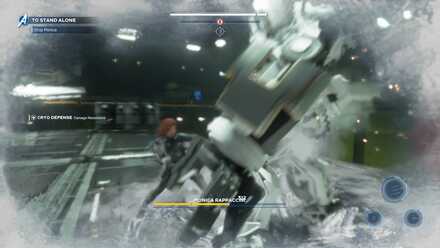
During the second phase, Monica will envelop herself with freezing gas that deals cryo damage over time that slows you down and eventually freeze you.
Avoid stepping on her frozen trail and keep using ranged attacks to deal damage.
To make it faster, dive in using your grappling hook, let in a few hits, quickly get back while using ranged attacks, then wait until you're no longer affected by cryo damage before diving in again. Repeat this process until this phase ends.
How to Beat Monica Rappaccini (Exo)
To Stand Alone Collectible Locations
Chests
| Chest Locations | |
|---|---|
 Enlarge Enlarge |
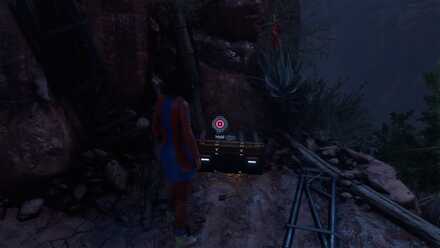
Bottom of the first jump. |
 Enlarge Enlarge |
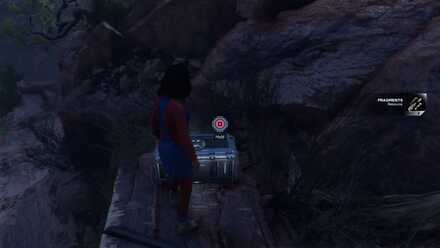
Upper ledge a bit past the first jump. |
 Enlarge Enlarge |
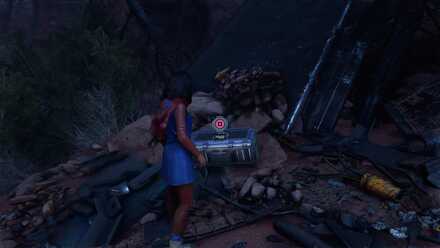
Long jump to the left of the path. |
 Enlarge Enlarge |
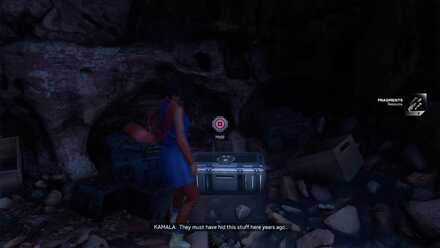
Behind a breakable wall next to a Resistance marker. |
 Enlarge Enlarge |
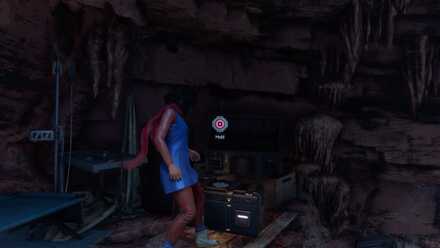
Found inside a tunnel on your way to the AIM prison. |
 Enlarge Enlarge |
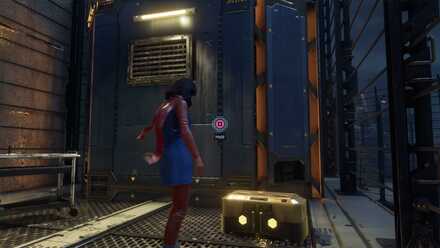
Left of the spot where you get the cutscene of the Gunship flying overhead. |
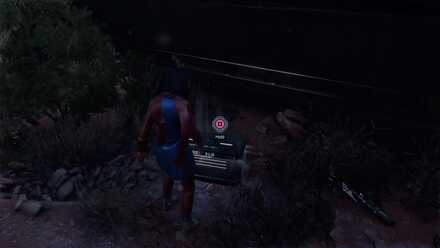 Enlarge Enlarge |
Right of the spot where you get the cutscene of the Gunship flying overhead. |
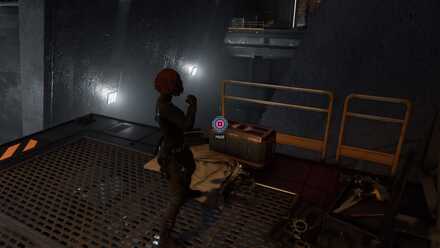 Enlarge Enlarge |
First platform swung to as Black Widow. |
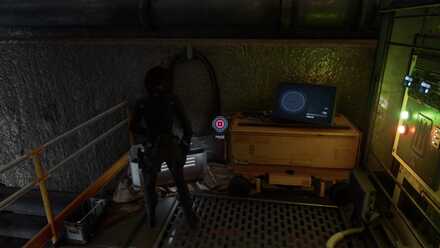 Enlarge Enlarge |
Top right platform before the first door passed through as Black Widow. |
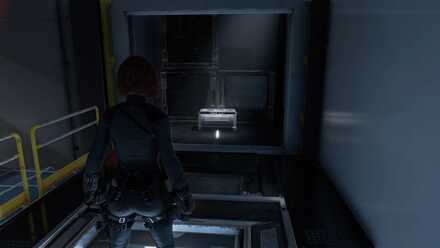 Enlarge Enlarge |
Behind the door activated by a pressure pad in the first room. |
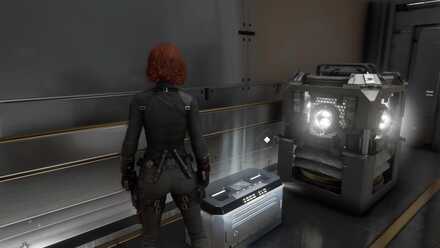 Enlarge Enlarge |
You'll pass by this chest while you're heading to Monica's lab. |
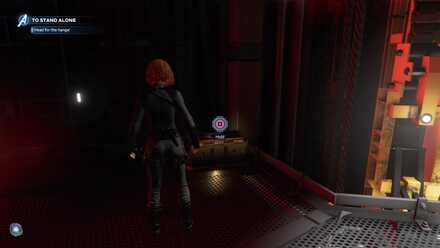 Enlarge Enlarge |
Located at a corner while you're heading for the hangar. |
Comics
| Comic Locations | |
|---|---|
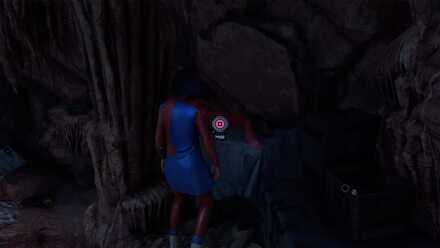 Enlarge Enlarge |
Found inside a tunnel on your way to the AIM prison, across the chest. |
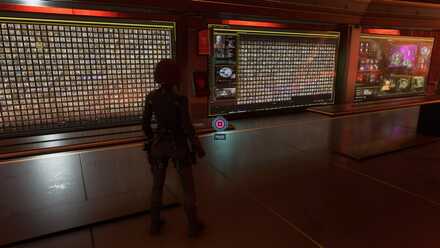 Enlarge Enlarge |
Inside Monica's Office. |
Intelligence
| Intelligence Locations | |
|---|---|
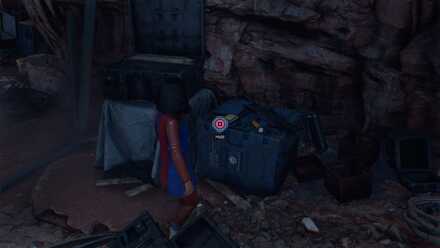 Enlarge Enlarge |
Found inside a tunnel on your way to the AIM prison. |
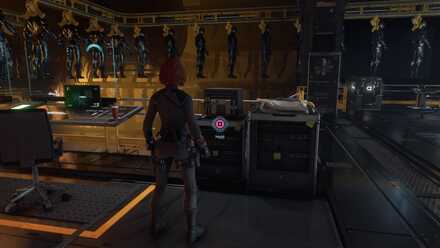 Enlarge Enlarge |
Consoles right of the stairs in the Adaptoid factory line. |
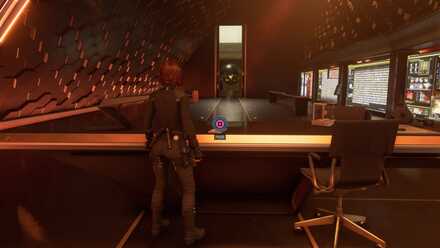 Enlarge Enlarge |
On Monica's desk inside her office. |
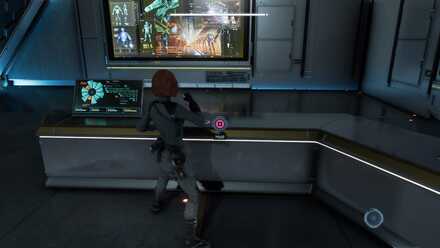 Enlarge Enlarge |
In the room after Monica's office. |
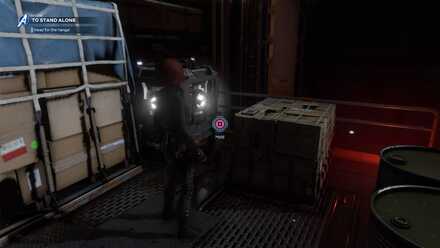 Enlarge Enlarge |
End of the last walkway headed for the Hangar. |
Marvel's Avengers Mission Walkthroughs
| Previous Mission | Next Mission |
|---|---|
| Breakout | The Chimera (Black Widow) |
Campaign (Reassemble) Missions
| 1. | I Want to Be an Avenger | 2. | The Light that Failed |
|---|---|---|---|
| 3. | New Normal | 4. | The Road Back |
| 5. | To Find Olympia | * | The Chimera |
| 6. | Missing Links | 7. | House Call |
| * | The Chimera (Tony Stark) |
8. | Armor Chase |
| 9. | Alone Against AIM | 10. | The Dogs of War |
| 11. | The Ant Hill | 12. | Breakout |
| 13. | To Stand Alone | * | The Chimera (Black Widow) |
| 14. | Once an Avenger... | 15. | Agony and the Ant Hill |
| 16. | Testing 1... 2... 3... | * | The Chimera (Captain America) |
| 17. | Starktech Outfits | 18. | Mayhem Over Manhattan |
| 19. | By Force of Mind | - | - |
Author
To Stand Alone Walkthrough: All Chest and Collectible Locations
improvement survey
03/2026
improving Game8's site?

Your answers will help us to improve our website.
Note: Please be sure not to enter any kind of personal information into your response.

We hope you continue to make use of Game8.
Rankings
- We could not find the message board you were looking for.
Gaming News
Popular Games

Genshin Impact Walkthrough & Guides Wiki

Honkai: Star Rail Walkthrough & Guides Wiki

Umamusume: Pretty Derby Walkthrough & Guides Wiki

Pokemon Pokopia Walkthrough & Guides Wiki

Resident Evil Requiem (RE9) Walkthrough & Guides Wiki

Monster Hunter Wilds Walkthrough & Guides Wiki

Wuthering Waves Walkthrough & Guides Wiki

Arknights: Endfield Walkthrough & Guides Wiki

Pokemon FireRed and LeafGreen (FRLG) Walkthrough & Guides Wiki

Pokemon TCG Pocket (PTCGP) Strategies & Guides Wiki
Recommended Games

Diablo 4: Vessel of Hatred Walkthrough & Guides Wiki

Cyberpunk 2077: Ultimate Edition Walkthrough & Guides Wiki

Fire Emblem Heroes (FEH) Walkthrough & Guides Wiki

Yu-Gi-Oh! Master Duel Walkthrough & Guides Wiki

Super Smash Bros. Ultimate Walkthrough & Guides Wiki

Pokemon Brilliant Diamond and Shining Pearl (BDSP) Walkthrough & Guides Wiki

Elden Ring Shadow of the Erdtree Walkthrough & Guides Wiki

Monster Hunter World Walkthrough & Guides Wiki

The Legend of Zelda: Tears of the Kingdom Walkthrough & Guides Wiki

Persona 3 Reload Walkthrough & Guides Wiki
All rights reserved
© 2020 MARVEL. Developed by Crystal Dynamics and Eidos Montréal. Development support provided by Nixxes. SQUARE ENIX and the SQUARE ENIX logo are registered trademarks or trademarks of Square Enix Holdings Co., Ltd. Crystal Dynamics, Crystal Northwest, Eidos Montréal and their respective logos are registered trademarks or trademarks of Square Enix Limited.
©2020 Sony Interactive Entertainment LLC. "PlayStation Family Mark", "PS4 logo" and "PS5 logo" are registered trademarks or trademarks of Sony Interactive Entertainment Inc. XBOX and Xbox logos are registered trademarks or trademarks of the Microsoft group of companies and are used under license. Stadia, the Stadia beacon, and related marks and logos, are trademarks of Google LLC. ©2020 Valve Corporation. Steam and the Steam logo are trademarks and/or registered trademarks of Valve Corporation in the U.S. and/or other countries. Nixxes and the Nixxes logo are trademarks of Nixxes Software BV. The ratings icon is a registered trademark of the Entertainment Software Association. All other trademarks are the property of their respective owners.
The copyrights of videos of games used in our content and other intellectual property rights belong to the provider of the game.
The contents we provide on this site were created personally by members of the Game8 editorial department.
We refuse the right to reuse or repost content taken without our permission such as data or images to other sites.


![Monster Hunter Stories 3 Review [First Impressions] | Simply Rejuvenating](https://img.game8.co/4438641/2a31b7702bd70e78ec8efd24661dacda.jpeg/thumb)


