The Goblin Tower Act Guide and Walkthrough

This is a walkthrough for The Goblin Tower, Act 3 of The Goblin's Shard in Dungeons & Dragons: Dark Alliance. Learn more about the objectives of this quest, available rewards, tips for completion, as well as boss fight strategies!
| Previous Quest | Current Quest | Next Quest |
|---|---|---|
| Goffin's Door | The Goblin Tower | The Verbeeg Jamboree |
List of Contents
The Goblin Tower Basic Information
Quest Information
| Quest | The Goblin's Shard |
|---|---|
| Mission | |
| A goblin named Hamboog claims to have found the Shard and has taken over a part of the Dwarven Valley where his horde is building him a 'Crystal Tower'. | |
Act Information
| Act No. | 3 |
|---|---|
| Type | Mission |
| Preferred Gear Set Drop | Tempus Champion (Wulfgar) Warden of Mielikki (Drizzt) Goblin Reaper (Catti-brie) Goblin Bane (Bruenor) |
| Bosses | Hamboog |
| Optional Bosses | None |
| Unlock Requirement | Complete Goffin's Door |
| Description | |
| We had sealed Hamboog within his canyon, but left unchecked, he would eventually break free. If that happened, all of Ten-Towns would suffer raids from his goblin horde. And so now was the time to assault his throne room. Once Hamboog is defeated, we would tear down his tower and restore dignity to at least this part of the Dwarven Valley. | |
The Goblin Tower Main Objectives
Reach Hamboog's Crystal Tower
| Objectives | |
|---|---|
| 1 | 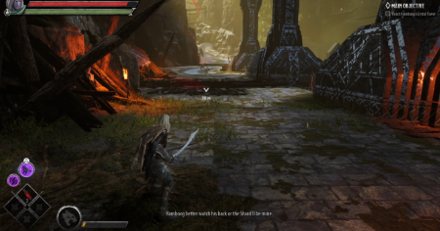 Battle through the area to reach Hamboog's Crystal Tower Battle through the opening area until you reach an incline leading to some huge pillars. Battle the enemies here to secure your first Short Rest. |
| 2 | 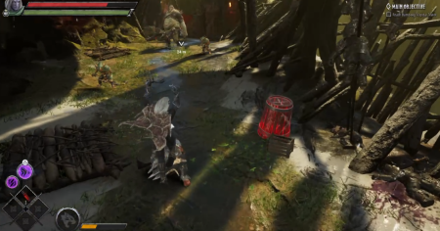 Continue through the areaContinue on the path until you reach another incline on your left. You will enter a grassy area and more enemies. Defeat them for your second Short Rest. |
| 3 |  Climb the ledge nearby and go through some wooden structure to reach the next area. Defeat all enemies there. Climb up the ladder at the end of the area to take care of the remaining enemies. |
Eliminate Gorn the Disheveled, Kroolpee the Putrid, Burchazz the Nimble, Knox the Pain Lover and Emperor Hamboog
| 4 | 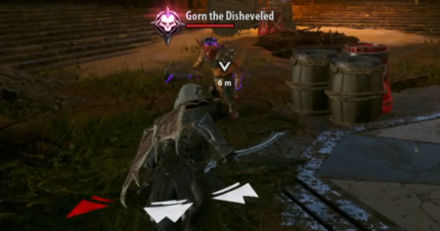 Defeat Emperor Hamboog's minions. Once you defeat the remaining enemies, you will be taken automatically to Emperor Hamboog's room. In here, you will simultaneoulsy defeat his minions which are merely upgraded versions of the goblins you have faced so far. |
|---|---|
| 5 | 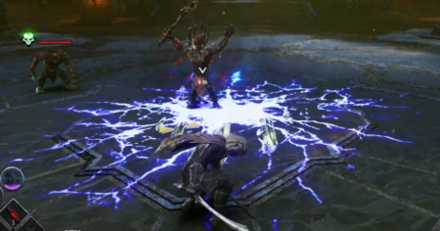 Defeat Emperor Hamboog Defeating all of his minions removes the shields around Emperor Hamboog. Attack and defeat him to end the mission. |
Boss Strategy: Hamboog
Easy Boss
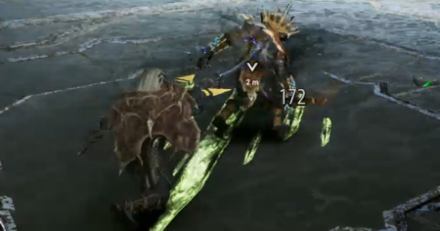
The boss is actually relatively easy to compared to the other we have faced thus far. You just have to take care of his upgraded minions which are quite easy to defeat as well. Attack him relentlessly and he will fall quite easily.
Easiest way to defeat him is to ensure he does not cast his magic. Otherwise, you will be peppered with a barrage of magics, exposing you to his minions as well.
The Goblin Tower Chest Locations
| Location | Directions | |
|---|---|---|
| 1 | 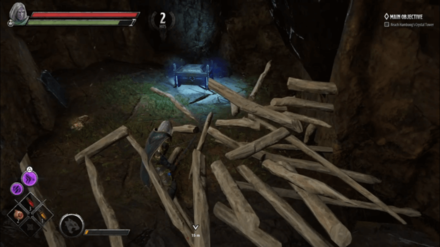 |
The first chest is located just outside the entrance area. Run through the field of poisonous flowers then climp up the ledge. Behind the barricades will be the chest. |
| 2 | 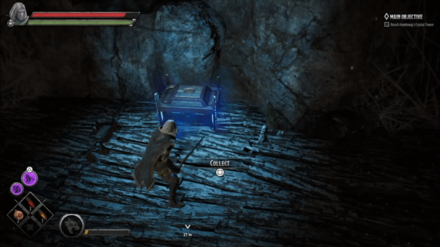 |
The next chest is located near a broken bridge. There is a ladder you can climb up to near it to get to the chest. |
| 3 | 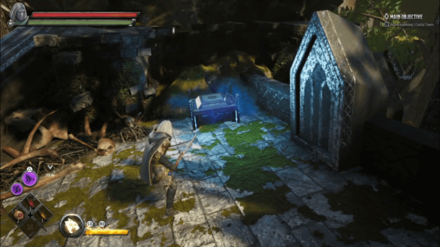 |
After crossing a wooden bridge near the boss area, take a turn left and you should be able to spot the chest. |
| 4 | 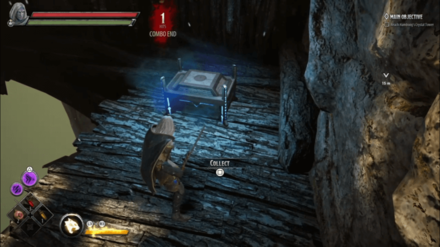 |
Head to the center of the damaged bridge and jump down in the hole. There'll be a chest at the bottom. |
Dark Alliance Related Links
| Companions of Icewind Dale |
|---|
| Goblins at the Gates |
| Halls of Duergar |
| Bangor's Span |
| The Goblin's Shard |
|---|
| The Goblin Valley |
| Goffin's Door |
| The Goblin Tower |
| Verbeeg Jamboree |
|---|
| The Verbeeg Jamboree |
| Designs of the Duergar |
| A Feast for All Cretins |
| The Order of the Light |
|---|
| An Infernal Dispute |
| Order of the One Light |
| The Return of the Tyrant |
| The Mask of Kelvin |
|---|
| Ghosts of the Past |
| The Broken City |
| The Face of Kelvin |
| Crystalline Dreams |
|---|
| The Floating City |
| Crystal Harvest |
| A Crystal Crown |
| The Fury of Icewind |
|---|
| The Hunting Grounds |
| The Hall of Judgment |
| A Tomb of Ice |
Author
The Goblin Tower Act Guide and Walkthrough
improvement survey
03/2026
improving Game8's site?

Your answers will help us to improve our website.
Note: Please be sure not to enter any kind of personal information into your response.

We hope you continue to make use of Game8.
Rankings
- We could not find the message board you were looking for.
Gaming News
Popular Games

Genshin Impact Walkthrough & Guides Wiki

Honkai: Star Rail Walkthrough & Guides Wiki

Umamusume: Pretty Derby Walkthrough & Guides Wiki

Pokemon Pokopia Walkthrough & Guides Wiki

Resident Evil Requiem (RE9) Walkthrough & Guides Wiki

Monster Hunter Wilds Walkthrough & Guides Wiki

Wuthering Waves Walkthrough & Guides Wiki

Arknights: Endfield Walkthrough & Guides Wiki

Pokemon FireRed and LeafGreen (FRLG) Walkthrough & Guides Wiki

Pokemon TCG Pocket (PTCGP) Strategies & Guides Wiki
Recommended Games

Diablo 4: Vessel of Hatred Walkthrough & Guides Wiki

Cyberpunk 2077: Ultimate Edition Walkthrough & Guides Wiki

Fire Emblem Heroes (FEH) Walkthrough & Guides Wiki

Yu-Gi-Oh! Master Duel Walkthrough & Guides Wiki

Super Smash Bros. Ultimate Walkthrough & Guides Wiki

Pokemon Brilliant Diamond and Shining Pearl (BDSP) Walkthrough & Guides Wiki

Elden Ring Shadow of the Erdtree Walkthrough & Guides Wiki

Monster Hunter World Walkthrough & Guides Wiki

The Legend of Zelda: Tears of the Kingdom Walkthrough & Guides Wiki

Persona 3 Reload Walkthrough & Guides Wiki
All rights reserved
© 1993-2021 Wizards of the Coast LLC, a subsidiary of Hasbro, Inc. All Rights Reserved.
The copyrights of videos of games used in our content and other intellectual property rights belong to the provider of the game.
The contents we provide on this site were created personally by members of the Game8 editorial department.
We refuse the right to reuse or repost content taken without our permission such as data or images to other sites.




![Monster Hunter Stories 3 Review [First Impressions] | Simply Rejuvenating](https://img.game8.co/4438641/2a31b7702bd70e78ec8efd24661dacda.jpeg/thumb)


