The Hall of Judgment Act Guide and Walkthrough | Giant Urn Locations
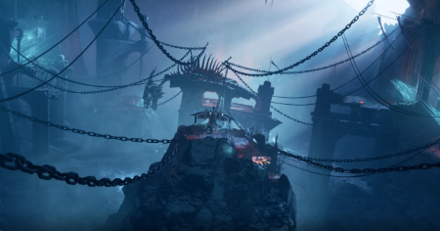
This is a walkthrough for The Hall of Judgment, Act 2 of The Fury of Icewind in Dungeons & Dragons: Dark Alliance. Learn more about the objectives of this quest, available rewards, tips for completion, locations of attribute shrines, as well as boss fight strategies!
| Previous Quest | Current Quest | Next Quest |
|---|---|---|
| The Hunting Grounds | The Hall of Judgment | A Tomb of Ice |
List of Contents
The Hall of Judgment Basic Information
Quest Information
| Quest | The Fury of Icewind |
|---|---|
| Mission | |
| Icewind has been terrorizing the people of the Dale for slaying her mate, Icingdeath. | |
Act Information
| Act No. | 2 |
|---|---|
| Type | Dungeon |
| Preferred Gear Set Drop | Reghed Chief (Wulfgar) Dragonsbane (Drizzt) Sea Sprite's Watch (Catti-brie) Coldstone Guardian (Bruenor) |
| Bosses | Bjorn Hewer of the Judged, Judged Spirit |
| Optional Bosses | Nathourn the Spiteful |
| Unlock Requirement | Complete The Hunting Grounds |
| Description | |
| Icewind had made her lair within the ruined city of Netherhall atop the broken temple of Othea. Approaching that broken city on the surface would be foolhardy even if its skies weren't patrolled by a marauding dragon. We would approach from below, making our way through the catacombs under Netherhall where we would find a key to the temple gates. | |
The Hall of Judgment Main Objectives
Reach the dragonspine courtyard
| Objectives | |
|---|---|
| 1 | Reach the next area Simply follow the objective marker to reach the dragonspine courtyard. |
Pass under the dragonspine courtyard to the Netherhall Gate
| Objectives | |
|---|---|
| 2 | Defeat the enemies and continue on Defeat the enemies at the courtyard and continue following the main objective marker to reach Netherhall Gate. |
Defeat the Netherhall Gate guardians
| Objectives | |
|---|---|
| 3 | 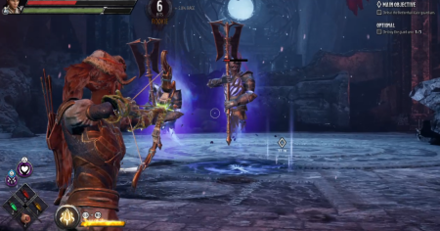 Defeat all enemies Defeat the wraiths and the goblins here. |
Reach the broken bridge. Defeat the guardians at the broken bridge
| Objectives | |
|---|---|
| 4 | Follow the marker once more to reach the bridge. Battle the enemies here. Be wary of the ice fields as you battle. |
Activate the portal at the broken bridge with the lost Netherese keystone
| Objectives | |
|---|---|
| 5 | 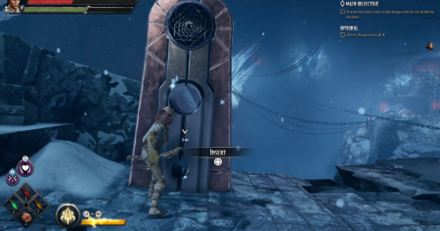 Pick up the keystone dropped by the enemy and activate the portal to get to the next area. |
Reach the giant mausoleum
| Objectives | |
|---|---|
| 6 | 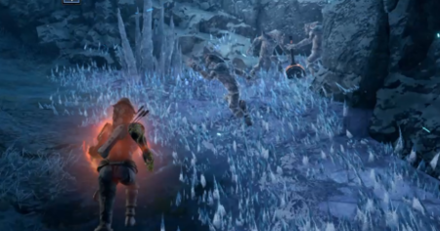 Follow the objective marker to reach the next area, defeating the enemies along the way. As you pass midway through the area, there will be an icy field with three frozen goblins. Hidden amongst them is lever. |
Activate the mausoleum gate with the missing lever. Defeat the mausoleum guardians
| Objectives | |
|---|---|
| 7 | 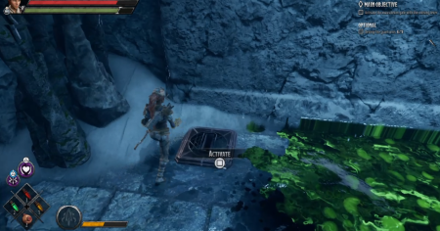 Defeat the enemies just by the gate and open the gate using the lever you acquired earlier. Beyond the gate, defeat the enemies to progress. |
Reach the Hall of Judgment. Defeat Bjorn
| Objectives | |
|---|---|
| 8 | 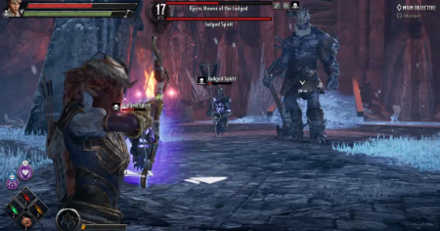 Continue on the path to reach the Hall of Judgment. Battle Bjorn and defeat him to end the stage. |
The Hall of Judgment Optional Objectives
Nathourn the Spiteful
| Objectives | |
|---|---|
| 1 | 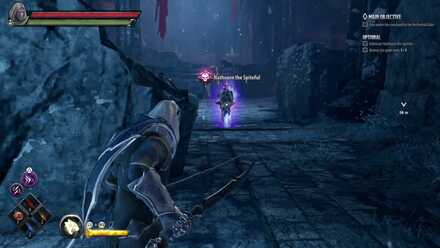 Nathourn the Spiteful is located at the Dragon Spine Courtyard. He will spawn as soon as you open the treasure chest located behind an ice stalagmites. |
Destroy the Giant Urns
| Objectives | |
|---|---|
| 1 | 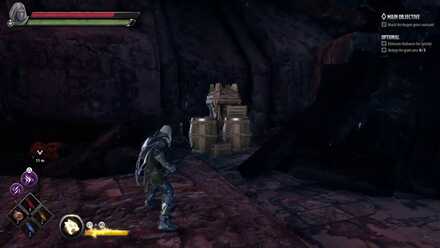 Behind a barrel along the path to the Dragon Spine Courtyard. |
| 2 | 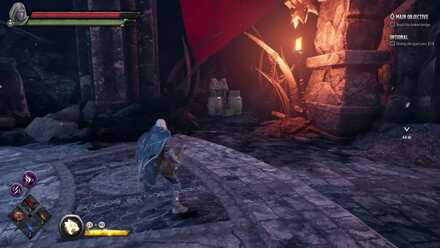 Behind a barrel at the Netherhall Gate. |
| 3 | 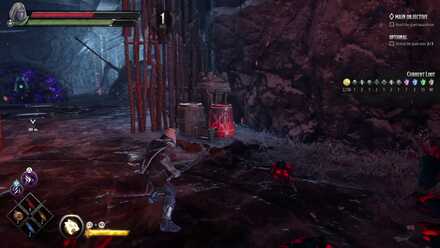 Just after entering the wooden enclosure at the Attribute Shrine. |
| 4 | 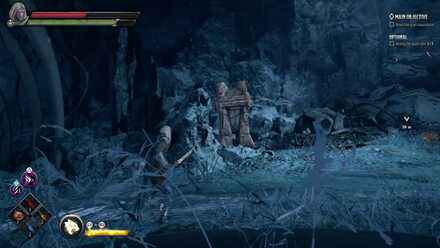 Besides a rock formation along the path to Giant Maosoleum. |
| 5 | 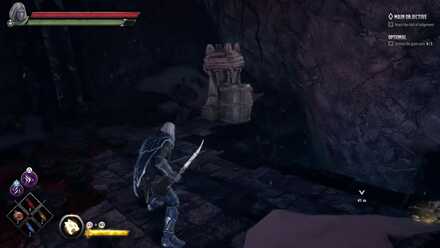 Besides a barrel along the path to the Hall of Judgement. |
Tips and Strategies
Poison and Slow Resistance
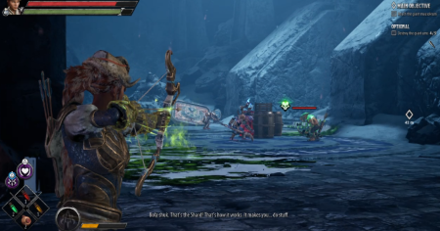
For the most part, the enemies here are similar to many you have faced before. What makes this stage extra dangerous however is the presence of ice and acid fields that will slow or deal continuous damage to you. Having resistances to both will be beneficial in this mission.
Boss Strategy: Bjorn Hewer of the Judged
Like Any Giant
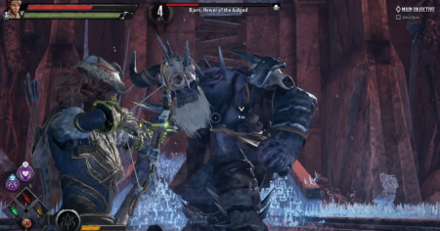
Bjorn, despite being the 2nd to the last boss, poses no significant difference with any of the giants you have faced thus far. He will be accompanied by several Judged Spirits but they are more annoying that they are dangerous.
How to Beat Bjorn, The Hewer of the Judged
The Hall of Judgment Attribute Shrines Locations
The Hall of Judgement Puzzle
| Directions | |
|---|---|
| 1 | 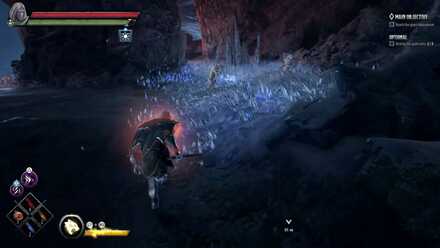 The Attribute Shrine is located after taking the portal at the Broken Bridge to the Giant Maosoleum. Inside the tunnel, there is a path on the left you can take that will lead you to the Shrine. |
| 2 | 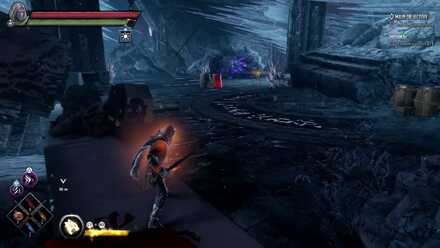 Inside, you will find that the shrine enclosed in a forcefield. To disable the forcefield, You will have to match the runes on the floor with the symbol scattered in the area. |
| 3 | 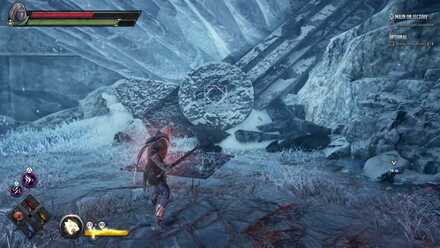 The first symbol is located near the portal outside the shrine. |
| 4 | 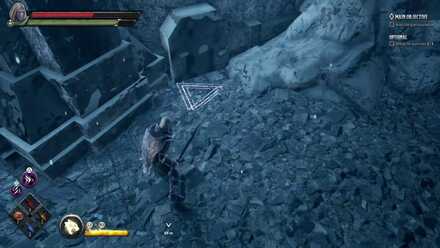 Located underneath some barrels near the shrine. |
| 5 | 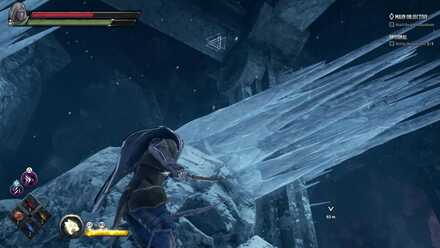 Located at the ceiling, besides a pillar. |
| 6 | 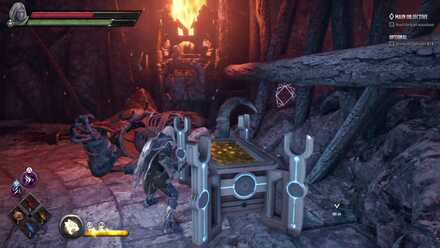 Located on a wall, behind the wooden enclosure near the chest. |
| 7 | 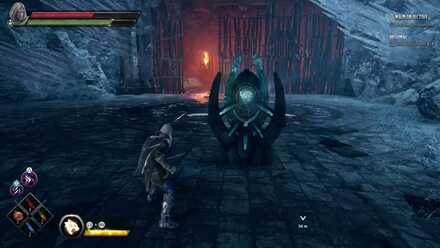 Once you located all the symbols, match it with the symbols with the runes on the floor to deactive the force field and claim your attribute point. |
All Puzzle Locations and Solutions
The Hall of Judgment Chest Locations
| Location | Directions | |
|---|---|---|
| 1 | 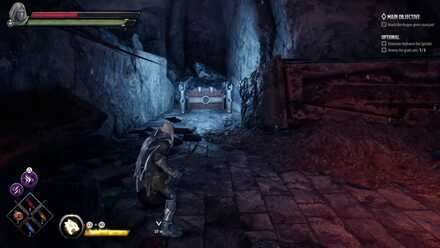 |
Behind ice stalagmites along the path to the Dragon Spine Courtyard. |
| 2 | 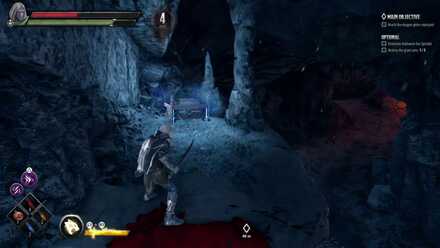 |
Behind some ice stalagmites, near the entrance to Dragon Spine Courtyard. |
| 3 | 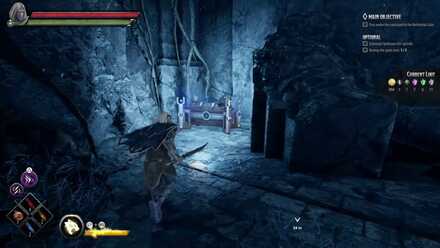 |
Behind some ice stalagmites, in the Dragon Spine Courtyard. |
| 4 | 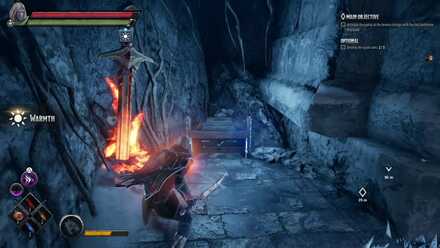 |
Near a bonfire across an ice path at the Broken Bridge. |
| 5 | 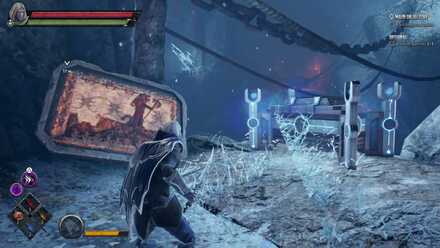 |
Near a painting down a ledge after taking the portal at the Broken Bridge. |
| 6 | 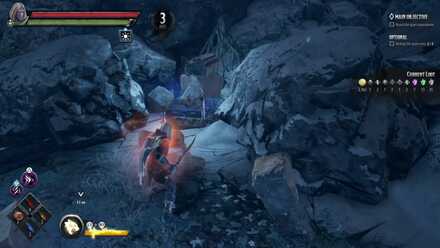 |
Behind an ice stalagmite, just before jumping down into the hole to Giant Maosoleum |
| 7 | 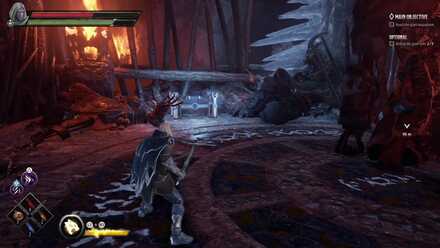 |
Near the giant skeleton inside a wooden enclosure at the Attribute Shrine. |
| 8 | 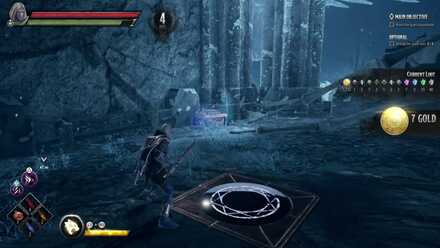 |
Behind an ice stalagmite near the Attribute Shrine. |
| 9 | 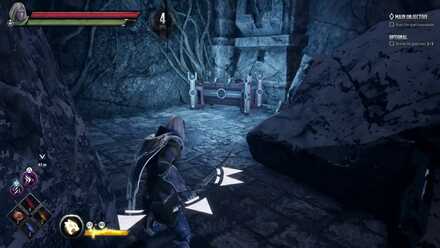 |
Behind an ice stalagmite at the Courtyard along the path towards the Giant Maosoleum. |
| 10 | 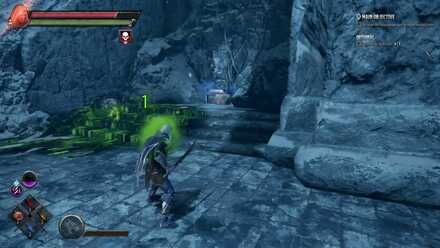 |
Underneath a pile of rubble across a poison sludge at the Maosoleum Gate. |
| 11 | 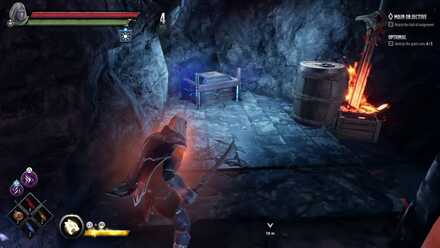 |
Behind an ice stalagmite, across a path of ice spikes near the entrance of an ice tunnel to The Hall of Judgement. |
| 12 | 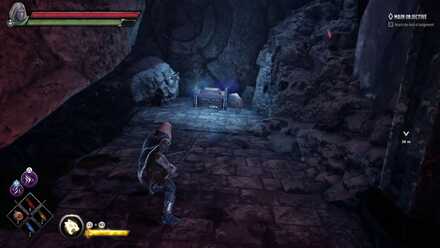 |
Underneath a pile of rubble just before the teleport ride to the Hall of Judgement. |
Dark Alliance Related Links
| Companions of Icewind Dale |
|---|
| Goblins at the Gates |
| Halls of Duergar |
| Bangor's Span |
| The Goblin's Shard |
|---|
| The Goblin Valley |
| Goffin's Door |
| The Goblin Tower |
| Verbeeg Jamboree |
|---|
| The Verbeeg Jamboree |
| Designs of the Duergar |
| A Feast for All Cretins |
| The Order of the Light |
|---|
| An Infernal Dispute |
| Order of the One Light |
| The Return of the Tyrant |
| The Mask of Kelvin |
|---|
| Ghosts of the Past |
| The Broken City |
| The Face of Kelvin |
| Crystalline Dreams |
|---|
| The Floating City |
| Crystal Harvest |
| A Crystal Crown |
| The Fury of Icewind |
|---|
| The Hunting Grounds |
| The Hall of Judgment |
| A Tomb of Ice |
Author
The Hall of Judgment Act Guide and Walkthrough | Giant Urn Locations
improvement survey
03/2026
improving Game8's site?

Your answers will help us to improve our website.
Note: Please be sure not to enter any kind of personal information into your response.

We hope you continue to make use of Game8.
Rankings
- We could not find the message board you were looking for.
Gaming News
Popular Games

Genshin Impact Walkthrough & Guides Wiki

Honkai: Star Rail Walkthrough & Guides Wiki

Umamusume: Pretty Derby Walkthrough & Guides Wiki

Pokemon Pokopia Walkthrough & Guides Wiki

Resident Evil Requiem (RE9) Walkthrough & Guides Wiki

Monster Hunter Wilds Walkthrough & Guides Wiki

Wuthering Waves Walkthrough & Guides Wiki

Arknights: Endfield Walkthrough & Guides Wiki

Pokemon FireRed and LeafGreen (FRLG) Walkthrough & Guides Wiki

Pokemon TCG Pocket (PTCGP) Strategies & Guides Wiki
Recommended Games

Diablo 4: Vessel of Hatred Walkthrough & Guides Wiki

Cyberpunk 2077: Ultimate Edition Walkthrough & Guides Wiki

Fire Emblem Heroes (FEH) Walkthrough & Guides Wiki

Yu-Gi-Oh! Master Duel Walkthrough & Guides Wiki

Super Smash Bros. Ultimate Walkthrough & Guides Wiki

Pokemon Brilliant Diamond and Shining Pearl (BDSP) Walkthrough & Guides Wiki

Elden Ring Shadow of the Erdtree Walkthrough & Guides Wiki

Monster Hunter World Walkthrough & Guides Wiki

The Legend of Zelda: Tears of the Kingdom Walkthrough & Guides Wiki

Persona 3 Reload Walkthrough & Guides Wiki
All rights reserved
© 1993-2021 Wizards of the Coast LLC, a subsidiary of Hasbro, Inc. All Rights Reserved.
The copyrights of videos of games used in our content and other intellectual property rights belong to the provider of the game.
The contents we provide on this site were created personally by members of the Game8 editorial department.
We refuse the right to reuse or repost content taken without our permission such as data or images to other sites.





![Monster Hunter Stories 3 Review [First Impressions] | Simply Rejuvenating](https://img.game8.co/4438641/2a31b7702bd70e78ec8efd24661dacda.jpeg/thumb)


