All Painting Locations | Lore Objects
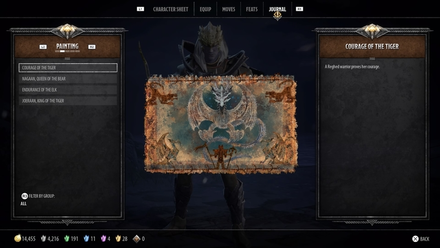
This is a guide to all Painting Locations in the game D&D: Dark Alliance. To know more about which quest you can find a particular Painting, read on!
| All Lore Objects | |
|---|---|
| Paintings | Tablets |
| Tomes | Reliefs |
List of Contents
All Painting Locations
Verbeeg Jamboree
Act I
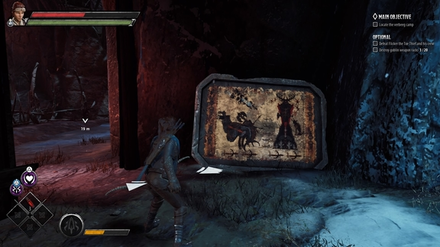
| Wulfgar, Dragonslayer | |
|---|---|
 Enlarge Enlarge |
|
| How to Get: | |
| From the fire-trap area, go straight to a breakable wooden wall that leads to a drop down. Pick up an explosive barrel from this area. Go back to the fire-trap area and there will be a room with an explodable wall at the end of the path. The painting is inside. | |
| Group | 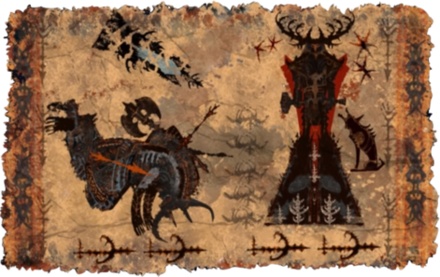 The Fall of Heafstaag, King of the Elk The Fall of Heafstaag, King of the Elk |
| Quest | Verbeeg Jamboree |
| Act | The Verbeeg Jamboree |
The Order of the One Light
Act I
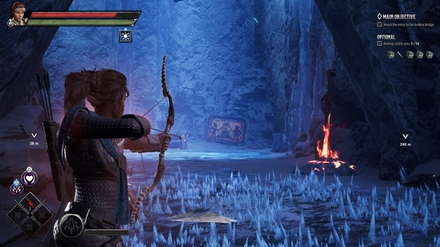
| Will of the Foehammer | |
|---|---|
 Enlarge Enlarge |
|
| How to Get: | |
| Follow the quest objectives until you reach an ice cave where you'll fight a Stygian Charger. To the right of this area is an ice-filled ramp. Go up this ramp until you see an opening. The painting is inside. | |
| Group | 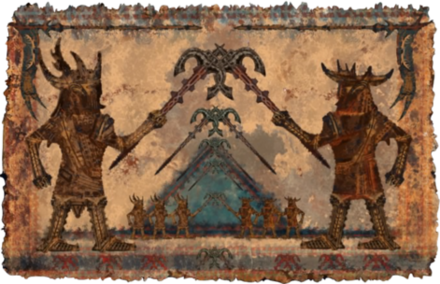 The Trials of Tempus The Trials of Tempus |
| Quest | The Order Of The Light |
| Act | An Infernal Dispute |
The Order of the One Light Walkthrough
The Fury of Icewind
Act I
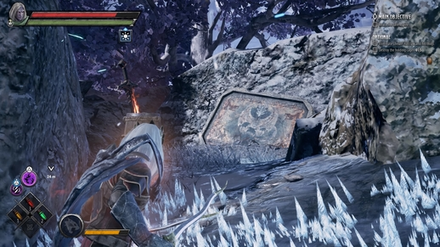
| Joerann, King of the Tiger | |
|---|---|
 Enlarge Enlarge |
|
| How to Get: | |
| Reach the broken temple. Facing the runesword, head to the ice-filled area to your right. Follow this path that goes upwards. There will be another ice-filled path with a gap to jump. After jumping it, there will be breakable ice shards to your right. This leads to the area with the painting. | |
| Group | 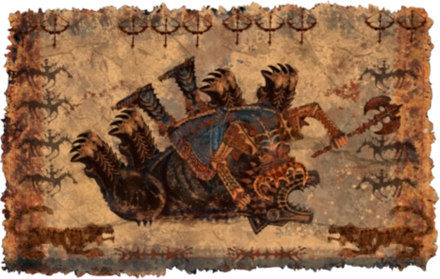 The Great Chiefs of Reghed Tribes The Great Chiefs of Reghed Tribes |
| Quest | The Fury Of Icewind |
| Act | The Hunting Grounds |
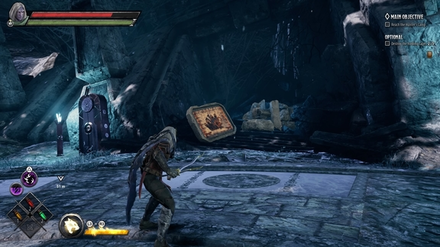
| Endurance of the Elk | |
|---|---|
 Enlarge Enlarge |
|
| How to Get: | |
| Reach the Grove of Tempus. From the entrance, there is a ledge to climb up to on the right side. Follow this path to the end where you'll fight an optional boss. The painting is at the back of the area. | |
| Group | 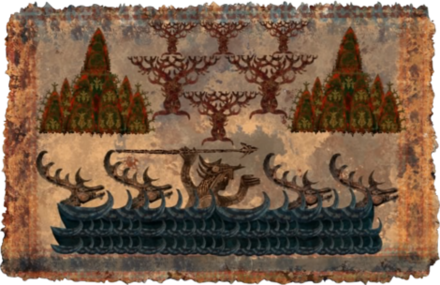 The Trials of Tempus The Trials of Tempus |
| Quest | The Fury Of Icewind |
| Act | The Hunting Grounds |
Act II
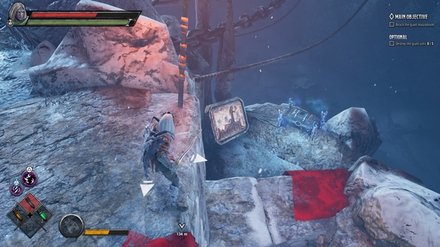
| Nagaan, Queen of the Bear | |
|---|---|
 Enlarge Enlarge |
|
| How to Get: | |
| Follow quest objectives until you enter a portal from the broken bridge. In the area after teleporting, go down the ledge to your left. The painting is here. | |
| Group | 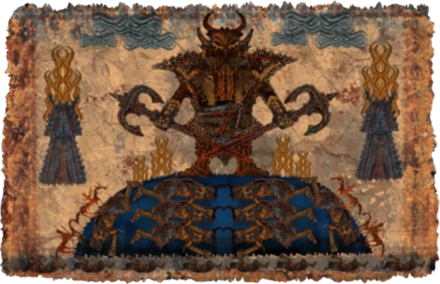 The Great Chiefs of Reghed Tribes The Great Chiefs of Reghed Tribes |
| Quest | The Fury Of Icewind |
| Act | The Hall of Judgement |
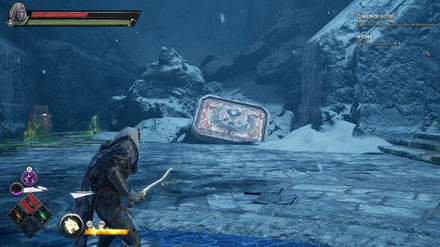
| Courage of the Tiger | |
|---|---|
 Enlarge Enlarge |
|
| How to Get: | |
| Follow quest objectives until you reach the giant mausoleum gate. The painting is at the back of this area. | |
| Group |  The Trials of Tempus The Trials of Tempus |
| Quest | The Fury Of Icewind |
| Act | The Hall of Judgement |
The Fury of Icewind Walkthrough
D&D: Dark Alliance Related Links
Beginner's Guide: Tips and Tricks
Author
All Painting Locations | Lore Objects
improvement survey
03/2026
improving Game8's site?

Your answers will help us to improve our website.
Note: Please be sure not to enter any kind of personal information into your response.

We hope you continue to make use of Game8.
Rankings
- We could not find the message board you were looking for.
Gaming News
Popular Games

Genshin Impact Walkthrough & Guides Wiki

Honkai: Star Rail Walkthrough & Guides Wiki

Umamusume: Pretty Derby Walkthrough & Guides Wiki

Pokemon Pokopia Walkthrough & Guides Wiki

Resident Evil Requiem (RE9) Walkthrough & Guides Wiki

Monster Hunter Wilds Walkthrough & Guides Wiki

Wuthering Waves Walkthrough & Guides Wiki

Arknights: Endfield Walkthrough & Guides Wiki

Pokemon FireRed and LeafGreen (FRLG) Walkthrough & Guides Wiki

Pokemon TCG Pocket (PTCGP) Strategies & Guides Wiki
Recommended Games

Diablo 4: Vessel of Hatred Walkthrough & Guides Wiki

Cyberpunk 2077: Ultimate Edition Walkthrough & Guides Wiki

Fire Emblem Heroes (FEH) Walkthrough & Guides Wiki

Yu-Gi-Oh! Master Duel Walkthrough & Guides Wiki

Super Smash Bros. Ultimate Walkthrough & Guides Wiki

Pokemon Brilliant Diamond and Shining Pearl (BDSP) Walkthrough & Guides Wiki

Elden Ring Shadow of the Erdtree Walkthrough & Guides Wiki

Monster Hunter World Walkthrough & Guides Wiki

The Legend of Zelda: Tears of the Kingdom Walkthrough & Guides Wiki

Persona 3 Reload Walkthrough & Guides Wiki
All rights reserved
© 1993-2021 Wizards of the Coast LLC, a subsidiary of Hasbro, Inc. All Rights Reserved.
The copyrights of videos of games used in our content and other intellectual property rights belong to the provider of the game.
The contents we provide on this site were created personally by members of the Game8 editorial department.
We refuse the right to reuse or repost content taken without our permission such as data or images to other sites.





![Monster Hunter Stories 3 Review [First Impressions] | Simply Rejuvenating](https://img.game8.co/4438641/2a31b7702bd70e78ec8efd24661dacda.jpeg/thumb)


