The Face of Kelvin Act Guide and Walkthrough
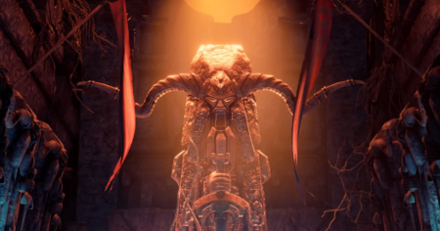
This is a walkthrough for The Face of Kelvin, Act 3 of The Mask of Kelvin in Dungeons & Dragons: Dark Alliance. Learn more about the objectives of this quest, available rewards, tips for completion, locations of attribute shrines, as well as boss fight strategies!
| Previous Quest | Current Quest | Next Quest |
|---|---|---|
| The Broken City | The Face of Kelvin | The Floating City |
List of Contents
The Face of Kelvin Basic Information
Quest Information
| Quest | The Mask of Kelvin |
|---|---|
| Mission | |
| A frost giant named Utaar is attempting to break into Kelvin's Tomb and recover an artifiact that he believes will help him find and claim the Crystal Shard. | |
Act Information
| Act No. | 3 |
|---|---|
| Type | Dungeon |
| Preferred Gear Set Drop | Flag Bearer (Wulfgar) Remorhaz Brotherhood (Drizzt) Barbarian Diplomat (Catti-brie) Battlehammer King (Bruenor) |
| Bosses | Kelvin |
| Optional Bosses | None |
| Unlock Requirement | Complete The Broken City |
| Description | |
| None could say what damage Kelvin's spirit would do if it was unleashed upon the Dale. And so we delved into Kelvin's Tomb ourselves, seeking out Utaar so that we could put a sto to this madness. But none of us were prepared for what we found there waiting in the dark. Who knew the call of the Shard was so strong. | |
The Face of Kelvin Main Objectives
Traverse the broken bridge
| Objectives | |
|---|---|
| 1 | 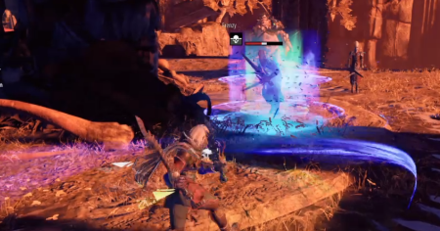 Head to the edge of the area and jump down a moving platform. Defeat the enemies there. Head left to find some more ruins and more enemies. Once done, head to the portal at the edge of map. |
Pass through Kelvin's Plaza
| Objectives | |
|---|---|
| 1 | 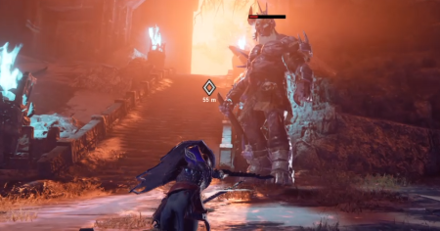 Defeat the enemies here and just follow the objective marker to some stairs. Beat the enemies at the top of the stairs. Head to the edge and use the portal. |
Traverse the floating island
| Objectives | |
|---|---|
| 1 | Battle the enemies here. Once defeated, climb the nearby ledge and a ladder nearby. Circle around to find the portal to the next area. |
Reach the entrance to the Tomb of Kelvin
| Objectives | |
|---|---|
| 1 | Battle through more enemies as you follow the objective marker. At the last area, use the portal to get to the Tomb of Kelvin. |
Defeat Druunr, Jarl of the Frostfields
| Objectives | |
|---|---|
| 1 | 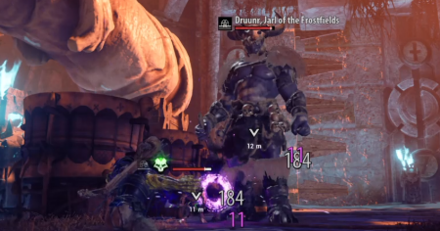 As soon as you arrive from the portal, you will find more goblins and verbeeg to defeat. Use the portal at the end to reach the last area. Instantly, you will notice a giant at the edge of the area. This is a bit of a mini-boss but essentially is like your regular giant. Defeat him. |
Take the elevator to Kelvin's Sarcophagus
| Objectives | |
|---|---|
| 1 | After downing the giant, head inside to locate an elevator. Ride it up to the last area of this stage. |
Defeat the Spirit of Kelvin
| Objectives | |
|---|---|
| 1 | 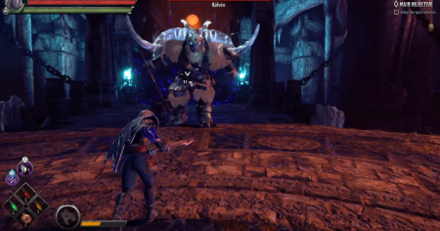 Battle Kelvin, taking care with its upgraded giant attacks as well as newer attacks like random ice pillars coming out of the ground. Defeat him to finish the mission. |
Tips and Strategies
Use Short Rests Often
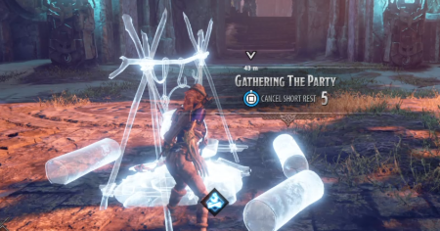
Normally, skipping Short Rests are good to have better quality equipment. However, this stage has very few chests that give out equipment.
So, it may be in your best interests to use Short Rests often especially if you are going solo. A lot of enemies here are hard to kill so keeping up your health as well as your consumables is very ideal.
Boss Strategy: Kelvin
Powered Up Giant
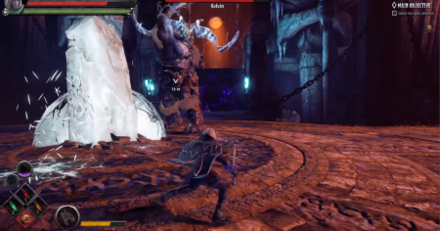
While he is the boss of the this stage, he isn't exactly that hard to defeat. He just really packs a punch as some of his hits take more than 50% of your health. It's just a matter of being careful on your hits especially if you're using close ranged hitters.
Dodge his attacks which are pretty slow and predictable, then, counter for a few hits then back away. This boss battle is longer than it is difficult unless you're over-levelled at this point and have amazing equipment.
The Face of Kelvin Chest Locations
| Location | Directions | |
|---|---|---|
| 1 | 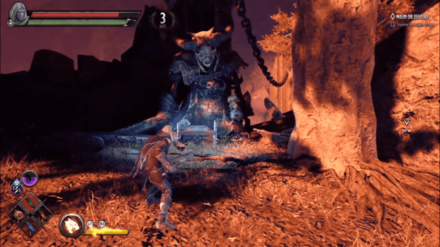 |
Located in-front of a giant skeleton, behind some objects in the first encounter. |
| 2 |  |
Located just before crossing the broken bridge. Solve the puzzle by stepping on the rune floor to open it. |
| 3 | 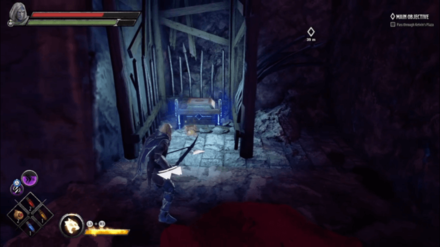 |
Located after crossing the broken bridge. There is a ledge you can jump off to a platform. There is a locked jail cell that you need to open using an explosive barrel you find near its area. |
| 4 | 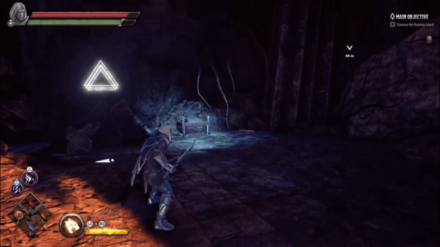 |
Located right before the floating island, there is a ledge you can jump off from to the right of the portal. Step on the runes on each platform to disable the force field that surrounds the chest. |
| 5 | 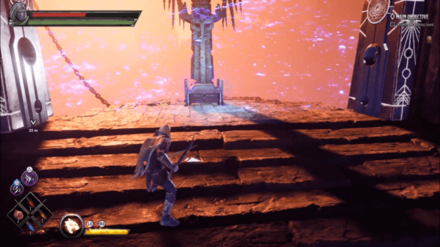 |
Located in the floating island. You can disable the force field by collecting two Netherese Keystone scattered in the island. |
| 6 | 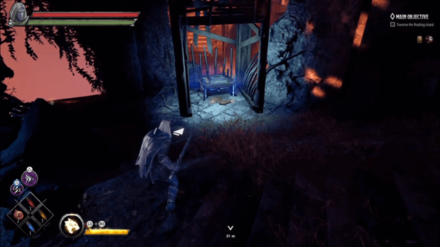 |
Located in the floating island, inside a cell. You will need to use an explosive barrel to open it. |
| 7 | 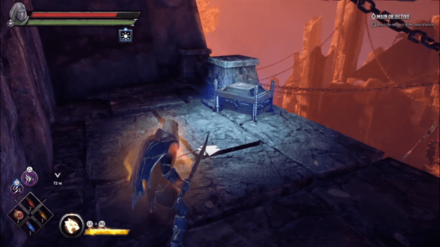 |
Located inside the structure, across the icy field and near the edge just before the entrance to Tomb of Kelvin. |
Dark Alliance Related Links
| Companions of Icewind Dale |
|---|
| Goblins at the Gates |
| Halls of Duergar |
| Bangor's Span |
| The Goblin's Shard |
|---|
| The Goblin Valley |
| Goffin's Door |
| The Goblin Tower |
| Verbeeg Jamboree |
|---|
| The Verbeeg Jamboree |
| Designs of the Duergar |
| A Feast for All Cretins |
| The Order of the Light |
|---|
| An Infernal Dispute |
| Order of the One Light |
| The Return of the Tyrant |
| The Mask of Kelvin |
|---|
| Ghosts of the Past |
| The Broken City |
| The Face of Kelvin |
| Crystalline Dreams |
|---|
| The Floating City |
| Crystal Harvest |
| A Crystal Crown |
| The Fury of Icewind |
|---|
| The Hunting Grounds |
| The Hall of Judgment |
| A Tomb of Ice |
Author
The Face of Kelvin Act Guide and Walkthrough
improvement survey
03/2026
improving Game8's site?

Your answers will help us to improve our website.
Note: Please be sure not to enter any kind of personal information into your response.

We hope you continue to make use of Game8.
Rankings
- We could not find the message board you were looking for.
Gaming News
Popular Games

Genshin Impact Walkthrough & Guides Wiki

Honkai: Star Rail Walkthrough & Guides Wiki

Umamusume: Pretty Derby Walkthrough & Guides Wiki

Pokemon Pokopia Walkthrough & Guides Wiki

Resident Evil Requiem (RE9) Walkthrough & Guides Wiki

Monster Hunter Wilds Walkthrough & Guides Wiki

Wuthering Waves Walkthrough & Guides Wiki

Arknights: Endfield Walkthrough & Guides Wiki

Pokemon FireRed and LeafGreen (FRLG) Walkthrough & Guides Wiki

Pokemon TCG Pocket (PTCGP) Strategies & Guides Wiki
Recommended Games

Diablo 4: Vessel of Hatred Walkthrough & Guides Wiki

Cyberpunk 2077: Ultimate Edition Walkthrough & Guides Wiki

Fire Emblem Heroes (FEH) Walkthrough & Guides Wiki

Yu-Gi-Oh! Master Duel Walkthrough & Guides Wiki

Super Smash Bros. Ultimate Walkthrough & Guides Wiki

Pokemon Brilliant Diamond and Shining Pearl (BDSP) Walkthrough & Guides Wiki

Elden Ring Shadow of the Erdtree Walkthrough & Guides Wiki

Monster Hunter World Walkthrough & Guides Wiki

The Legend of Zelda: Tears of the Kingdom Walkthrough & Guides Wiki

Persona 3 Reload Walkthrough & Guides Wiki
All rights reserved
© 1993-2021 Wizards of the Coast LLC, a subsidiary of Hasbro, Inc. All Rights Reserved.
The copyrights of videos of games used in our content and other intellectual property rights belong to the provider of the game.
The contents we provide on this site were created personally by members of the Game8 editorial department.
We refuse the right to reuse or repost content taken without our permission such as data or images to other sites.





![Monster Hunter Stories 3 Review [First Impressions] | Simply Rejuvenating](https://img.game8.co/4438641/2a31b7702bd70e78ec8efd24661dacda.jpeg/thumb)


