The Goblin Valley Act Guide and Walkthrough | Goblin Supplies Locations
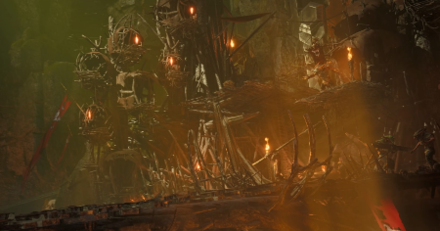
This is a walkthrough for The Goblin Valley, Act 1 of The Goblin's Shard in Dungeons & Dragons: Dark Alliance. Learn more about the objectives of this quest, available rewards, tips for completion, locations of attribute shrines, as well as boss fight strategies!
| Previous Quest | Current Quest | Next Quest |
|---|---|---|
| Bangor's Span | The Goblin Valley | Goffin's Door |
List of Contents
The Goblin Valley Basic Information
Quest Information
| Quest | The Goblin's Shard |
|---|---|
| Mission | |
| A goblin named Hamboog claims to have found the Shard and has taken over a part of the Dwarven Valley where his horde is building him a 'Crystal Tower'. | |
Act Information
| Act No. | 1 |
|---|---|
| Type | Mission |
| Preferred Gear Set Drop | Tempus Champion (Wulfgar) Warden of Mielikki (Drizzt) Goblin Reaper (Catti-brie) Goblin Bane (Bruenor) |
| Bosses | Slugvogg |
| Optional Bosses | Screetch the Foreman |
| Unlock Requirement | Complete Companions of Icewind Dale |
| Description | |
| Goblins had begun constructing a tower to secure their foothold in Bruenor's home, and had spread out from that stronghold into the Dwarven Valley. The first step to clear ou the goblins was breaking into the goblin fort guarding the entrance to Rugrib's Quarter. We would have to recover explosives to blow our way through their fortifications and then take out the foreman and his verbeeg enforcer. | |
The Goblin Valley Main Objectives
Reach the goblin's first outpost. Retrieve the explosive barrel at the goblin's first outpost
| Objectives | |
|---|---|
| 1 | 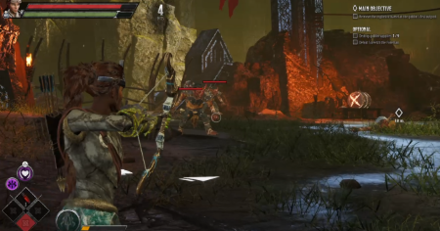 Go through the area and defeat all enemies. The first area is pretty linear with just a few spots for treasure. Keep going past the long wooden bridge and into the outpost. The barrel is at the table at the far end of the area. |
Reach the goblin arena. Retrieve the explosive barrel at the goblin arena
| Objectives | |
|---|---|
| 2 | 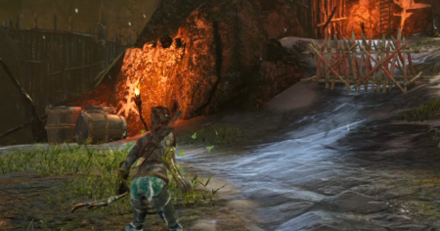 Battle through to get to the arena You can reach the goblin arena via two paths - through the wooden structure to the right and a more direct path to the left. If you take the left path, you'll face more enemies. On the right path through the structure, you will face one difficult horde of enemies and then, you can activate a portal to get you a shortcut to the arena. There's another path below that with bonus enemies and treasure. Either way ends up in the arena. |
| 3 | 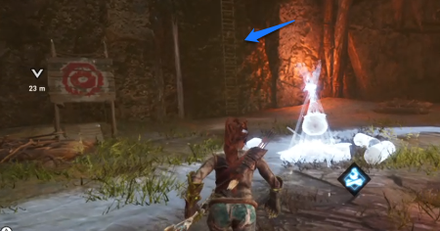 Pick up the 2nd explosive barrel at the goblin arena. Defeat the enemies there and get the barrel via a ladder just a bit north. Climb up and head left to find the barrel. |
Reach the accident site. Retrieve the explosive barrel from the accident site
| Objectives | |
|---|---|
| 4 | 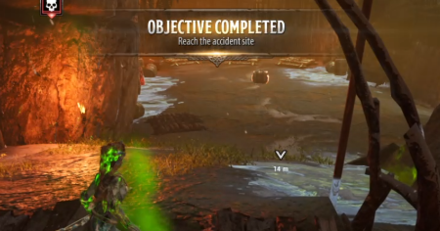 Head to the next area and get the 3rd barrel. Head through the portal nearby. In this area, there will be two paths. Head down to the path below and battle through the enemies to get to the accident site. The barrel sitting right there in middle and some goblins will ambush you immediately. Defeat them. |
Reach the blocked door. Retrieve the explosive barrel by the blocked door
| Objectives | |
|---|---|
| 5 | 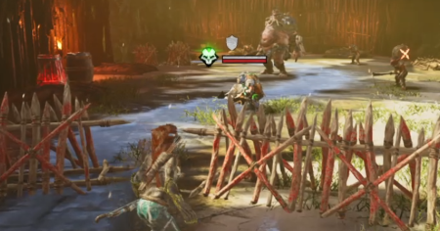 Head to the blocked door to get the last barrel Just to the right of the accident site, there is a semi-hidden path leading to a bridge. Cross it and this will lead to some enemies and eventually, the blocked door. Defeat the enemies there and get the final barrel. |
Reach the goblin fort. Set all four explosive barrels to destroy the gate to the goblin fort
| Objectives | |
|---|---|
| 6 | 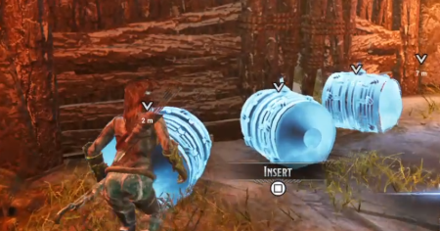 Reach the gate to the goblin fort and detonate the barrels. There are two paths to the goblin fort. One is by the blocked door and another is back at the accident site. There are more enemies and loot in the accident site but either way lands you near the goblin fort. Defeat all enemies in the next area to reach the goblin fort. Set and explode the barrels to reach the last area. |
Defeat Slugvogg
| 7 | Objectives |
|---|---|
| 1 | 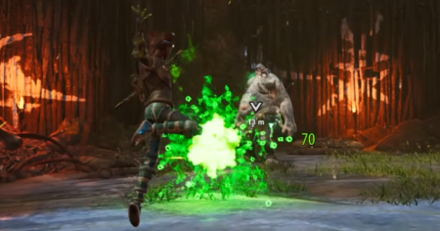 Defeat the boss of the level Enter the final area and defeat Slugvogg. |
The Goblin Valley Optional Objectives
Destroy Goblin Supplies
| Objectives | |
|---|---|
| 1 | 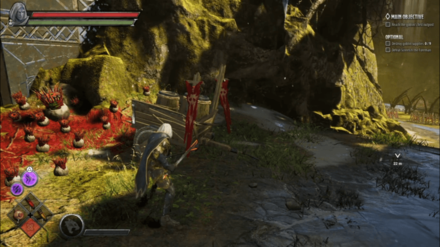 Located just to the left, outside of the entrance area. |
| 2 | 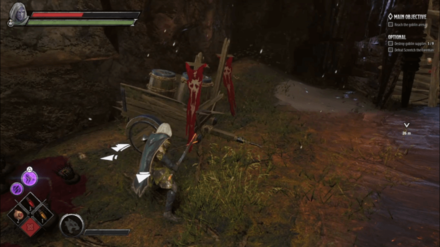 Cross the bridge to get to the Goblin Supply at the other side. |
| 3 | 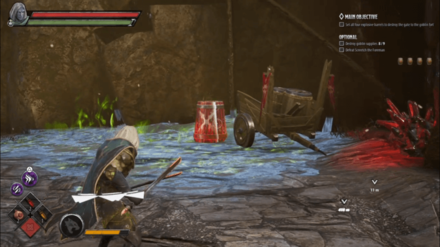 Hop down to a safe area in the pool of poison. You'll be able to spot a Goblin Supply to your left. Use projectiles to ignite the explosive barrels to remove the poison ooze. |
| 4 | 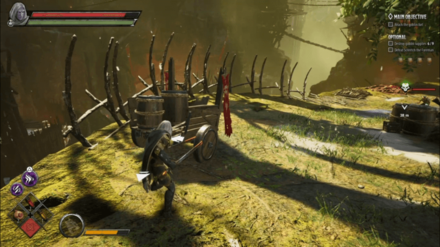 Instead of crossing the bridge, take the path ahead and climb the ladder. There will be a Goblin Supply at the top. |
| 5 | 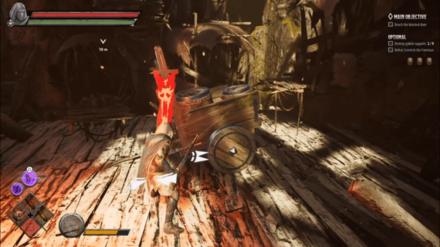 Cross the bridge right after reaching the accident site. There will be a Goblin Supply across the bridge. |
| 6 | 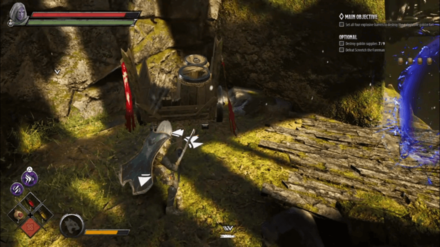 Descend down a flight of stairs just before the balcony then take a left turn. Jump all the way down and a Goblin Supply will be at the bottom. |
| 7 | 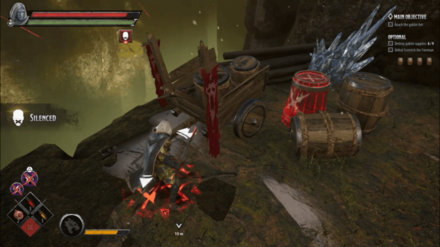 Take the portal located at the left side of the balcony, just before the boss area. You'll be able to spot the Goblin Supply to your left. |
| 8 | 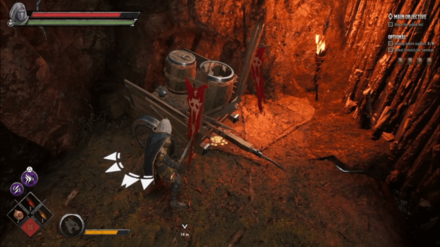 Keep heading straight after taking the portal and climb a couple of ledges. The Goblin Supply will be to your right across a poison plant. |
| 9 | 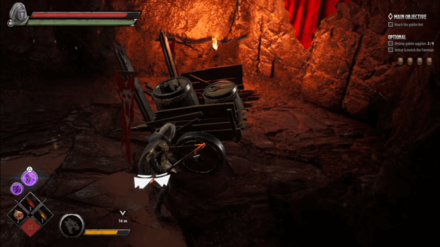 There is a Goblin Supply at the right side of the wall in the balcony just before the boss area. |
Defeat Screetch the Foreman
| Objectives | |
|---|---|
| 1 | 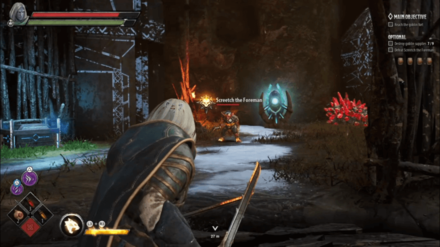 To get to Screetch the Foreman, head down the flight of stairs just before the balcony to the boss area. Take a left turn then hop all the way down. There will be a portal at the cliff. Taking the portal will transport you to Screetch the Foreman so you better be prepared for combat before using it. |
Tips and Strategies
Watch Your Health
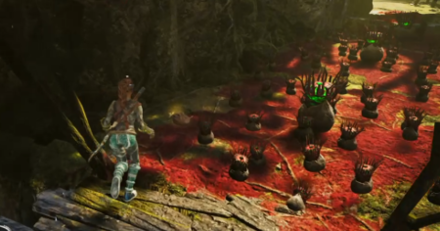
There are plenty of enemies and environmental hazards in this stage that may poison you and as a result continuously drain your health. Watch out and use your consumables when necessary.
Ranged Attacks
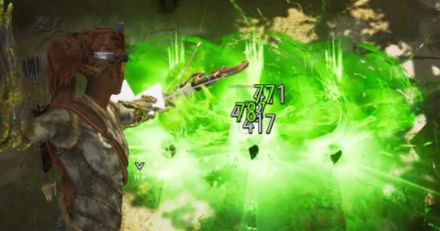
Ranged attacks in this area is useful. In particular, Catti-Brie's charged heavy bow attack will decimate many areas that are cramped. Otherwise, you're gonna have to rely on quick attacks to defeat your enemies.
Boss Strategy: Slugvogg
Quick Attacks
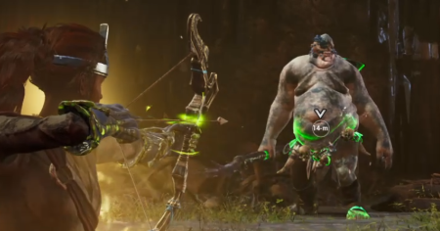
This boss, like most of its verbeeg counterparts, is slow and thus susceptible to quick attacks. One good strategy is if you have a weapon with Acid as its element. It will definitely speed up the battle with this boss. Over-all, not a really difficult fight in as long as you're careful.
The Goblin Valley Attribute Shrine Locations
| Objectives | |
|---|---|
| 1 | 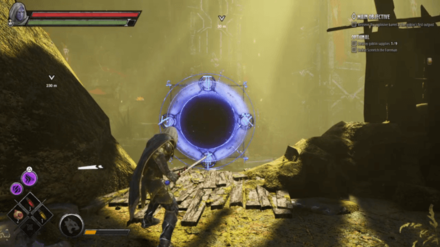 To get to the Attribute Shrine, head down the flight of stairs just before the balcony to the boss area. Take a left turn then jump all the way down then take the portal at the cliff. |
| 2 |  Before you can reach the attribute shrine, you will have to defeat Screetch the Foreman first. |
| 3 | 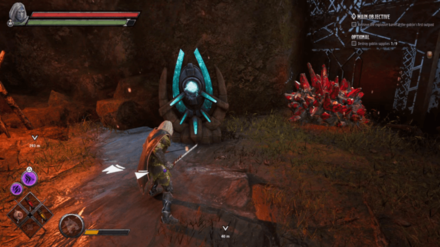 Once defeated, you can now freely take your attribute point from the shrine. |
The Goblin Valley Chest Locations
| Location | Directions | |
|---|---|---|
| 1 | 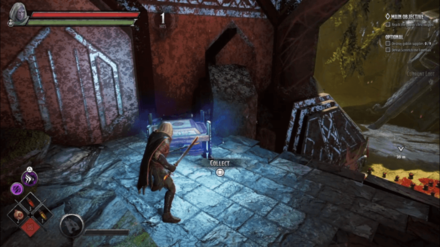 |
Head to the left after leaving the starting area and traverse through the field of poisonous flowers then climb up to get to the chest. |
| 2 | 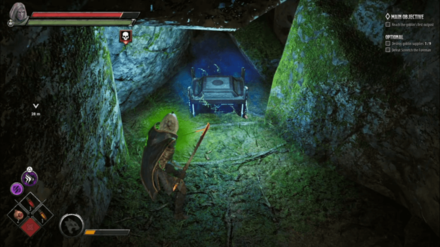 |
Take the left path just before the bridge. The Chest is located behind a barricade, across the field of poisonous flowers. |
| 3 | 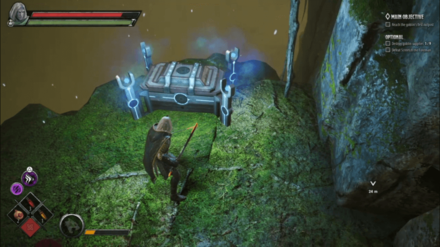 |
Take the right path just before the bridge, there will be a chest at the end. |
| 4 | 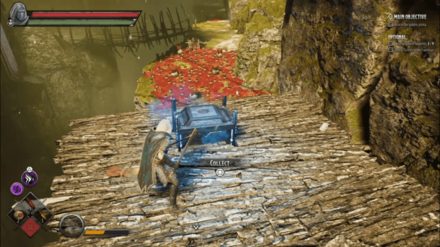 |
Cross the bridge right after the goblin outpost then take a left turn afterwards. Jump across a gap to reach the chest. |
| 5 | 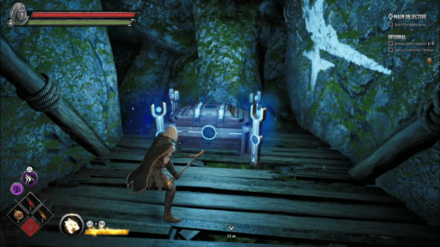 |
After crossing the bridge, defeat the Goblin Champion ahead and it will drop a lever. Use the lever on the mechanism nearby to get the chest. |
| 6 | 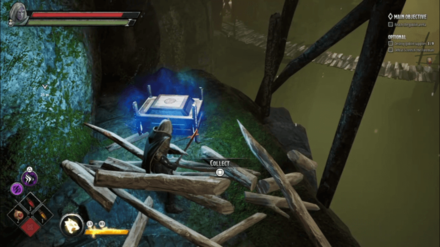 |
Hop down to a safe area in the pool of poison. There is path you can take on the bottom right side of the pool that will lead you to a chest. |
| 7 | 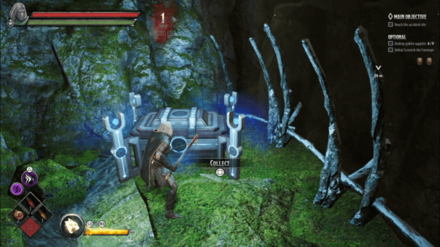 |
Just before the Goblin Arena, Head across bridge then follow the path on the right. It will lead you to a chest at the end. |
| 8 | 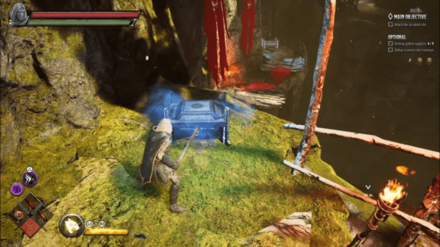 |
Cross the bridge then climb up the ladder and you should be able to spot a chest to your right. |
| 9 | 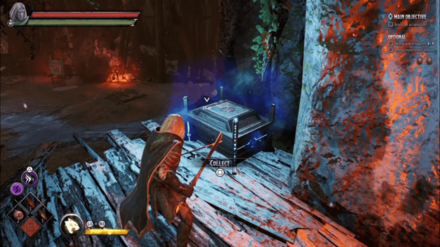 |
In the Goblin Arena, take the ladder going up. Follow the path and it should lead you to a chest. |
| 10 | 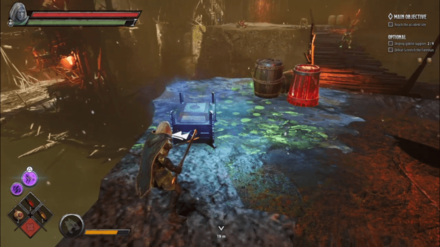 |
Just before the accident site, across the bridge, there is a chest near a poison ooze to the right. |
| 11 | 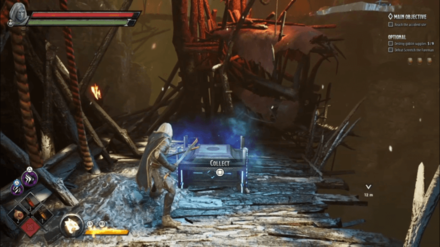 |
Cross the bridge right after reaching the accident site then turn right to get to the chest. |
| 12 | 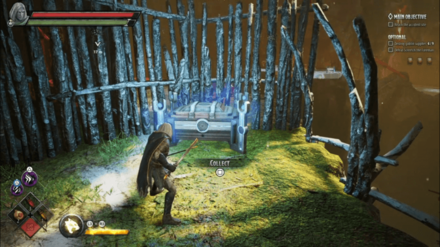 |
After crossing the bridge, climb the ladder going up. From there you'll be able to see a field of poisonous plant, move across it then jump across a gap. There will be a chest on the other side. Be careful as a verbeeg will spawn when you get close to the chest. |
| 13 | 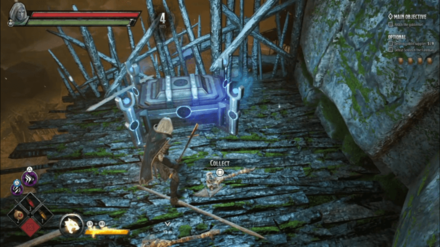 |
Instead of crossing the bridge in accident site, take the path forward then climb the ladder on your left to get to the chest. |
| 14 | 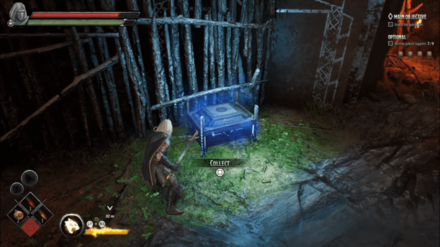 |
Descend down a flight of stairs just before the balcony then take a left turn. Take the portal at the bottom and it will transport you to a chest. You will have to fight Screetch the Foreman to get the chest safely. |
| 15 | 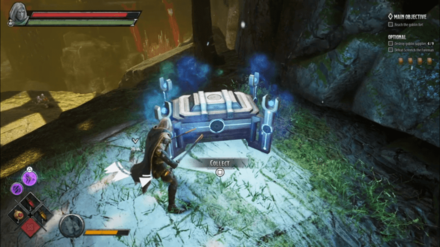 |
Behind a Goblin Supply, there is a ledge in the balcony that you can climb up to. Following the path will lead you to a chest. Watch out as there are many field of poisonous plants in the path. |
| 16 | 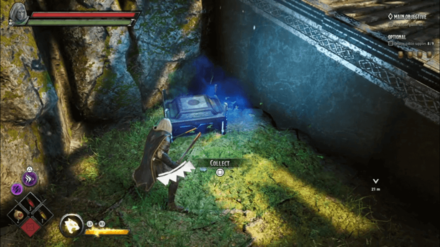 |
Descend down a flight of stairs just before the boss area then move to the right. There is a chest hiding besides the stairs. |
Dark Alliance Related Links
| Companions of Icewind Dale |
|---|
| Goblins at the Gates |
| Halls of Duergar |
| Bangor's Span |
| The Goblin's Shard |
|---|
| The Goblin Valley |
| Goffin's Door |
| The Goblin Tower |
| Verbeeg Jamboree |
|---|
| The Verbeeg Jamboree |
| Designs of the Duergar |
| A Feast for All Cretins |
| The Order of the Light |
|---|
| An Infernal Dispute |
| Order of the One Light |
| The Return of the Tyrant |
| The Mask of Kelvin |
|---|
| Ghosts of the Past |
| The Broken City |
| The Face of Kelvin |
| Crystalline Dreams |
|---|
| The Floating City |
| Crystal Harvest |
| A Crystal Crown |
| The Fury of Icewind |
|---|
| The Hunting Grounds |
| The Hall of Judgment |
| A Tomb of Ice |
Author
The Goblin Valley Act Guide and Walkthrough | Goblin Supplies Locations
improvement survey
03/2026
improving Game8's site?

Your answers will help us to improve our website.
Note: Please be sure not to enter any kind of personal information into your response.

We hope you continue to make use of Game8.
Rankings
- We could not find the message board you were looking for.
Gaming News
Popular Games

Genshin Impact Walkthrough & Guides Wiki

Honkai: Star Rail Walkthrough & Guides Wiki

Umamusume: Pretty Derby Walkthrough & Guides Wiki

Pokemon Pokopia Walkthrough & Guides Wiki

Resident Evil Requiem (RE9) Walkthrough & Guides Wiki

Monster Hunter Wilds Walkthrough & Guides Wiki

Wuthering Waves Walkthrough & Guides Wiki

Arknights: Endfield Walkthrough & Guides Wiki

Pokemon FireRed and LeafGreen (FRLG) Walkthrough & Guides Wiki

Pokemon TCG Pocket (PTCGP) Strategies & Guides Wiki
Recommended Games

Diablo 4: Vessel of Hatred Walkthrough & Guides Wiki

Cyberpunk 2077: Ultimate Edition Walkthrough & Guides Wiki

Fire Emblem Heroes (FEH) Walkthrough & Guides Wiki

Yu-Gi-Oh! Master Duel Walkthrough & Guides Wiki

Super Smash Bros. Ultimate Walkthrough & Guides Wiki

Pokemon Brilliant Diamond and Shining Pearl (BDSP) Walkthrough & Guides Wiki

Elden Ring Shadow of the Erdtree Walkthrough & Guides Wiki

Monster Hunter World Walkthrough & Guides Wiki

The Legend of Zelda: Tears of the Kingdom Walkthrough & Guides Wiki

Persona 3 Reload Walkthrough & Guides Wiki
All rights reserved
© 1993-2021 Wizards of the Coast LLC, a subsidiary of Hasbro, Inc. All Rights Reserved.
The copyrights of videos of games used in our content and other intellectual property rights belong to the provider of the game.
The contents we provide on this site were created personally by members of the Game8 editorial department.
We refuse the right to reuse or repost content taken without our permission such as data or images to other sites.





![Monster Hunter Stories 3 Review [First Impressions] | Simply Rejuvenating](https://img.game8.co/4438641/2a31b7702bd70e78ec8efd24661dacda.jpeg/thumb)


