All Attribute Shrine Locations
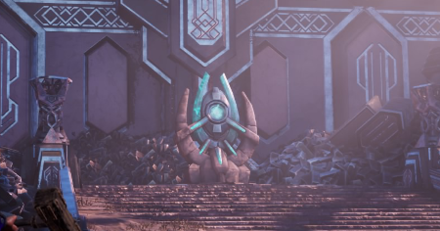
This is a guide on all attribute shrines in the game D&D: Dark Alliance. Read on to know about the function of these shrines and where to find them in missions.
List of Contents
- Attribute Shrine Overview
- Activating Attribute Shrines
- All Attribute Shrine Locations
- Goblins at the Gate
- Halls of Duergar
- The Goblin Valley
- Goffin's Door
- The Verbeeg Jamboree
- Designs of the Duergar
- An Infernal Dispute
- Order of the One Light
- Ghosts of the Past
- The Broken City
- The Floating City
- Crystal Harvest
- The Hunting Grounds
- The Hall of Judgment
- D&D: Dark Alliance Related Links
Attribute Shrine Overview
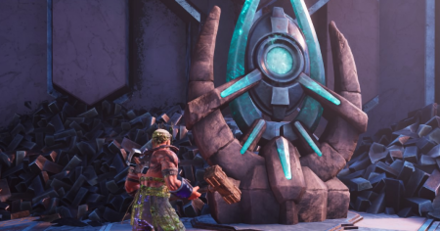
Attribute Shrines are found in most quests in D&D: Dark Alliance except for boss levels (all Act 3's of all quests).
Depending on how many times you have visited these shrines, it will have different functions.
- 1st Visit: Attribute Shrines awards one attribute point which can be used to increase your character's stats. This applies to all characters visiting the shrine for the first time.
- 2nd Visit onwards: If you revisit any attribute shrine you have previously activated, this will instead restore all of your health and stamina (including your max stamina level).
Activating Attribute Shrines
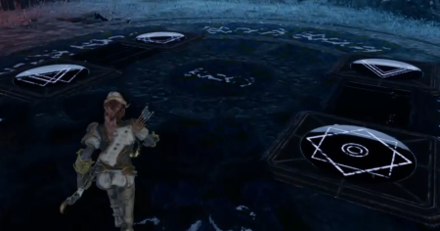
Often, Attribute Shrines requires you to solve a puzzle before you can access it or find a missing item to disable the shield that surrounds it.
All Attribute Shrine Locations
The following lists down all 14 attribute shrines present in the game. If any shrine contains a puzzle, check out our guide on puzzle solutions below.
All Puzzle Locations and Solutions
Goblins at the Gate Attribute Shine
| Quest | Companions of Icewind Dale |
|---|---|
| Act | Act 1 - Goblins at the Gates |
| 1 | 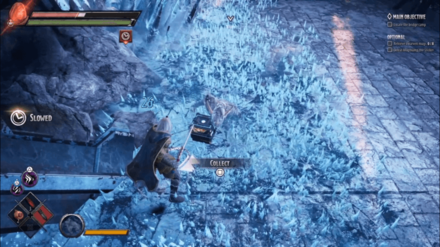 The attribute shrine is located behind a large gate just after taking an elevator up. To open it, you must find a Dwarven Runestone. It is located in the ice spikes besides a frozen goblin corpse. |
|---|---|
| 2 | 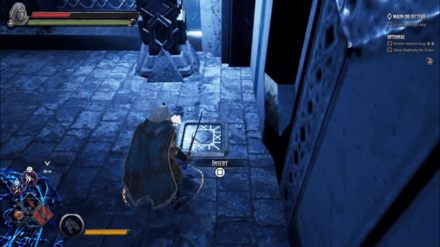 Once you have the Dwarven Runestone, open the large door by inserting it on the mechanism at left side of the door. |
| 3 |  You can now get the attribute from the shrine but be warned as a number of Cultists will spawn behind you right after you receive the attribute. |
Goblins at the Gates Act Walkthrough
Halls of Duergar Attribute Shine
| Quest | Companions of Icewind Dale |
|---|---|
| Act | Act 2 - Halls of Duergar |
| 1 | 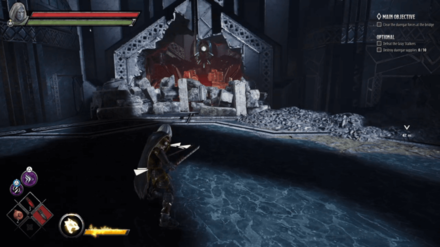 After going up the elevator from the Dwarven Foundry, you'll notice a bunch of debris just infront of the elevator. |
|---|---|
| 2 | 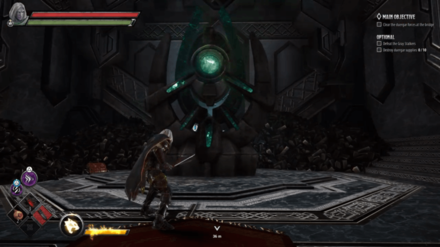 Destroy the debris and jump across the gap to get your attribute. |
Halls of Duergar Act Walkthrough
The Goblin Valley Attribute Shine
| Quest | The Goblin's Shard |
|---|---|
| Act | Act 1 - The Goblin Valley |
| Objectives | |
|---|---|
| 1 | 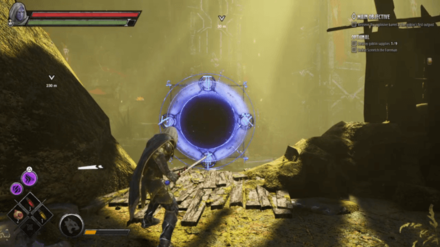 To get to the Attribute Shrine, head down the flight of stairs just before the balcony to the boss area. Take a left turn then jump all the way down then take the portal at the cliff. |
| 2 | 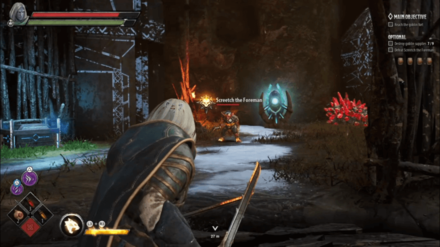 Before you can reach the attribute shrine, you will have to defeat Screetch the Foreman first. |
| 3 | 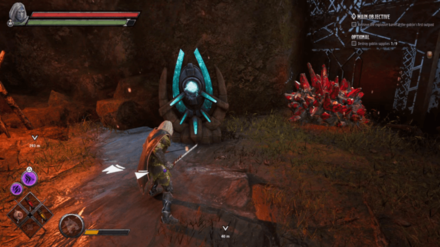 Once defeated, you can now freely take your attribute point from the shrine. |
The Goblin Valley Act Walkthrough
Goffin's Door Attribute Shrine
| Quest | The Goblin's Shard |
|---|---|
| Act | Act 2 - Goffin's Door |
| Location | |
|---|---|
| 1 | 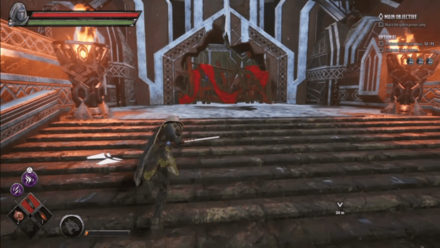 The Attribute Shrine is located just north of the Broken Bridge. Destroy the barricade to head inside. |
| 2 | 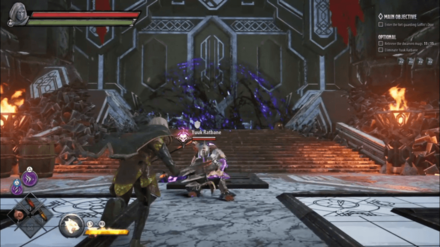 Once inside, You will have to defeat Yuuk Ratbane and solve a puzzle in-order to get to the Attribute Shrine. |
| 3 | 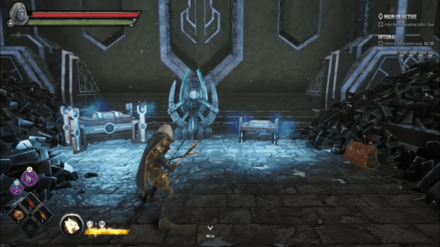 Once you have defeated Yuuk Ratbane and have solved the puzzle, simply walk towards the Attribute Shrine. |
The Verbeeg Jamboree Attribute Shrine
| Quest | Verbeeg Jamboree |
|---|---|
| Act | Act 1 - The Verbeeg Jamboree |
| Directions | |
|---|---|
| 1 | 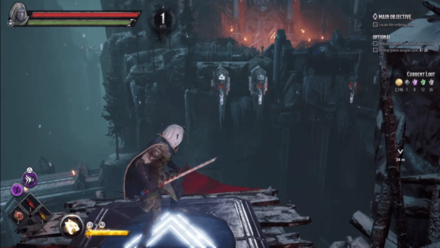 To get to the Attribute Shrine, you will first need to activate four runes. The first rune is located on a wooden platform, near the locked area. You simply need to step on the rune to activate it. |
| 2 | 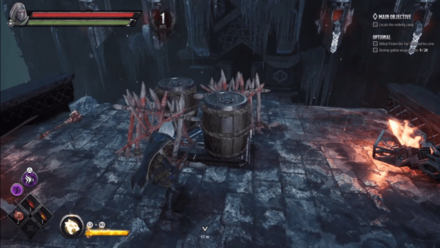 The second rune is located at the edge of the broken bride hiding under a barrel and barricade. |
| 3 | 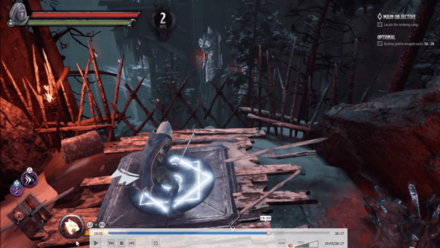 The third rune is located just after you fight the Gnoll at the left path. Destroy the barricades to reveal it. |
| 4 | 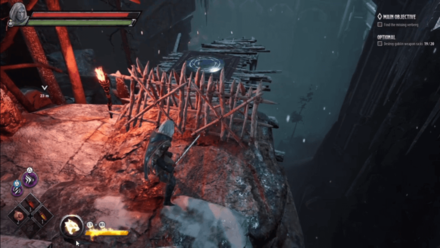 The final rune is located on the left path before the boss area. After jumping down, move to the right and the rune will be behind a barricade. |
| 5 | 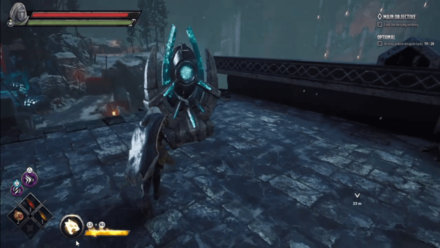 After all the runes have been activated, just head straight just outside the boss area. The Attribute Shrine is located just in front of it. Make sure you aren't inside of the boss area so the boss doesn't spawn. |
The Verbeeg Jamboree Act Walkthrough
Designs of the Duergar Attribute Shrine
| Quest | Verbeeg Jamboree |
|---|---|
| Act | Act 2 - Designs of the Duergar |
| Directions | |
|---|---|
| 1 | 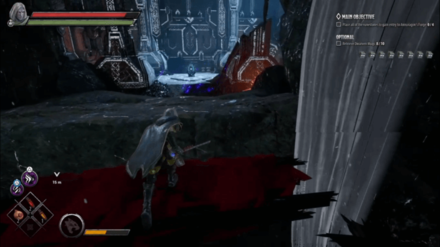 The Attribute Shrine is located deep within the the Mushroom Field, near the Dwarven Runestone. |
| 2 | 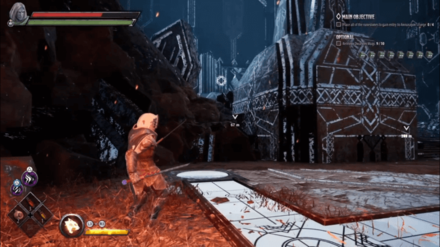 Once you're there, you'll notice that the attribute shrine is encased within a force field. Solve the rune puzzle around the Shrine to disable it. Pay attention to the surroundings as the symbols required is written all over the place. |
| 3 | 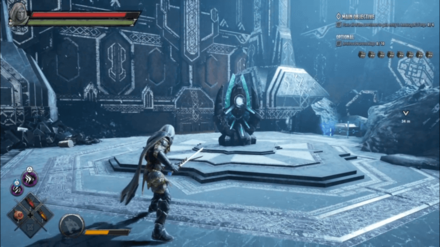 Once you've rid of the force field, simply just walk towards the shrine to get your attribute. |
Designs of the Duergar Act Walkthrough
An Infernal Dispute Attribute Shrine
| Quest | The Order of the One Light |
|---|---|
| Act | Act 1 - An Infernal Dispute |
| Directions | |
|---|---|
| 1 | 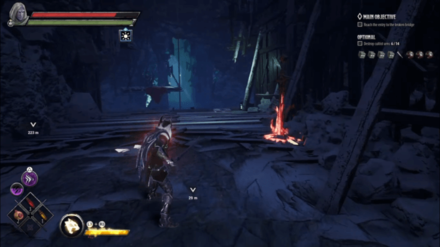 The attribute shrine is located in Blackburn Cavern on top of a hanging wooden platform. You will need a lever to activate the mechanism to get to the shrine. |
| 2 | 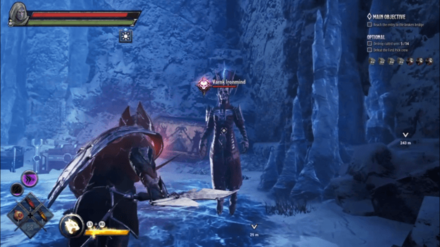 To get the lever, you must defeat Varnik Ironmind and the rest of the First Pick crew. |
| 3 | 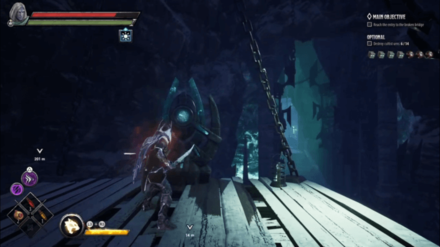 Once you got the lever, activate the mechanism and jump towards platform to get to the attribute shrine. |
An Infernal Dispute Act Walkthrough
Order of the One Light Attribute Shrine
| Quest | The Order of the One Light |
|---|---|
| Act | Act 2 - Order of the One Light |
| Directions | |
|---|---|
| 1 | 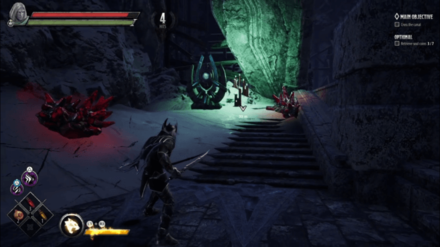 You can find the Attribute Shrine in the Mining Cave, near where Wennir the Consumed is. |
Order of the One Light Act Walkthrough
Ghosts of the Past Attribute Shrine
| Quest | The Mask of Kelvin |
|---|---|
| Act | Act 1 - Ghosts of the Past |
| Directions | |
|---|---|
| 1 | 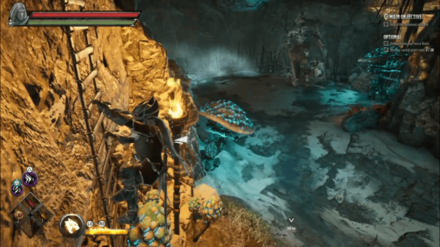 To get to the Attribute Shrine, climb up the ladder just before Juurn the Twice Risen's area. |
| 2 | 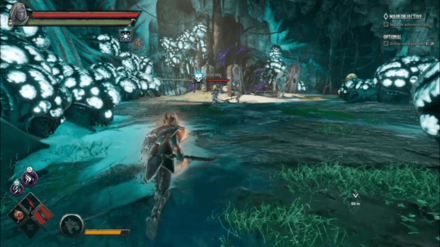 At the top, take the path that leads to the cavern. Inside there are trolls and a bunch of shaman goblins you have to defeat. |
| 3 | 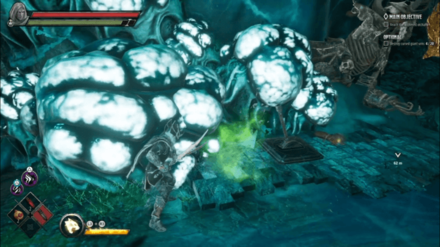 Defeating the troll will drop Netherese Keystone. You will need two of it to disable the force field. The second Netherese Keystone is located in a cage high up the celing. There is a lever in the second entrance you can interact for the cage to come down. |
| 4 | 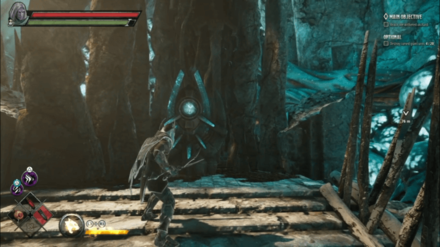 Once you have the two Netherese Keystone, interact with the mechanism and the force field will disappear. You'll be able to take the attribute from the shrine now. |
Ghosts of the Past Act Walkthrough
The Broken City Attribute Shrine
| Quest | The Mask of Kelvin |
|---|---|
| Act | Act 2 - The Broken City |
| Directions | |
|---|---|
| 1 | 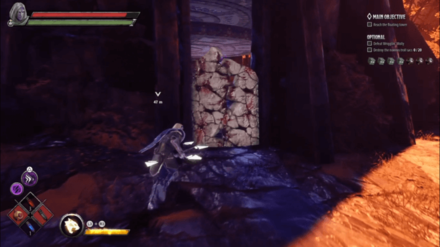 The Attribute Shrine is located just after taking the portal from Kelvin's Courtyard, towards the left path, inside a fortress. It's blocked by two debris that you can easily destroy. |
| 2 | 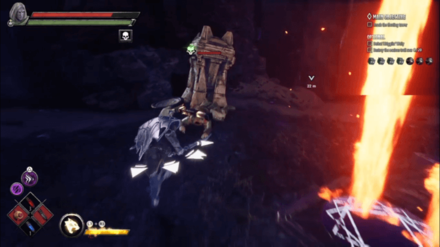 Before you can access the Attribute Shrine, you need to activate the runes on the floor blocked by a flamethrower. You need two levers to disable it. The first lever is just located inside the Attribute Shrine, near a corpse. |
| 3 | 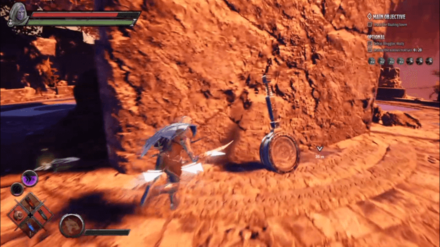 The second lever is located on the roof of the fortress. After getting two of the levers, head back inside and insert the levers in the mechanism to disable it. |
| 4 | 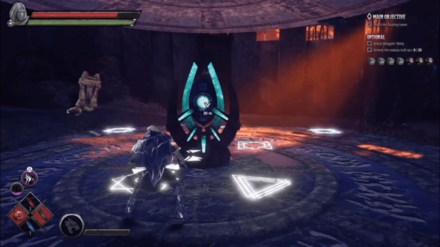 Finally, step on the runes to deactivate the force field, you will now be able to access the Attribute Shrine. |
The Broken City Act Walkthrough
The Floating City Attribute Shrine
| Quest | Crystalline Dreams |
|---|---|
| Act | Act 1 - The Floating City |
| Directions | |
|---|---|
| 1 | 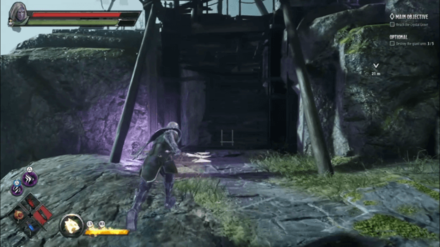 The Attribute Shrine is located in an underground mineshaft at the Ruined Temple. The entrance is down on a ledge near the cliff, with a glowing purple lantern besides it. |
| 2 | 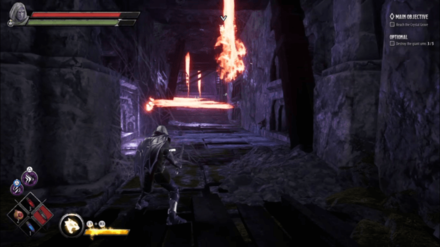 Once inside the mineshaft, you'll be faced with multiple flamethrowers traps on your way to the attribute shrine, so be very careful! |
| 3 | 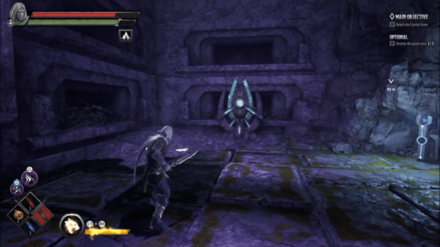 Once you safely get across all the traps, interact with the shrine to get your attribute and to disable the traps. |
The Floating City Act Walkthrough
Crystal Harvest Attribute Shrine
| Quest | Crystalline Dreams |
|---|---|
| Act | Act 2 - Crystal Harvest |
| Directions | |
|---|---|
| 1 | 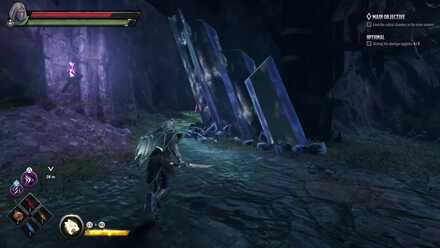 The entrance to the Attribute Shrine is located in the Mine Tunnels, near a crystal and a purple lantern. Inside, the shrine is blocked by a force field. |
| 2 | 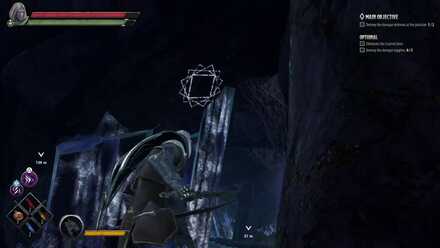 To solve the Crystal Harvest Puzzle, you need to deactivate the force field. Match the runes on the floor with the symbol scattered in the area to deactivate. You can find the first symbol on the rock near the entrance. |
| 3 | 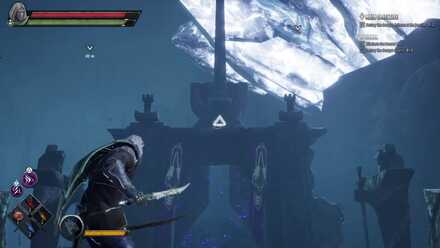 The next symbol is located on the structure above the shrine. |
| 4 | 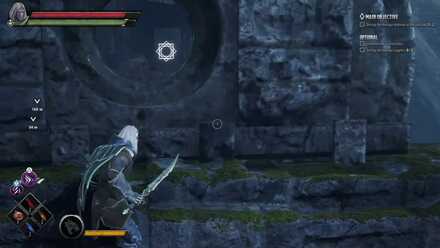 There is another symbol located through a hole from the bridge. It's located on the wall at the other side. |
| 5 | 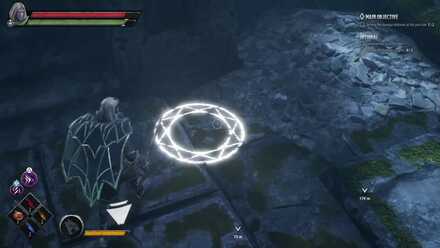 The last symbol is located underneath the barrels near the shrine. |
| 6 | 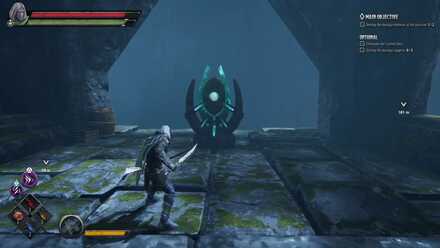 Once you match the runes with the symbols, the force field should disappear and you can now collect the attribute from the shrine. |
Crystal Harvest Act Walkthrough
The Hunting Grounds Attribute Shrine
| Quest | The Fury of Icewind |
|---|---|
| Act | Act 1 - The Hunting Grounds |
| Directions | |
|---|---|
| 1 | 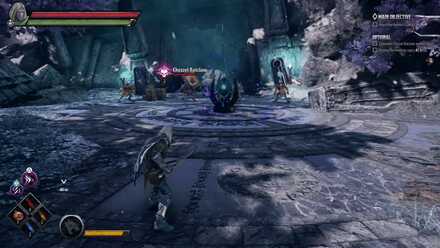 The Shrine is located in the Grove of Tempus, where Chezzel Rotclaw is. The Shrine is surrounded by a force field and the only way to deactive it is to find the Netherese Keystone. |
| 2 | 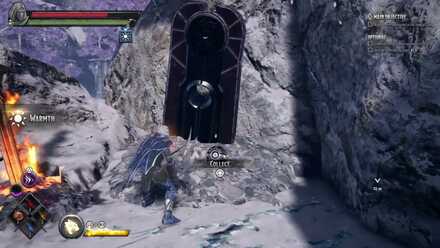 The Netherese Keystone is located on ledge, just after heading down using the elevator. |
| 3 | 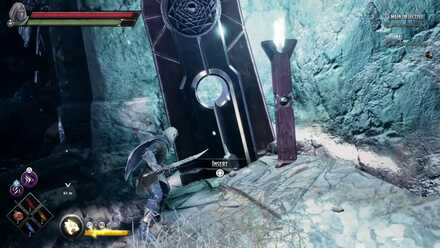 Once you have the Netherese Keystone, head back to the Grove of Tempus and defeat Chezzel Rotclaw. Once defeated, simple insert the Netherese Keystone. |
| 4 | 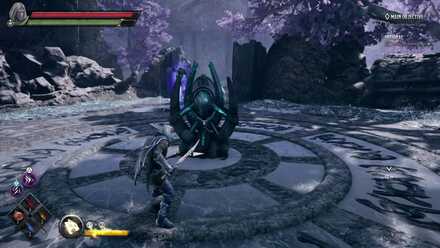 The force field will dissappear and you'll now be able to collect your attribute. Be warned as enemies will spawn as soon as you take the attribute. |
The Hunting Grounds Act Walkthrough
The Hall of Judgment Attribute Shrine
| Quest | The Fury of Icewind |
|---|---|
| Act | Act 2 - The Hall of Judgment |
| Directions | |
|---|---|
| 1 | 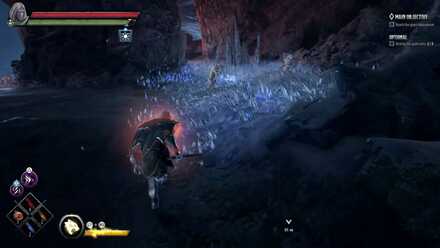 The Attribute Shrine is located after taking the portal at the Broken Bridge to the Giant Maosoleum. Inside the tunnel, there is a path on the left you can take that will lead you to the Shrine. |
| 2 | 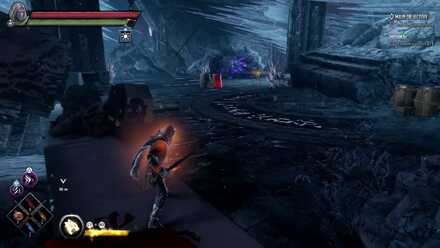 Inside, you will find that the shrine enclosed in a forcefield. To disable the forcefield, You will have to match the runes on the floor with the symbol scattered in the area. |
| 3 | 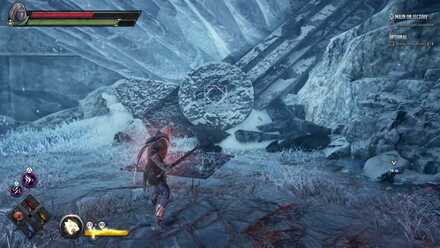 The first symbol is located near the portal outside the shrine. |
| 4 | 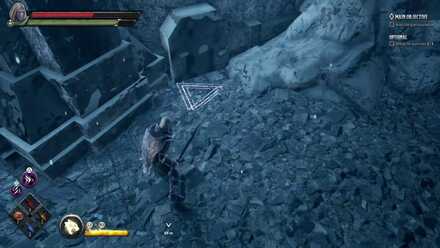 Located underneath some barrels near the shrine. |
| 5 | 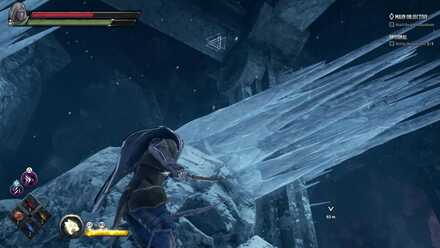 Located at the ceiling, besides a pillar. |
| 6 | 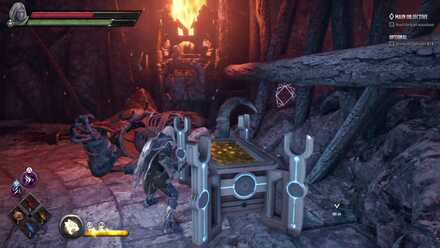 Located on a wall, behind the wooden enclosure near the chest. |
| 7 | 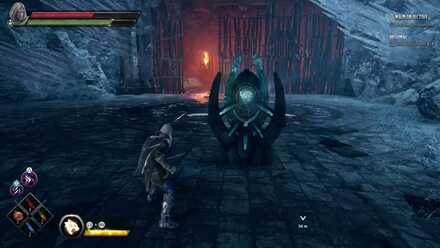 Once you located all the symbols, match it with the symbols with the runes on the floor to deactive the force field and claim your attribute point. |
The Hall of Judgment Act Walkthrough
D&D: Dark Alliance Related Links
Beginner's Guide: Tips and Tricks
Author
All Attribute Shrine Locations
improvement survey
03/2026
improving Game8's site?

Your answers will help us to improve our website.
Note: Please be sure not to enter any kind of personal information into your response.

We hope you continue to make use of Game8.
Rankings
- We could not find the message board you were looking for.
Gaming News
Popular Games

Genshin Impact Walkthrough & Guides Wiki

Honkai: Star Rail Walkthrough & Guides Wiki

Umamusume: Pretty Derby Walkthrough & Guides Wiki

Pokemon Pokopia Walkthrough & Guides Wiki

Resident Evil Requiem (RE9) Walkthrough & Guides Wiki

Monster Hunter Wilds Walkthrough & Guides Wiki

Wuthering Waves Walkthrough & Guides Wiki

Arknights: Endfield Walkthrough & Guides Wiki

Pokemon FireRed and LeafGreen (FRLG) Walkthrough & Guides Wiki

Pokemon TCG Pocket (PTCGP) Strategies & Guides Wiki
Recommended Games

Diablo 4: Vessel of Hatred Walkthrough & Guides Wiki

Cyberpunk 2077: Ultimate Edition Walkthrough & Guides Wiki

Fire Emblem Heroes (FEH) Walkthrough & Guides Wiki

Yu-Gi-Oh! Master Duel Walkthrough & Guides Wiki

Super Smash Bros. Ultimate Walkthrough & Guides Wiki

Pokemon Brilliant Diamond and Shining Pearl (BDSP) Walkthrough & Guides Wiki

Elden Ring Shadow of the Erdtree Walkthrough & Guides Wiki

Monster Hunter World Walkthrough & Guides Wiki

The Legend of Zelda: Tears of the Kingdom Walkthrough & Guides Wiki

Persona 3 Reload Walkthrough & Guides Wiki
All rights reserved
© 1993-2021 Wizards of the Coast LLC, a subsidiary of Hasbro, Inc. All Rights Reserved.
The copyrights of videos of games used in our content and other intellectual property rights belong to the provider of the game.
The contents we provide on this site were created personally by members of the Game8 editorial department.
We refuse the right to reuse or repost content taken without our permission such as data or images to other sites.


![Monster Hunter Stories 3 Review [First Impressions] | Simply Rejuvenating](https://img.game8.co/4438641/2a31b7702bd70e78ec8efd24661dacda.jpeg/thumb)


