Designs of the Duergar Act Guide and Walkthrough | Dwarven Mugs Locations
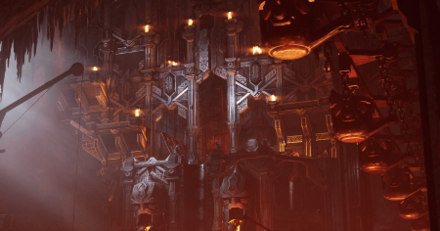
This is a walkthrough for Designs of the Duergar, Act 2 of Verbeeg Jamboree in Dungeons & Dragons: Dark Alliance. Learn more about the objectives of this quest, available rewards, tips for completion, locations of attribute shrines, as well as boss fight strategies!
| Previous Quest | Current Quest | Next Quest |
|---|---|---|
| The Verbeeg Jamboree | Designs of the Duergar | A Feast for All Cretins |
List of Contents
Designs of the Duergar Basic Information
Quest Information
| Quest | Verbeeg Jamboree |
|---|---|
| Mission | |
| The verbeeg have taken control of Annuragon's Forge and slaughtering any dwarf in sight. | |
Act Information
| Act No. | 2 |
|---|---|
| Type | Mission |
| Preferred Gear Set Drop | Blacksmith's Apprentice (Wulfgar) Do'Urden Prince (Drizzt) Battlehammer Princess (Catti-brie) Duergar Infiltrator(Bruenor) |
| Bosses | Thurn Dreamreader |
| Optional Bosses | Hoarks Shalefoot, Gruuln Threechin |
| Unlock Requirement | Complete The Verbeeg Jamboree |
| Description | |
| Though dwarven sappers had cut off access to the forge from their Halls, the verbeeg managed to break in through the exterior gate. What they didn't ocunt on were the duergar who had their own designs on Annuragon's Forge. The duergar had hidden the runestone keys to lock the forge gate. We would have to recover those keys before we could enter the forge and deal with the verbeeg inside. | |
Designs of the Duergar Main Objectives
Reach the submerged cavern
| Objectives | |
|---|---|
| 1 | 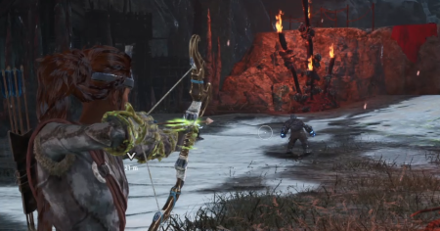 Explore the area and defeat all signs of enemies Go through the area and defeat all the enemies in the wide open area to secure your first Short Rest. |
Reach Annuragon's Tomb. Retrieve the Annuragon's Tomb's runestone
| Objectives | |
|---|---|
| 2 |  Explore the area and defeat all signs of enemies Follow the objective marker and battle through all the enemies. Head northeast into the temple looking building to find Annuragon's Tomb and the runestone. |
Locate Gruuln Threechin. Retrieve the runestone from Gruuln Threechin
| Objectives | |
|---|---|
| 3 |  Continue on the area to acquire the 2nd runestone Cross the bridge across Annuragon's Tomb and battle the enemies beyond. Continue further north to find the the entrance to Annuragon's Forge. Head to the gate now to fight Gruuln Threechin. Defeat him to get the runestone. |
Reach the statue of Annuragon. Retrieve the runestone near Annuragon's statue
| Objectives | |
|---|---|
| 4 | 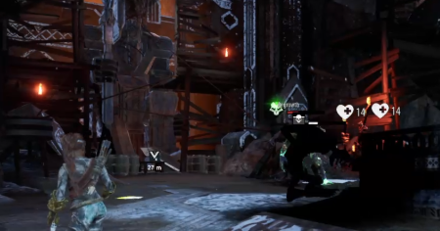 Proceed to the next area to find the 3rd runestone From the entrance, head left to reach the statue of Annuragon. Defeat the enemies and get the runestone. |
Reach the mushroom field. Retrieve the runestone hidden at the mushroom field
| Objectives | |
|---|---|
| 5 | 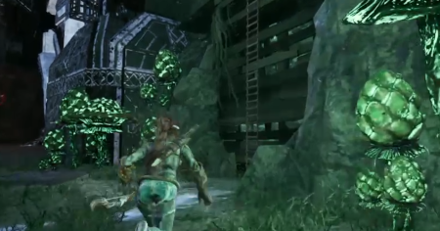 Go to the last area and acquire the last runestone Go back to the gate of the Forge and this time head right. Battle through the enemies there. On the right side of the area, just in between some mushrooms is a ladder. Climb it to find the runestone at the end of the tunnel. |
Place all of the runestones to gain entry to Annuragon's Forge. Defeat Thurn Dreamreader
| Objectives | |
|---|---|
| 6 | 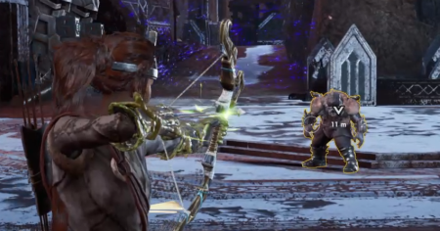 Open the Forge and defeat the boss of the level Return to the forge one last time and defeat the boss Thurn Dreamreader. |
Designs of the Duergar Optional Objectives
Retrieve Dwarven Mugs
| Objectives | |
|---|---|
| 1 |  Located inside a cell near the poison river. |
| 2 |  Located inside a shack in the poison river. You can use an explosive barrel to remove the poison and get the mug. |
| 3 |  Located inside Annuragon's Tomb hiding underneath a breakable object. |
| 4 |  In the bridge on the way to Gruuln Threechin, hiding between a bunch of barrels. |
| 5 |  Just before the gate to Gruuln Threechin, there is a ledge on the left. Climb up and break the barricade, the mug is in the cage. |
| 6 | 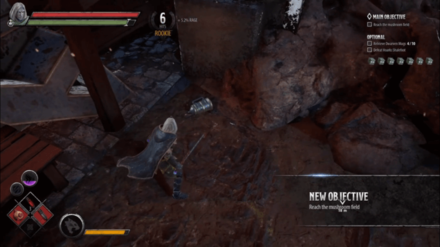 Located in the Annuragon's Statue, right side of the Dwarven Runestone. It's hidden behind 3 barrels. |
| 7 | 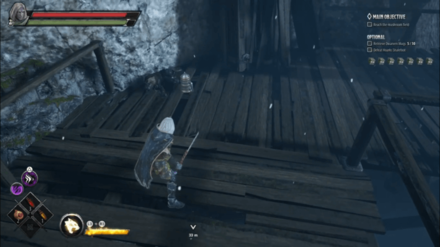 Located in a wooden catwalk you can access from the snowy area. |
| 8 |  Located between the area of the Mushroom Field and the Boss Area. The mug is sitting on top of a table. |
| 9 |  Located at the right side of the glowing mushrooms in the Mushroom Field. |
| 10 |  Located inside the Attribute Shrine deep inside the Mushroom Field. Solve the puzzle to get the mug. |
Defeat Hoarsk Shalefoot
| Objectives | |
|---|---|
| 1 |  Hoarks Shalefoot is located at the snowy area. You can get to him by destroying the ice stalagmite across a gap. Make sure you have the warmth buff as there as ice spikes behind the ice stalagmite. |
Tips and Strategies
Find Secret Pathways
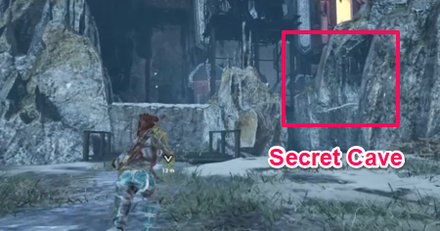
Similar to other levels in Dark Alliance. Many of the pathways towards chests and other loot are hidden in plain sight. Watch out for breakable barriers or reachable ledges to locate these loot.
Boss Strategy: Thurn Dreamreader
Massive Hits
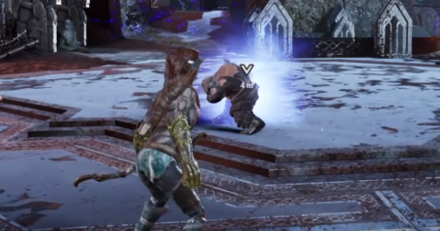
Thurn Dreamreader is flanked by 6 minions. Defeating them first will be beneficial as Thurn Dreamreader loves to teleport behind you and stun you. Once his minions are removed, focus your hard hits on Thurn.
But, try not to fall in love with your combos otherwise he will just teleport behind you. Focus on big hits and then dodge once you see his teleportation animation start.
Designs of the Duergar Attribute Shrines Locations
Designs of the Duergar Puzzle
| Directions | |
|---|---|
| 1 | 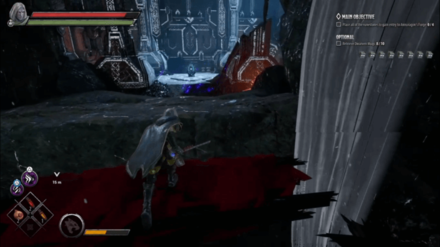 The Attribute Shrine is located deep within the the Mushroom Field, near the Dwarven Runestone. |
| 2 | 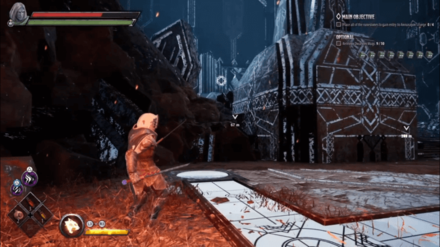 Once you're there, you'll notice that the attribute shrine is encased within a force field. Solve the rune puzzle around the Shrine to disable it. Pay attention to the surroundings as the symbols required is written all over the place. |
| 3 | 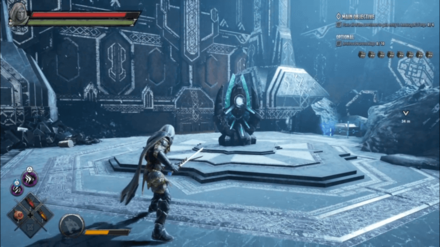 Once you've rid of the force field, simply just walk towards the shrine to get your attribute. |
All Puzzle Locations and Solutions
Designs of the Duergar Chest Locations
| Location | Directions | |
|---|---|---|
| 1 |  |
There is a path on the left you can take after your first short rest. Cross the bridge and there will be a chest at the end. |
| 2 |  |
There is another path on the left you can take. Jump across the gap and keep going to the right. You'll encounter some barricades on the way then at the end will be a chest. |
| 3 |  |
Just before entering the Annuragon's Tomb, there is a ladder you can take on the right. Climb up to get the to the chest. |
| 4 |  |
Just before the gate to Gruuln Threechin, there is a ledge on the left you can climb up to get to the chest. Make sure to interact with the mechanism ahead! |
| 5 |  |
Located inside a breakable floor near Gruuln Threechin. Make sure to have the warmth buff before hopping in. |
| 6 | 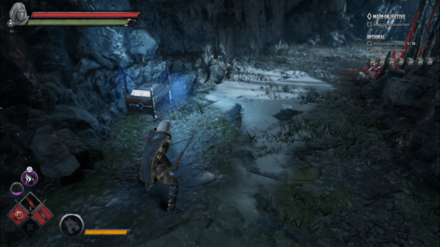 |
Taking the elevator down from the Annuragon's Statue, take the path to the left. Jump across a gap then hit the rubble to open the chest. Make sure to interact with the mechanism ahead! |
| 7 |  |
The chest is in the snowy area, just besides the stalagmites. |
| 8 |  |
To get to the chest you have to have all the mechanism activated. Once you do, head to the snowy area. There will be a wooden catwalk you can jump across to. Follow that path and the chest will be at the end. |
| 9 | 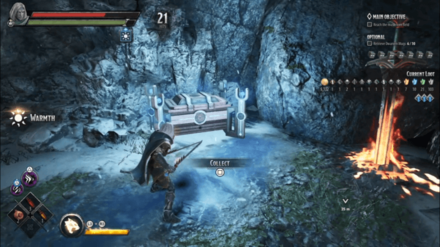 |
In the snowy area, there is a path hidden by ice stalagmites across a gap. Break it and proceed to get to the chest. Make sure you're prepared for a battle as Hoarks Shalefoot guards the area. |
| 10 |  |
Just before climbing up the ledge to the Mushroom Field, there is a path you can jump down if you keep going forward. There will be a chest at the bottom. |
| 11 |  |
The chest is located in the left side of the Mushroom Field, under a overhang. |
| 12 | 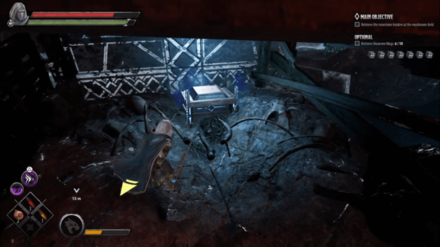 |
Located between theMushroom Field and the boss area. The chest is hidden behind a barricade. |
| 13 | 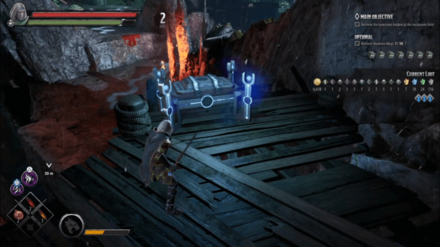 |
In the area between the Mushroom Field and the Boss Area, there are two barricades you can destroy. It will reveal a narrow path towards a chest. |
| 14 |  |
In the Mushroom Field, head inside the mineshaft to get the Dwarven Runestone then take the path to the right. Destroy the wooden floor then jump down into the hole and there will be a chest waiting at the bottom. |
| 15 | 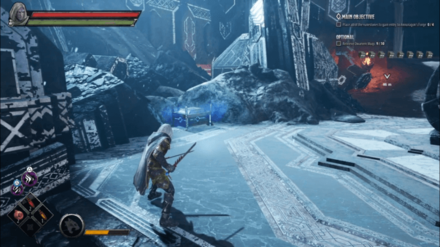 |
There is a chest behind the Attribute Shrine in the Mushroom Field. You will have to solve the puzzle to get it. |
| 16 |  |
In the boss area, there is a flight of stairs on the left you can descend down from to get to the chest. |
Dark Alliance Related Links
| Companions of Icewind Dale |
|---|
| Goblins at the Gates |
| Halls of Duergar |
| Bangor's Span |
| The Goblin's Shard |
|---|
| The Goblin Valley |
| Goffin's Door |
| The Goblin Tower |
| Verbeeg Jamboree |
|---|
| The Verbeeg Jamboree |
| Designs of the Duergar |
| A Feast for All Cretins |
| The Order of the Light |
|---|
| An Infernal Dispute |
| Order of the One Light |
| The Return of the Tyrant |
| The Mask of Kelvin |
|---|
| Ghosts of the Past |
| The Broken City |
| The Face of Kelvin |
| Crystalline Dreams |
|---|
| The Floating City |
| Crystal Harvest |
| A Crystal Crown |
| The Fury of Icewind |
|---|
| The Hunting Grounds |
| The Hall of Judgment |
| A Tomb of Ice |
Author
Designs of the Duergar Act Guide and Walkthrough | Dwarven Mugs Locations
improvement survey
03/2026
improving Game8's site?

Your answers will help us to improve our website.
Note: Please be sure not to enter any kind of personal information into your response.

We hope you continue to make use of Game8.
Rankings
- We could not find the message board you were looking for.
Gaming News
Popular Games

Genshin Impact Walkthrough & Guides Wiki

Honkai: Star Rail Walkthrough & Guides Wiki

Umamusume: Pretty Derby Walkthrough & Guides Wiki

Pokemon Pokopia Walkthrough & Guides Wiki

Resident Evil Requiem (RE9) Walkthrough & Guides Wiki

Monster Hunter Wilds Walkthrough & Guides Wiki

Wuthering Waves Walkthrough & Guides Wiki

Arknights: Endfield Walkthrough & Guides Wiki

Pokemon FireRed and LeafGreen (FRLG) Walkthrough & Guides Wiki

Pokemon TCG Pocket (PTCGP) Strategies & Guides Wiki
Recommended Games

Diablo 4: Vessel of Hatred Walkthrough & Guides Wiki

Cyberpunk 2077: Ultimate Edition Walkthrough & Guides Wiki

Fire Emblem Heroes (FEH) Walkthrough & Guides Wiki

Yu-Gi-Oh! Master Duel Walkthrough & Guides Wiki

Super Smash Bros. Ultimate Walkthrough & Guides Wiki

Pokemon Brilliant Diamond and Shining Pearl (BDSP) Walkthrough & Guides Wiki

Elden Ring Shadow of the Erdtree Walkthrough & Guides Wiki

Monster Hunter World Walkthrough & Guides Wiki

The Legend of Zelda: Tears of the Kingdom Walkthrough & Guides Wiki

Persona 3 Reload Walkthrough & Guides Wiki
All rights reserved
© 1993-2021 Wizards of the Coast LLC, a subsidiary of Hasbro, Inc. All Rights Reserved.
The copyrights of videos of games used in our content and other intellectual property rights belong to the provider of the game.
The contents we provide on this site were created personally by members of the Game8 editorial department.
We refuse the right to reuse or repost content taken without our permission such as data or images to other sites.





![Monster Hunter Stories 3 Review [First Impressions] | Simply Rejuvenating](https://img.game8.co/4438641/2a31b7702bd70e78ec8efd24661dacda.jpeg/thumb)


