Goblins at the Gates Act Guide and Walkthrough | Dwarven Mug Locations
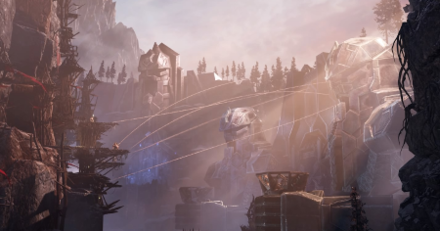
This is a walkthrough for Goblins at the Gates, Act 1 of Companions of Icewind Dale in Dungeons & Dragons: Dark Alliance. Learn more about the objectives of this quest, available rewards, tips for completion, locations of attribute shrine, as well as boss fight strategies!
| Previous Quest | Current Quest | Next Quest |
|---|---|---|
| - | Goblins at the Gates | Halls of Duergar |
List of Contents
Goblins at the Gates Basic Information
Quest Information
| Quest | Companions of Icewind Dale |
|---|---|
| Mission | |
| Bruenor's people have fled their home, driven out by new threats that have come to claim the Crystal Shard. | |
Act Information
| Act No. | 1 |
|---|---|
| Type | Mission |
| Preferred Gear Set Drop | Hoard Raider (Bruenor) Tundra Raptor (Drizzt) Tundra Trapper (Wulfgar) Tundra Explorer (Catti-brie) |
| Bosses | Ploobo Bonesucker and Greags the Ear-lopper |
| Optional Bosses | Mogthump the Sticker |
| Unlock Requirement | Available at the start |
| Description | |
| The united peoples of Icewind Dale had defeated Kessell's armies and destroyed his Crystal Tower. But the dwarven warriors of Clan Battlehamemer returned home to find their halls overrun, their people fleeing the valley. We rushed to their aid. fighting our way through the golins and verbeeg to find the goblin commander and put an end to this siege. | |
Goblins at the Gates Walkthrough
Locate the invading force's supply camp
| Objectives | |
|---|---|
| 1 | 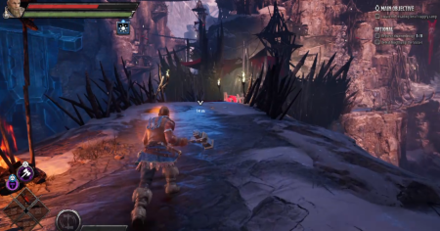 Explore the area and find the force's supply camp As soon as you arrive, head forward and explore the area for some loot. Take note of the mugs at the right as this is part of the optional objectives listed below. |
Destroy the supply camp's ballista
| Objectives | |
|---|---|
| 2 | 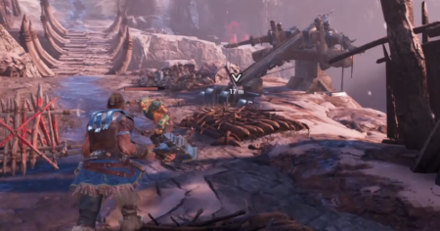 Defeat the enemies and destroy the ballista Past the first ice field is a bridge you need to cross. Destroy the blockade and defeat the enemies past it. Destroy the ballista (huge crossbow) nearby. Cross the bridge to the next area. |
Locate the lookout in the frozen cave
| Objectives | |
|---|---|
| 3 | 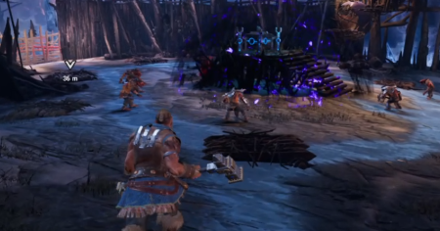 Go through the frozen cave and defeat the enemies Head up the incline to find two paths - one blocked by an ice wall and another direct path towards the enemy. Both paths lead to the same spot but the ice wall path gives you some loot and an opportunity to outright kill one of your opponents by sneaking up from behind him. Either way defeat the enemies. |
Destroy the lookout ballista
| Objectives | |
|---|---|
| 4 | 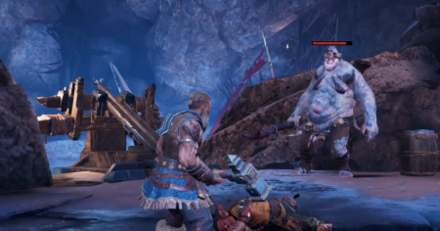 Find the next area and destroy the ballista Cross the bridge to find the lookout. Defeat all the enemies and destroy the ballista. Be warned of the verbeeg as they are very bulky. |
Locate the bridge camp
| Objectives | |
|---|---|
| 5 | 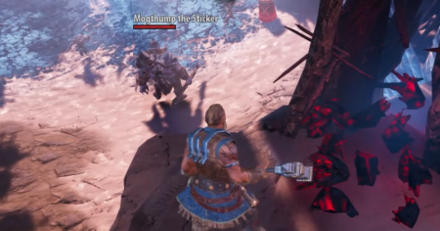 Solve the runestone puzzle and locate the next camp Head past the area to find a gap. Take note that Mogthump the Sticker is below this gap. If you wish to fight him at this point, just jump off the ledge and defeat him. Otherwise, jump over the gap to fight more enemies. Access the elevator at the end of the area. At the top, defeat the enemies and head left.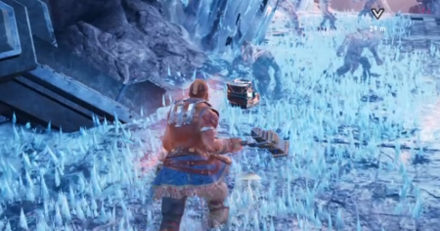 From beneath one of the frozen goblin's feet, collect the Dwarven Runestone then headback towards the same entrance to this area. This time, instead of heading left, head right. Electric traps are everywhere so be careful. Place the runestone on the left side of the door to open a secret room. Access the secret room and use the altar to gain an Attribute Point. Defeat the enemies after. 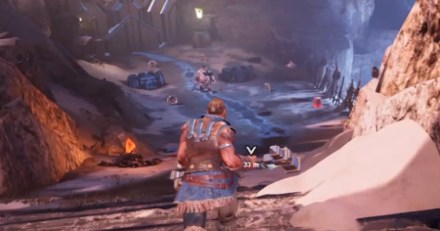 Head back to where you got the runestone and head downhill. There will be another path towards Mogthump to your right but otherwise keep going. |
Destroy the bridge camp ballista
| Objectives | |
|---|---|
| 6 | 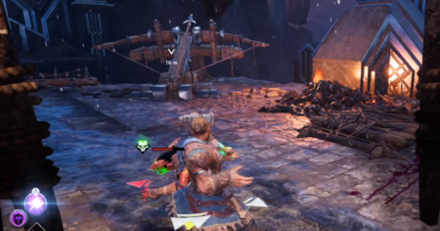 Defeat the enemies in the bridge camp and destroy the ballista. Keep going on the path and defeat the enemies there. In the next area, you'll find a camp filled with wooden structures. Battle through the pretty linear path and destroy the ballista. |
Move to Battlehammer Hall overlook
| Objectives | |
|---|---|
| 7 | 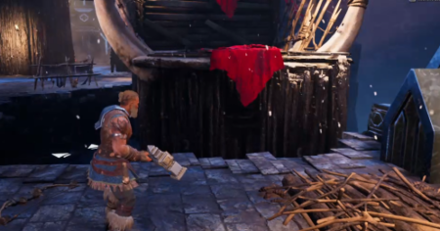 Head through the next area and defeat all the enemies At the end of this path is a dead end with a chest inside. Head back towards the entrance of this area and by the middle, you will notice a ledge marked with a red banner which you can climb, head on to it and enter the next area.Battle the enemies there and beating them will grant you a chance for a Short Rest. In this area, you will notice flamethrowers. Jump over them to find some loot. Head back to where you first battled the enemies in this area and jump over the ledge to access the next area. |
Destroy the Battlehammer Hall overlook ballista
| Objectives | |
|---|---|
| 8 | 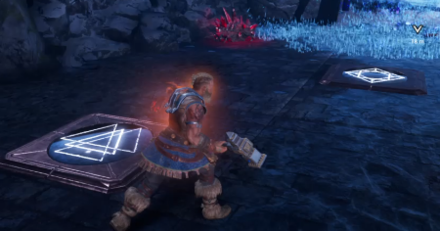 Head through the next area to destroy the next ballista Notice that there are four panels here similar to the elevator you first rode in earlier. Activate all four of them (one is in the ice field) to activate the elevator later on in the stage.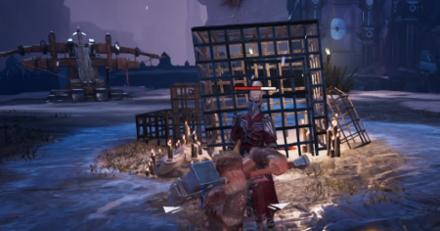 Head further on the path and defeat the cultists there and the ballista after. |
Move to Battlehammer Plaza. Destroy the Battlehammer Plaza ballista
| 9 | Objectives |
|---|---|
| 9 | 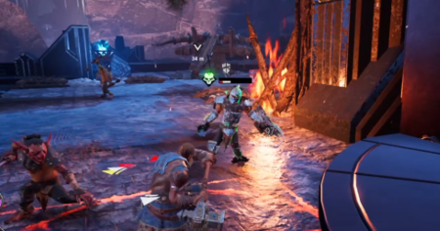 Head to the Battlehammer Plaza and destroy the ballista there By the end of this area, you will see a portal that will take you to the next area. Beat the enemies there and destroy the ballista as well. |
Go up the Battlehammer Gate. Defeat the goblin commander and his verbeeg lieutenant
| Objectives | |
|---|---|
| 10 | 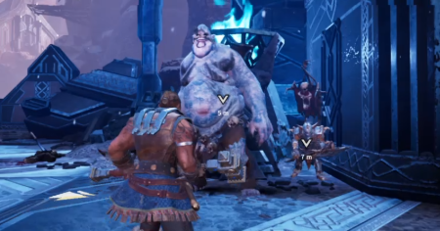 Activate the elevator and defeat the final boss of the game. Head to the elevator and battle the final enemy of the area to finish the Act. |
Goblins at the Gates Optional Objectives
Retrieve Dwarven Mugs
| Objectives | |
|---|---|
| 1 | 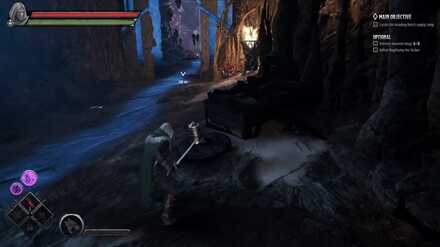 The first mug is located at the starting area of the mission. |
| 2 | 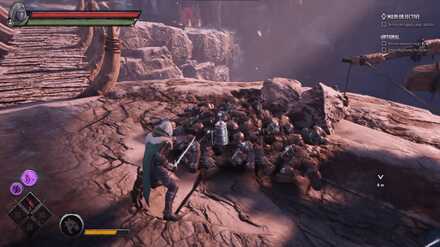 Located on a pile of corpses near the Ballista just before crossing a bridge. |
| 3 | 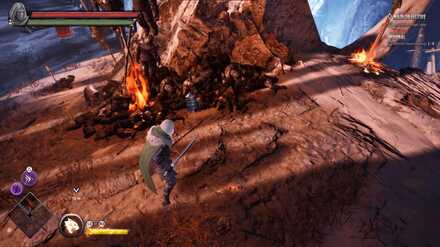 Located on a pile of corpses at the middle of the crossroad just before the metal gate. |
| 4 | 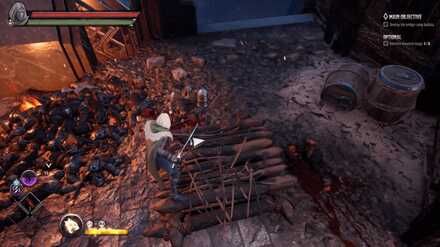 Located on a dwarven corpse near a pile of corpses just before entering the wooden gate. |
| 5 | 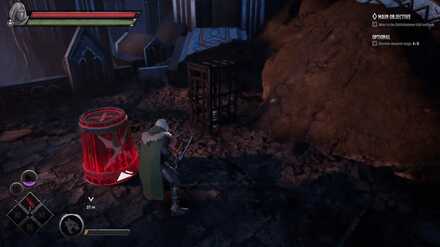 Located inside a cage, near the area just before entering a tunnel that leads to Battlehammer Plaza. |
| 6 | 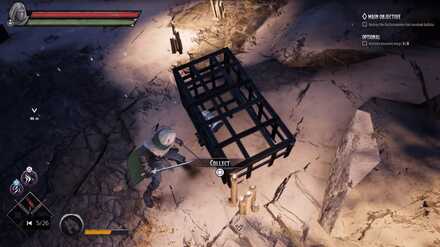 Located inside a cage in the Battlehammer Plaza where you have to defeat the cultists and destroy the ballista. |
| 7 | 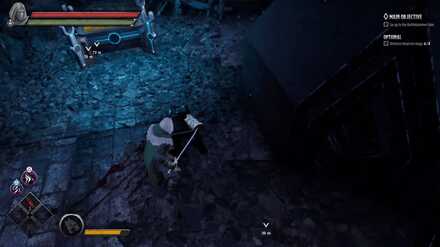 Just before taking the elevator up to the final boss, follow the path to the right and destroy the barrels to proceed. The Dwarven Mug is located just besides a dwarven corpse, near a chest. Be careful of the lighting traps. |
| 8 | 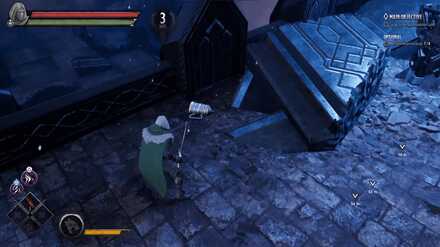 The last mug is located behind 3 wooden barrels after taking the elevator up before the boss battle.Destroy the barrels and retrieve the final mug to complete your objective. |
Defeat Mogthump the Sticker
| 1 |  Mogthump the Sticker is located near an icy field at the bottom of a gap right after destroying the Lookout Ballista. Hop down and defeat him to complete your objective. Watchout for his AoE attack and move away from him when he pukes to avoid getting inflicted with poison. |
|---|
Tips and Strategies
Know Your Enemy
There are already a variety of different enemies in this mission despite it being your first one. Goblins come in different variants. The regular ones that wield swords and bows are pretty easy to deal with. However, some have shields which you need to break to kill them. Others are charged with an element making them extra difficult to kill.
However, the true difficult enemies here aside from the boss are the verbeegs and cultists. Verbeegs are bulky so make sure you deal it as much damage as you can and bring it down quickly. Cultists are a bit different as they are quick to attack and almost always stun you.
Look Out For Treasure
Treasure is abundant in this mission so look out for pouches, bags, and chests that contain gold or equipment. Further, the red crystals scattered all around the level have
Boss Strategy: Greags the Ear-lopper and Ploobo Bonesucker
Use Your Ultimate Wisely
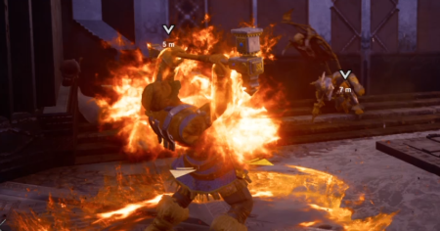
Most of the 4 heroes will be able to remove 25% of the boss's HP with one ultimate. Just make sure that you have plenty of resources to battle with these guys as they are not exactly easy to bring down. They're not exactly that hard either with the pair just summoning goblins which are more of a nuisance than difficult.
Dispose of Greags first as he is quite easier to get lost with the number of goblins they summon. Then, defeat Ploobo last and it'll just be like defeating a verbeeg - just bulkier.
How to Beat Greags the Ear-lopper and Ploobo Bonesucker
Goblins at the Gates Attribute Shrine Locations
| 1 | 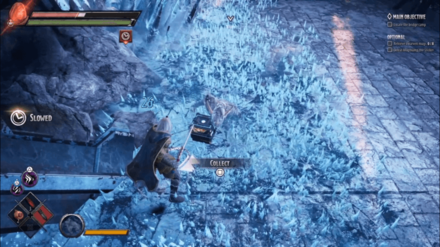 The attribute shrine is located behind a large gate just after taking an elevator up. To open it, you must find a Dwarven Runestone. It is located in the ice spikes besides a frozen goblin corpse. |
|---|---|
| 2 | 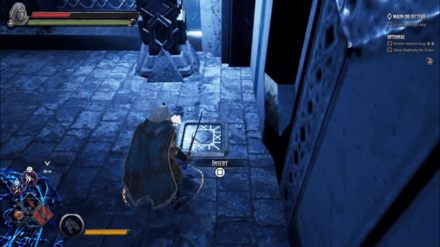 Once you have the Dwarven Runestone, open the large door by inserting it on the mechanism at left side of the door. |
| 3 |  You can now get the attribute from the shrine but be warned as a number of Cultists will spawn behind you right after you receive the attribute. |
Goblins at the Gates Chest Locations
| Location | Directions | |
|---|---|---|
| 1 | 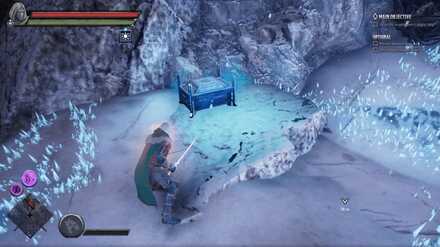 |
Right after leaving the starting area, head to the right and you'll see the chest surrounded by ice spikes. |
| 2 | 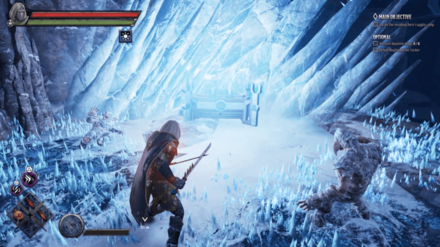 |
Follow the path on the left after leaving the starting area. Jump over a broken bridge and you'll see the chest surrounded by ice spikes at the end. |
| 3 | 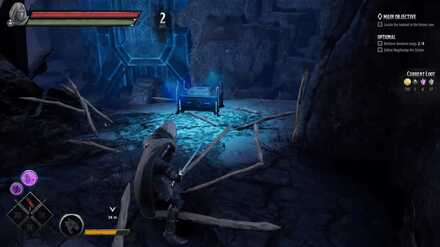 |
After entering the area of your first encounter, head to the left and climb on top of a ledge with the red banner. Destroy the two barriers and behind it will be a chest. |
| 4 | 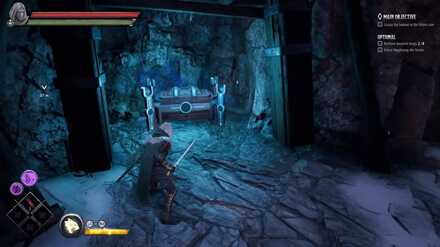 |
After crossing the bridge, head to the path on the right and destroy the explosive barrels. Behind it will be a chest. |
| 5 | 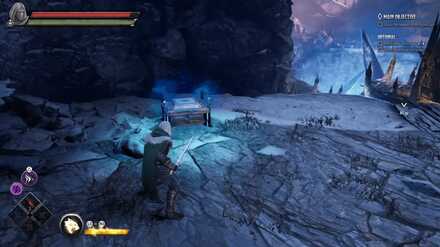 |
Heading up after crossing the bridge, you will encounter two paths. Take the left path and destroy the barrier to go through an ice tunnel. At the end, there will be goblins guarding the chest. Defeat them to open the chest. |
| 6 | 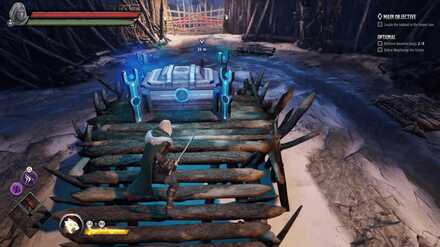 |
Taking the right path, you'll encounter a chest surrounded by a party of goblins. Defeat them to open the chest. Be careful as opening the chest will spawn more goblins. |
| 7 | 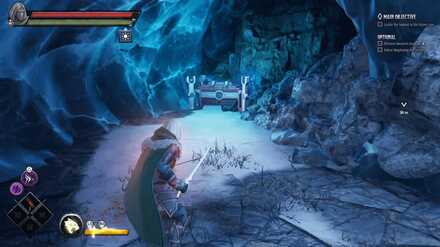 |
After defeating the goblins guarding the chest, head down towards the right path and you'll encounter another ice tunnel. Get the warmth buff and head inside to avoid getting damaged by the ice spikes. Keep moving forward and there you'll find a chest. |
| 8 | 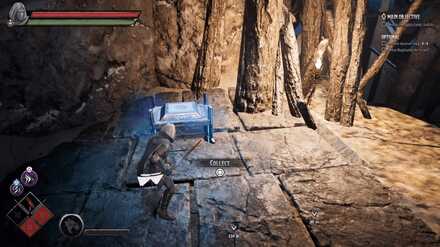 |
After jumping through a gap where Mogthump the Sticker is, you'll find a flight of stairs to your right. Climb the stairs and at the end and there will be a chest covered in rocks. Attack the it to break the rocks and you can now open the chest. Watch out for the lightning traps along the path of the chest. |
| 9 | 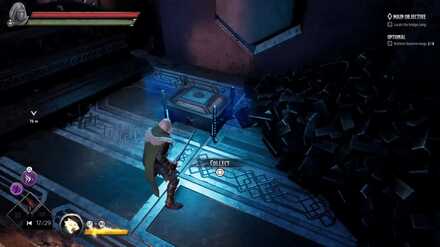 |
Located inside a locked gate. Simply take the Dwarven Runestone near the gate to open it and the chest should be ontop of the staircase on the left. |
| 10 | 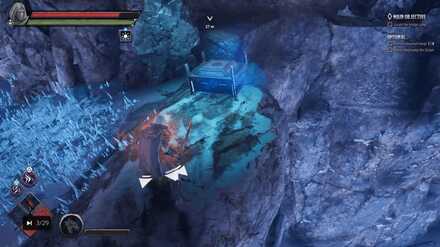 |
Just before the guarded metal gate, take the path to the right and you should see a ledge with a bonfire surrounded in rocks. Look to your left and you'll find a chest near the cliff. Get the warmth buff from the bonfire and jump down to open it. |
| 11 | 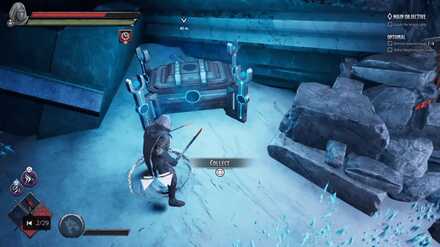 |
There is another chest located across the icy field on the right. Make sure you have a warmth buff to get across. |
| 12 | 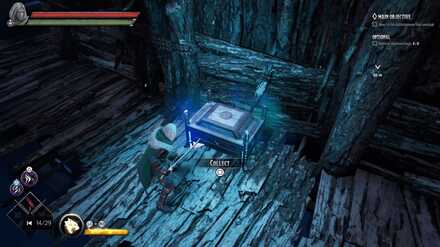 |
Just before entering the giant wooden gate, there is a hidden path to the right. Destroy the barrels to reveal it. Follow the path and you'll be able to see a chest. |
| 13 | 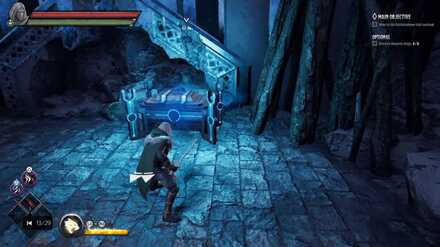 |
Keep moving straight ahead after entering the giant wooden gate. Jump over a ledge and you'll be able to find a chest at the end of the path. |
| 14 | 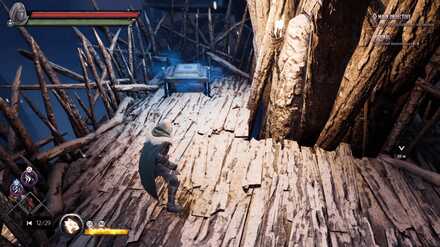 |
Keep moving up the wooden bridge and you'll be able to find an explosive barrel on one of the pillars supporting the bridge. Destroy it to reveal a chest behind. |
| 15 | 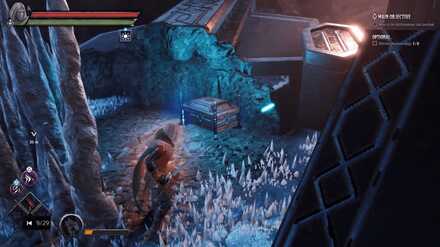 |
Just before entering an ice tunnel that leads to Battlehammer Plaza, head towards to the right path. There will be a chest waiting for you at the end. |
| 16 | 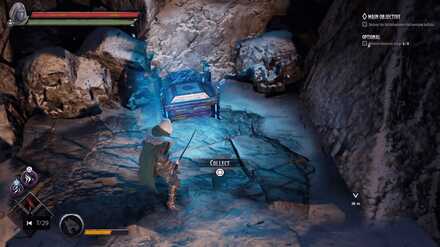 |
After entering Battlehamer Plaza, there will be a ledge on the right. Climb up to acquire the chest. |
| 17 | 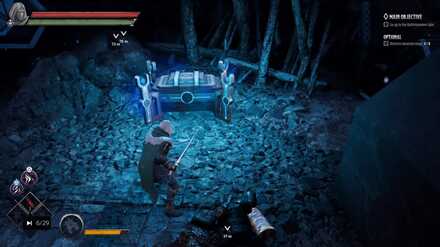 |
Just before taking the elevator up to the final boss, follow the path to the right and destroy the barrels to proceed. There will be a chest at the end of the path accompanied by a dwarven mug. be careful as there are lightning traps along the path. |
Dark Alliance Related Links
| Companions of Icewind Dale |
|---|
| Goblins at the Gates |
| Halls of Duergar |
| Bangor's Span |
| The Goblin's Shard |
|---|
| The Goblin Valley |
| Goffin's Door |
| The Goblin Tower |
| Verbeeg Jamboree |
|---|
| The Verbeeg Jamboree |
| Designs of the Duergar |
| A Feast for All Cretins |
| The Order of the Light |
|---|
| An Infernal Dispute |
| Order of the One Light |
| The Return of the Tyrant |
| The Mask of Kelvin |
|---|
| Ghosts of the Past |
| The Broken City |
| The Face of Kelvin |
| Crystalline Dreams |
|---|
| The Floating City |
| Crystal Harvest |
| A Crystal Crown |
| The Fury of Icewind |
|---|
| The Hunting Grounds |
| The Hall of Judgment |
| A Tomb of Ice |
Author
Goblins at the Gates Act Guide and Walkthrough | Dwarven Mug Locations
improvement survey
03/2026
improving Game8's site?

Your answers will help us to improve our website.
Note: Please be sure not to enter any kind of personal information into your response.

We hope you continue to make use of Game8.
Rankings
- We could not find the message board you were looking for.
Gaming News
Popular Games

Genshin Impact Walkthrough & Guides Wiki

Honkai: Star Rail Walkthrough & Guides Wiki

Umamusume: Pretty Derby Walkthrough & Guides Wiki

Pokemon Pokopia Walkthrough & Guides Wiki

Resident Evil Requiem (RE9) Walkthrough & Guides Wiki

Monster Hunter Wilds Walkthrough & Guides Wiki

Wuthering Waves Walkthrough & Guides Wiki

Arknights: Endfield Walkthrough & Guides Wiki

Pokemon FireRed and LeafGreen (FRLG) Walkthrough & Guides Wiki

Pokemon TCG Pocket (PTCGP) Strategies & Guides Wiki
Recommended Games

Diablo 4: Vessel of Hatred Walkthrough & Guides Wiki

Cyberpunk 2077: Ultimate Edition Walkthrough & Guides Wiki

Fire Emblem Heroes (FEH) Walkthrough & Guides Wiki

Yu-Gi-Oh! Master Duel Walkthrough & Guides Wiki

Super Smash Bros. Ultimate Walkthrough & Guides Wiki

Pokemon Brilliant Diamond and Shining Pearl (BDSP) Walkthrough & Guides Wiki

Elden Ring Shadow of the Erdtree Walkthrough & Guides Wiki

Monster Hunter World Walkthrough & Guides Wiki

The Legend of Zelda: Tears of the Kingdom Walkthrough & Guides Wiki

Persona 3 Reload Walkthrough & Guides Wiki
All rights reserved
© 1993-2021 Wizards of the Coast LLC, a subsidiary of Hasbro, Inc. All Rights Reserved.
The copyrights of videos of games used in our content and other intellectual property rights belong to the provider of the game.
The contents we provide on this site were created personally by members of the Game8 editorial department.
We refuse the right to reuse or repost content taken without our permission such as data or images to other sites.





![Monster Hunter Stories 3 Review [First Impressions] | Simply Rejuvenating](https://img.game8.co/4438641/2a31b7702bd70e78ec8efd24661dacda.jpeg/thumb)


