Halls of Duergar Act Guide and Walkthrough | Duergar Supplies Locations
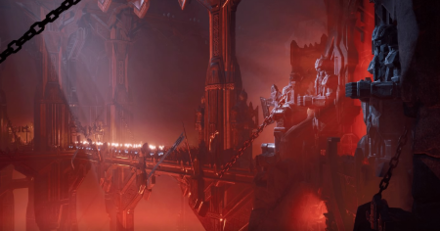
This is a walkthrough for Halls of Duergar, Act 2 of Companions of Icewind Dale in Dungeons & Dragons: Dark Alliance. Learn more about the objectives of this quest, available rewards, tips for completion, locations of attribute shrines, as well as boss fight strategies!
| Previous Quest | Current Quest | Next Quest |
|---|---|---|
| Goblins at the Gates | Halls of Duergar | Bangor's Span |
List of Contents
Halls of Duergar Basic Information
Quest Information
| Quest | Companions of Icewind Dale |
|---|---|
| Mission | |
| Bruenor's people have fled their home, driven out by new threats that have come to claim the Crystal Shard. | |
Act Information
| Act No. | 2 |
|---|---|
| Type | Mission |
| Preferred Gear Set Drop | Hoard Raider (Bruenor) Tundra Raptor (Drizzt) Tundra Trapper (Wulfgar) Tundra Explorer (Catti-brie) |
| Bosses | Stonegrinder |
| Optional Bosses | Gray Stalkers |
| Unlock Requirement | Complete Goblins at the Gates |
| Description | |
| It was not goblins that drove the Battlehammers from their halls. It was duergar. They came from the Underdark and had penetrated the lower Halls, exposing the dwarves to attack. With the dwarven warriors off fighting Kessell, those dwarves who remained behind were no match for the invading duergar. Before the Battlehammer Halls could be secured, we would have to seal the duergar breaching tunnels. | |
Halls of Duergar Main Objectives
Progress into the halls. Find the elevator's control lever
| Objectives | |
|---|---|
| 1 | 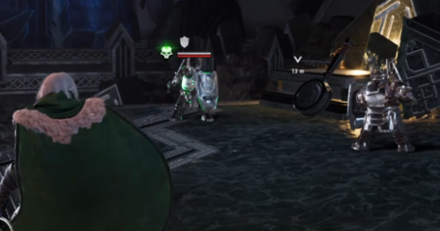 Explore the first area and find the lever to get to the lower levels. Go forward. There is a needed runestone at the right beyond some spikes. Get it and access the room beyond the elevator. Defeat the enemies and get the treasure. Head back and climb the ledge near the elevator. Defeat the enemies and grab the lever. |
Take the elevator to the lower halls. Locate the duergar breaching the tunnel at the bridge
| Objectives | |
|---|---|
| 2 | 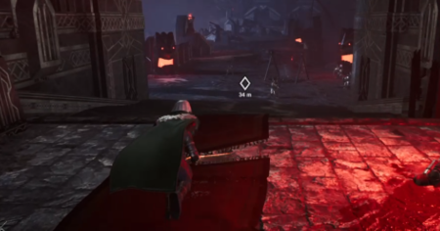 Go back down and ride the elevator and find the duergar. Just get to the elevator and put in the lever. Ride the elevator down then move forward to find your targets. |
Clear the duergar forces at the bridge. Seal the duergar breaching tunnel at the bridge.
| Objectives | |
|---|---|
| 3 | 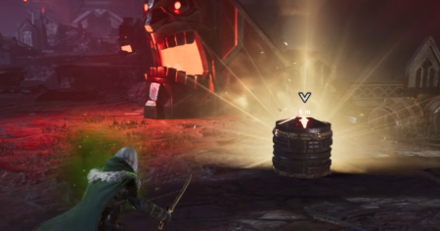 Defeat all enemies Defeat the enemies and one of them will drop a bomb. Get it and go to the opening where the duergar came from and seal it. |
Locate the mining shaft entrance
| Objectives | |
|---|---|
| 4 | 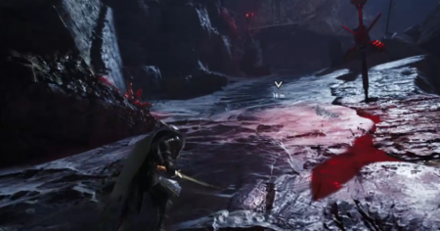 Find the next entry point of the duergar From the first enemy camp, head to the left to find a sharp incline. Head up to there to find the mining shaft entrance. |
Clear the duergar forces at mining shaft entrance. Seal the duergar breaching tunnel at the mining shaft entrance
| Objectives | |
|---|---|
| 5 | 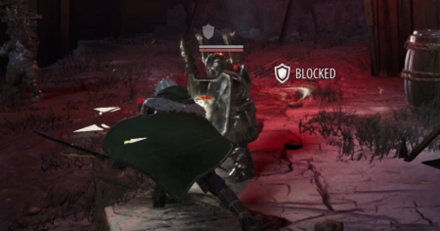 Defeat all enemies at the mining shaft and seal their entry point. Defeat all enemies. Activate the switch nearby to get the bomb. Use it to seal the breaching tunnel. |
Locate the dwarven foundry
| Objectives | |
|---|---|
| 6 | 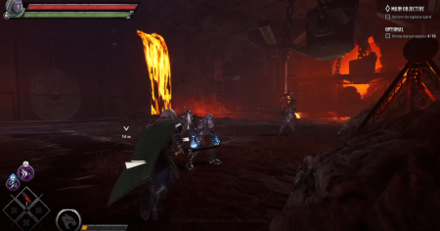 Locate the next duergard breaching tunnel. From the second tunnel, the path divides into two. Head to the lower one first and defeat all enemies there. |
Retrieve the explosive barrel. Seal the duergard tunnel in the dwarven foundry
| Objectives | |
|---|---|
| 7 | 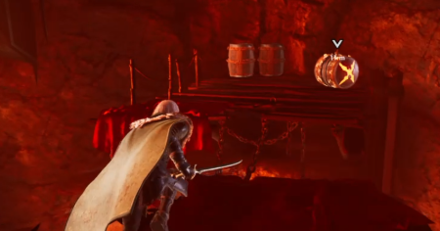 Find the barrel and seal the duergard tunnel. As you enter a cave full of magma, defeat the enemies there. Find the elevator shaft and head to the right to find a ladder leading to some wooden structure. To its right is the barrel. Jump back down and seal the tunnel. |
Locate the Mushroom Cave
| Objectives | |
|---|---|
| 8 | 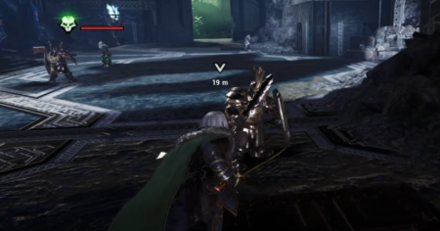 Find the last duergard tunnel Note that in the dwarven foundry is an elevator that can serve as a shortcut to the mushroom cave. However, you will miss some treasure and enemies so for those who are treasure hunting, head back to the mining shaft. From the mining shaft, go to the upper path and defeat the enemies as you go to locate the Mushroom Cave. |
Clear the duergar forces at the Mushroom Cave. Seal the duergar tunnel at the Mushroom Cave
| Objectives | |
|---|---|
| 9 | 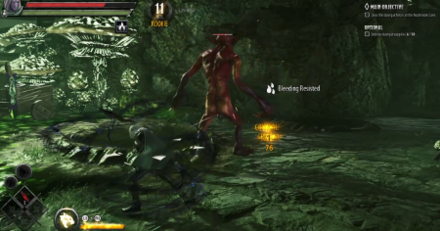 Defeat the remaining duergar and seal the last tunnel. Defeat all enemies in Mushroom Cave and one of them will drop the barrel to seal the tunnel. |
Get to the main gate of Bangor's Span
| Objectives | |
|---|---|
| 10 | 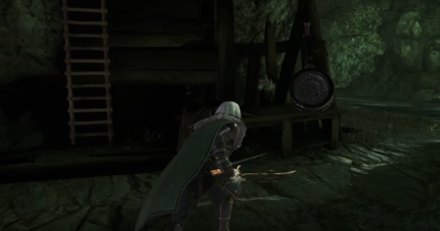 Find the boss of the level. Follow the objective marker and defeat the remaining enemies as you go. Look for secret paths to find some treasure in this area. |
Defeat Stonegrinder
| Objectives | |
|---|---|
| 11 | 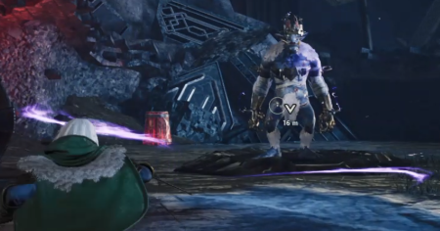 Defeat the final boss Defeat Stonegrinder. For more tips and strategies to beat him, look at the boss section below. |
Halls of Duergar Optional Objectives
Defeat the Gray Stalkers
| Objectives | |
|---|---|
| 1 |  From the starting area elevator, head towards the broken bridge. Jump through each platform until you reach the end. A number of Gray Stalkers will spawn as soon as you get close. |
Destroy Duergar Supplies
| Objectives | |
|---|---|
| 1 | 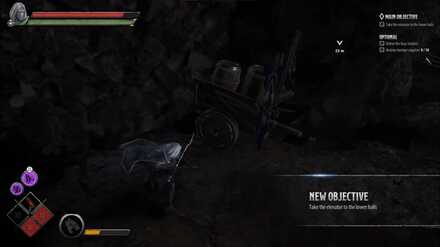 From the starting area, take a left turn. You'll be able to see the duergar supply across the spike traps. |
| 2 | 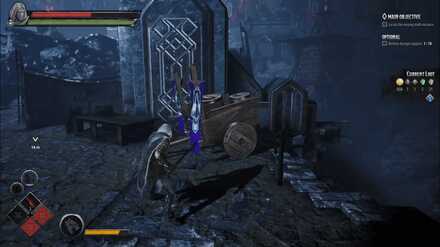 From the starting area elevator, head towards the broken bridge. Jump through each platform until you reach the end. The duergar supply will be on the right side of the bridge. Be careful as Gray Stalkers will spawn once you enter this location. |
| 3 | 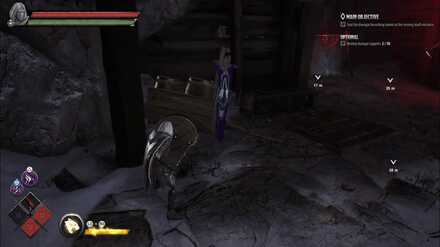 The duergar supply is located to the left of the duergar breaching tunnel at the mining shaft entrance. |
| 4 | 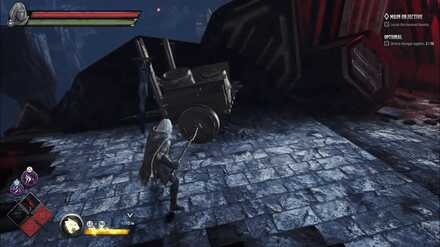 Head down towards the poison river from the mining shaft entrance. The duergar supply will be on the platform to the right. |
| 5 | 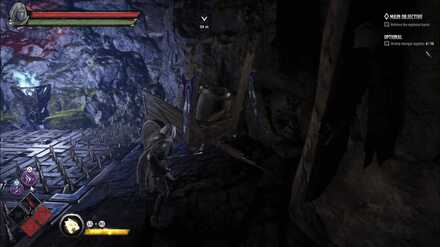 The supply is located inside the shaft near the lava pool in the dwarven foundry. Break the barricade and cross the spike trap to get to the duergar supply. |
| 6 | 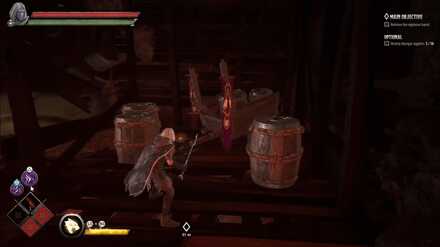 Climb the ladder in the dwarven foundry. You'll see a little shaft on the left where the duergar supply is located. |
| 7 | 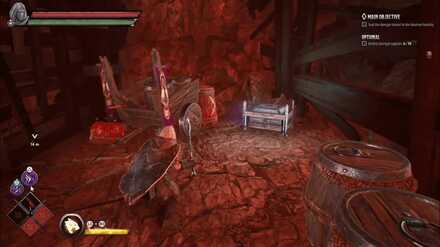 After retrieving the explosive barrel. Hop down and look down on the river of lava. Hop down and move across the support beam to destroy the duergar supply. |
| 8 | 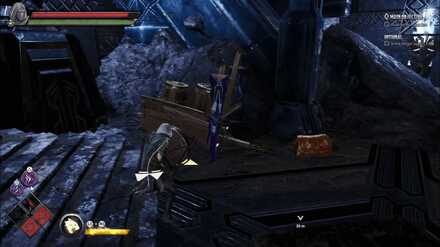 After going up the elevator from the Dwarven Foundry, move to the left and the duergar supply will be there. |
| 9 | 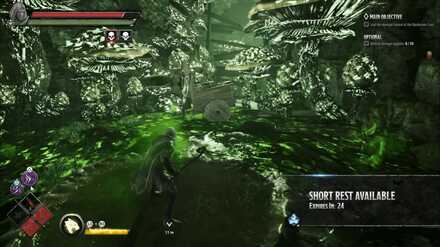 The duergar supply is located at the Mushroom Cave, behind where the poison troll spawned. |
| 10 | 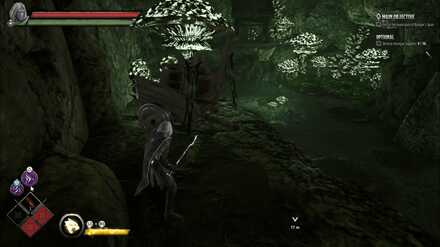 Just before the boss area, there is a ladder on the right besides a lever. Climb up and follow the path to get to the last duergar supply. |
Tips and Strategies
Quick On Your Toes
The enemies here are not exactly strong defensively. They are quite easy to destroy. However, the duergar ranged attackers drop bombs when they die so try and evade quick.
Boss Strategy: Stonegrinder
Quick Attacks
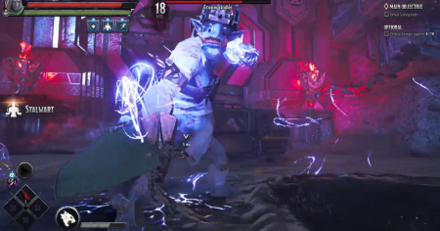
This boss is pretty quick compared to the first boss in Act 1. However, since he is quite big, his moves can be predicted. Quick attacks work well here but also time your dodges since he is much quicker.
Additionally, he is susceptible to being stunned/staggered so take advantage of those moves and unleash your combos.
Halls of Duergar Attribute Shrine Locations
| 1 | 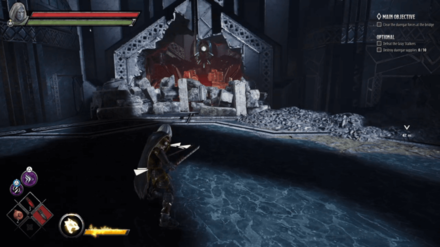 After going up the elevator from the Dwarven Foundry, you'll notice a bunch of debris just infront of the elevator. |
|---|---|
| 2 | 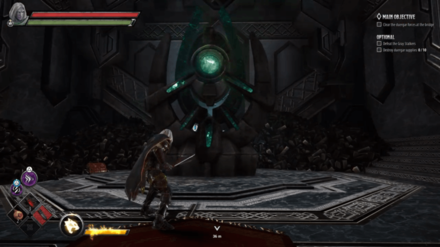 Destroy the debris and jump across the gap to get your attribute. |
Halls of Duergar Chest Locations
| Location | Directions | |
|---|---|---|
| 1 | 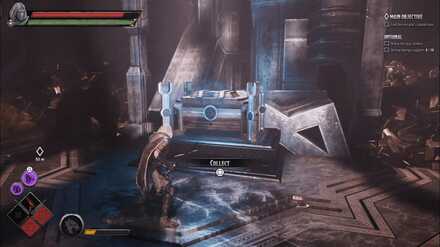 |
The chest is located behind the gate at the starting location. To open it, simply retrieve the Dwarven Runestone across the spike traps on the right path then use the runestone to open the gate. Once inside, defeat the enemies guarding the chest to open it. |
| 2 | 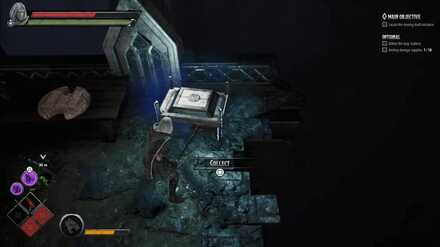 |
After taking the elevator down, move to the right path and behind the barrels is a chest. Use your projectile to ignite the explosive barrels to remove the poison sludge. |
| 3 | 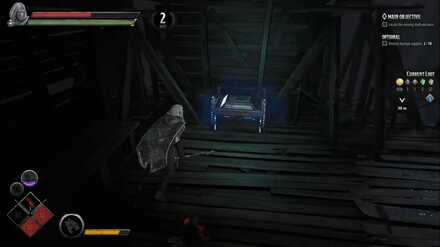 |
Head towards the broken bridge. Jump through each platform until you reach the end. There will be another platform on the right path. Jump across and open the chest. |
| 4 | 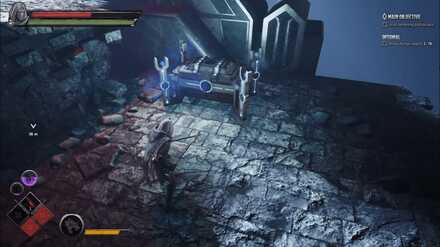 |
Head towards the end of the broken bridge. Climb a ledge and behind the debris will be a chest. |
| 5 | 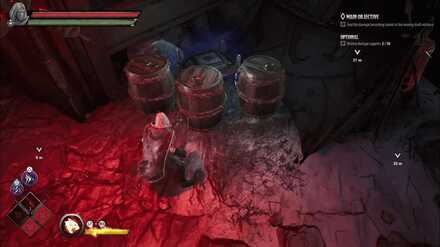 |
The chest is located at the right side of the duergar breaching tunnel at the mining shaft entrance, behind 3 barrels. |
| 6 | 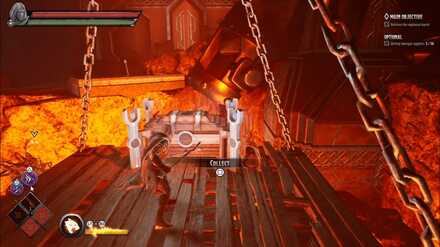 |
There is a chest located on top of a hanging platform in the dwarven foundry. To get it, you need to find the lever to move the platform down. The lever is located behind a barricaded shaft. Safely traverse through the spike traps and from there, destroy another set of barricade to retrieve the lever. |
| 7 | 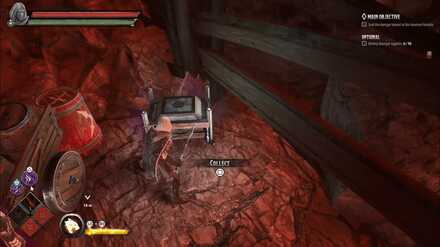 |
There is a support beam between the cliff from where you get the explosive barrel. Move across it to get to the chest. |
| 8 | 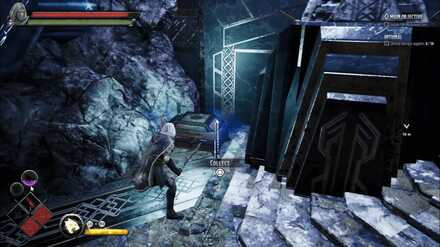 |
After going up the elevator from the Dwarven Foundry, look to your right and you'll spot a chest. |
| 9 | 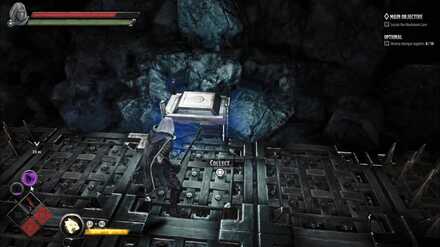 |
In the left path after the elevator, you will come across a spike trap. The chest is located on the left side of the traps. |
| 10 | 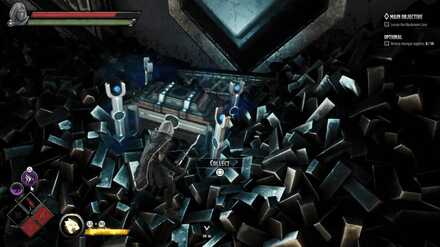 |
Directly infront of the elevator is a bunch of destroyable debris. Hop over to the other side and behind the attribute statue is a chest. |
| 11 | 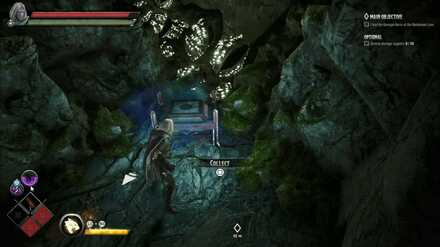 |
In the Mushroom Cave, head up the ramp. There is a chest behind a barricaded shaft. |
| 12 | 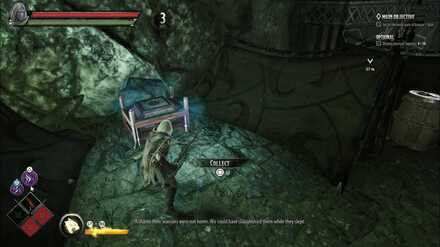 |
The chest is located besides one of the tent just before the boss area. |
| 13 | 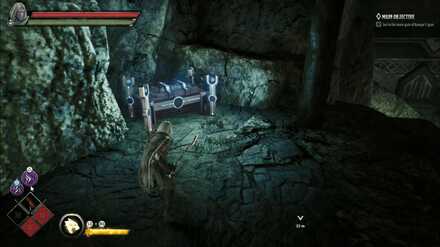 |
Just before the boss area, there is a ladder on the right-side of the wall and besides it is a lever. Take the lever and head up. Interact with the mechanism and a platform will slowly descent. Cross to the other side to retrieve the chest. |
Dark Alliance Related Links
| Companions of Icewind Dale |
|---|
| Goblins at the Gates |
| Halls of Duergar |
| Bangor's Span |
| The Goblin's Shard |
|---|
| The Goblin Valley |
| Goffin's Door |
| The Goblin Tower |
| Verbeeg Jamboree |
|---|
| The Verbeeg Jamboree |
| Designs of the Duergar |
| A Feast for All Cretins |
| The Order of the Light |
|---|
| An Infernal Dispute |
| Order of the One Light |
| The Return of the Tyrant |
| The Mask of Kelvin |
|---|
| Ghosts of the Past |
| The Broken City |
| The Face of Kelvin |
| Crystalline Dreams |
|---|
| The Floating City |
| Crystal Harvest |
| A Crystal Crown |
| The Fury of Icewind |
|---|
| The Hunting Grounds |
| The Hall of Judgment |
| A Tomb of Ice |
Author
Halls of Duergar Act Guide and Walkthrough | Duergar Supplies Locations
improvement survey
03/2026
improving Game8's site?

Your answers will help us to improve our website.
Note: Please be sure not to enter any kind of personal information into your response.

We hope you continue to make use of Game8.
Rankings
- We could not find the message board you were looking for.
Gaming News
Popular Games

Genshin Impact Walkthrough & Guides Wiki

Honkai: Star Rail Walkthrough & Guides Wiki

Umamusume: Pretty Derby Walkthrough & Guides Wiki

Pokemon Pokopia Walkthrough & Guides Wiki

Resident Evil Requiem (RE9) Walkthrough & Guides Wiki

Monster Hunter Wilds Walkthrough & Guides Wiki

Wuthering Waves Walkthrough & Guides Wiki

Arknights: Endfield Walkthrough & Guides Wiki

Pokemon FireRed and LeafGreen (FRLG) Walkthrough & Guides Wiki

Pokemon TCG Pocket (PTCGP) Strategies & Guides Wiki
Recommended Games

Diablo 4: Vessel of Hatred Walkthrough & Guides Wiki

Cyberpunk 2077: Ultimate Edition Walkthrough & Guides Wiki

Fire Emblem Heroes (FEH) Walkthrough & Guides Wiki

Yu-Gi-Oh! Master Duel Walkthrough & Guides Wiki

Super Smash Bros. Ultimate Walkthrough & Guides Wiki

Pokemon Brilliant Diamond and Shining Pearl (BDSP) Walkthrough & Guides Wiki

Elden Ring Shadow of the Erdtree Walkthrough & Guides Wiki

Monster Hunter World Walkthrough & Guides Wiki

The Legend of Zelda: Tears of the Kingdom Walkthrough & Guides Wiki

Persona 3 Reload Walkthrough & Guides Wiki
All rights reserved
© 1993-2021 Wizards of the Coast LLC, a subsidiary of Hasbro, Inc. All Rights Reserved.
The copyrights of videos of games used in our content and other intellectual property rights belong to the provider of the game.
The contents we provide on this site were created personally by members of the Game8 editorial department.
We refuse the right to reuse or repost content taken without our permission such as data or images to other sites.





![Monster Hunter Stories 3 Review [First Impressions] | Simply Rejuvenating](https://img.game8.co/4438641/2a31b7702bd70e78ec8efd24661dacda.jpeg/thumb)


