The Hunting Grounds Act Guide and Walkthrough | Holding Cages Locations
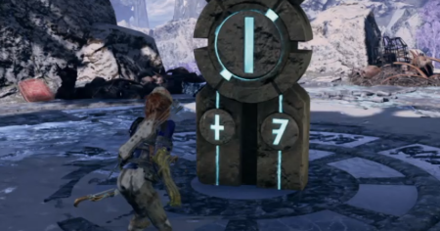
This is a walkthrough for The Hunting Grounds, Act 1 of The Fury of Icewind in Dungeons & Dragons: Dark Alliance. Learn more about the objectives of this quest, available rewards, tips for completion, locations of attribute shrines, as well as boss fight strategies!
| Previous Quest | Current Quest | Next Quest |
|---|---|---|
| A Crystal Crown | The Hunting Grounds | The Hall of Judgment |
List of Contents
The Hunting Grounds Basic Information
Quest Information
| Quest | The Fury of Icewind |
|---|---|
| Mission | |
| Icewind has been terrorizing the people of the Dale for slaying her mate, Icingdeath. | |
Act Information
| Act No. | 1 |
|---|---|
| Type | Dungeon |
| Preferred Gear Set Drop | Reghed Chief (Wulfgar) Dragonsbane (Drizzt) Sea Sprite's Watch (Catti-brie) Coldstone Guardian (Bruenor) |
| Bosses | Narf Twelvefingers |
| Optional Bosses | Chezzel Rotclaw |
| Unlock Requirement | Complete Crystalline Dreams |
| Description | |
| When Wulfgar and I slew the white dragon, Icingdeath, no tears were shed. The beast was a menace. But now, our actions had brought Icingdeath's mate, Icewind, back to the Dale to exact her vengeance. Some creatures were serving the dragon, bringing her prisoners in exchange for their own lives. We would root them out and discover from them where Icewind had made her lair. | |
The Hunting Grounds Main Objectives
Reach the abandoned Reghed camp. Defeat the hunters at the abandoned Reghed camp
| Objectives | |
|---|---|
| 1 | 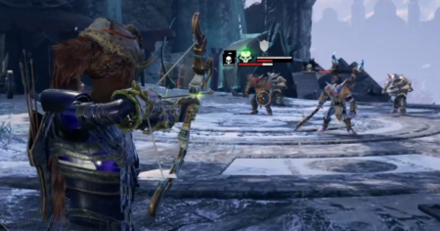 Defeat the enemies at the Reghed camp Follow the objective marker to reach the abandoned camp. Defeat all enemies there. |
Reach the broken temple. Defeat the hunters at the broken temple
| Objectives | |
|---|---|
| 2 | Defeat the enemies at the broken temple From the Reghed camp, head west to reach the temple. Defeat all enemies there. Use the fireswords present in this level when necessary. |
Activate the runesword at the broken temple
| Objectives | |
|---|---|
| 3 | 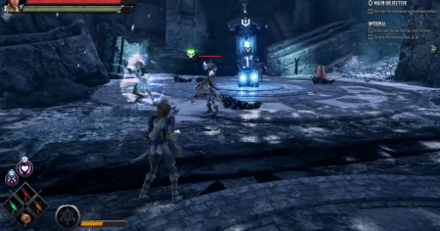 Activate the first of four runeswords Once all enemies are defeated activate the runesword. |
Reach the fallen spire. Defeat the hunters at the fallen spire
| Objectives | |
|---|---|
| 4 | 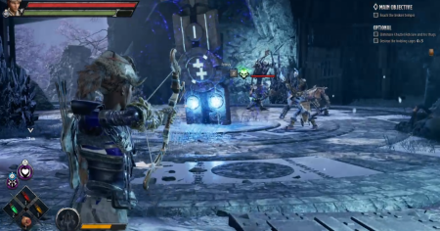 Defeat the enemies at the fallen spire Return to the Reghed camp and this team head east. Battle through the enemies at the fallen spire. |
Activate the runesword at the fallen spire
| Objectives | |
|---|---|
| 5 | Activate the second of four runeswords Once all enemies are defeated, activate the runesword. |
Pass through the Spire of Kelvin to reach the frozen courtyard
| Objectives | |
|---|---|
| 6 | Travel to the next area Follow the objective marker to a portal. Keep following it to reach the frozen courtyard. |
Defeat the hunters at the frozen courtyard
| Objectives | |
|---|---|
| 7 | 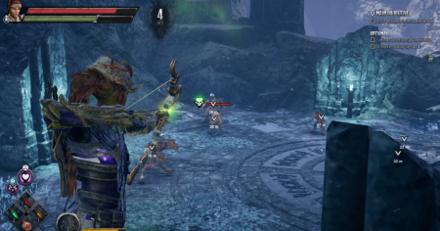 Defeat the enemies at the frozen courtyard You can stay at the higher ledge you're on and snipe away at the enemies if you're Catti-brie. Defeat all enemies and proceed to the next area. |
Reach the lookout camp
| Objectives | |
|---|---|
| 8 | Go to the next area Follow the marker to a portal to reach the lookout camp. |
Defeat the hunters at the lookout camp. Activate the runesword at the lookout camp
| Objectives | |
|---|---|
| 9 | 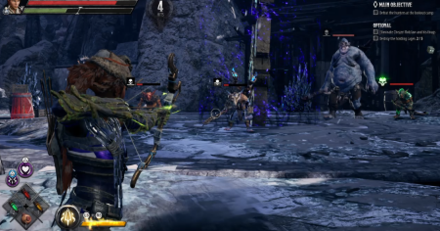 Activate the third of fourth runesword Battle the enemies here and activate the third runesword. |
Reach the Grove of Tempus. Defeat the monsters within the Grove of Tempus
| Objectives | |
|---|---|
| 10 | 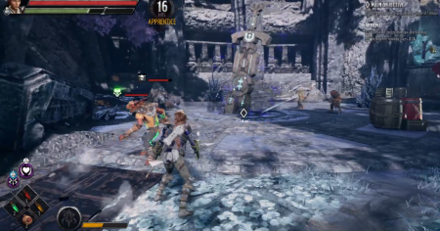 Defeat the enemies at the grove Battle the enemies here and activate the third runesword. |
Activate the runesword at the Grove of Tempus
| Objectives | |
|---|---|
| 11 | Activate the last runeswordBattle the enemies here and activate the third runesword. |
Reach the Hunter's Camp. Defeat Narf Twelvefingers
| Objectives | |
|---|---|
| 12 | 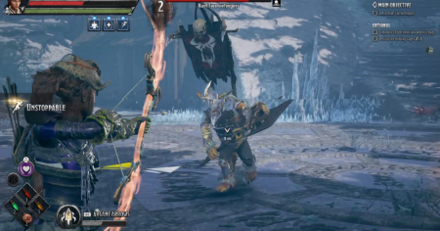 Defeat the boss of the stage Follow the objective marker once more to get to the Hunter's Camp. Defeat the boss here to end the stage. |
The Hunting Grounds Optional Objectives
Eliminate Chezzel Rotclaw and his thugs
| Objectives | |
|---|---|
| 1 | 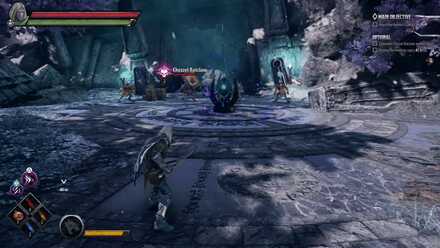 In the Grove of Tempus, there is a ledge you can climb up to. Following the path will lead you to Chezzel Rotclaw and his crew which are all a Gnoll. Make sure you are well prepared as they hit very hard. |
Destroy the Holding Cages
| Objectives | |
|---|---|
| 1 | 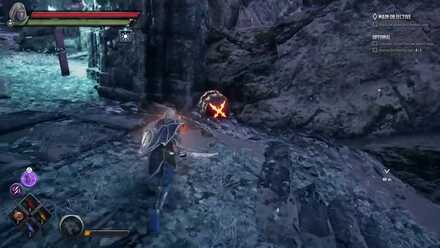 Take the explosive barrel located outside of the starting area, near the bonfire. |
| 2 | 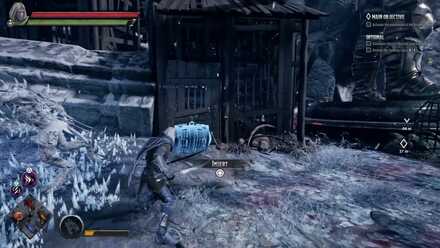 Head to the Broken Temple and the Holding Cage is located besides the giant statue. |
| 3 | 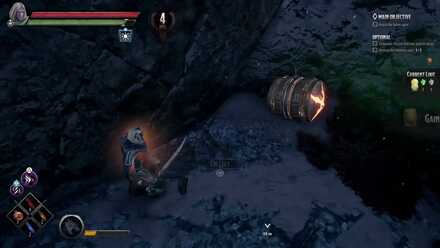 The next explosive barrel is on a ledge overlooking the Broken Temple. Destroy the ice stalagmites then head across a path of ice spikes. Climb up the ladder to get to the Explosive Barrel. |
| 4 | 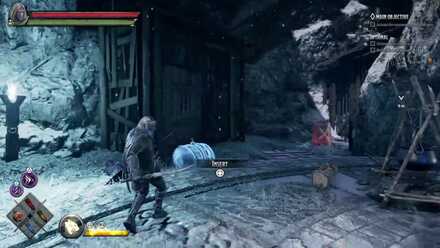 The next Holding Cage is located at the Fallen Spire. |
| 5 | 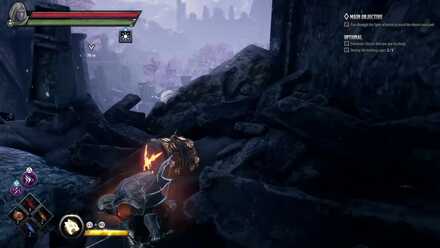 Jump down instead of going through the portal in the Fallen Spire. There is a Explosive Barrel on top of a pile of rubble. |
| 6 | 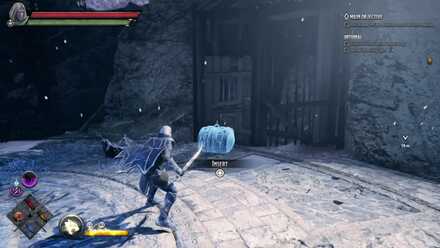 Head back to the Fallen Spire for the next Holding Cage. |
| 7 | 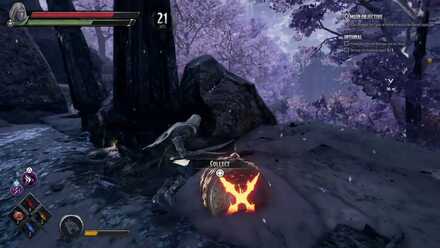 Take the left path instead of the elevator. There will be an explosive barrel near some pillars along the path. |
| 8 | 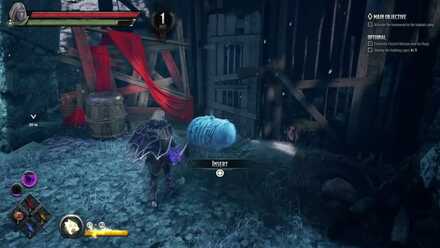 The next Holding Cage is located at the Frozen Courtyard. |
| 9 | 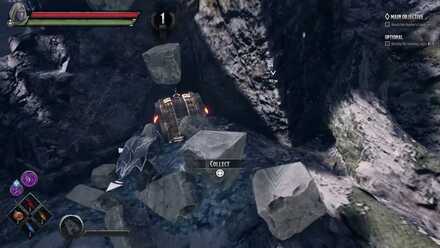 The last explosive barrel is located under a debris besides a pillar along the path towards the Grove of Tempus. |
| 10 | 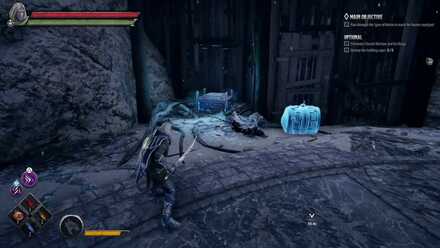 Head back to the Lookout Camp for the last Holding Cage. |
Tips and Strategies
Cold Resistance
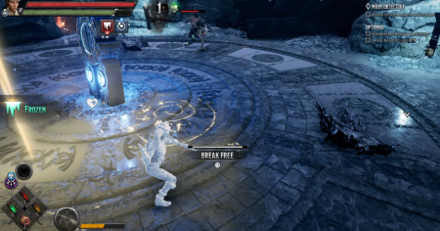
Having equipment with cold resistance here will definitely be helpful seeing as a lot of the enemies here use ice-related attacks.
Boss Strategy: Narf Twelvefingers
Focus on the Minions
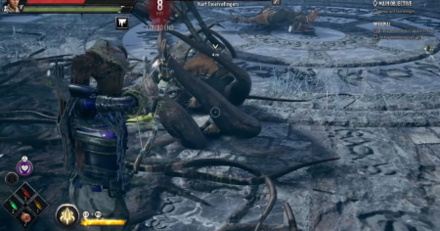
Narf Twelvefingers himself is not dangerous - its his verbeeg minion and the other monsters that are with him that will make this battle annoying. Deal with them first and focus last on Narf. He's one of the rare bosses that can be grappled via Catti-brie's abilities.
How to Beat Narf Twelvefingers
The Hunting Grounds Attribute Shrines Locations
| Directions | |
|---|---|
| 1 |  The Shrine is located in the Grove of Tempus, where Chezzel Rotclaw is. The Shrine is surrounded by a force field and the only way to deactive it is to find the Netherese Keystone. |
| 2 | 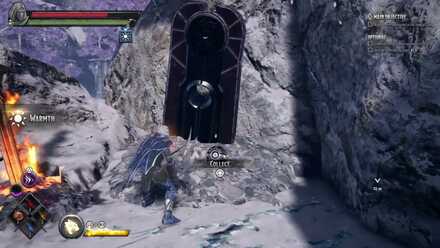 The Netherese Keystone is located on ledge, just after heading down using the elevator. |
| 3 | 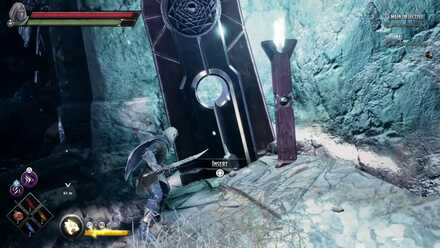 Once you have the Netherese Keystone, head back to the Grove of Tempus and defeat Chezzel Rotclaw. Once defeated, simple insert the Netherese Keystone. |
| 4 | 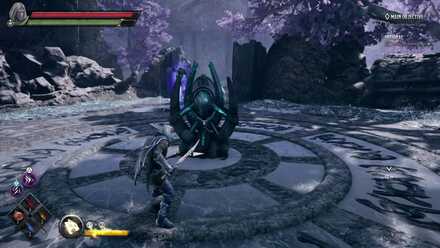 The force field will dissappear and you'll now be able to collect your attribute. Be warned as enemies will spawn as soon as you take the attribute. |
The Hunting Grounds Chest Locations
| Location | Directions | |
|---|---|---|
| 1 | 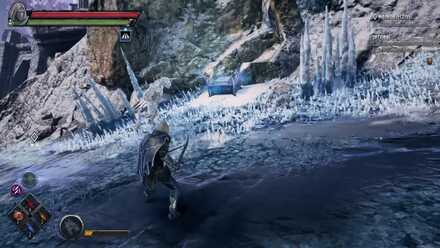 |
Located near the entrance, surrounded by ice spikes. |
| 2 | 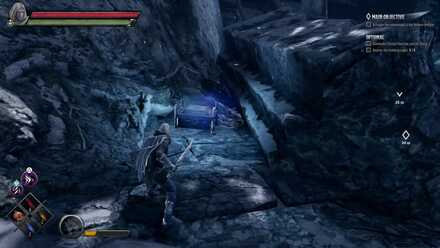 |
Located in the Broken Temple, behind an ice stalagmite besides the giant statue. |
| 3 | 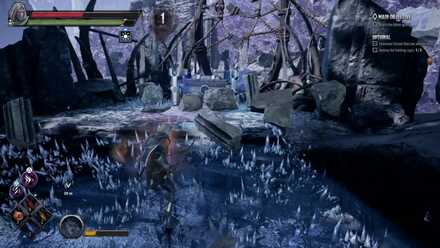 |
Located underneath a rubble in the Broken Temple by taking the stairs up between the two paths. |
| 4 | 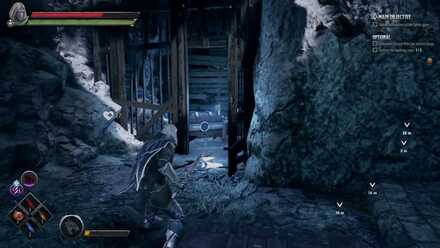 |
Inside the cell in the Fallen Spire. |
| 5 | 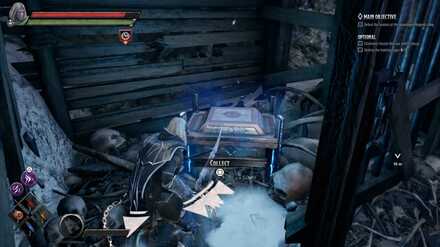 |
Located inside a cell, just before entering the Spire of Kelvin. |
| 6 | 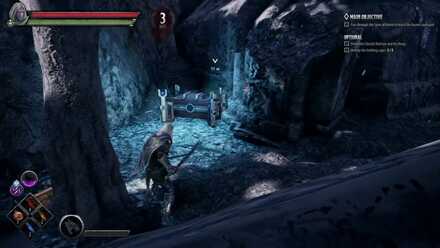 |
Located behind an ice stalagmite, just before entering the Spire of Kelvin. |
| 7 | 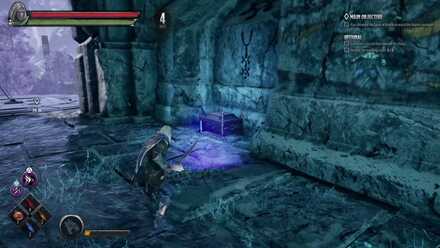 |
Located just before the elevator down in the Spire of Kelvin. |
| 8 | 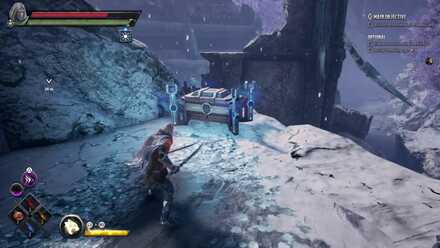 |
Located on a ledge, just after taking the ride down the elevator. |
| 9 | 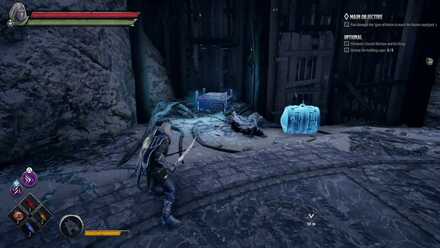 |
Located besides the Holding Cage in the Lookout Camp. |
| 10 | 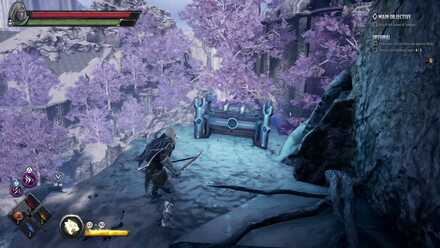 |
Down a ledge in the Lookout Camp. |
| 11 | 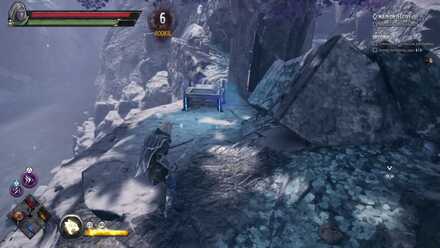 |
Located behind an ice stalagmite, just before entering the Grove of Tempus. |
| 12 | 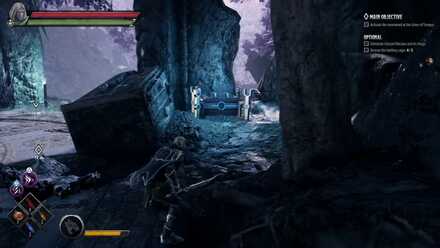 |
Located besides a fallen pillar in the Grove of Tempus. |
| 13 | 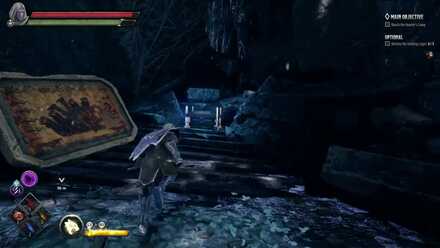 |
Located underneath a rubble near a painting in the Attribute Shrine. |
| 14 | 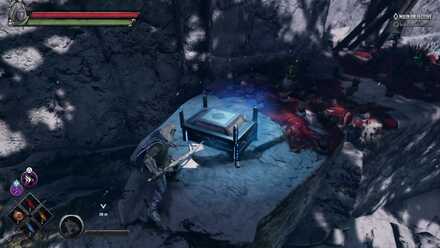 |
Located on a ridge on the way to the Hunter's Camp. |
Dark Alliance Related Links
| Companions of Icewind Dale |
|---|
| Goblins at the Gates |
| Halls of Duergar |
| Bangor's Span |
| The Goblin's Shard |
|---|
| The Goblin Valley |
| Goffin's Door |
| The Goblin Tower |
| Verbeeg Jamboree |
|---|
| The Verbeeg Jamboree |
| Designs of the Duergar |
| A Feast for All Cretins |
| The Order of the Light |
|---|
| An Infernal Dispute |
| Order of the One Light |
| The Return of the Tyrant |
| The Mask of Kelvin |
|---|
| Ghosts of the Past |
| The Broken City |
| The Face of Kelvin |
| Crystalline Dreams |
|---|
| The Floating City |
| Crystal Harvest |
| A Crystal Crown |
| The Fury of Icewind |
|---|
| The Hunting Grounds |
| The Hall of Judgment |
| A Tomb of Ice |
Author
The Hunting Grounds Act Guide and Walkthrough | Holding Cages Locations
improvement survey
03/2026
improving Game8's site?

Your answers will help us to improve our website.
Note: Please be sure not to enter any kind of personal information into your response.

We hope you continue to make use of Game8.
Rankings
- We could not find the message board you were looking for.
Gaming News
Popular Games

Genshin Impact Walkthrough & Guides Wiki

Honkai: Star Rail Walkthrough & Guides Wiki

Umamusume: Pretty Derby Walkthrough & Guides Wiki

Pokemon Pokopia Walkthrough & Guides Wiki

Resident Evil Requiem (RE9) Walkthrough & Guides Wiki

Monster Hunter Wilds Walkthrough & Guides Wiki

Wuthering Waves Walkthrough & Guides Wiki

Arknights: Endfield Walkthrough & Guides Wiki

Pokemon FireRed and LeafGreen (FRLG) Walkthrough & Guides Wiki

Pokemon TCG Pocket (PTCGP) Strategies & Guides Wiki
Recommended Games

Diablo 4: Vessel of Hatred Walkthrough & Guides Wiki

Cyberpunk 2077: Ultimate Edition Walkthrough & Guides Wiki

Fire Emblem Heroes (FEH) Walkthrough & Guides Wiki

Yu-Gi-Oh! Master Duel Walkthrough & Guides Wiki

Super Smash Bros. Ultimate Walkthrough & Guides Wiki

Pokemon Brilliant Diamond and Shining Pearl (BDSP) Walkthrough & Guides Wiki

Elden Ring Shadow of the Erdtree Walkthrough & Guides Wiki

Monster Hunter World Walkthrough & Guides Wiki

The Legend of Zelda: Tears of the Kingdom Walkthrough & Guides Wiki

Persona 3 Reload Walkthrough & Guides Wiki
All rights reserved
© 1993-2021 Wizards of the Coast LLC, a subsidiary of Hasbro, Inc. All Rights Reserved.
The copyrights of videos of games used in our content and other intellectual property rights belong to the provider of the game.
The contents we provide on this site were created personally by members of the Game8 editorial department.
We refuse the right to reuse or repost content taken without our permission such as data or images to other sites.





![Monster Hunter Stories 3 Review [First Impressions] | Simply Rejuvenating](https://img.game8.co/4438641/2a31b7702bd70e78ec8efd24661dacda.jpeg/thumb)


