The Floating City Act Guide and Walkthrough | Giant Urns Locations
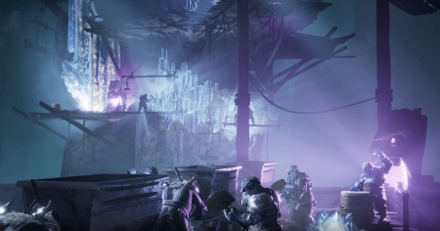
This is a walkthrough for The Floating City, Act 1 of Crystalline Dreams in Dungeons & Dragons: Dark Alliance. Learn more about the objectives of this quest, available rewards, tips for completion, locations of attribute shrines, as well as boss fight strategies!
| Previous Quest | Current Quest | Next Quest |
|---|---|---|
| The Face of Kelvin | The Floating City | Crystal Harvest |
List of Contents
The Floating City Basic Information
Quest Information
| Quest | Crystalline Dreams |
|---|---|
| Mission | |
| A powerful being has dominiated some of the duegar stranded in Icewind Dale and has them mining chardalyn crystals and crystal remnant. | |
Act Information
| Act No. | 1 |
|---|---|
| Type | Dungeon |
| Preferred Gear Set Drop | Corsair's Panache (Wulfgar) Sorcere's Sentinel (Drizzt) Underdark Camo (Catti-brie) Battlerager (Bruenor) |
| Bosses | Arim the Bonescribe |
| Optional Bosses | Horbolt Redpick |
| Unlock Requirement | Complate The Mask of Kelvin |
| Description | |
| Chardalyn crystals are plentiful in the ruins under Kelvin's Cairn. Their magic once helped keep Kelvin's floating city in the clouds. But now, duergard had moved in to mine the chardalyn from the city's ruins and were trucking it down deep into the catacombs. Four runeswords controlled the entrance to the lower mines, and we would have to light them all to press deeper in to the duergard operation. | |
The Floating City Main Objectives
The Floating City Portals
This stage has several portals and is a bit confusing for a first timer especially if you are aiming for 100% completion on this level.
There are 19 portals total in this level and knowing which one leads to what will be helpful in getting all loot, enemies, and quest objectives.
| The Floating City - Map |
|---|
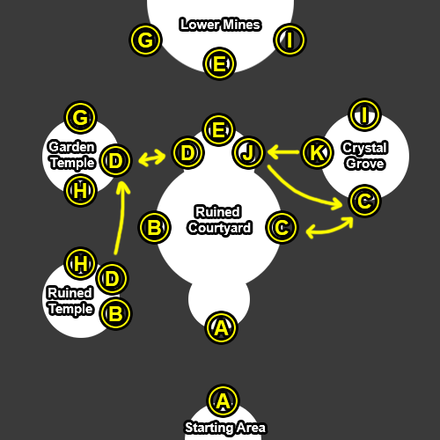 |
Throughout the walkthrough, we will be referencing this map in order to provide a more accurate path to take when collecting treasure or completing objectives.
Reach the runied courtyard. Activate the runesword in the ruined courtyard
| Objectives | |
|---|---|
| 1 | 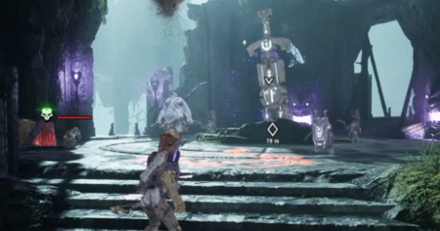 Follow the marker to the next island to reach the 1st runesword Use Portal A to get to the next island. Battle through the enemies you meet. Be careful on the edges of the island as you will fall from them and sustain damage. Follow the objective marker to reach the first runesword. |
Reach the garden temple. Activate the runesword in the garden temple
| Objectives | |
|---|---|
| 1 | 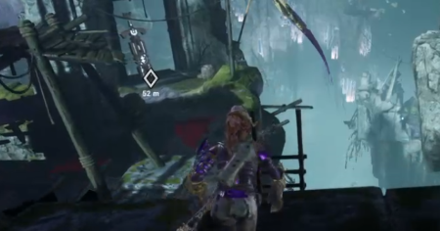 Head to the left portal to reach the garden temple and the 2nd runesword From the first runesword, head left and use Portal D to reach the garden temple. Battle the enemies there and head down the nearby ladder to your right to reach and activate the second runesword. |
Reach the ruined temple. Defeat the forces present at the temple entrance
| Objectives | |
|---|---|
| 1 | Follow the objective marker to reach the ruined temple Head back to where you came from but instead of using Portal D, use Portal H to get to the ruined temple. Battle the enemies there. |
Activate the ruined temple runesword
| Objectives | |
|---|---|
| 1 | 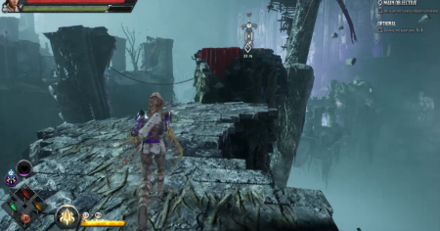 Activate the 3rd runesword After beating the enemies, follow the objective marker and jump over some floating islands in order to reach the third runesword. |
Reach the Crystal Grove. Activate the Crystal Grove runesword
| Objectives | |
|---|---|
| 1 | 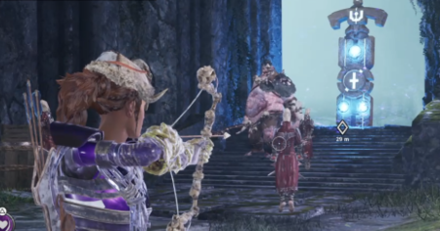 Reach the location of the last runesword Head back to the entrance of the temple and use Portal H or D to get back to the garden temple and then to the ruined courtyard. From there, head to Portal J or C to reach Crystal Grove. Defeat all enemies there and activate the last runesword. |
Reach the gate to the lower mines
| Objectives | |
|---|---|
| 1 | Head to the entrance of the mines From Crystal Grove, you can use Portal I to get to the final area of the stage. Alternatives include using Portal C in the ruined courtyard or Portal G in the garden temple. |
Defeat Arim the Bonescribe
| Objectives | |
|---|---|
| 1 | 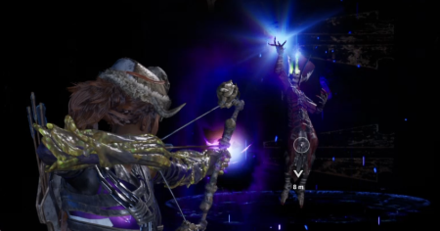 Defeat the boss of the stage Upon reaching the area, head to the nearby stairs and confront the boss. Defeating him ends the mission. |
The Floating City Optional Objectives
Destroy the Giant Urns
| Objectives | |
|---|---|
| 1 | 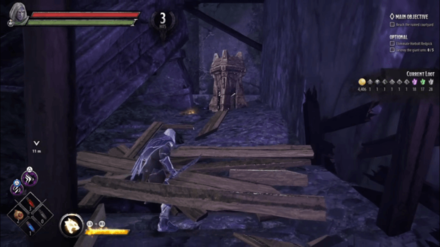 Located in the entrance, hiding behind a barricade near the purple glowing statue. |
| 2 |  Located besides a barrel near the Garden Temple Runesword. |
| 3 | 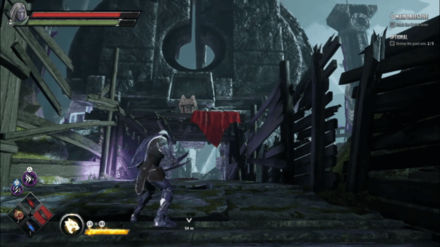 After entering the area of the Ruined Temple Runesword, look behind and you'll be able to see the urn located on top of a wooden platform. You can climb up the platform or use a ranged attack to destroy the urn. |
| 4 | 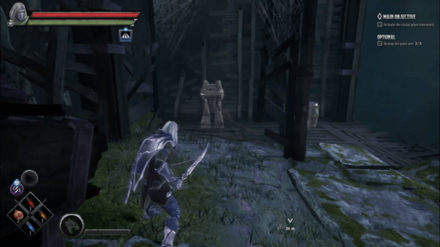 Located behind a barricade near the Lower Mines portal to the Crystal Grove. |
| 5 | 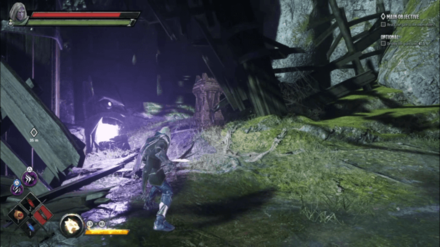 Located near a purple glowing statue, inside a destroyed wooden structure in the Lower Mines. |
Eliminate Horbolt Redpick
| Objectives | |
|---|---|
| 1 | 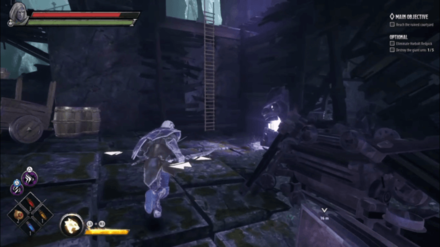 Horbolt Redpick is located in the Ruined Courtyard. There is a ladder you can climb up to in the center of the area. |
| 2 | 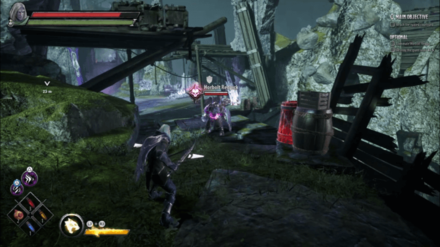 From there, take the path to the right, following it will take you to Horbolt Redpick. He is a Duergar who fights with his big shield. Attack him from behind or break his guard so you can deal damage to him. |
Tips and Strategies
Know Your Environment
This stage is highly confusing if you're not good at remembering where you came from. Further, any misstep on any ledge makes you fall off the island and sustain damage.
Boss Strategy: Arim the Bonescribe
Quick Damage Bursts
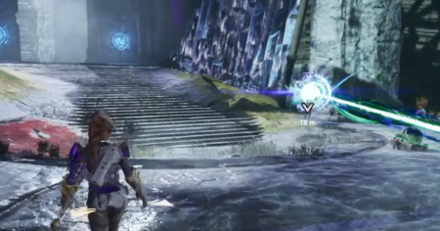
Arim will summon cultists to aid him and they can get annoying. Deal with them first. As for Arim himself, he's a powered up mage version of the cultists so close the distance beat him up with quick attacks. Stay away when he charges up his magic and then resume damaging him again.
How to Beat Arim the Bonescribe
The Floating City Attribute Shrines Locations
| Directions | |
|---|---|
| 1 | 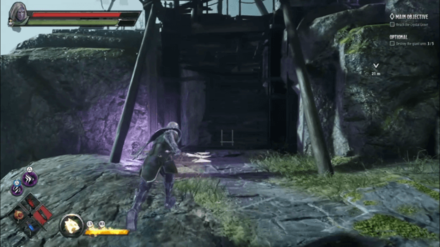 The Attribute Shrine is located in an underground mineshaft at the Ruined Temple. The entrance is down on a ledge near the cliff, with a glowing purple lantern besides it. |
| 2 | 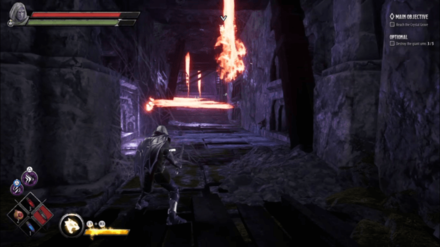 Once inside the mineshaft, you'll be faced with multiple flamethrowers traps on your way to the attribute shrine, so be very careful! |
| 3 | 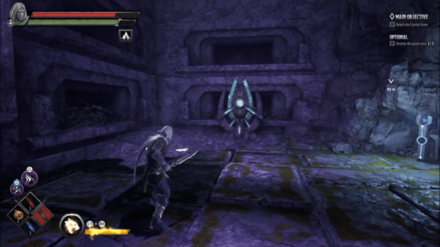 Once you safely get across all the traps, interact with the shrine to get your attribute and to disable the traps. |
The Floating City Chest Locations
| Location | Directions | |
|---|---|---|
| 1 | 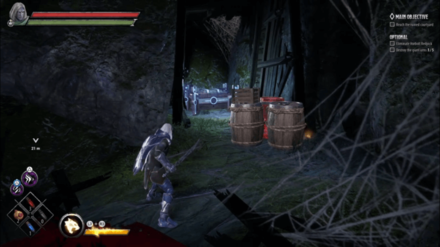 |
The chest is located in the Entrance Area, across a gap near a purple glowing statue. |
| 2 | 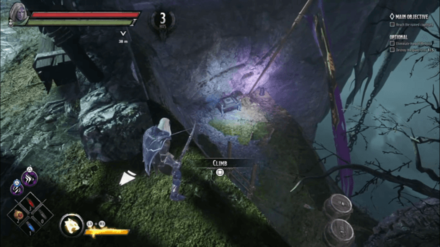 |
Located down on a ledge near the cliff before entering the fight with the cultists in the Ruined Courtyard. |
| 3 | 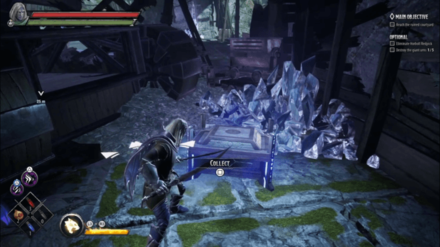 |
Located inside a destroyed structure across a field of poisonous flowers in the Ruined Courtyard. |
| 4 | 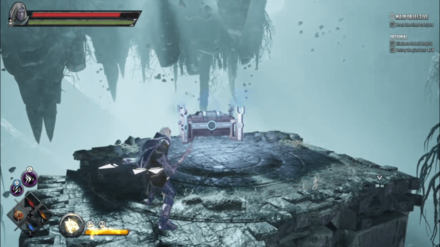 |
Located on a floating debris near Horbolt Redpick. |
| 5 | 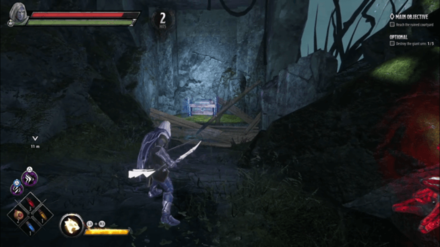 |
Located on the path to the Ruined Courtyard Runestone. |
| 6 | 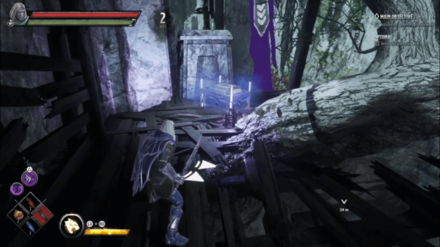 |
Located near a tree on top of a wooden platform in the Garden Temple. |
| 7 | 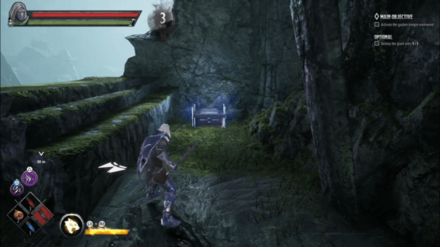 |
Located near the portal to the Lower Mines in Garden Temple. |
| 8 | 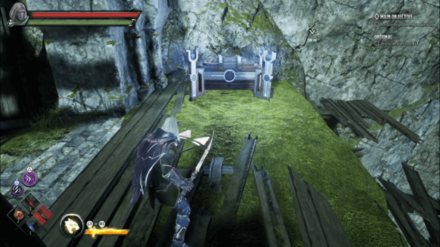 |
Located near the floating platform in the Garden Temple |
| 9 | 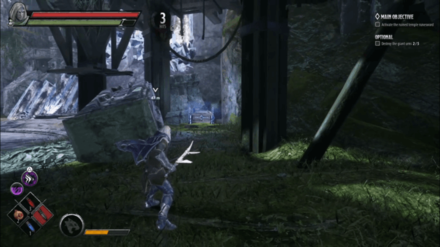 |
Near the temple entrance in the Ruined Temple. |
| 10 | 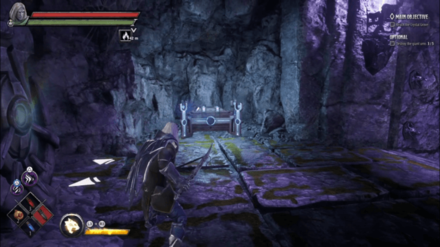 |
Besides the Attribute Shrine in the Ruined Temple. |
| 11 | 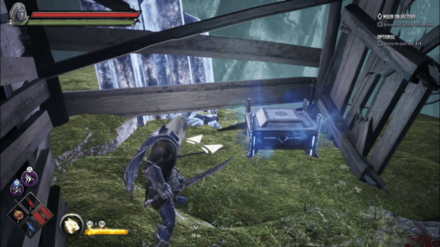 |
Inside a wooden structure, near the portal to the Ruined Courtyard in Crystal Grove. |
| 12 | 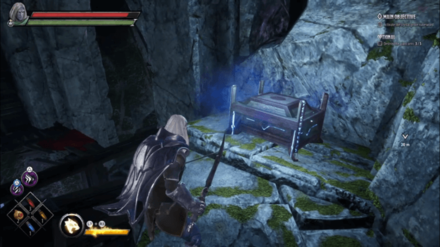 |
Located after climbing up a wooden platform around a giant glowing crystal near the portal to the Ruined Courtyard in Crystal Grove. |
| 13 | 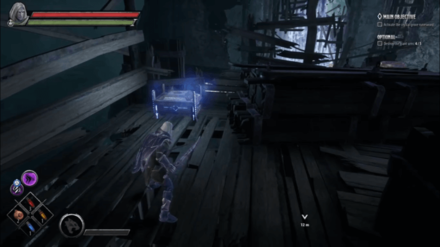 |
Located on the roof behind some wooden pillars in Crystal Grove, near the portal to the Ruined Courtyard. |
| 14 | 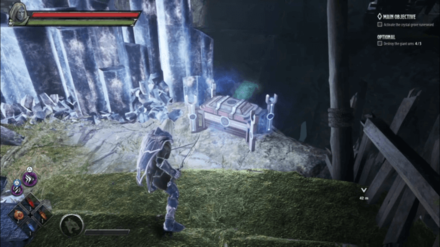 |
Located inside a destroyed wooden shack with glowing crystals in Crystal Grove, near the portal to the Ruined Courtyard. |
| 15 | 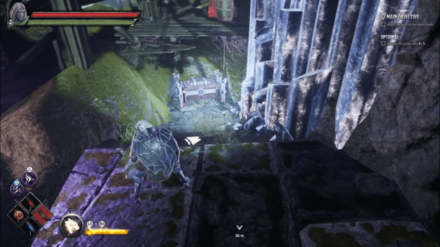 |
Located in a hole in the Lower Mines, near the portal to the Ruined Courtyard. |
| 16 | 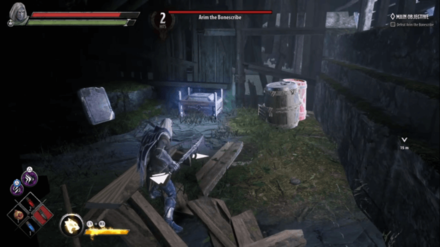 |
Located inside a wooden structure, behind a barricade near the boss area in the Lower Mines |
| 17 | 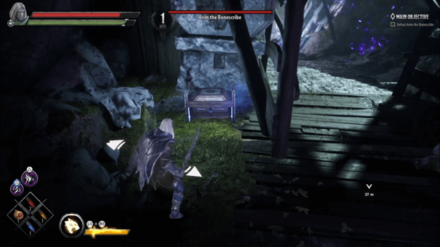 |
Located besides a pillar, behind a barricade, near the boss area in the Lower Mines |
Dark Alliance Related Links
| Companions of Icewind Dale |
|---|
| Goblins at the Gates |
| Halls of Duergar |
| Bangor's Span |
| The Goblin's Shard |
|---|
| The Goblin Valley |
| Goffin's Door |
| The Goblin Tower |
| Verbeeg Jamboree |
|---|
| The Verbeeg Jamboree |
| Designs of the Duergar |
| A Feast for All Cretins |
| The Order of the Light |
|---|
| An Infernal Dispute |
| Order of the One Light |
| The Return of the Tyrant |
| The Mask of Kelvin |
|---|
| Ghosts of the Past |
| The Broken City |
| The Face of Kelvin |
| Crystalline Dreams |
|---|
| The Floating City |
| Crystal Harvest |
| A Crystal Crown |
| The Fury of Icewind |
|---|
| The Hunting Grounds |
| The Hall of Judgment |
| A Tomb of Ice |
Author
The Floating City Act Guide and Walkthrough | Giant Urns Locations
improvement survey
03/2026
improving Game8's site?

Your answers will help us to improve our website.
Note: Please be sure not to enter any kind of personal information into your response.

We hope you continue to make use of Game8.
Rankings
- We could not find the message board you were looking for.
Gaming News
Popular Games

Genshin Impact Walkthrough & Guides Wiki

Honkai: Star Rail Walkthrough & Guides Wiki

Umamusume: Pretty Derby Walkthrough & Guides Wiki

Pokemon Pokopia Walkthrough & Guides Wiki

Resident Evil Requiem (RE9) Walkthrough & Guides Wiki

Monster Hunter Wilds Walkthrough & Guides Wiki

Wuthering Waves Walkthrough & Guides Wiki

Arknights: Endfield Walkthrough & Guides Wiki

Pokemon FireRed and LeafGreen (FRLG) Walkthrough & Guides Wiki

Pokemon TCG Pocket (PTCGP) Strategies & Guides Wiki
Recommended Games

Diablo 4: Vessel of Hatred Walkthrough & Guides Wiki

Cyberpunk 2077: Ultimate Edition Walkthrough & Guides Wiki

Fire Emblem Heroes (FEH) Walkthrough & Guides Wiki

Yu-Gi-Oh! Master Duel Walkthrough & Guides Wiki

Super Smash Bros. Ultimate Walkthrough & Guides Wiki

Pokemon Brilliant Diamond and Shining Pearl (BDSP) Walkthrough & Guides Wiki

Elden Ring Shadow of the Erdtree Walkthrough & Guides Wiki

Monster Hunter World Walkthrough & Guides Wiki

The Legend of Zelda: Tears of the Kingdom Walkthrough & Guides Wiki

Persona 3 Reload Walkthrough & Guides Wiki
All rights reserved
© 1993-2021 Wizards of the Coast LLC, a subsidiary of Hasbro, Inc. All Rights Reserved.
The copyrights of videos of games used in our content and other intellectual property rights belong to the provider of the game.
The contents we provide on this site were created personally by members of the Game8 editorial department.
We refuse the right to reuse or repost content taken without our permission such as data or images to other sites.





![Monster Hunter Stories 3 Review [First Impressions] | Simply Rejuvenating](https://img.game8.co/4438641/2a31b7702bd70e78ec8efd24661dacda.jpeg/thumb)


