Order of the One Light Act Guide and Walkthrough | Soul Coins Locations
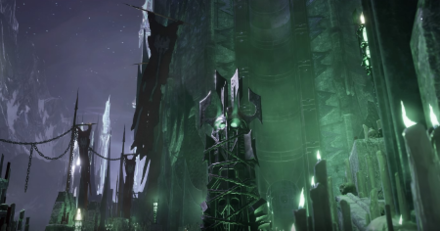
This is a walkthrough for Order of the One Light, Act 2 of The Order of the One Light in Dungeons & Dragons: Dark Alliance. Learn more about the objectives of this quest, available rewards, tips for completion, locations of attribute shrines, as well as boss fight strategies!
| Previous Quest | Current Quest | Next Quest |
|---|---|---|
| An Infernal Dispute | Order of the One Light | Return of the Tyrant |
List of Contents
Order of the One Light Basic Information
Quest Information
| Quest | The Order of the One Light |
|---|---|
| Mission | |
| Cultists that worship the Crystal Shard like a god have found Kessell's body and infused it with arcane power, reanimating him. Now he seeks to rebuild his army and take his revenge on Icewind Dale. | |
Act Information
| Act No. | 2 |
|---|---|
| Type | Mission |
| Preferred Gear Set Drop | Captive of the Abyss (Wulfgar) Wearer of the Mask (Drizzt) Alustriel's Gift (Catti-brie) Keeper of Secrets (Bruenor) |
| Bosses | Kronus Seven Scars |
| Optional Bosses | Wennir the Consumed |
| Unlock Requirement | Complete An Infernal Dispute |
| Description | |
| Crystal cult necromancers had reanimated the corpse of Akar Kessell and granted him arcane power he never achieved in life. From the safety of the warded inner sanctum of their fortress, he called out to any ally that would assist his rise to power once again. We would need to break down the sanctum's defenses before we could deal with Kessell himself, hopefully for the last time. | |
Order of the One Light Main Objectives
Enter the cultist fortress. Reach the access corridor
| Objectives | |
|---|---|
| 1 | Explore the area and gather loot Just follow the objective marker as you travel in the first area of the stage. Continue on some steps until you reach the access corridor. |
Defeat the cultist forces guarding the urn at the access corridor
| Objectives | |
|---|---|
| 2 | 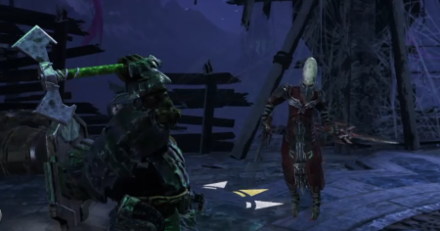 Defeat all enemies. This area features what would the format of this quest line - duergars and cultists joining forces. It is advisable to deal with the ranged duergars first as they are the easiest to deal with so you can focus on the more agile cultists. |
Destroy the urn at the access corridor
| Objectives | |
|---|---|
| 3 | 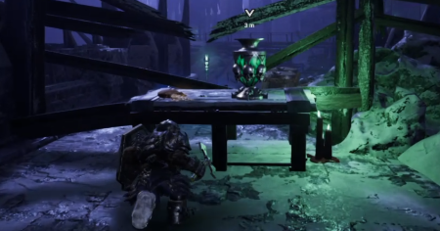 Destroy the urn Defeat all the enemies and pick up the lever. Then head north past a fork towards a broken bridge. Use the lever you found to bring down a platform you can jump on. Destroy the urn at the end. |
Reach the mining pit. Defeat the forces holding the mining pit
| Objectives | |
|---|---|
| 4 | Enter the mining pit and defeat all enemies Head back to the fork and this time head right. Cross the cavern via a platform to enter the mining pit. Defeat all the enemies there. |
Destroy the urn at the mining pit
| Objectives | |
|---|---|
| 5 | Find the urn in the mining pit and destroy it Explore the mine. Note that the urn inside the mine itself will just summon enemies. The true urn is at the wooden ledges near the pit. Climb it and it will be on a table for you to destroy. |
Reach the mine entrance. Destroy the urn at the foreman's table
| Objectives | |
|---|---|
| 5 | Find the main entrance and destroy the urn within From the previous urn, head back down and head to the main mine entrance. Defeat all the enemies here and find the urn (left of the mine entrance). Destroy it. |
Cross the canal
| Objectives | |
|---|---|
| 6 | Battle through the next areas and defeat all enemies. The next part is simple - get through all the enemies until you can get to the canal. Just follow the objective marker. |
Survive the Stygian Ambush. Destroy the urn at the chasm overlook
| Objectives | |
|---|---|
| 7 | 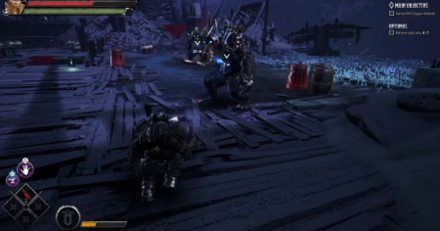 Defeat the stygians By the end of the canal area, you will be battling two huge stygians. Defeat them one at a time. Then, destroy the urn nearby. |
Reach the entry to the Inner Sanctum. Defeat Kronus Seven Scars
| Objectives | |
|---|---|
| 8 | 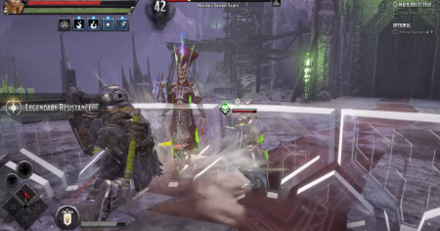 Defeat the boss Backtrack a bit from that area to find some stairs. Climb it to battle the boss. |
Order of the One Light Optional Objectives
Retrieve Soul Coins
| Objectives | |
|---|---|
| 1 | 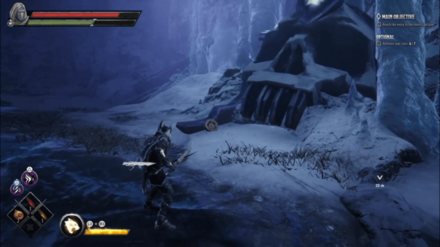 Located inside the entrance area, just besides the giant skull. |
| 2 | 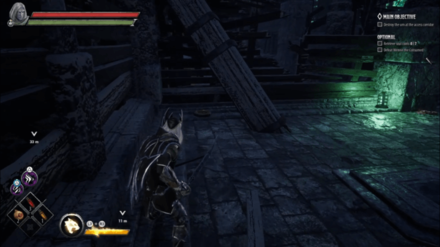 Located behind some barrels in the Access Corridor. |
| 3 | 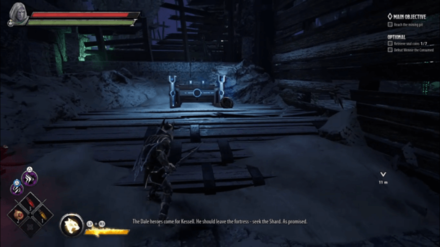 Located besides a chest, just before reaching the Mining Pit. |
| 4 | 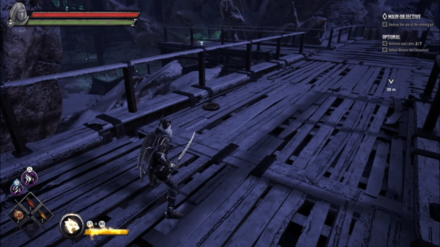 Located underneath a barrel, near the Urn in the Mining Pit. |
| 5 | 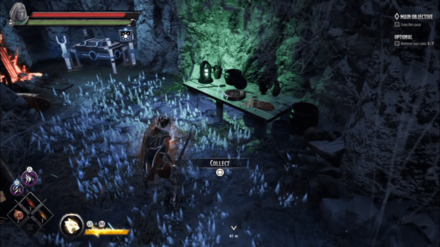 Located on top of a table, inside a cave with ice spikes leading to it. It's near the area of your second short rest. |
| 6 | 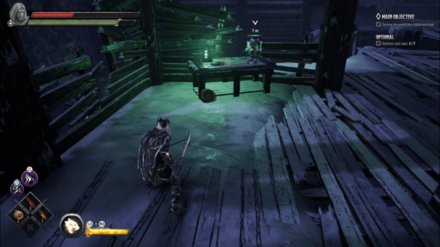 Located besides the urn in the Chasm Overlook. |
| 7 | 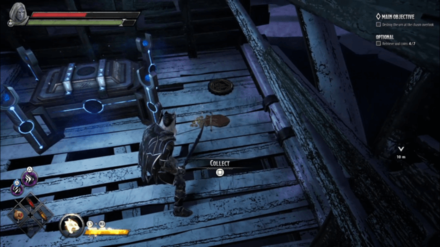 The final soul coin is inside a structure near a chest located left of the entrance to the Chasm Overlook. Jump across a gap from the wooden plank and destroy the barricade ahead to get to the coin. |
Defeat Wennir the Consumed
| Objectives | |
|---|---|
| 1 | 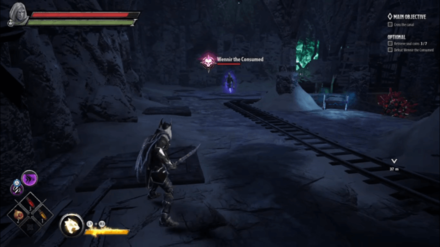 You can find Wennir the Consumed inside the Mining Cave, across a path filled with lava traps. His attacks are similar to the cultist so be careful! |
Tips and Strategies
Cultists Galore
Like the previous mission, this stage is packed heavily with cultists. And it is more common now that they come in huge bunches. Being cornered is quite easy so take 'em out quickly.
Boss Strategy: Kronus Seven Scars
Kronus Seven Scars
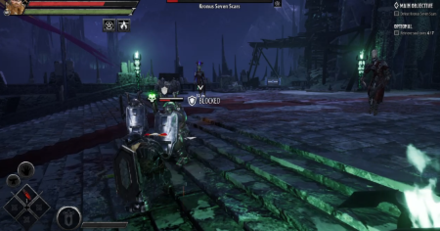
This boss maybe as difficult as The Chef. However, it's not because the boss is inherently strong. It's his minions - he summons a variety of duergar and cultists and some of them will also spawn some shadow figures. At a time you could be battling eight entities all at the same time.
The key is to use AoE attacks such as Catti-Brie's charged heavy attack to deal with the huge crowd or Bruenor's Anvil of Clanggedin (triggered by holding down the triangle button). Once the crowd is clear, Kronus is all yours to defeat.
Take note that the battle will not end if Kronus' minions are still alive - they have to be dealt with.
How to Beat Kronus Seven Scars
Order of the One Light Attribute Shrines Locations
| Directions | |
|---|---|
| 1 | 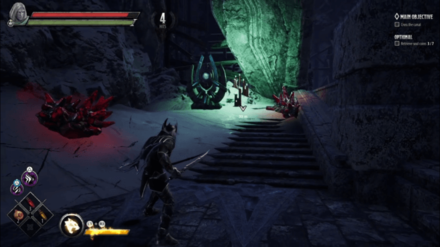 You can find the Attribute Shrine in the Mining Cave, near where Wennir the Consumed is. |
Order of the One Light Chest Locations
| Location | Directions | |
|---|---|---|
| 1 | 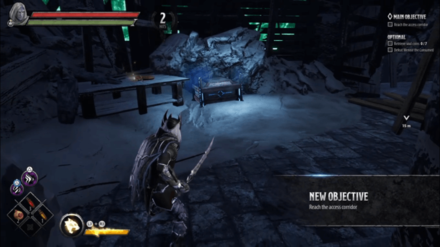 |
Located just outside of the starting area. Break the barricade to get to the chest. |
| 2 | 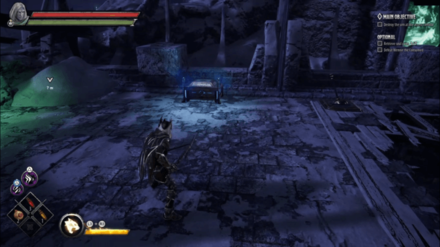 |
Located just besides the Urn in the Access Corridor |
| 3 |  |
Located right before the Mining Pit, inside a wooden structure. |
| 4 | 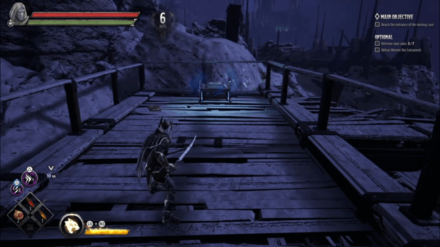 |
Located at the left path near the Urn in the Mining Pit. |
| 5 | 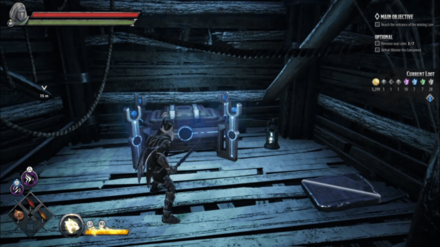 |
Located down the Mining Pit. There is a ledge you can climb down to at the other side. |
| 6 | 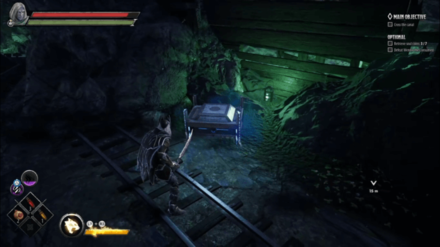 |
Located just before the path to Wennir the Consumed. |
| 7 | 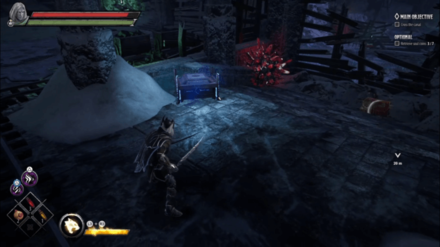 |
Located just after entering the area of Wennir the Consumed. |
| 8 | 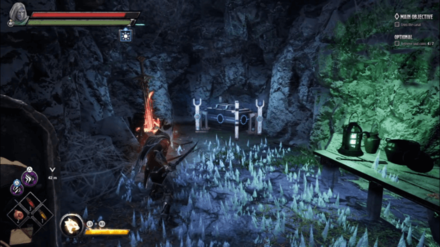 |
Located inside a cave with ice spikes leading to it. It's near the area of your second short rest. |
| 9 | 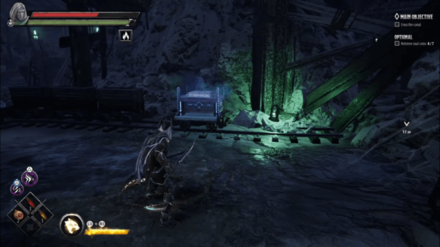 |
Located besides a minecart in the area just before crossing the canal. Climb the ledge in the area before crossing the canal to get it. |
| 10 | 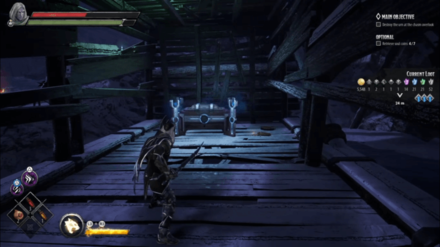 |
Located to the left of Chasm Overlook. Jump across a gap from the wooden plank then destroy the barricade ahead to get to the chest. |
| 11 | 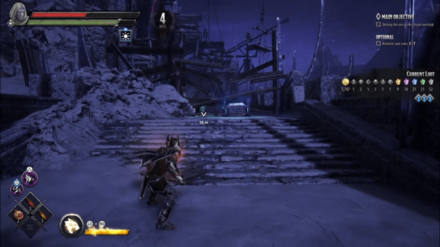 |
There is a ledge you can climb up in the Chasm Overlook to get to the chest. |
| 12 | 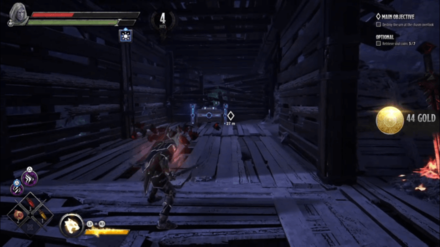 |
The chest is located in Chasm Overlook, near the cliff. Destroy the barricade then jump across. Head inside the wooden structure to get to the chest. |
| 13 | 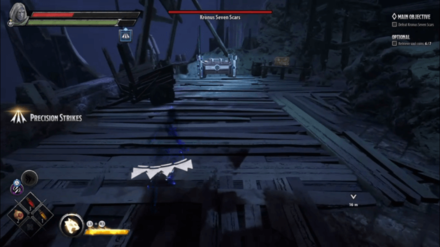 |
There is a chest located inside the boss area. If you're using Drizzt, you can use blink to safely open the chest. |
Dark Alliance Related Links
| Companions of Icewind Dale |
|---|
| Goblins at the Gates |
| Halls of Duergar |
| Bangor's Span |
| The Goblin's Shard |
|---|
| The Goblin Valley |
| Goffin's Door |
| The Goblin Tower |
| Verbeeg Jamboree |
|---|
| The Verbeeg Jamboree |
| Designs of the Duergar |
| A Feast for All Cretins |
| The Order of the Light |
|---|
| An Infernal Dispute |
| Order of the One Light |
| The Return of the Tyrant |
| The Mask of Kelvin |
|---|
| Ghosts of the Past |
| The Broken City |
| The Face of Kelvin |
| Crystalline Dreams |
|---|
| The Floating City |
| Crystal Harvest |
| A Crystal Crown |
| The Fury of Icewind |
|---|
| The Hunting Grounds |
| The Hall of Judgment |
| A Tomb of Ice |
Comment
Author
Order of the One Light Act Guide and Walkthrough | Soul Coins Locations
improvement survey
03/2026
improving Game8's site?

Your answers will help us to improve our website.
Note: Please be sure not to enter any kind of personal information into your response.

We hope you continue to make use of Game8.
Rankings
- We could not find the message board you were looking for.
Gaming News
Popular Games

Genshin Impact Walkthrough & Guides Wiki

Honkai: Star Rail Walkthrough & Guides Wiki

Umamusume: Pretty Derby Walkthrough & Guides Wiki

Pokemon Pokopia Walkthrough & Guides Wiki

Resident Evil Requiem (RE9) Walkthrough & Guides Wiki

Monster Hunter Wilds Walkthrough & Guides Wiki

Wuthering Waves Walkthrough & Guides Wiki

Arknights: Endfield Walkthrough & Guides Wiki

Pokemon FireRed and LeafGreen (FRLG) Walkthrough & Guides Wiki

Pokemon TCG Pocket (PTCGP) Strategies & Guides Wiki
Recommended Games

Diablo 4: Vessel of Hatred Walkthrough & Guides Wiki

Cyberpunk 2077: Ultimate Edition Walkthrough & Guides Wiki

Fire Emblem Heroes (FEH) Walkthrough & Guides Wiki

Yu-Gi-Oh! Master Duel Walkthrough & Guides Wiki

Super Smash Bros. Ultimate Walkthrough & Guides Wiki

Pokemon Brilliant Diamond and Shining Pearl (BDSP) Walkthrough & Guides Wiki

Elden Ring Shadow of the Erdtree Walkthrough & Guides Wiki

Monster Hunter World Walkthrough & Guides Wiki

The Legend of Zelda: Tears of the Kingdom Walkthrough & Guides Wiki

Persona 3 Reload Walkthrough & Guides Wiki
All rights reserved
© 1993-2021 Wizards of the Coast LLC, a subsidiary of Hasbro, Inc. All Rights Reserved.
The copyrights of videos of games used in our content and other intellectual property rights belong to the provider of the game.
The contents we provide on this site were created personally by members of the Game8 editorial department.
We refuse the right to reuse or repost content taken without our permission such as data or images to other sites.




![Monster Hunter Stories 3 Review [First Impressions] | Simply Rejuvenating](https://img.game8.co/4438641/2a31b7702bd70e78ec8efd24661dacda.jpeg/thumb)


